
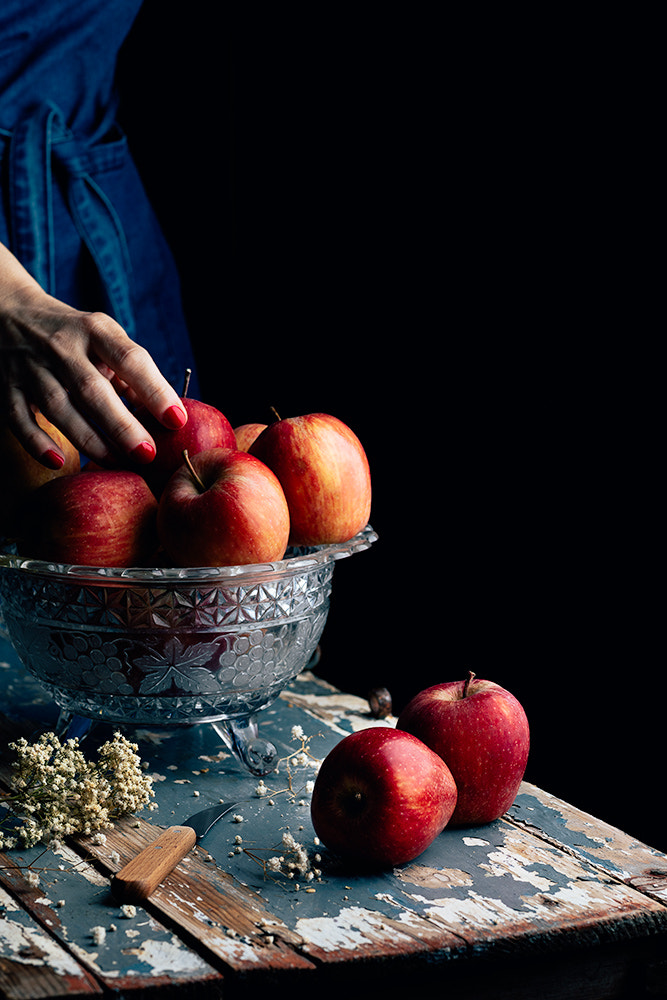
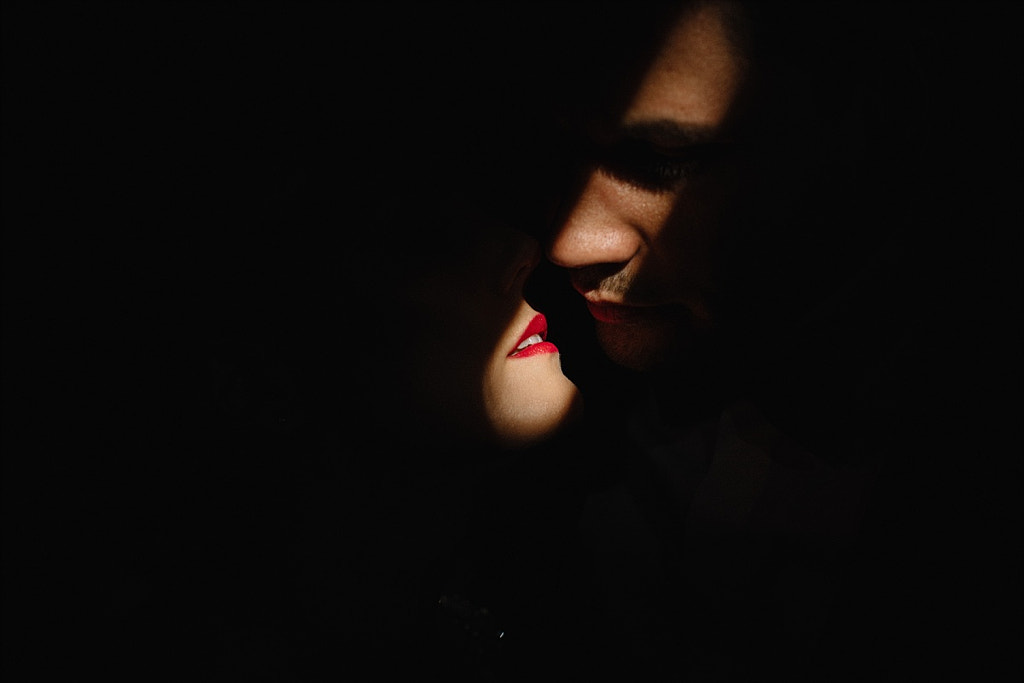
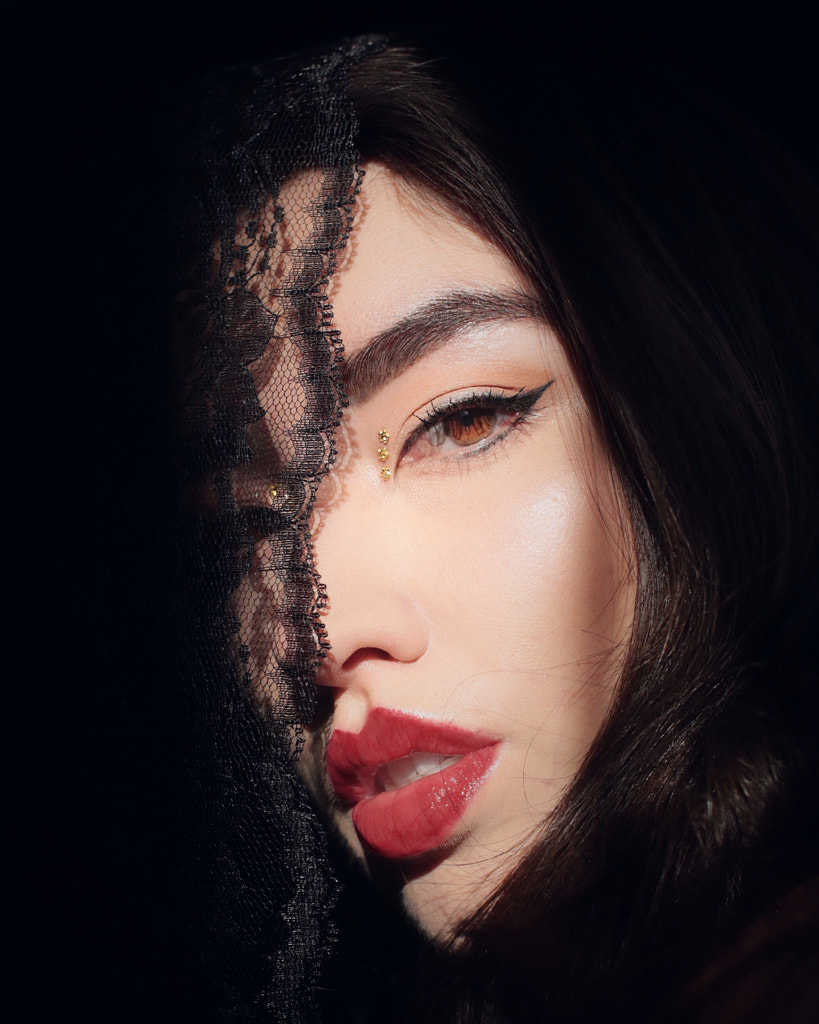
Moody, low-key photographs are trending, popping up everywhere from magazine spreads to social media feeds. Much of today’s tabletop food photography harkens back to old master paintings and their dramatic use of chiaroscuro, and long, graphic shadows and rustic backgrounds have filtered into modern still life images as well.
Darker backgrounds are cropping up in portrait photography, still life photography, macro photography, and beyond. In 2019, Instagram made waves by introducing “dark mode,” resulting in one of the largest tech and design trends in the foreseeable future.
As John Kyeremeh wrote in this article on colors, black is also popular in commercial photography, used to market luxury products ranging from watches to cars. Getty Images named “The Dark Arts” as one of their emerging trends, citing brands like Bellocq Tea Atelier and magazines like Ambrosia and their use of rich, dark colors.
One of the simplest ways to get this dramatic look is to use a physical backdrop. If you have access to seamless paper, you can set it up at home or in the studio; alternatively, you can pull out some construction paper or browse a fabric store for a velvet or velour backdrop that suits your needs. These fabrics won’t crease, and that’s important when working with black backgrounds.

In some situations, a bedsheet will also work; just take some time to smooth it out before the shoot.
With a little creativity, you can use all sorts of materials as backgrounds; Irving Penn famously used an old theater curtain while photographing the Paris collections for Vogue. Whatever paper or fabric you choose, it’s important that it absorbs light rather than reflects it. That means no shiny metals or plastics, just matte materials.
If you don’t have a physical black backdrop—or you’re working in a situation where it isn’t feasible, (e.g., you’re outside, don’t have access to a studio, or plan to change location throughout the shoot)—you can still achieve a similar aesthetic using lighting and your camera settings.
We touched on value a bit in our articles on color theory (here and here), but here’s a quick refresher: when we say “value,” we’re simply referring to how light or dark a color is. White is the lightest, and black is the darkest; all other colors fall somewhere in between. When you mix dark areas and light ones, you’re creating value contrast in your photos.
Whatever your location, be it indoors or outdoors, the secret to a good black background can lie in finding (or creating) value contrast between your subject and the background.
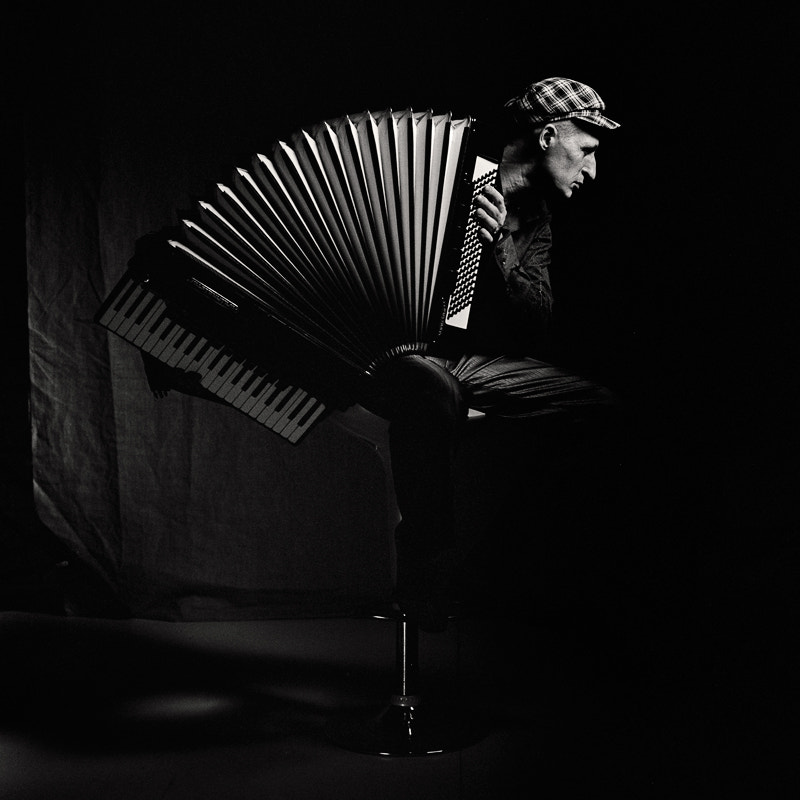
Photographers have a few ways of determining if and when a setting has enough contrast to work; some like to squint to check if a scene lacks contrast. You also shoot or preview your photos in black and white to get a better understanding of light and value without the distraction of color.
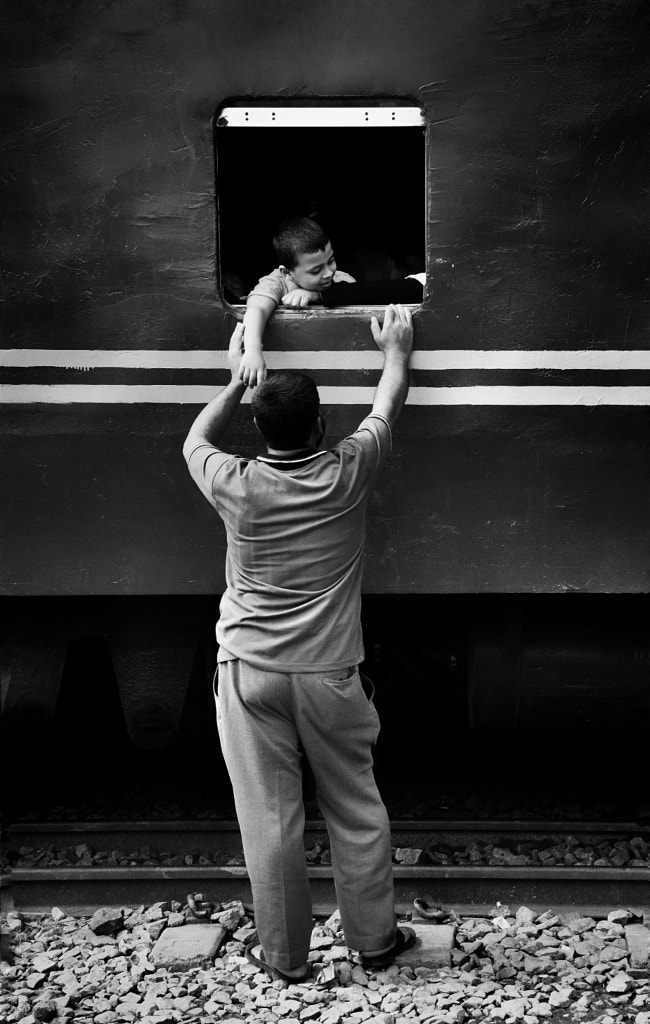
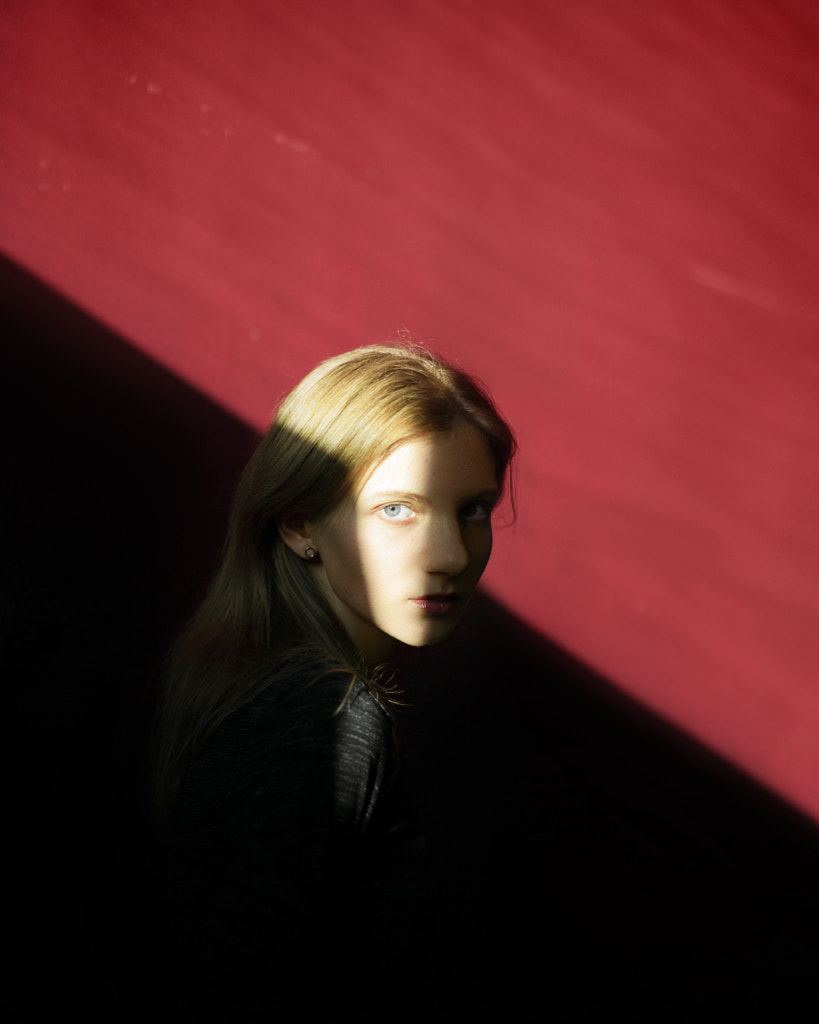
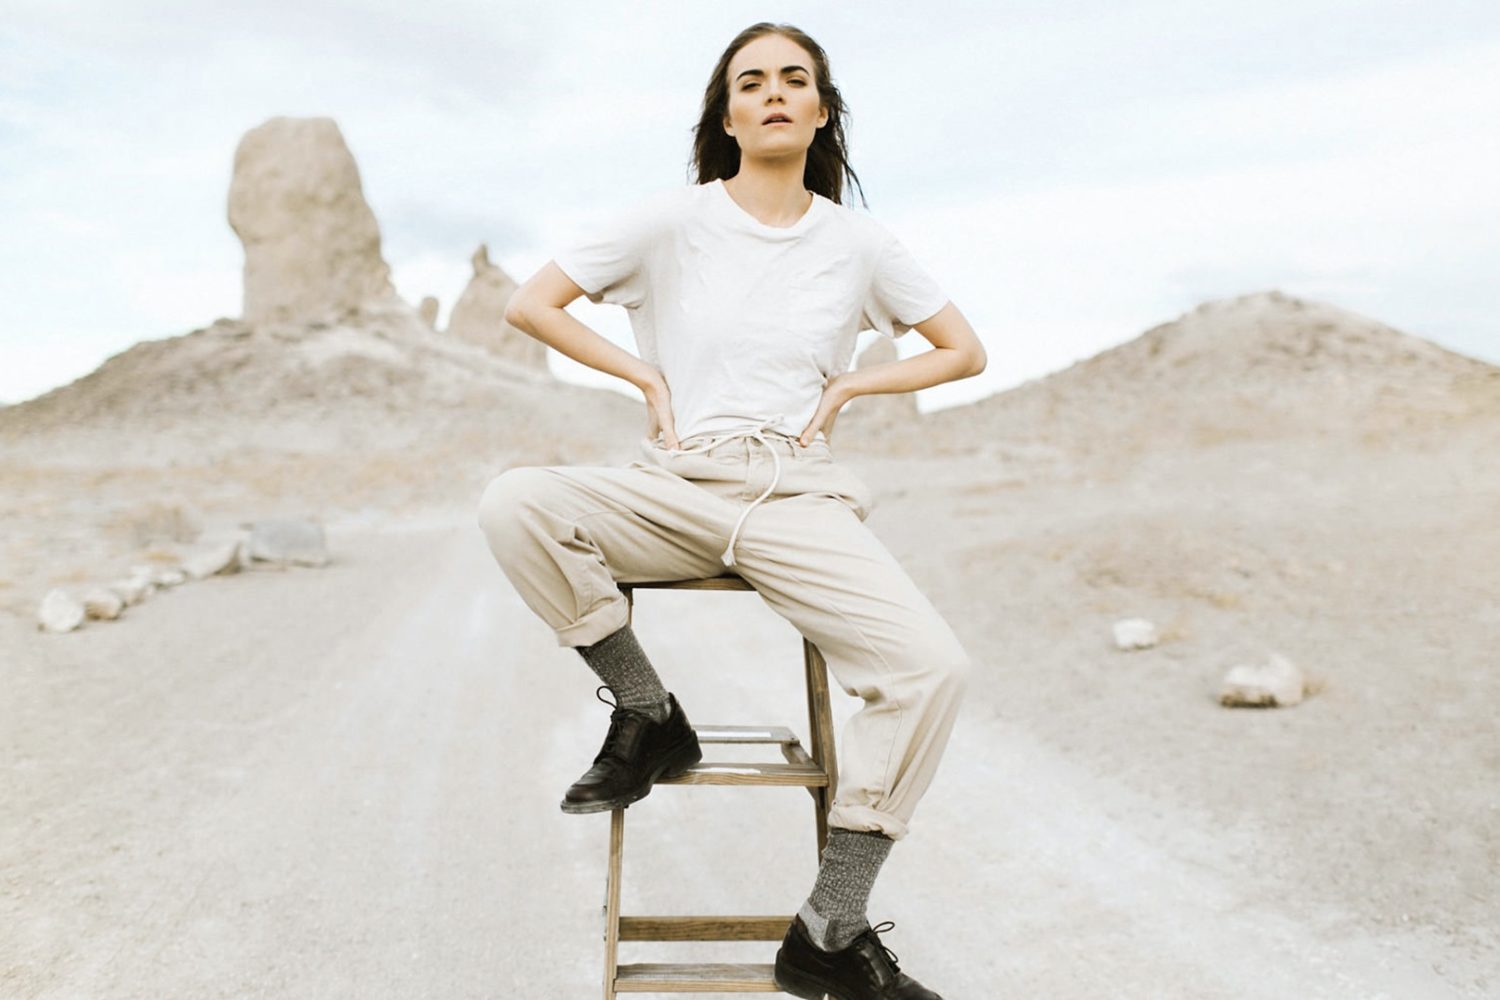
If you’re outdoors, look for nice daylight and shady areas; doorways and dark buildings work well for these kinds of shoots. You’ll then want to place your subject in the light in front of the shaded spot, close to the border line where light meets shade. Remember: you’re not only looking for dark areas but also areas where there’s a noticeable contrast between light and dark. You can also underexpose a bit so the background is as dark as possible.
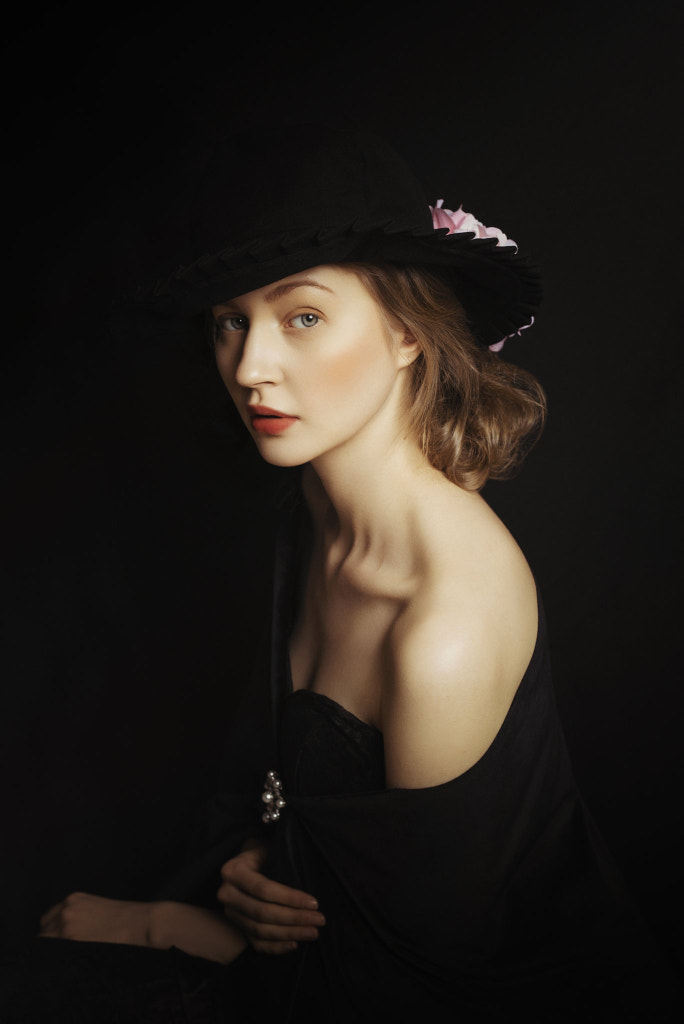
If you’re indoors, that physical black background will come in handy, especially if you’re shooting in a room with reflective white walls—but it’s possible to make do without one.
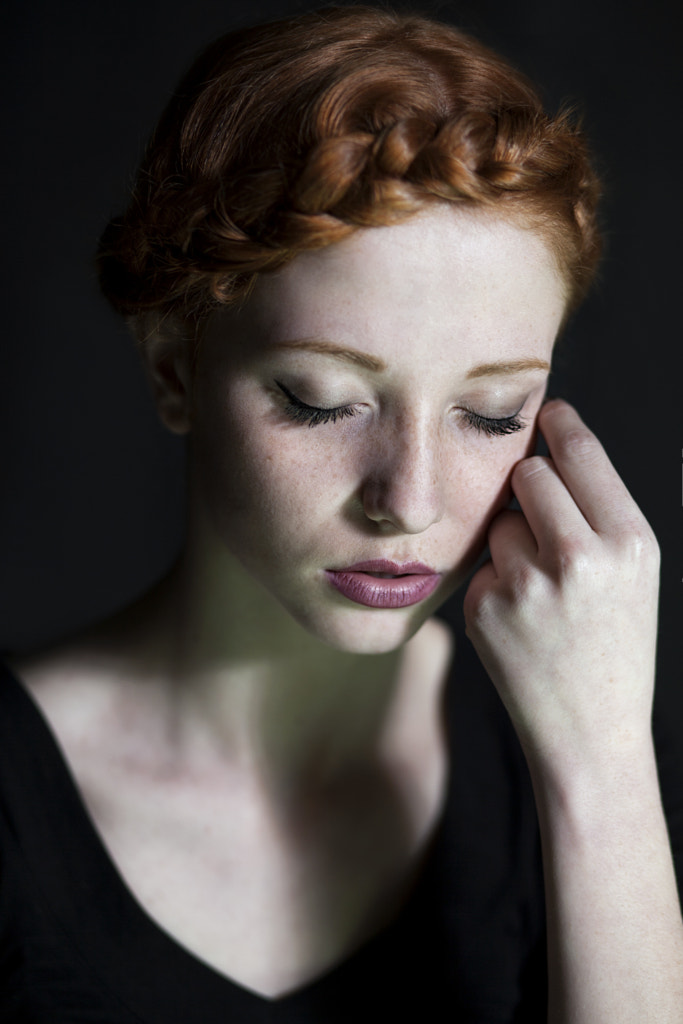
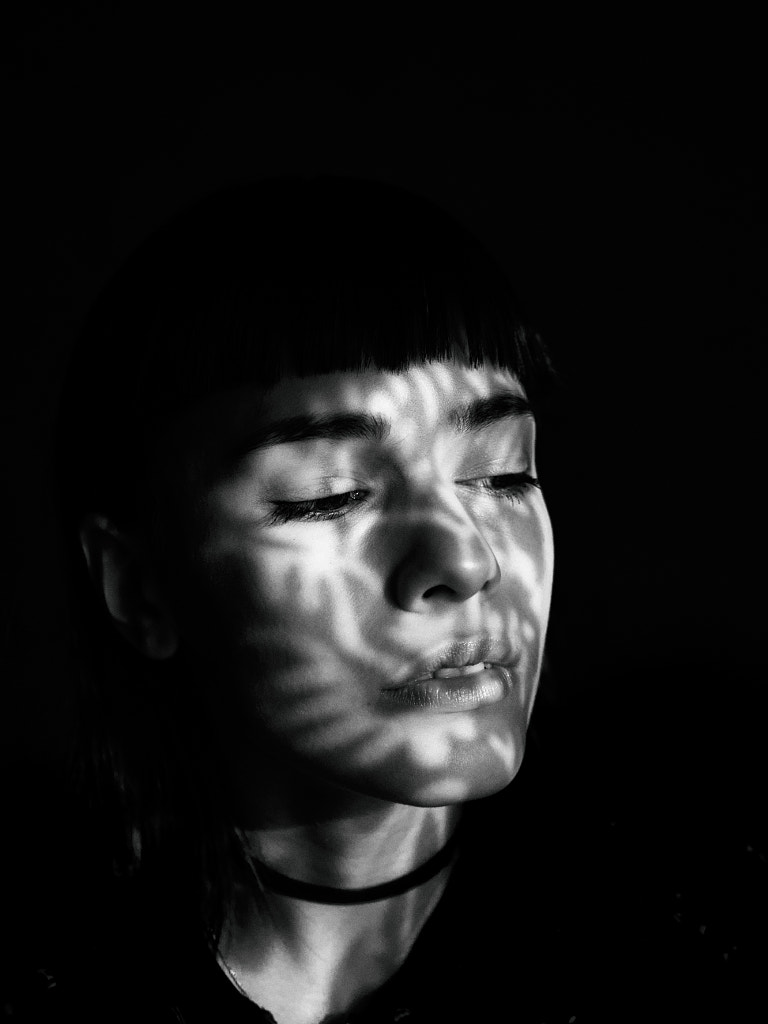
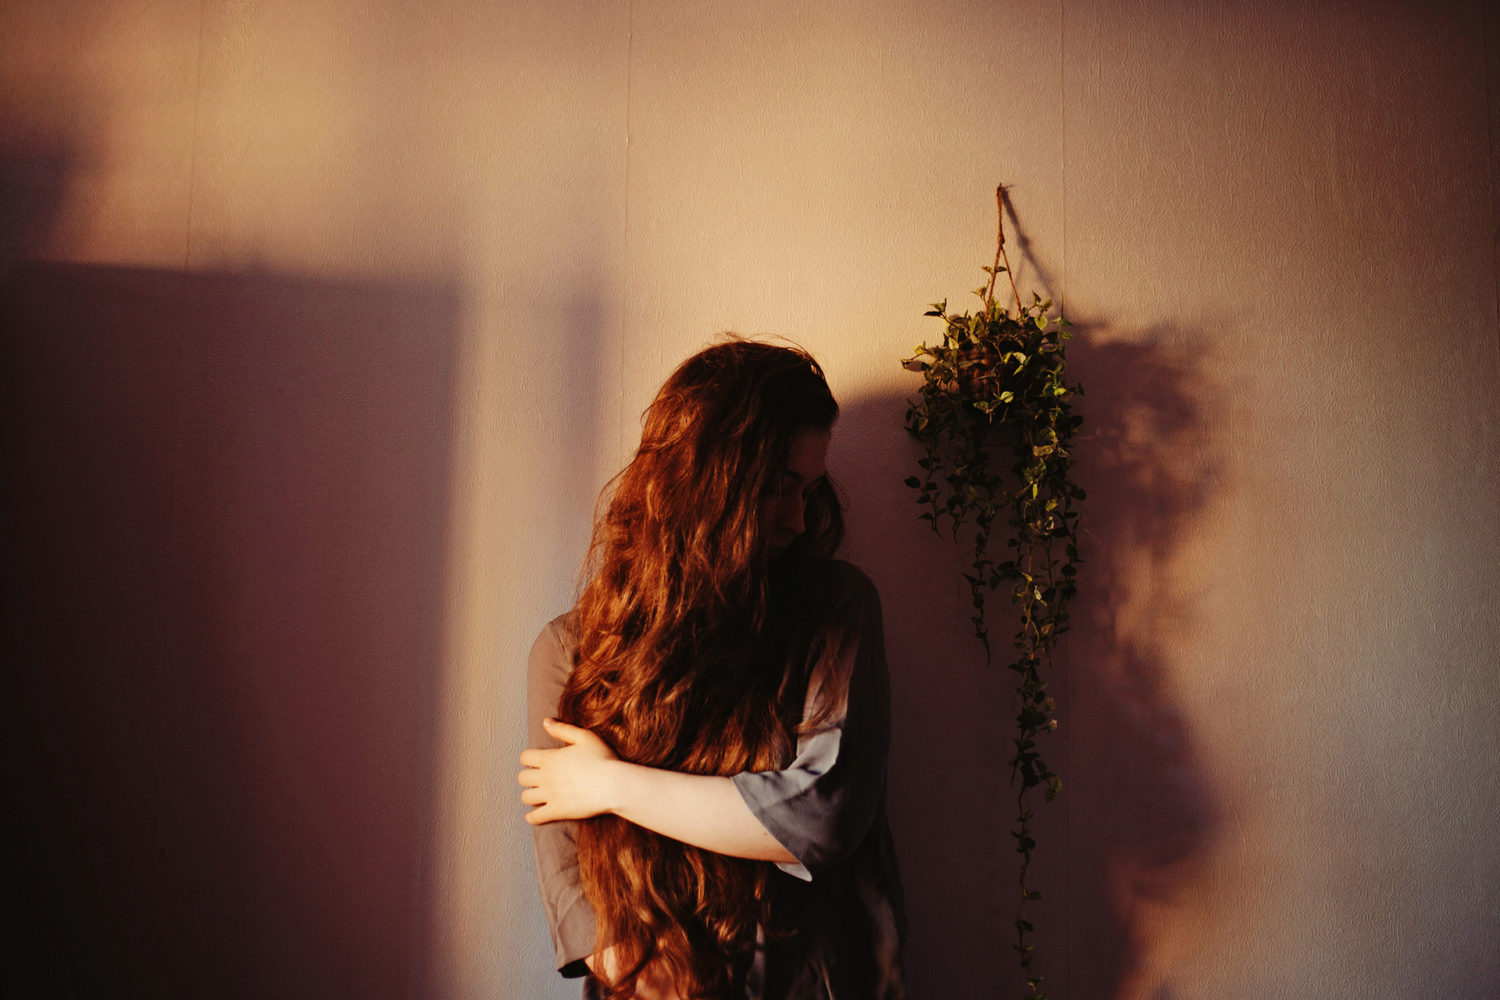
If you find that there isn’t enough contrast for a rich black background indoors, consider bringing in a (modified) studio light of your choice to illuminate just your subject. You can also use natural light if you’re working inside; turn out the lights and block out all the windows (blackout curtains work here) except for one. You can even use a stencil to shape the light.
Regardless of the light source, keep your subject and main light at a solid distance from your background to make it easier to achieve that contrast. If it’s a wall, make sure your subject is far enough from it so it doesn’t get any of the light that’s illuminating the face. Regardless of the paint color on the wall itself, it will get progressively darker as you move your light and subject farther away.
You can use a solid or net flag to control the light and prevent it from hitting your background. If you don’t have a studio flag, firm black paper or foam board will do the trick. A reflector will also come in handy for modifying the light and bouncing it back on the model’s face.
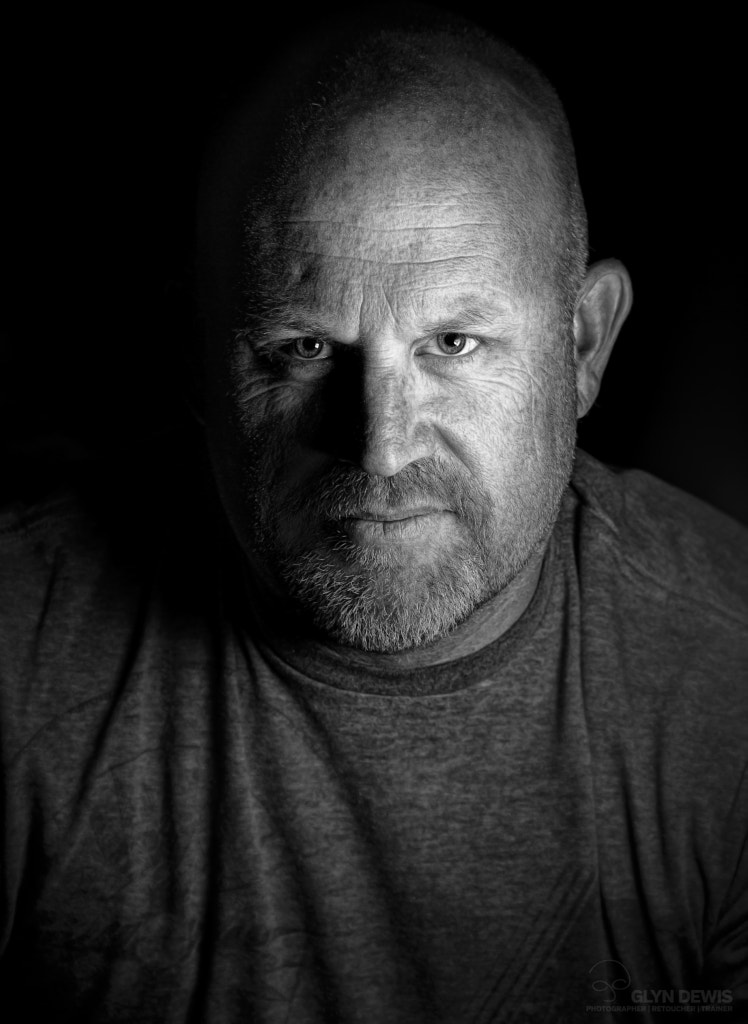
It’s also possible to mimic the effect of a black backdrop by using a clever technique the photographer and educator Glyn Dewis has dubbed “the invisible black backdrop.” You only need an off-camera flash and a camera to try it out—no studio necessary.
Here’s how it works:
Before you even bring out your flash, adjust your settings so that you’re able to take an entirely blank, black photo. Set ISO as low as possible to reduce your camera’s sensitivity to light, and use your camera’s fastest shutter sync speed.
If you’re still getting a brighter exposure than you’d like, feel free to stop down your aperture to minimize the amount of light entering your camera. You want to block out all the natural light in the scene.
Once that’s done, there’s only one step left: set up your flash how and where you want it—and trigger it to light your subject. It’s easier to do this one outside, of course, because white walls will reflect that light, but it’s possible to do it indoors as well with some careful placement.

Finally, you can always enhance your black background in post-processing. The most obvious places to start would be your contrast, shadows, and blacks sliders; to finesse, feel free to tweak the levels and curves. Keep an eye on your histogram while you’re doing this, and again, don’t be afraid to temporarily convert your photo to black and white just so you can see the contrast more clearly.

In the days of film photography, artists might have used the dodging and burning technique to brighten up their subjects and darken their backgrounds. If you’re a film photographer with access to the darkroom, you can do the same. Expose the background of your prints to more light, and use a dodging device (like cardboard) to block it from hitting your subject.
If you’re working digitally, familiarize yourself with the burn tool in Photoshop or any comparable software. Set the range to “shadows,” and gradually expose any background areas you’d like to make darker; a light touch here is crucial, but it works well if you have spots of light hitting your background. If you’re worried about shifting colors, make sure to select the “protect tones” option. You can also make local corrections to your background by bringing out your brush tool.
Finally, feel free to view your photos on multiple devices to make sure the dark areas are as dark as you’d like them to be; as the photographer Pedro Quintela explains in this guide, you don’t want to be surprised when you print your images and find that they’re not as you imagined.
We’ve already mentioned the timeliness of the “black background movement,” but it’s equally important to recognize the timelessness of this theme. Darker backgrounds are more than a passing trend; they’re a longstanding tradition, and some of the best examples are also the oldest.
Take a look at Yousuf Karsh’s portraits of Ernest Hemingway or Muhammad Ali, or browse Philippe Halsman’s photographs of Salvador Dali; study the way they use light and contrast to create evocative, inky backgrounds—and how those backgrounds heighten the drama of the scene. The cameras might have changed, but many same principles that applied to them still apply to photographers today.
You Might Also Like These Articles:
- A Beginners Guide to Photography | The Essential Guide
- How to shoot on a white background and tips on editing a white background like a pro
- 50 Creative Self-Portrait Ideas To Trump All Selfies
- 21 Poses To Try When Photographing Men
- 16 Classic and Unique Poses for Photographing Women
- 35 Mobile Photography Tips For Taking Better Smartphone Shots
Not on 500px yet? Sign up here to explore more impactful photography.

Leave a reply