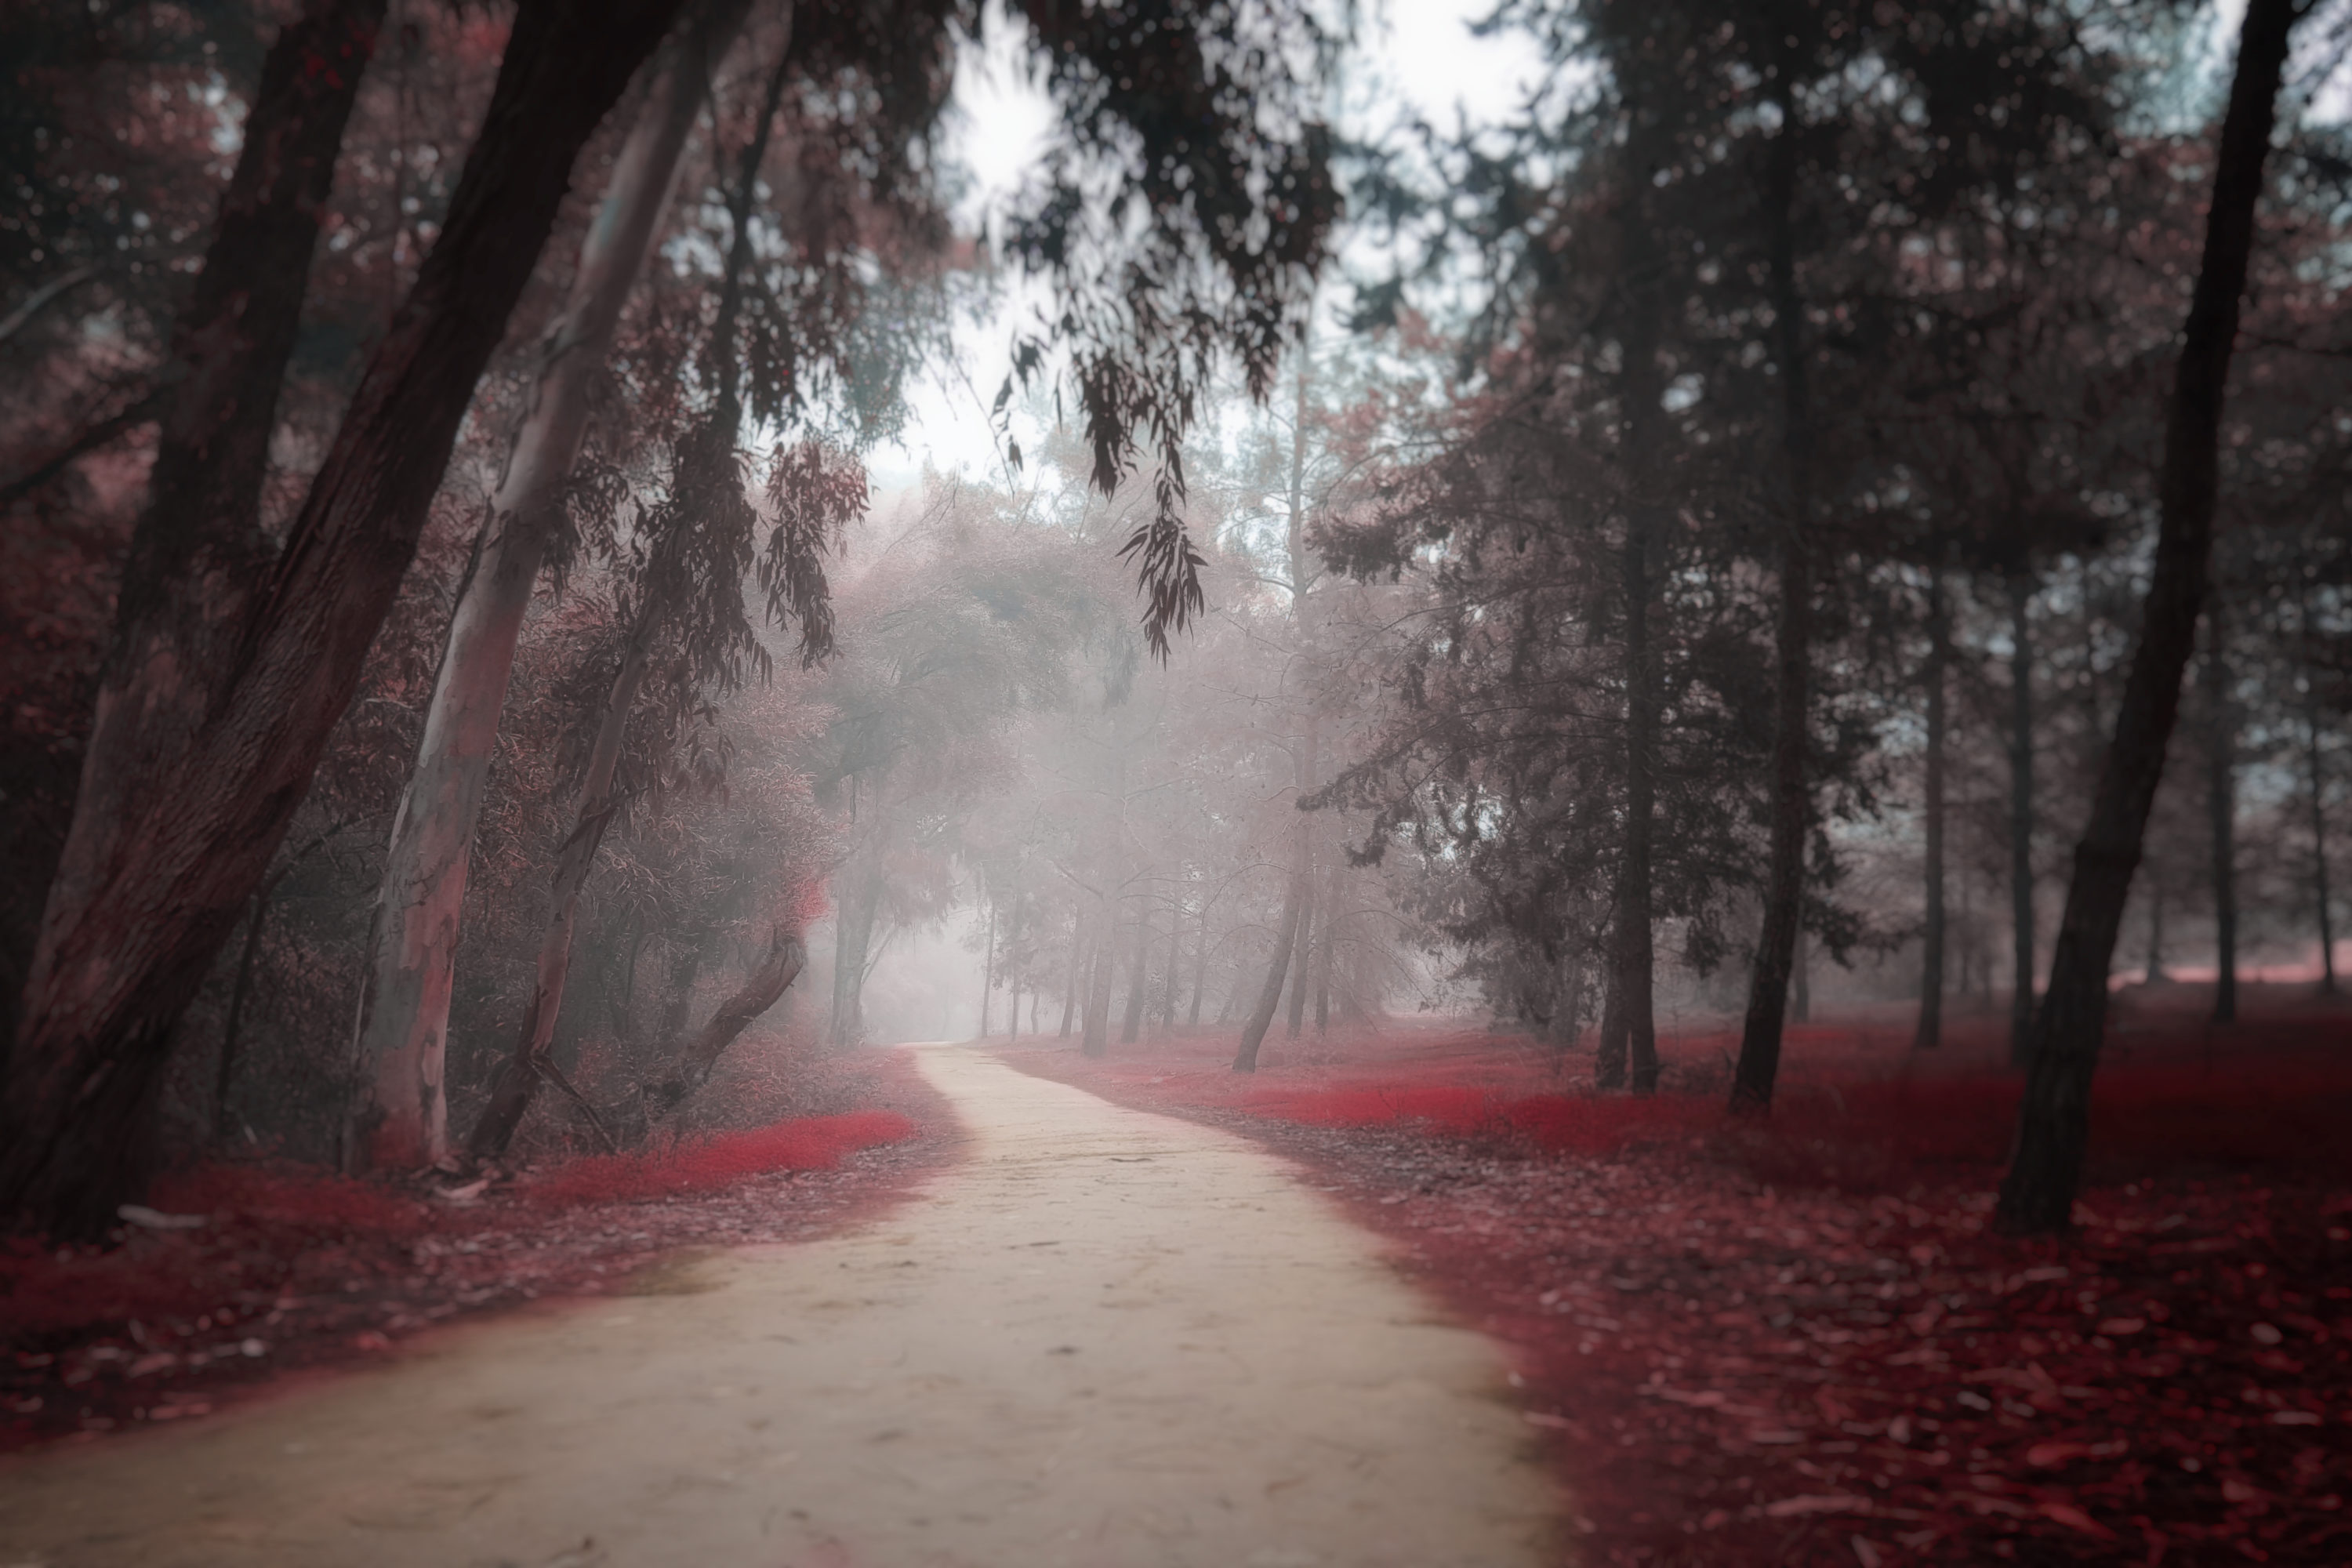
Main photo credit: Pavlos Pavlou
At 500px, we firmly believe that your tools are just that—tools. We get asked “what are the best cameras and lenses for specific shots?” quite a bit. Whether you shoot with a Canon or Iphone, a great photographer can make beautiful photos using any device capable of capturing images.
Now, let’s get practical. Want to take better photos with your smartphone? Great! We asked four talented 500px photographers to share their tips for making the most of your phone’s camera.
So if you want to start capturing smartphone photos like the ones above, get out a pen and paper (or, more likely, a text file on your laptop), and prepare to take notes:
Tony Antoniou’s mobile photography tips

1. How to get more stable shots
Although the iPhone 6 Plus has optical image stabilization built-in, I find I get a better, sharper image by holding the phone with both hands, much like I would hold a traditional camera.
The key for me here is to then not use the “software” shutter button, but instead to use the physical volume buttons that act as your shutter, eliminating camera shake and giving you sharper images. I am often surprised by the number of people who are unaware of this feature. The added bonus is that if you use your headphones that came with the phone, you can also use the buttons on that as a cable release and not have to touch the camera at all.
One more thing: hold down the shutter button and you get 10 fps burst mode so you don’t miss the action.
2. Keep your lens clean
A simple but important point: As we tend to keep our phones in our pockets or bags, give your lens a quick wipe before you shoot. It is a lint and dust magnet!
3. Download a better camera app
It’s true that the most built-in camera apps have improved over time, and they’re great for your average user, but us photographers who require a little more control over the settings should turn to others.
There are numerous third-party apps that you can download to give you all the control you would want. I personally use Camera+.
Editor’s Note: As of this last update, you can also use the 500px iOS app to take and edit your pictures!

4. Post-process your images
The reality is that you’ll need to process your images to get the best possible final photos.
Lightroom is my first choice if I want to do this on my computer, as it enables me to tweak the image to match my creative vision. Fortunately, there are also some great apps available, too if you wanted to do everything on the one device.
I use the free app from Google called Snapseed, although the latest version of iOS has much better built-in options than previous versions.

5. Never, ever use the digital zoom
If you want the best-possible image from your phone, forget about using digital zoom. The solution is simple: just zoom with your feet. The added effect of doing this is that it really improves your compositional skills.
Tony Antoniou is a photographer and digital artist based in Surrey, UK. Together with his business partner, he runs f11 Workshops, a photography workshop and training company. Not only does he take some beautiful smartphone photos, many of the assets in his composite images are shot with an iPhone, too.
You can find more of his work on his 500px profile or by following him on Facebook.
Michael Kestin’s mobile photography tips

First off, it’s fun to take pictures with a mobile phone. The phone is always with us, always ready to shoot, and I have my studio to edit with me. Even better, I can share my pictures immediately.
It’s another kind of workflow, and a useful alternative to my big camera. Here are some tips:
1. Light
It’s all about light. Light surrounds us everywhere. See the light, get the shadows too.

2. Focus
What’s your theme? Try to select just one theme for each shoot, and let it guide you. Stop for one second and think about whether you want to capture the picture in front of you. Need to zoom? Move yourself!

3. Perspective
Get down on your knees, lay down on the ground, climb a tree: there are hundreds of possibilities for capturing another point of view of the same subject. Try as many of them as possible.

4. Reflections
Mirrors are everywhere: glasses, puddles, smooth and shining surfaces. Use these to your advantage and discover other, more-unique views.
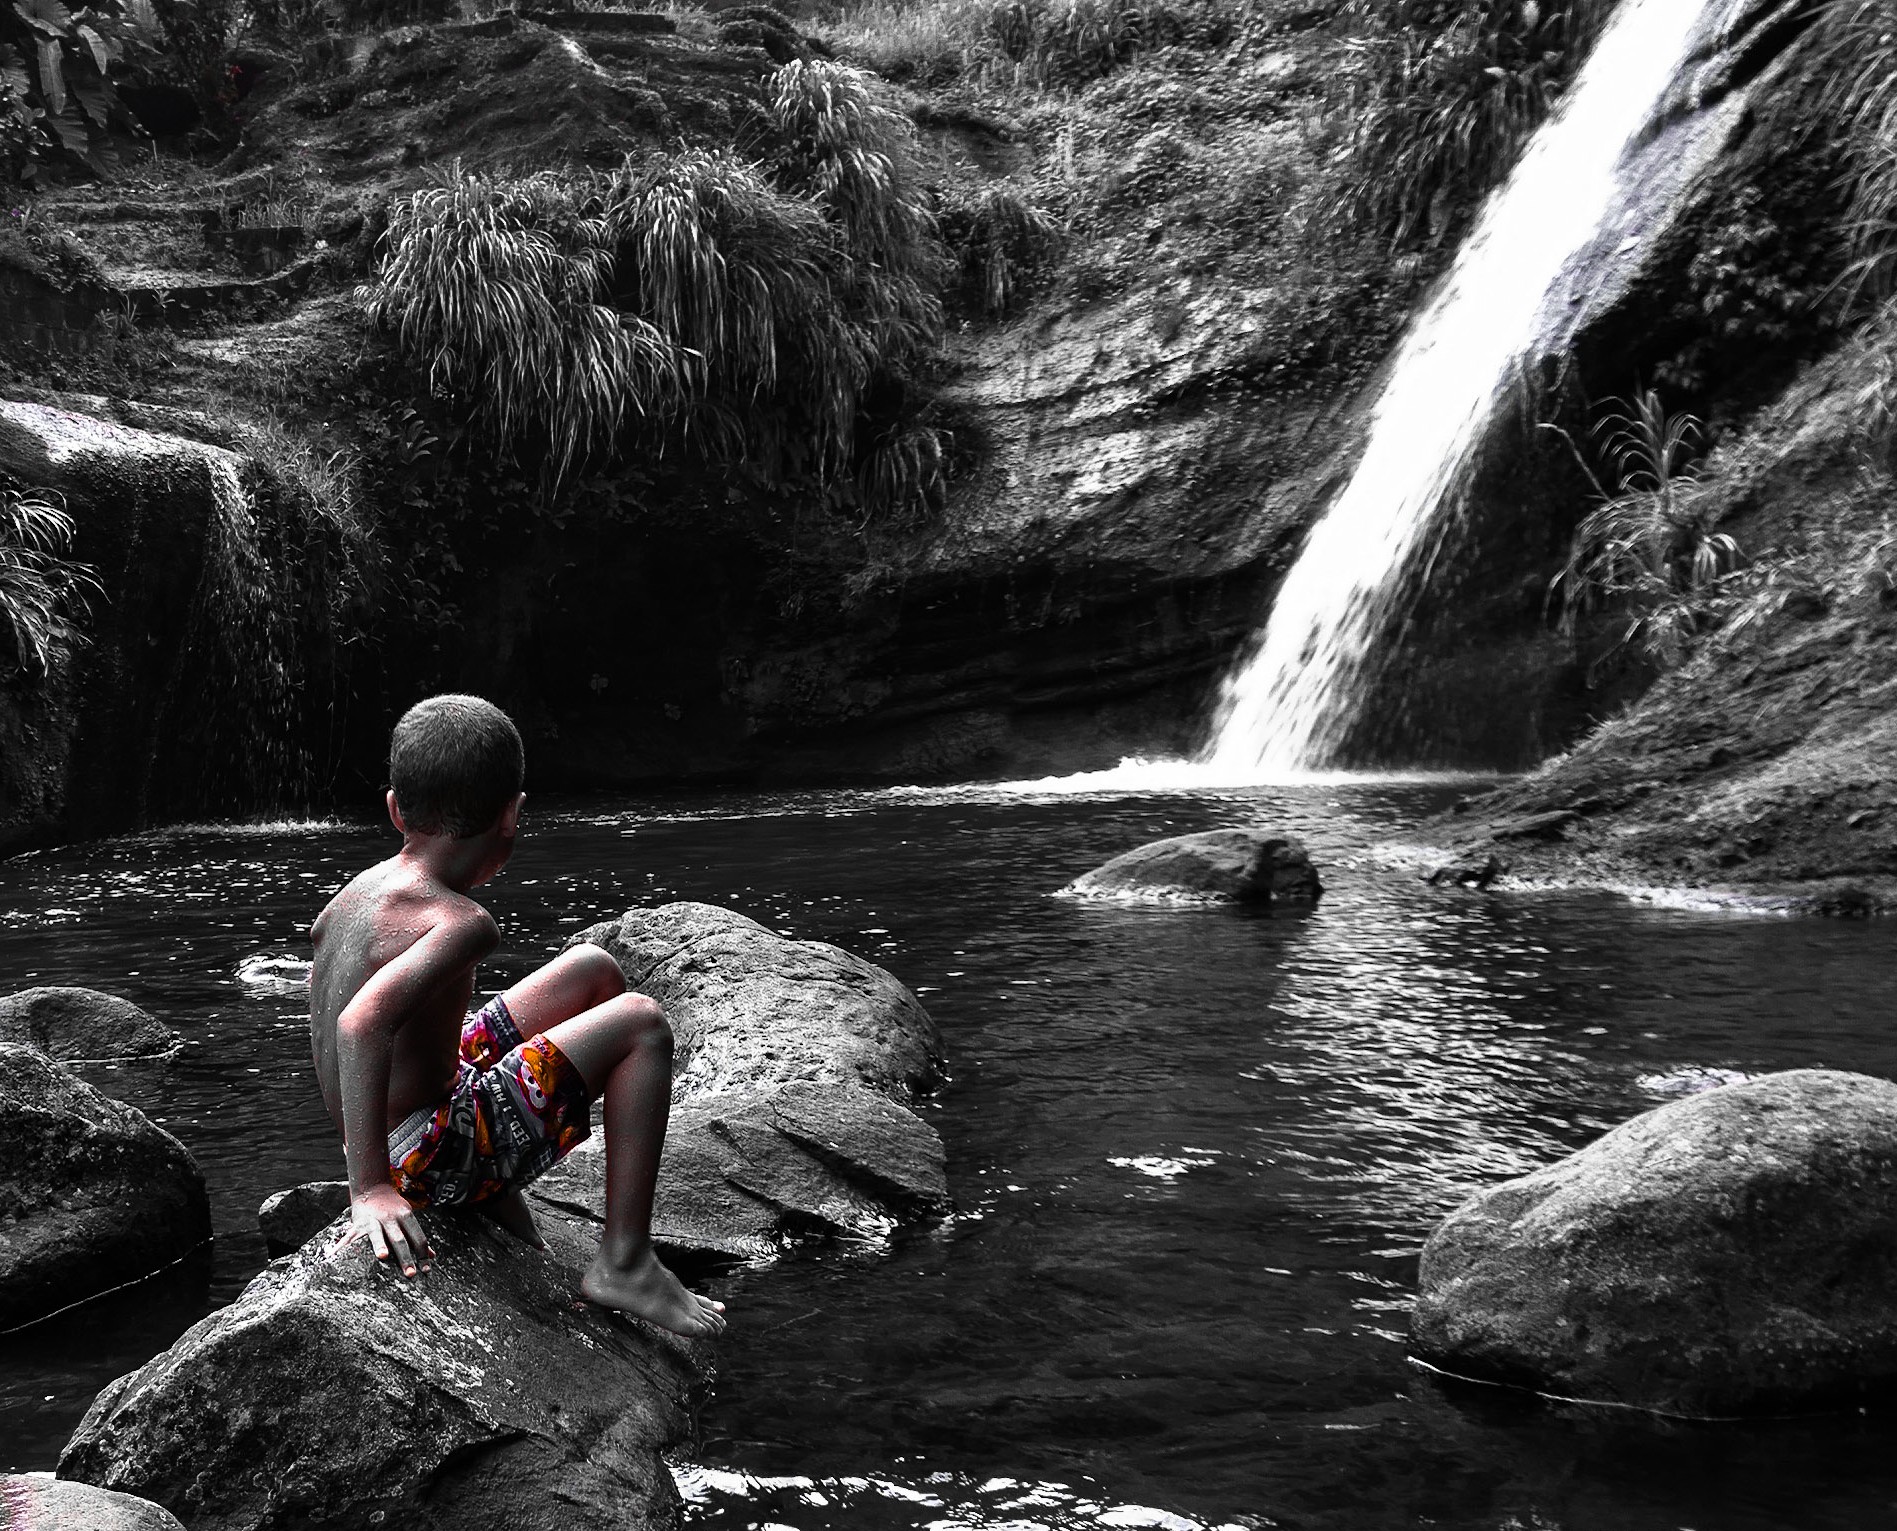
5. Black and white
Focus on forms, structure, textures, surfaces. Light shapes things, try to capture that!

6. Simplicity
Less really is more. Use empty spaces, the sky, uncolored surfaces, and focus on details.

7. Apps
Feel free to change moods and colors to add elements to your photos. Editing apps can help you to make your pictures much better, or at the very least, more interesting.

8. Moments
Always try to catch the best moment. Feel any moment worth capturing.
9. Shadows
Mother nature paints with light. When the sun is shining, shadows help create lots of interesting scenes for you to capture. Look around and you’ll see that even mundane scenes can be captured in a special way.

10. Storytelling
Take a few pictures and make collages. This is a simple way to use your photos to tell a story.

Apps I often use for editing my photos:
– Snapseed
– Pixlr
– Mextures
– Distressed FX
– Mattebox
Michael Kestin is a musician and interior designer who also works as a photographer and visual trainer giving workshops in visual thinking and mobile photography that focus on visual spaces.
You can find more of his work on his 500px account, Steller, his website, and Facebook
Leslie St. John’s mobile photography tips

1. Clean your lens
I know it sounds obvious, but your mobile spends its day with whatever is in your pocket or handbag. You will never take great pictures with pocket lint or greasy thumbprints on the lens…
This is a really easy issue to fix, but if you ignore it, it will limit you before you even start. Also, try not to keep your phone in your pocket or bag with things that might scratch the lens, like coins, keys, and the like.
2. Learn to read light
Lighting makes an image great, whether you take it with a Nikon D4 or a mobile phone. If you know what makes great light you are halfway to making great photographs.

3. Forget about flash
If you are out in a bar with friends, by all means, flash away—but as with point-and-shoot cameras, the light is going to be flat and prone to redeye. You get much better images if you can use the room light. (see point 2)
4. Take lots of pictures
As a professional photographer, I almost never take one picture. The final image that the client sees is almost always the result of an iterative process.
Take a shot, critique it, then take another shot. Change your angle, change your distance to the subject, change your exposure. Almost always, the end result is better than your first image.
5. Get a good phone for photography
I often joke that, with my Lumina 1020, I bought a great camera with a built-in phone. I wanted to get a camera for the times when I was out with my family or just out and about without my pro gear. I bought my phone with a specific eye on the camera. If you want to be serious about mobile photography, you need to have the tools for the job.

6. Learn to step out of auto mode
If you follow the advice in step 5, you probably have a phone that allows you to take some control of the exposure. One error that many novices make is to presume that the camera will always take the best picture.
The camera runs an algorithm that outputs a general result—it has no artistic judgement. The more control you take of the process, the more you will be able to express your artistic judgement, and the more likely you are to get outstanding pictures.
7. Shoot RAW (or at least DNG)
The ability to shoot DNG files is one of the main features that drew me to my Lumia, since then I’ve seen this ability show up on other ecosystems. DNG files will retain more highlight and shadow detail than a .jpeg, and also give you more leeway in extreme lighting situations. But the best thing about DNG files is that they give you better material to work with for my next two tips.
8. Learn to edit
Learn to edit your pictures. As a pro, all of my pictures are edited. The same applies to mobile photography phone pictures. And by edit, I do not mean slapping an Instagram filter on a picture. Learn about brightness, contrast, and saturation. I use Fotor, Adobe Photoshop Express, and Lumina Creative Studio on my phone.
9. Really learn to edit
This is where DNG files really shine. To get the best results, I import the DNG files into Lightroom and Photoshop to edit them there. The power of these programs and the control that comes from making fine adjustments on a really big screen are what will make the most of your image.
10. Have fun!
At its heart, mobile photography is about fun. The joy of having a camera available at those moments you want to keep is what it’s all about. The best way to improve is to have fun and to enjoy the process of doing better than what you had done before.
Leslie St. John is a Barbados-based wedding photographer who also shoots interiors, architecture, and the occasional commercial job to keep life interesting.
You can see more of his work or hear more from Leslie by visiting him on 500px, checking out his website and
Hopefully you’ve learned a thing or two from the skilled photographers featured above, and are more determined than ever to go out and shoot something great with your phone!
Not on 500px yet? Sign up here to discover more incredible mobile photography photos!
You Might Also Like These Articles:
- 20 Amazing Smartphone Shots: Sony Honors The Best Mobile Photos In The World
- Incredible Macro Photos Taken With A smartphone & DIY Lens
- Are These the Craziest Photos Ever Taken With A smartphone?
- This Photo Was Shot With A 5MP Smartphone…


Leave a reply