
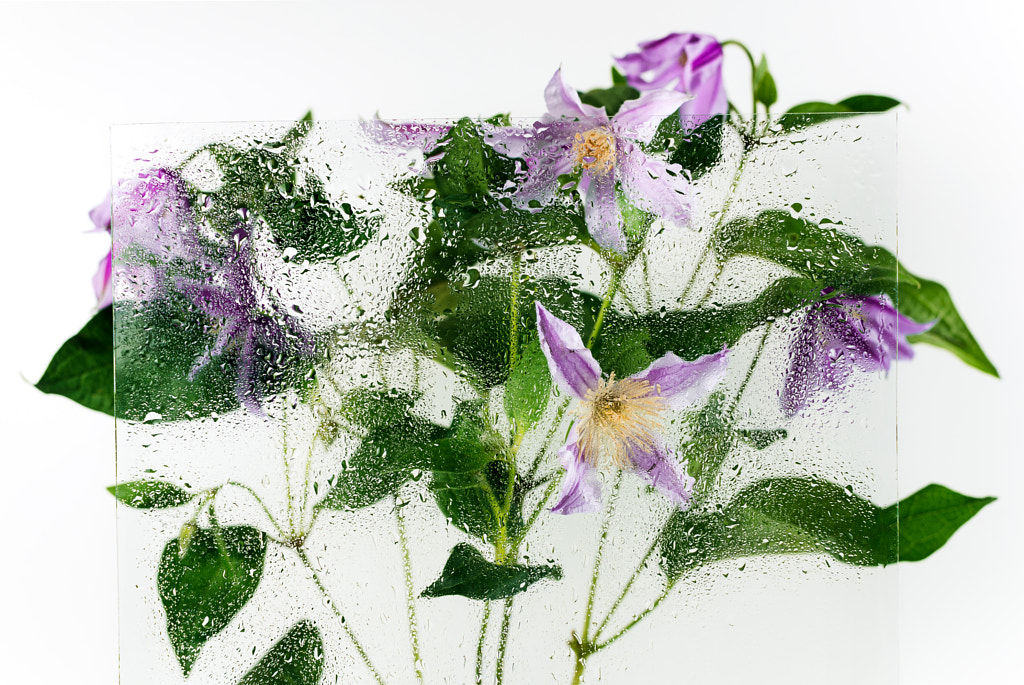
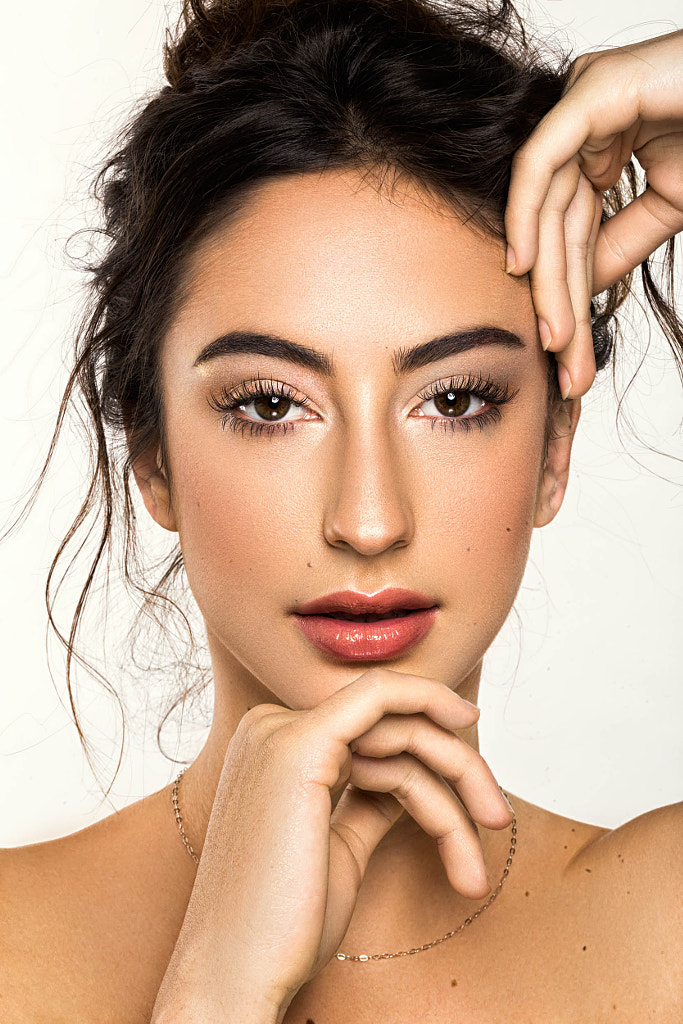
Plain white backgrounds are everywhere these days—on lifestyle blogs, magazine covers, fashion editorial spreads, subway ads, and almost every product shoot on leading marketplaces like Amazon or Google Shopping. Some trace the ubiquitous trend back to Apple’s minimalist advertising, but regardless of where this aesthetic originated, one thing is clear: it’s here to stay.

Bright, high-key images will always be in demand, so the ability to light, shoot, and edit a white background is one of the most marketable and multipurpose tools you can develop as a photographer. Still, as anyone who’s tried to shoot a white background can tell you, it’s not as easy as it looks. Without the right technique, you can end up with off-white, gray backgrounds, or worse—fuzzy, overexposed subjects.
Here are our top tips for using a white background to create clean commercial photos and headshots. From lighting to metering to post-processing and everything in between, we have you covered. Use this guide as a point of departure, and feel free to experiment on set and behind the computer. The more white backgrounds you shoot, the easier this technique will become.

Know when to use it
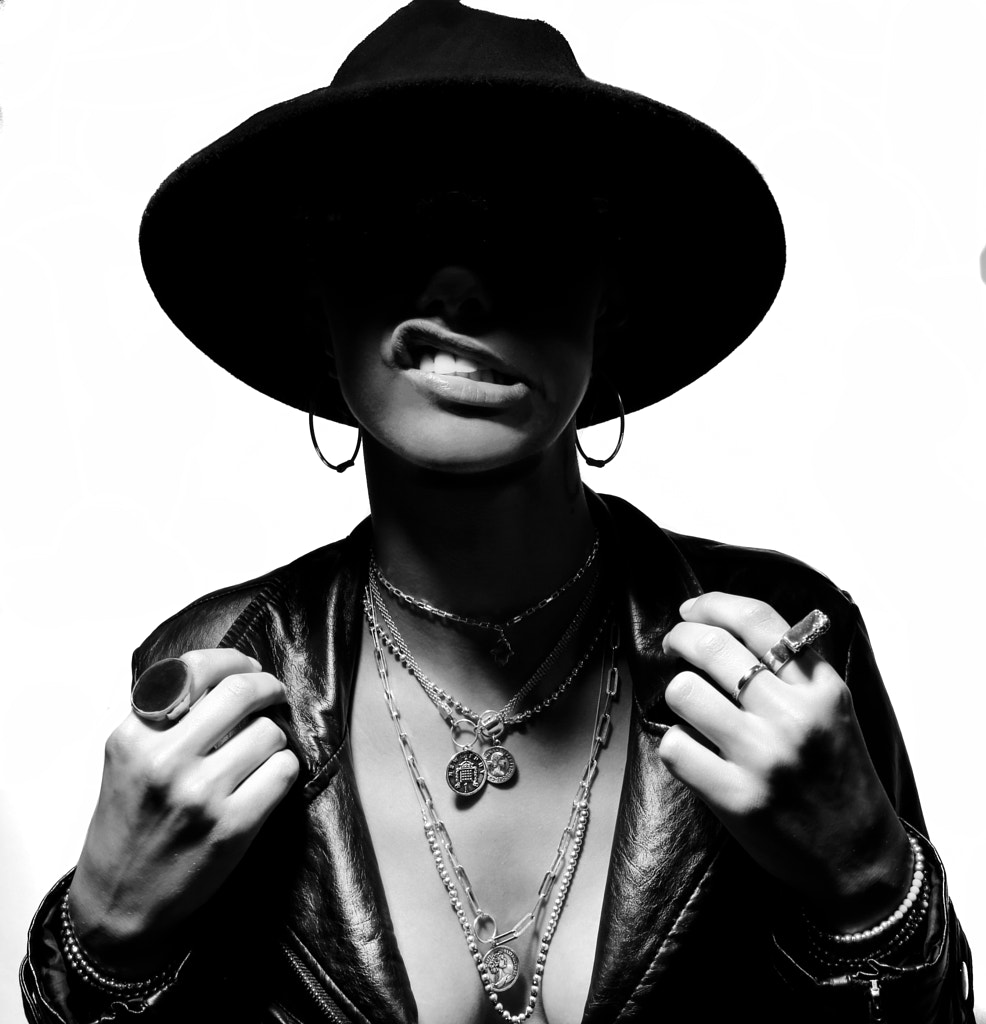
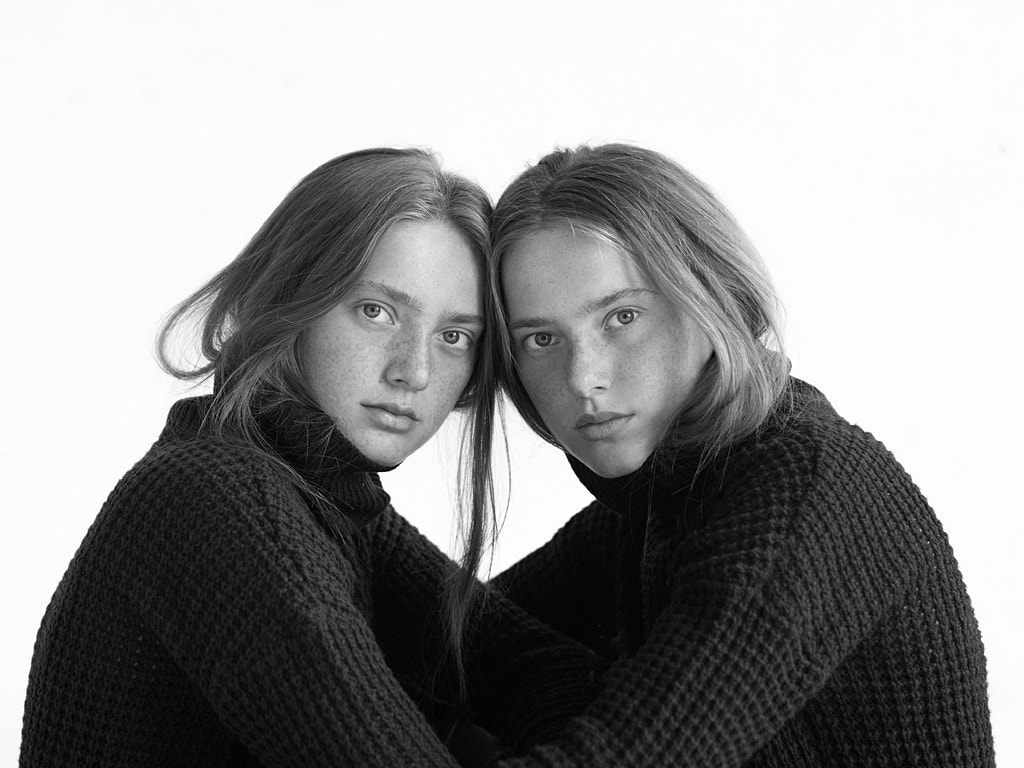
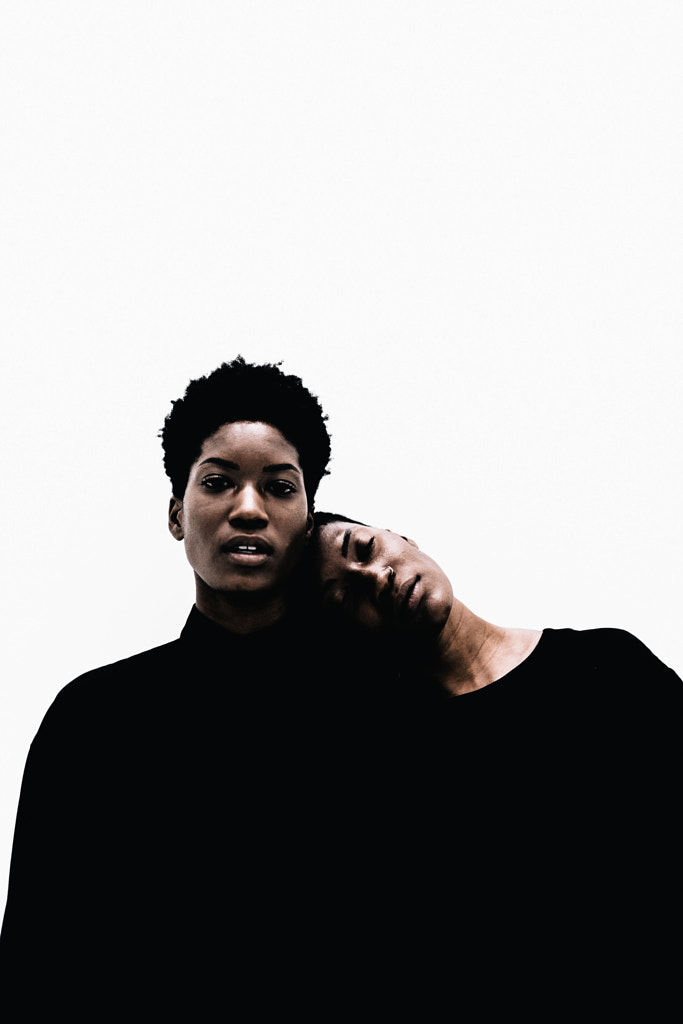
White backgrounds are great for the kinds of high-key photos you see in catalogs and advertisements, but it’s important to get the mood right. For these kinds of images, the atmosphere is usually light and positive, as opposed to moodier, low-key images, so keep that in mind while planning your shoot and coordinating with your model or drawing up your mood board.
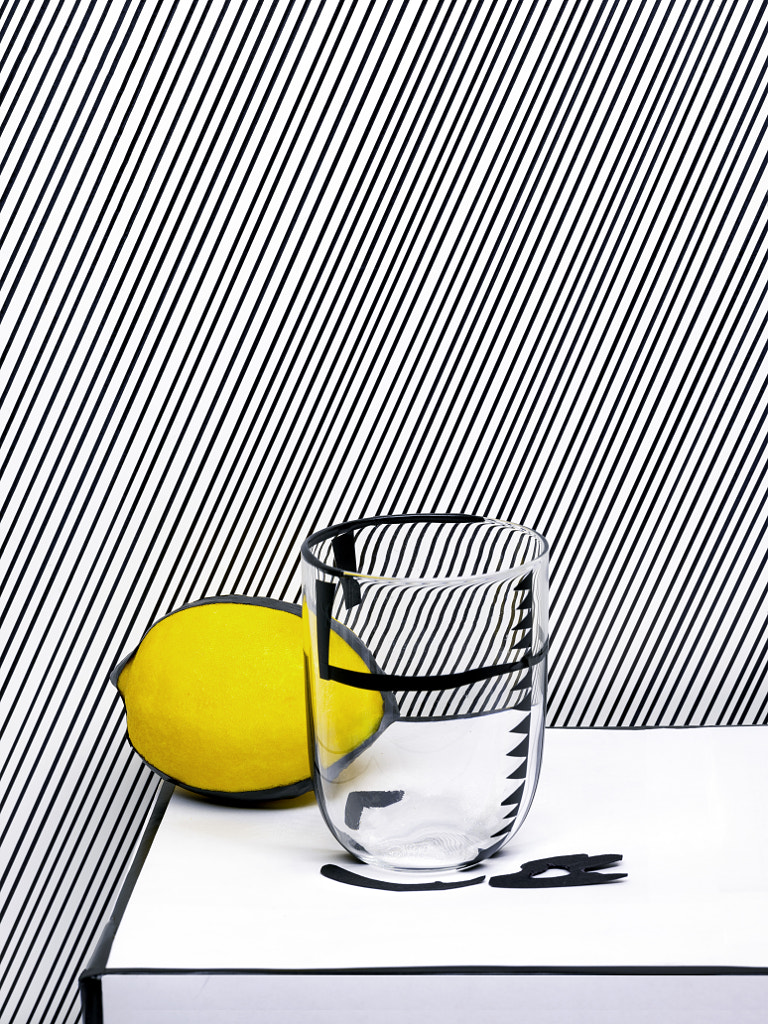
A white background is also great for isolating your subject, even if it’s not a high-key shoot. In that case, make sure you select a subject that’s strong enough to stand on its own, and pay attention to your composition. Challenge yourself to create visual interest using just a few elements.
Find the right materials
White backgrounds exist in all kinds of materials, from plastics to fabric, but the most important consideration for a pure white backdrop is avoiding wrinkles. Stretch fabrics work well, as does seamless paper or vinyl. Paper is much easier than cloth because fabric tends to crease. If you’re shooting products rather than people, a small lightbox works wonders. Whatever you use, keep it clean.
Light that background
If you’ve ever tried to shoot a model against a white backdrop without lighting the background separately, you’ve probably noticed that you get a muddy gray background. Blame it on the inverse square law: light falls off more quickly than you might expect when you’re close to the source (say, in the studio).
For that reason, you’ll want to bring in a second light in addition to your key light to illuminate your white background. You might have to use more than one to light the background evenly, depending on its size. Using two lights or more, rather than just one on your subject, will not only get rid of those muddy gray tones but also reduce hotspots and shadows.
Use a handheld light meter
When you light your background and your subject, remember to meter both lights separately, preferably with a handheld meter. You can do this easily by setting your preferred shutter speed and ISO and letting it recommend an aperture value. To start, aim to have your background around one stop brighter than the subject (check out our article on aperture for more info on f-stops) and adjust as needed based on your preference.
Some photographers like to keep the two exposures as close as possible, and others like to make the background much brighter than the subject. It’s up to you, but you should be able to tell what works as you’re shooting. If your background light is not bright enough, the background will be gray. If it’s too bright, you could end up with a low contrast, washed-out photo.

Maintain some space
An understanding of the inverse square law might encourage you to move your subject back, away from the light and closer to the background. This approach will indeed lighten your background, but unless you’re standing directly in front of a huge light source, this approach will likely result in shadows on your background as well.
To avoid this, keep your subject around ten feet from the background to start. You want enough distance to be able to light both separately without overexposing. If you’re in a tight space, flags can help; strategically position them to block the background light from hitting your subject. You want to control your light as much as possible, not only in terms of power but also direction.

Turn on your highlight warnings
Highlight warnings—sometimes called “blinkies” or “zebras”—are your camera’s way of letting you know if an area in your photo is overexposed. Normally, you’ll want to avoid them, but with a white background, you’re intentionally blowing out those highlights. For a simple visual indicator of whether or not your background is “pure white,” turn them on.
Watch the floor
If you’re creating full-body portraits, you’ll likely have to roll your seamless (or vinyl) out onto the floor. The problem with that is that the section on the floor might appear darker in-camera than the portion directly behind the subject.
An easy fix? Use some clear Plexiglas, tile board, or another lightly reflective material to reflect the light and brighten up the floor. Another benefit is that you’ll get a reflection from your subject, avoiding that “floating,” “copy-paste” look that some white portraits can have.
Finesse with the adjustment brush
With a white background, it’s always best to get it right in-camera to save time and hassle, but it’s rare that you’ll get it perfect without any tweaking in post. The adjustment brush in Lightroom is easy to use; simply enable your automask, move your ‘whites’ slider to the right, and paint the area that isn’t totally white.

Watch those edges
With a white background, it’s not uncommon to get light fall-off towards the edges, and that’s fixable as long as the area immediately surrounding your subject is white. If you have those gray corners, feel free to paint over them with the brush tool—it’s that simple.

Bring out the dodge tool
In our article about creating a black background, we mentioned the importance of using the burn tool in Photoshop, so it makes sense that to create a white background, you’ll need to do the opposite and use the dodge tool. Set your range to highlights instead of shadows and cover any spots that look gray or off-white. Keep the opacity on the lower side for subtle edits.
Perfect your composition
Another benefit of using a plain white background is that you can change your composition during the editing process. If, for example, you’ve shot vertically, you can simply add white around your subject to make it horizontal. You can also add in a reflection during this stage to avoid that “floating subject” look, if you don’t already have one.
This is just one of the reasons white backgrounds are so versatile; depending on the client, you can edit the same photo into different orientations and compositions, making it perfect for a variety of platforms, from mobile to print.

Play with transparency
White backgrounds are also convenient because they’re easy to remove. To make your white background transparent, bring out the magic eraser or background eraser tools in Photoshop. Keep your tolerance relatively low to avoid erasing bits of your subject.
If you’ve made your background pure white, and if you don’t have any pure white in your subject, these tools should work in seconds. When you’re done, save it as a PNG. Now, you can create a composite and add any background or color you want.
Often, a white background doesn’t mark the end of the creative process but a new beginning, so keep that in mind. This method is about creating images that can stand on their own and be customized and adapted later on. Working with a white background can sometimes feel technical and rigorous, but if you nail it, there’s nothing else like it.

Not on 500px yet? Sign up here to explore more impactful photography.


Leave a reply