According to market research, the number of people taking photographs around the world increased by 800% between 2005 and 2015, due in large part to the prevalence of smartphones. Today, smartphones are more powerful, mirrorless technology is better, and editing tools are smarter, making photography more accessible than ever before.
These days, it doesn’t necessarily cost thousands of dollars to start a photography practice; it just takes passion, perseverance, and a willingness to learn. Plus, with photography consistently ranking among the top hobbies among millennials and Gen Zers, the number of educational articles, podcasts, and online courses continues to grow, making information readily available at our fingertips.
Here are our top tips for taking your pictures to the next level, no matter where you are in your photography journey.
Create an inspiration board
Great photographers consume tons of images, so start a collection of images you admire. You can pull from 500px, use magazine clippings, pursue classic photo books, browse museum archives—the more, the merrier.
Once you have a solid collection, start asking yourself if you notice any patterns. For instance, do you prefer shots with motion blur or a shallow depth of field? Do you prefer soft, natural lighting or bold, artificial alternatives? Before you even pick up the camera, you should have an idea of your taste and creative aspirations.
Say “goodbye” to auto
You don’t have to jump straight into manual mode, but getting off of automatic mode is the first step towards having more creative control over your images. Even a semi-automatic mode like Aperture or Shutter Priority can do wonders, so study up on the exposure triangle (aperture, shutter speed, and ISO), and start practicing your manual adjustments.
It might be harder at first to get that perfect exposure, but making mistakes—and learning why they happened and how you can correct them—is an invaluable part of the process. If you end up with motion blur, for instance, you’ll know you need a faster shutter speed; if there’s too much noise, you’ll have to decrease your ISO.
Note: It’s also a good idea to try bracketing; that is, take a few photos, exposed slightly differently, to ensure you get at least one proper exposure.
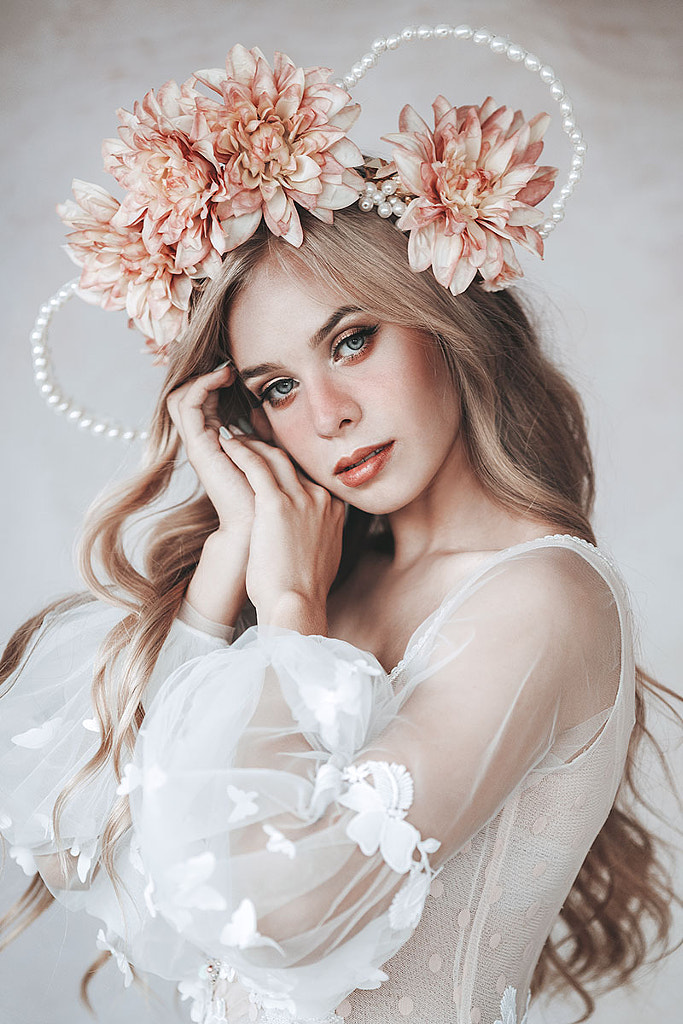
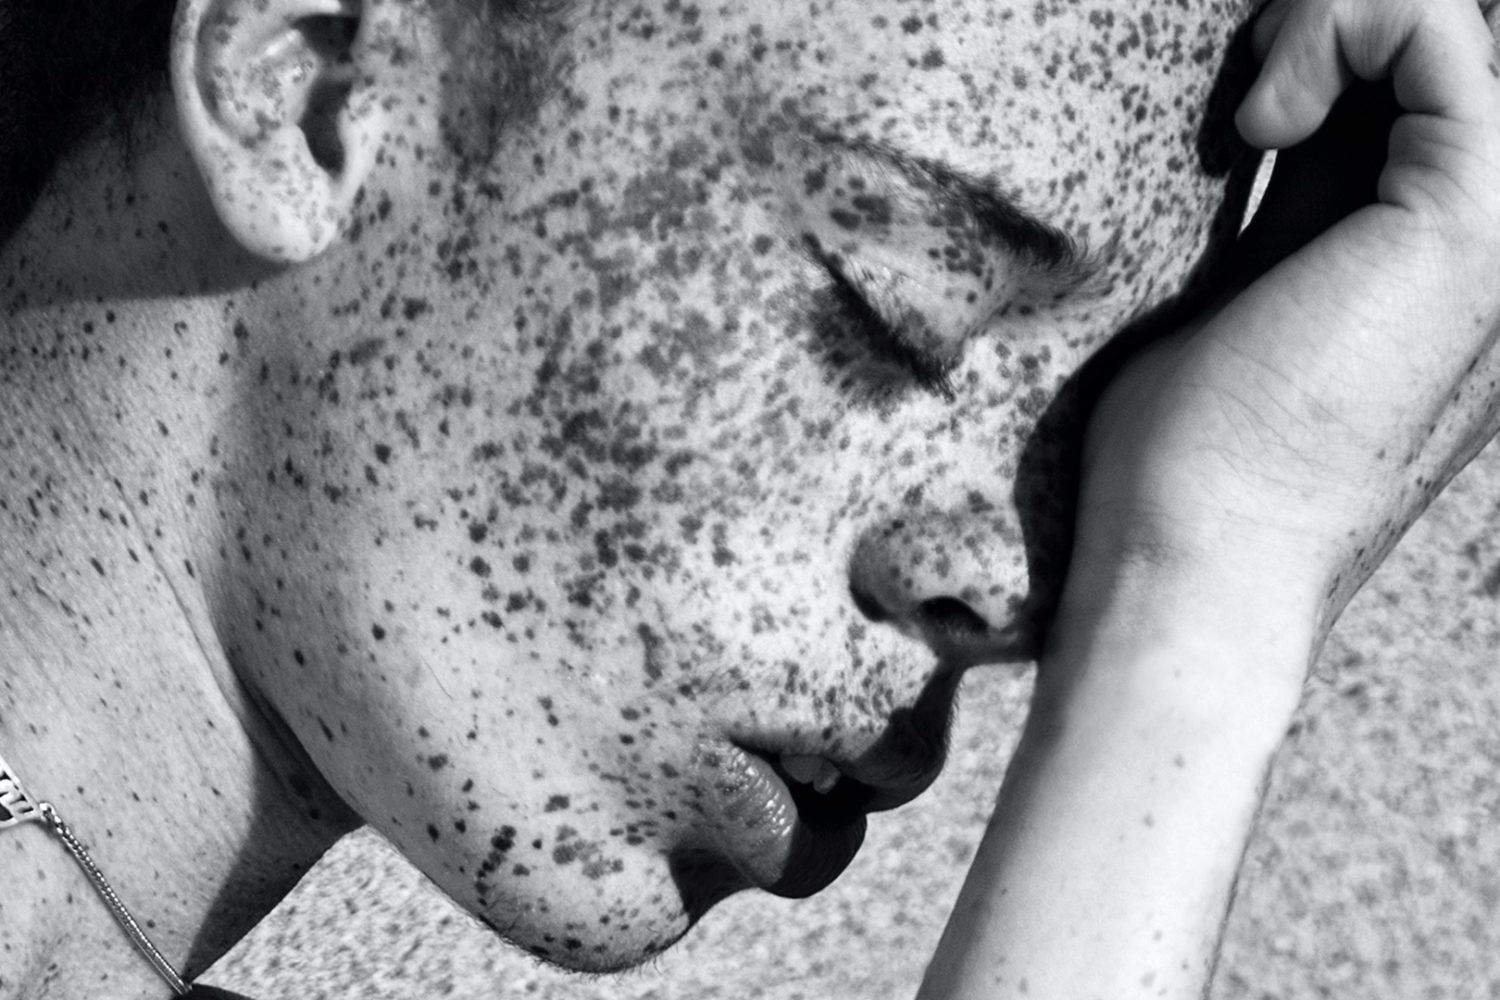
Don’t forget your white balance and color temperature either; your camera won’t always get it right without your help. This step is especially important when you’re working with portraits and skin tones. When in doubt, bring a gray card on set just in case.
Try a few lenses
Your choice of lens, whether it’s a wide-angle or a telephoto, will significantly influence your composition, cropping, and overall vision of the scene in front of you. Your kit lens will only take you so far. A 35mm or “nifty fifty” lens is always a good choice to start, and if you can, invest in an interchangeable lens camera so you can experiment with a few options. The ability to switch between lenses depending on your subject and setting will give you more control over the artistic process.
Play with light modifiers
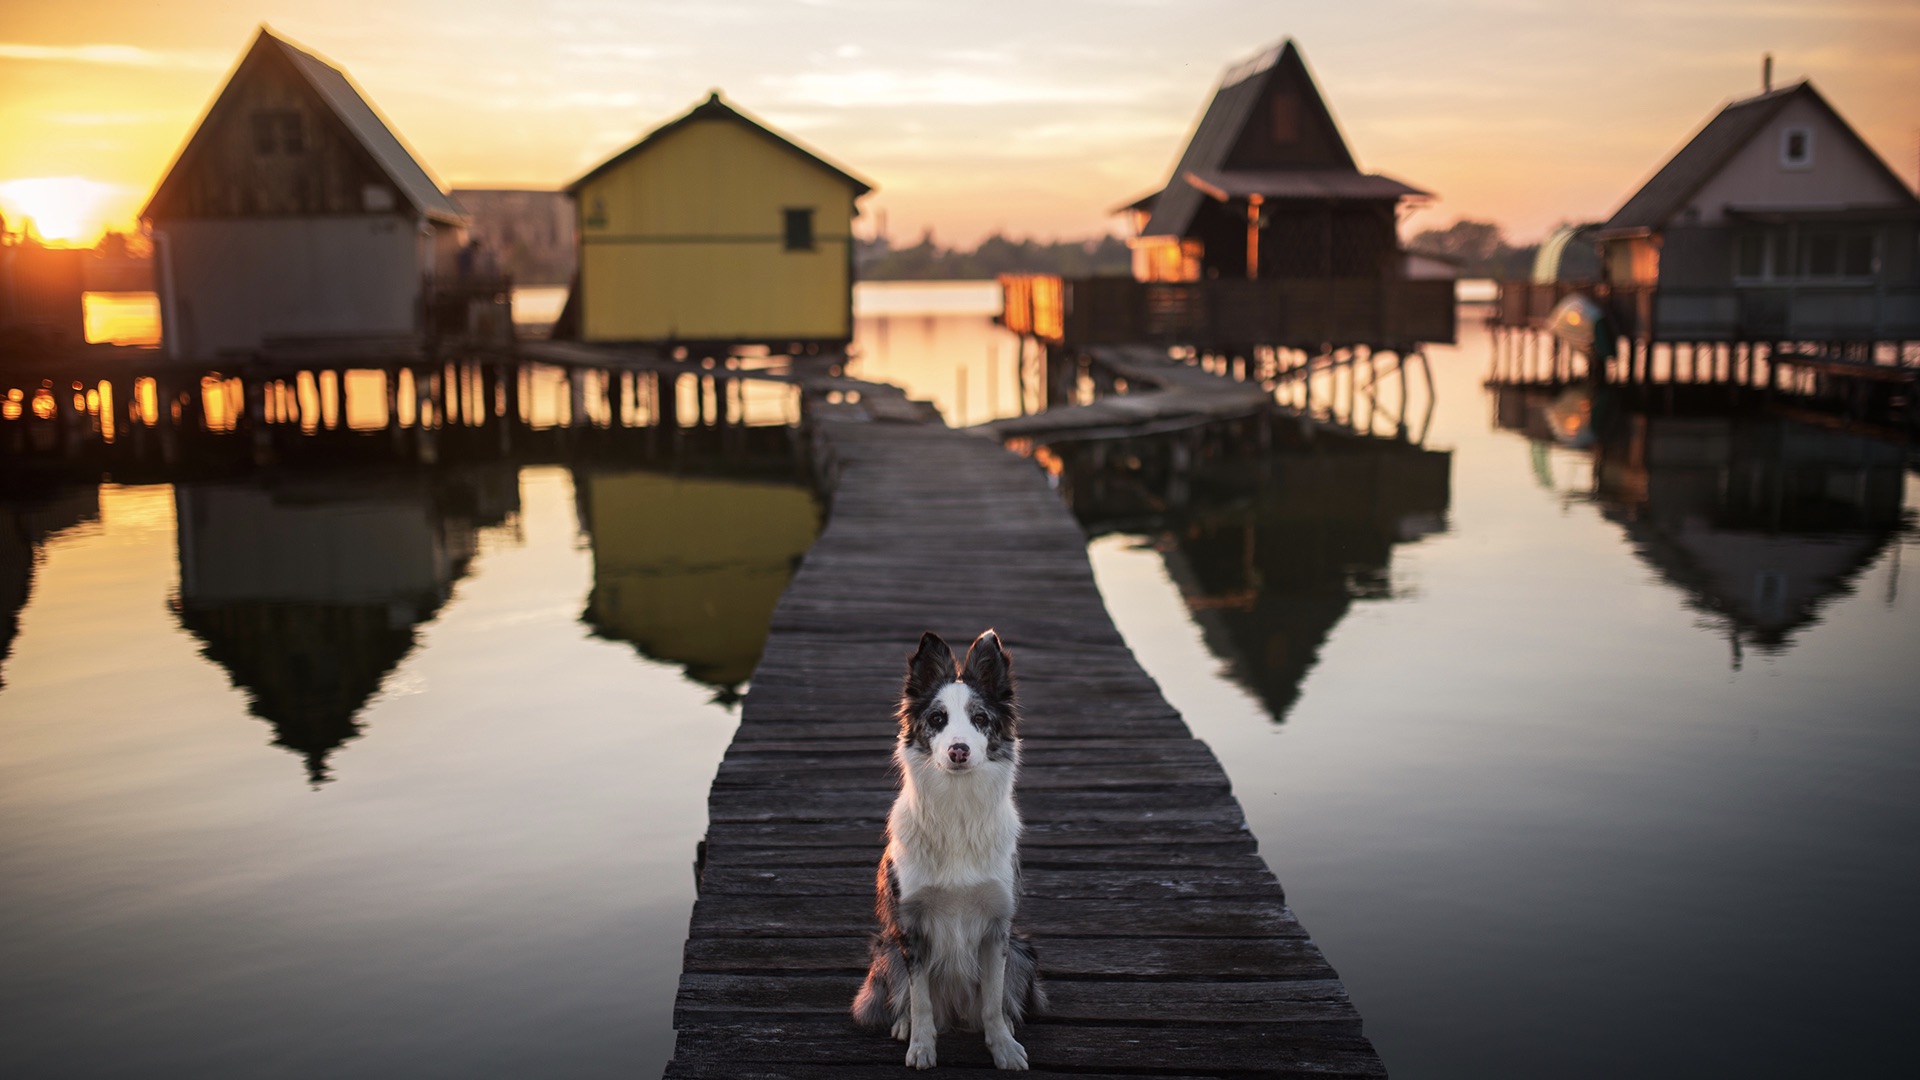
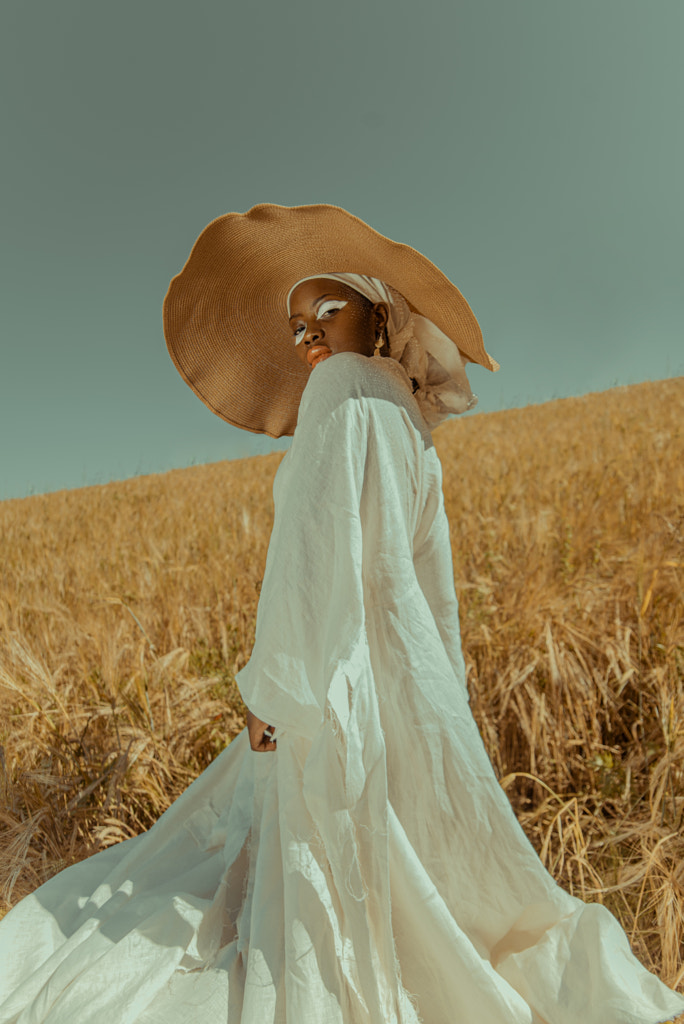
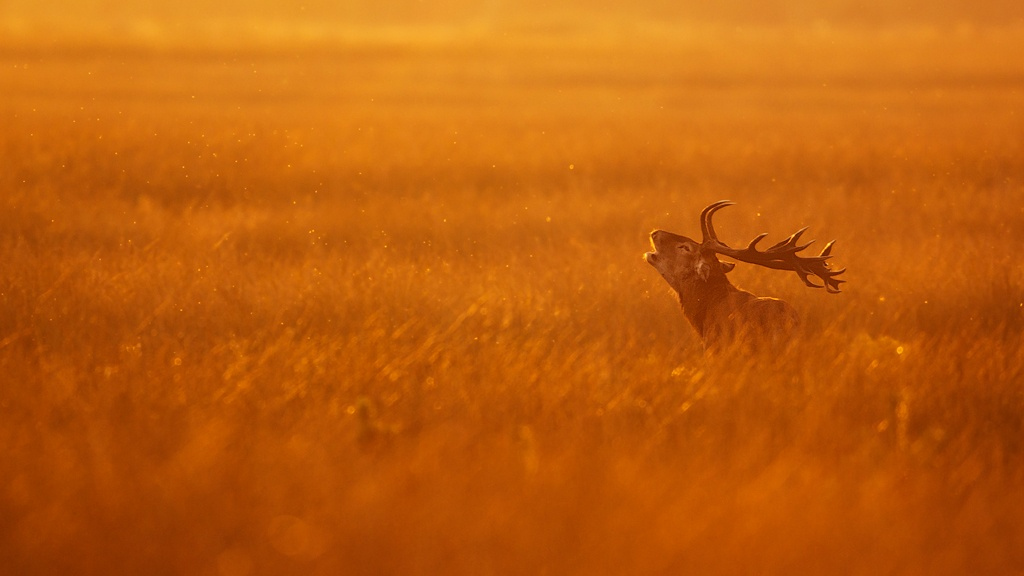
You’d be surprised how much you can do with natural light, given you have a reflector and a diffuser. Even homemade options like reflective surfaces and window curtains will work. Learn how to work with one light source (a window or door), and bounce or soften it as you see fit. The golden hour just after sunrise and before sunset provides soft, warm light that’s perfect for everything from portraits to still lives.
Invest in an external flash
Once you’re ready to introduce artificial light sources, you’ll want to get an external flash rather than relying on a built-in camera flash for one simple reason: you can move it around and bounce it off the wall and ceiling for softened shadows and a more natural feel. No one wants flat lighting or red eyes. For more control, you can also switch to manual mode to adjust the power of your flash.

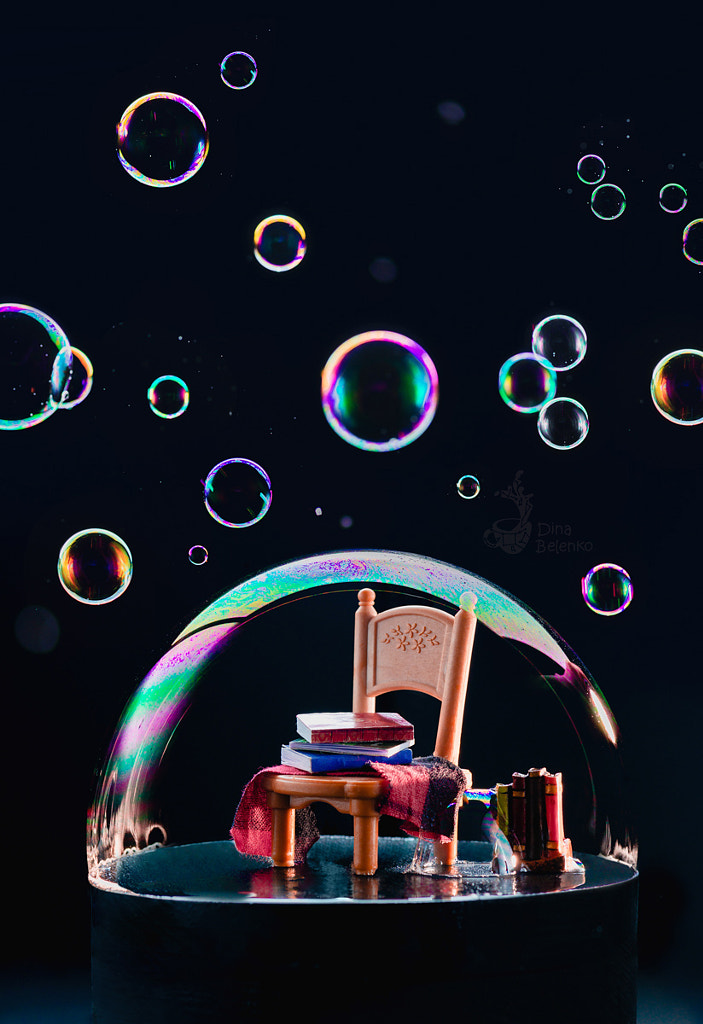
Declutter your background
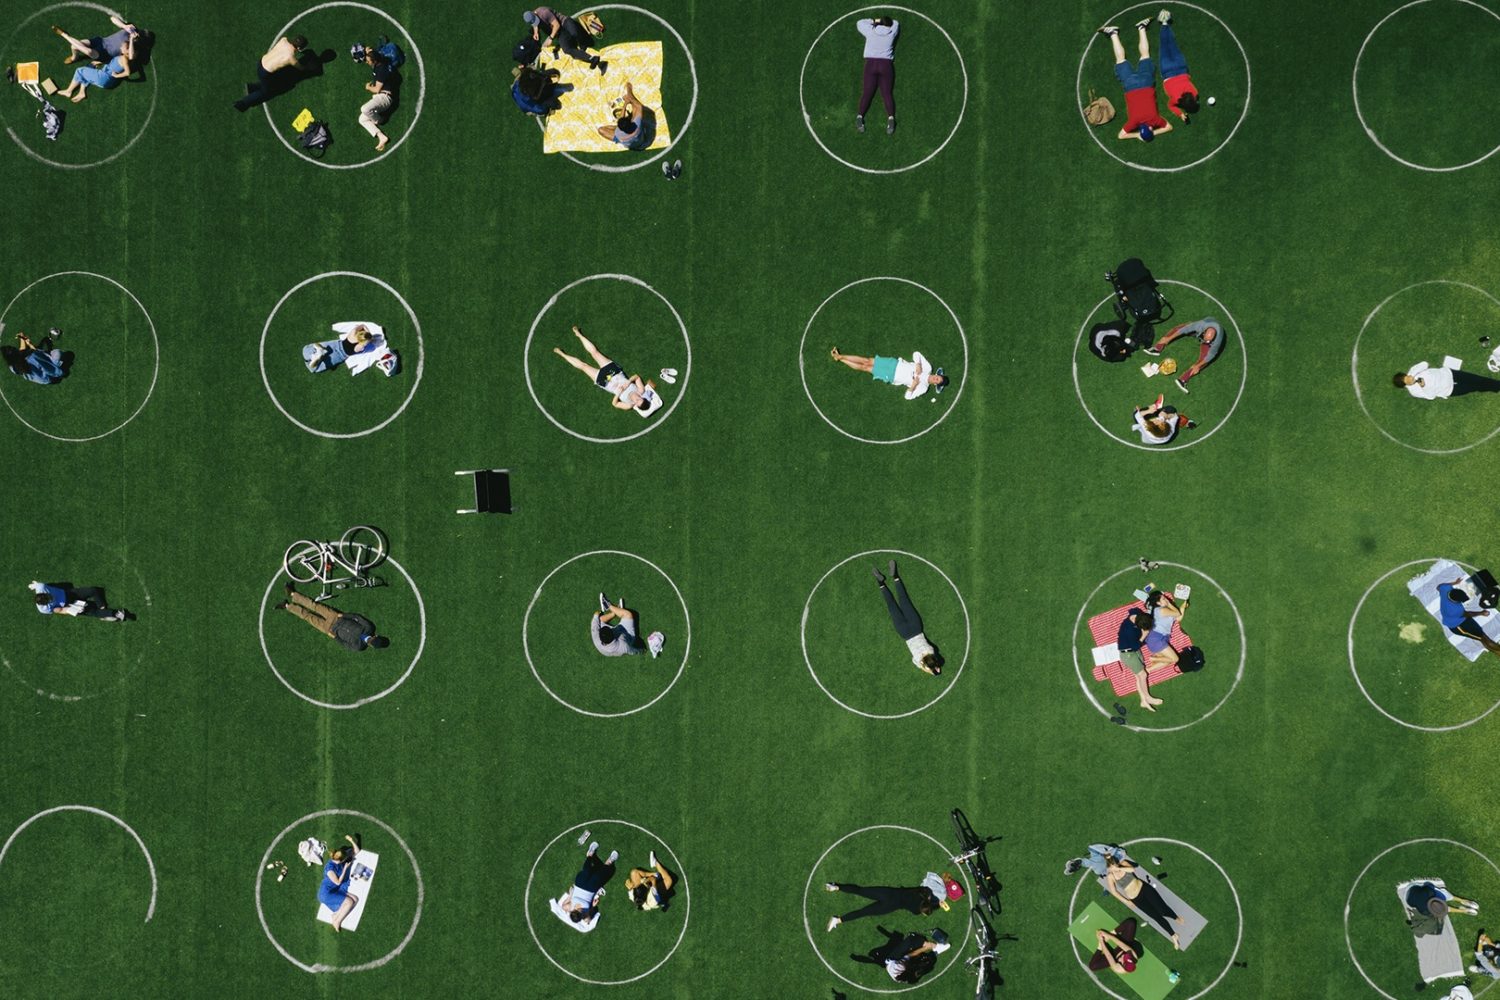
A simple, seamless paper background can go a long way towards making your photos look more professional, and you can find them at any major camera store. Even if you’re shooting on location, it’s still important to watch your background. You want to have enough negative space around your subject to create some “breathing room.”
For silhouettes, a bright sky works well, while opening up your aperture can create a nice blurred background for portraits. Walls and buildings can also do the trick. The key is to look out for any distracting elements, like a tree branch or a wire, and eliminate them from your composition by moving around. Watch your corners especially, as objects at the edges of your frame carry more visual weight than those close to the center.
Learn how to pose your models
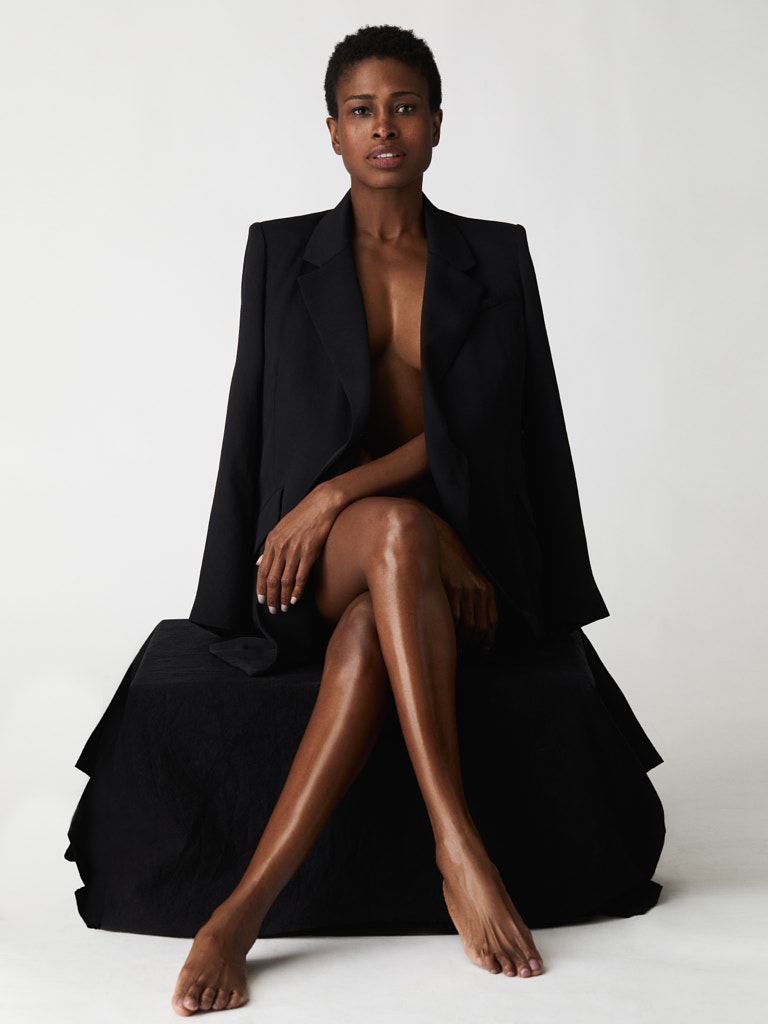
Stiff poses rarely look good, so get your models relaxed and moving. Authentic gestures and honest expressions are crucial here. Instead of telling someone to smile, tell a joke; instead of asking them to assume a difficult or rigid position, have them stretch, walk around, and try new things. For some easy ideas, check out our guide to posing friends.

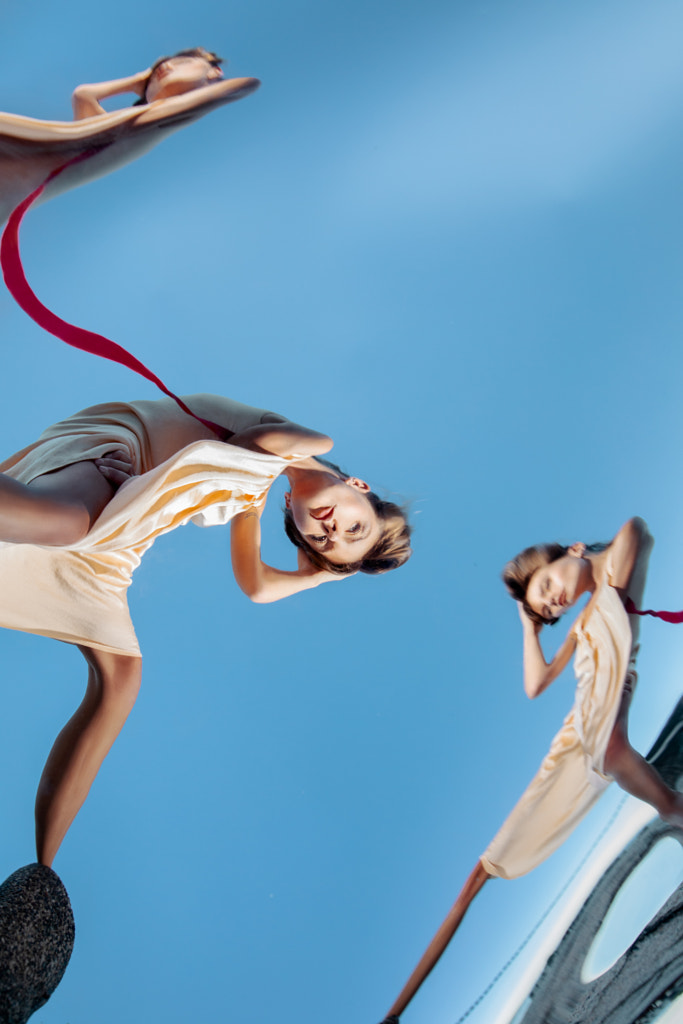
Bend your knees
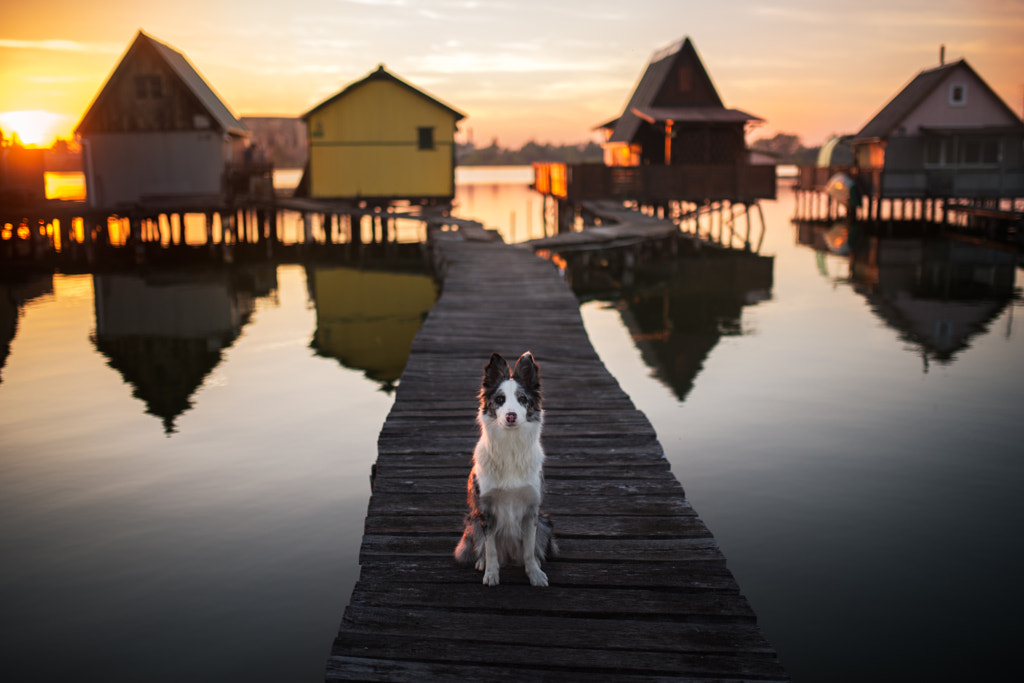
Beginning photographers sometimes make the mistake of shooting only from eye level, but it can help to change your perspective by going on your tiptoes or crouching down. With children and animals especially, you’ll want to get down to their eye level for compelling photos, so don’t be afraid to sit, kneel, or move around. You can also bring a step ladder for a higher vantage point. There are so many more compositions and perspectives to consider outside of the obvious and routine.
Play with grids (or don’t)
Using a rule of thirds grid or golden ratio overlay can help you compose your images better, but they remain a somewhat controversial technique because they can be limiting. There’s no harm in using them as a general guide, especially if you’re in the habit of placing your subjects smack dab in the center of your frame, but remember to keep an open mind and trust your gut as well. There’s no one “formula” for a great shot. The more you shoot, the better your instincts will become.
Use the color wheel
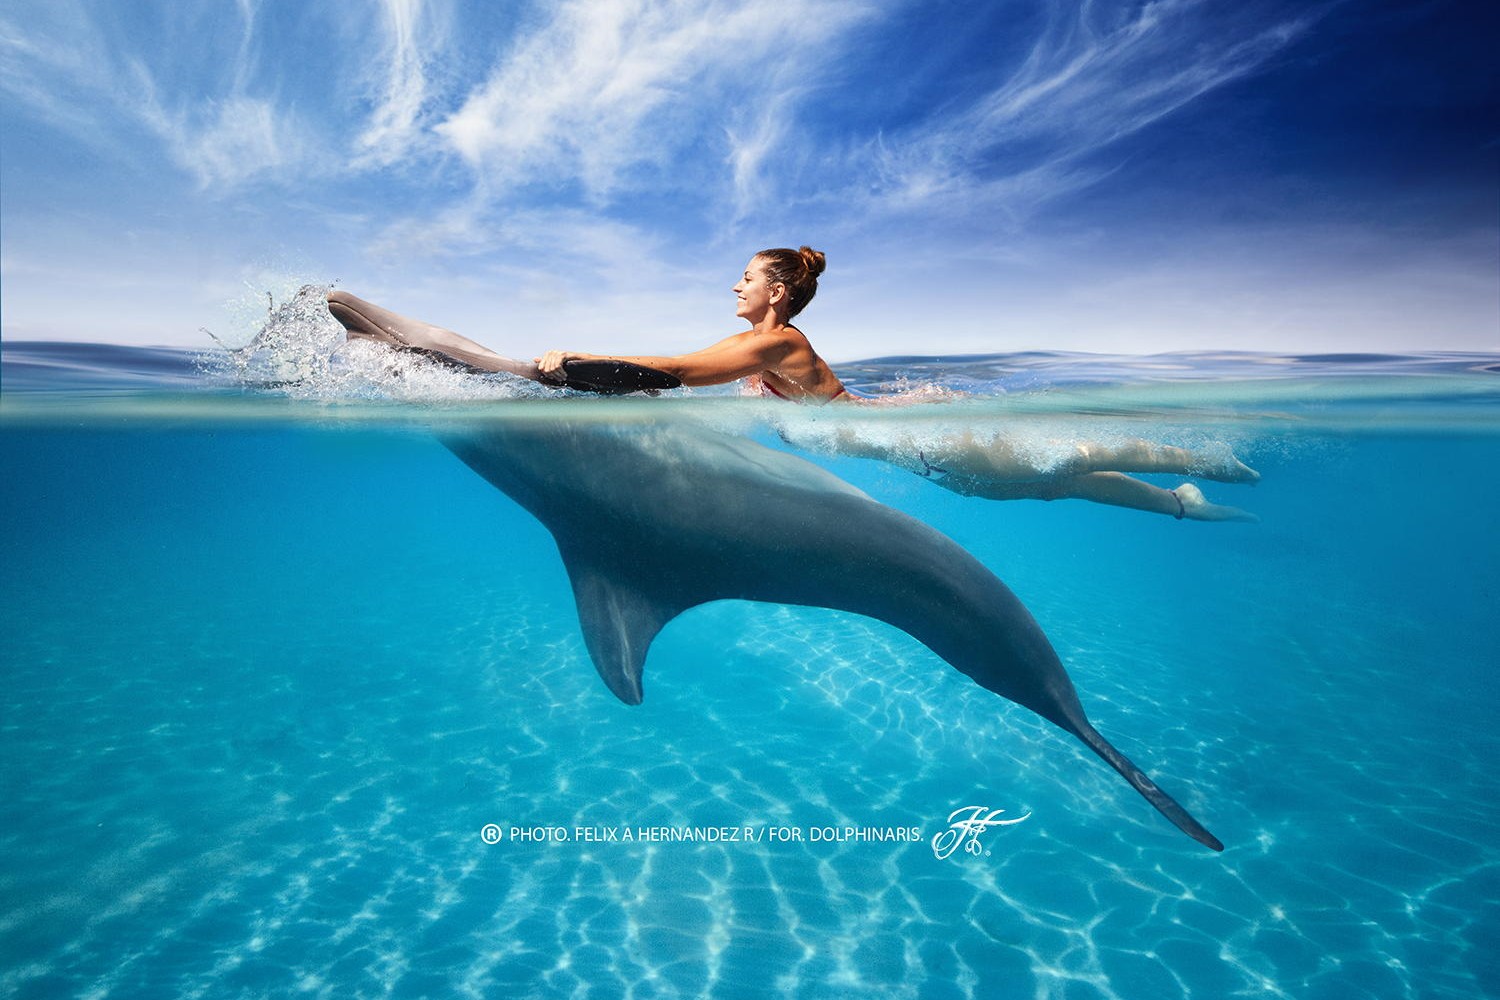
In the past, we’ve discussed the fundamentals of color theory and the use of complementary colors, so keep those principles in the back of your mind while planning a shoot. You can create bold contrast, for instance, by pairing orange and blue, or you can create harmony by using blues in conjunction with greens and blue-greens. Your color styling choices, whether you’re a food or portrait photographer, will determine the overall look and feel of your shoot.
Make your own presets
Lightroom presets make it easy and quick to edit and polish your images in post, and while you can find tons of great options online, your best bet is to make your own. That way, you’ll learn how the different sliders and adjustments work, deepening your understanding of the editing process overall. Once you start to create edits you love, save them as a personal preset pack that you can apply whenever you wish.
Note: Shoot in RAW, as opposed to JPEG, so you get as much info as possible—and more freedom to edit—from your original files.

View your photos at 100%
A simple but effective tip: examine your photo as large as possible on your computer to catch any noise issues, chromatic aberrations, or focus issues. Go in and fix the mistakes that are fixable, and learn from the ones that aren’t.
Use the gear you have
You’ve heard it before: more professional gear means more professional photos. Of course, megapixels, frame rates, and ISO performance do make a difference, but they’re not the most important factors. Before you upgrade, master what you already have, even if it’s an older model camera. Don’t let an absence of amazing gear keep you from practicing and honing your skill. You’ll know when you grow out of your camera when you hit a wall creatively.
Edit ruthlessly
In the days of film, you paid for every frame you took; more photos meant more film, and more film meant more money. But luckily, digital photography has enabled us to create a virtually unlimited number of images. The ability to shoot more often means we learn more quickly, but it also means that we end up with a lot of images that aren’t up to par. The trick here is being critical and objective about your own work; do an initial edit, leave them for a few days, and then keep only your best work.
We don’t mean you have to delete the images that aren’t good enough, as you might use them down the road, but do keep them in a separate folder. It can also help to ask a peer or colleague you trust to look at your work with fresh eyes. Pro photographers don’t nail it every time—in fact, they might end up with tons of photos they never use—but they do curate their work carefully to meet their exacting standards.
Print your photos
According to the Inaugural Photography Trends Study by Canon, 64% of consumers say that they are likely or somewhat likely to print their photos after taking them. Printing your photos will help to develop your eye, making it easier to spot mistakes and milestones alike. Plus, there’s nothing like holding a professional print—or hanging it up at home—to inspire you to continue taking pictures.
Not on 500px yet? Click here to learn about Licensing with 500px.

Leave a reply