Decades ago, as the story goes, two photography legends—Henri Cartier-Bresson and William Eggleston—were seated at the same table at a dinner party in Paris. In many ways, Cartier-Bresson represented the old school of photography, one that preferred the elegance of black and white to color. Eggleston, on the other hand, represented the new generation, who embraced vivid color.
As you might expect, the conversation that night eventually turned to the “black and white versus color” debate. Cartier-Bresson made it clear he wasn’t a fan of color, and Eggleston politely excused himself and left the table.
As the years passed, both photographers made an indelible mark on the history of photography—and, in many ways, their differences seem beside the point. After all, Cartier-Bresson’s work left a lasting impression on Eggleston and continued to influence him for a long time.
In hindsight, we know that there’s enough room for color, black and white, and every style in between—online, in galleries, and on magazine covers. For today’s photographers, the answer to the question “black and white or color?” has become “black and white and color.” Even if most initially learn to shoot in color, figuring out how to work with black and white is a rite of passage and essential skill, both from a technical and creative point of view.
Here are our top tips for getting started with black and white photography.
Tailor your approach
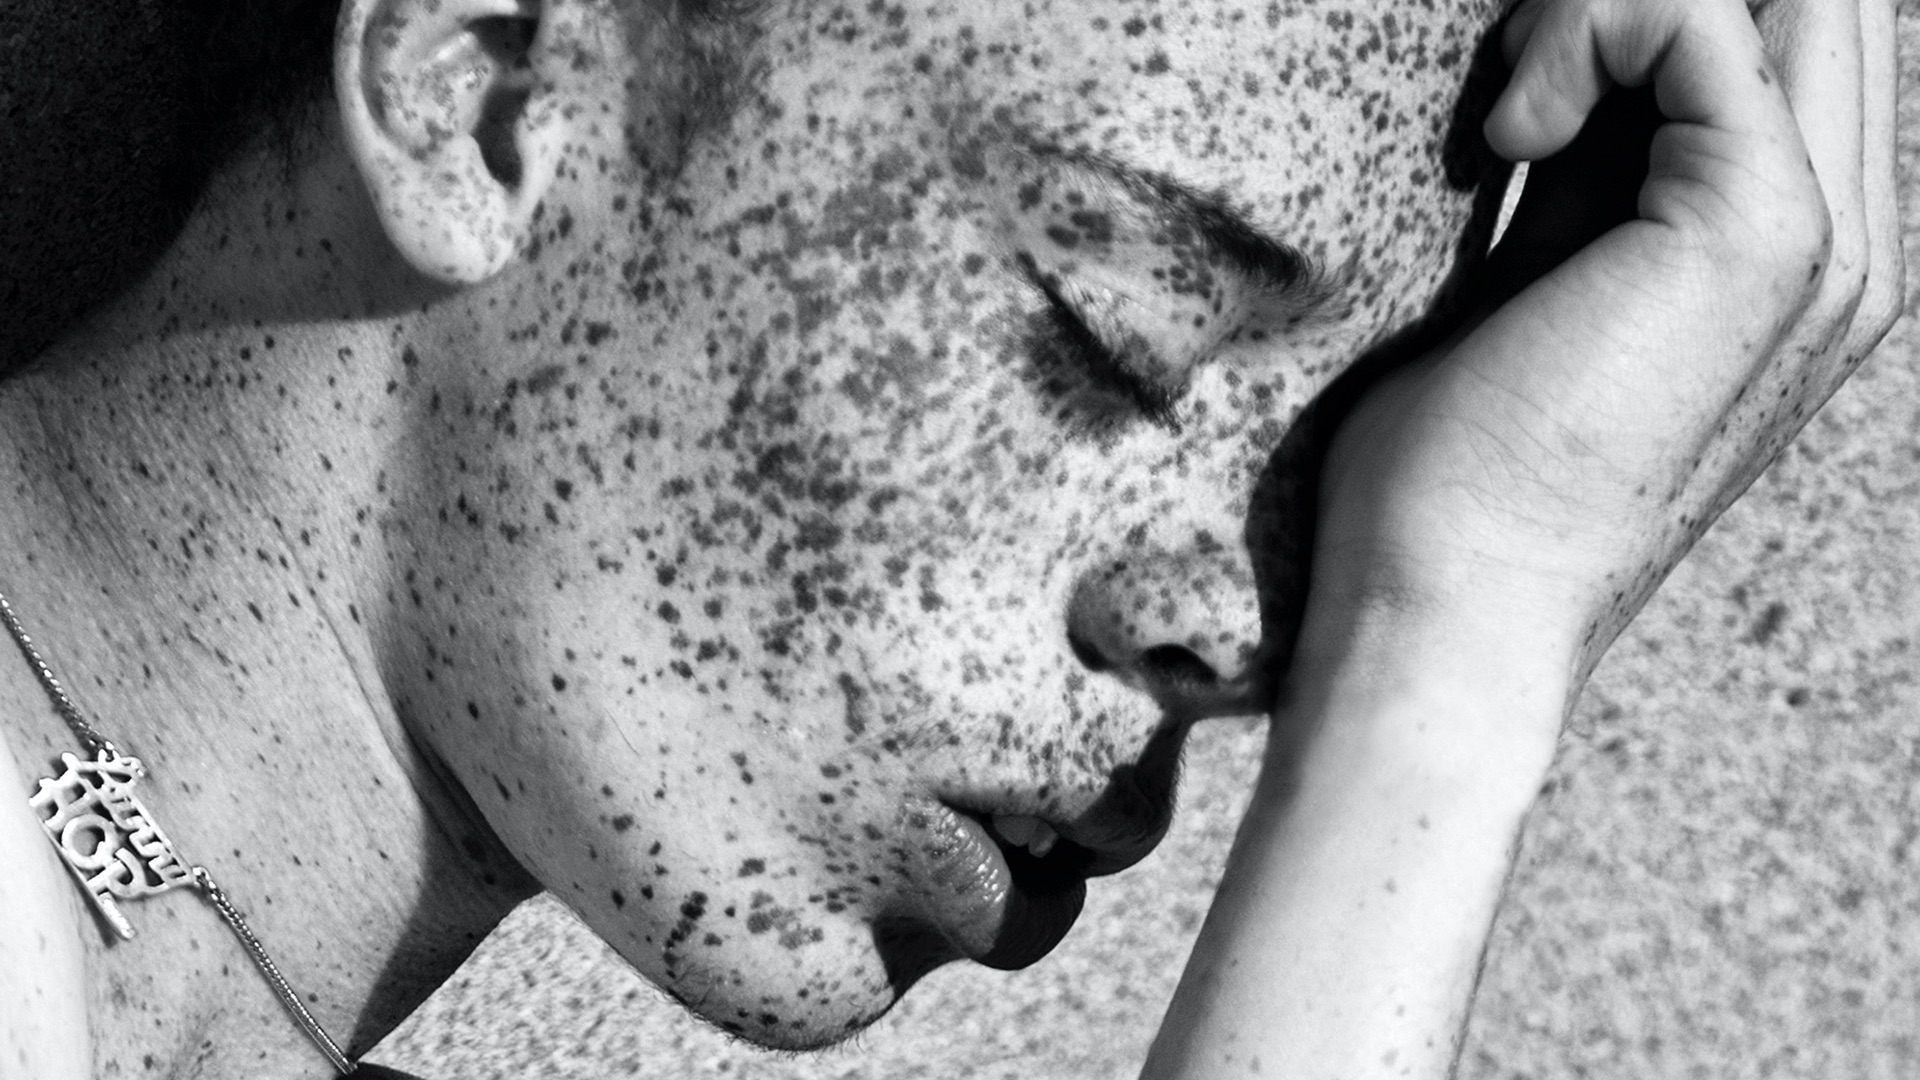
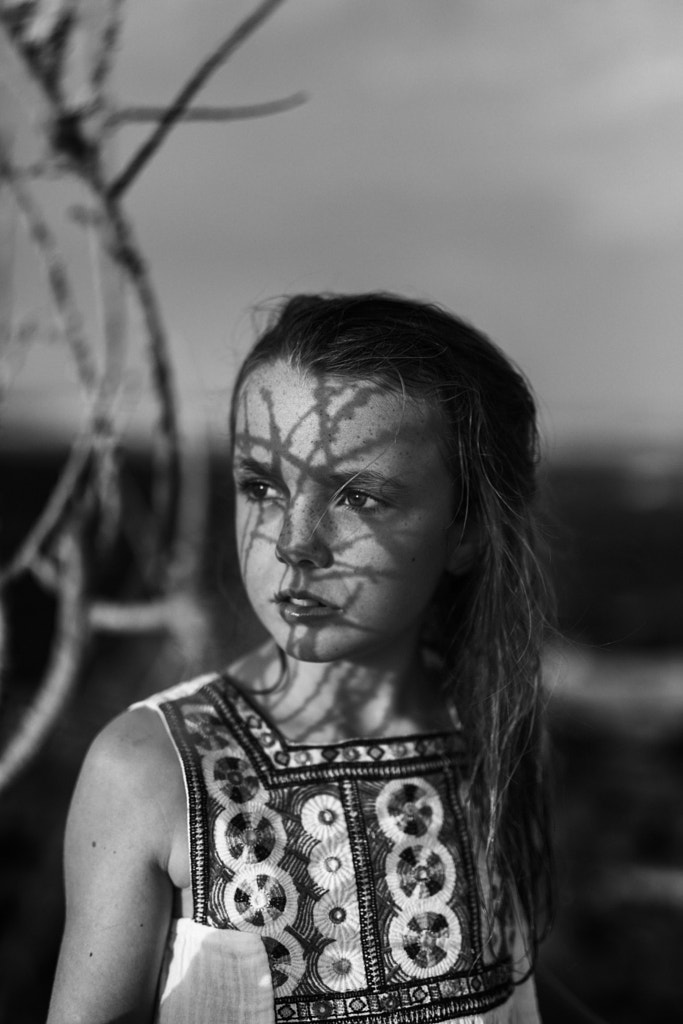
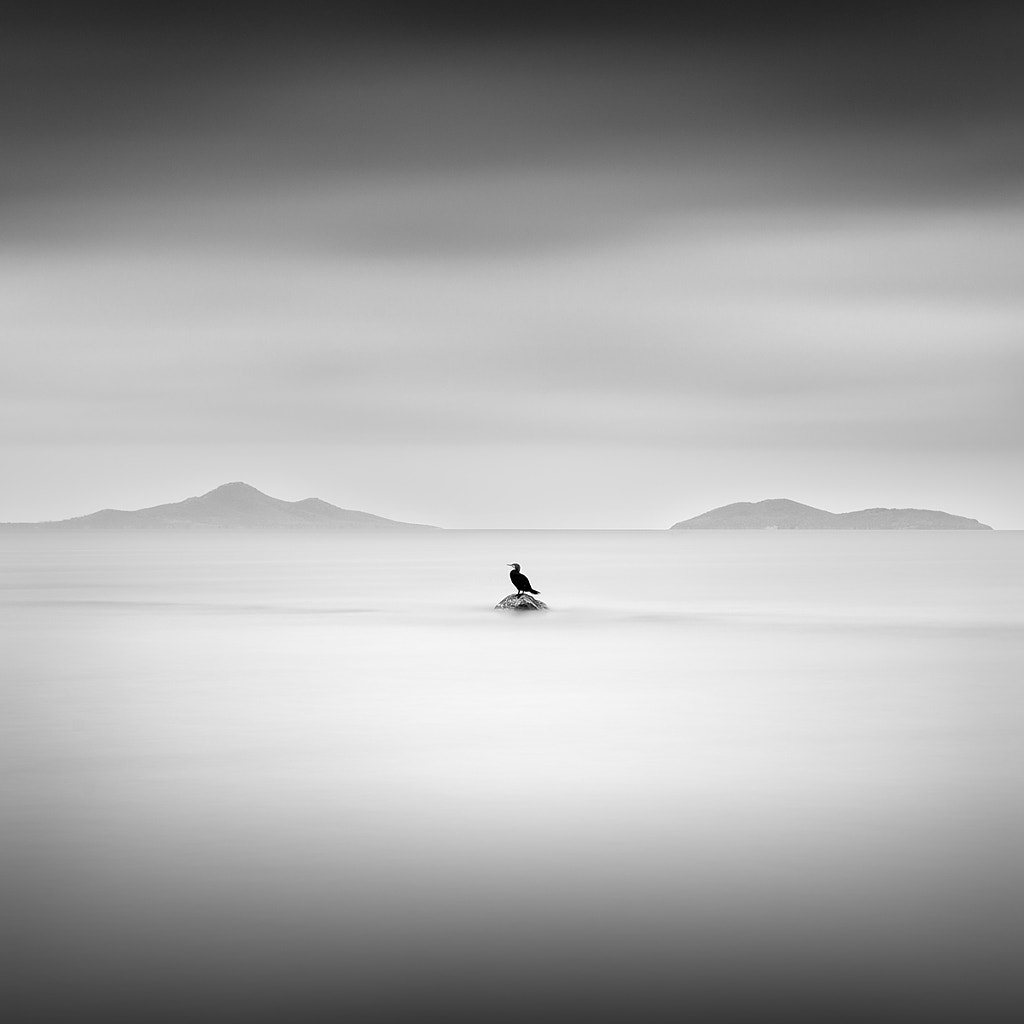
It’s easy to convert any color photo to black and white on the computer, but there’s no guarantee it’ll look good, as some images just don’t “translate” well into black and white. When venturing into black and white, you’ll want to learn to “see” in black and white; that is, look for pure blacks, pure whites, and all the shades of gray in between. If you don’t have all those different values, your photo might end up looking flat and lifeless.
You might not be able to create the same photos in black and white that you would normally take in color, and that’s okay. Embrace those differences; light and texture, for example, can take on new significance when you’re shooting in black and white, so lean into that. Rather than converting every photo to black and white, save it for when it’s appropriate.
Train your eye
Consider grabbing a contrast viewing filter to see the world as your camera or film sees it, and seek moments in real life that’ll look great in black and white. At the same time, study how street photographers like Henri Cartier-Bresson use areas of dark, light, and gray. Pour through the archive of Ansel Adams to see how he used grayscale to highlight the tones and textures of the natural world, without losing detail. Spend an afternoon watching black and white films.
Be wary of monochrome mode
Most digital cameras make it easy to shoot entirely in black and white by switching to “monochrome mode,” but relying too heavily on this feature can be a mistake if it limits your choices in post-processing. That’s because photos shot in monochrome mode save as jpegs, not RAW files, and those contain less information and, therefore, less flexibility for editing.
To solve this issue, shoot in color (always RAW) on your digital camera and then convert it in post. You can still preview in black and white, as you’ll keep the data from your sensor so long as you’re shooting in RAW.
Start with a low ISO
This tip is mainly for digital photographers, as high-speed film can produce nice grain that works to your advantage. As we know, however, using a high ISO when shooting digitally will result in noise, especially in the shadows. Because shadows are essential in black and white photography, you want to keep them as deep and clear as possible, so start with ISO 100 and go up only if you must.
Slow down
There’s a reason Ansel Adams regularly worked 18-hour days: timeless, transcendent black and white photos take time. If you’re used to relying on color to capture and guide the eye, the challenge lies in using lines, forms, and compositional elements to create the same effect.
With black and white, the simplest, clearest solution is usually the best. You often hear black and white photographers use the word “essence” for this reason; it’s all about distilling the elements in your photos down to just the essentials.
Consider, for instance, Edward Weston’s Pepper No. 30, With deliberate lighting and careful composing, Weston stripped the pepper down to its lines and curves, elevating it from vegetable to art object. It also took him several days to do it, so don’t rush yourself.
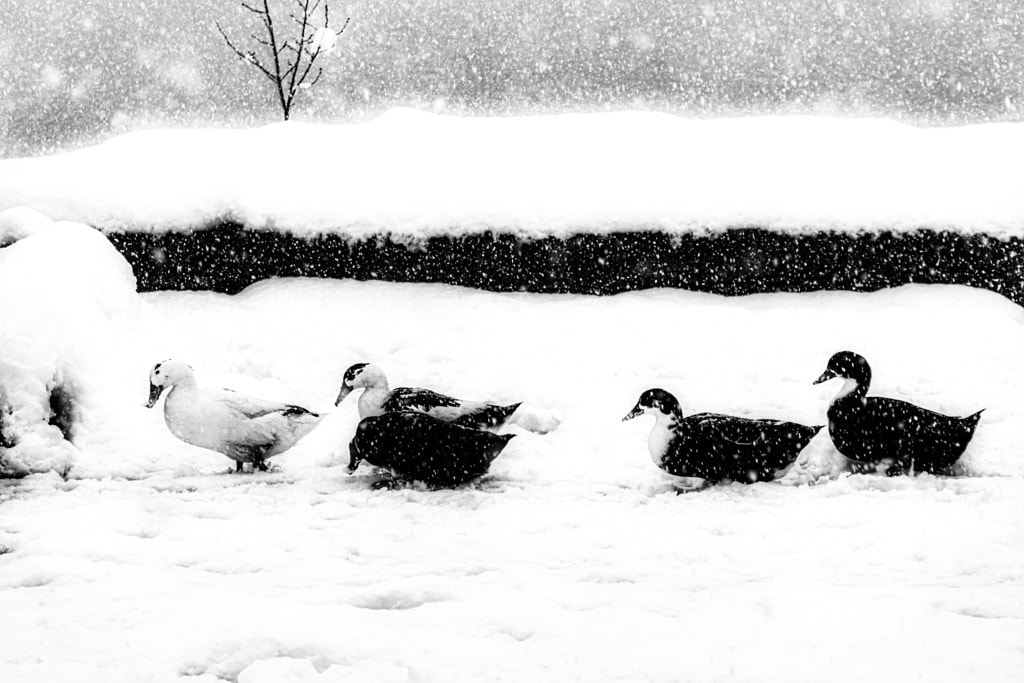
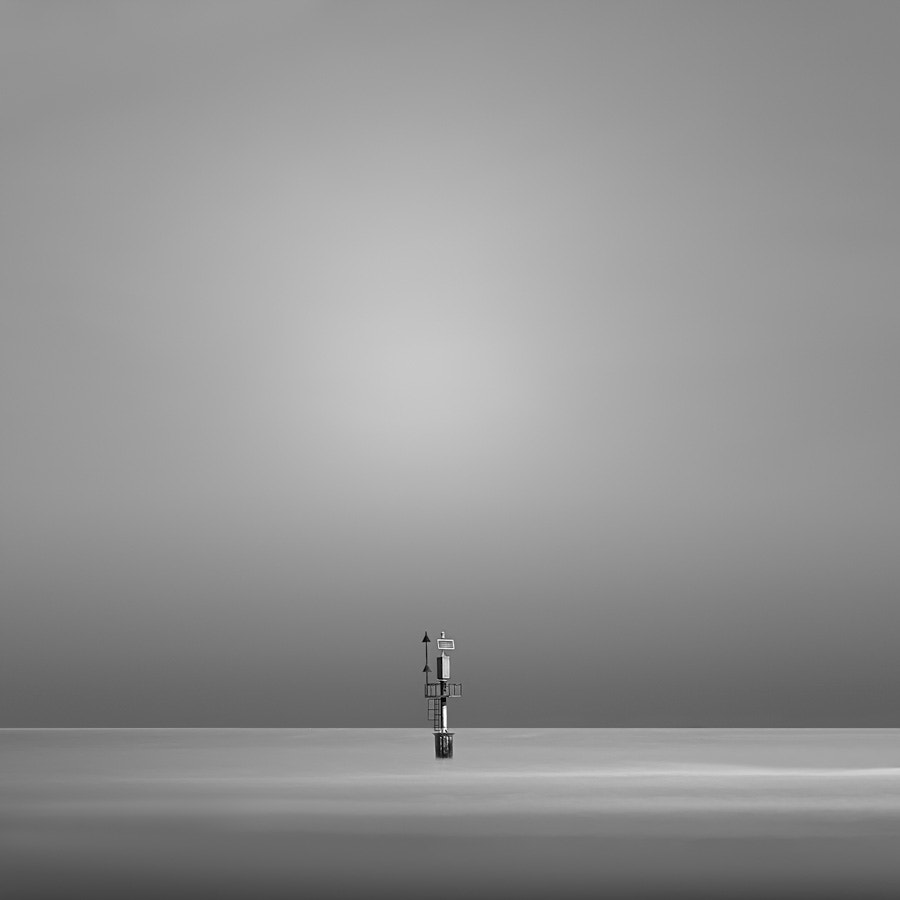
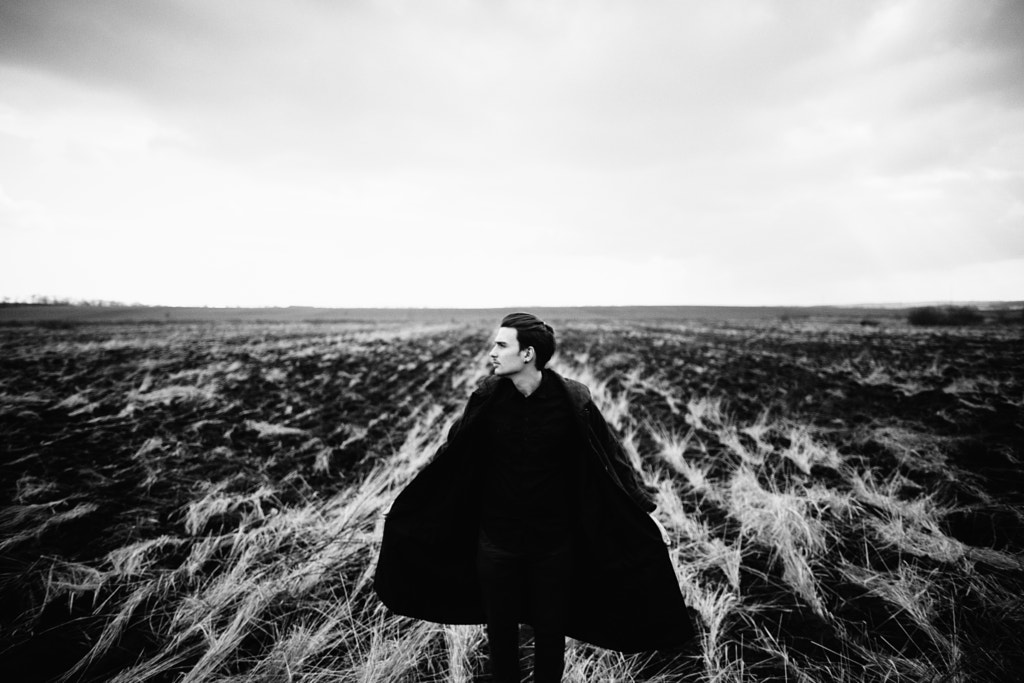
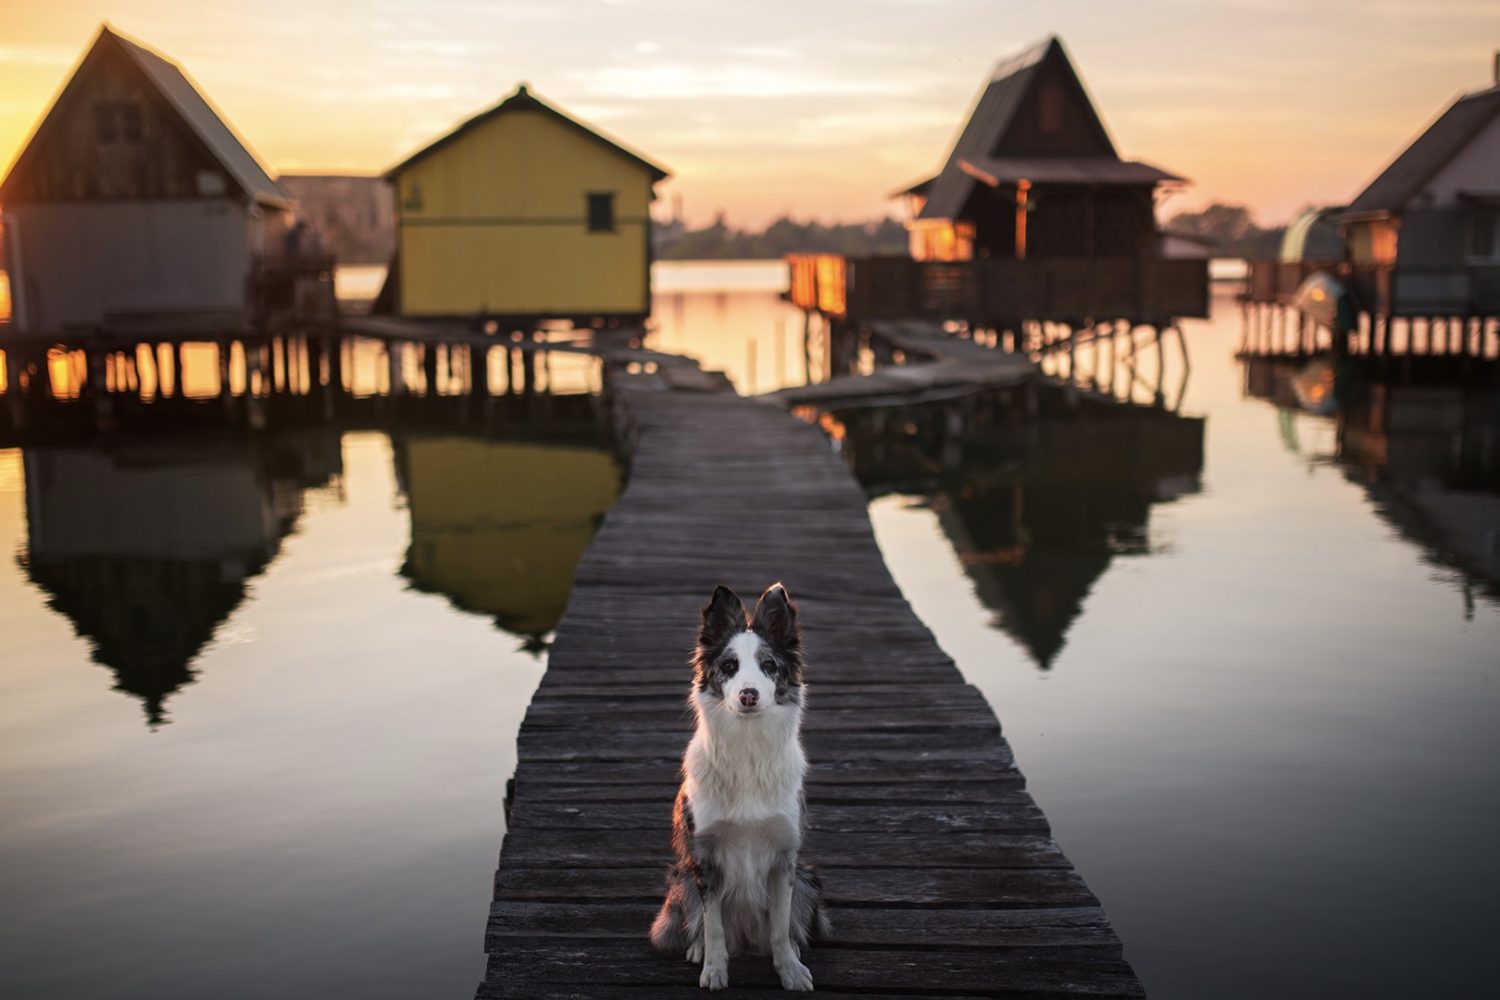
Plan for the weather
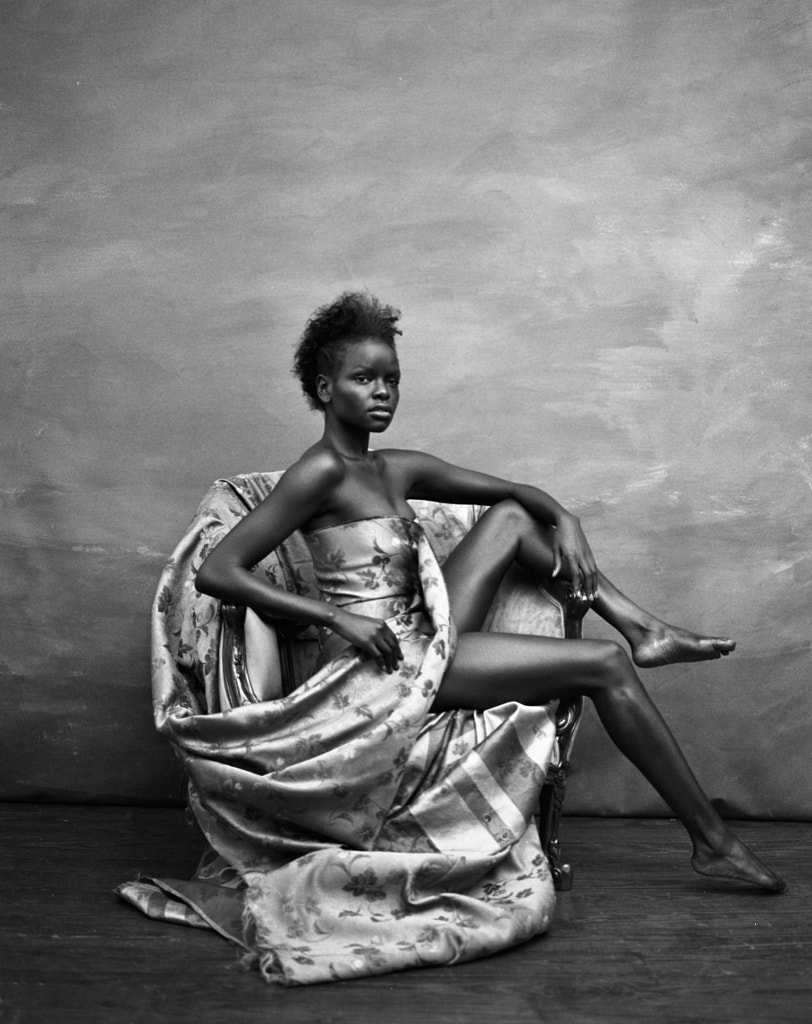
Because contrast and light are so critical for black and white photography, it helps to watch the forecast and plan your shoots accordingly. If, for example, you want soft lighting and a range of middle-grays, an overcast day might work best (snow will also flatten the light), while a bright sunny one could be perfect for heavy contrast. There’s no “right” or “wrong” weather for black and white photography, but any choice you make will determine the overall look and mood of your photo.
Play with filters
Filters aren’t essential anymore, like they were in the days of film, but they’re still valuable. Using a color filter will darken or brighten certain areas of your images; for example, a red filter will make your reds brighter and your blues/greens darker, while a neutral density filter will block the light overall, allowing you to create longer exposures (say, for landscapes). You can even use a polarizing filter to make your skies darker, so get creative with it.
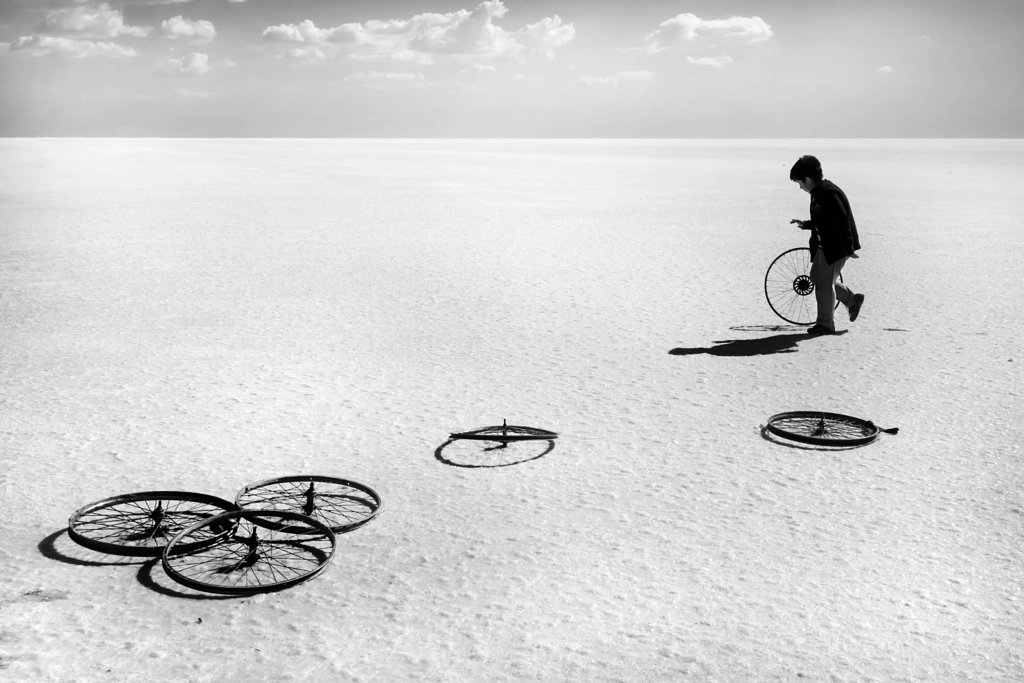
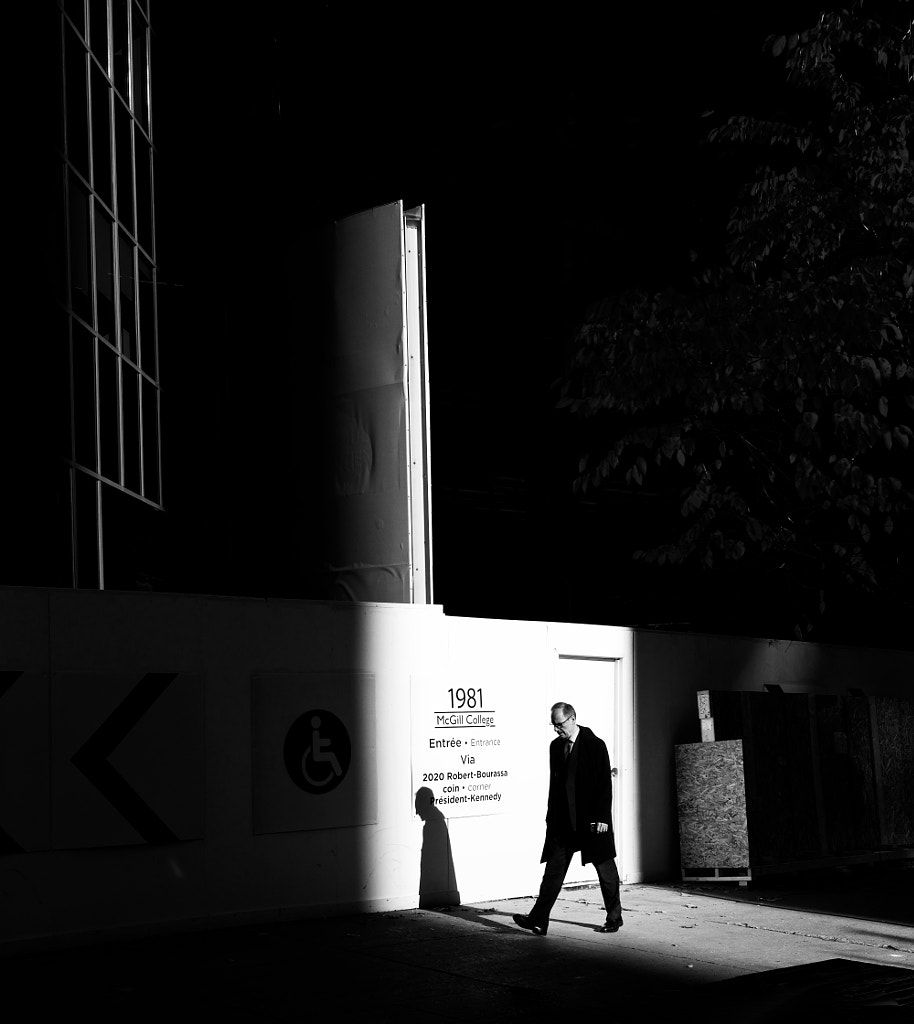
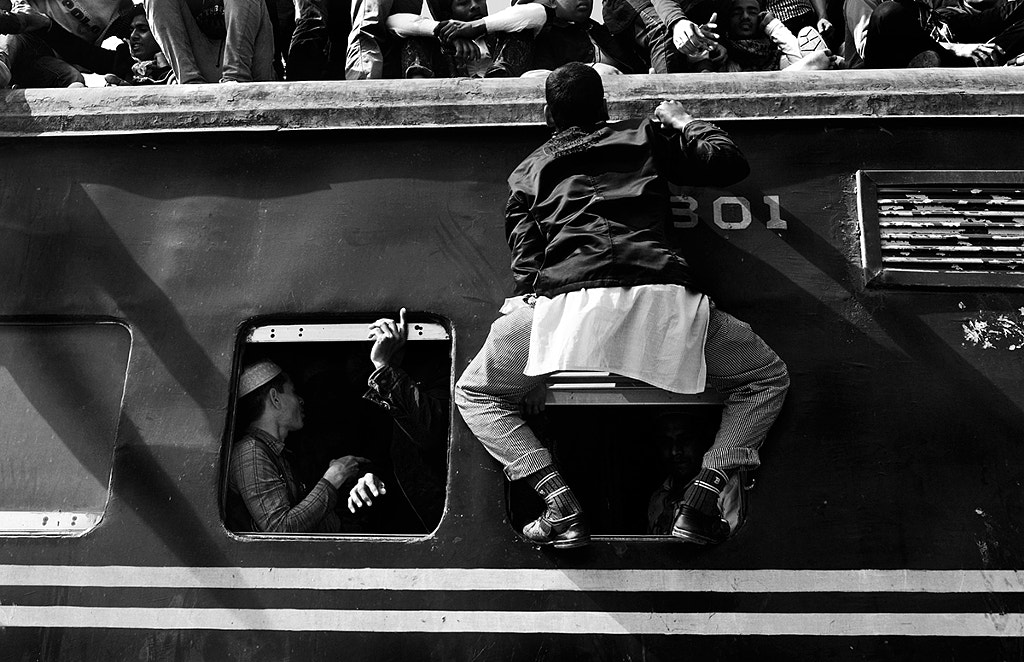
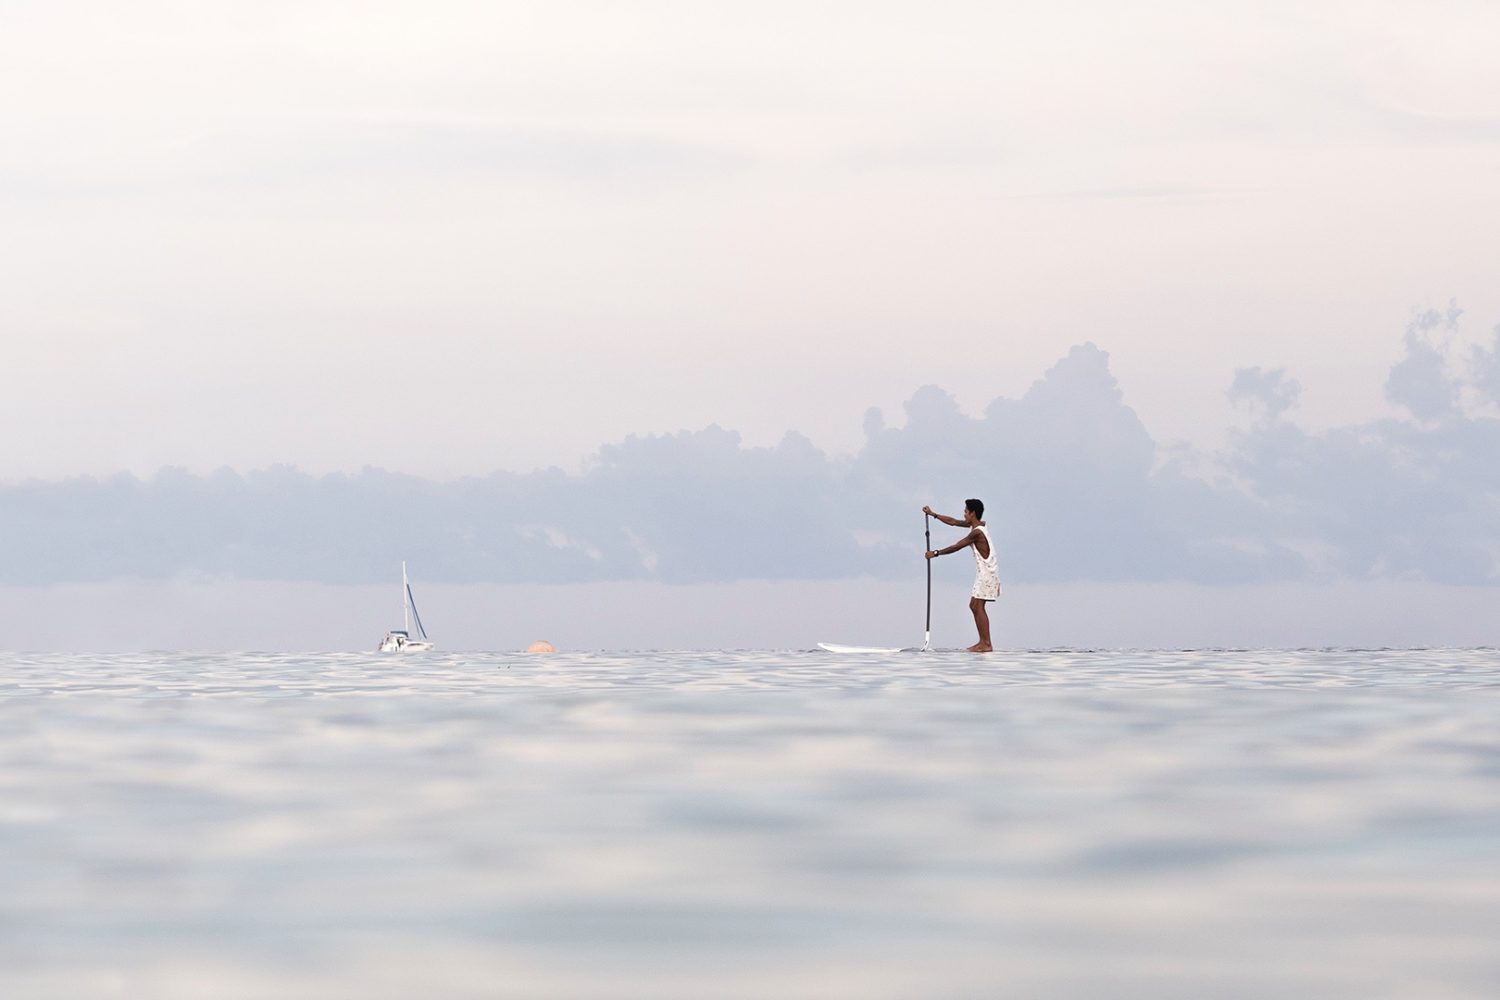
Find the shadows
Without the distraction of color, deep shadows can pull and direct the eye, create patterns, evoke an emotion, and tell a story. This tip ties back to the importance of contrast in black and white; if you can find those points where shadow meets light, you’ll get those nice, clear lines.
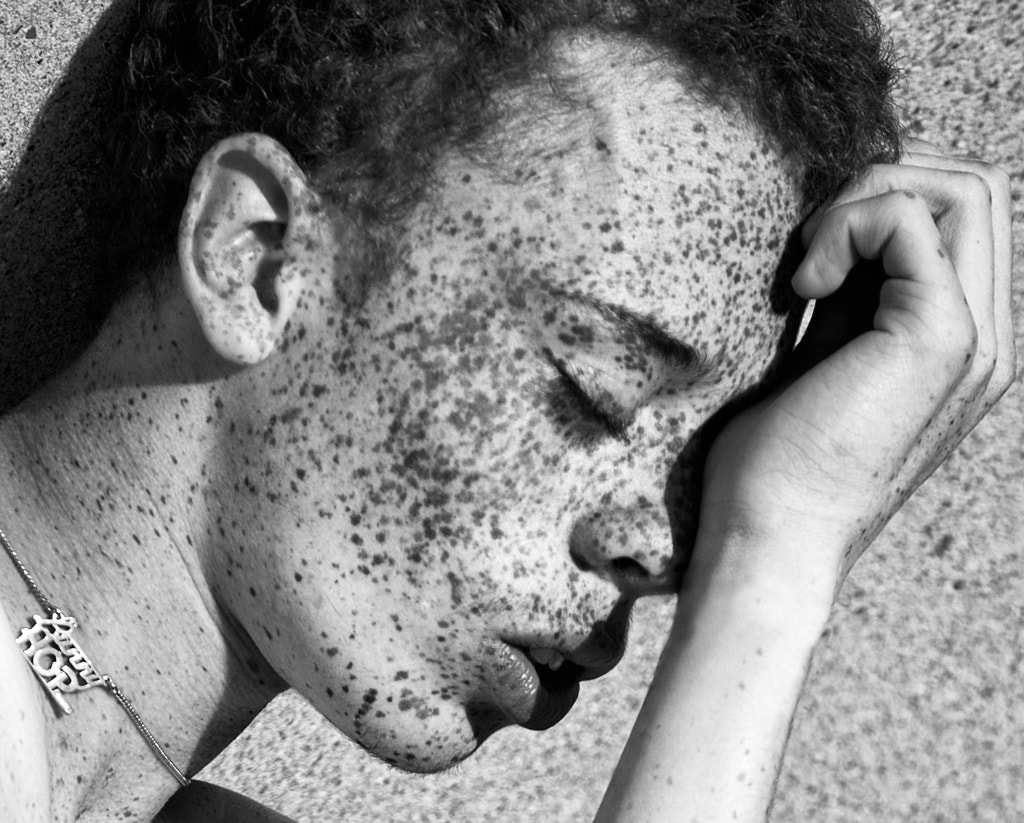
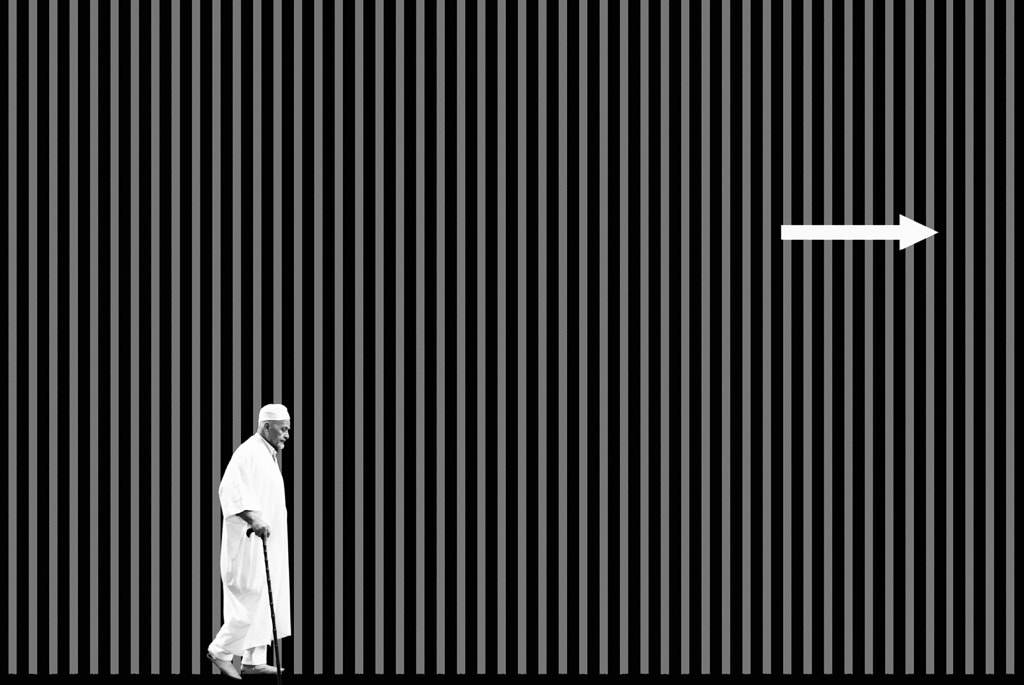
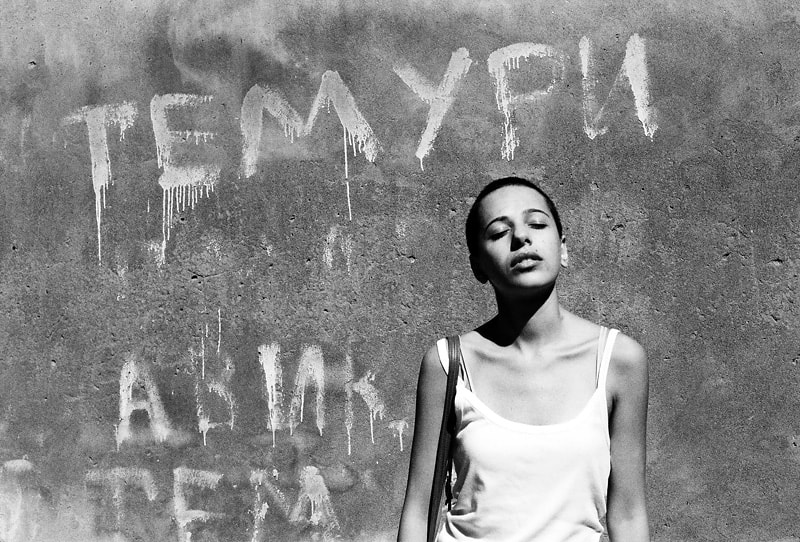
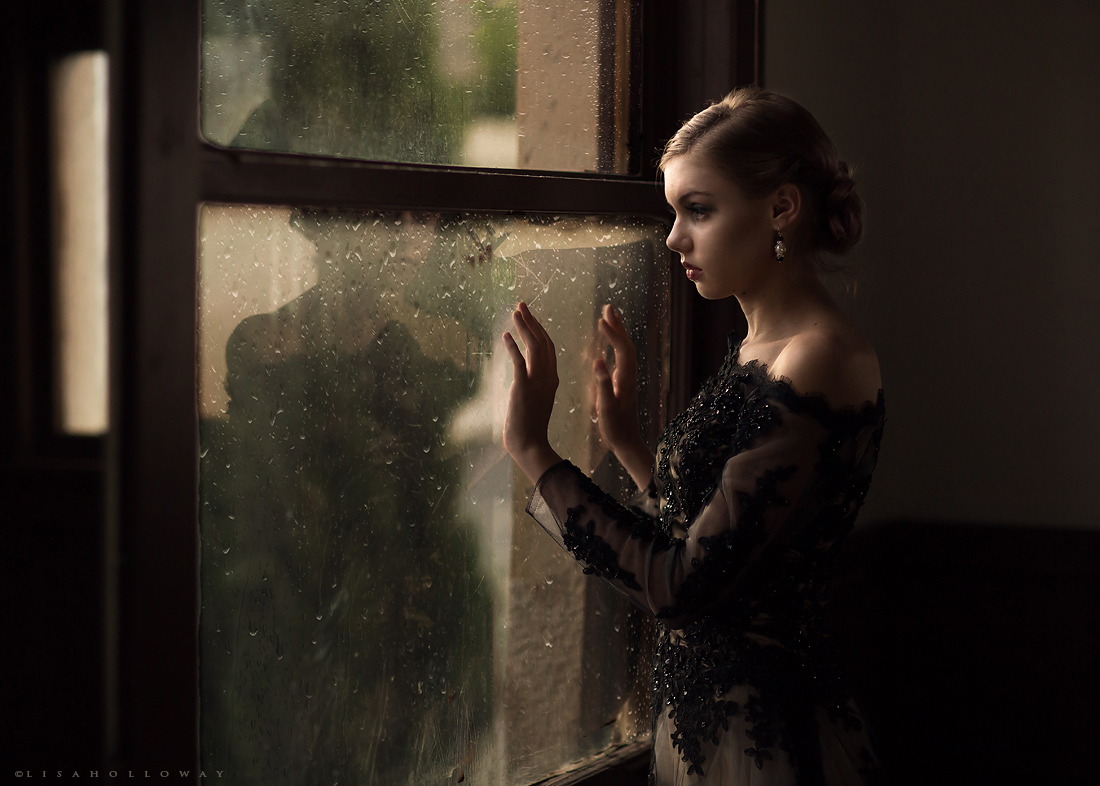
Watch the contrast
Contrast is key for any black and white photo, as you want the whites to be bright and the blacks to be dark, but you (probably) also want to have all those middle-grays as well. Beginning photographers sometimes tend to boost the contrast a bit too far in post-processing, so be wary of overdoing it.
A good way to check if you have too much contrast is by checking areas in your photo with a lot of detail; if it’s too contrasty, those nuances will be lost. Your post-processing software will also give you a heads-up if you’re clipping your highlights and shadows, so watch those warnings. You can also keep your histogram open throughout to understand how your adjustments affect the tonal range of your photo.
Adjust the colors
Remember when we warned against the dangers of only shooting monochrome jpegs? One reason is that even though you won’t “see” the colors in your final converted image, it helps to pay attention to them during post-processing. Even an adjustment to your white balance, temperature, and tint can have a profound effect on the various tones and contrasts in your photo.
When you open your RAW file on the computer, resist the urge to convert it to grayscale with a single “click”—or by simply lowering the saturation to -100. Photoshop can do an okay job of guessing what looks good, but you’re likely to do a better job yourself.
Working with a “channel mixer” or “black and white” adjustment layer will almost always produce stronger images than a “quicker fix.” The latter works by allowing you to go into every color and finesse those tones; for example, if green trees appear too dark, you can pull your green slider to the right to correct it. Does the sky look too light? Move the blue slider a bit to the left. It’s also non-destructive, so you won’t make any mistakes you can’t fix.
Dodge and burn
Dodging and burning are two of the first tools you learn in the darkroom, whether you’re using cut-out card shapes or your own hands to block or expose certain areas to light. You can do the same thing in Photoshop (or a comparable software) to darken or lighten areas of your images, depending on where you want to direct the eye. There’s no rule that says you have to have pure white and pure black in every shot, but they do help your photos “pop” off the screen.
Get back to basics
Most of our tips here refer to digital cameras, but black and white was born during the film era, so you can always use an old-fashioned black and white film camera to start. You can get a Pentax K1000, for example, for close to $100; this is the perfect camera for learning to “see” in black and white, getting comfortable with manual controls, and developing and printing your work in a darkroom. Grab some Ilford film and paper, and experiment. Even if you later switch to digital (which will give you more options!), you’ll have a solid foundation to start.
Not on 500px yet? Sign up here to explore more impactful photography.

Leave a reply