The secret to capturing perfectly exposed images lies in understanding what’s known as the “exposure triangle.” When it comes to getting photos that are too light, too dark, or just right, everything boils down to just three settings: ISO, shutter speed, and aperture. Each setting is important, and they all affect each other, but a good place to start is with aperture.
The term “aperture” simply describes the size of your lens’s opening. While some lenses might come with a fixed aperture, most have a diaphragm that can expand or constrict, depending on how much light you want to allow into the camera.
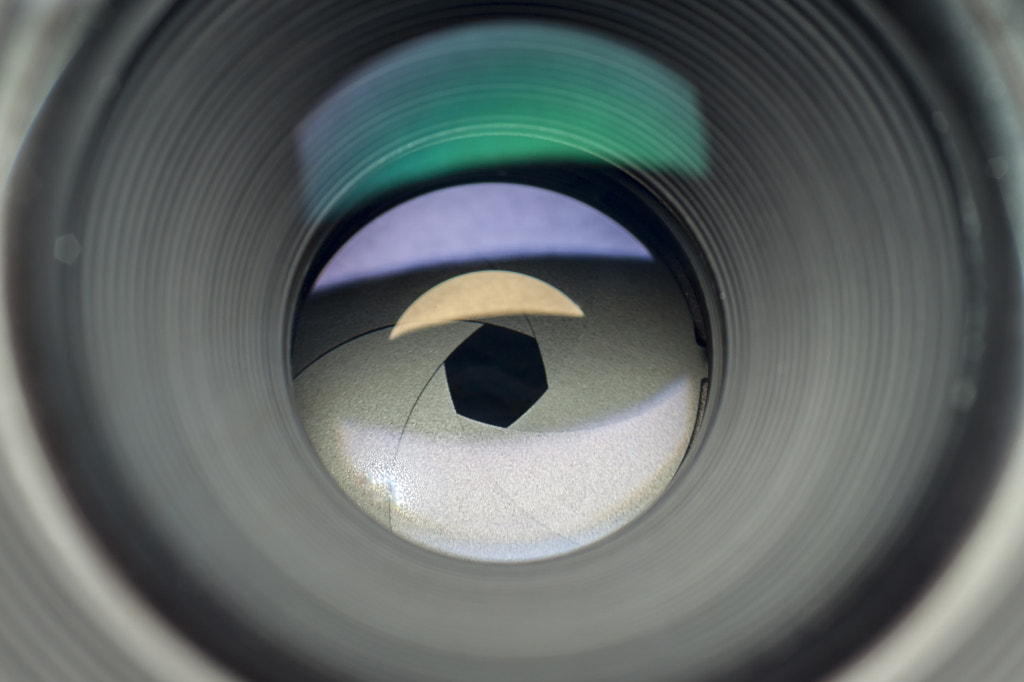
An easy way to think of it is in relation to the human eye; when it’s dark, your pupil dilates to allow more light to pass, but when it’s bright, it constricts to allow less light. You’ll hear some photographers refer to aperture as “iris” for this reason.
You can control the aperture of your lens by adjusting the f-number or f-stop. F-numbers refer to the ratio of your lens’s focal length to the diameter of the opening. The smaller your f-number, the wider your aperture; f/1.4, for instance, represents a wide opening and lots of light, but as you move into f/2, f/2.8, f/4, f/5.6, f/8, f/11, and so on, the opening narrows and allows less light to pass.
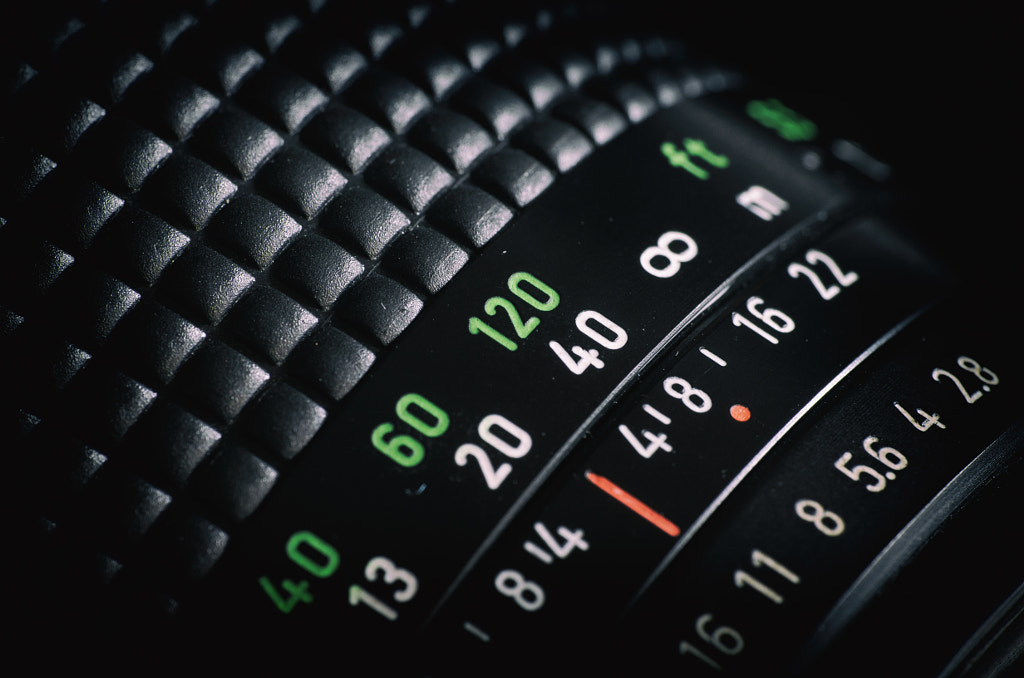
You’ll usually find the f-numbers printed on the ring of your lens or displayed on your viewfinder or LCD. Change your aperture from f/1.4 to f/2, and you move down one stop, halving the amount of light that enters your lens. If you then set your f-number at f/2.8, you’ve moved two stops. Those are “full stops,” but depending on your camera, you might be able to adjust your aperture by a third or half a stop.
If you’re shooting in darker conditions, a wider aperture can help you get a good exposure.
When you work with aperture, you’re controlling the amount of light that enters your camera, and that has a direct effect on your exposure. All other things being equal, a photo taken with a wider aperture will be brighter than one with a narrower aperture. It’s as simple as that.
If you’re working in low light, for example, opening it up will help you get an image that’s not underexposed; on a bright day, you might have to stop down to avoid overexposure.

On bright days with lots of light, a smaller aperture (higher f-number) can help you avoid overexposed images. If your image is properly exposed, you’ll be able to see all those details in the sky, as in the case of the photo above.
Because it allows more light to enter the lens, a wider aperture means you can use a faster shutter speed while still getting a proper exposure. For that reason, a “fast lens” refers to one with a large maximum aperture, while a “slow lens” has a smaller maximum aperture.
Here’s where it starts to get interesting: aperture affects your exposure, but it also affects your depth of field. We explore depth of field more fully in this article, but to summarize, it simply refers to the distance between the closest and farthest objects in your photo that are “acceptably sharp.”
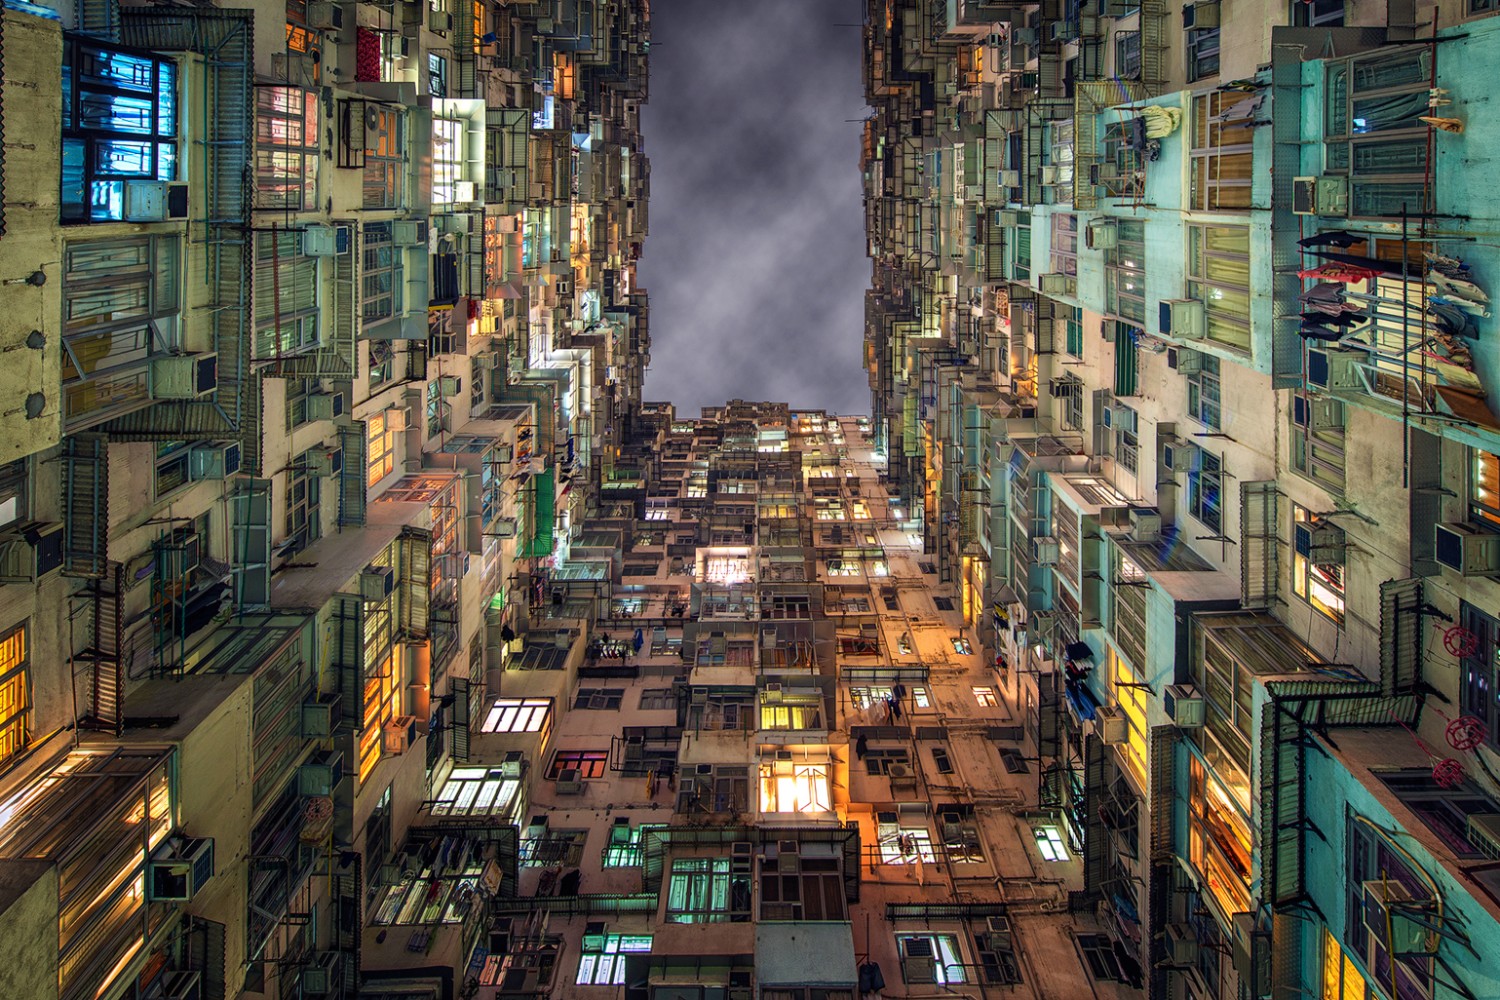
If you’re shooting a detailed landscape, you might want to use a wide depth of field so that objects in front of you and far in the distance are all in focus; however, if you’re shooting a portrait and want an out-of-focus background, you’ll need a narrow depth of field to get that effect. DOP won’t determine what’s in focus but how much of the image is in focus in front of and behind your main subject.
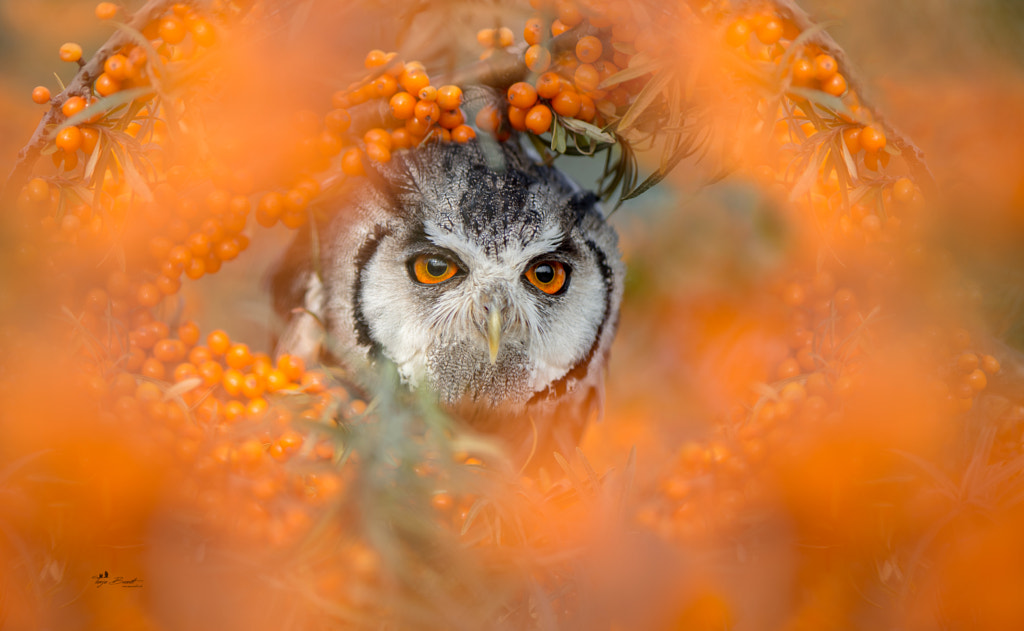
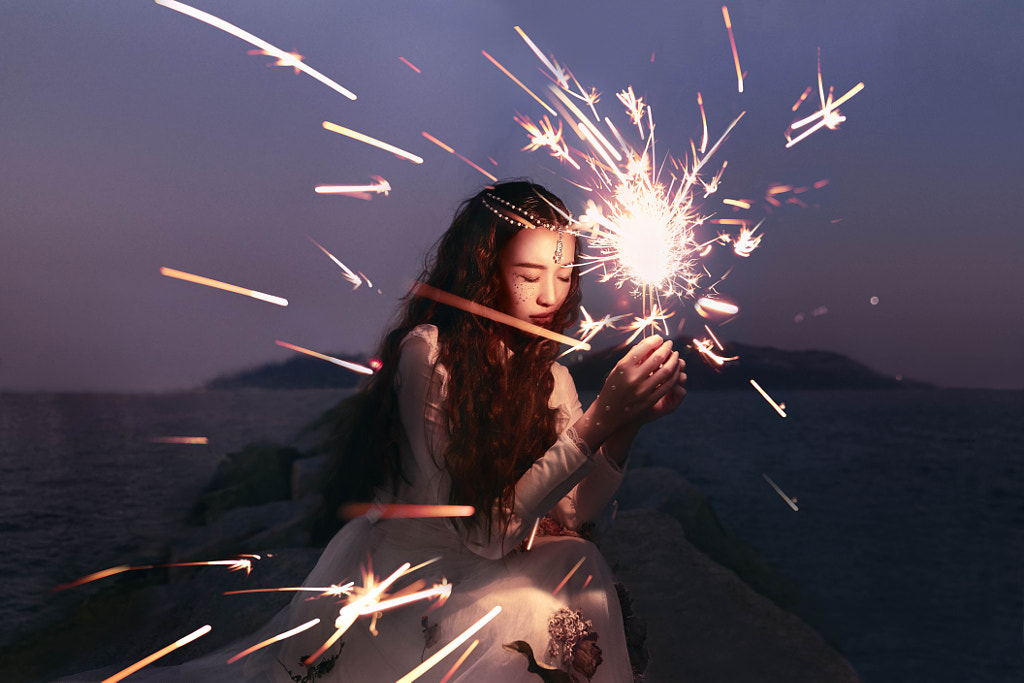
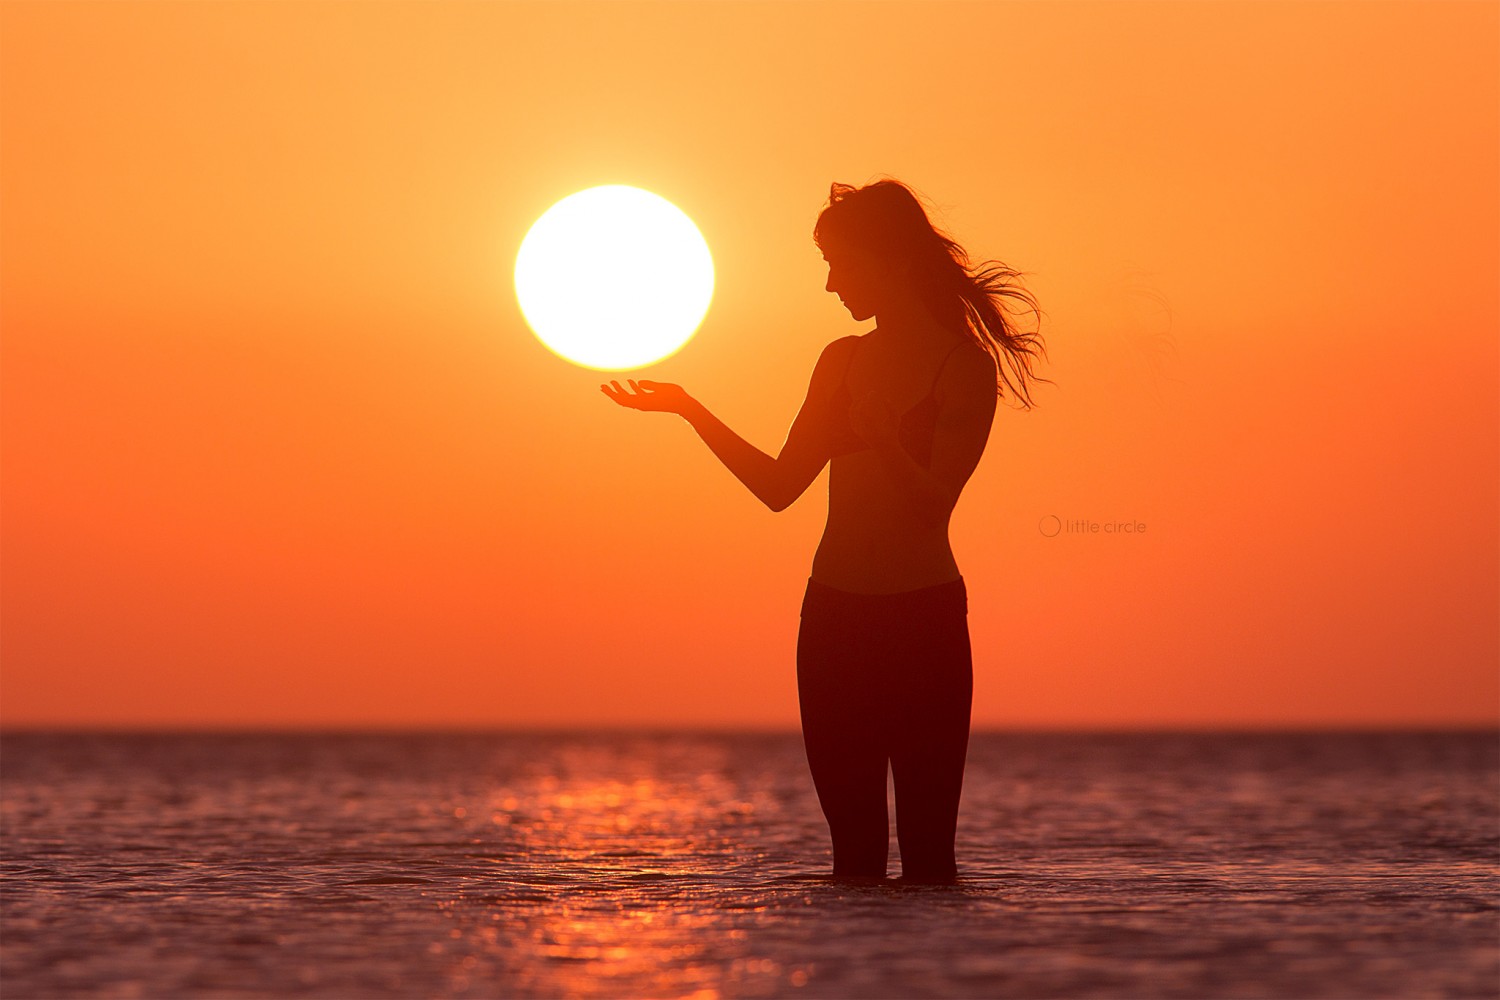
A wide aperture can cause a beautiful blur of foreground elements.
When you change your aperture, you’ll affect not only your exposure but also your depth of field. The wider the aperture (that is, the smaller your f-number), the narrower your depth of field. If you use a particularly wide aperture, you can even cause some elements in the foreground or background to disappear; this is useful if you’re shooting through a fence, drops of water, or any other unwanted elements.
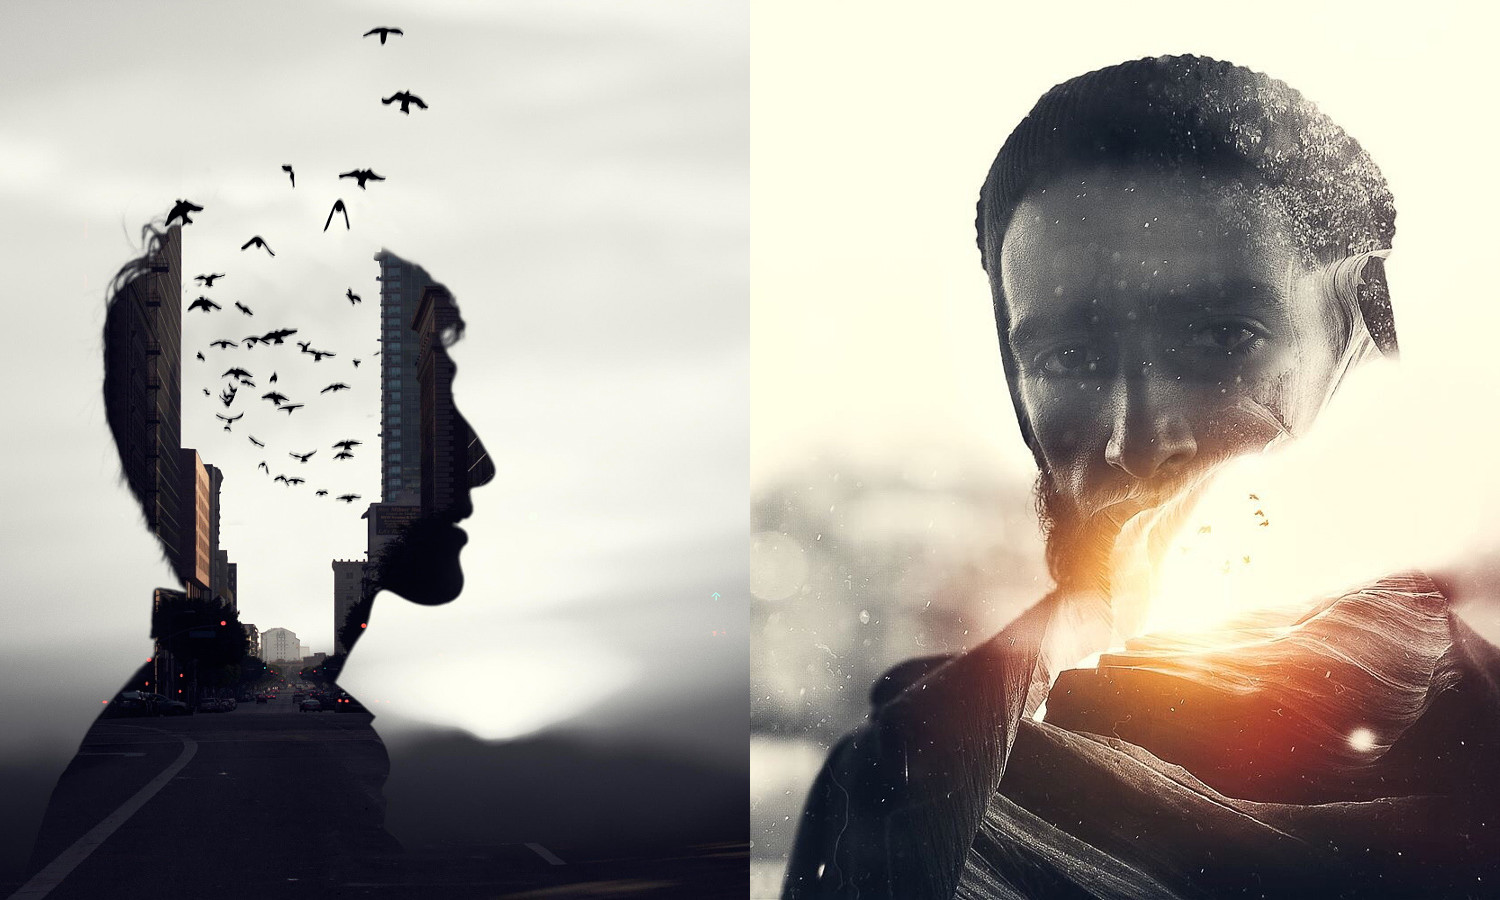
In that sense, aperture is about much more than just technical perfection; it’s also about your artistic point of view.
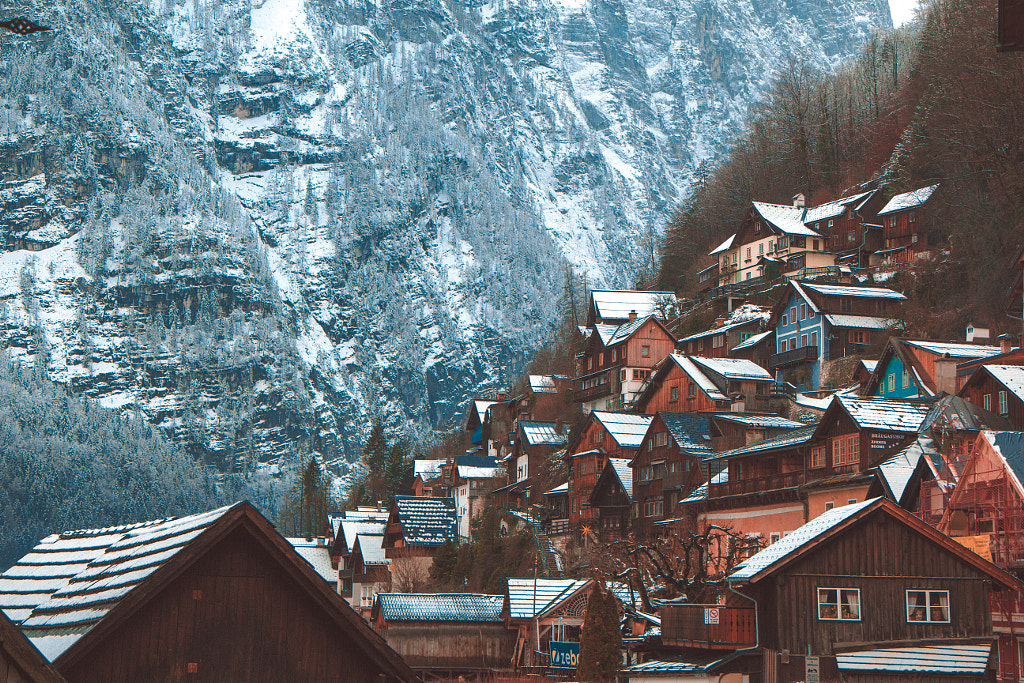
A photographer might use a higher f-number (smaller aperture) in order to get all the details of a landscape in focus.
If you’re a landscape photographer who idolizes Ansel Adams, you might prefer to use a higher f-number; if you’re a portraitist following in the footsteps of someone like Julia Margaret Cameron with her creamy, soft-focus backgrounds, you’ll use a smaller f-number. “Landscape mode” and “portrait mode” refer to those two distinct aesthetics; turn on “landscape mode” for a narrow aperture and “portrait mode” for one that’s wide-open.
A wider aperture (lower f-number) is perfect for getting a soft, out-of-focus background, drawing the eye to your subject.
It’s worth noting that constricting your aperture has the “side-effect” of increasing the diffraction in your photo; when you start getting into the higher f-numbers, you might lose sharpness for this reason. Your depth of field will increase, but you might forfeit that sharpness and detail, especially when you view your photo at 100%.
Open that diaphragm up too much, however, and you’ll leave the door open for lens aberrations. Depending on your lens, you might have to play around with different f-stops to find that nice middle ground or “sweet spot” where you get minimal diffraction and aberrations.
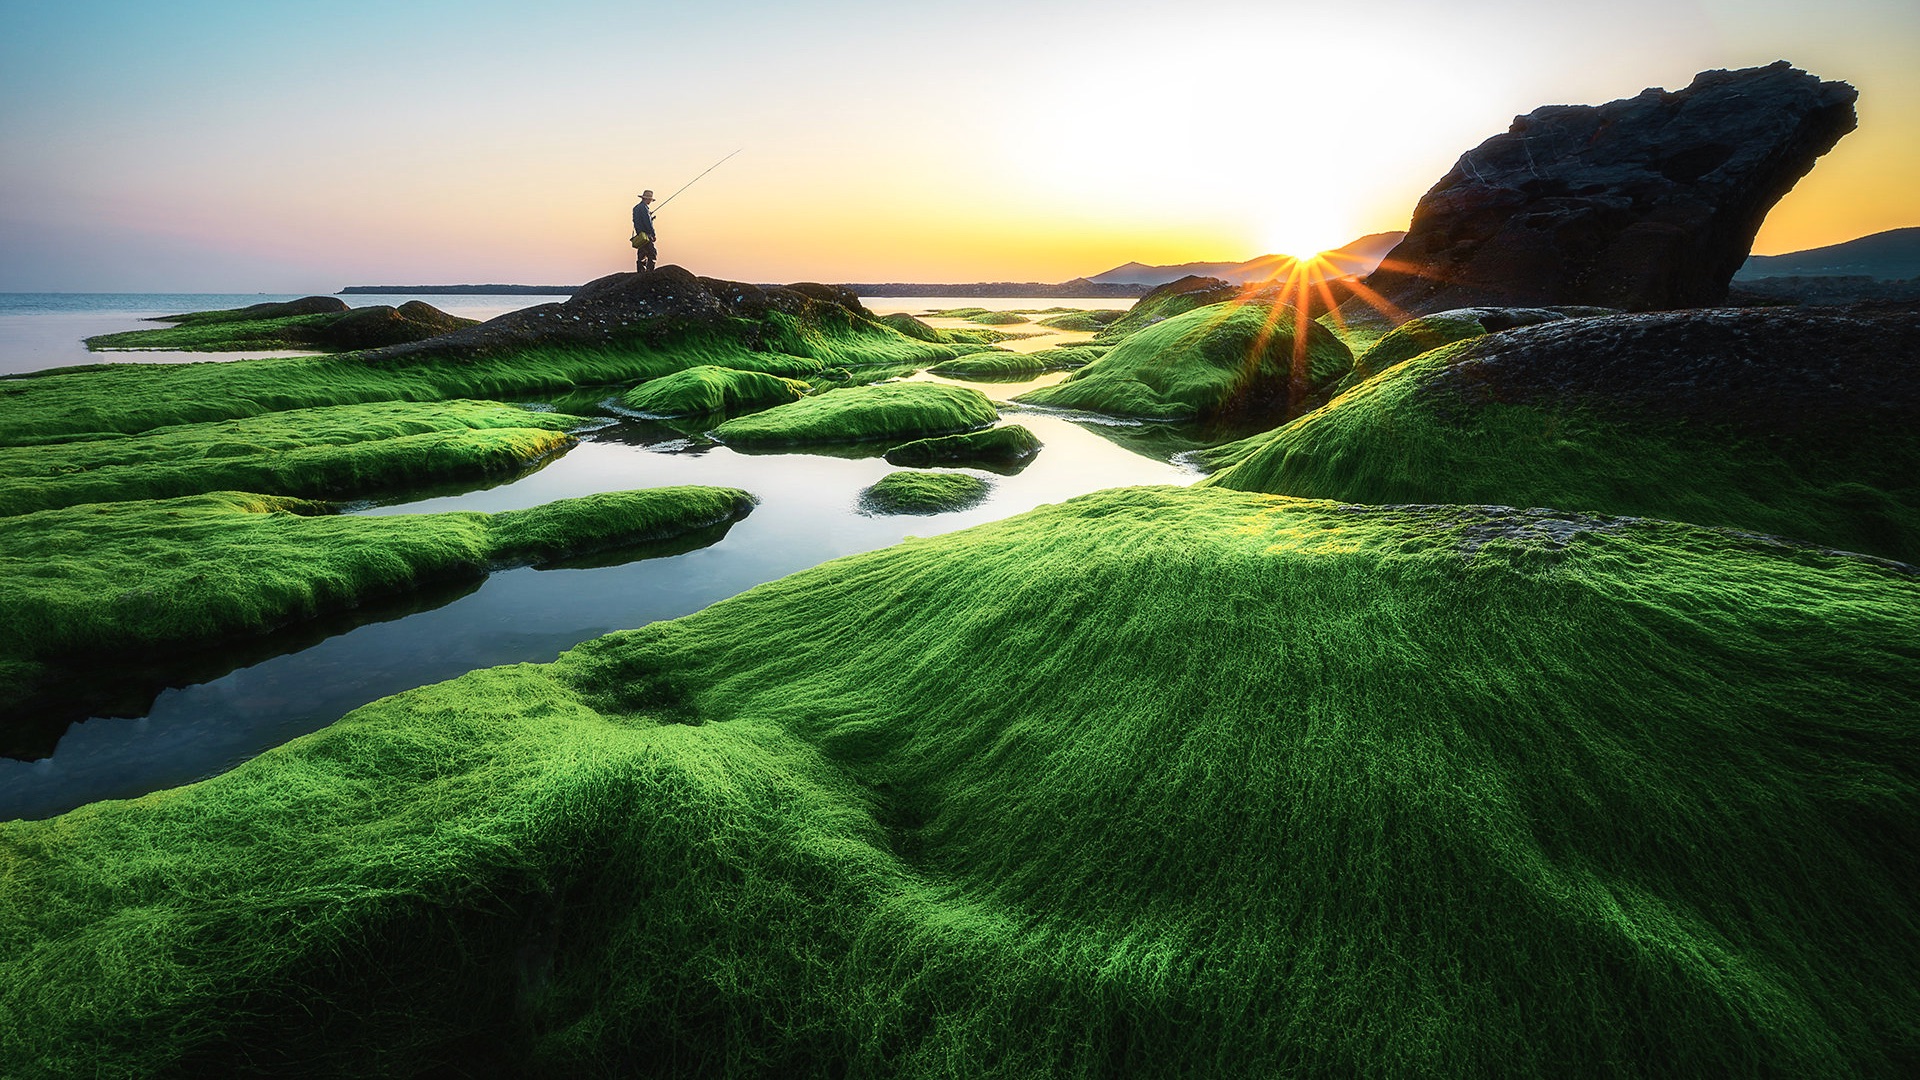
Another fun effect to explore using aperture is the “sunburst” effect; you can get these bright bursts of light beams if you’re shooting a landscape with a high f-number (small aperture) and the sun is poking through the mountains or trees. Just remember to protect your eyes, and don’t look directly at the sun.
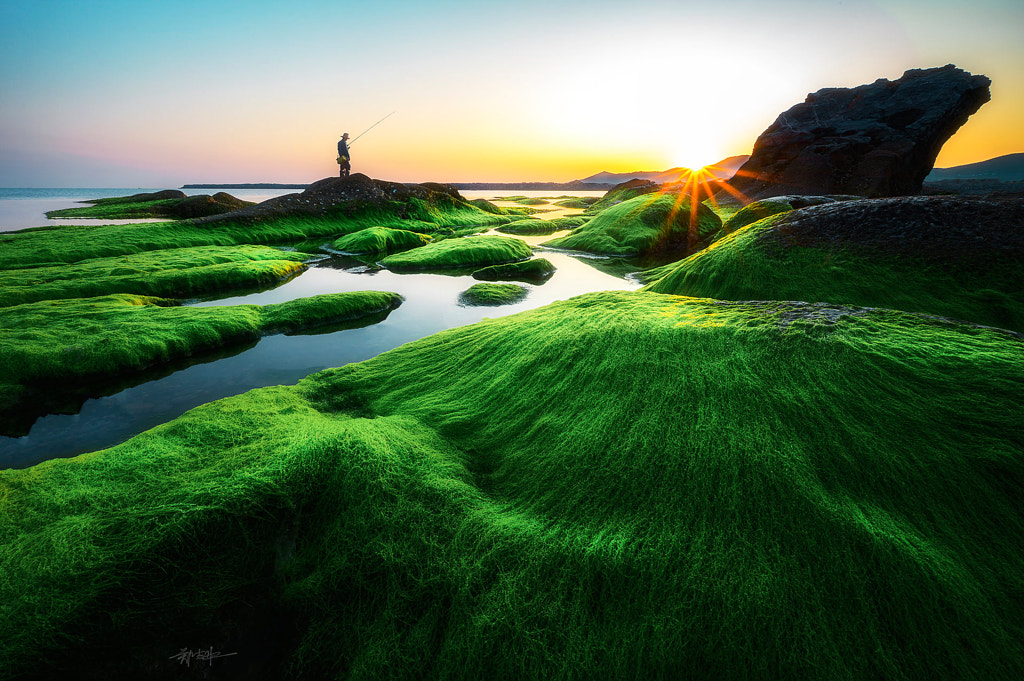
Use a smaller aperture (higher f-number) to get the “sunburst” effect.
Of course, stopping down or narrowing your aperture means widening your depth of field, but it also means decreasing the amount of light entering your lens. It takes some time and practice to get the right balance, but the more you experiment, the easier it will become. Take the same shot with different aperture settings, and you’ll see your brightness and depth of field change accordingly.
If a certain aperture is critical to the look you want, you can set your camera to aperture priority (labeled ‘A’ or ‘AV’); from there, it will automatically adjust your shutter speed for a correct exposure, while adapting to the lighting conditions at hand.
If you don’t like the exposure your camera chooses, you can click on the “+/-” exposure compensation to brighten or darken your image. Of course, you can also adjust your shutter speed manually to suit your needs. We’ll dedicate a separate article to that topic as well, so stay tuned.
While certain aperture settings can be useful for different kinds of photography, with landscapes and portraits being the most-cited examples, understanding aperture is less about following a set of rules than it is about exercising creative control over your photos. Learning how to use aperture is fundamental to getting a well-exposed photo—and getting off auto mode—but that’s just the start. What you do from there is up to you.

Not on 500px yet? Sign up here to explore more impactful photography.


Leave a reply