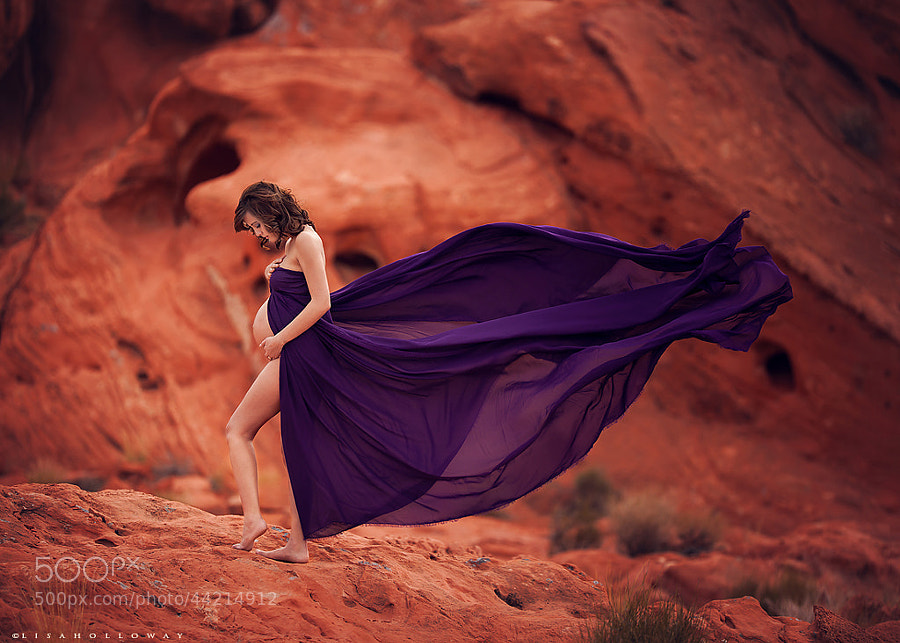
Natural light photography expert ,Lisa Holloway ,is an internationally-published, award-winning fine art portrait photographer from rural Northwestern Arizona. A Canon girl since Day One, Lisa is self-taught and works exclusively with natural light. She has been in the portraiture business, photographing clients in the Las Vegas metro area since 2008. When Lisa is not pursuing her photography interests, she loves the outdoors, road trips, cooking, thunderstorms, and spending time with her husband and 10 children.
In this tutorial, Lisa will demonstrate how she created backlight with natural light for capturing dreamy portraits outdoors. Plus, she shares her expert tips on how to photograph and connect with children as subjects. Read on and get inspired!
by Lisa Holloway
Making Magic With Your Natural Light Photography
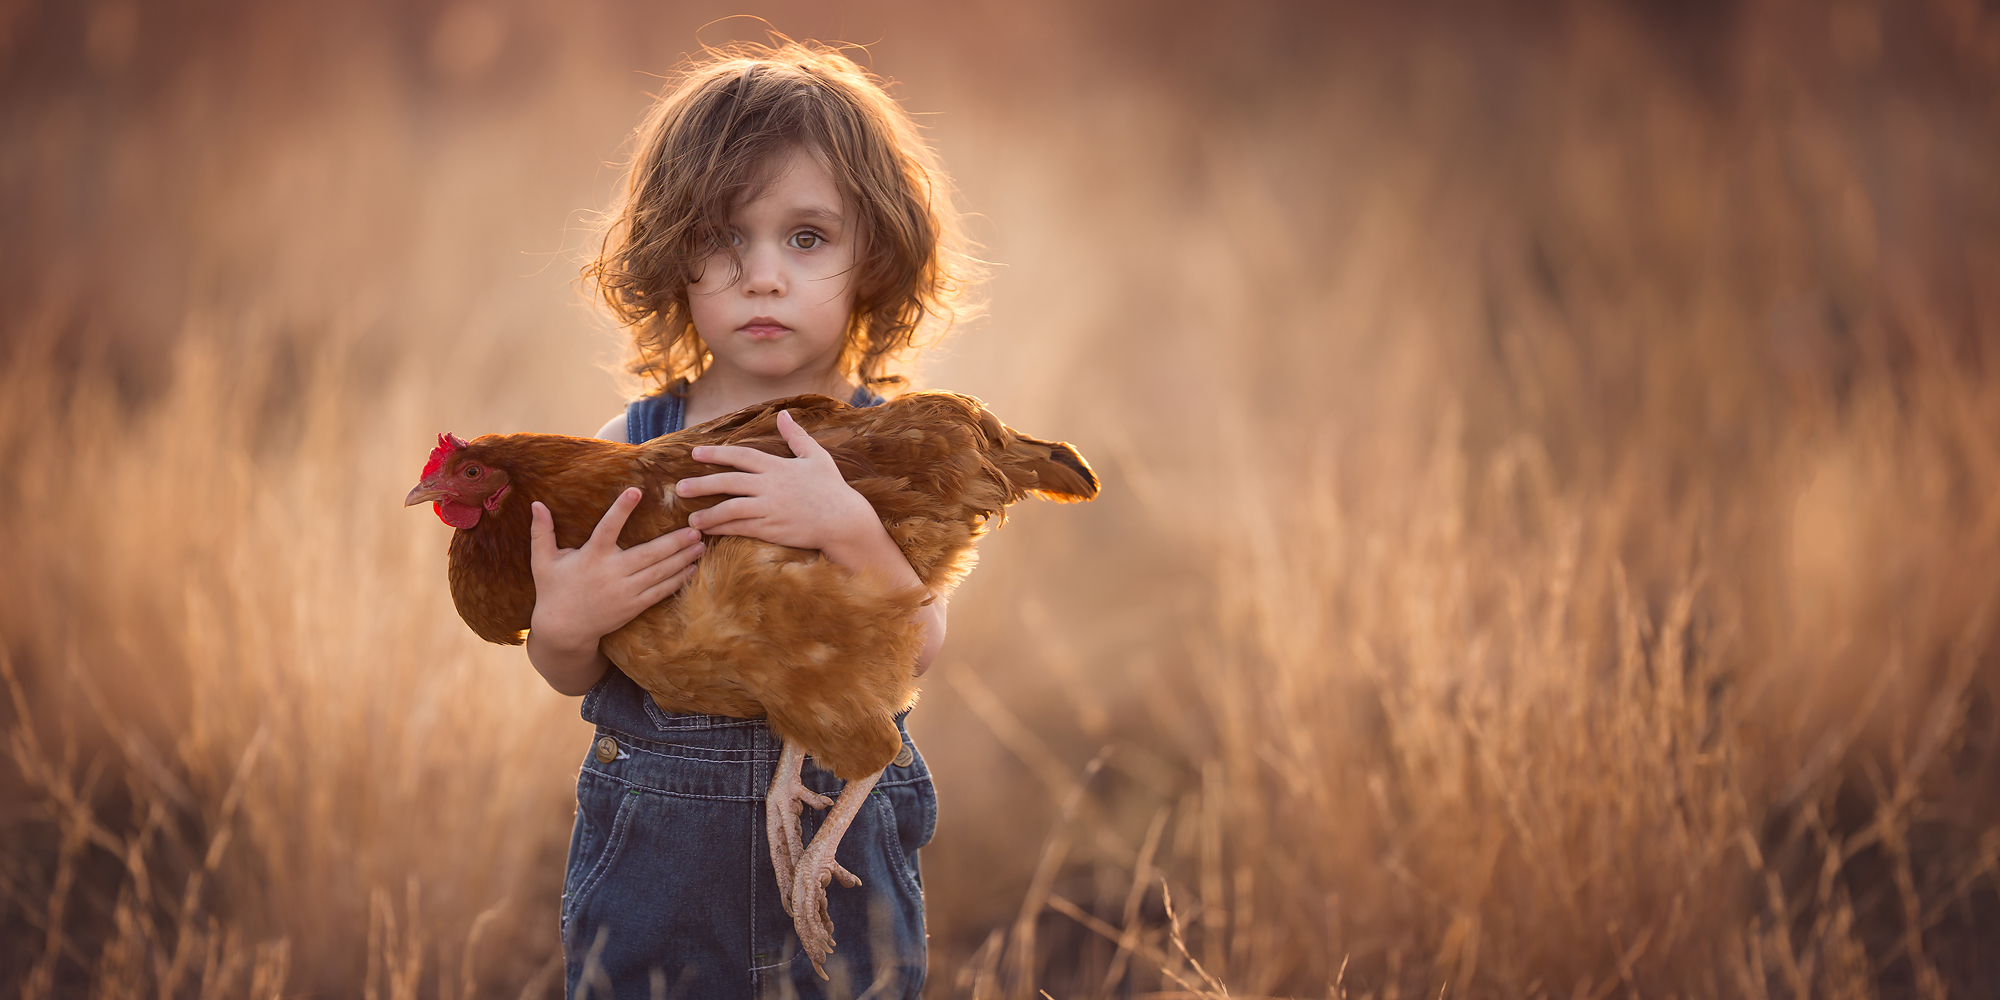
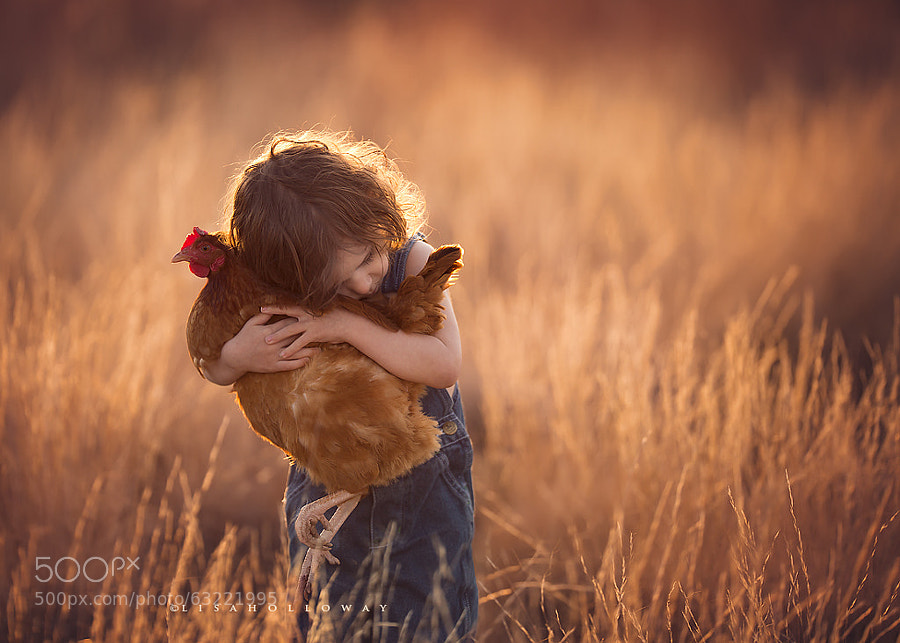
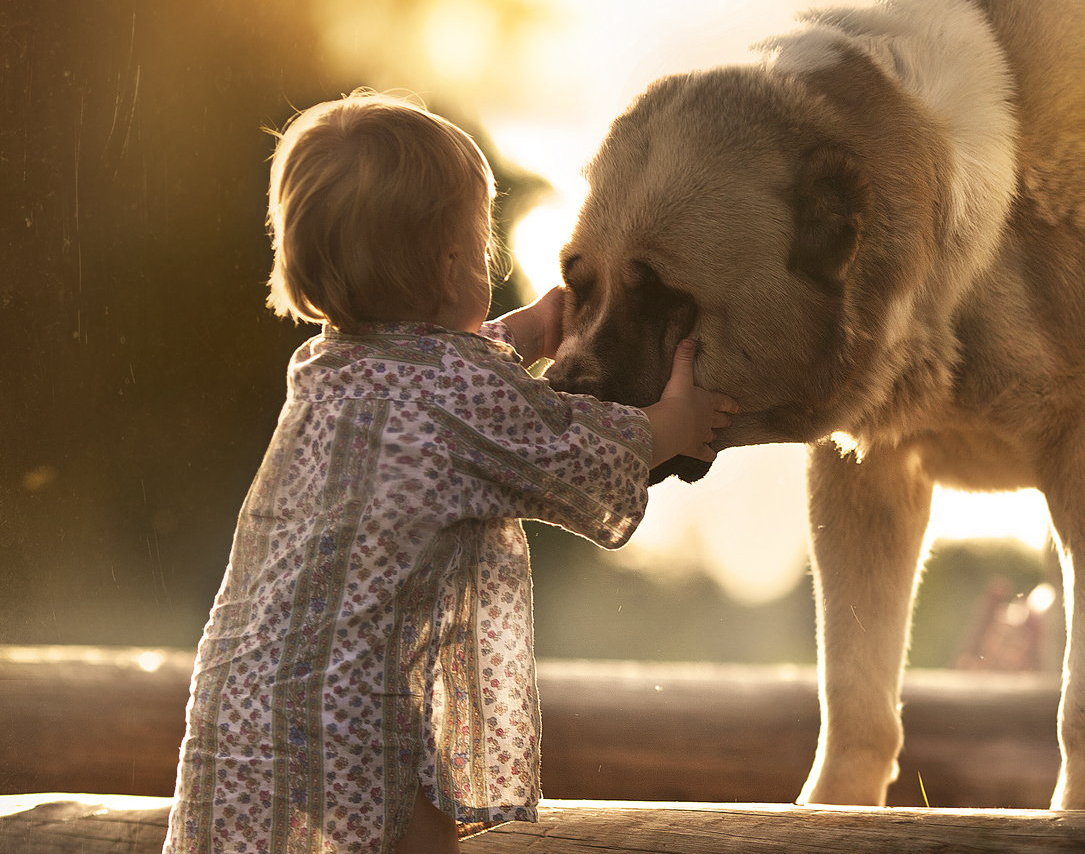
My favorite subjects to shoot are often the people closest to me—my own 10 children. My two-year-old son, Elliott, has slowly been working his way out of the “run-away-from-the-camera-as-fast-as-my-little-feet-can-take-me’ phase and progressing into the ‘oh-I-might-sit-here-for-a-few-pictures-if-you-let-me-have-ice-cream’ phase. I had been wanting to take some updated photos of him and settled on a country boy theme. I was going for something simple that would draw attention directly to him and allow your eyes to settle on his face.
We have nearly 50 hens, and I decided it would make for an interesting composition to incorporate one of them into the photos of my son. He loves the chickens, and spends hours outside playing with them on an almost daily basis, so this theme was really touching on an interesting aspect of his childhood in rural, Northwestern Arizona. This also served a double purpose—it gave him an important job to do and bought me time to get the perfect, dare I say, magical shot.
5 TIPS FOR PHOTOGRAPHING YOUNG CHILDREN
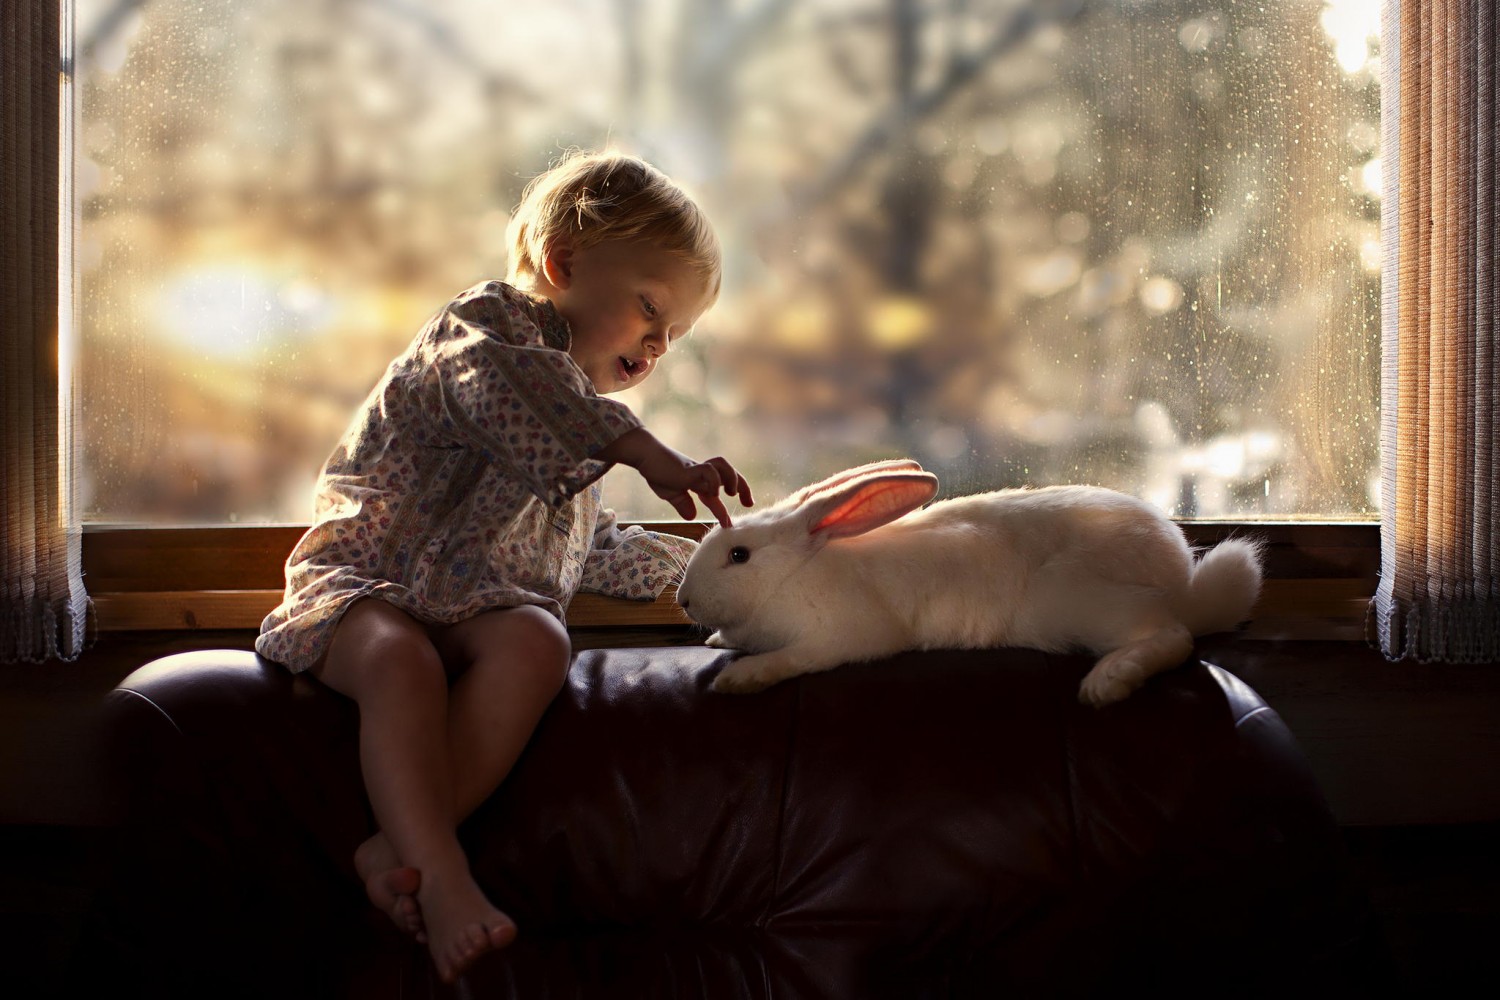
Young, toddler aged children can be both the most challenging and rewarding subjects you will work with as a portrait photographer. Here are a few tips to make your shoot with this age range a success:
• Preparation. Have all of the details of your shoot planned out and set up ahead of time—from the location to the wardrobe to any props that you want to incorporate (a chicken, in my case). I chose simple denim coveralls for Elliott to wear for this shoot to keep the color palette neutral and soft, and keep the focus on him. No distractions. I chose a gentle, tame hen that we had hatched in our own house for this photo. I did not want any crazy, angry hen drama!
• Location. Choose a safe, accessible location when working with young children. This image was shot in tall, golden-colored grass that was growing at a vacant lot right next to our house. The accessibility, gorgeous late afternoon light, rich, golden color tones, and ample space for shooting with a long lens made this the perfect choice for me. Remember to look for those pockets of light! Your camera does not see the entire scene that you see with your eyes. You just need a little nook or cranny to shoot in that translates beautifully in a photograph.
• Patience. Working with young children requires a gentle demeanor and patience. Lots of it. They can be energetic, easily distracted, silly, and sometimes (okay, a lot of the times) not at all interested in what you are trying to do with your camera. Make it fun for them! Leave your dignity at the door! Do not be afraid to get down on their level, play with them, tell funny stories, and even make silly faces or gross noises – whatever you have to do to engage them and grab their interest, if even for only a few moments. Remember though, every child is different. Some children just need space and time. I find that by working with a long lens, I am less “up in their face” and I can allow real moments to happen as I sit back in the distance and quietly capture them with my camera.
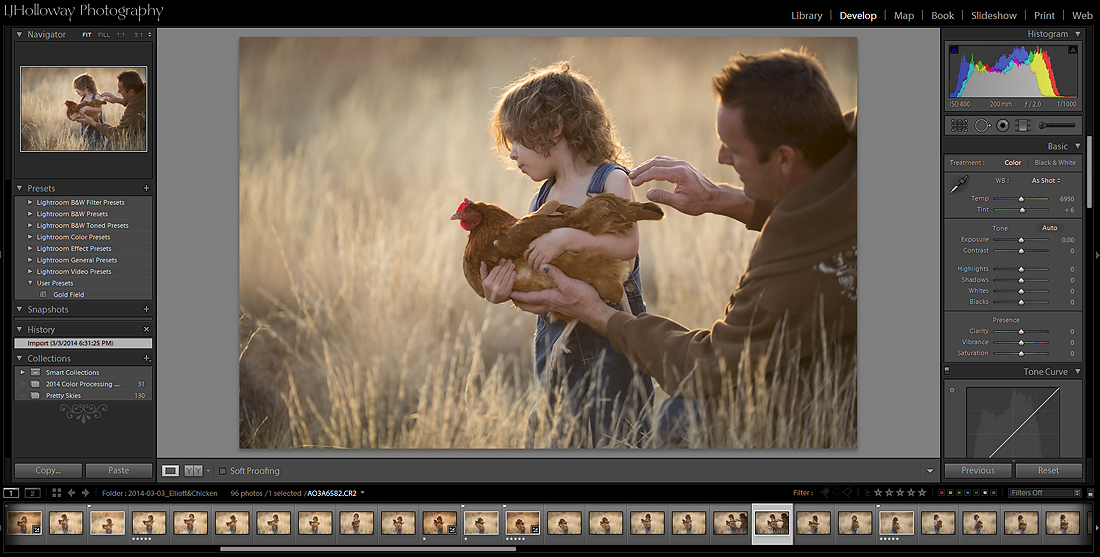
• Employ an assistant. My husband assisted me on this shoot. This was extremely helpful for chicken handling and keeping Elliott where I needed him. Elliott was only able to hold the hen for a short time before she started to slip out of his arms, so rather than me running up from where I was sitting to fix this myself, my husband could momentarily step into the frame, put everything back in place, and I could take a few more shots without missing a beat.
• Quiet time. Sometimes, the best images come from just sitting back, and letting natural moments happen. In ‘Elliott & His Hen’, I sat back in the distance with my 200mm lens and quietly whispered his name just to get him to look my way. I was ready to capture that exact moment that he connected with me. I knew instantly that I had a winner when I saw the shot on my LCD screen.
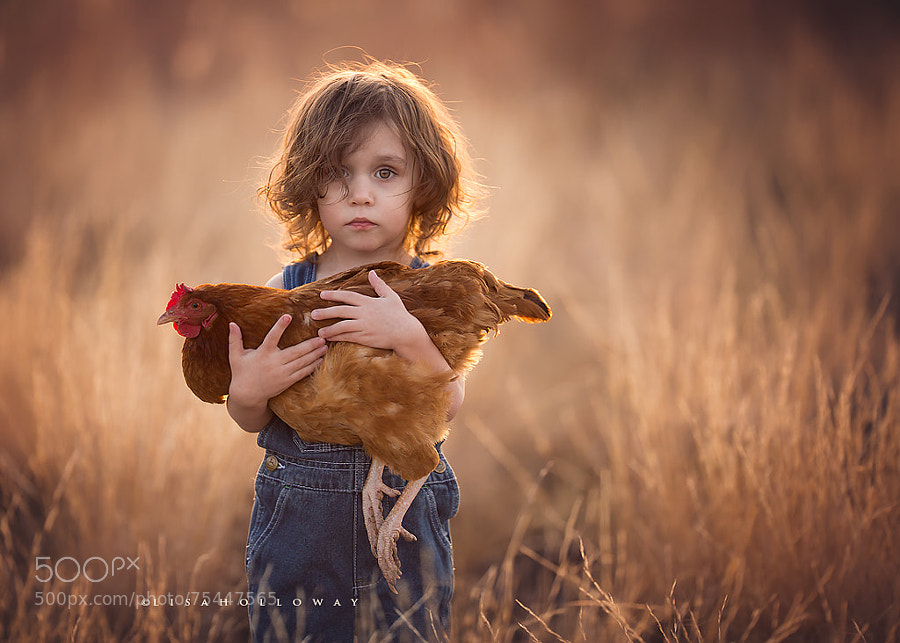
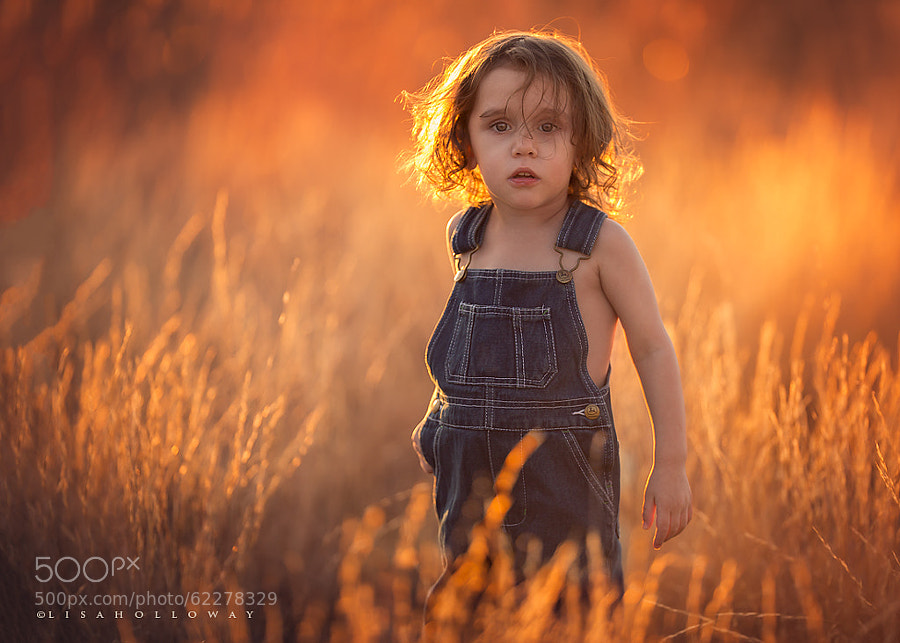
Below are a few more natural, candid moments that I captured during this shoot:
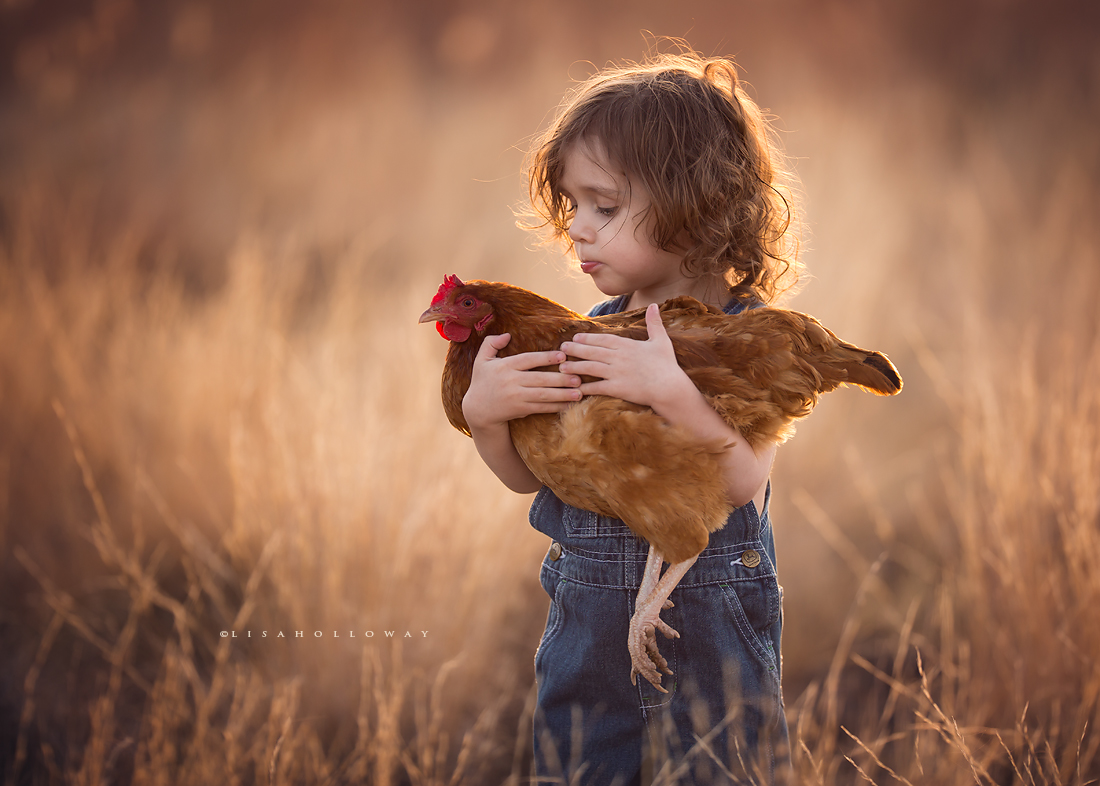
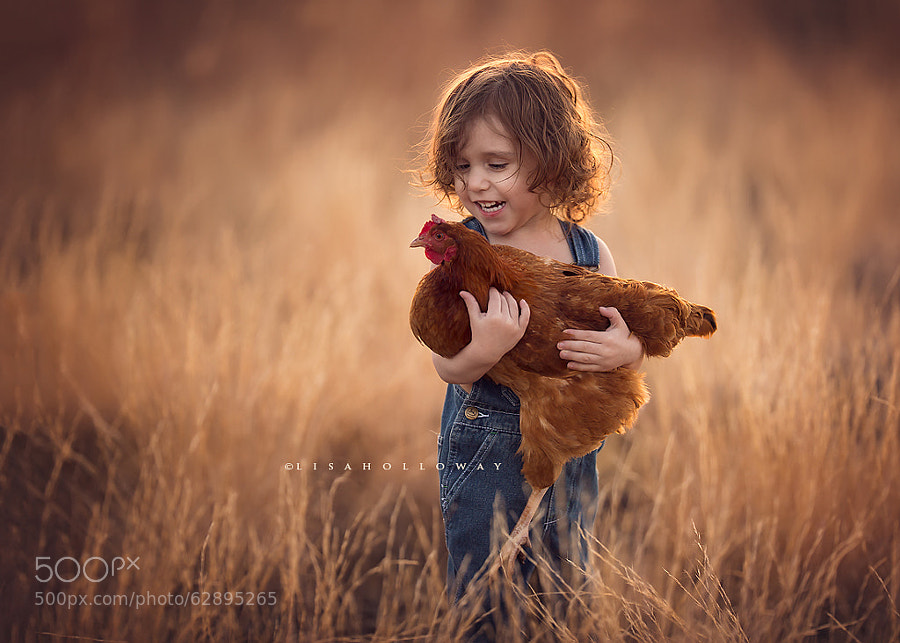
• When all else fails… Go with the flow! At times, children this age are best captured just doing what they do best – exploring and being little kids. Try to lose the whole ‘sit here and smile’ mindset and follow them quietly with your camera. With any luck, you will capture a few priceless moments. There is nothing more genuine than a toddler on the go!
What’s Equipment & Settings Should You use For Natural Light Photography
I used my Canon 5D Mark III and 200mm 2.0L lens to capture this image. I prefer working with a longer focal length as it allows my subject a bit of personal space, and creates a gorgeous, softly blurred rendering of the background. My camera settings were ISO 400, an aperture of F-2.0, and a shutter speed of 1/640. I created beautiful subject and background separation by shooting with a long lens and a wide aperture.
How I used Natural Light to create this imageE
99.9% of my work is created using available, natural light. This image was no exception. I love the challenge of working with natural light. Unlike studio strobes, natural lighting changes hour to hour, day to day, season to season, and location to location. It’s always something new! It is so much fun for me to make it work in different ways.
In this particular image, I decided to use early evening back light from the setting sun to separate Elliott & his hen from the background of golden grass. To do this, I made sure to have him standing a good distance from the tallest grass growing behind him. This physical separation created beautiful background bokeh out of the grass when shot with my 200L. I also looked for an open ‘path’ with shorter grasses growing around him, and taller grasses to either side and far behind him. This created the perfect framing to help draw your eye right to my subject.
I prefer to work with back lighting during the last 30 minutes of daylight, on up to about 15 minutes after sunset. Elliott & His Hen was shot just a few minutes after the sun dipped below the horizon behind him. This allowed for a soft illumination of his curly hair without having blown highlights in his hair that you would get if it had been shot earlier in the day when the sun was higher in the sky.
Below are a few of my favorite natural light photography tips—all of which were used in the creation of this image.
6 TIPS TO MAKE BACK LIGHTING WORK FOR YOU
• Filter that back light! I’m not a fan of the washed out hazy look or sun flare (in most cases) so my back lighting techniques are designed to avoid that. By filtering the light through something (trees, foliage, or tall grass as in this case), you can really cut back on haze.
• Use a lens hood. A lens hood is cheap and easy to use, and is a great way to reduce haze in your back lit images.
• Stand in the shade. By physically planting yourself in a shady location, you eliminate the problems that arise with the sunlight coming directly into your lens. If there is no shade available, try shooting with the sun at a slight angle to your camera. Make sure it is not coming straight into your lens – unless you are shooting to purposefully include haze and sun flare.
• Open sky! By open sky, I mean open sky behind you. This allows for adequate lighting to fall on your subject’s face.
• Spot meter. I always spot meter for my subject’s skin tones – this is especially important when back lighting. You do not want to under-expose the most important element of your photo – your subject!
• Avoid open sky behind your subject. Open sky is great behind YOU, but not so great behind your subject. If you are properly exposing for your subject’s skin tones, that sky will blow out and be nothing but one big, ugly, distracting white blob in your photo that will steal attention from your subject. Remember, our eyes settle on the brightest thing in a photo. You don’t want that to be a blown out sky! I made sure that golden grass filled the frame behind Elliott. This kept the color palette warm and neutral, and kept the focus on him, where it belonged.
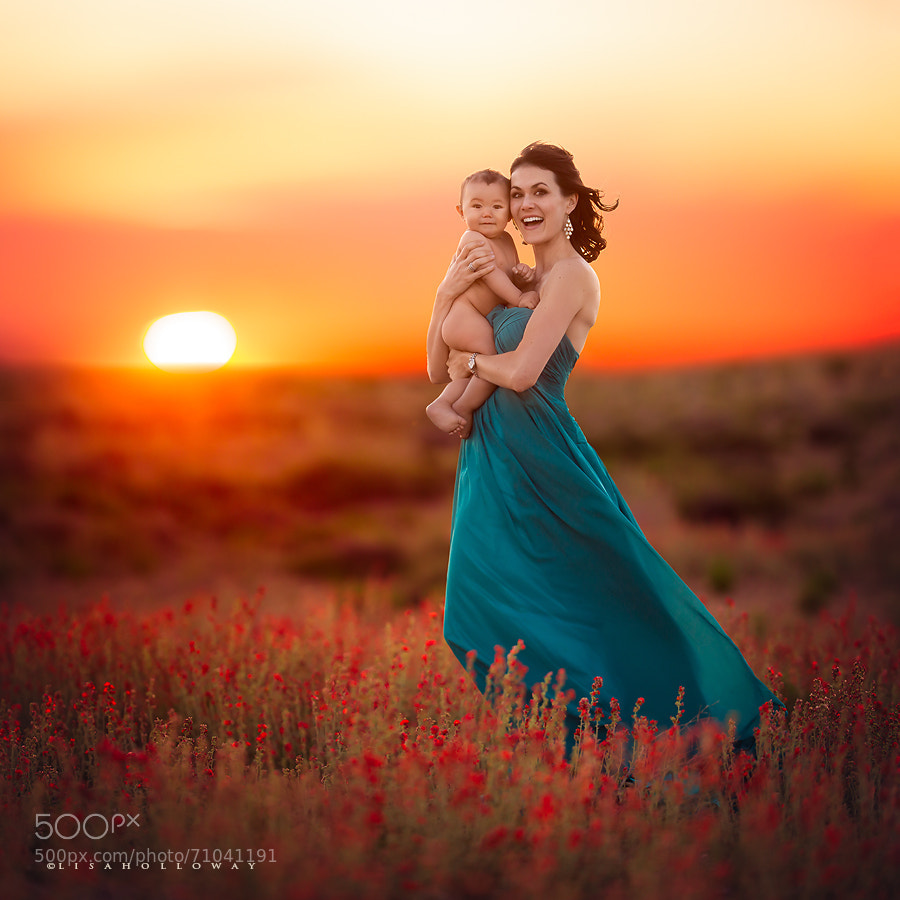
On occasion, I will purposefully photograph the open sky behind my subject if I plan on doing a composite to include the sunset in my image. Below is an example where I shot the sunset separately and added it to the the final edited image in Photoshop:
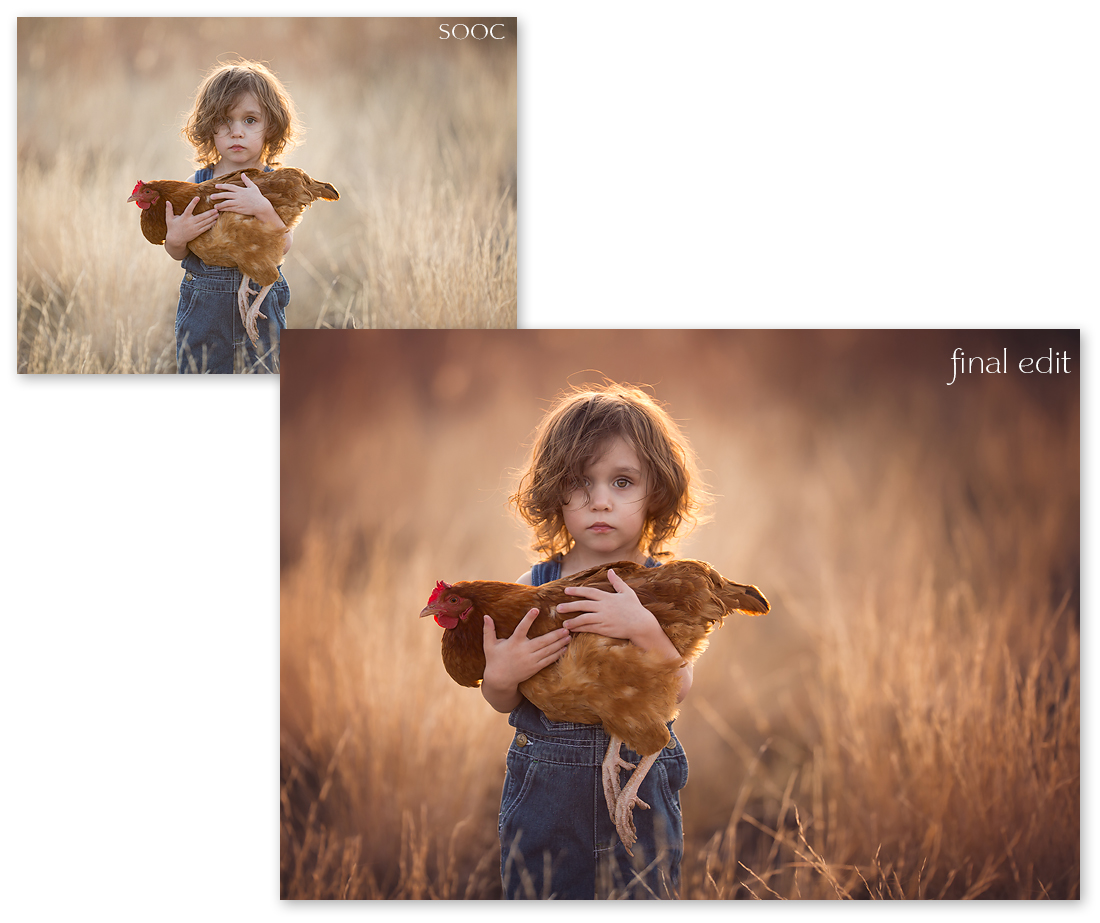
You can see a before and after of this image here:

Post-processing Tips for a Warm, Golden Image/b>
I always start my post-processing work flow in Lightroom 4 and finish up in Photoshop CS6. In Lightroom, I really pushed the temperature and tint sliders to add more warmth and magenta for a golden look. Having a vision in your head of how you want your image to appear when you are finished editing will help you get from point A to point B. I knew that I wanted this image to be rich, warm, golden, and dramatic, with all attention on Elliott.
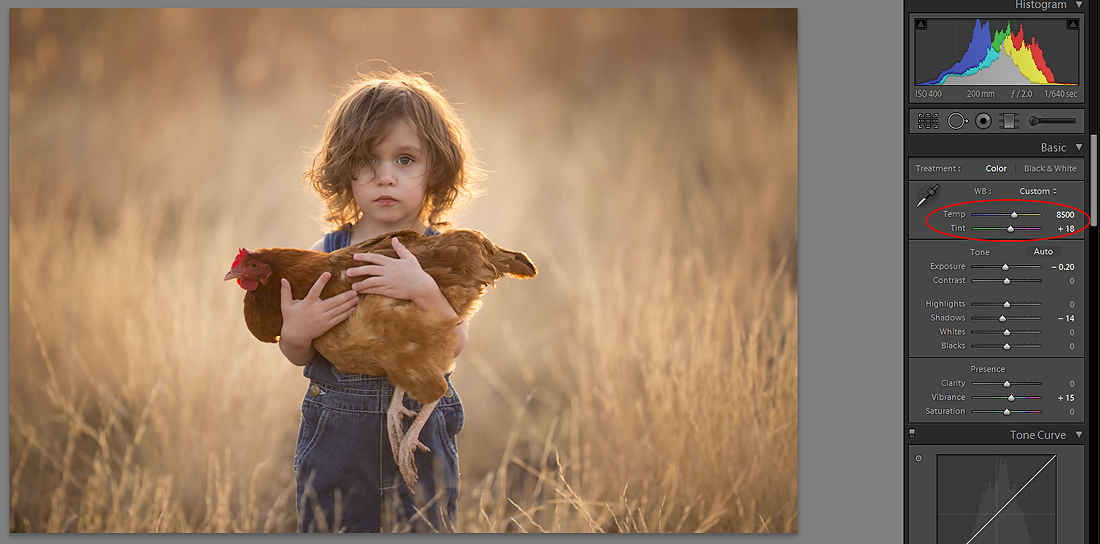
I tend to work in a lot of layers once I am in Photoshop. Here are a few tricks I utilized on this photo to further enhance that warm, golden look that I was going for.
I darkened and added contrast to my background by creating a few curves layers and playing with different blending modes to add contrast and saturation. I incorporated additional color toning to this image using curves and solid color fill layers. Elliott’s face was given more dramatic dimensionality using 2 separate levels layers – one to brighten the highlights, and a second to deepen the shadows. I brightened and added contrast to his eyes by dodging and burning.
Once the color toning and contrasting was completed, I cropped the image to my liking and added a soft, hazy vignette using levels. At this point, I sharpened and saved!
You can see a full before and after of this image here:
In my eyes, this is the perfect image of my sweet baby boy. It is a pure, real, and uncluttered look into his very soul—an image I can look back on as he grows up as a glimpse into the past and of the little boy he once was. I couldn’t ask for anything more.
Thank you so much for taking the time to read my natural light photography tutorial. I hope you found it to be helpful. You can continue to follow my work here on 500px.
For more in-depth details on my post-processing techniques, you can leave a comment for me below. I can also be reached via email at ljhollowayphotography@gmail.com. I offer online classes to help you achieve your vision through editing.


You can also follow Lisa’s work at the following links:
My website
My Facebook page
My Instagram account
My Google+ page
My Twitter account
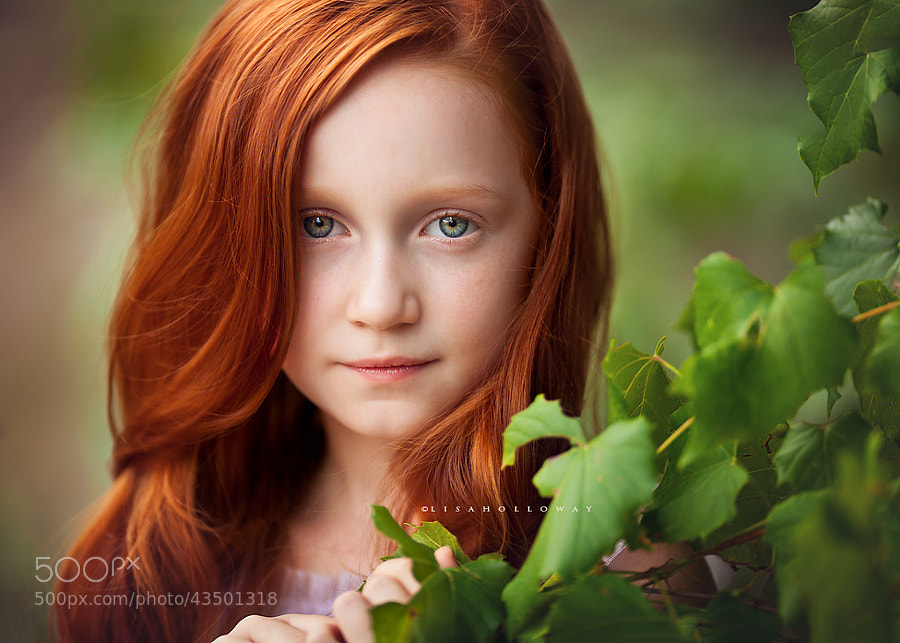
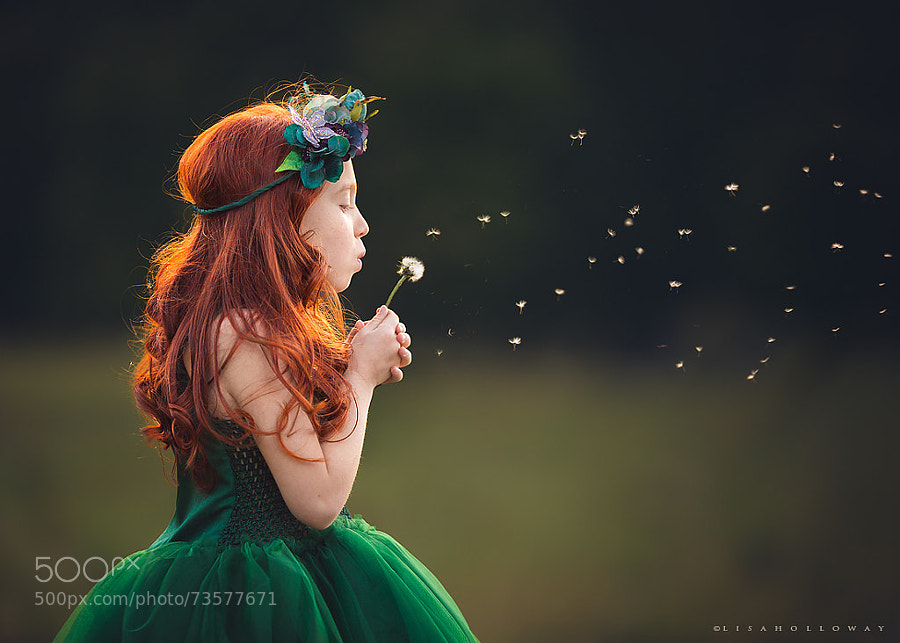
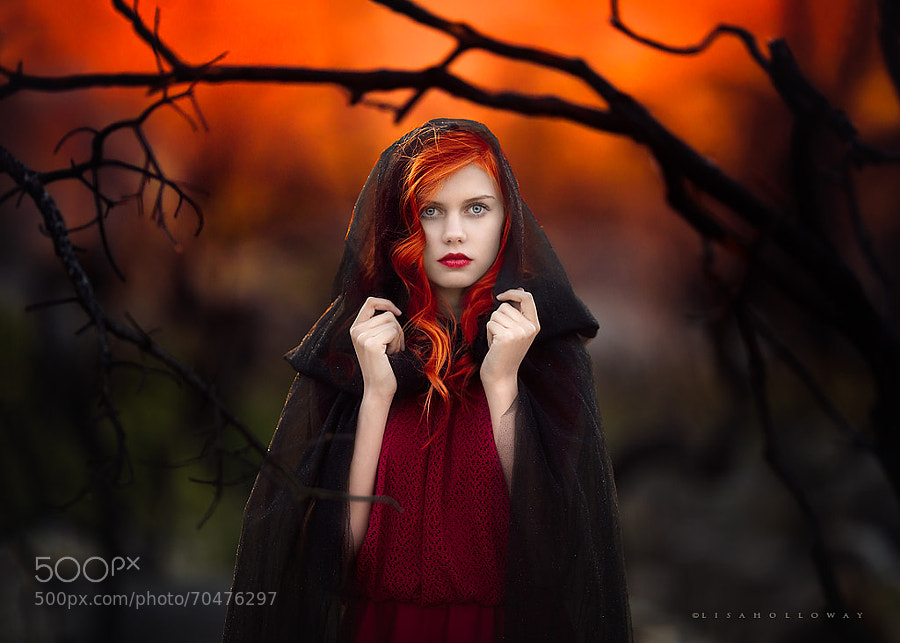
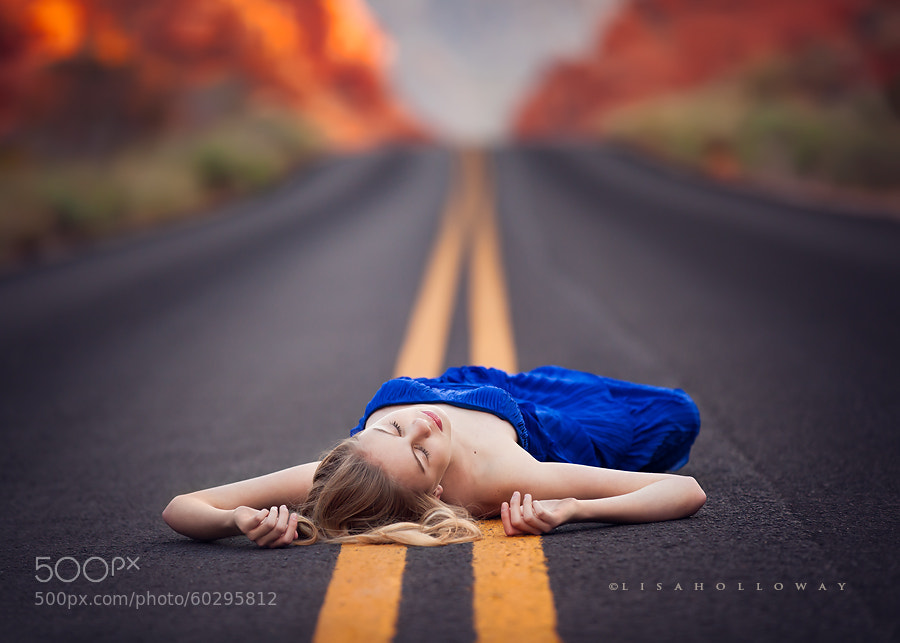
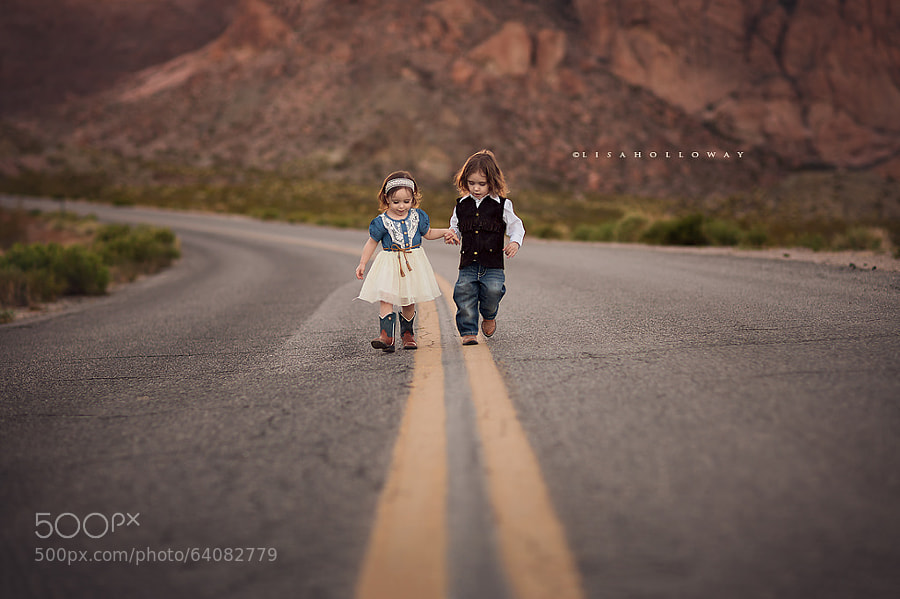
Editor’s Note: For more inspiration on capturing magical moments outdoors, scroll down for a collection of Lisa Holloway’s images:
You Might Also Like These Articles:
- 50 Creative Self-Portrait Ideas To Trump All Selfies
- 35 Fantastic Black and White Portraits on 500px
- Tutorial: How To Create Self-Portrait Sketches
- The Secrets To Shooting And Processing Natural Light Portraits

Leave a reply