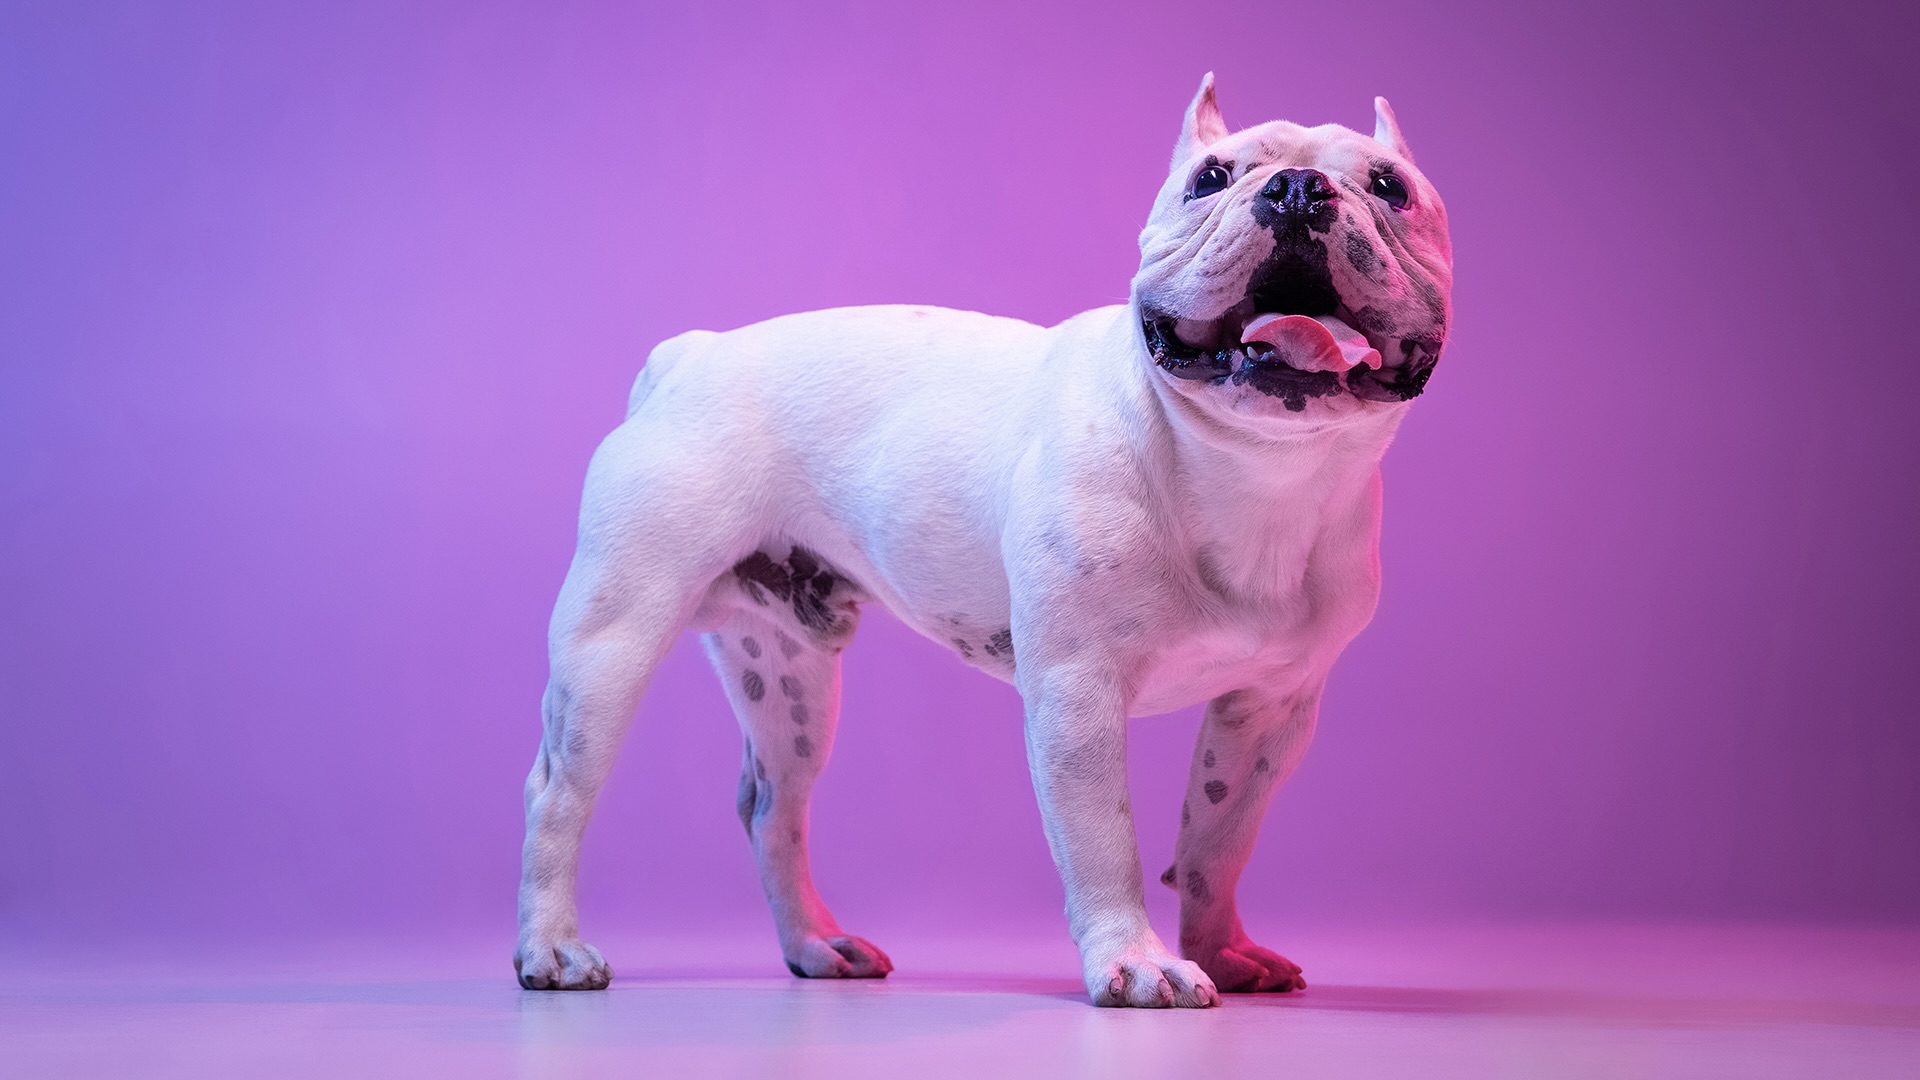
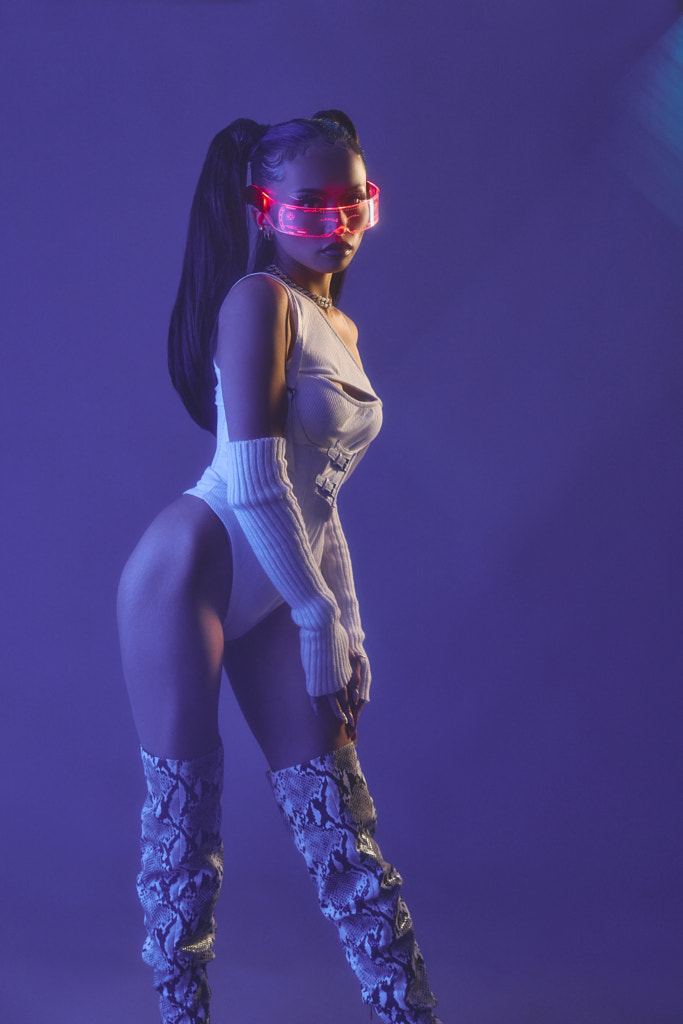
Last year, Pinterest named “vibey lights” as one of their top trends of the year, with searches for “neon room,” “blue lights bedroom,” and “LED light signs” all rising year-on-year. It was official: the neon aesthetic was back. Throughout the year, neon-lit rooms trended over on TikTok, while Kendall Jenner showed off her neon pink Tracey Emin sign. From Diet Coke’s Just Because commercial to Meta Quest’s 2022 Super Bowl commercial, this neon aesthetic has influenced the world of advertising as well.
For still photographers, one way to create “vibey,” dynamic lighting is through the use of gels. Gels are transparent sheets of material you place over your studio lights, either for correcting color or adding color effects. They’re a hugely versatile and relatively affordable and accessible way to add flavor, dimension, and mood to your portraits and still lives.
“We have seen more duo-tone colors pop up in commercial advertising, and we’ve seen color gels used frequently in shoots relating to technology and the future,” the 500px team tells us. In this quick guide, we’ll take a look at just a few ways you can use gels to enhance your photography and modernize your Licensing portfolio.
White balance
You can employ gels for a wide variety of purposes. The first and most straightforward would be for simple light balancing when using mixed lighting (natural and artificial). CTO gels, for instance, are commonly used when combining and matching golden hour sunlight with flash; the gel creates that same warmth that you’d see during sunset. If you’re shooting at twilight, on the other hand, the existing light on your set will be cooler. In that case, you might want to add a CTB gel to your flash to make it bluer.
Either way, the light temperature will be consistent throughout your scene, and you can set your white balance accordingly, eliminating any unwanted color cast. These are known as color correction gels, and they come in different grades (for example, full, ½, or ¼), depending on the intensity you want. We recommend starting with lower grades and moving up as needed.

Creative effect
The second reason to use gels is to create color effects in the studio. For these setups, you want to block out any and all ambient light so you can fully control your light. If this is impossible, just start by dialing down your ambient exposure, tweaking your camera settings to underexpose for any and all ambient light.
You can then place your gelled light(s) anywhere, angled in front of or behind your subject, toward the background, or even bouncing off the wall. All will create a different look, as will the flash power and the distance between your light and subject, so feel free to move things around as you go. Consider shooting tethered so you can see your results and make adjustments in real-time.
Whether you’re using gels for color correction or creative effect, they should cover the entirety of your flash so that there’s no white light leaking into the frame. In a pinch, you could use gaffer tape to cover any uncovered areas.
A touch of color
When using gels for creative effect, you’ll apply them to either a key light or accent light. For just a touch of color, only gel your rim light while leaving your key light bare and illuminating your subject. Using grids, snoots, or barn doors as additional modifiers on your gelled lights can help control any unwanted light spill. Place the rim light farther behind your subject for a thinner light, or move it closer to them for a wider light.
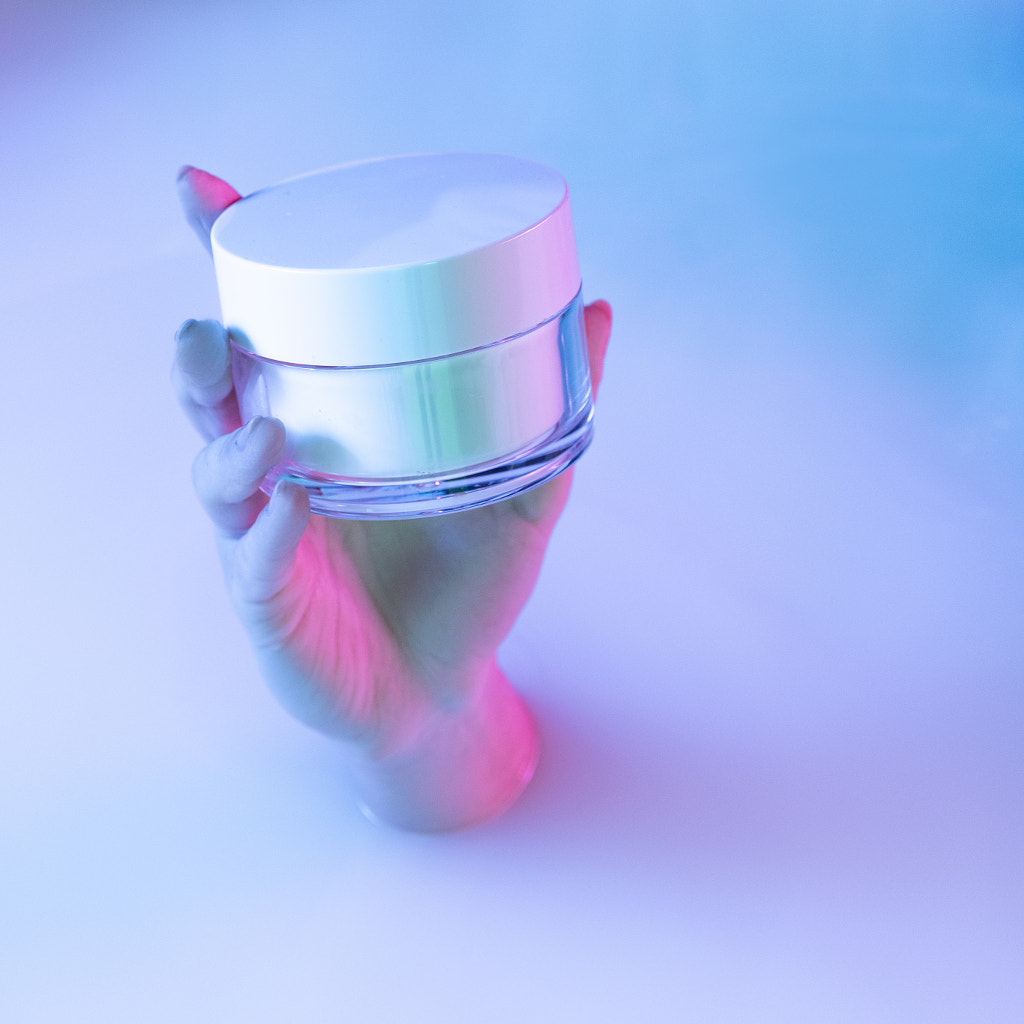
Another example of when you might use gels would be in situations where you want a colored background but don’t have seamless paper in that particular color. You can just use a white paper background and the gel of your choice to get the color you want. When using a white backdrop, a higher flash power will deliver a brighter background, while lower power will give you a more saturated look (the opposite will hold if you’re shooting against a dark background).
If you need guidance on what colors to choose, our article on 2022 color trends offers a point of departure. Pantone’s Color of the Year, Very Peri, for example, works very well within technology-themed photoshoots.
(Keep in mind that you’ll lose some light when using gels, especially if those gels are a darker color. Use a light meter and bump up your exposure to compensate.)
Multiple colors
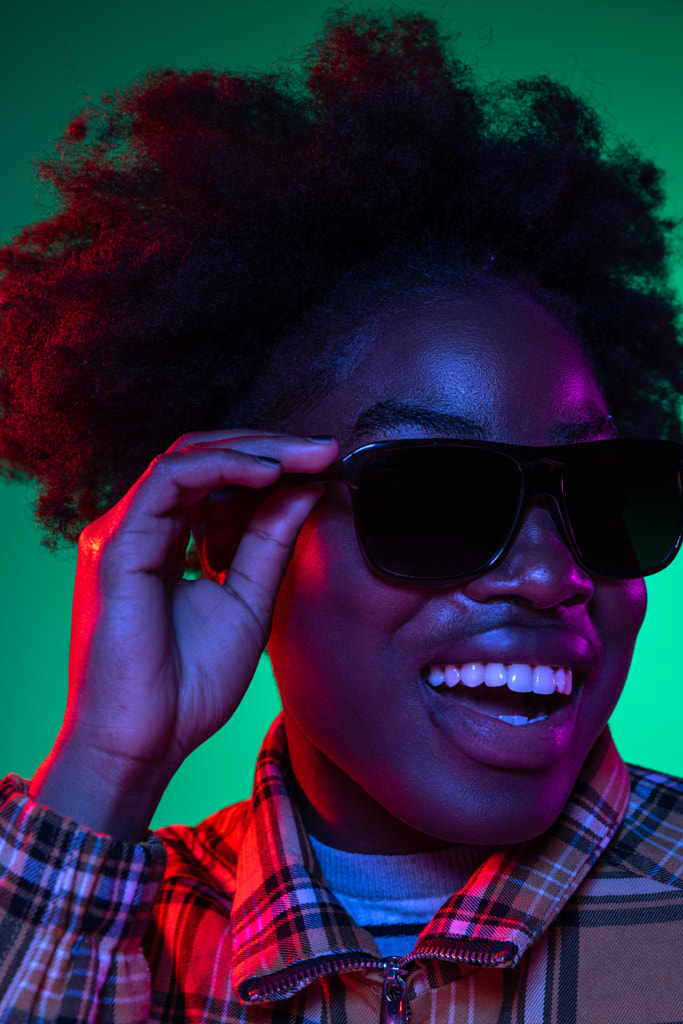
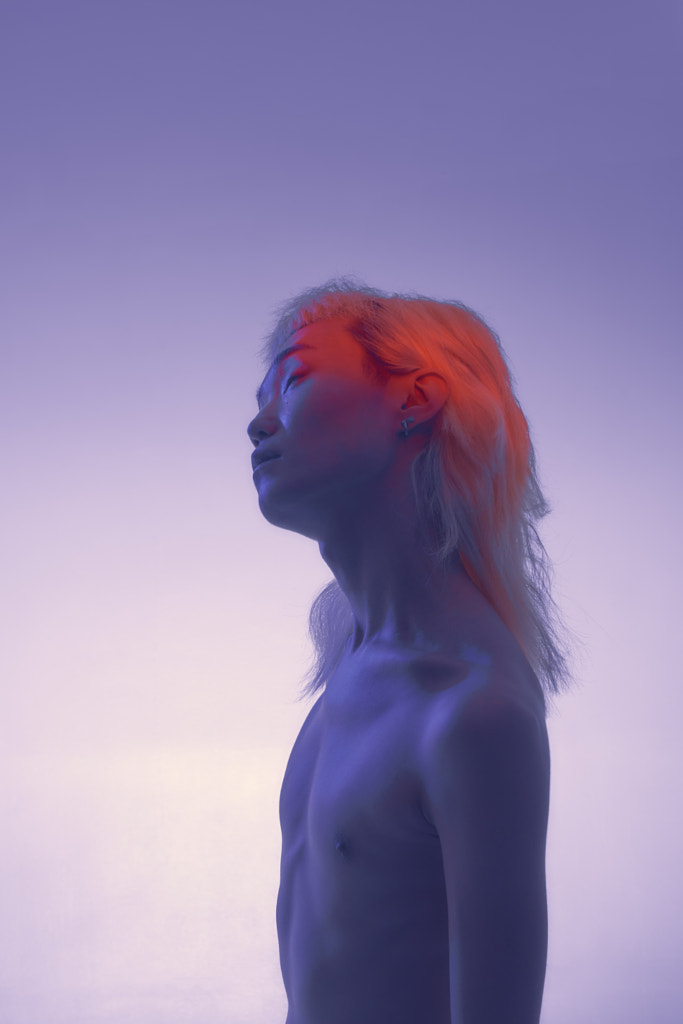
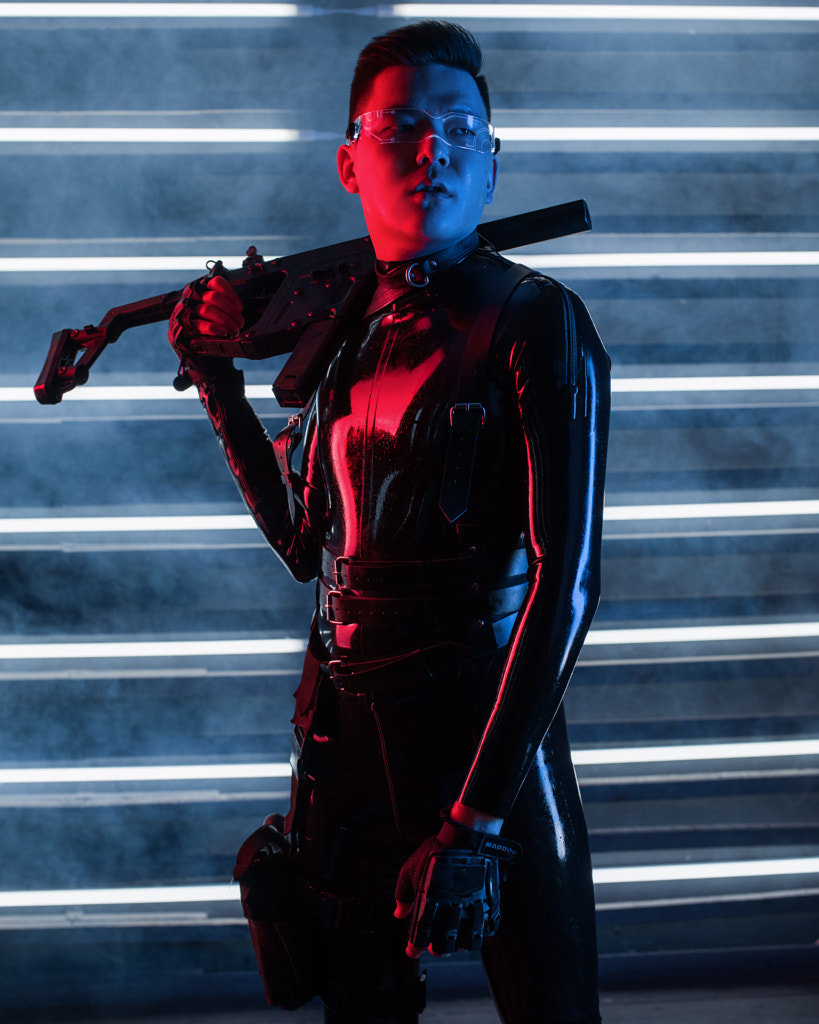
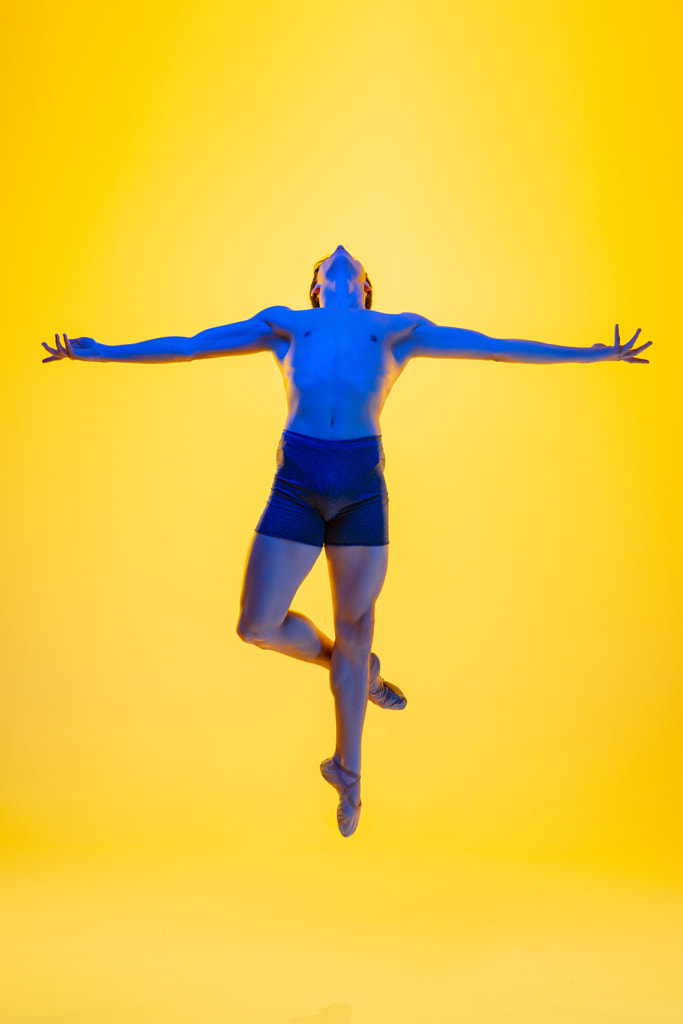
For a far more intense effect, you can also gel your main light. Perhaps you even combine multiple colors with a two or three-light setup. One popular technique is to combine orange and blue gels for a complementary color scheme, created entirely in-camera rather than during post-production. For instance, you could use (at least) two studio lights, one gelled orange and the other blue; one can light your subject, while the other illuminates your background and provides a rim light on one side of the face.
Alternatively, you could position two gelled lights on either side of your subject for a split-lighting effect. Try different modifiers to create softer or harder light on either side. Maybe you experiment with other complementary pairs like yellow and purple or red and green. Just remember to consult the color wheel before your shoot, and pull some reference images for inspiration.
While complementary colors will create the most contrast, you can use other combinations as well. The prolific advertising and fine art photographer Tim Tadder, for instance, shot a vibrant campaign for the UFC gym using red and blue gels a few years back. You can also browse photographs from the 500px community for inspiration.
You could even create a gradient background by using multiple colors. Finally, if you find colors spilling and mixing where you don’t want them to, you can use flags to block one color from seeping into another. At the same time, some color mixing could be done for creative effect. Sometimes, you might even layer gels. If you don’t have a purple gel, for example, you could always layer a blue and red gel to create a similar vibe. Two gels of the same color will boost saturation and intensity.
Not on 500px yet? Click here to learn about Licensing with 500px.


Leave a reply