
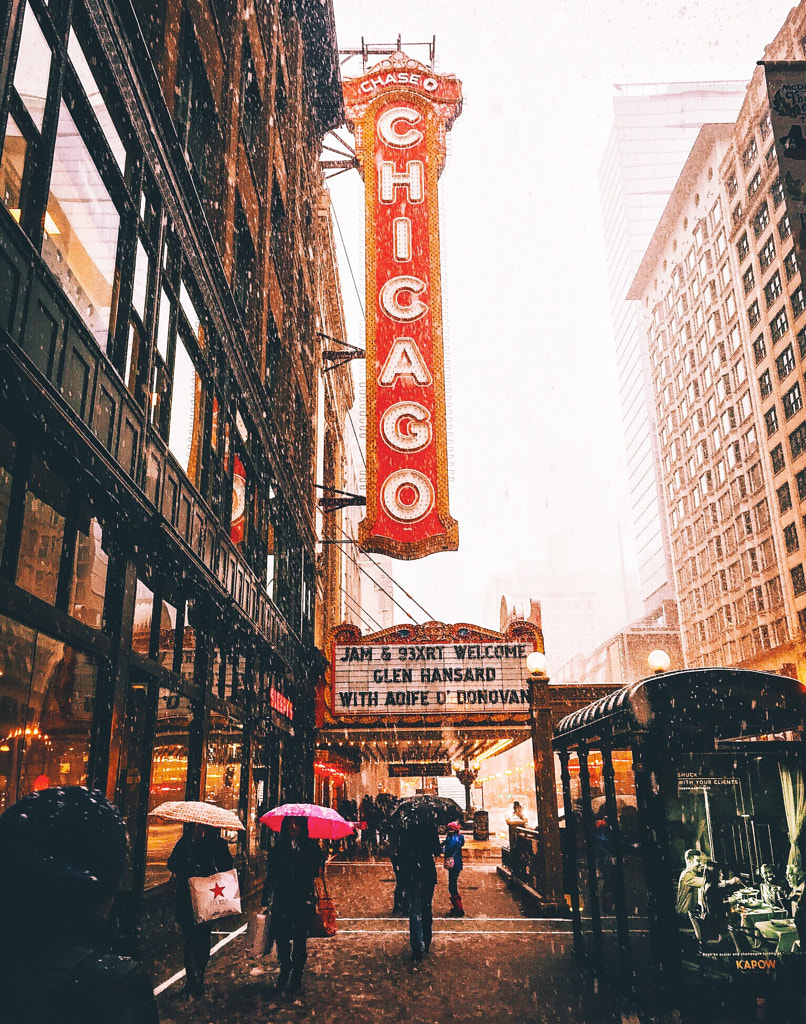
From Joe Greer to Jennifer Bin, countless well-known photographers have cut their teeth and honed their style by shooting with a smartphone. In 2017, Luisa Dörr photographed Hillary Rodham Clinton and Oprah Winfrey for the cover of TIME magazine using an iPhone. Three years later, amid the pandemic, Naomi Campbell photographed herself for the cover of ESSENCE, making history as the magazine’s first cover shot entirely on an iPhone. Even Stephen Shore has joined the camera phone revolution.
Smartphone cameras have evolved by leaps and bounds, and they continue to improve every year, encouraging more people to learn photography and inspiring established pros to think outside the box. When used well, a mobile device can give a professional camera a run for its money, all while fitting in your pocket. Here are our best smartphone photography tips for getting started.
Note: These tips apply to both iPhone and Android photography, though the language might change based on the phone you use.
Move your feet
Any time you zoom digitally, you’re reducing your image quality, so instead of zooming in on your touchscreen, simply step closer to your subject. Using a smartphone is a bit like using a point-and-shoot in the sense that it forces you to go back to the basics. Rely on your eye rather than your gear, and use it as an exercise in perfecting your framing and composition in-camera.
Focus manually
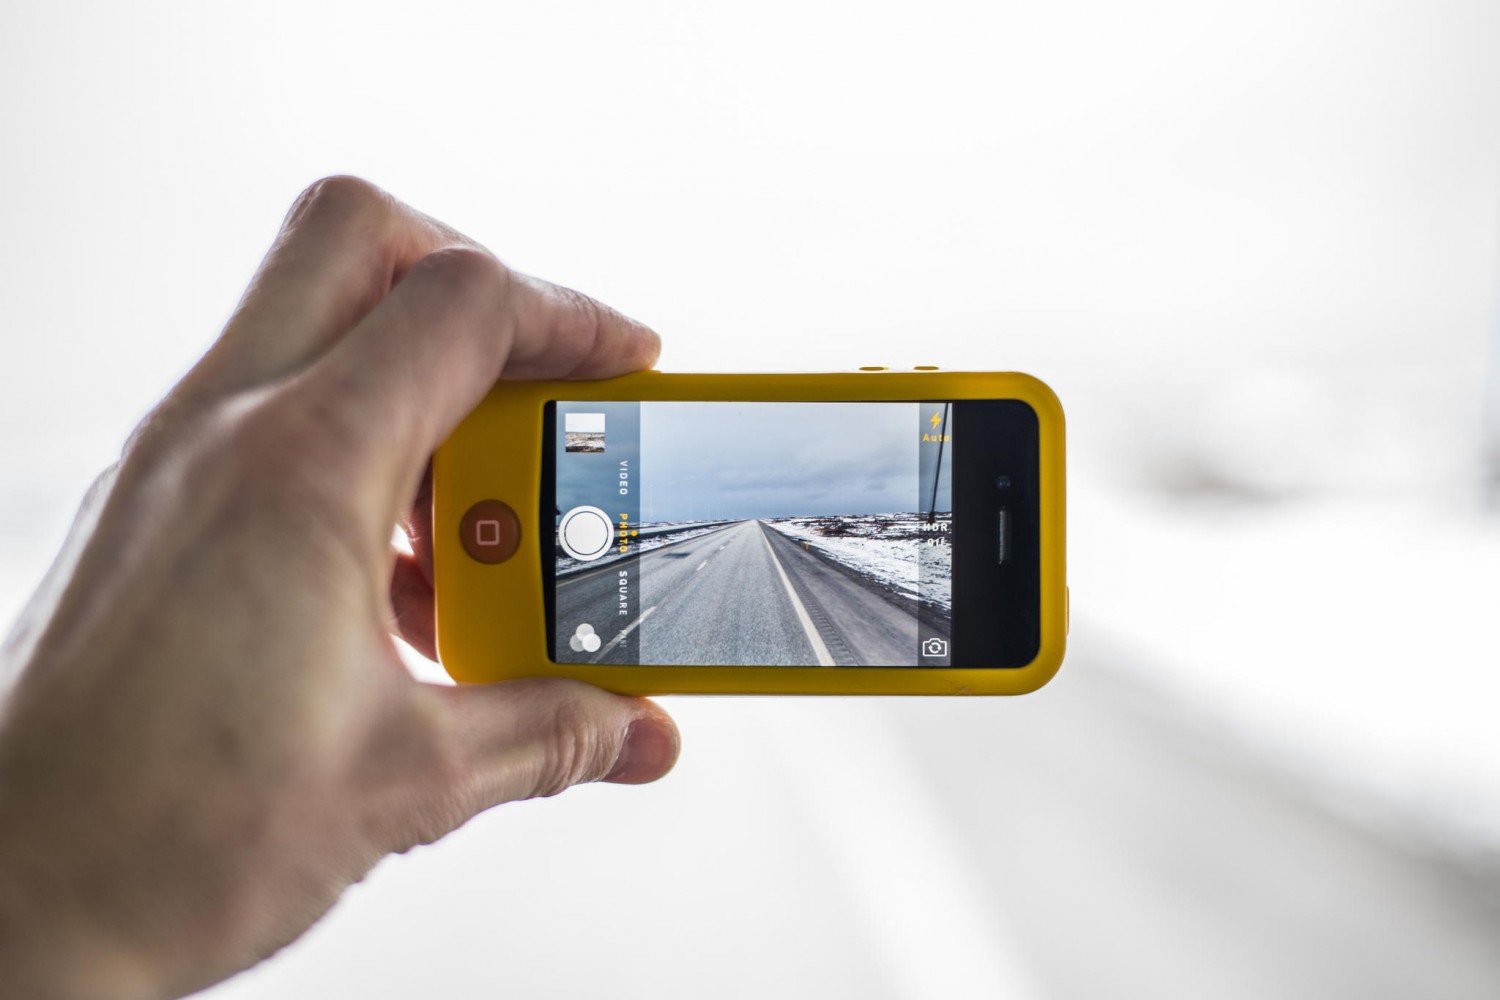
To start, focus on your subject by tapping your screen. Depending on the subject, you might also “lock” your focus and exposure using your phone’s AE/AF Lock function so it’s not continually refocusing when you don’t want it to. (With that being said, the distance from you to your subject will need to remain consistent, unless you’re intentionally going for an out-of-focus look.)

Try HDR
With iPhones and Androids, you can tap to set your focus and hold it to finesse your exposure, making your image brighter or darker. (On iPhones, you’ll see a sun icon you can slide up or down). But there’s another step you can take for more control over your exposure, and that’s turning on your phone’s HDR setting. That way, your phone will automatically capture three different exposures and combine them into one. It’ll also take a regular photo so you can choose.
HDR is designed for high-contrast lighting, which phones have historically struggled with, so it can be a game-changer. At the same time, some HDR photos might come out looking artificial, so it’s a judgment call based on the individual situation and your preferences. Another thing to keep in mind with HDR is that it will result in some camera lag.

Practice
Phones with multiple lenses allow you to alternate between fixed focal lengths, so take advantage and experiment. Take plenty of test shots on your morning commute, at lunch, or on a golden hour walk. Some mobile photographers use the gridlines on their phone screens, which can help you straighten your horizon or adhere to the rule of thirds. Others opt to turn off the grid and rely on their gut and experience. It all boils down to personal preference.
Experiment with lens attachments
Manufacturers like Moment make lenses specifically for smartphones, including tele lenses (a useful alternative to digital zoom), fisheyes, and even macros. Investing in different lenses and experimenting with your perspective are easy ways to boost the quality of your images. Neal Kumar, a master of iPhone photography, has used tele and wide attachment lenses in the past.
Use an app for manual control
While we’re on the subject of Moment, the Moment Pro Camera App lets you adjust your ISO, shutter speed, and white balance settings manually, as you would with a regular camera, and shoot RAW photos that you can then perfect in post-production. You can even shoot long exposures or capture burst shots in RAW for fast-moving subjects.
In terms of camera settings, it’s also worth noting that most smartphones don’t have variable apertures at this point. They do, however, offer Portrait mode, which you can use to simulate a shallow depth of field for that blurry, out-of-focus background—similar to what you might get by opening your aperture wide on a regular camera.

Invest in a stabilizer
A phone tripod will give you much more freedom and flexibility to get the shots you want, especially if you’re shooting long exposures. A tripod can also come in handy if you need to go hands-free, for example, to rearrange your set for a still life session. Finally, if you plan on shooting panoramas on your phone, a tripod will ensure your phone remains level. You can also consider triggering your shutter remotely to minimize shaking.

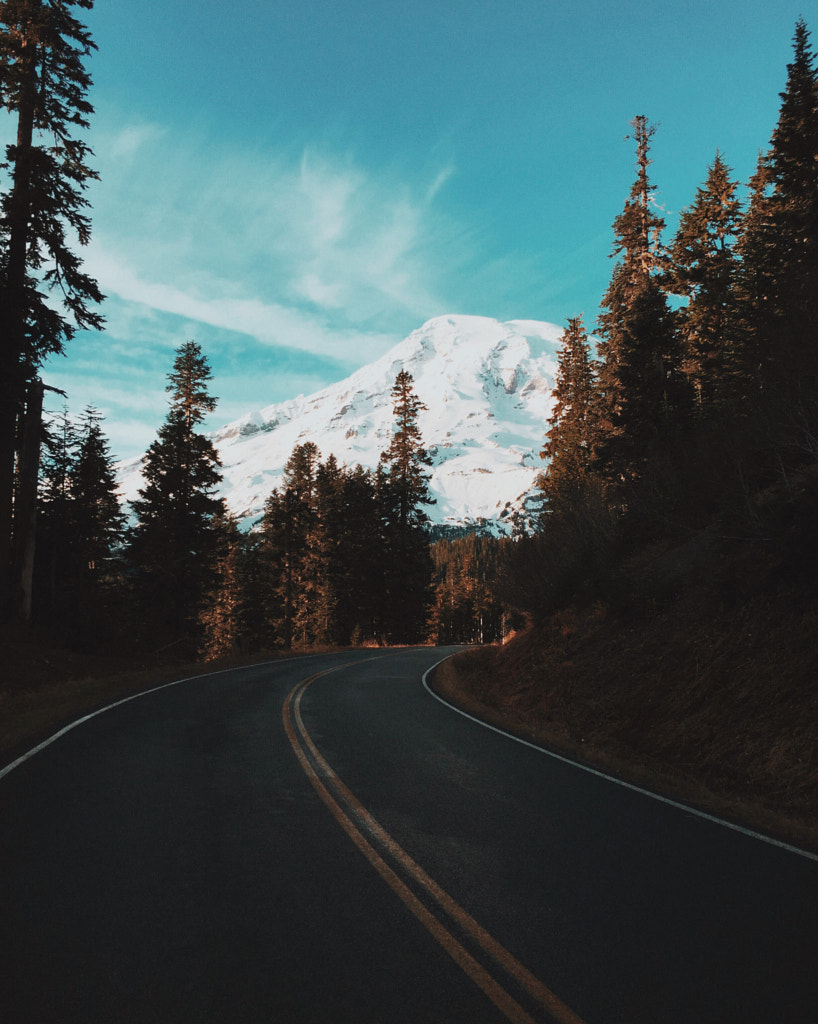
Get creative with lighting
Conventional wisdom tells us that natural light is best for smartphone photography, especially around the golden hour when it’s warm, soft, and diffused. Golden hour is also perfect for those long, compelling shadows. And as any photography guide will tell you, the best natural lighting conditions are often found on overcast days when the light isn’t too harsh.
The reason you don’t want to use your phone’s flash without bouncing or diffusing it is that it can easily result in washed-out, unattractive pictures. With that being said, you aren’t always limited to natural light, as brands have gotten more innovative with lighting for mobile photo studios.
Compact LED panels are a good place to start for continuous lighting, but companies like Profoto also make handheld studio lights specifically for smartphones, with the option to use flash or continuous lighting. You can even adjust the color temperature or add modifiers, such as gels or grids.
Take the time to edit
Filters allow you to enhance your photos (and correct mistakes) with a single click, but we recommend taking the time to edit your work beyond just adding a filter. Whether you’re interested in hobby photography or professional phone photography, editing is non-negotiable. Popular editing apps catering specifically to smartphone photographers include VSCO and Snapseed.
Depending on what you use, you can adjust your color saturation, contrast, brightness, white balance, and more. You might even experiment with double exposures, add film grain, or do some light retouching using the healing brush. SKRWT is another app you can use for perspective and lens corrections. Cortex Camera will help with low-light conditions while also cutting down on noise.
Meanwhile, Unfold is good for creating collages and content for social media, and Touch Retouch is perfect for removing distracting elements and bringing the focus back where it needs to be. With the right toolkit, your smartphone shots can rival even your DSLR photographs—for a fraction of the cost.
Not on 500px yet? Sign up here to explore more impactful photography.


Leave a reply