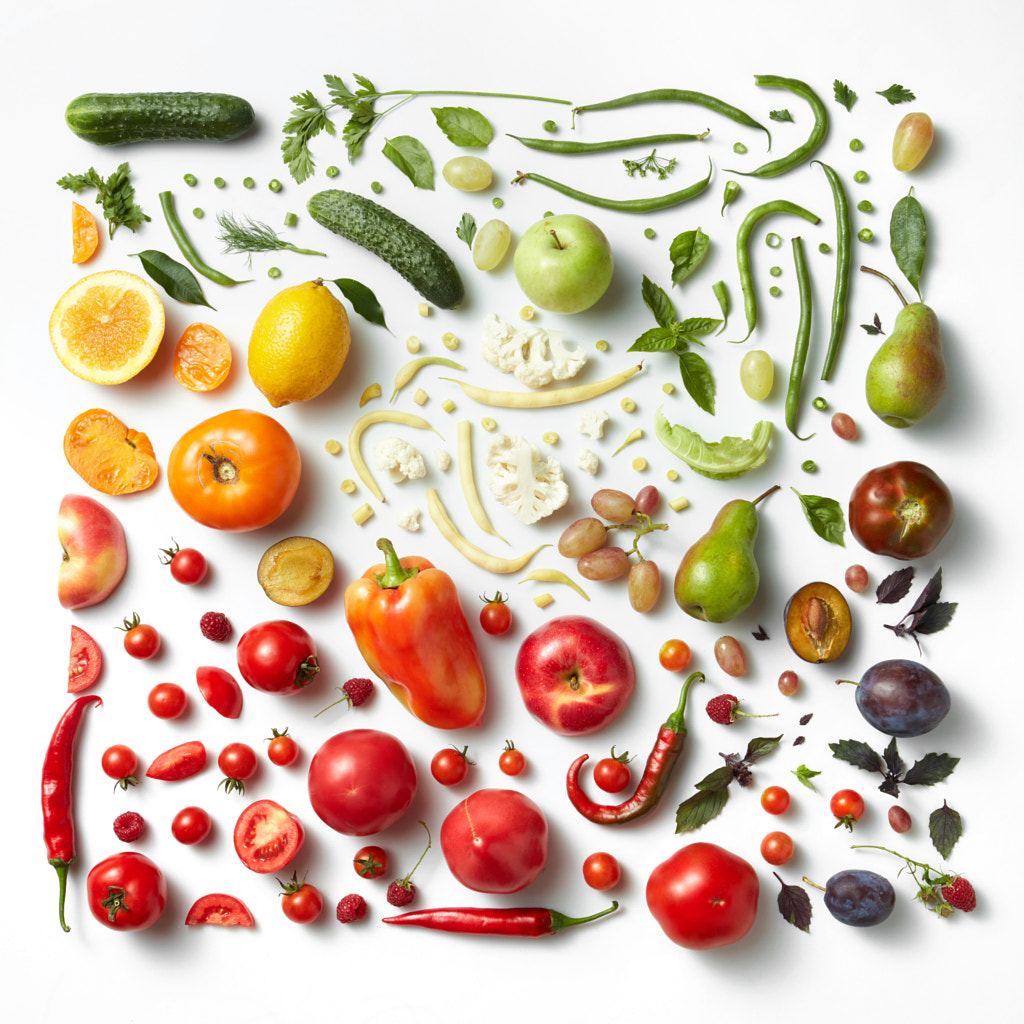
It’s a trend you’ve seen all over your social media feeds, initially popularized by brands like Sephora, Apple, and Gap and proliferating under hashtags like #flatlay, #flatlays, #flaylaystyle, #flatlaytoday. “Flat lay photography” is exactly what it sounds like: a straight overhead-style shot of objects arranged neatly on a flat surface. The curated Instagram page @flatlays has 234,000 followers; elsewhere, the classic Tumblr site Things Organized Neatly launched a popular photobook of the same name.

Sometimes called “knolling,” it’s a style that can be found in fashion blogs, the pages of food magazines, and product advertising—making it an evergreen and versatile choice for commercial Licensing Contributors. The art of the flat lay is accessible—and you can tap into it on any budget—but it does take some planning and foresight. Here are six steps to follow for your next shoot.
Step 1: The shot list
Like many commercial shoots, a good flat-lay session begins with a detailed shot list. This list will help guide you through the following steps, outlining the different lighting schemes, compositions, and props you want to try. When brainstorming ideas for your shot list, you can also create a mood board, featuring inspirational flat lay photos pulled from magazines, your favorite brand’s social media feeds, or 500px. You can use an app like Milanote for shot list templates and an organized workflow.
In addition to writing down the specific shots you want (close-ups, wide shots, hand-in-frame, and so on), you might also want to create a series of sketches to provide a visual reference point. “When you begin actually setting up your items on the day of the shoot, you’ll want to have a guide,” the 500px team explains. Your drawings don’t have to be perfect, but they should indicate where you want your props for every shot and how you’ll rearrange, add, or remove them throughout the session.

Step 2: Prop selection
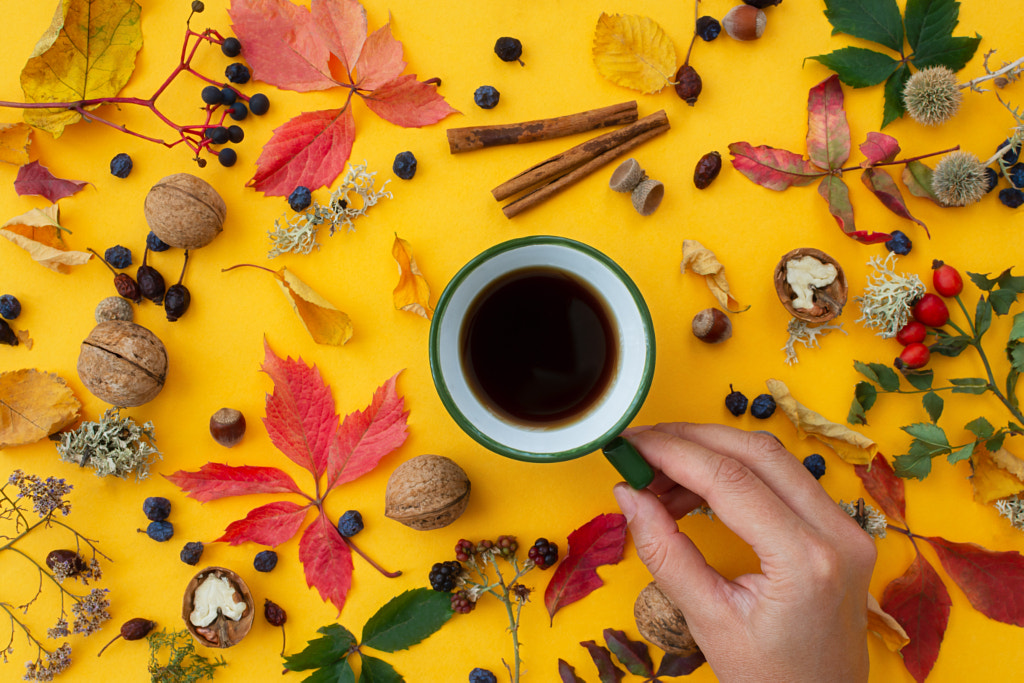
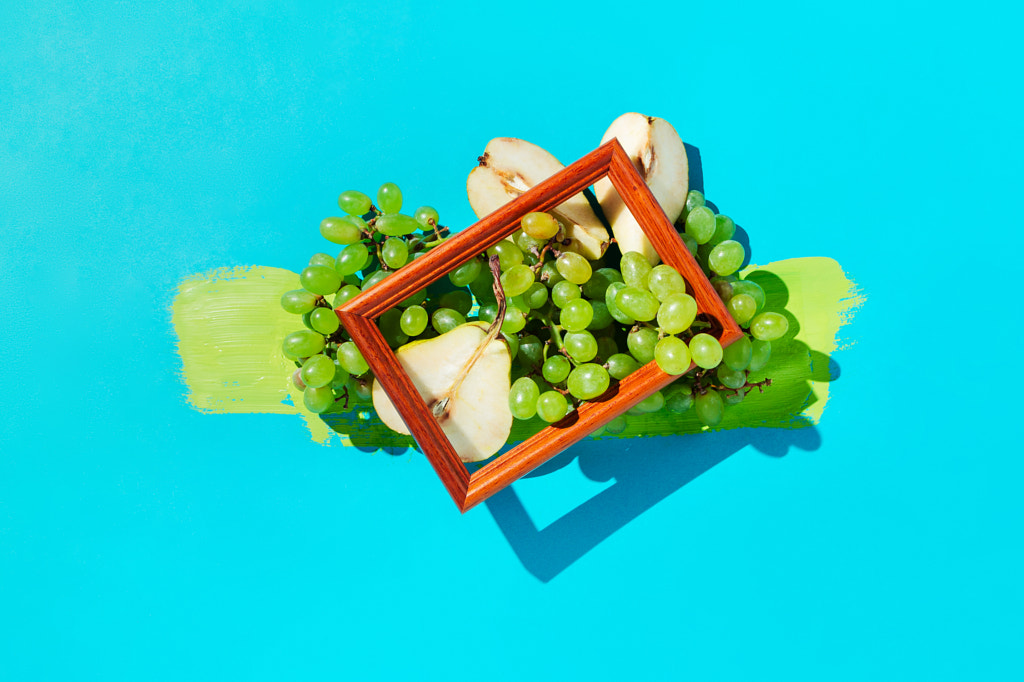
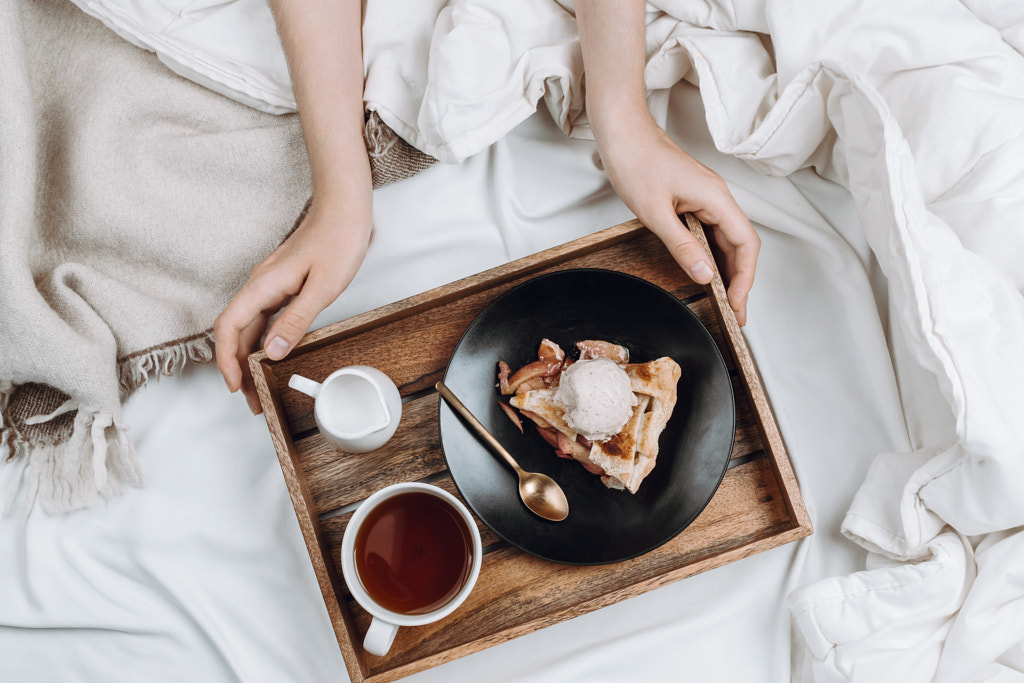
Props can make or break any still-life shoot, and with flat lays, they are essential for telling a cohesive story. The theme of your shoot will guide your prop selection; you can choose something clear and simple like “morning tea” or “fall wardrobe” and then get creative when choosing and sourcing props.
“If shooting a food-related concept such as ‘early morning tea rituals,’ you’ll, of course, think about your raw ingredients and the tools used to make the tea, but you should also think more deeply about how you will tell a larger story,” the 500px team says. “Maybe you take inspiration from your own morning rituals and include your reading glasses and a book or tablet.”
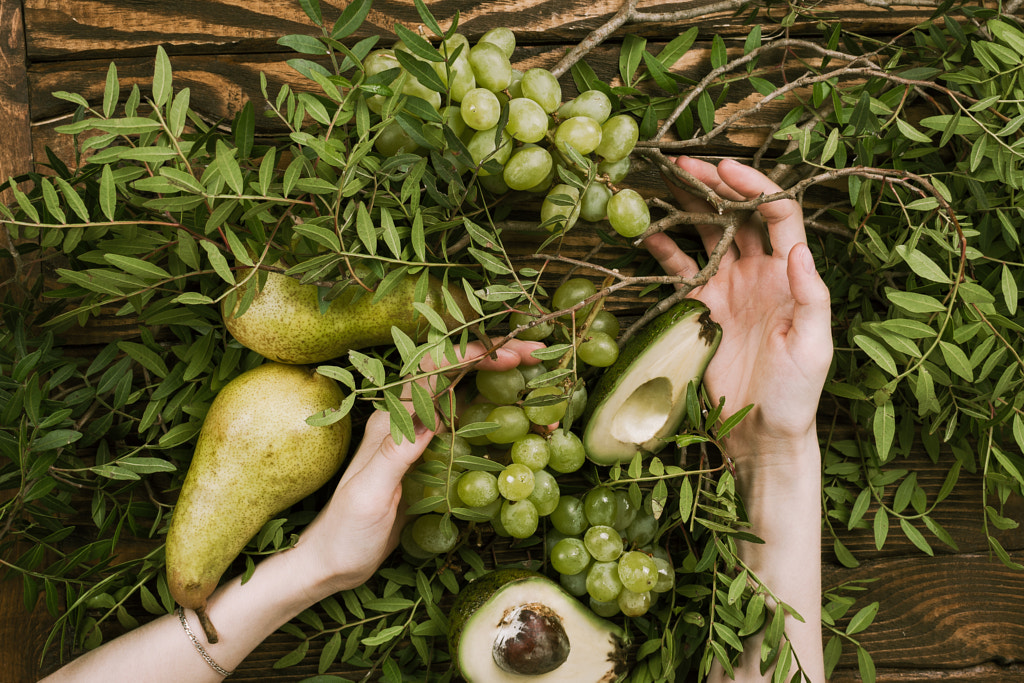
When sourcing props, start with your own collection or visit a local thrift store in search of hidden gems. For some photography-specific items, such as fake ice, you might need to browse a dedicated prop shop (either online or in person), but these items can be pricey, so start with second-hand options or rentals. Fresh, high-quality ingredients can be sourced from a local farmers’ market.
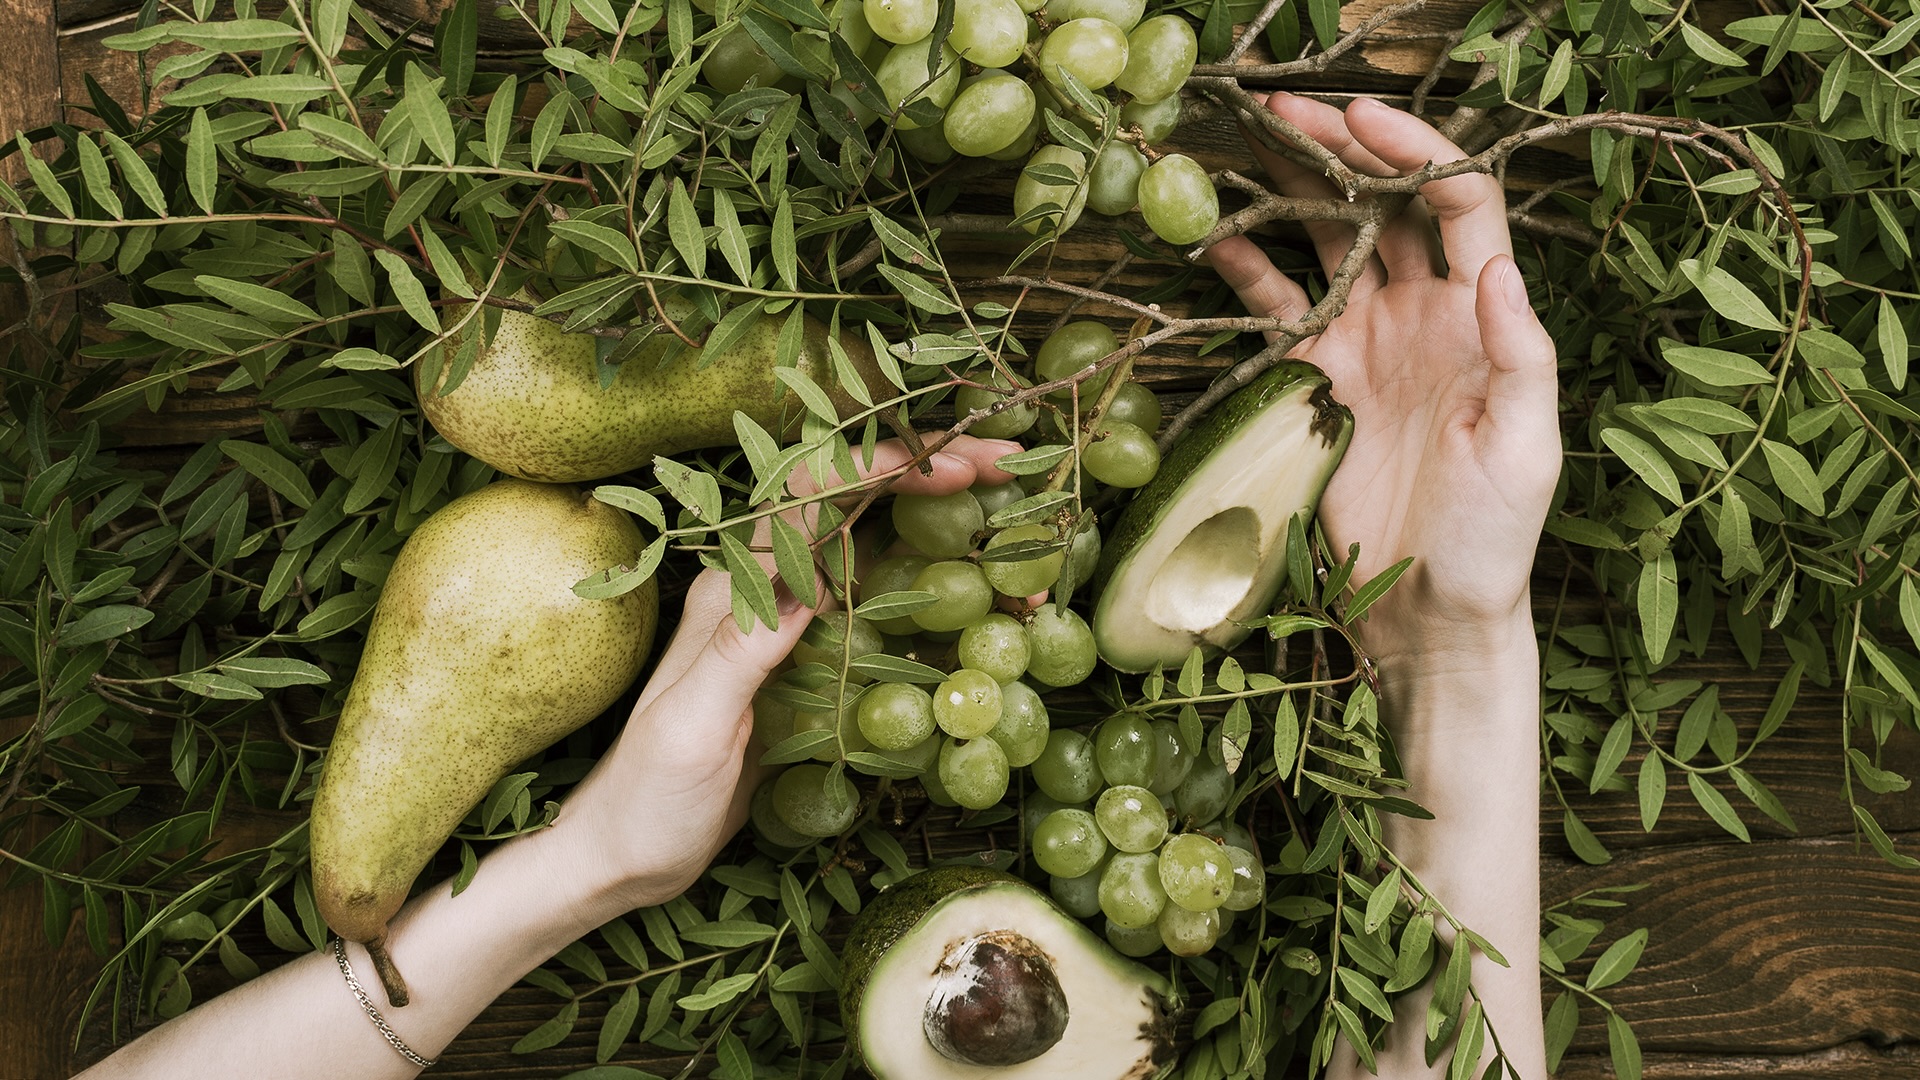
“Remember that flat lays are different from standard still lifes as the angle is from the top down, so assess how your props look from a bird’s eye view,” the 500px team adds. Make sure they can stand up on their own as well; you can often hold objects in place with a bit of adhesive putty or clay.
Step 3: Backgrounds
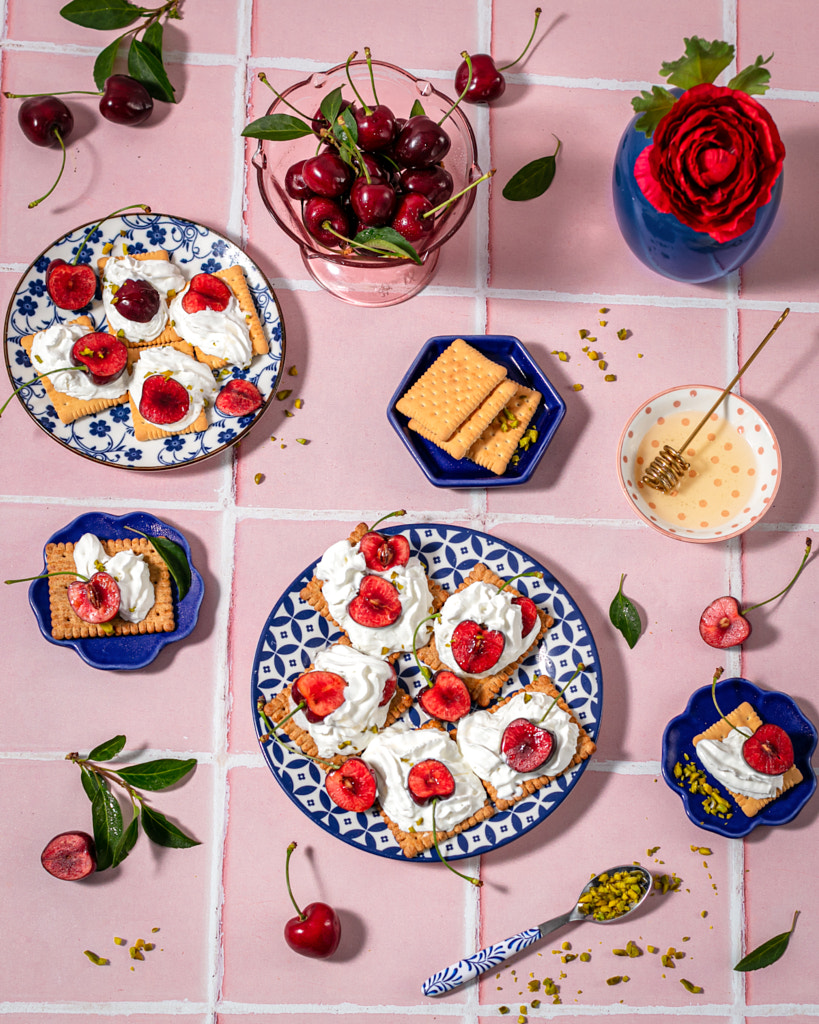
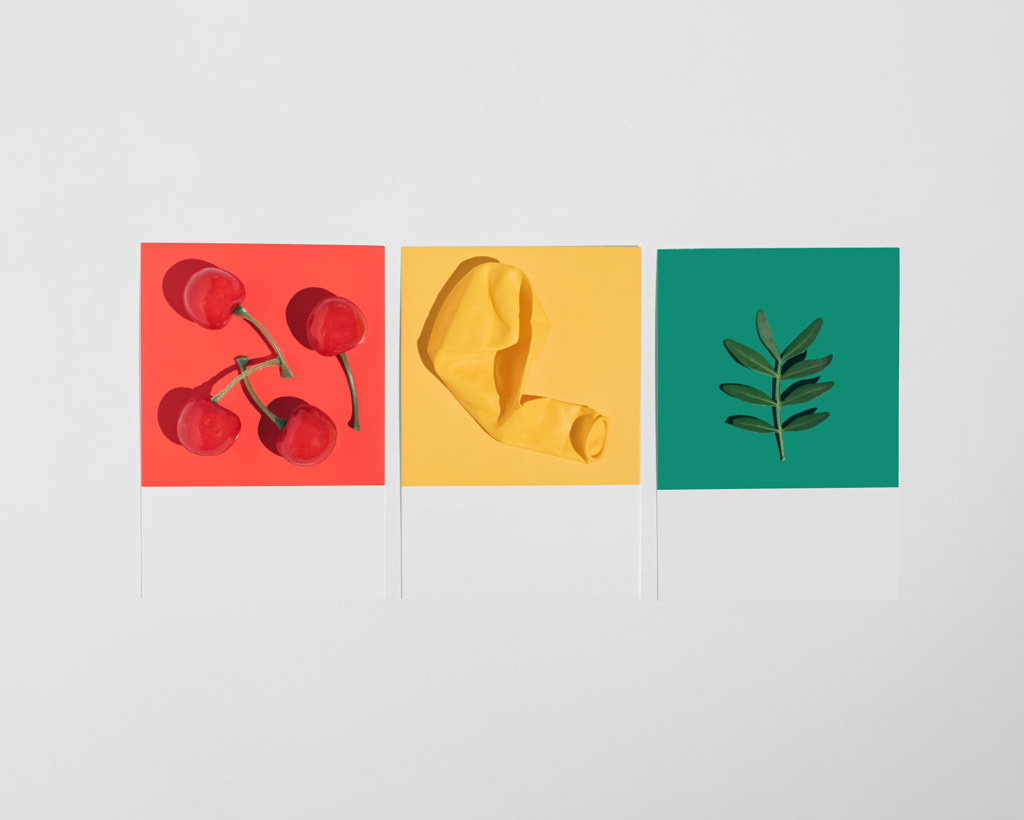
Professional seamless paper is always a popular choice for a clean background, but you can mix it up for variety. Other options include vinyl, canvas, or a fabric of your choice (just beware of glare, reflections, creases, or wrinkles). Maybe you use paper in two colors for a more graphic, eye-popping look. In some cases, you might want to use something with more texture, like a painted canvas or wood for a rustic vibe.
In others, you might prefer the generic, versatile look of a white seamless background. The latter works especially well with flat-lay compositions, as negative space usually plays a starring role. For a luxury look, you might choose marble. Or maybe you choose a color that complements your props; if, for example, you’re shooting tea with a fall theme and incorporating autumn leaves, a blue background will provide contrast to those orange hues.
If you’re working in the studio, you have more options in terms of delicate or heavy backdrops, but you’ll need something durable and portable if you plan to shoot outside or on location. You can always use several backgrounds on a single shoot; just remember to make a note of your plans in your shot list.
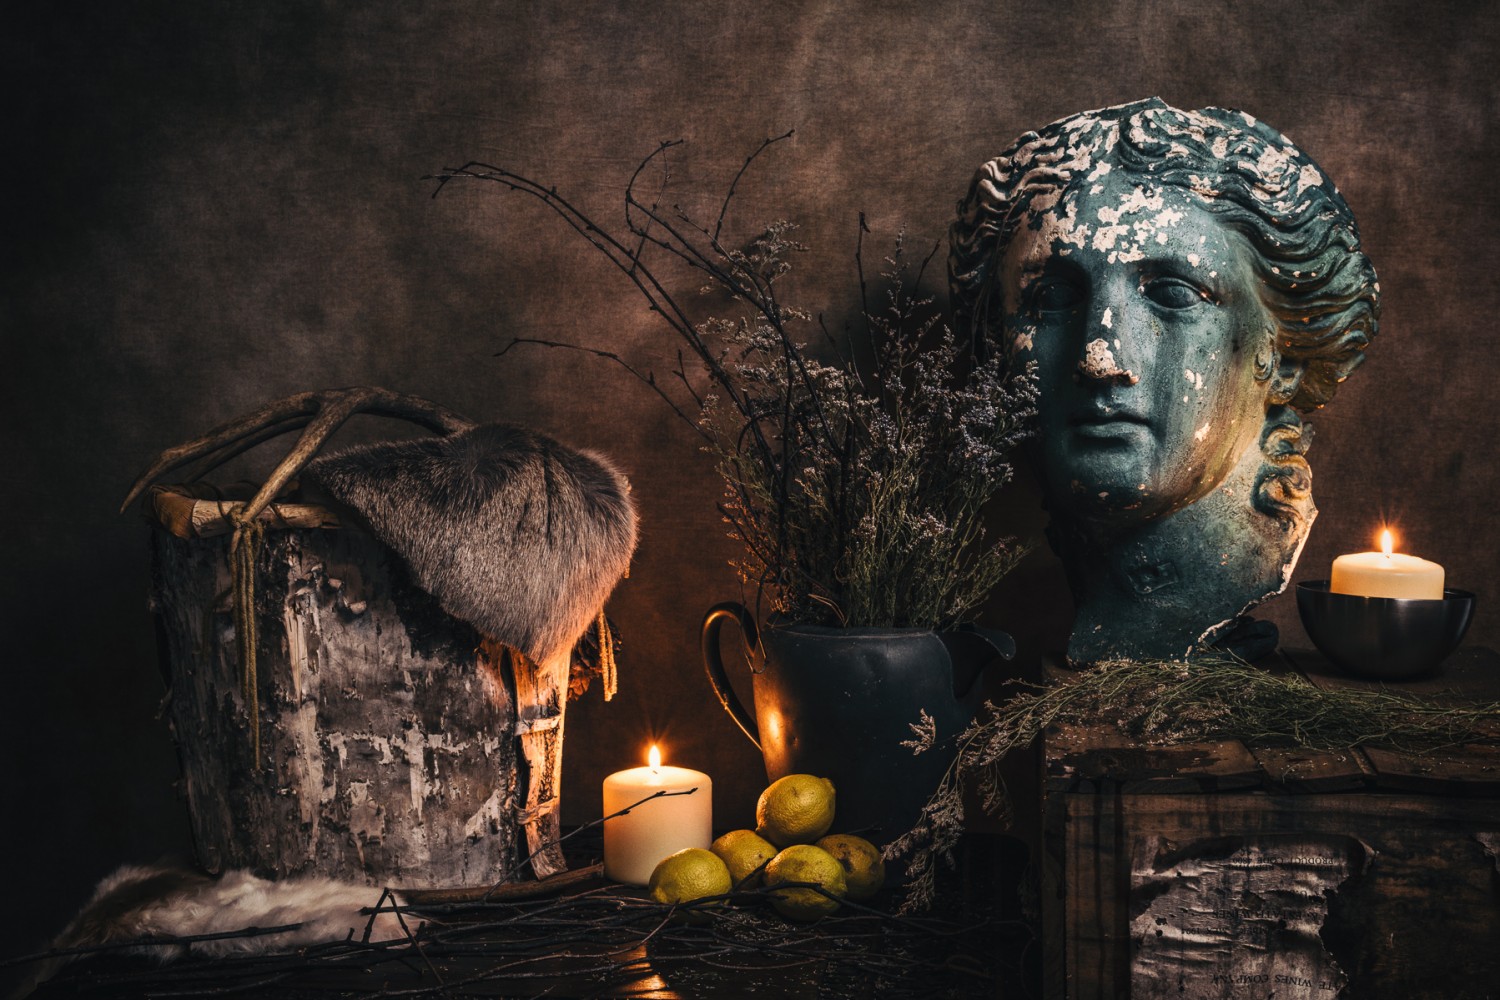
Step 4: Lighting
The lighting is where you set the mood for your shoot; for flat lays, you’ll usually want that bright, clean look. We recommend starting with continuous light, such as daylight or LEDs, as what you see is what you get, and you can adjust in real-time. Just remember to avoid direct sunlight.
Your light source can be a large window or a studio light, but either way, you’ll want to make sure it’s properly diffused, either with sheer white window curtains or a softbox. Diffusion is essential for getting that broad, shadow-free lighting that’s popular for flat lays. If you’re still getting shadows (and you don’t want them), you can fill them using a reflector to bounce some of that light.
With that being said, you might want shadows in some cases to create depth and contrast. Move your light source and props around so that they’re falling just where you want them. You can always use multiple light setups on the day of the shoot for variety and diversity.
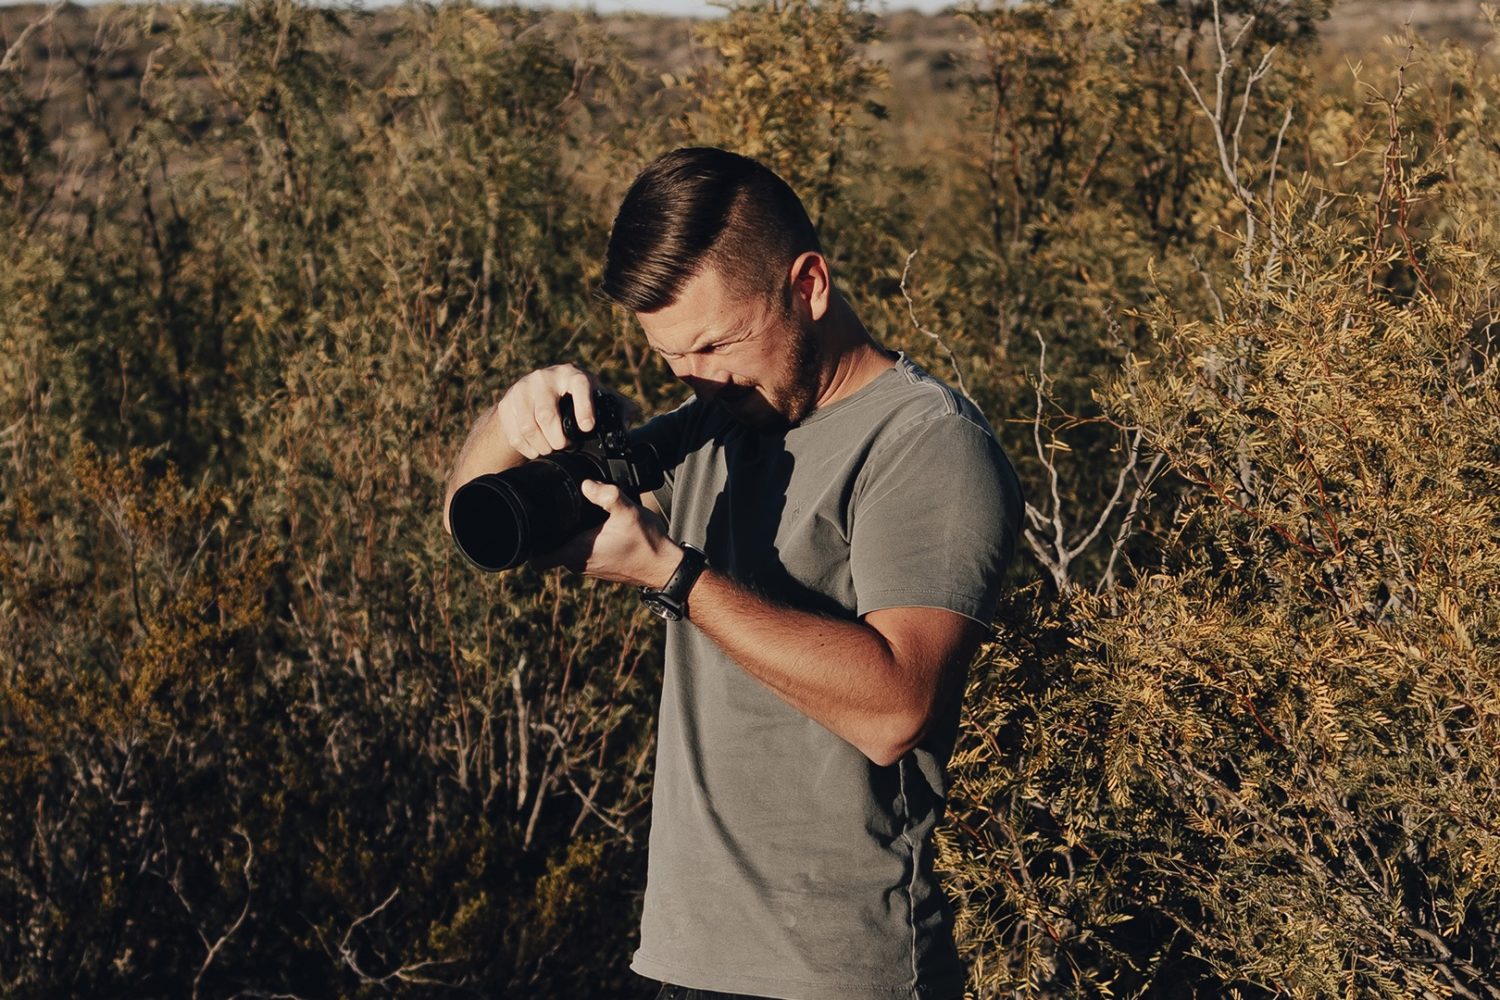
Step 5: Camera set-up
For flat lays, you’ll need to mount your camera using a tripod or, even better, a c-stand to guarantee that you’re shooting directly overhead. Plus, you can keep your hands free to adjust your props as needed. Pros often prefer a c-stand over a tripod because you can get even more height, but either will do the job.
Another benefit to stabilizing your camera is that you can use a slower shutter speed and still keep everything crisp. In terms of aperture, your setting will depend on the height of your props; if you have a lot of different levels within your shot, you’ll need to stop down to a narrow aperture if you want everything to be crisp. At the same time, feel free to experiment with it; as long as your subject is in clear focus, it might be interesting to create some natural bokeh by opening up that aperture a bit. It all depends on the aesthetic you want.
Keep your ISO as low as possible to reduce noise. A classic nifty fifty lens is a solid choice for flat lays, offering a perfect balance between capturing a relatively wide scene (so you can crop) while also not introducing too much distortion. If you need a wider frame, go for a 35mm.
Step 6: Composition
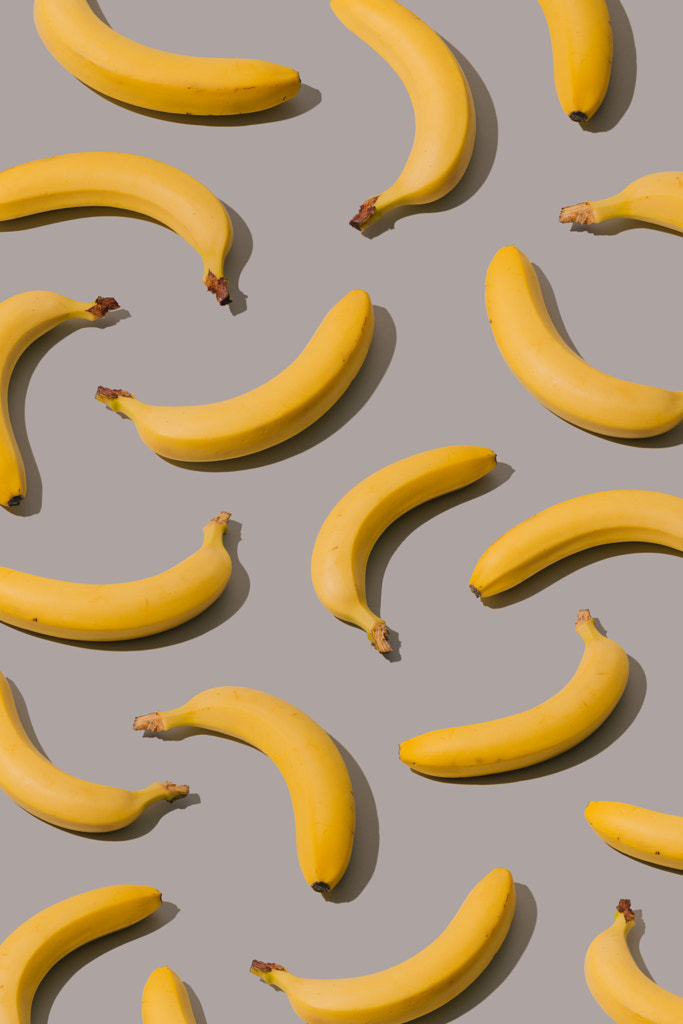
The composition might be our final “step,” but it’s actually an integral part of every proceeding step, and you’ll be refining it as you go, from shot list to final set-up. Remember the importance of negative space; you want some breathing room in between your props to help guide the eye throughout an image.
To avoid cluttering up your frame, it can help to start with just one object and then slowly build from there, making adjustments along the way. If something doesn’t work, you can always take it out and replace it with something else. For more guidance, you can use the grid on your camera to help you straighten your lines and position your props at key points within the frame (for example, following the rule of thirds or golden ratio).
Use your initial sketches as a reference, but feel free to think on your feet and get creative in the moment as well. Move your props around until they capture the light exactly as you want it; sometimes, a change of less than an inch can make a significant difference. When shooting for your Licensing portfolio, you also want to keep variety in mind; if one shot isn’t working, move onto the next one, and keep experimenting. “To create diversity, try multiple compositions,” the 500px team suggests.
Not on 500px yet? Click here to learn about Licensing with 500px.


Leave a reply