
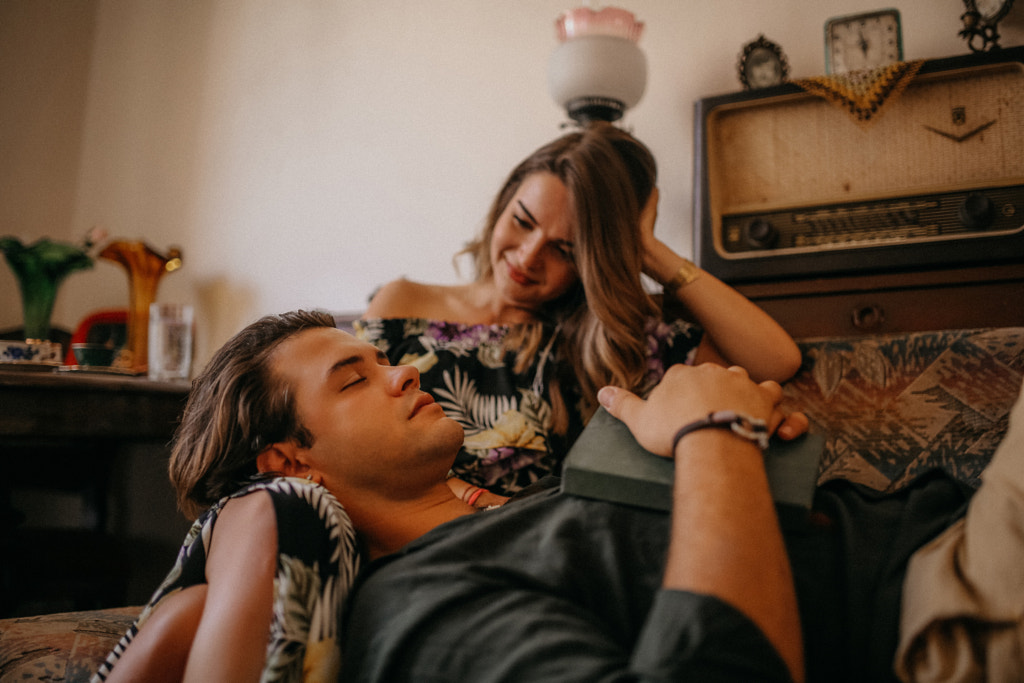
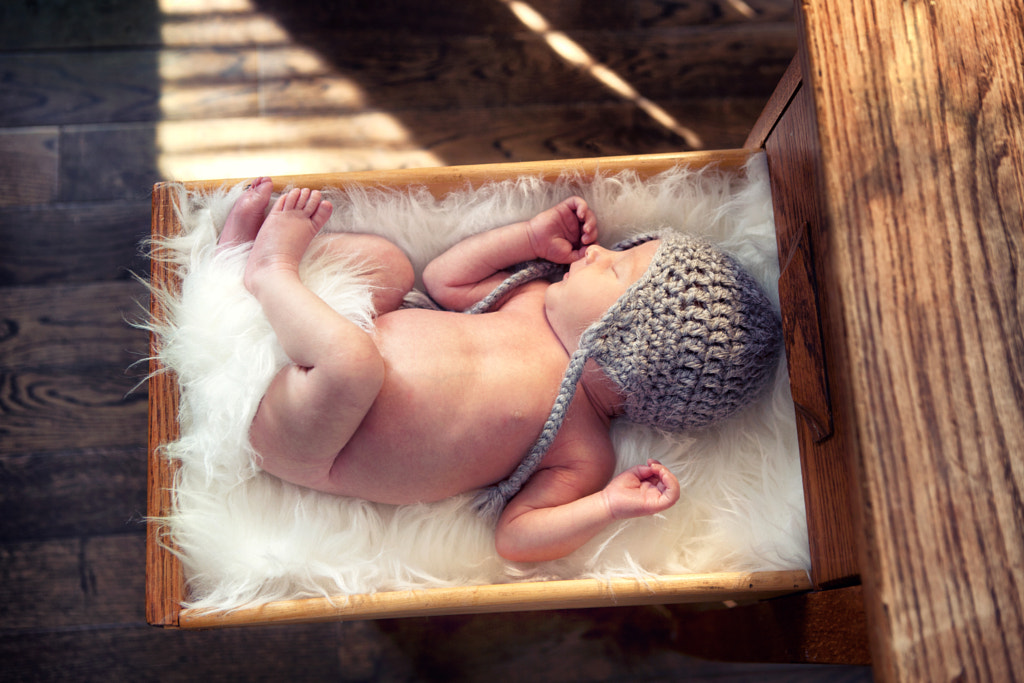
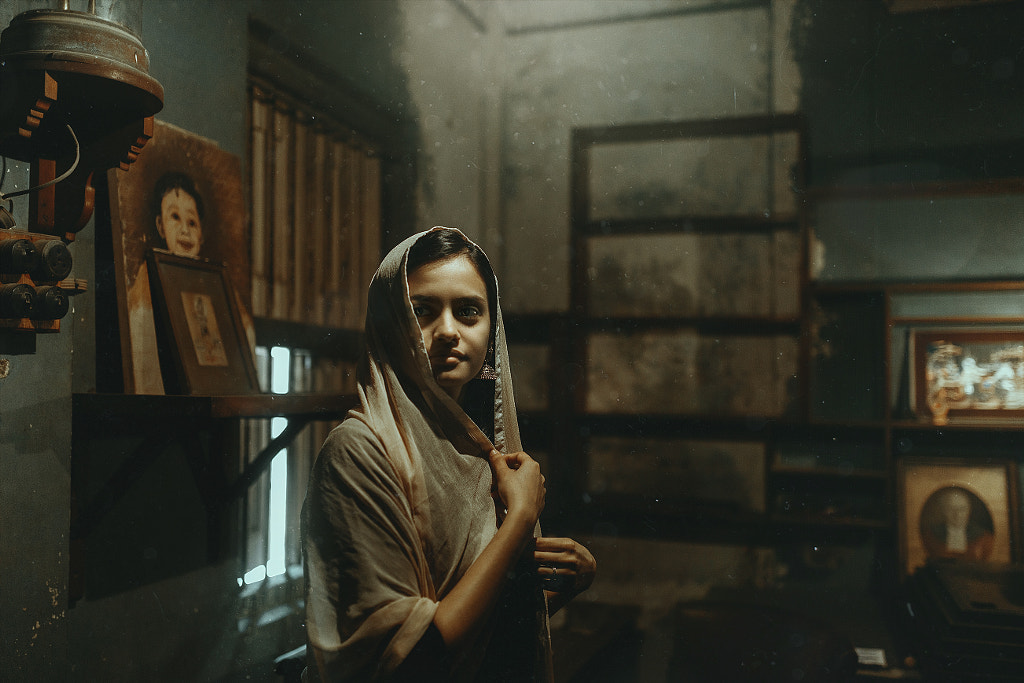
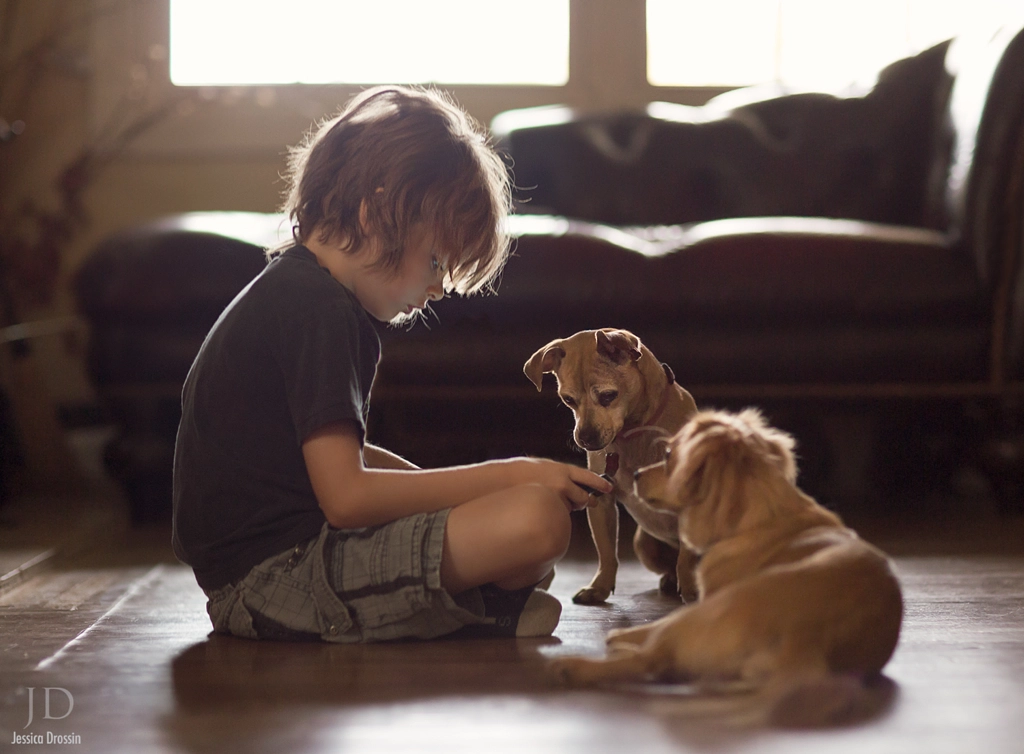
If one thing has defined commercial stock photography in the last five years, it’s been a shift to more natural, realistic images in advertising. While stock photography agencies might once have provided images of canned smiles and isolated white backgrounds, they now offer candid moments, genuine emotions, and beautiful light.
Today’s lifestyle photographers work in traditional studio settings, but they also work in their own homes. And while fancy artificial light can come in handy, it’s not a requirement for shooting marketable photos. The benefits of shooting with natural light at home are two-fold: first, it’s convenient and affordable, and second, it can result in those natural commercial images that strike a chord with buyers.
Natural light photography is all about using—and, more importantly, controlling—what’s already available to you. Here are our top tips for taking advantage of it and creating lifestyle photos that sell.
Tip #1: Study the space
The first step is getting to know the light and how it behaves in different rooms of your house or apartment. Turn out all the lights, close the curtains, and slowly open each window or door individually. Observe how daylight coming from these windows and doors illuminates the objects and people inside—the appearance of the light coming from every opening will depend on its size and its direction (e.g., north and south-facing windows tend to yield more diffuse light).
The source of your natural light is important, but don’t forget to think about the surfaces inside the room as well. White walls will bounce the light around the room, and darker floors and walls will absorb it. Make the most of what you have by choosing the best room at your disposal—depending on the mood you want, you could choose a large window and white walls (bright and airy), or a small window and wood floors (dark and moody).
Tip #2: Plan wisely
Natural light changes with every season, every hour, and every day, so it’s important to get familiar with all the possible conditions that could affect your space. The intensity of the light will vary based on the weather (sunny vs. overcast), and the temperature will change with the hour (neutral in mid-day, warm at sunset, cool at twilight).
Even if you’re working with friends and family, a little extra planning goes a long way toward creating profitable lifestyle images. To start, you’ll need to have everyone complete a model release, and if you’re not shooting on your own property (a friend’s house, for example), you’ll also need a signed property release. Make sure everyone is on the same page about how you intend to use the images in the future.
Getting all these important details ironed out in advance should give you the time you need to check the weather and sunrise/sunset times—and ensure everyone’s schedule allows for shooting at the optimal time of day for indoor natural light.
Tip #3: Prepare the space
Prior to your shoot, take the time to style the room. Think like an interior designer; add pretty details, and remove any unnecessary clutter from your home. When it comes to wardrobe and props, you have to be cautious to avoid any copyrighted elements, including logos, branding, or even artworks. These details are protected under intellectual property regulations, and having them in frame will likely prevent your photo from being licensed commercially.
Tip #4: Move around
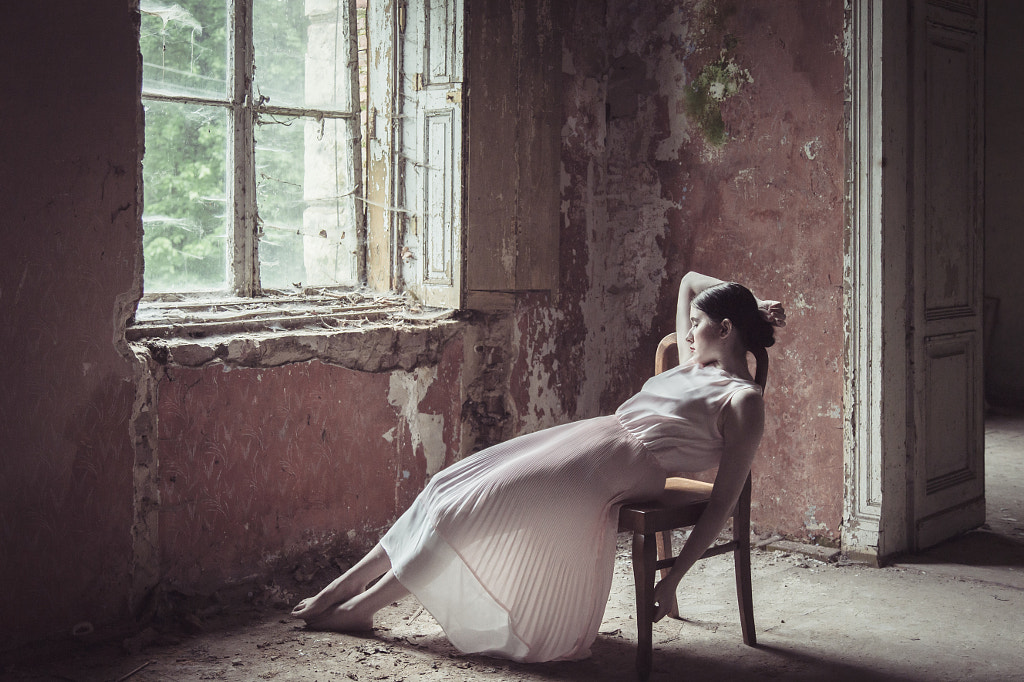
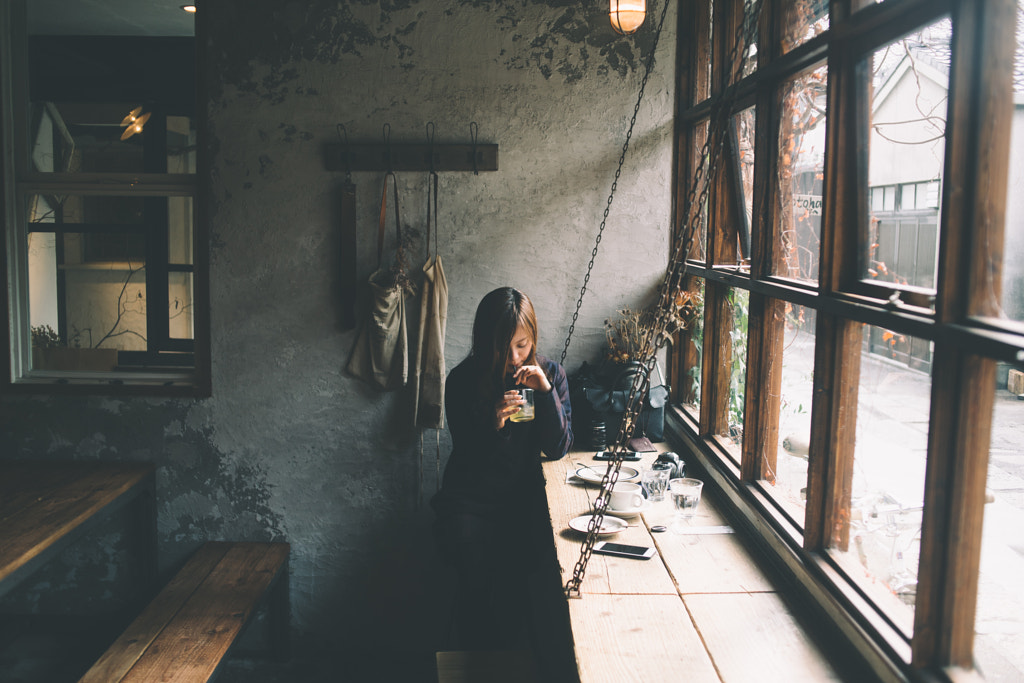
One drawback to using natural light? You can’t move it. Instead, move your subjects around the room to change the way the light hits them. Your models’ proximity to the door or window can change the general mood of your images; the closer they are to the source of the light, the softer the effect.
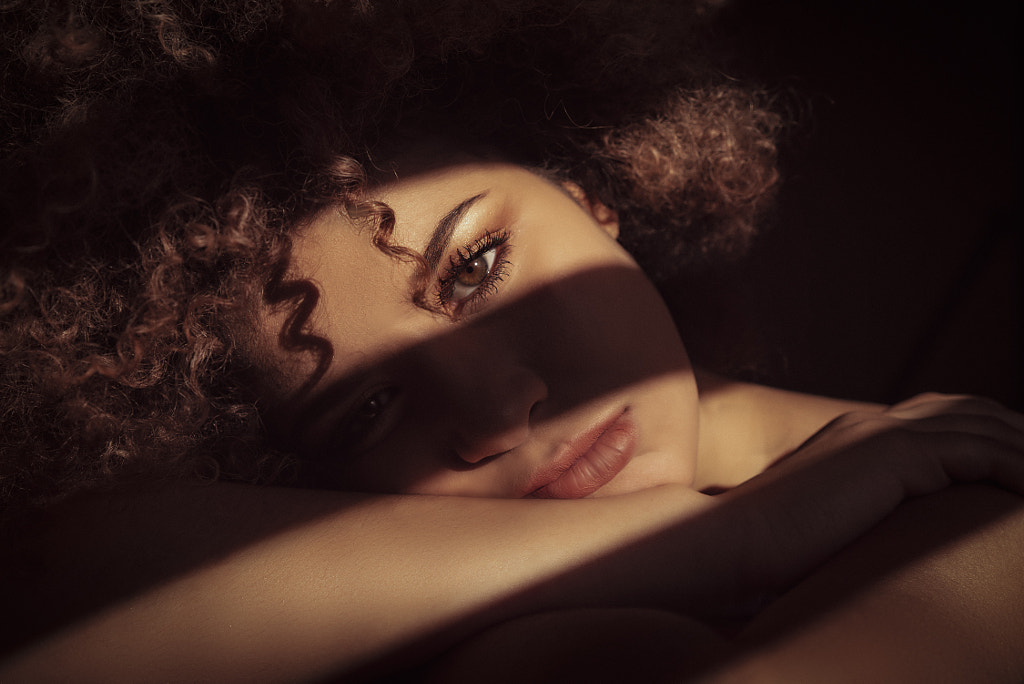
You can also use your feet and move around yourself, changing your position relative to your light source and subject. Lighting your models from the front will result in smooth, even light, while lighting from the side can result in contrasting shadows for a more dramatic look. Backlighting creates a different atmosphere altogether and can create a dreamy halo effect and stark silhouettes.
Tip #5: Play with curtains
It might go without saying, but the right curtains are a natural light photographer’s best friend. On bright, sunny days, sheer curtains will act as a much-needed diffuser. Even a thin white sheet, translucent fabric, or large swath of parchment paper will soften harsh light.
Blackout curtains, on the other hand, will block out light entirely, allowing you to change the shape and size of your light source. You can also get creative with a gobo—a stencil (usually glass or steel) used by lighting designers to shape, block, and control light.

Tip #6: Adjust your settings manually
For accurate exposures, you might have to change your settings throughout the shoot, depending on the intensity of the light and your position within the room.
Indoor shooting can be tricky, so we recommend choosing a relatively fast lens; the wider the aperture, the more light enters your camera. You can also boost the ISO if you’re struggling to get enough light, but beware of noise, as any images you submit for Licensing will have to be crystal-clear.
If you’re not comfortable shooting manually, switching your camera to aperture priority mode should also do the trick. In any case, remember to shoot in RAW so you can fix your exposure in post-processing if necessary.

Tip #7: Watch that white balance
If you’re shooting indoors with natural light, it’s time to turn off Auto White Balance, since this setting can mess with your models’ skin tones and produce wonky results. Instead, try the Daylight setting or even the Cloudy setting if you’re looking for warmer tones. You can also try a custom white balance to make sure the temperature is just right for your space and light source.
Mixing light sources can also interfere with your white balance, so try to keep it simple and avoid adding artificial light. In some cases, of course, artificial light will be inevitable, but the more you can rely on natural light, the better it’ll be for your white balance.

Tip #8: Use a reflector
Especially when you’re working with backlighting, you’ll need a reflector to bounce light back into your models’ faces (unless you’re specifically aiming for a silhouette). This modifier can also help you get rid of those harsh, contrasty shadows that sometimes come with side-lighting. Best of all, they’re cheap.
Store-bought reflectors generally come in white, gold, and silver varieties, so choose the version that’ll work best with the temperature of your natural light. You can also make your own using household materials like white cardboard, foil, or Styrofoam. A white shirt on your model can also bounce the light back into his face and bring back the catchlights you’d miss with regular backlighting.
Clip your reflector to a stand, or have an assistant hold it—you’ll probably have to move it around a bit to get it where it needs to be.
Note that if you want to do the opposite and create some shadows on your models’ faces, use black cardboard or fabric to absorb the light—this trick is especially useful if you’re in a white space with lots of bouncing light getting in the way.
Tip #9: Add keywords
Make it easy for buyers to find your photos by adding appropriate search terms, like “natural light”, “indoors”, or “window light” to your metadata. You can also add some conceptual keywords that mirror the lighting and the emotions it evokes, like “moody” or “airy.” Get creative with your concepts, and use your imagination on set—then translate those ideas into keywords buyers are likely to search when looking for a photo like yours.
Not on 500px yet? Click here to learn about Licensing with 500px.


Leave a reply