
Karl Lundholm loves shooting on the water half an hour before sunset, while Ryan Locknecker has a passion for watching the sunrise in the mountains. Ueli Frischknecht prefers twilight—“that brief moment right before sunrise.” Daniel Casson likes shooting in the morning because of the combination of fog and sunlight, while Elsa Bleda feels drawn to the mystery of nighttime.
Ask two different artists about the best time to take photos, and you might get two different answers. The choice depends on the mood of the shoot, the style of the artist, and the story they’re trying to tell. While some times of day, such as the golden hour, are more popular, you can also create something new by breaking the rules and working with lighting in unexpected ways.
In this guide, we’ll explore a few key windows of time every natural light (or available light) photographer should master, while sharing a handful of forgiving lighting strategies.
The golden hour
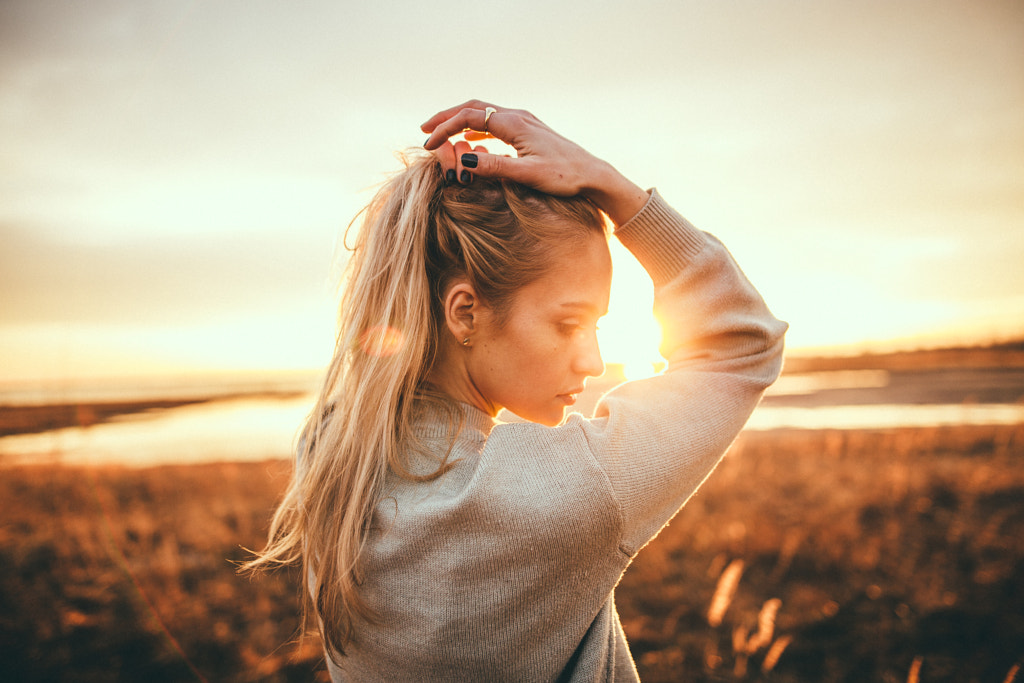
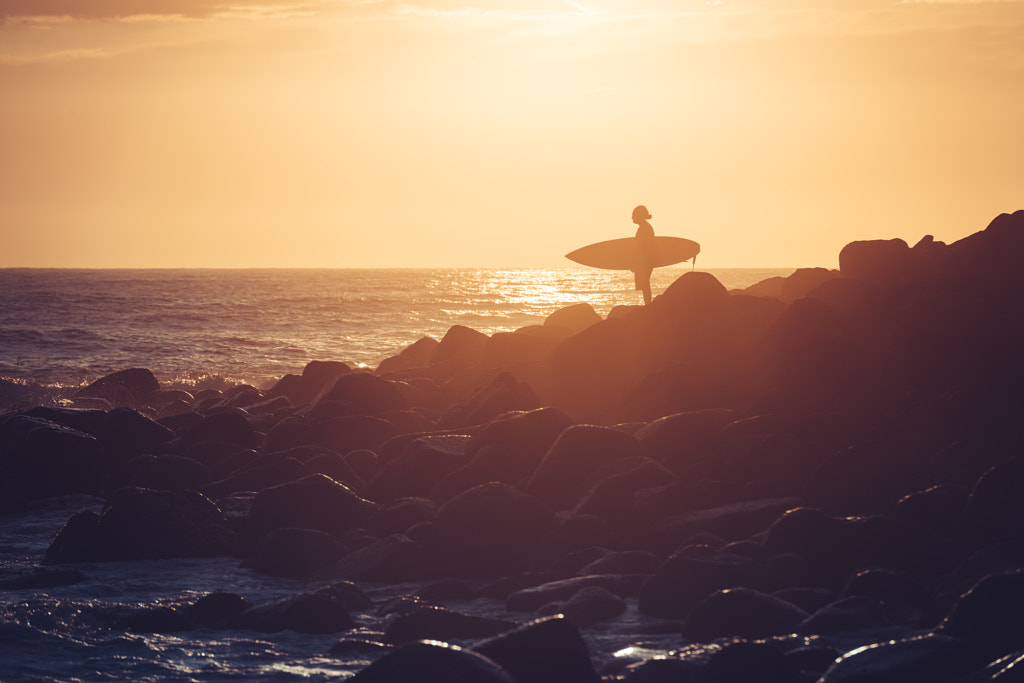
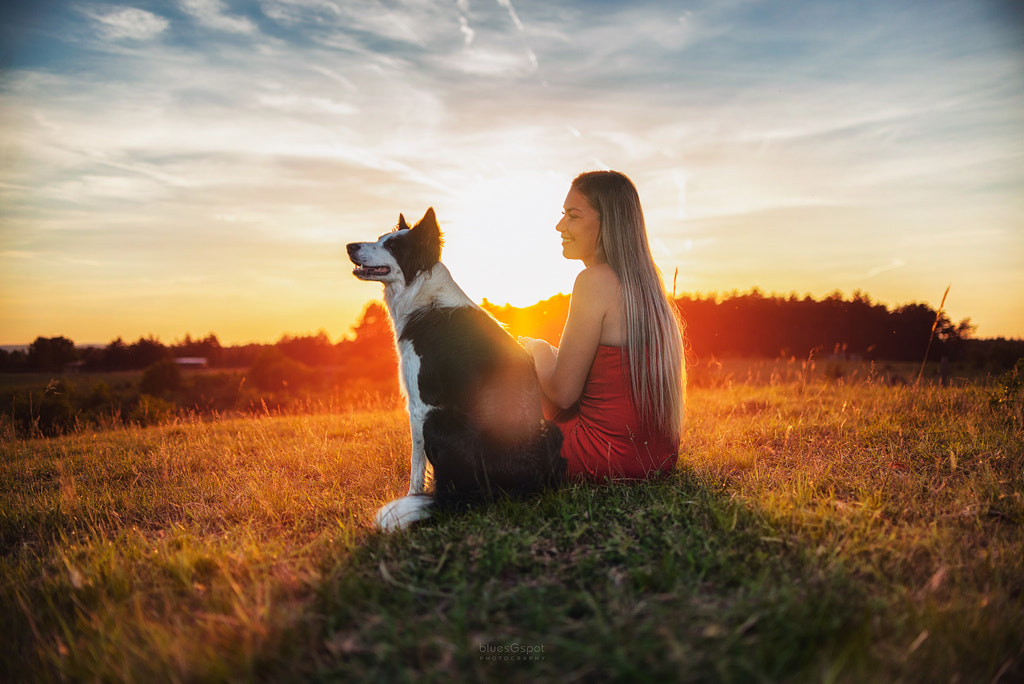
The golden hour is undisputedly the most forgiving time for outdoor photoshoots, given the soft, directional quality of the light. This time occurs during the brief window just after sunrise and before sunset, when the light is warm (more red than blue) and glowy. Because it’s directional, this light will create those beautiful, long shadows, while also being diffused enough not to create distracting or unflattering shadows. It also looks especially nice on skin, making it a top choice for portraits, family photography, and professional photography and commercial work.
The drawback of the golden hour is that it’s short: depending on where you’re located, it could be as few as fifteen minutes twice daily. For that reason, it’s a time that requires careful planning, usually using an app like The Photographer’s Ephemeris, Sun Seeker, or PhotoPills, so that you arrive at your location and have time to set up before it happens. Some of these apps will also provide detailed information, including the length of the shadows in a specific spot.
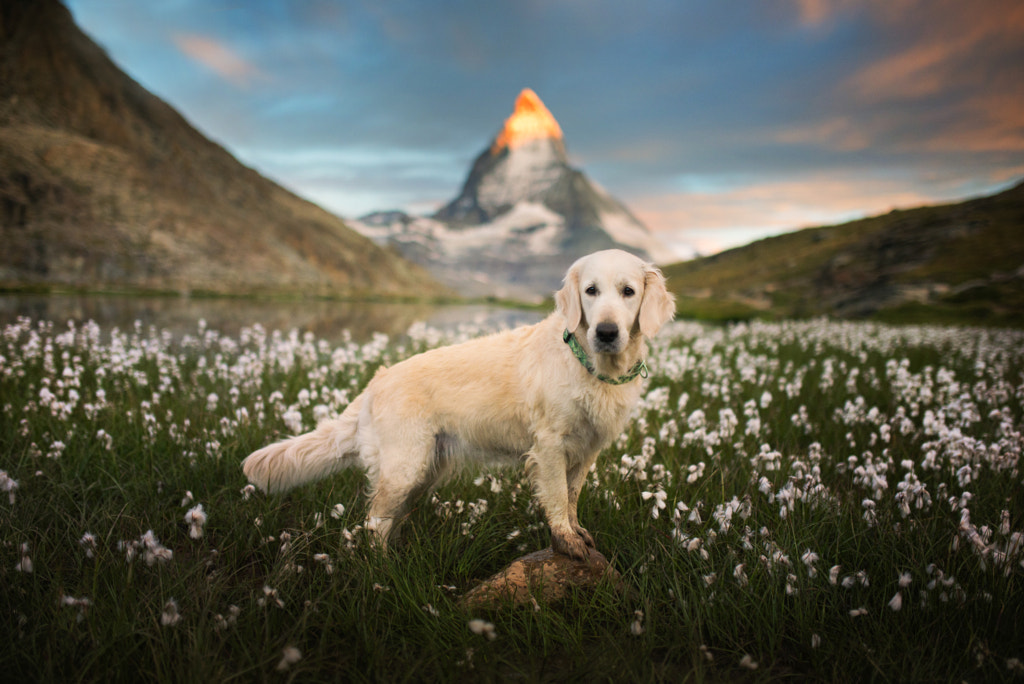
Known for its characteristically soft lighting, the golden hour is also the perfect time to shoot silhouettes or backlit portraits. You’ll have to work fast and be mindful of your settings, as the light can change dramatically on a minute-to-minute basis. Finally, if you’re in a crowded location, you might opt for the early golden hour over the late one, as fewer people tend to be out and about in the wee hours of the morning.
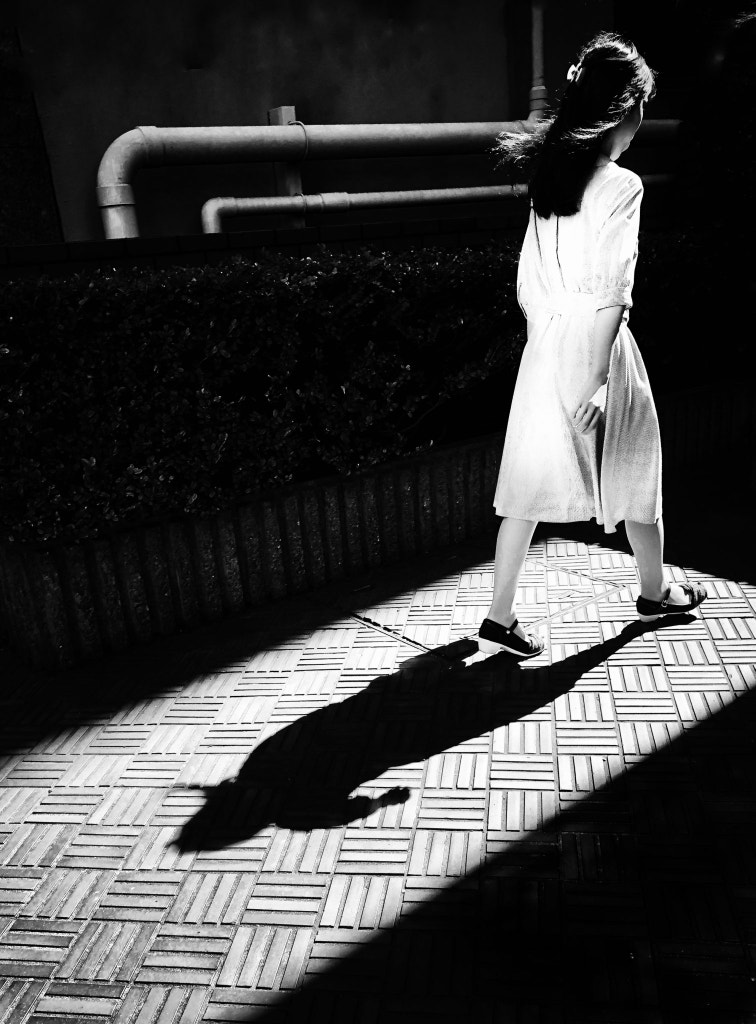
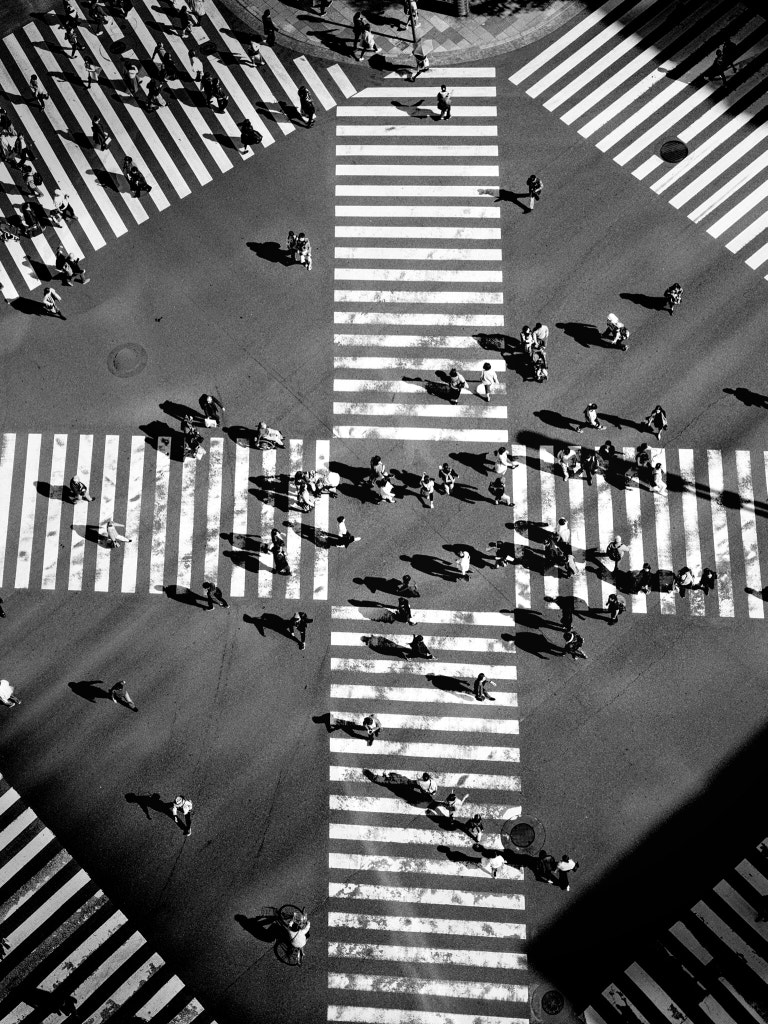
Mid-day
Mid-day is often maligned because it’s everything the golden hour is not: harsh and unforgiving. It’s notoriously difficult for those shooting portraits and lifestyle photography because of those hard shadows and too-bright light. But don’t believe anyone who says you can’t create photos during this time.
You certainly can, with a little ingenuity. One way to avoid the harshest shadows is by seeking areas of open shade, which will create more even lighting; overcast days can serve the same purpose, as the clouds will create diffusion. If you’re using window light, sheer white curtains will have a similar effect.
A reflector is also an invaluable tool for natural light photographers, regardless of the time of day; you can use it to fill in unattractive shadows. Some reflectors also come with a diffusion panel—a simple but overlooked tool for softening harsh light. You can also get creative with posing so that your model’s face isn’t disrupted by unwanted shadows; a flag can also be helpful for blocking the sun
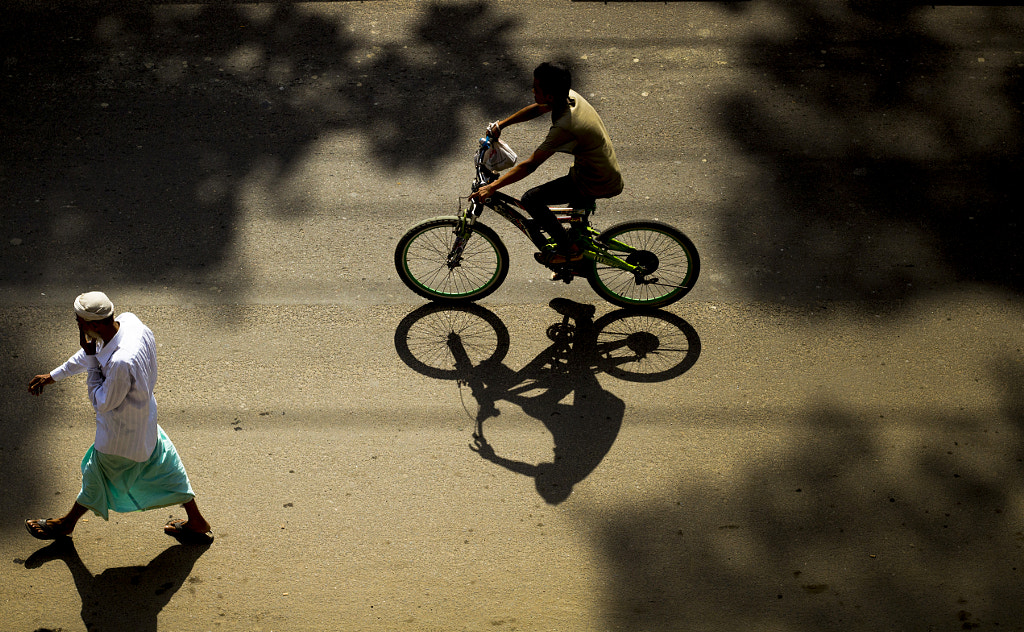
Finally, you can lean into the high-contrast quality of mid-day lighting, using it to intentionally create dark shadows or eye-popping highlights. This time of day is perfect for fearlessly embracing those graphic black tones, rather than trying to fill or mask them. Some photographers choose to shoot or edit in black and white to bring out those dramatic contrasts.
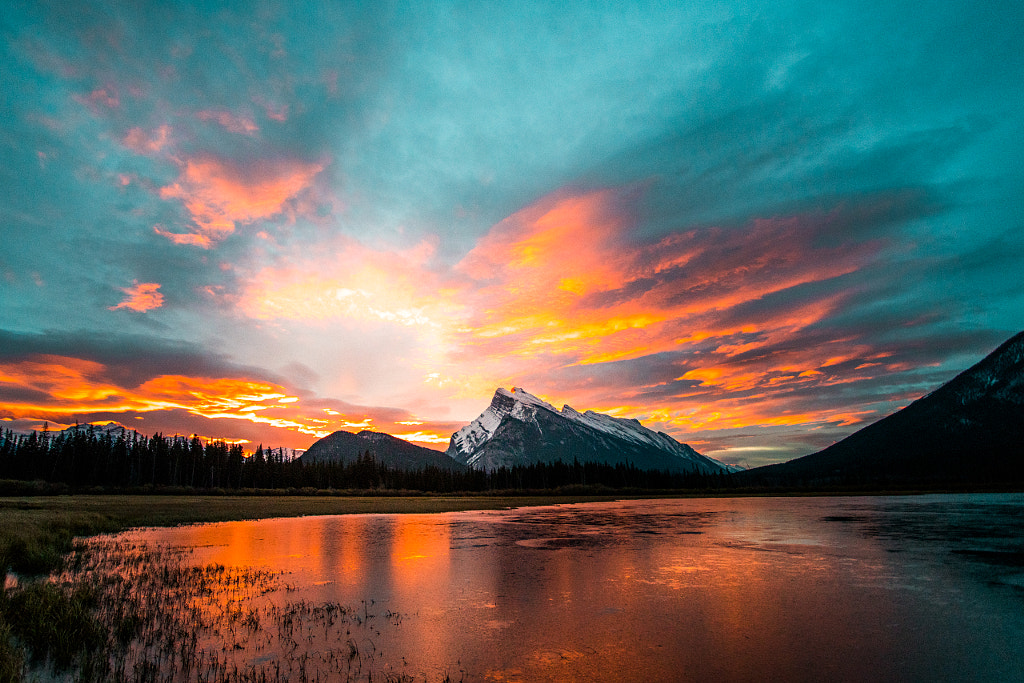
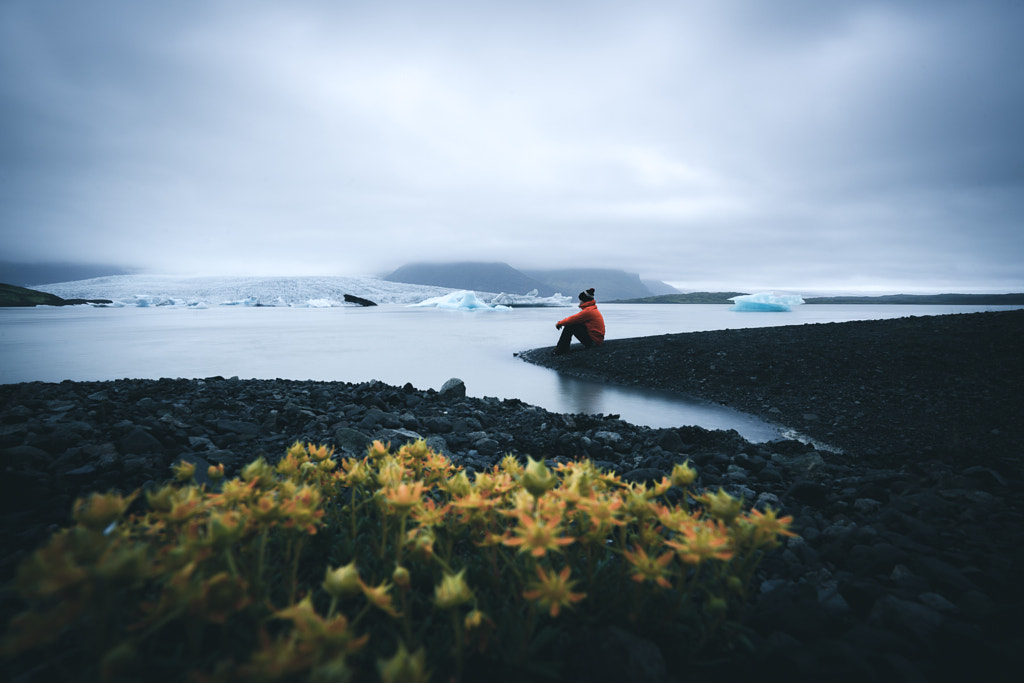
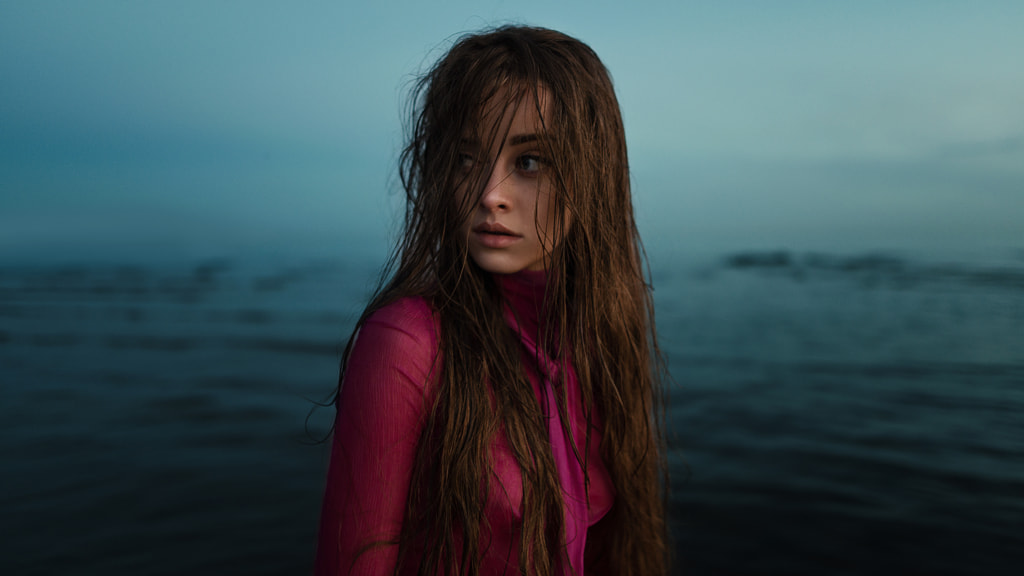
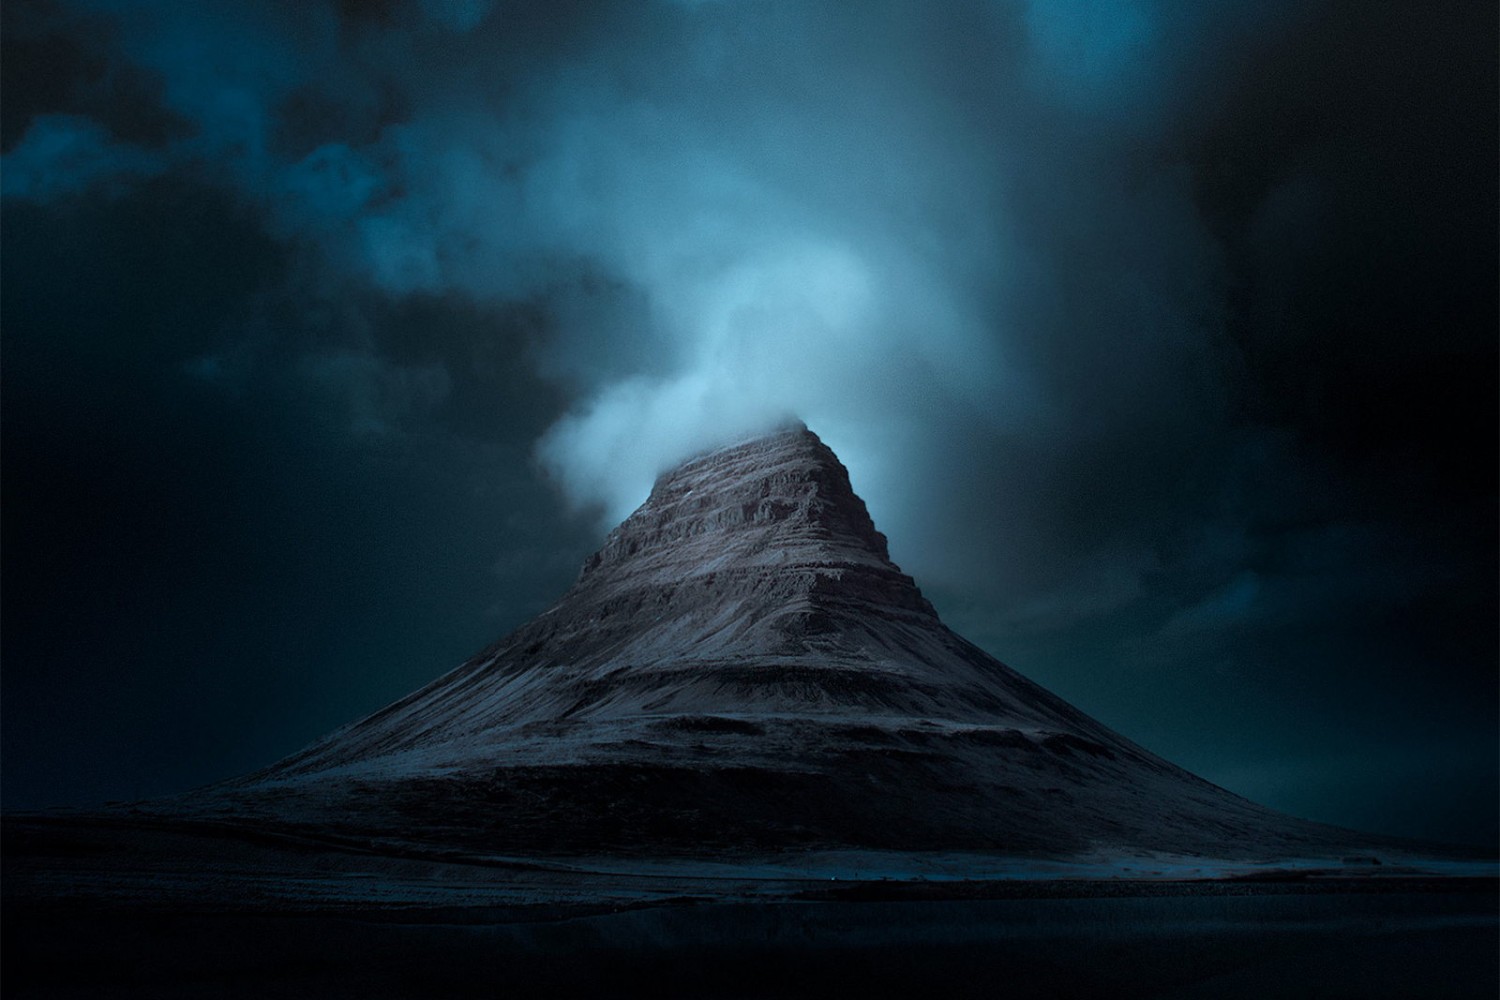
The blue hour
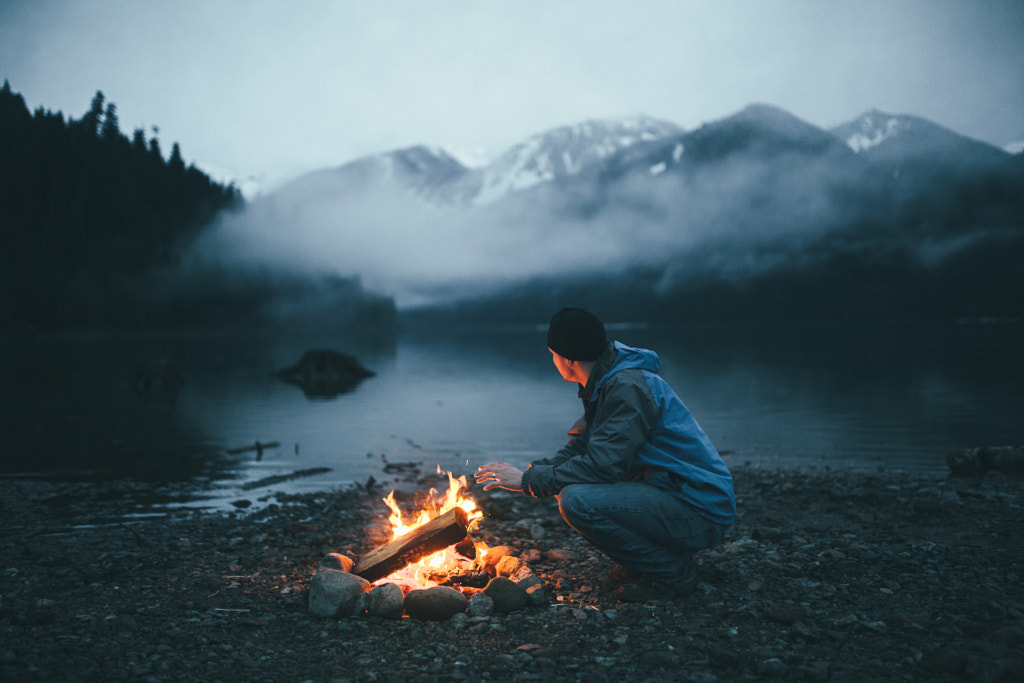
Where the golden hour is defined by reds and oranges, the blue hour is all about the azure tones that come as the sun dips below the horizon: just before sunrise or just after sunset. The morning blue hour is a popular time for landscape photographers, as bodies of water can be quite still and glassy before the sun comes up.
As the light fades during the evening blue hour, you’ll have to use it creatively, adjusting your exposure to get every bit of illumination you can. If you’re okay with a shallow depth of field, open up that aperture to let in more light. This effect can also create some lovely bokeh from background lights, such as those found in the city. As with the golden hour, this is a fleeting time, so preparation and location scouting are key.
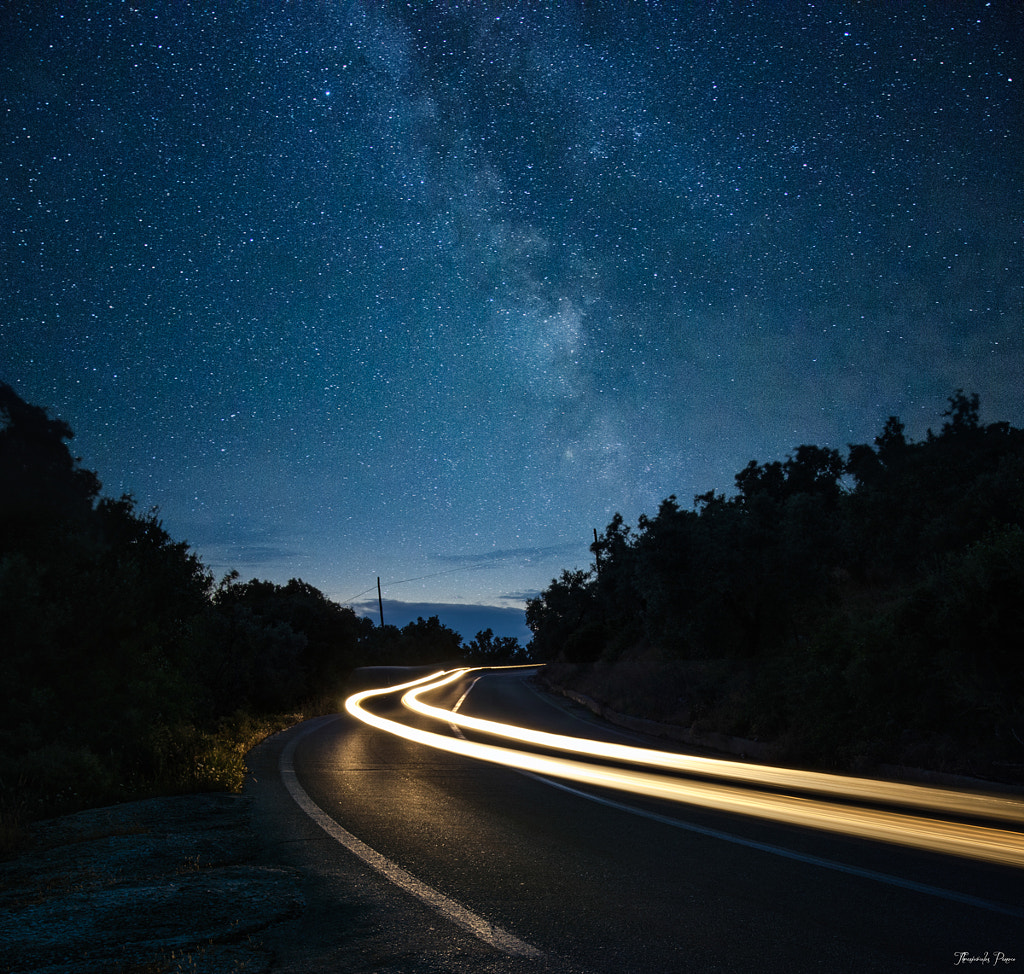
Night
Shooting in low light might be tricky, but nighttime delivers those moody, atmospheric photos you just can’t get during any other time of day. Classic nightlife photographers like Weegee and Brassaï were drawn to this time of day because it’s when cities come to life, revealing secrets hidden during the day.
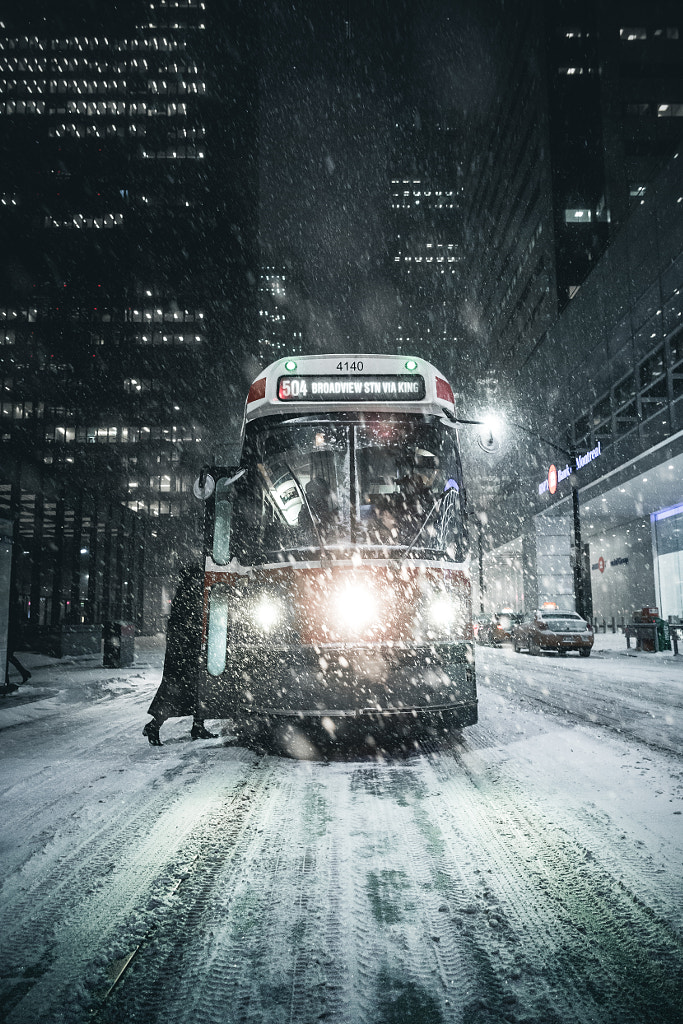
If you’re shooting portraits or street photography, keep an eye out for patches of available light, such as street lights or neon signs, to help illuminate your subject. In some genres, such as street photography, you might be able to get away with a little bit of ISO grain, especially if you’re shooting film.

If you’re shooting cityscapes or landscapes, consider a long exposure; slowing down your shutter speed will help you get more light, and it’ll also create light trails from moving objects, such as cars with headlights or stars in the sky. If you plan to shoot at night often, it might be worth investing in a camera with high ISO capabilities; that way, you can capture bright photos without introducing too much noise.
Ultimately, the timing of your shoot will depend on your schedule, your goals, the needs of your team or clients, and most importantly, your vision. If you’re photographing people, the golden hour might be best. The blue hour is usually around for the shortest time, but it’s also unbeatable in terms of magic and atmosphere. If you love “pop-off-the-page” contrast, go ahead and embrace the harsh light of midday. Our best tip is to practice shooting at all different times to see what fits with your aesthetic; the more you work with natural light—“good” and “bad”—the better you’ll be able to navigate tricky or unpredictable situations once you’re on location.
Not on 500px yet? Click here to sign up.

Leave a reply