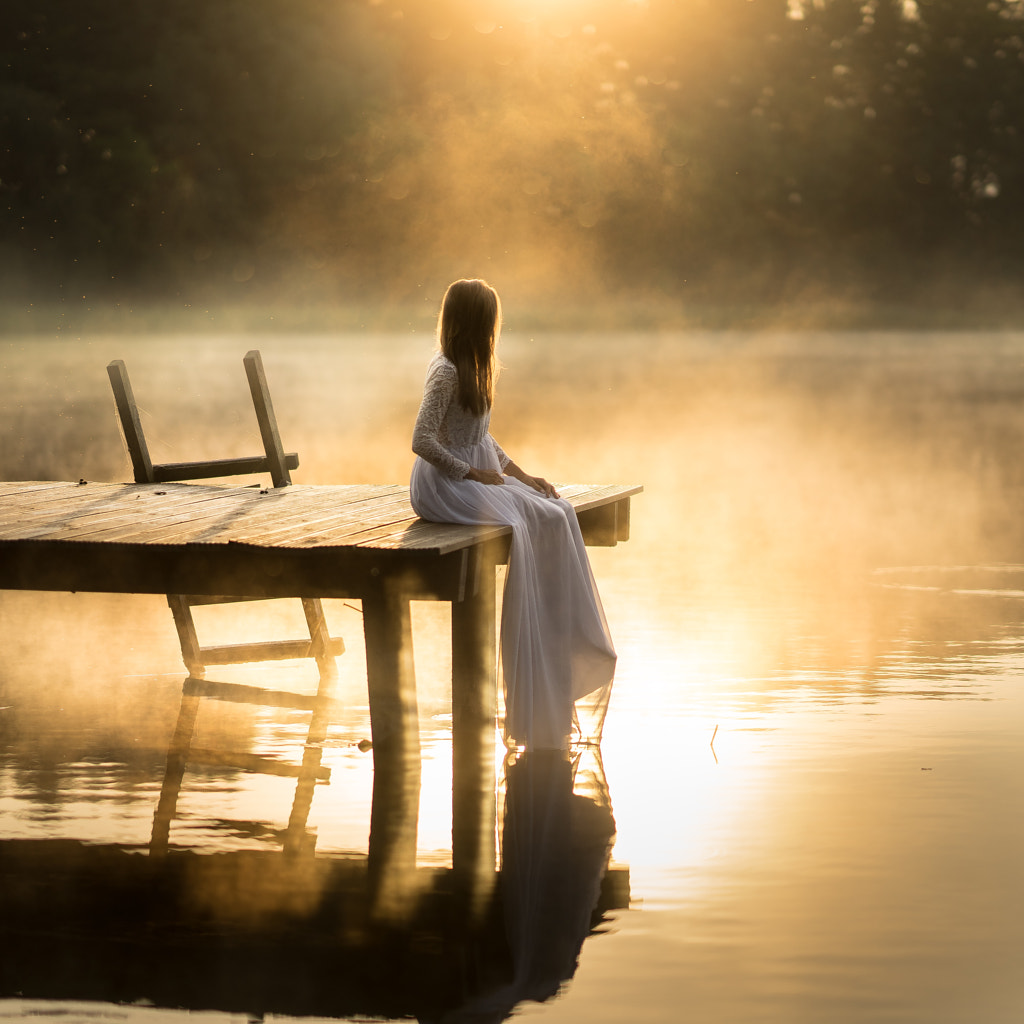
If you’ve seen Terrence Malick’s iconic 1978 film Days of Heaven, you know that most of the movie was filmed during the magic hour just after sunrise or before sunset. Many shots are also backlit, with the sun at the characters’ backs, their figures falling almost—but not quite—into silhouette. What you might not know, however, is that Malick’s father was a passionate amateur photographer; he helped inspire the filmmaker’s lifelong interest in beautiful light.
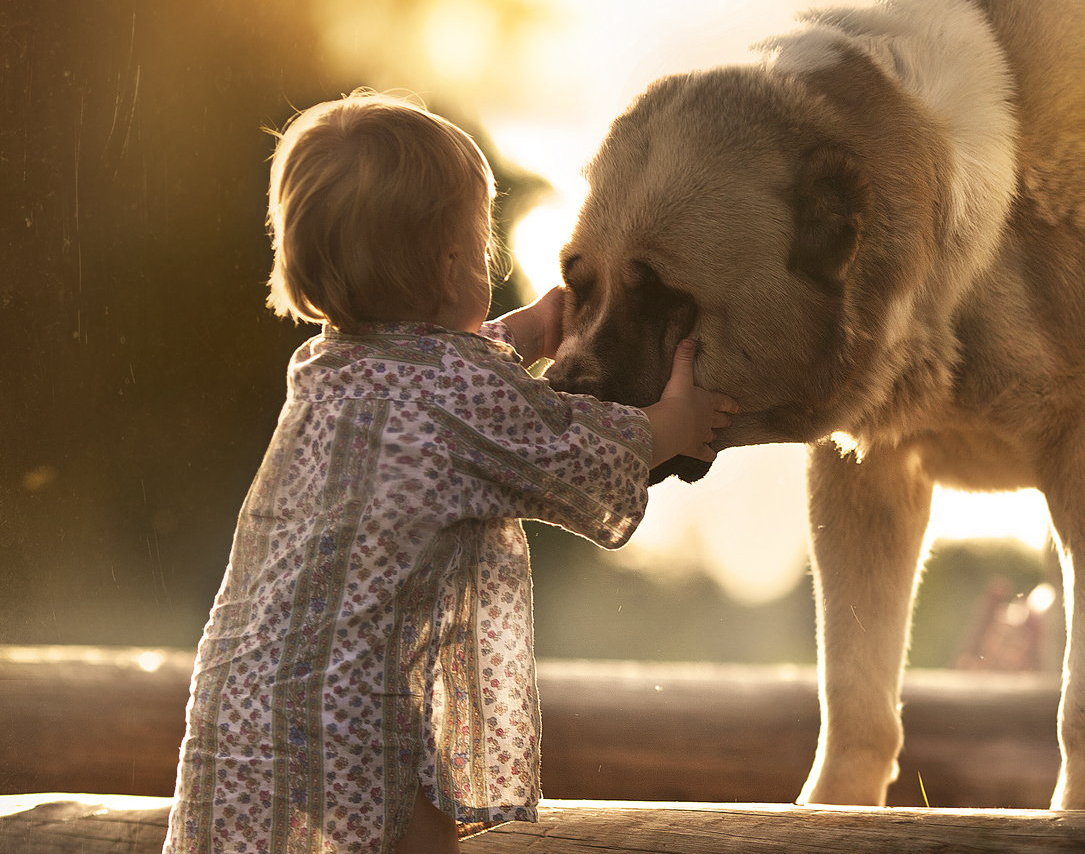
Backlighting or “shooting against the light” describes any lighting setup, natural or artificial, where your main light source is behind your subject. For photographers and filmmakers alike, it’s perfect for introducing depth and separating your subject from your background. Backlighting is ideal for creating a dreamy, cinematic feel, but it also comes with its fair share of challenges, which we will tackle here.
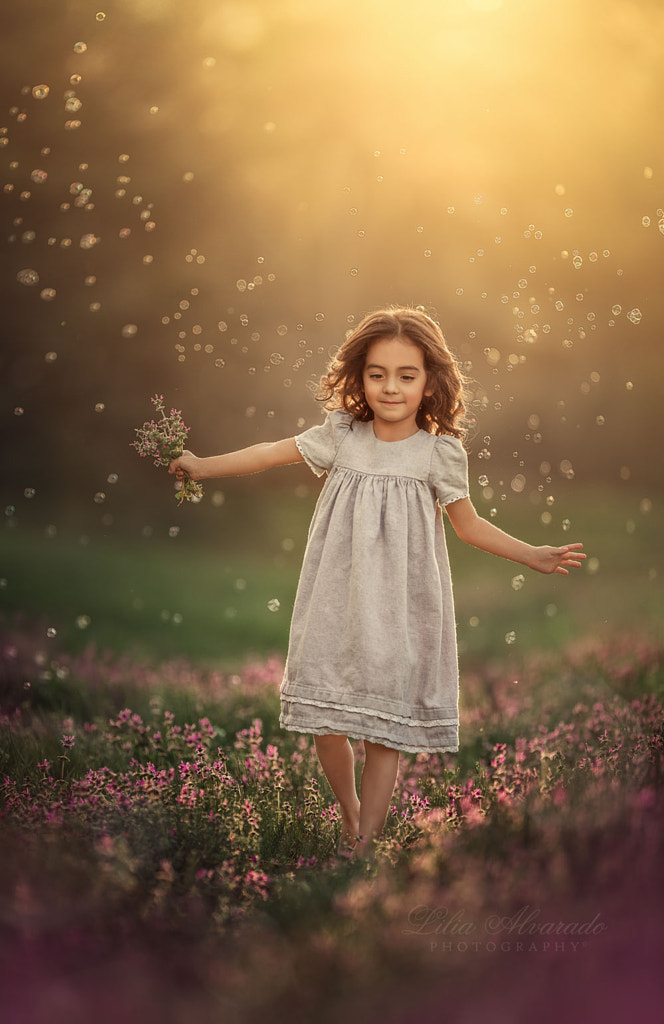
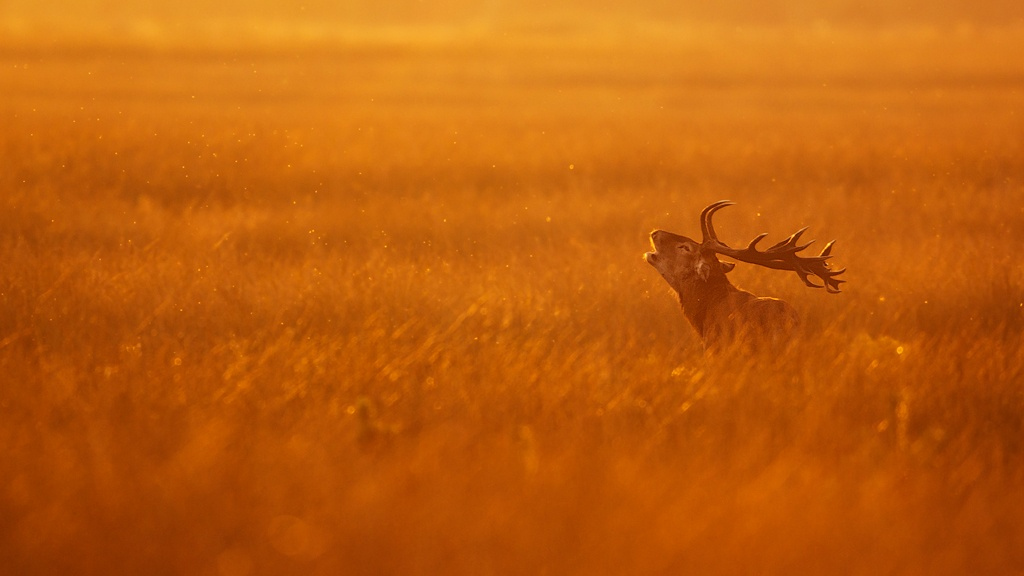
If you’re working with natural light, the best time to use the backlighting technique is (usually) during the magic hour, when the light is soft, low, and warm. You might only get 30 minutes of shooting time, depending on your location and the time of year, so plan ahead to make the most of it! If you’re using a studio light, on the other hand, your best bet is to soften it with some diffusion.
Camera settings
Manual mode is the way to go when using backlight, as you’ll be a better judge of exposure than your camera will. Keep in mind that you might have to overexpose the sky a bit with backlit portraits to keep the details in your subject. Turn on your highlight alerts so you can avoid overexposing any of the important details. The light will also change quickly if you’re shooting during the magic hour, so keep an eye on your exposure.
We also recommend using spot metering. If you want to expose for your subject, meter for the face. If you want a silhouette, on the other hand, expose for the background (you can learn more about capturing silhouettes in this guide). You can always bracket your exposures to see what works; take one shot exposing for the highlights and another exposing for the shadows. Finally, shoot in RAW so you can adjust your white balance in post-production as needed.
Your camera’s autofocus might also struggle when shooting against the sun, so you can either focus while blocking out the sun (with your hand) or rely on manual focus. Keeping the sun out of your frame to start will also make it much easier to manage.
A safety note: Always avoid pointing your camera directly at the sun while you’re looking through the viewfinder.
Tip #1: Beware of flare
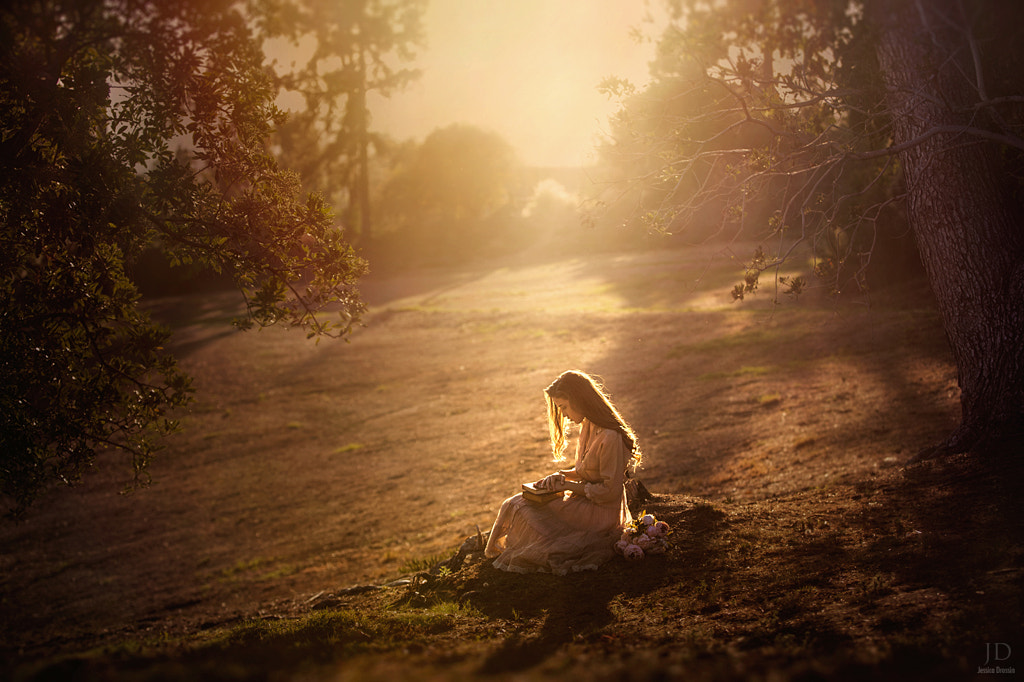
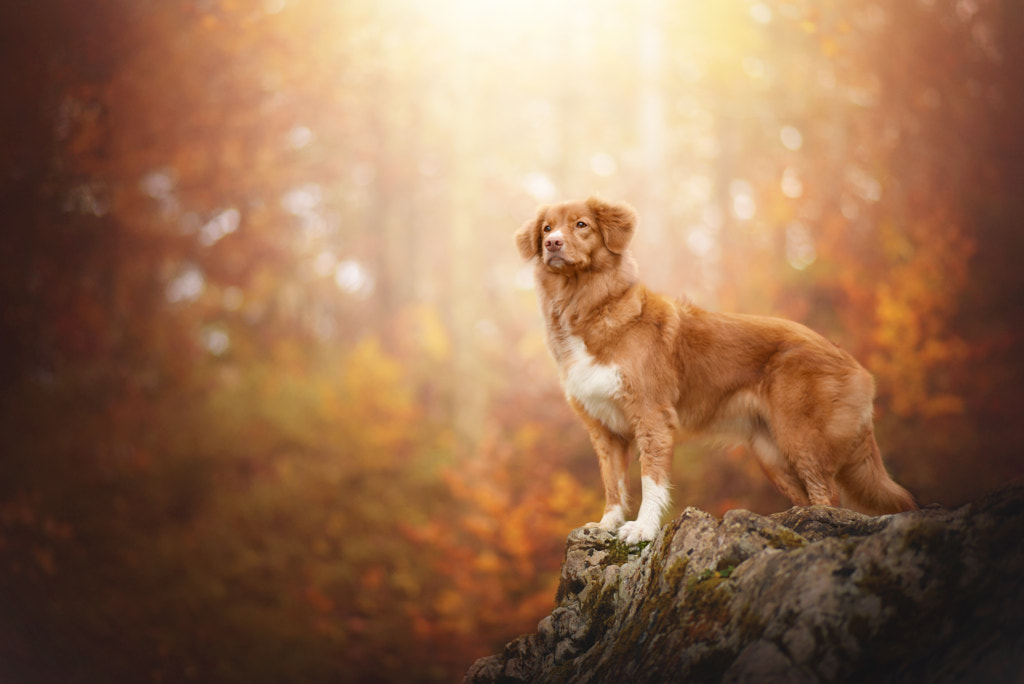
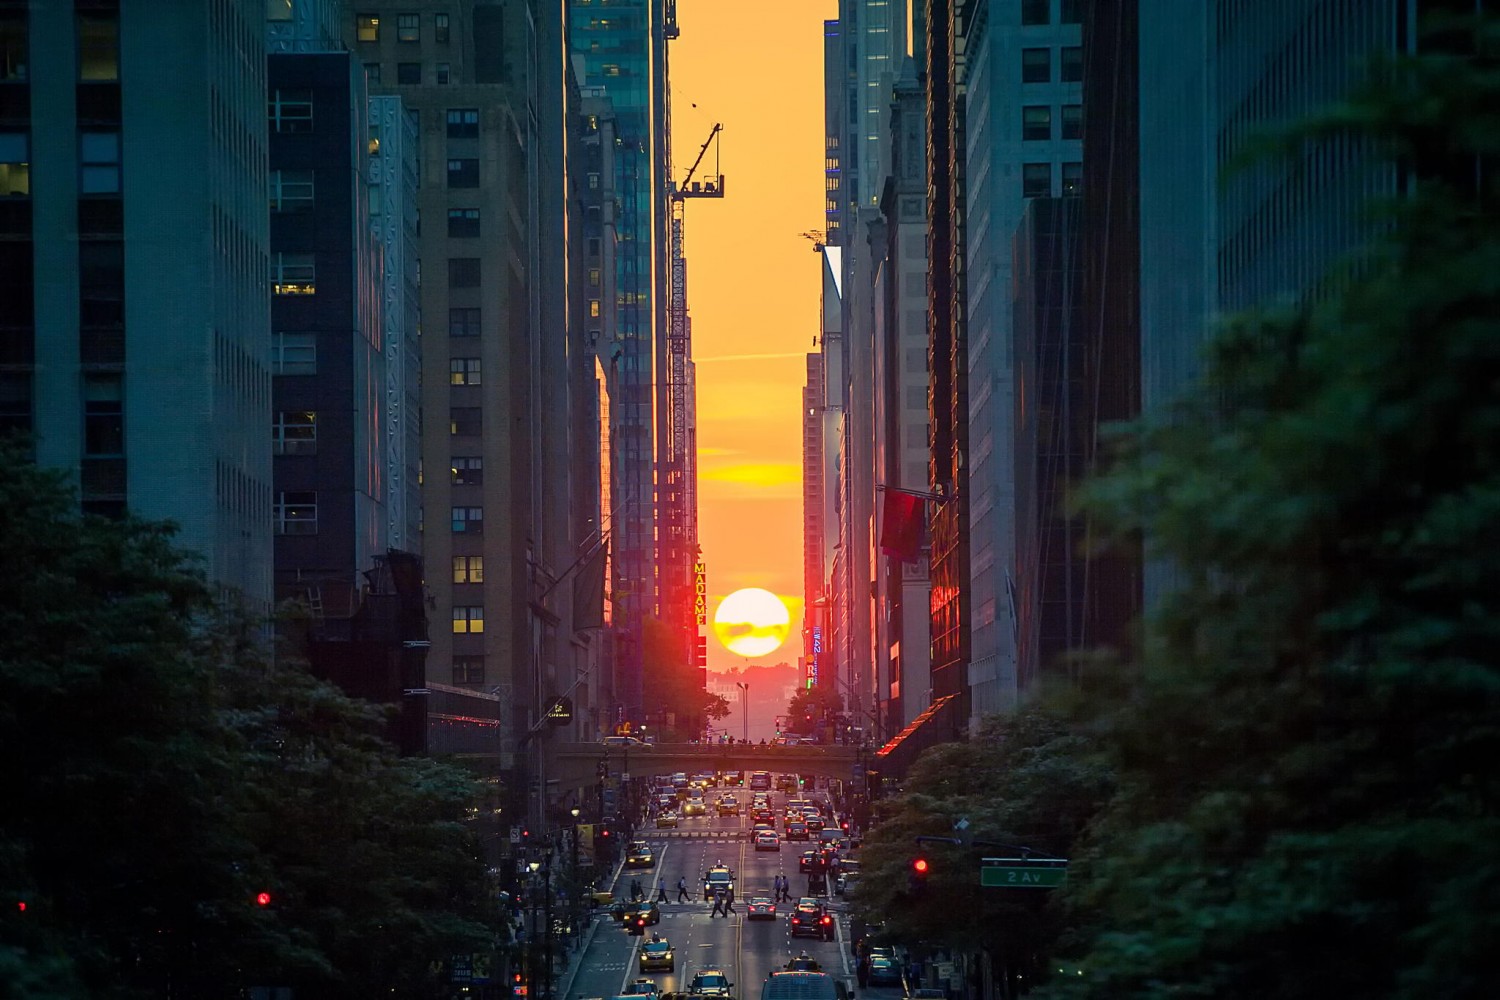
If you’re bothered by distracting lens flare, a lens hood is an invaluable accessory. Shady areas are also ideal. Another way to cut down on flare is to make sure that you aren’t shooting with your subject against the wide-open sky; instead, you can use light falling through trees, bushes, buildings, or other elements of the landscape.
This natural “filtering” and diffusion effect can help cut down the intensity of the sun while preserving that magical glow. Open skies can also lead to an overexposed, uninteresting background, so look for a location with details that filter the sun (at least partially).
With that being said, flare isn’t always a bad thing, and photographers often use it intentionally for creative effect. It’s also worth noting that different lenses produce different flares, some more appealing than others (in general, higher-quality means better flare). Finally, always keep your lens clean when shooting against the sun.
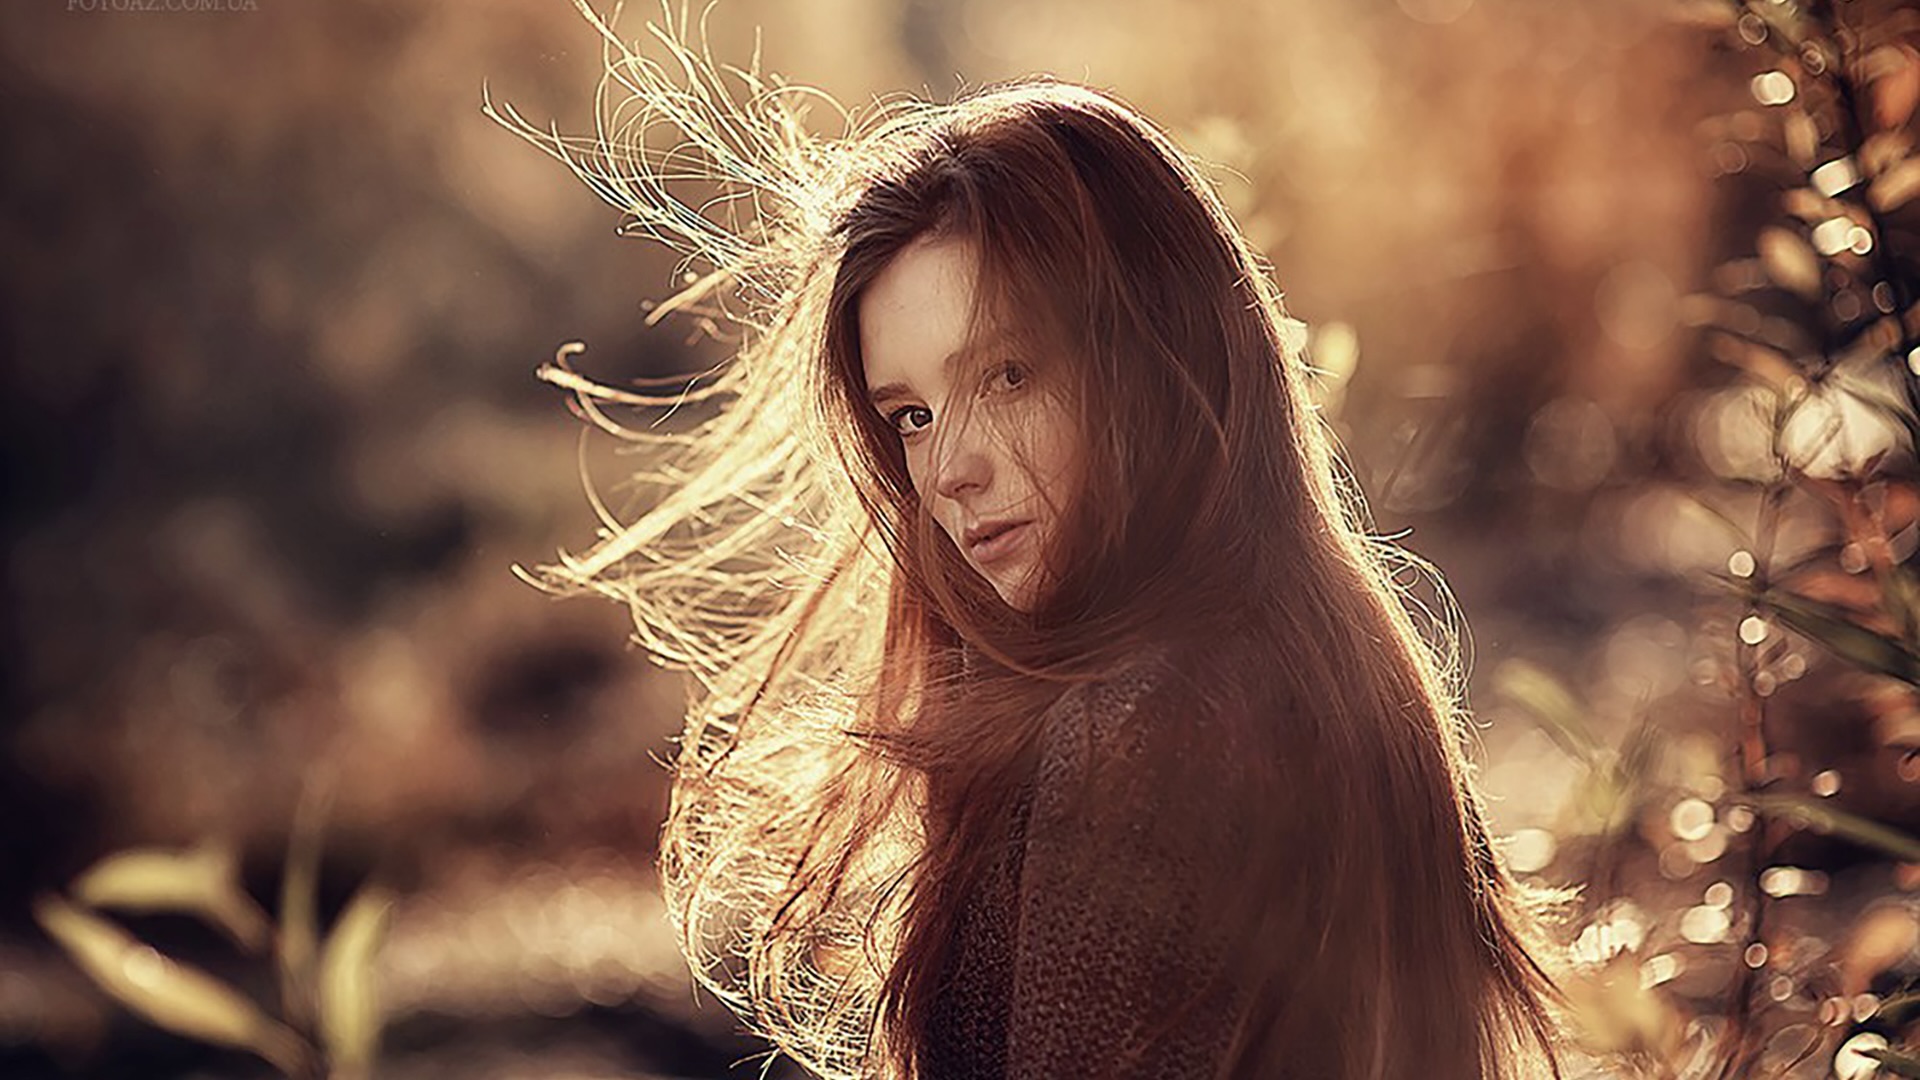
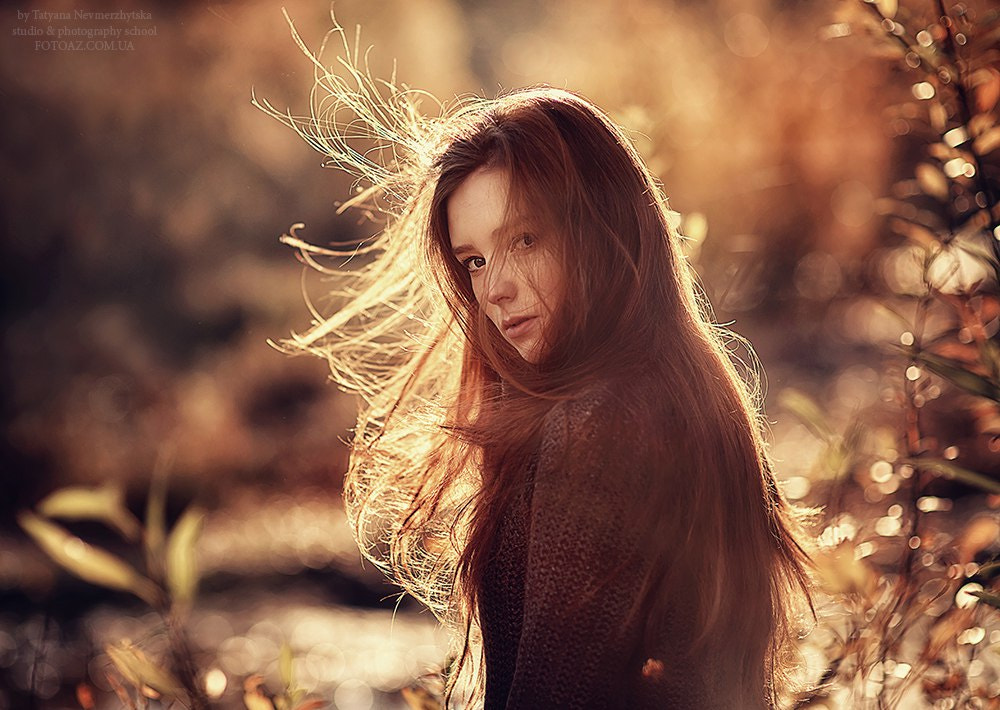
Tip #2: Mind the details
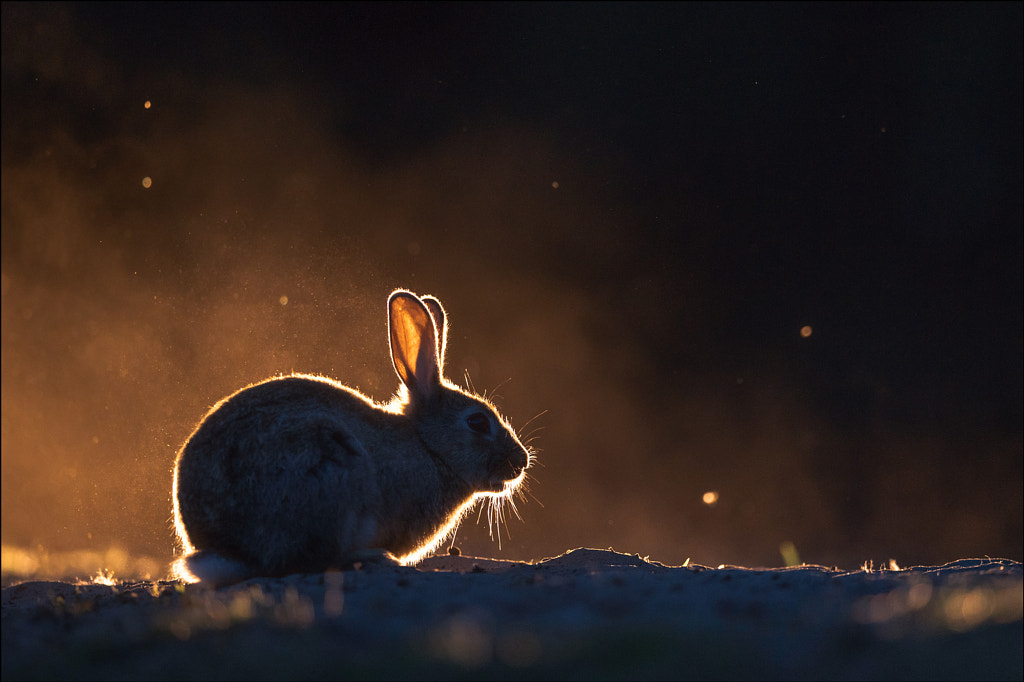
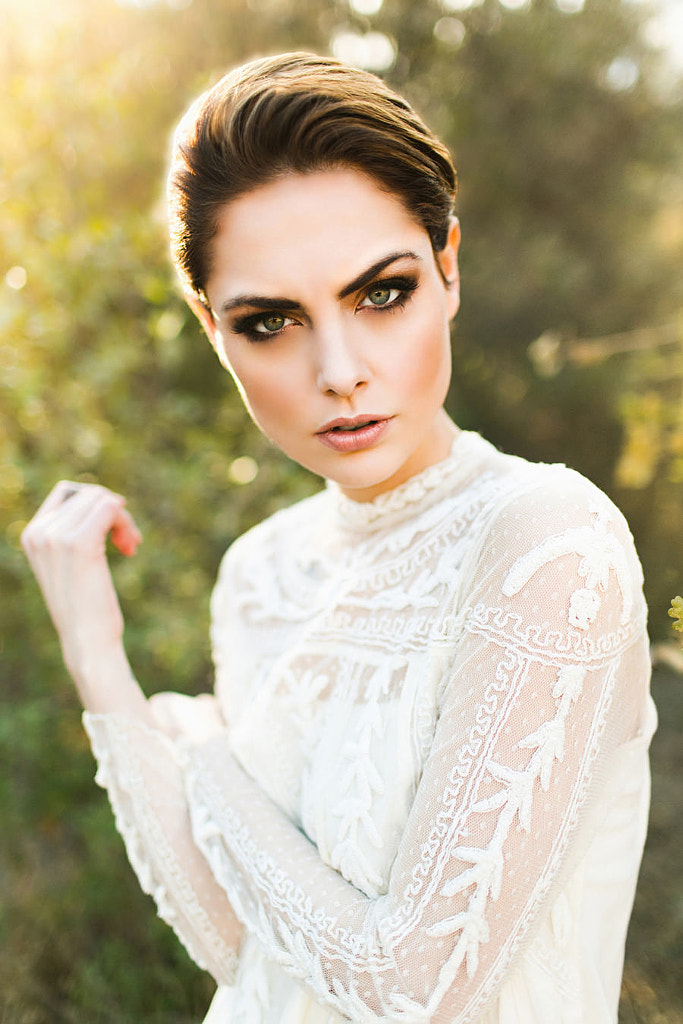
Backlighting is especially beautiful when combined with translucent subjects, such as a dress made of sheer fabric, leaves in springtime, or a glass of liquid. It’s also perfect for bringing out fine details like hair in portraits or fur in pet photography, so be mindful of those textures and how they’ll respond to the light. Another effect you can use with backlighting is a starburst; for that, stop down your aperture and include the sun peeking into the frame.
Tip #3: Get moving
Bending down or seeking higher ground can have a dramatic effect on backlit photos, so if you aren’t getting the look you want, try changing your angle. Take a few steps to the left or right. You can also move your subject around so that they fully or partially block the sun, perfecting their position to suit your taste.
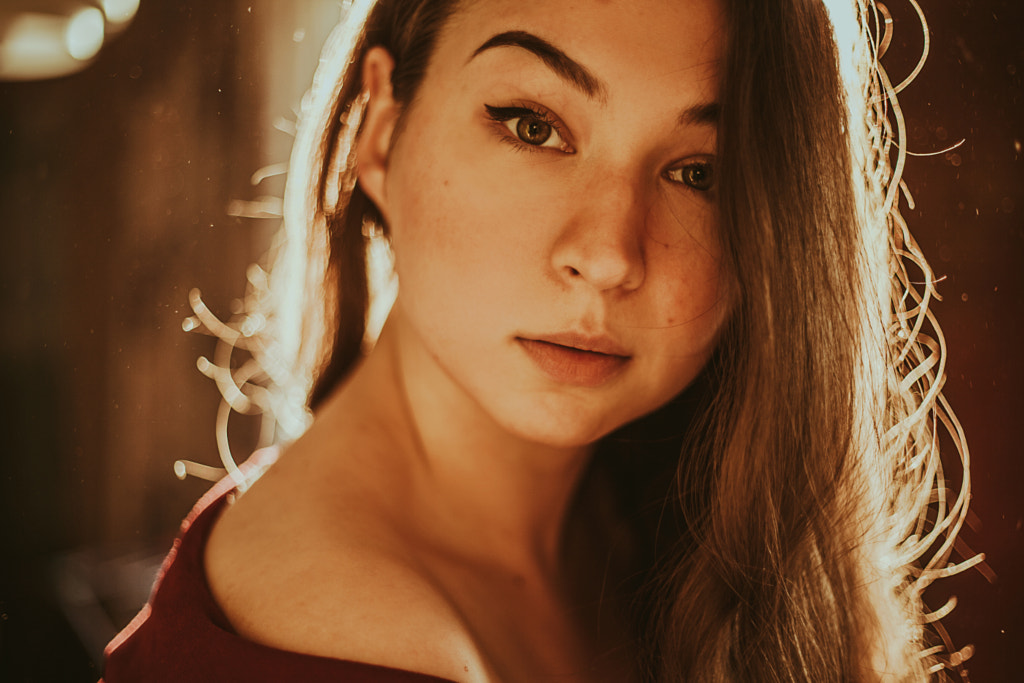
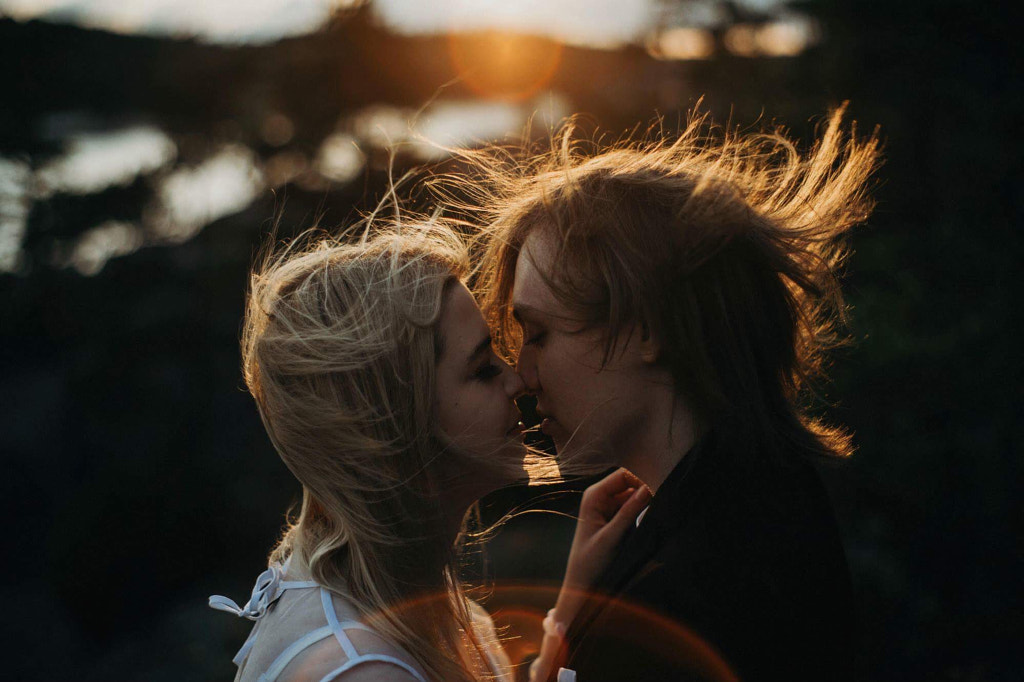
Tip #4: Take advantage of haze
Some photographers also use backlighting to create a natural, glowy “sun haze” effect. For that, you’ll want to keep the sun just outside the frame and remove your lens hood. The light will wash through your photo, decreasing contrast and giving the scene an ethereal vibe. For a soft and creamy effect, open up your aperture.
Tip #5: Light your subject
This tip applies to portraits, not silhouettes: make sure there is enough light on your subject so that they’re not lost in shadow. In some cases, you can keep the open sky at your back so that the light falls across the face, but in others, you might need to use a reflector or fill flash (off-camera, with diffusion). Alternatively, you could seek out natural reflectors like white walls in your location. You might have to experiment a bit with different techniques to see what suits your style.
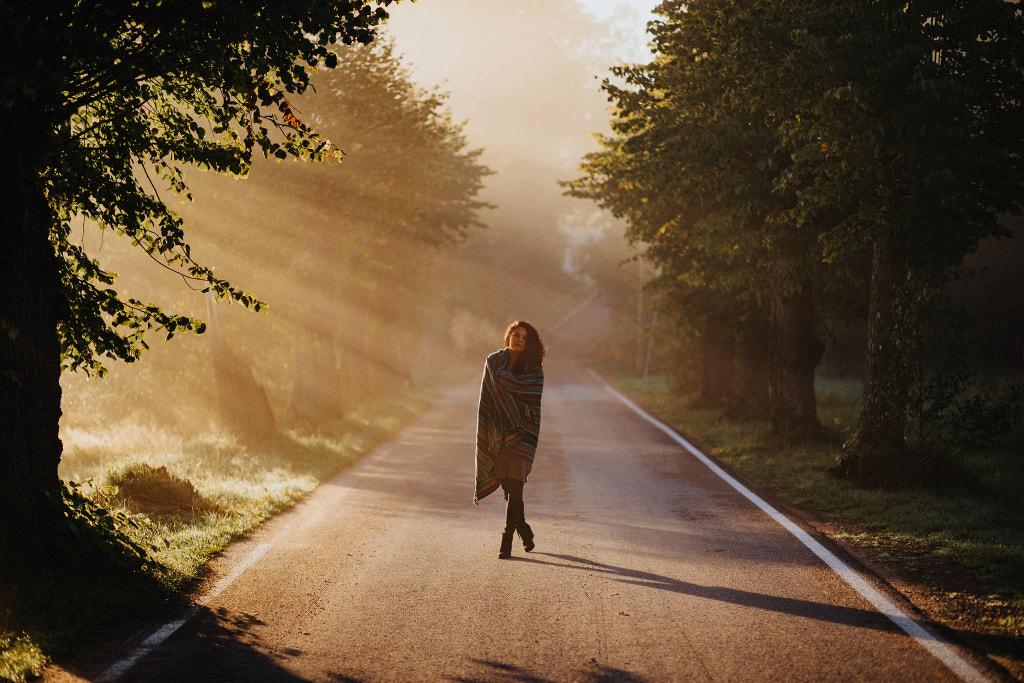
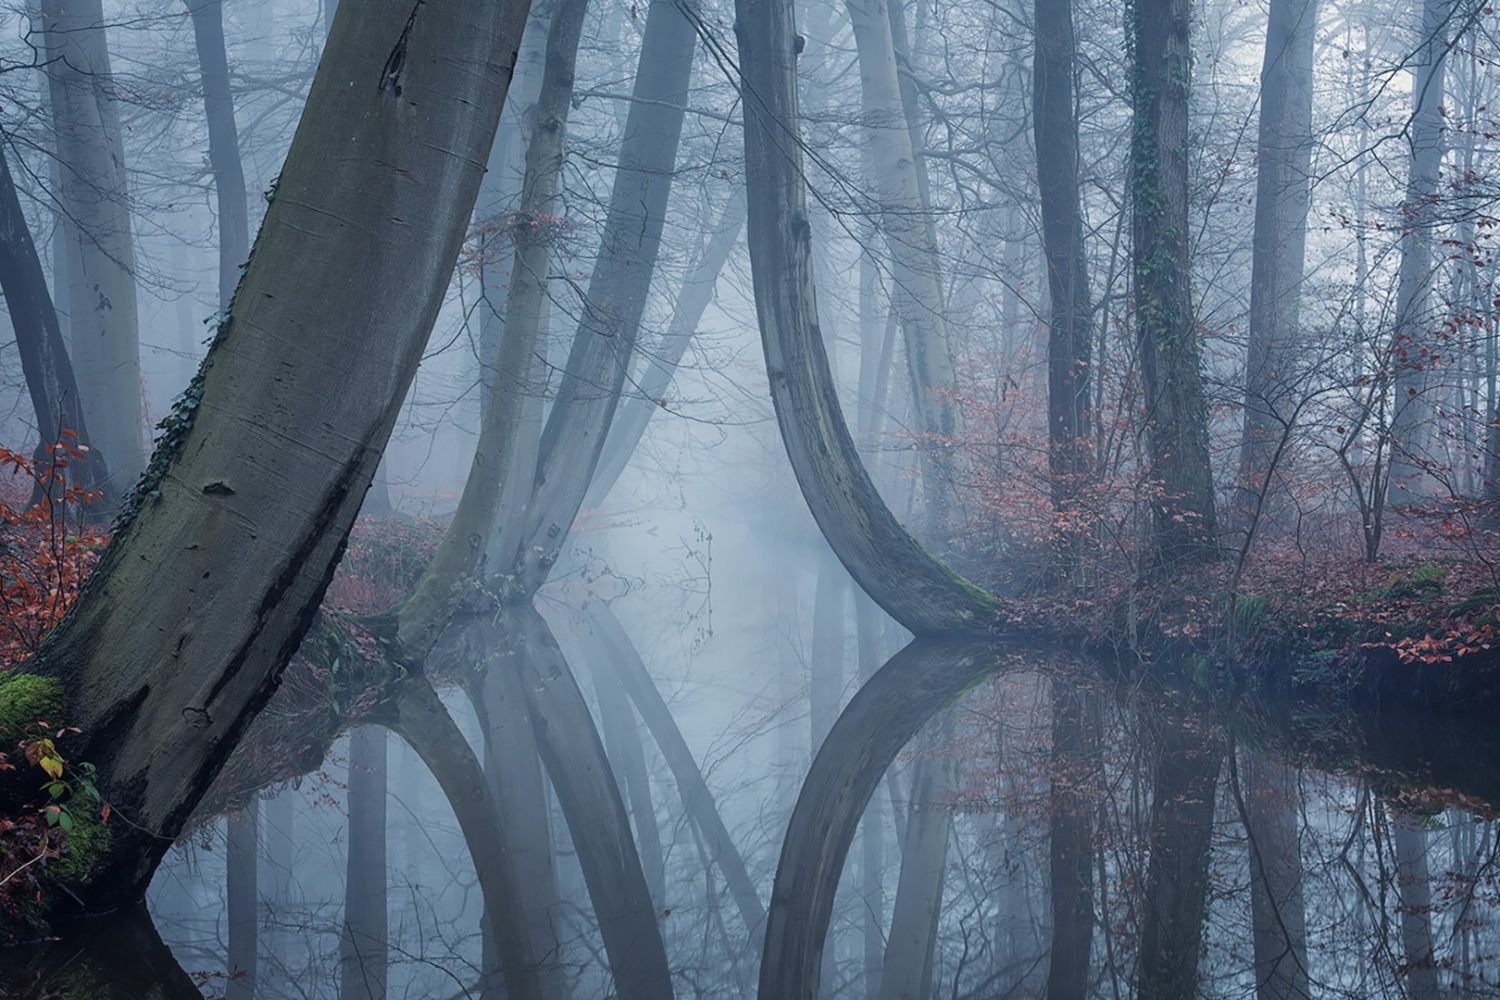
Tip #6: Shoot on foggy mornings
The golden or magic hour before sunset is always popular for backlit photography, but if you can wake up early, you can shoot the first rays of sun as they filter through the fog. Just check the weather forecast, and aim to shoot on those misty winter mornings. This technique is perfect for landscape photography.
Tip #7: Finesse in post
Backlit photos can easily look flat and washed-out right out of the camera, so you’ll want to spend some time editing them and bringing them to life. It’ll depend on the photo, but some common adjustments include adding back in some of that contrast and clarity and reintroducing blacks to make your photos pop. You can also push your white balance toward the warmer end of the spectrum for a more golden atmosphere. Hopefully, you will have gotten an exposure you like in-camera, but you can always tweak your RAW file as needed.
Not on 500px yet? Sign up here to explore more impactful photography.

Leave a reply