It’s been almost a century since the photographer Gyula Halász, known as Brassaï, arrived in Paris, where he would spend years documenting local nightlife. Drawn to the mysteries of life after dark, he wandered the streets and clubs, encountering prominent socialites, overlooked outcasts, and his friends, including the likes of Pablo Picasso and Salvador Dalí. Gritty and unflinching, enigmatic and evocative, his pictures captured the secrets the city hid during the daytime.
Even all these years later, Brassaï’s book Paris De Nuit remains one of the most influential in photo history. Countless artists and flâneurs have since followed in his footsteps, hitting the pavement at night in search of something unforgettable. Shooting at night can be challenging due to low light, but as all those photographers have discovered for themselves, there’s nothing like the street after dark. Here are our tips for making the most of it.

Opt for a fast lens
A fast prime lens, like a 35mm or 50mm, is the gold standard for shooting street photos at night. These lenses can be pricier, but they have a wider maximum aperture, meaning they let in more light without requiring a longer shutter speed. If you want to avoid motion blur in low light, it’s hard to beat an old-fashioned nifty fifty lens. Another bonus of shooting at a wider aperture, of course, is that you can create a nice bokeh effect in the out-of-focus parts of your image, particularly street lights in the background.
Embrace higher ISOs
Normally, you’ll keep your ISO as low as possible to avoid introducing noise, but in low light, that’s not always practical. For example, if you need a wider depth of field, you might want to avoid a wide-open aperture, in which case you’ll have two options: introduce motion blur with a longer exposure or opt for a higher ISO.
Today’s DSLRs and mirrorless cameras handle higher ISOs better than ever before, so if you have a solid camera, you should be able to go higher than usual (ISO 3200 or even 6400) without ruining your photos. Plus, a little noise is a small price to pay to avoid an unusable exposure. You can also try reducing any noise in post-processing. Finally, if you’re shooting film, grain isn’t necessarily a bad thing; while digital noise rarely looks good, some film grain can add grit and character to your nighttime street photos.
Find the light
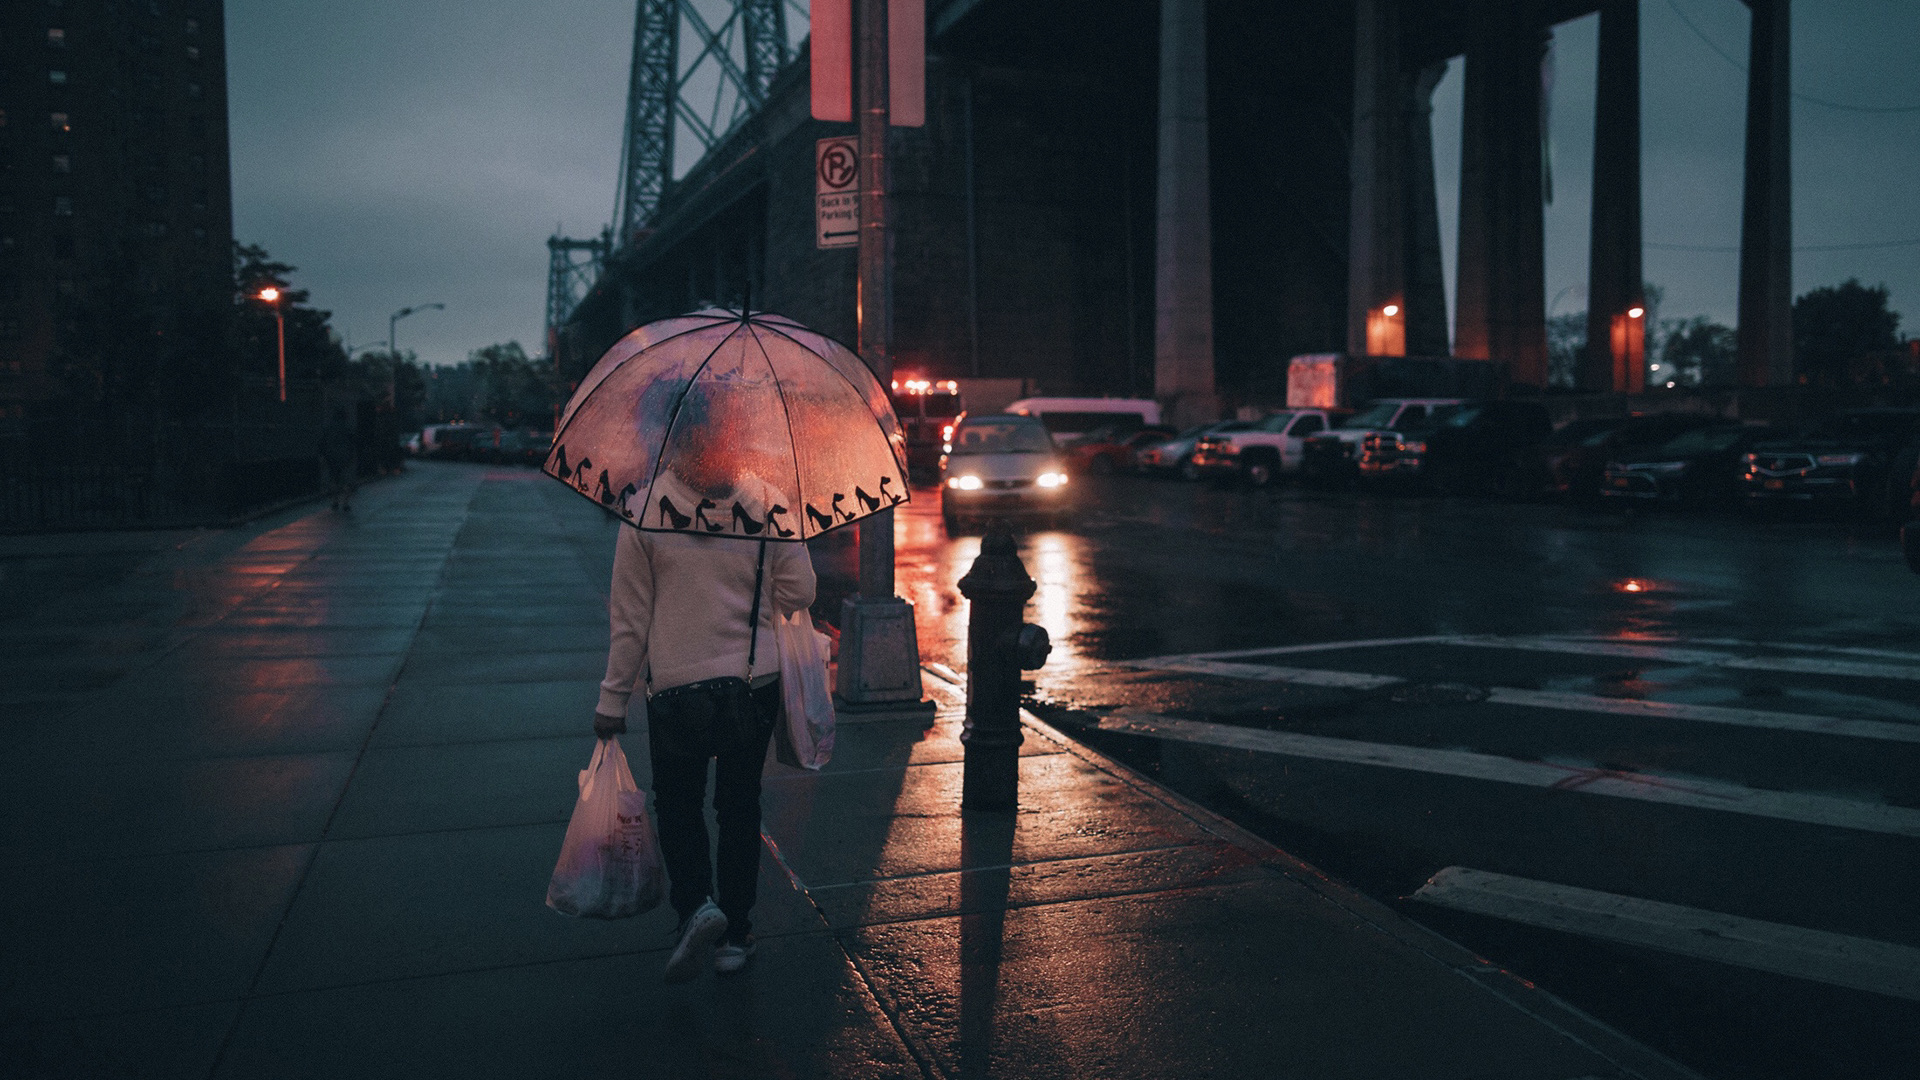
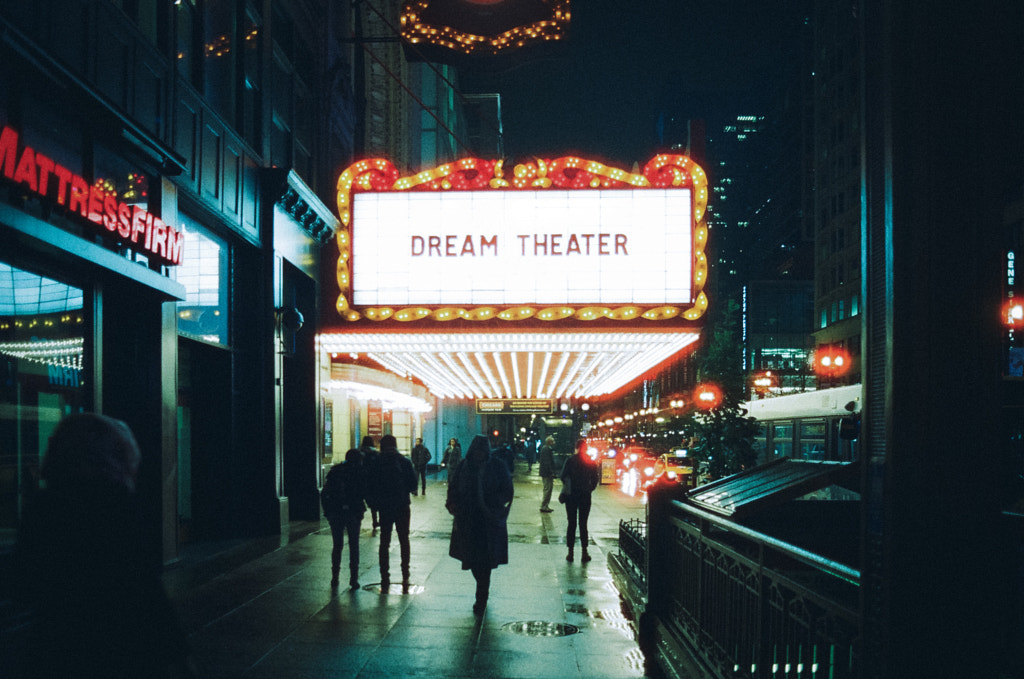
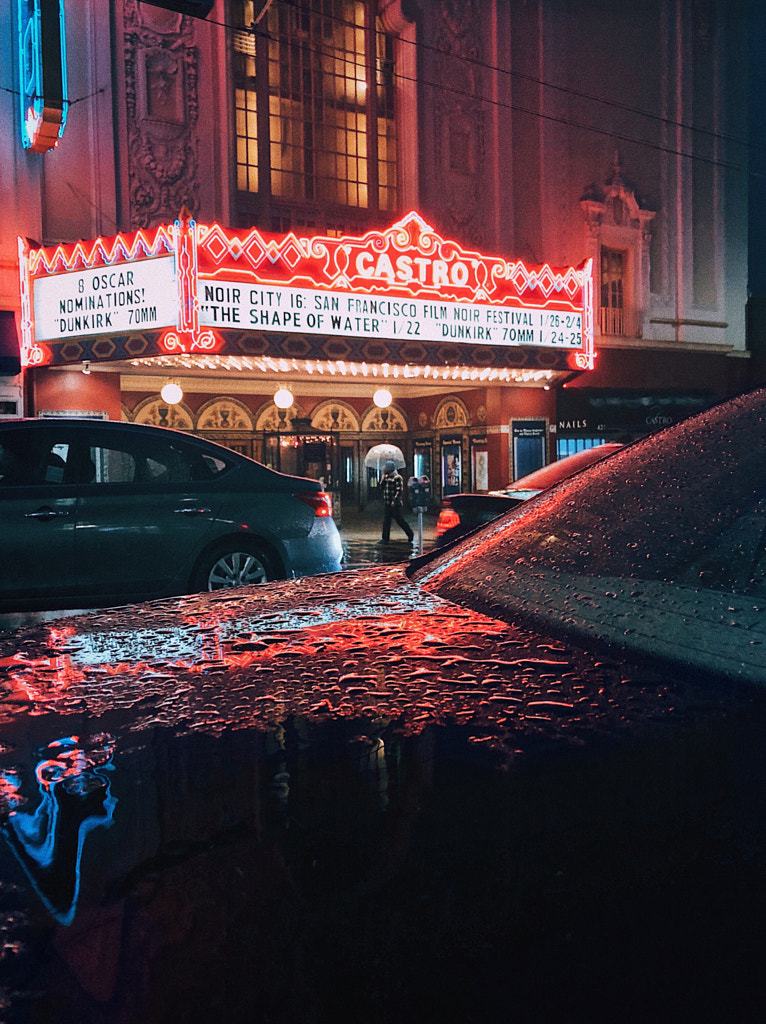
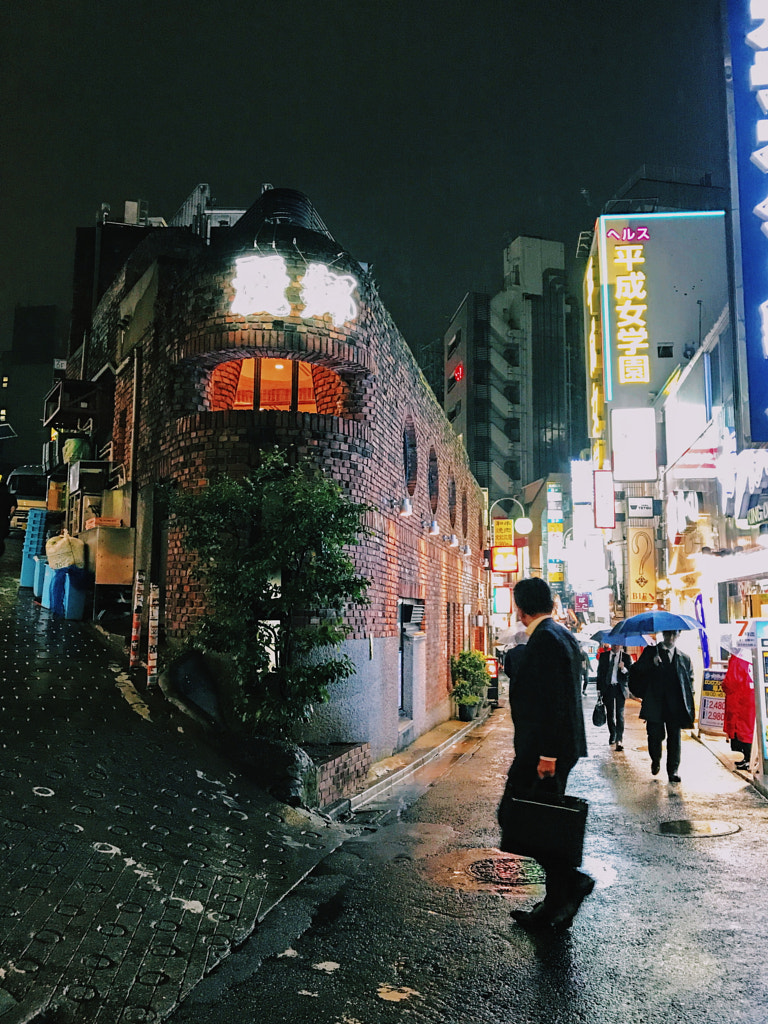
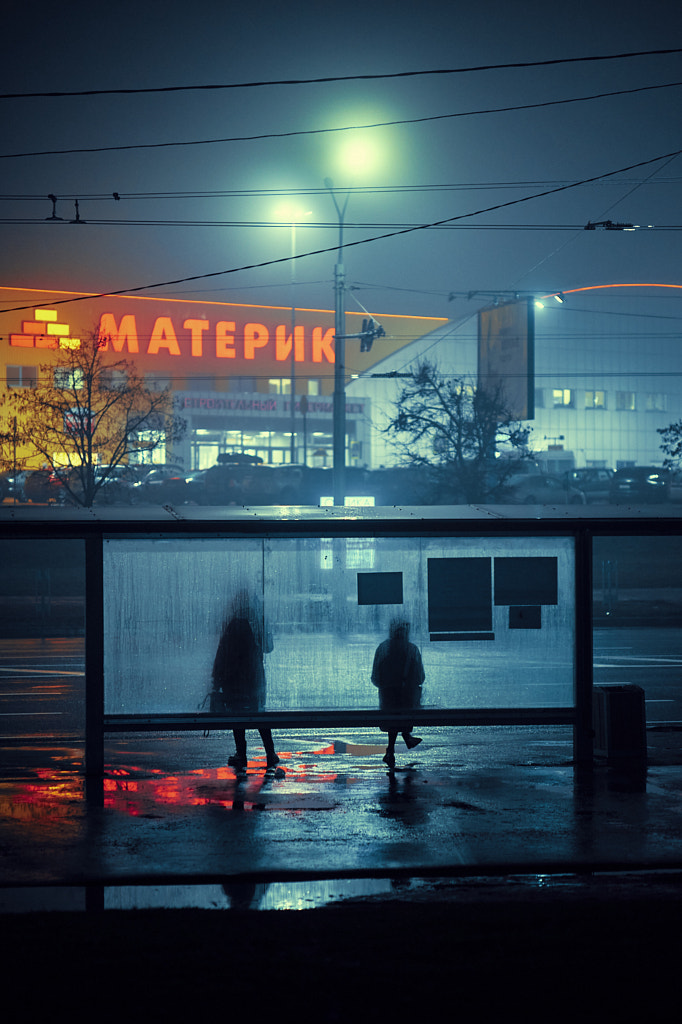
Beyond wider apertures and higher ISOs, the most obvious solution to dealing with low light would be to seek out patches of light. Street lights work well, as do neon signs, store windows, and car headlights. You can bring a flash (after all, the legendary Weegee did), but that approach can come off as aggressive, so it’s not ideal if you want to remain discreet and unnoticed. If you’re going for a more subtle tactic, your best chance is to leave the flash at home and get creative with existing light sources.
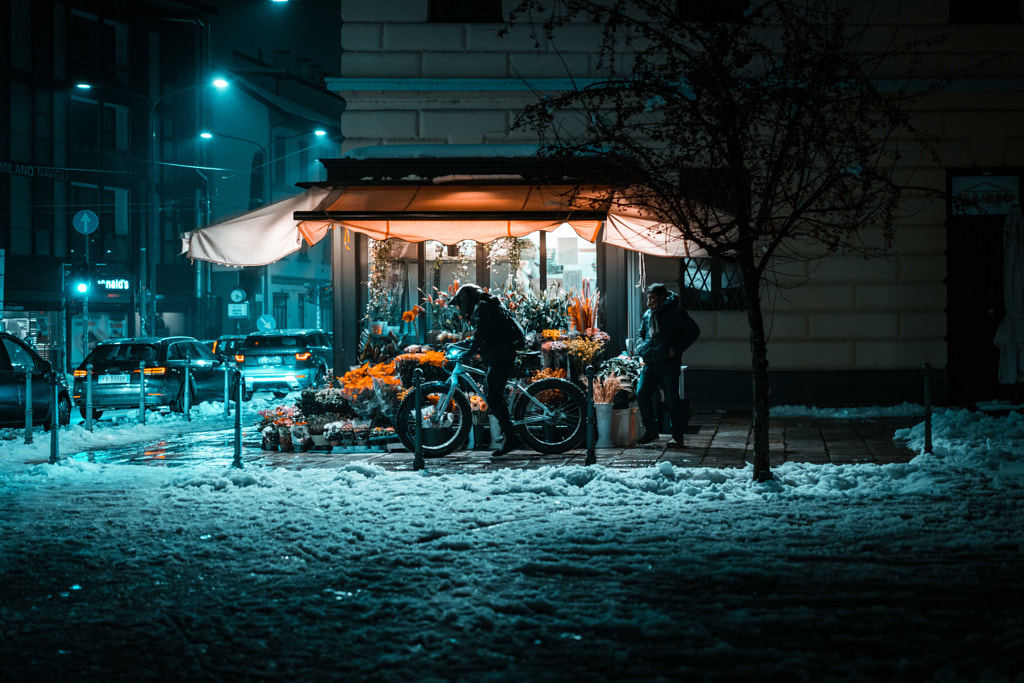
Keep in mind that larger light sources create softer light. It can help to stand in one place with great light and wait for someone to enter the frame and bring the scene to life. You can position yourself between the light and the place where your subject will enter so they are illuminated. Remember to shoot RAW files so you can adjust your white balance in post, as artificial light sources can sometimes produce unwanted color cast. In general, night shooters prefer slightly cooler, bluish lights to capture that enigmatic feeling, but it’s up to you.
Hold your breath
If you want to avoid using a tripod—and we recommend skipping it for more flexibility!—you’ll need a steady hand, especially at slower shutter speeds. When clicking the shutter, slow down, take a deep breath, and hold it for a fraction of a second. While you might be used to staying in motion and shooting from the hip during the day, nighttime presents an opportunity to pause and linger. The more you practice standing still, the sharper your photos will be. If you’re still having trouble with blurry images, you might try a wider angle lens, as they are more forgiving when it comes to camera shake.
Watch your histogram
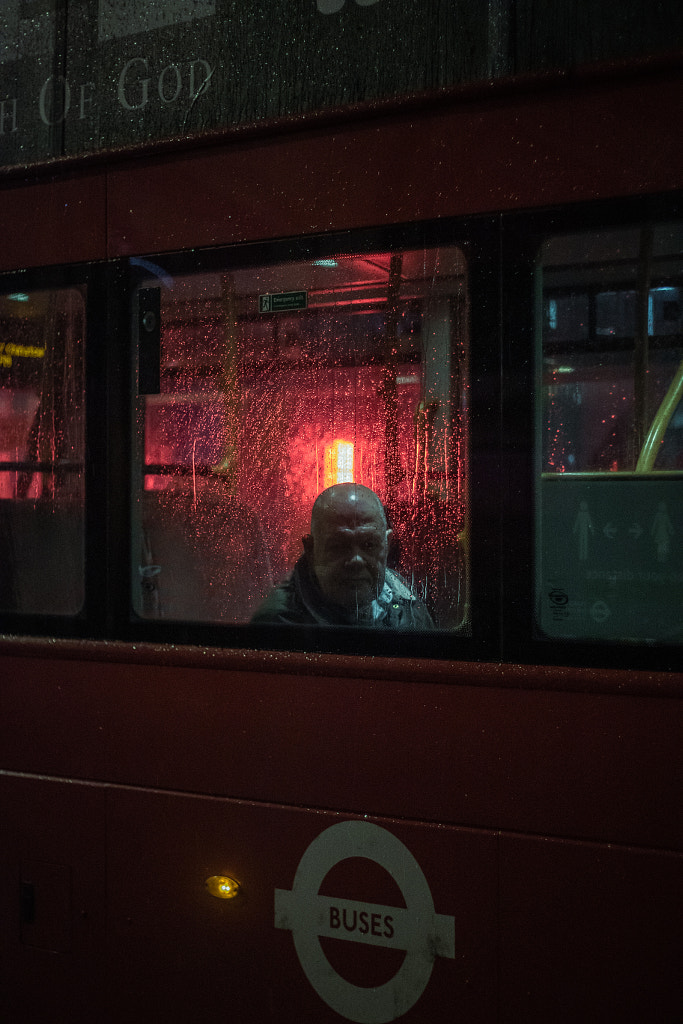
In most cases, you’ll want a perfectly even histogram, but night photos don’t always conform to the “rules.” In many scenarios, for example, you might want those dark shadows to be dark. With moody photos created after dark, chances are your ideal histogram will skew to the left. Overexposing your after-dark shots might deliver more detail in the shadows, but it’ll come at the cost of that magical nighttime ambiance. If you find your camera is overexposing, you can use exposure compensation to nudge it in the right direction.
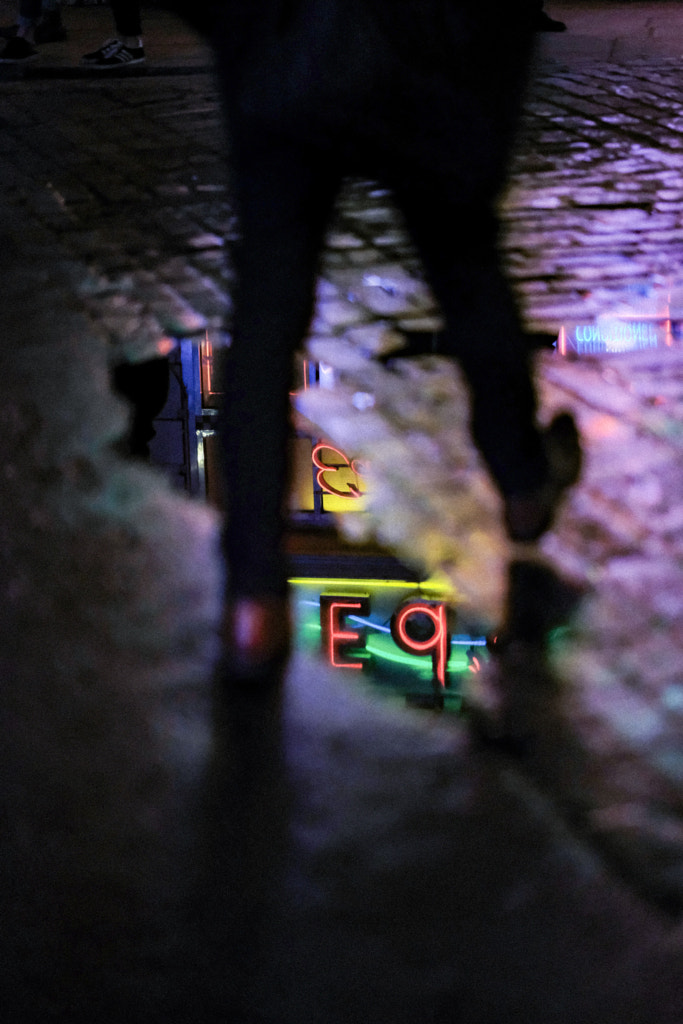
Forget “perfection”
The bad news is that it’s tricky to get a technically flawless, perfectly exposed street photo in low light. In the street, you’re working quickly and instinctively; if you fret too much over your camera Settings, you might miss the moment. The good news is that great pictures aren’t always impeccable from a technical standpoint. When used correctly, blur and grain can heighten the drama and bring meaning and depth to a photo. Don’t be afraid to embrace these so-called “imperfections.” The more you shoot, and the more risks you take, the better your photos will be.


Revisit the same location—again and again
Get to know your location by visiting it several times, through all hours of the day. Take a cue from Brassaï and explore your city inside and out. By familiarizing yourself with the rhythms of your surroundings, you’ll be more equipped to anticipate moments and interactions. You might also get acquainted with some of the regulars at local hotspots and hangouts, who can give you insider tips on events and happenings throughout the year. Don’t be afraid to make connections and build friendships; as with any kind of street photography, putting in the time usually pays off.
Stay safe out there
Perhaps it goes without saying, but your safety is the top priority, so stick with places you know well, bring a friend, or let someone know exactly where you’re going. Remember to travel light and avoid unwanted attention; if you’re traveling with expensive gear, it might be worth getting it insured. Crowded areas are generally safer than empty alleyways, and they also tend to present more street photo ops. Public places also offer a degree of protection, so avoid wandering onto private property (no one likes a confrontation). Most of all, use common sense, and trust your gut.
Want more street photography tips? Check out our beginners’ guide here.
Not on 500px yet? Sign up here to explore more impactful photography.

Leave a reply