While exploring the Bavarian Forest National Park one day, Kilian Schönberger happened upon this spooky sight: a carriage, straight from a fairytale, abandoned in the woods and reclaimed by nature. But the setting alone didn’t make the photograph; the pale cerulean light, eerie in the mist, transformed the landscape into a scene from a ghost story. As Schönberger understood, the “blue hour”—that mysterious sliver of time between daylight and nighttime—can make all the difference.

In this guide, we’ll break down everything you need to know about the blue hour and share our tips for using this elusive time to your advantage.
Understanding the basics
“The blue hour” describes a brief window just before sunrise or after sunset. Unlike the “golden hour,” named for its warm tones, the light during the blue hour is cool. It happens just before the golden hour in the morning and just after the golden hour in the evening. Generally, the blue hour is defined by a moment when the sun sits about four to six degrees below the horizon, providing a soft, diffused illumination over your scene.
Aside from the moody, atmospheric light, the blue hour usually offers more privacy, as people will be asleep or at dinner, giving you room to scout your location and set up in the perfect spot. As with the golden hour, timing is everything, so you’ll want to use an app like PhotoPills or The Photographer’s Ephemeris to track the natural light conditions in your specific location.
It can also come and go quickly, as “hour” is somewhat of a misnomer, so remember to arrive early so you can set up and take plenty of test shots before the scene turns blue and your window of opportunity opens. The sky will usually appear blue to your camera before it registers as blue to your eyes.
What you’ll need
You can use any lens you wish during the blue hour, but a faster lens will allow you to open up your aperture and get more light. If you plan to shoot long exposures, which will help keep your ISO low and your aperture narrower, bring a tripod and remote shutter release. Keep in mind too that the light around sunrise and sunset is constantly changing, so it’s a good idea to work in manual mode and finesse your exposure settings as you go.
Remember to check your histogram continuously to see if you’re losing any details. You’ll want to set your ISO as low as possible to avoid noise. If you find yourself dealing with a high contrast scene, you can consider bracketing your exposures to preserve those details throughout the shadows and highlights. If you’re shooting portraits, you might also bring a reflector to bounce that light back onto your subject’s face; a silver reflector works well with blue light.
As you’d expect with the low light, manual focus is the way to go. If you’re shooting into the night, it might be worth investing in a natural light filter to cut down on light pollution; NiSi makes a filter specifically for this purpose. Shoot in RAW so you can tweak your white balance to perfection in post, as auto white balance will get rid of those beautiful blue tones. Finally, bring a headlamp so you can find your way—and adjust your camera—as the sky darkens.
Tip #1: Chase the light
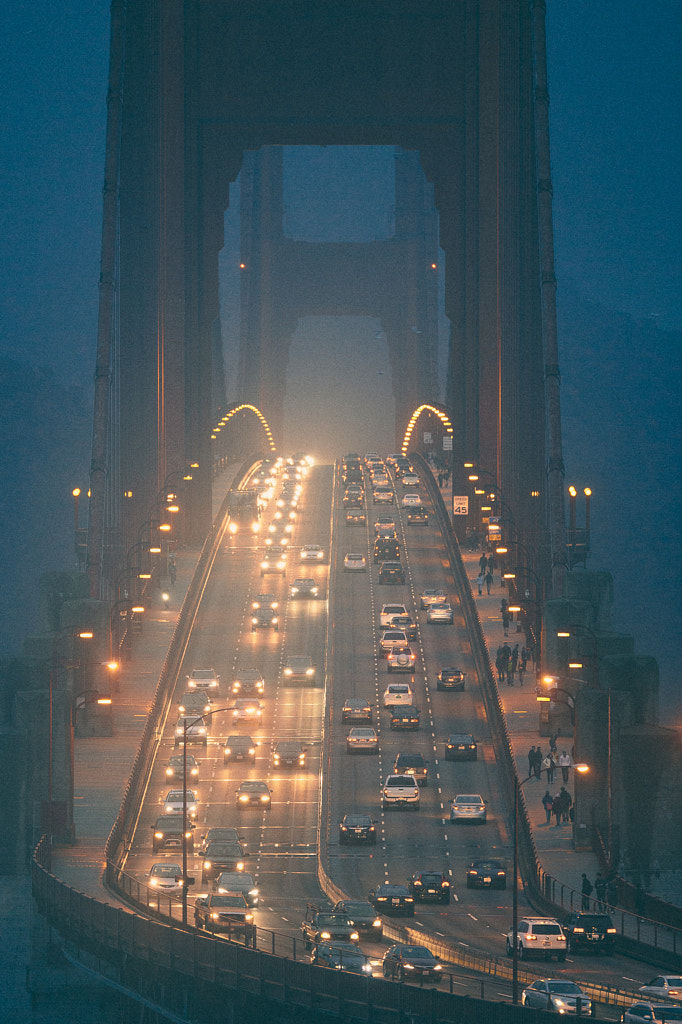
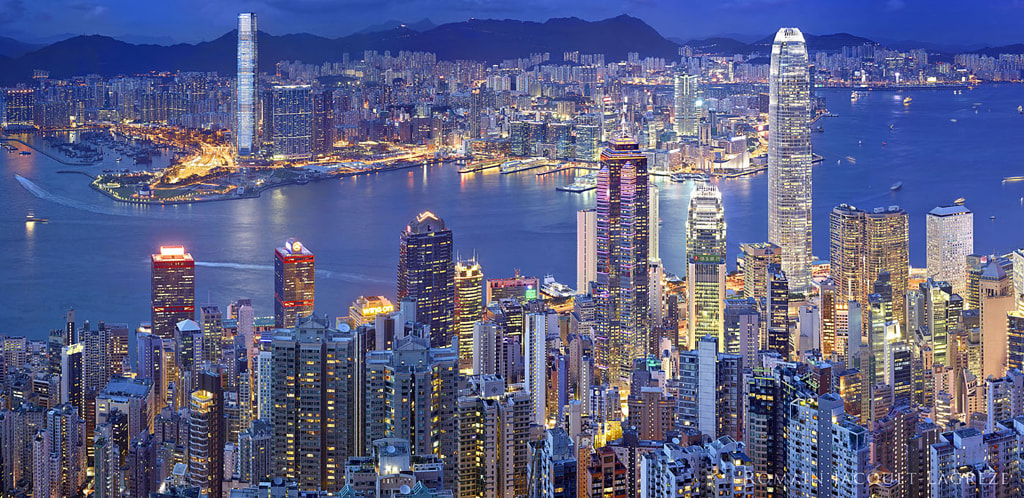
The blue hour is a natural phenomenon, but that doesn’t mean you can’t experiment with artificial light sources, such as street lamps or the illumination from windows, during this time. Romain Jacquet-Lagrèze, for instance, used the bright sky and the city lights when creating his well-known blue hour photos in Hong Kong. Another popular technique when shooting urban areas during this time is to use long exposures to capture light trails as cars course through the city.
Tip #2: Use reflections to your advantage
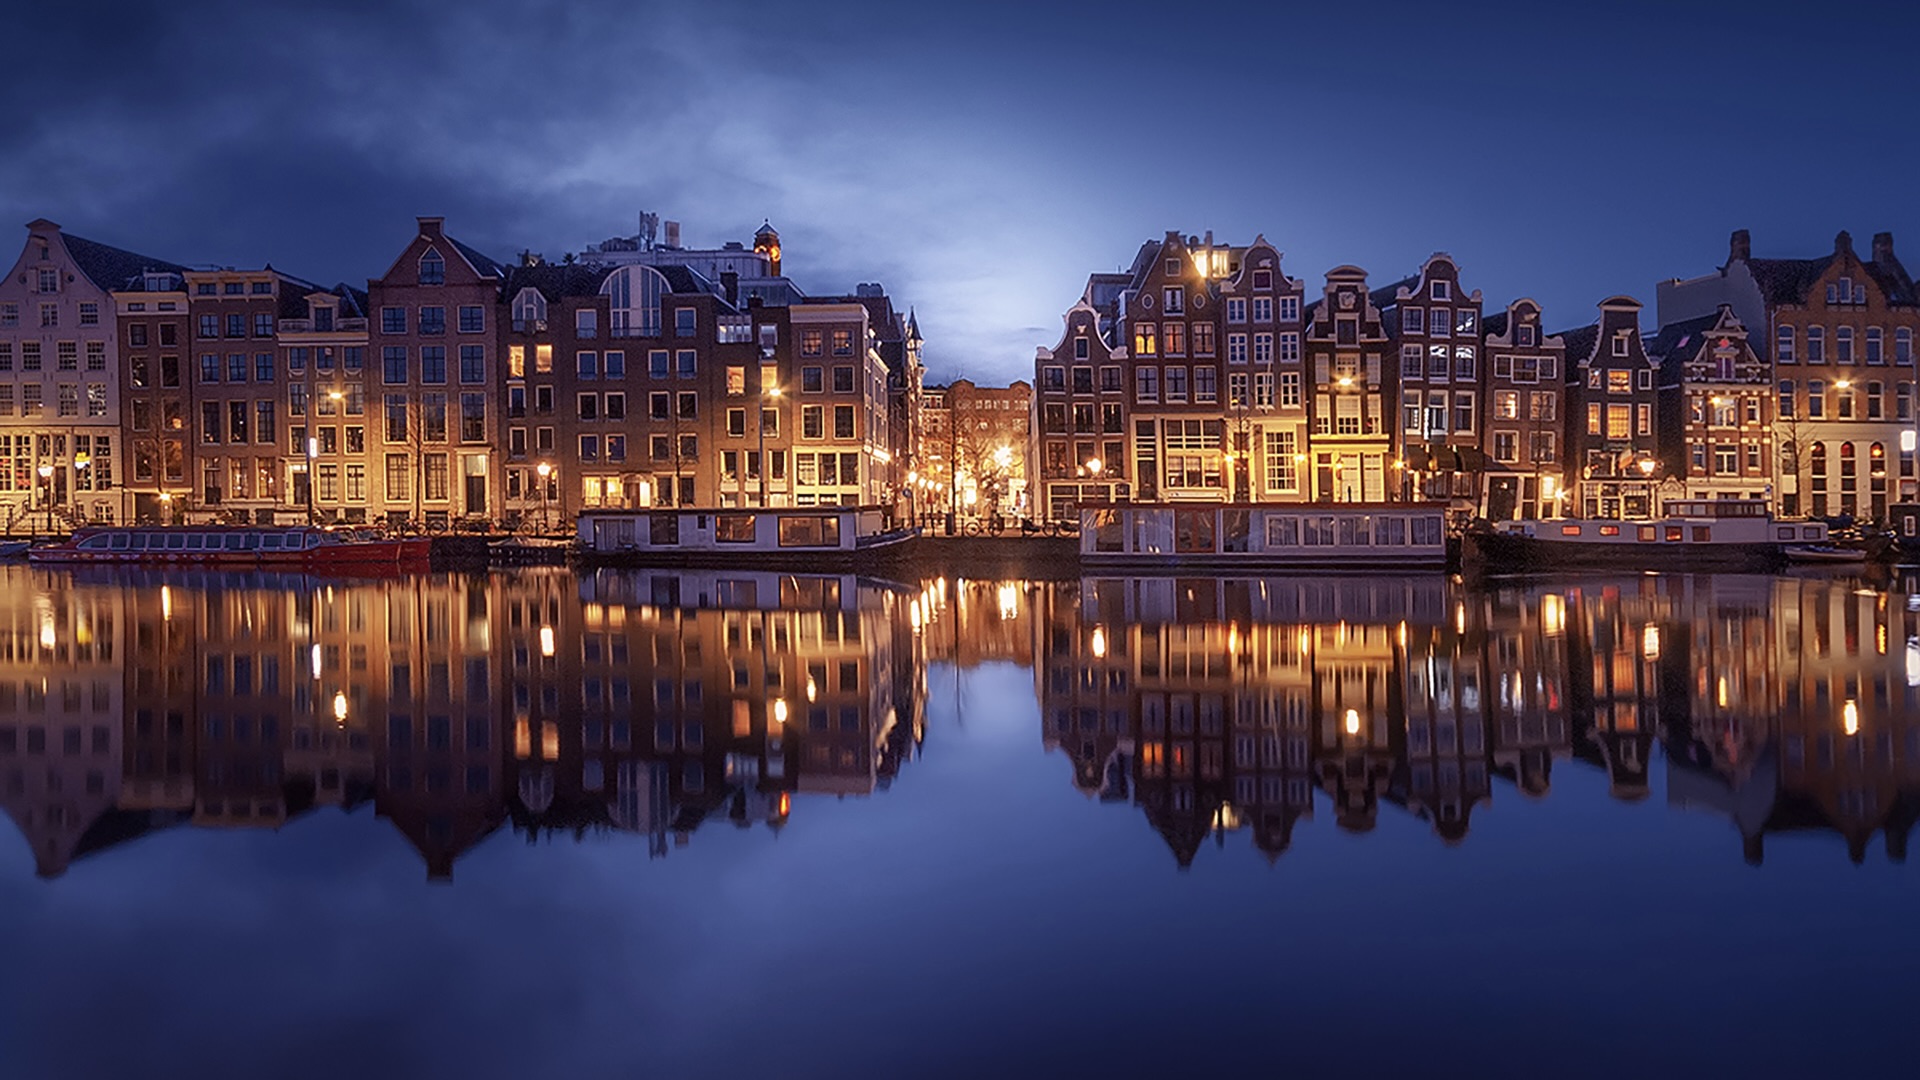
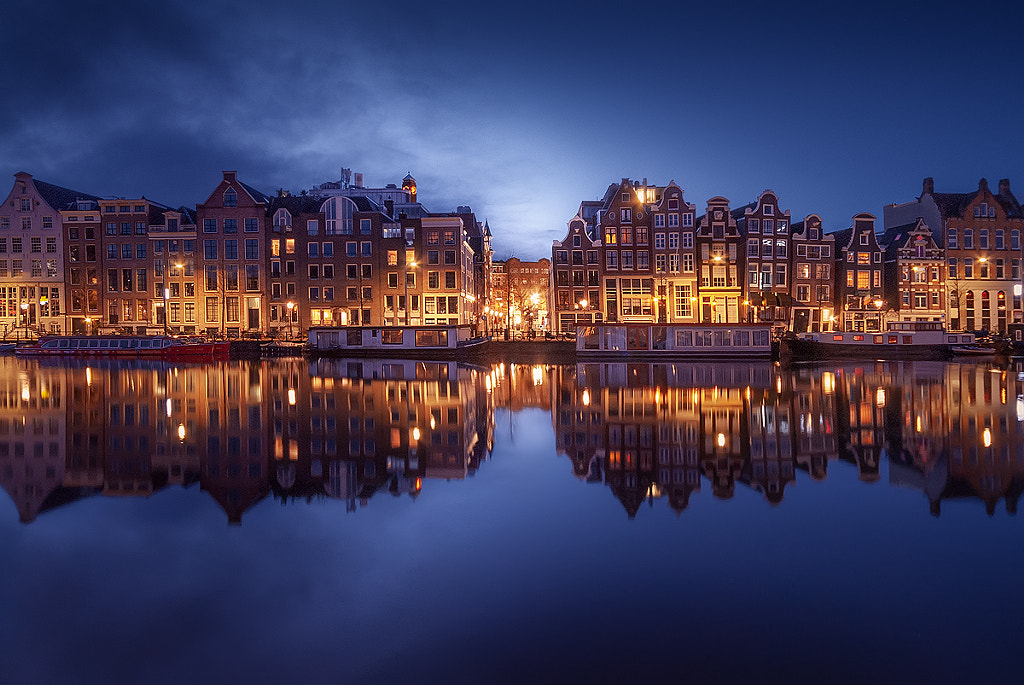
As with the golden hour, there’s something fantastical about reflections during the blue hour, whether you’re shooting a remote lake in the still hours of early morning or hitting the pavement just after an evening rainstorm. The canals of Amsterdam, photographed here by Iván Maigua, are popular for blue hour shoots because of the mix of warm and cold lighting and the peaceful, quiet water.
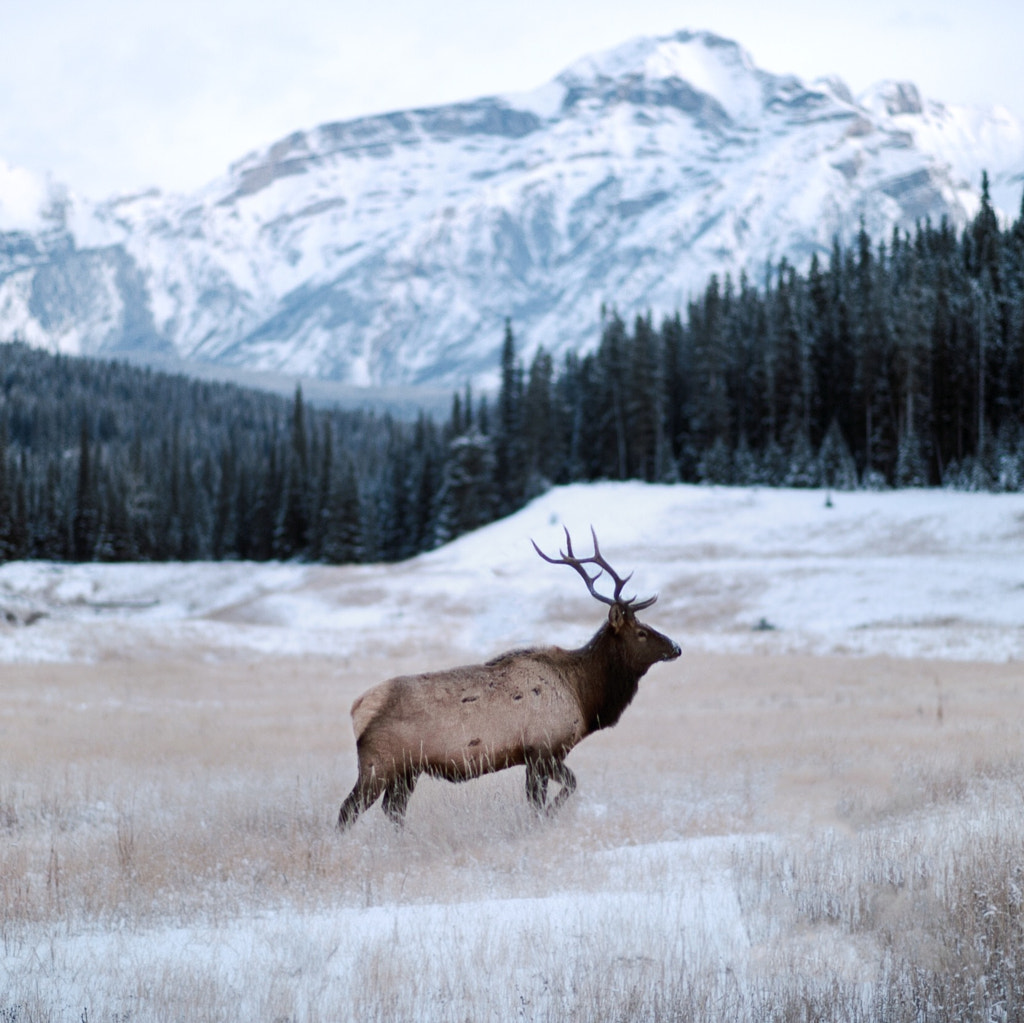
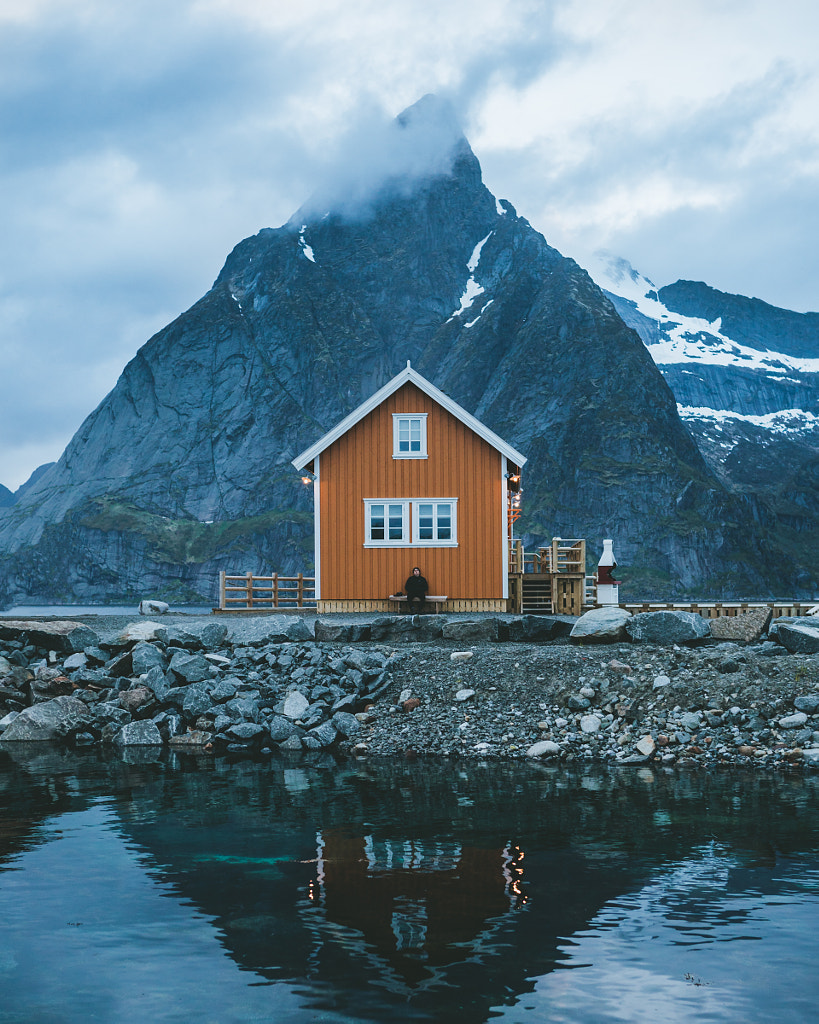
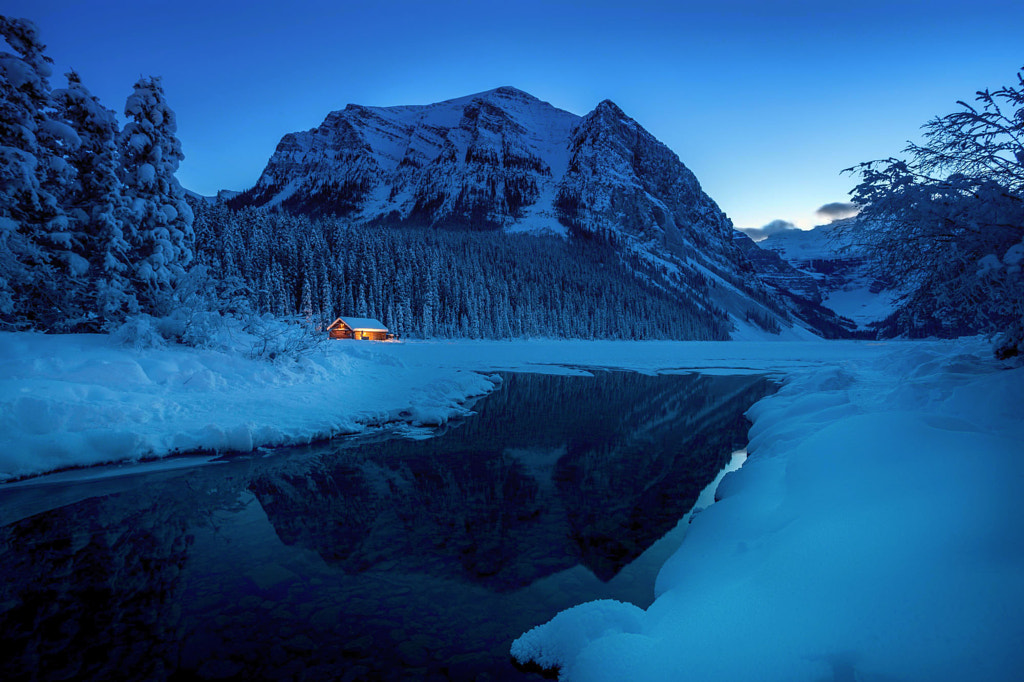
In Canada, Kelly Needleman created this picturesque photograph of a cozy cabin, capturing the mirror reflection of the landscape in the still water. If you’re shooting before sunrise, remember that the water will grow less calm as the sun emerges and everything heats up, so you might only have a moment to capture that kind of picture-perfect stillness.
Tip #3: Contrast cool and warm tones
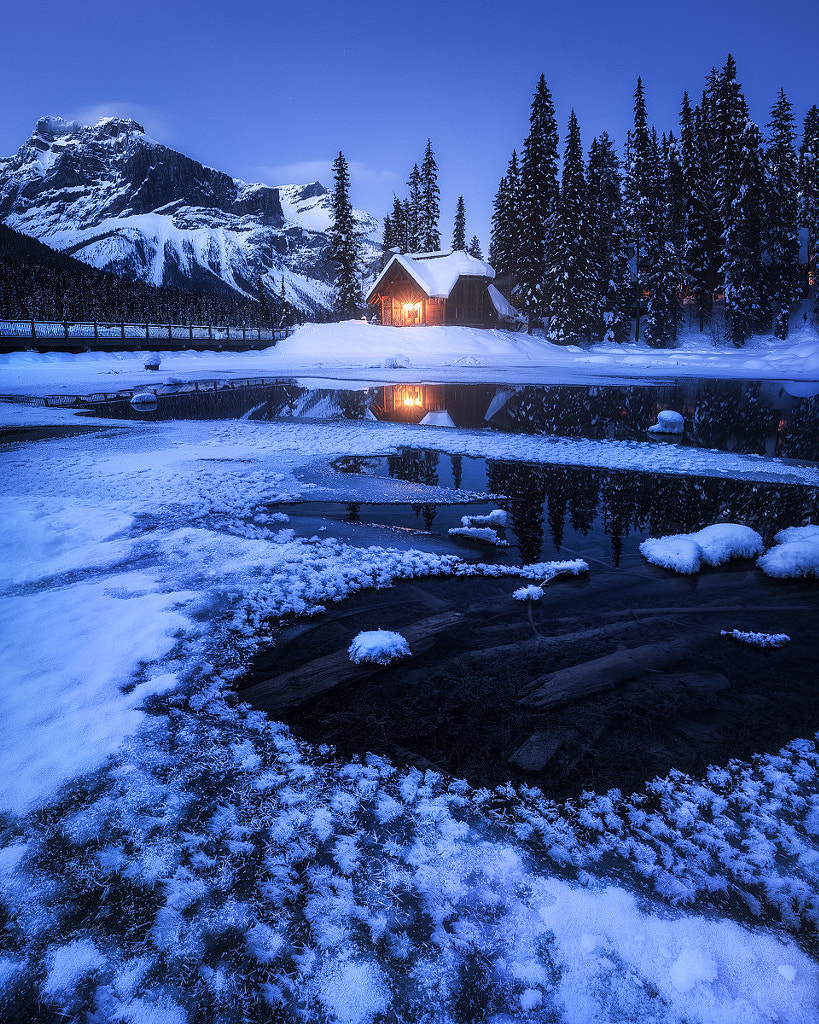
Your blue hour shots don’t have to be monochromatic; for more contrast and drama, you can include warm light sources as well, such as interior illumination from nearby buildings. When photographing at Canada’s Emerald Lake, Daniel Gastager combined the cozy orange and yellow hues coming from the house in the distance with the cool blues of twilight.
Tip #4: Be persistent
The blur hour is notoriously fickle, so there might well be mornings and evenings when the stars don’t align photographically, whether it’s the weather or the details in the background and foreground of your shot. Even if you end a shoot without a shot you love, consider returning to the same spot and trying again.
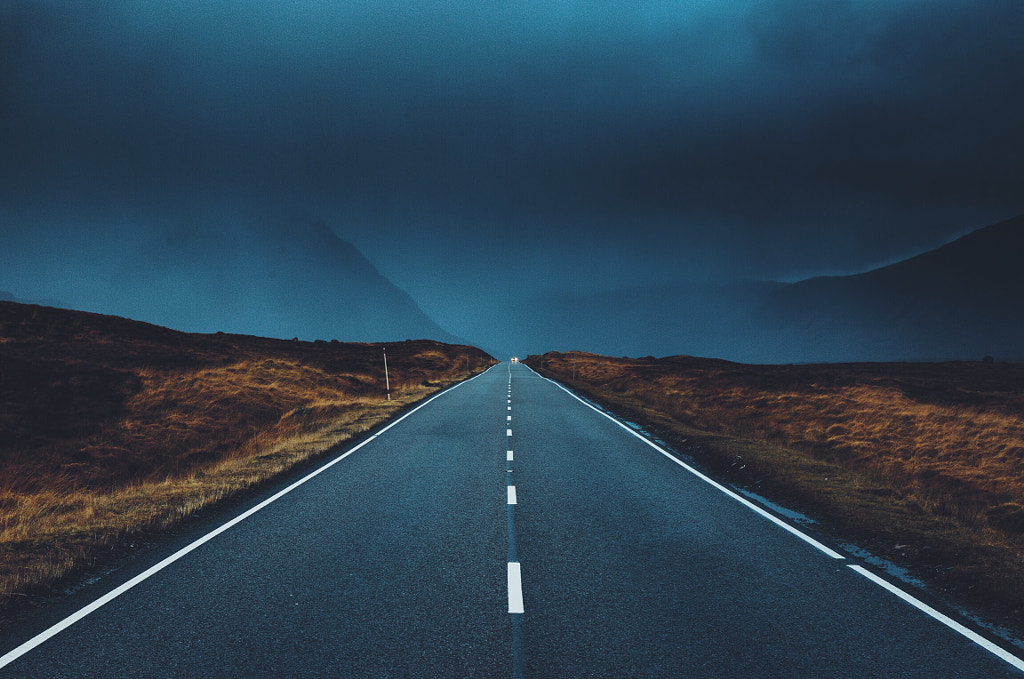
The conditions will change from day to day and from season to season, and the more familiar you are with a place, the better your chances of snagging that unforgettable shot. Try different weather conditions. Daniel Casson was exploring the Scottish Highlands at blue hour when the sky turned stormy, creating a once-in-lifetime mood in the photograph above.
Tip #5: Dress warmly
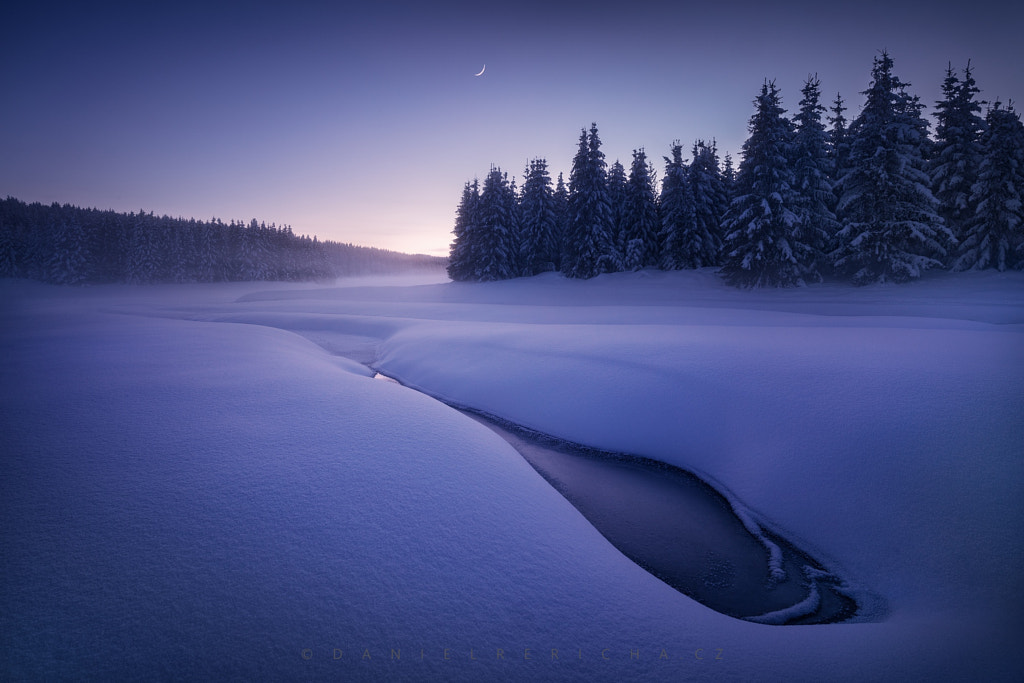
Finally, be aware that temperatures can drop quickly as the sun descends, especially in remote landscapes, so bring plenty of layers. When Daniel Rericha was working in the Ore Mountains, snowshoeing through the terrain, the temperature dropped well below zero as the sun started to set. He didn’t realize it at the time because the scene was so magnificent, but by the time he got back to his car that night, he saw that it had fallen to -17 degrees Celsius.
Not on 500px yet? Sign up here to explore more impactful photography.


Leave a reply