In trendy engagement portraits, edgy street photography, and artsy double exposures, silhouettes abound. Today, classic silhouette photographs like Behind the Gare Saint-Lazare by Henri Cartier-Bresson (1932) continue to inspire modern photographers to create timeless images.
A few years ago, for instance, the art director Nicolas Bouvier, aka Sparth, made headlines for his dreamy and evocative silhouettes, photographed in black and white against the foggy backdrop of the Pacific Northwest.
Traditionally, the term “silhouette” describes a portrait, often in profile, that has been rendered in shadow, creating a solid dark shape. Silhouette portraits came into vogue in the 18th century, when they took on the popular form of cut card or paper. In photography, silhouettes take on a simpler meaning: a dark subject against a bright background.
The formula for creating a silhouette, then, is relatively straightforward: you need a strong light source, and you’ll need to position your subject between the camera (and yourself) and the light. You can use studio lights or opt for sunlight outdoors or through a window, a method known as contre-jour, or “against daylight.” If you can’t move the subject or light source, as in the case of landscapes, you’ll have to move your position in relation to them.
Regardless of the light source, the important thing is that the person, animal, or object in the photo is illuminated from behind, with you standing (or crouching) on their other side. Additional light sources or reflectors coming from the front or side (e.g., an on-camera flash) will ruin the effect, so stick with strong backlighting, and you’re good to go.

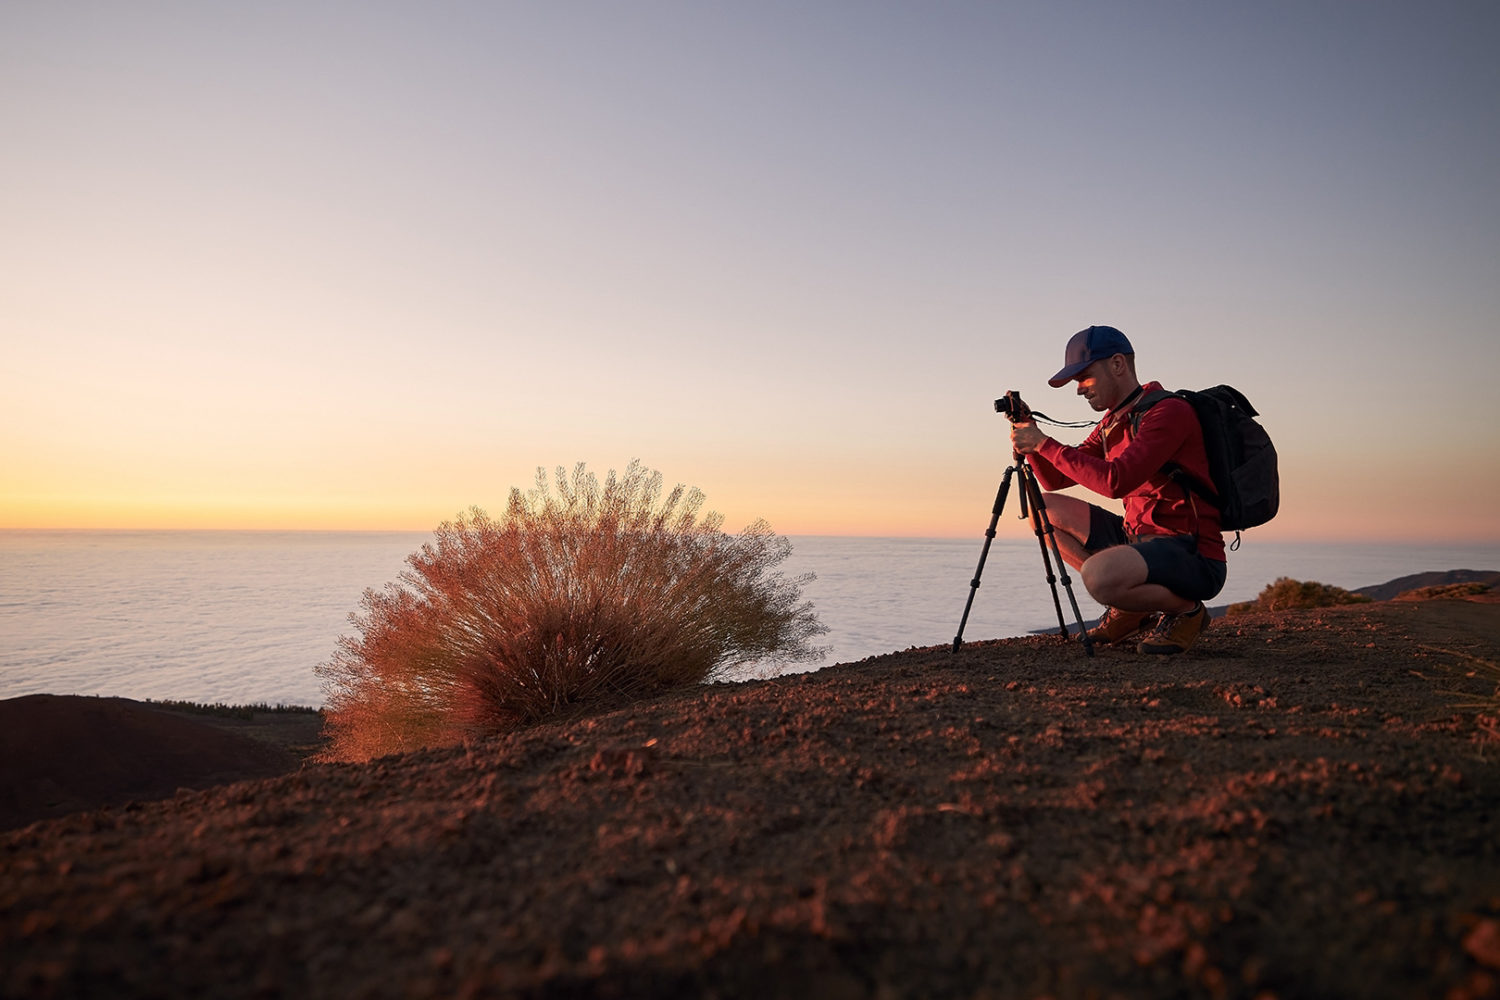
Try the golden hour
Natural light can create beautiful, romantic silhouettes, but it’s also harder to control and modify, so you need to get the timing right. At the golden hour, the sun is lower on the horizon, so it’s perfect for backlighting. If the sun is too high and bright, it is more likely to illuminate the details on and in front of your subject—and that’s something you don’t want.
Sunset silhouettes are especially popular, but if you’re shooting in a popular destination, you might try sunrise to avoid crowds. If the sunlight feels too bright and you’re not getting enough detail on that golden hour sky, consider using a polarizing filter for more saturation and contrast.
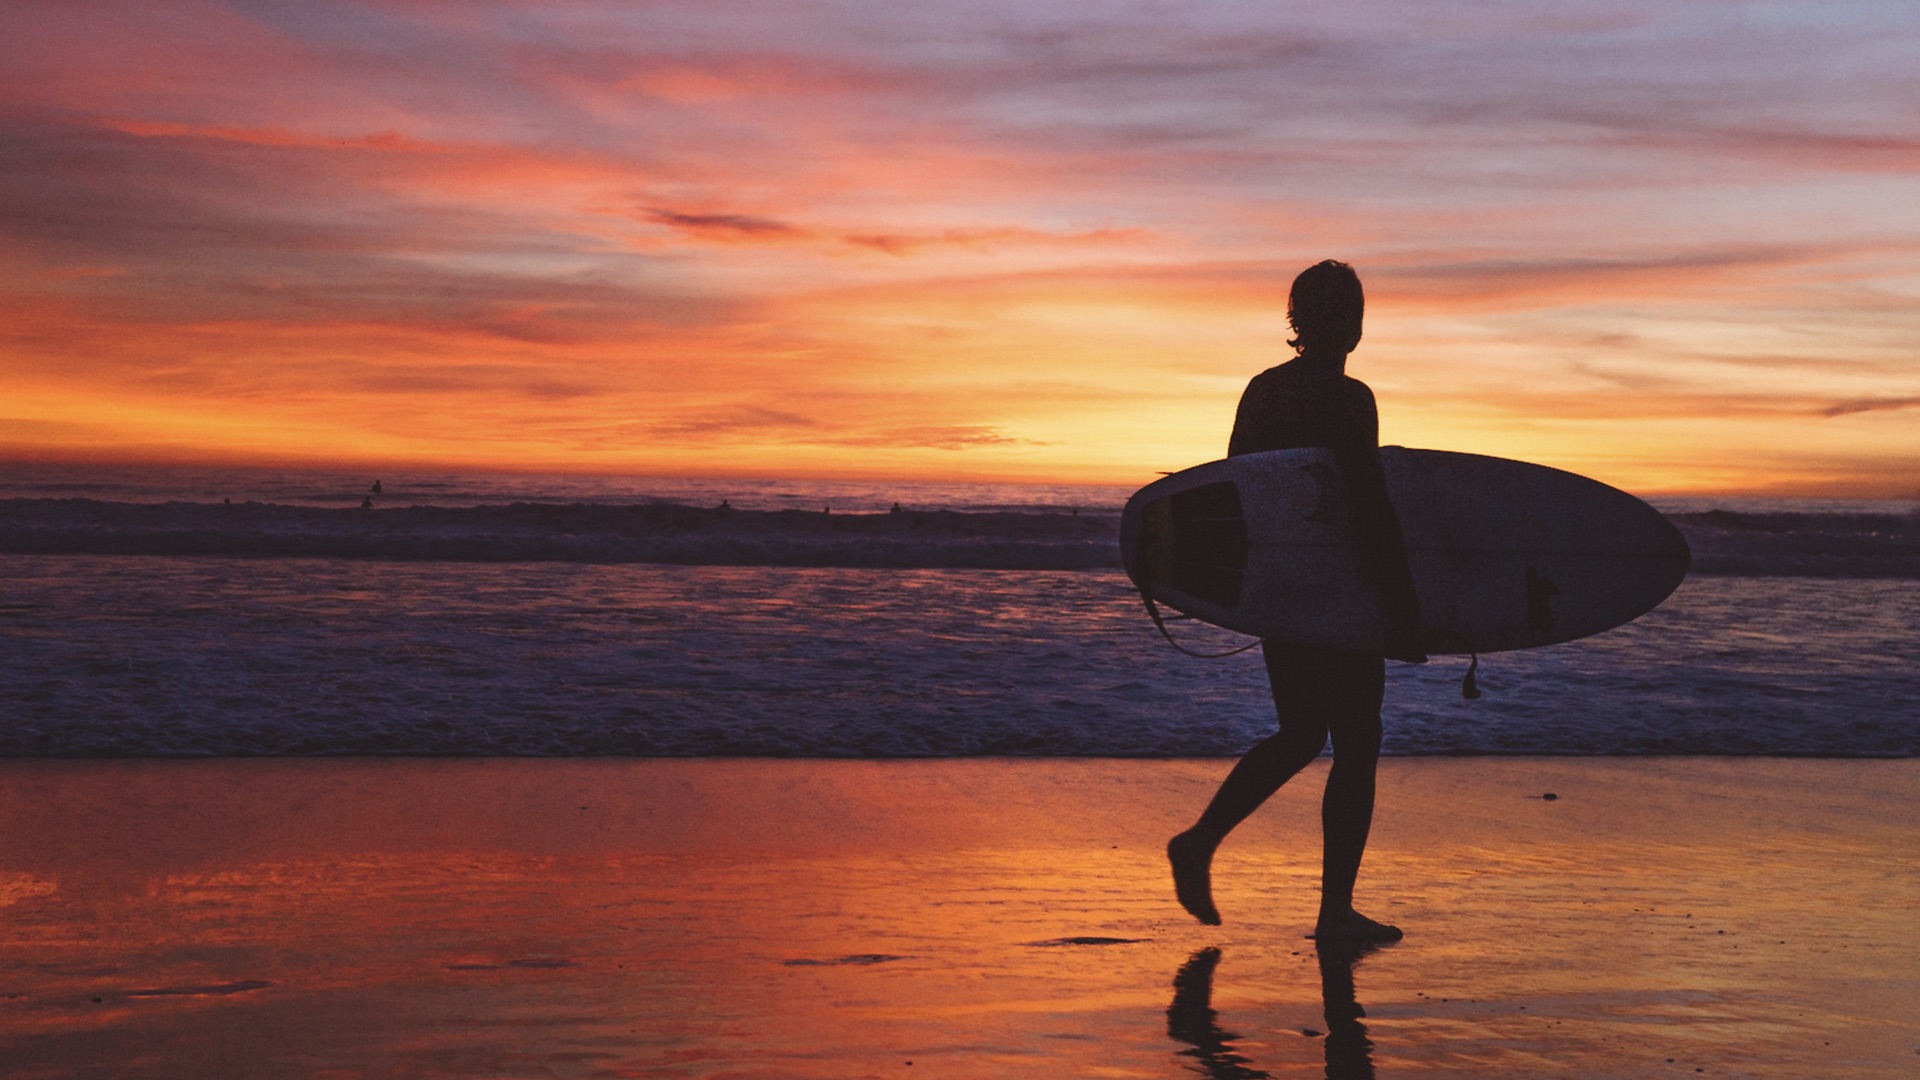
The Los Angeles-based photographer Ashley McKinney uses the golden hour to create dreamy, sunkissed beach silhouettes that speak to the beauty and freedom of summer.
Scout your location
Whether you’re shooting indoors or outdoors, study the location and see how the light looks during different seasons and at different times of day. In general, clean, uncluttered backgrounds work best for silhouettes, so look for open space. If it’s a public area, plan to go when there’s little foot traffic. You can use an app like PhotoPills or The Photographer’s Ephemeris to track the sun’s position in your exact spot as well.
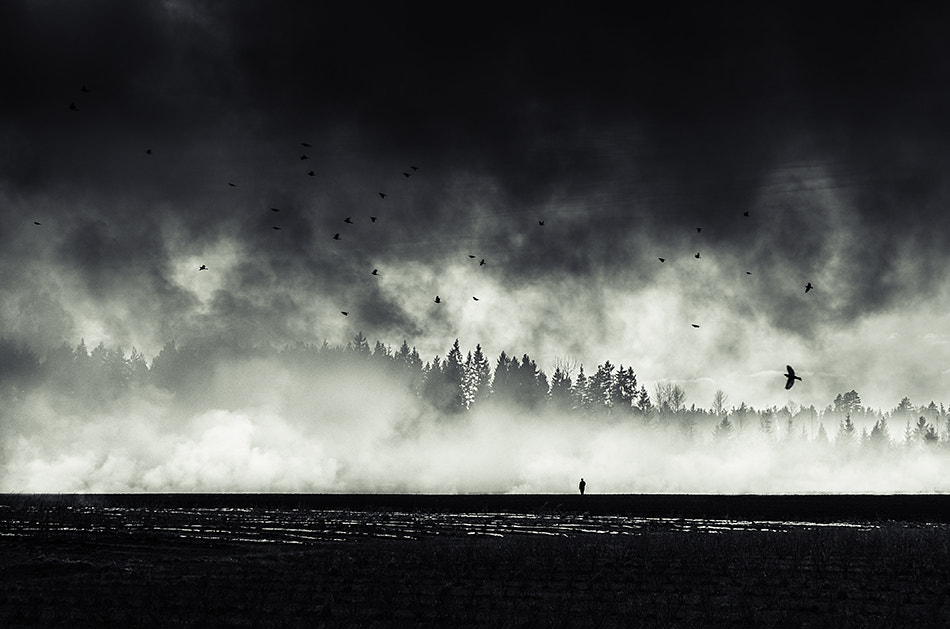
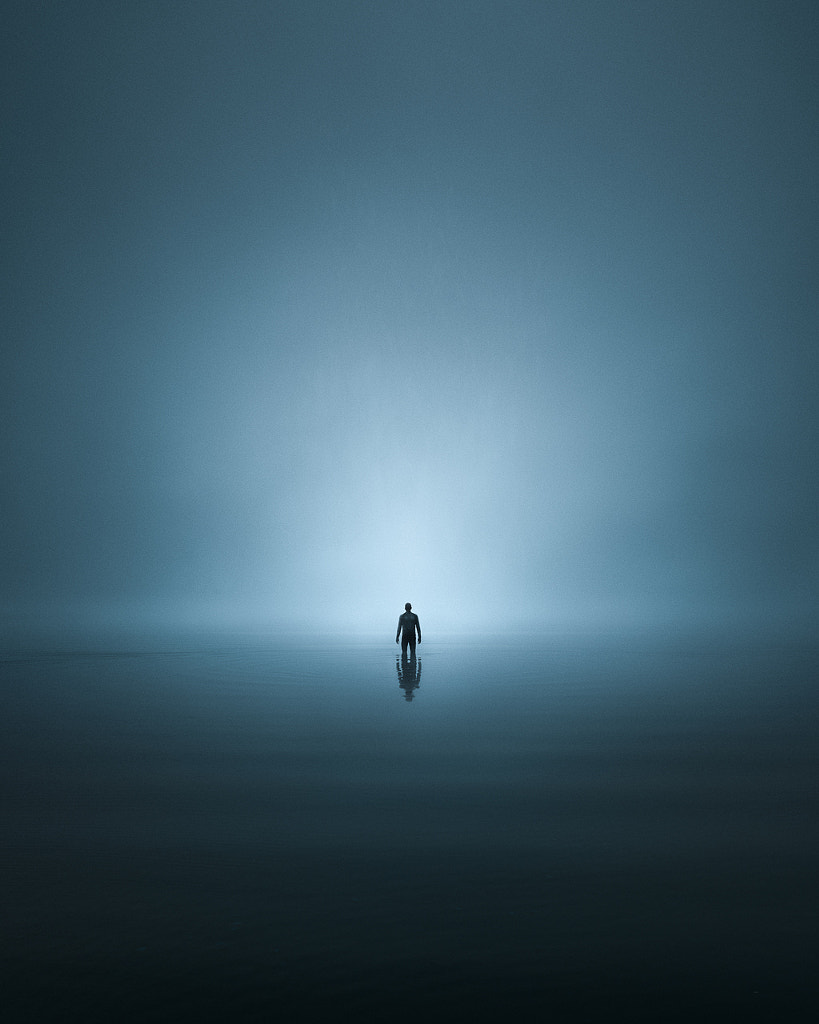
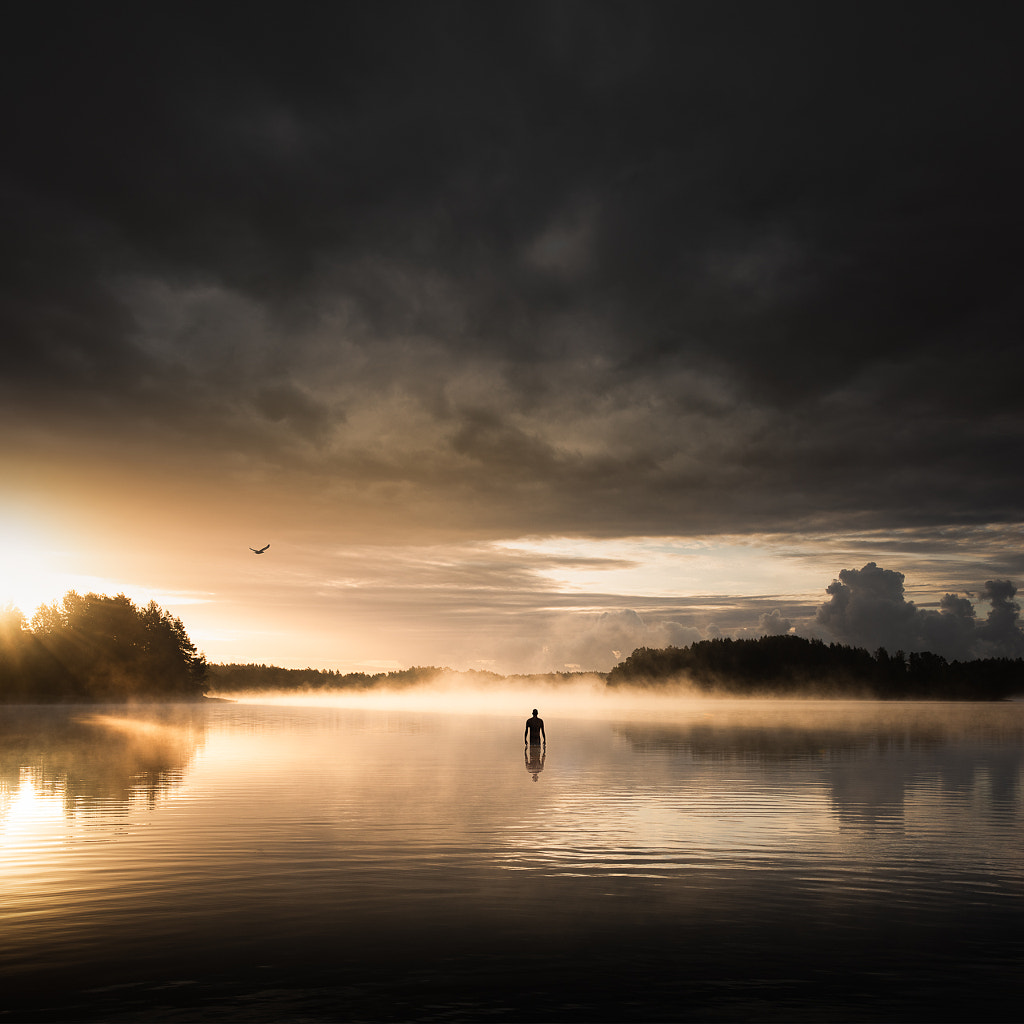
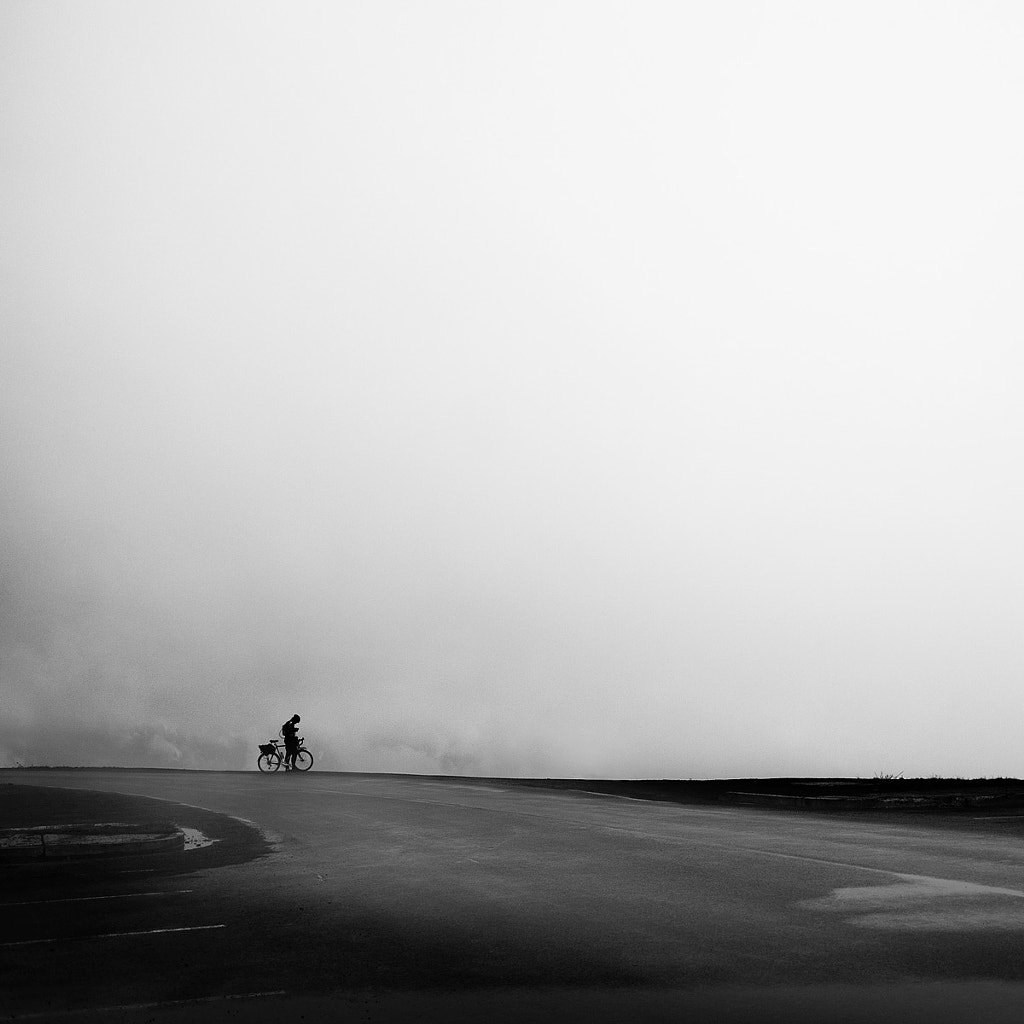
The photographer Mikko Lagerstedt takes breathtaking photos of the Finnish landscape, often with a small silhouetted figure for scale. These places, in combination with the human element, might spark feelings of solitude and loneliness, thoughts of mankind’s struggle to survive in wild conditions, or pangs of wanderlust and imagination, depending on the viewer. They’re also remote and unusual, making Mikko’s photographs instantly recognizable.
Look for clean shapes
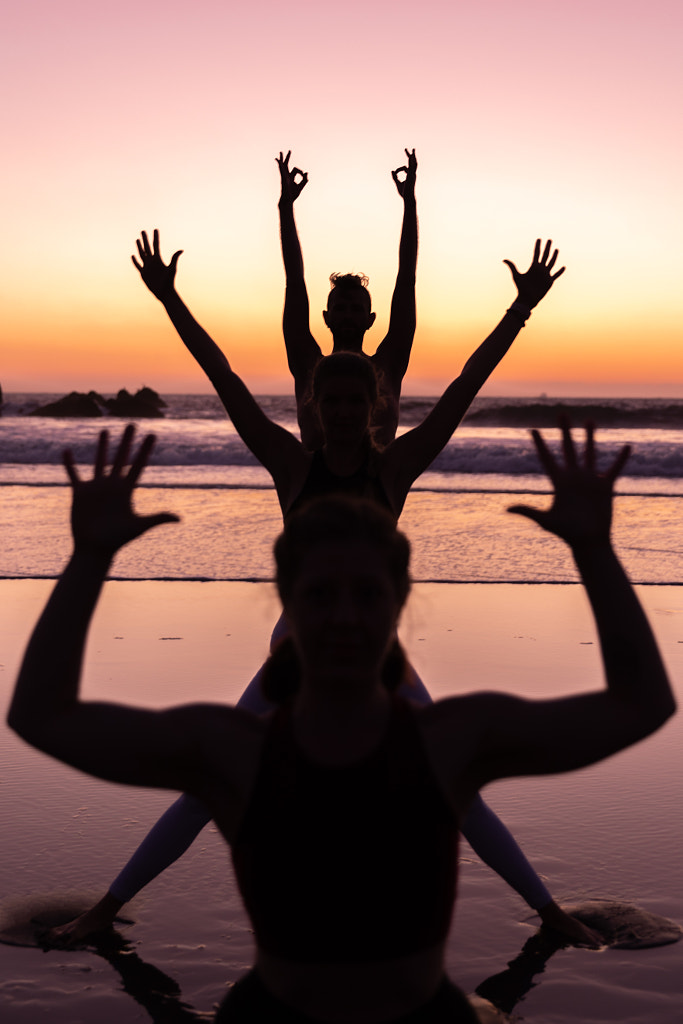
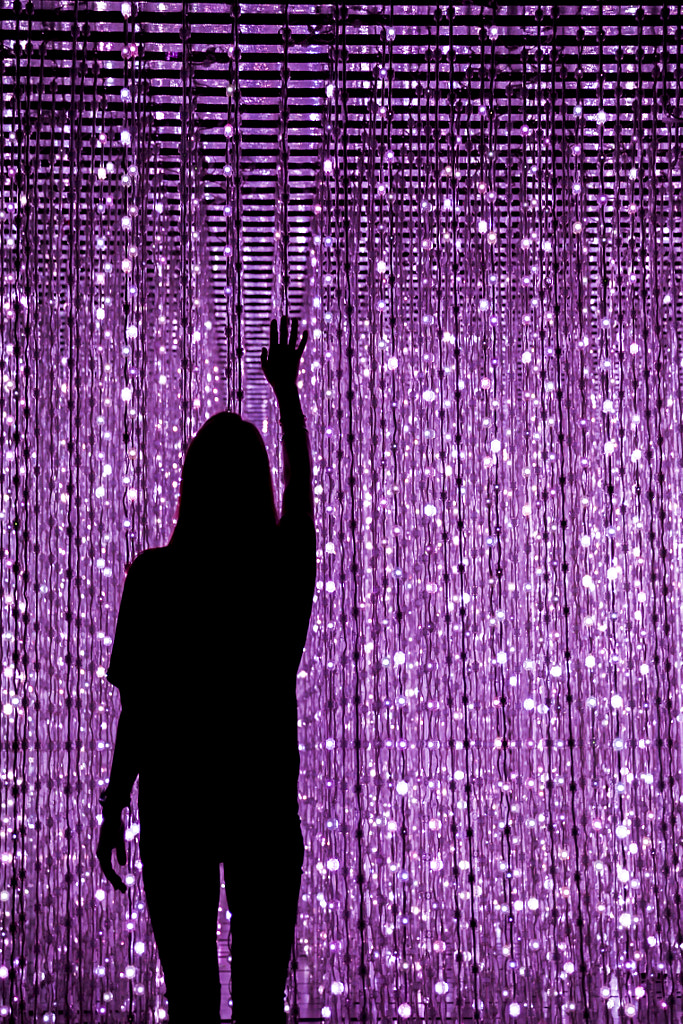
Objects and figures with sharp, clearly defined outlines work best for silhouettes, so look for interesting—and recognizable—shapes. If you’re photographing a person, make sure to separate the limbs and create clean angles using the elbows or knees.
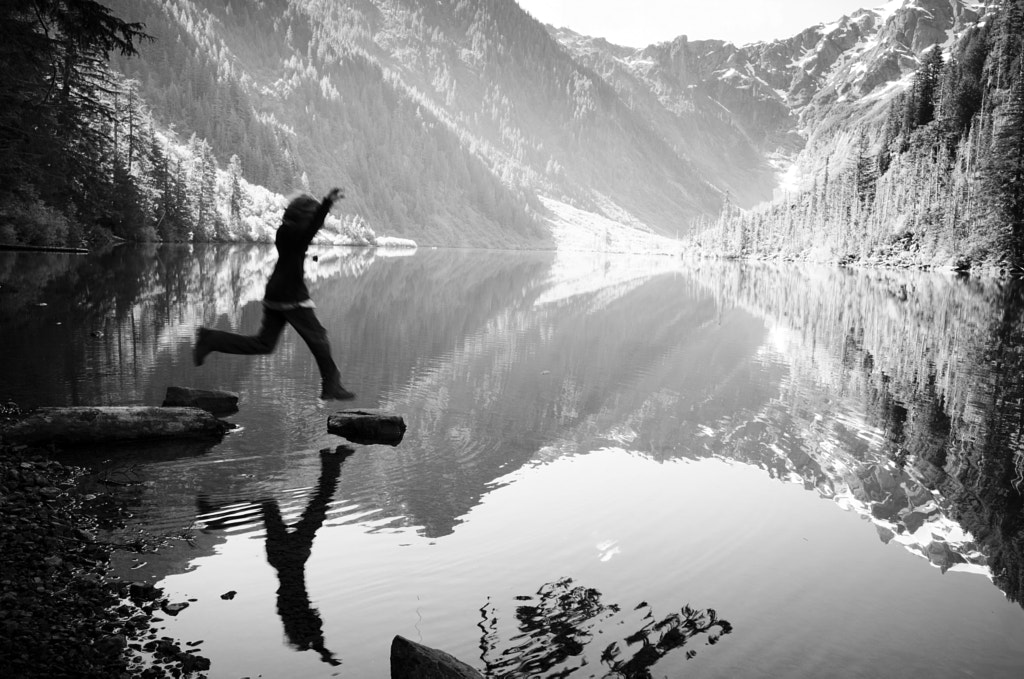
Some popular poses include running, jumping, or yoga positions, all of which use negative space to sculpt the body. For portraits, profiles tend to be more distinct than head-on views. Train your eye to see in two dimensions, rather than three, to determine the best subjects and poses.

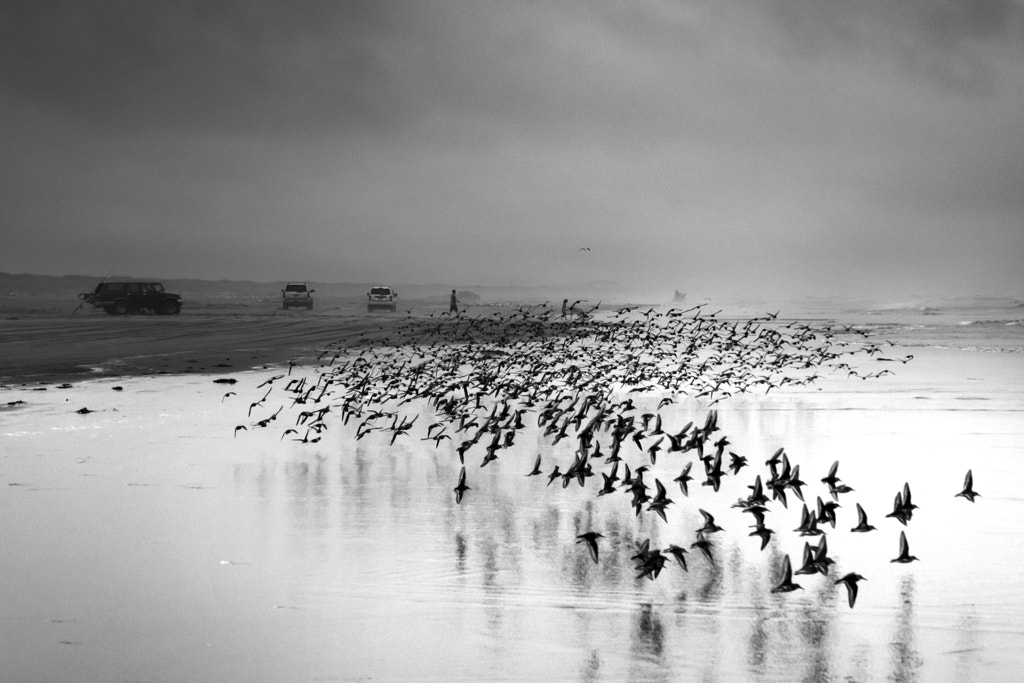
If you’re working with a group of people or animals, wait until they are stretched out and far apart enough that you can see each of their outlines individually and make out their movements and positions. Because you won’t be able to see their expressions, postures, and gestures are important for conveying the emotion you want. If your subject is in motion, turn on burst mode so you can get the precise instant you want.
While some poses are “standard” within the silhouette genre, 500px Ambassador Garrett Roth has created expressive, out-of-the-box photos using unusual shapes. The human body is flexible and versatile, so as long as you have that separation, you can create some vivid and unconventional compositions.
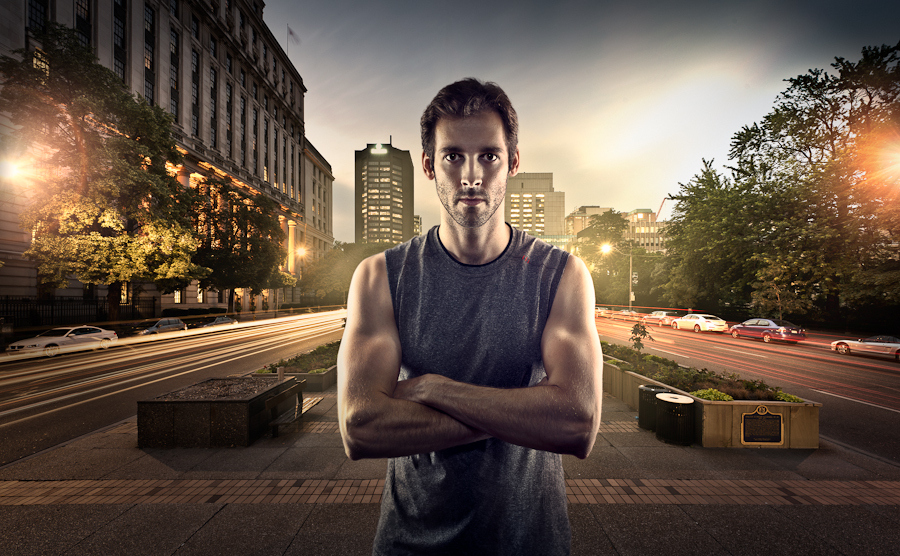
Expose for the background
When it comes to silhouettes, you’ll want to see all those highlight details in the background and lose any shadow details in your subject.
We touched on this idea in our DSLR guide, but your digital camera likely has a few metering modes available. In matrix or evaluative mode, it analyzes the whole scene and determines the correct exposure based on that information; that works when you want a balance between light and dark, but it might not be ideal for silhouettes.
In that case, we recommend switching to spot metering and “telling” your camera to ignore everything except a specific spot in the bright background (if you’re outdoors, that would be the sky, but not the sun itself, as aiming directly at the sun will damage your lens). That way, instead of exposing for the subject, it will leave it underexposed, creating that solid shape you want. A word of caution: when using spot metering, remember to make sure your focus is still on the subject, not the background.
If you’re still not getting dark enough silhouettes, consider underexposing a tad or using exposure bracketing, so you have a few options. To make your silhouette stand out even more, you can always use an extra flash behind your subject for some rim lighting.
Watch your aperture
A wide depth of field is essential for creating those crisp outlines and details, so keep everything sharp by using a higher f-number (f/8 or smaller). Another benefit of smaller apertures is that it’ll minimize any chromatic aberrations. You might choose to block the sun or light source with your subject, especially if you’re wary of blown-out highlights, but if you want that “sunburst” effect poking out from behind it instead, you’ll need a smaller aperture.
One thing to keep in mind: when you close down your aperture, you let in less light, so you might be tempted to bump up your ISO to brighten the image. In some cases, this is fine, but depending on your camera, it might result in noise, particularly in the shadows. In a silhouette, the darks are the most important areas, so it’s best to avoid noise by using as low an ISO as possible.
Be sure to check out our articles on aperture, shutter speed, and ISO for a better understanding of the exposure triangle.
Get low
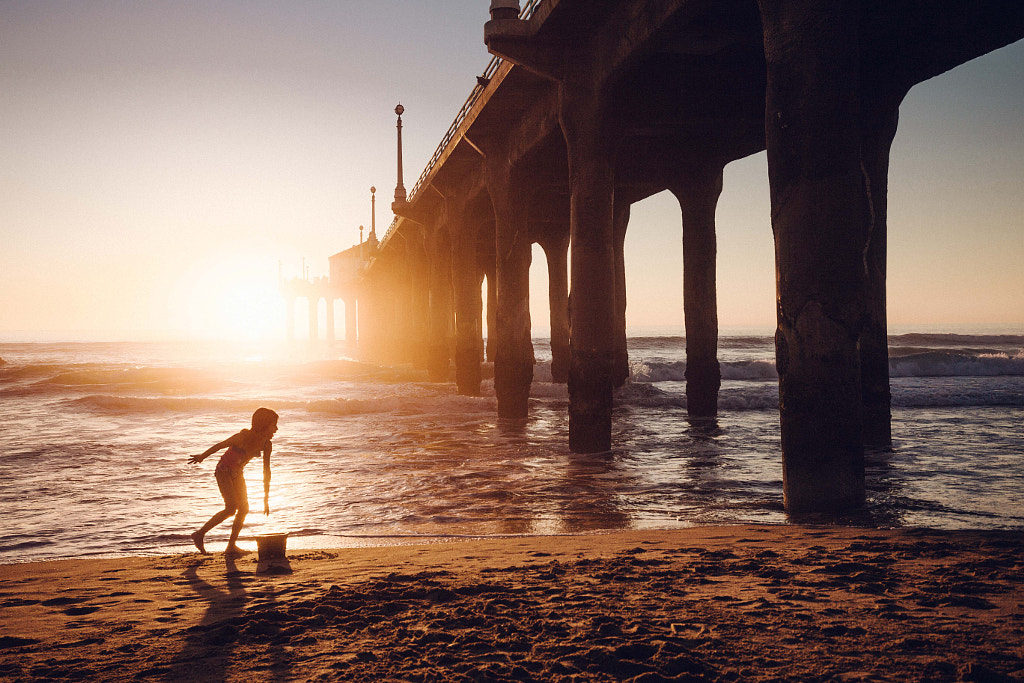
Photographing your subject from below is common in silhouette photography for a few reasons; first, it enables you to get those shadows (or reflections) on the ground, which are particularly long during the golden hour. Secondly, if you’re shooting outdoors, a low position will help you avoid clutter in the background; bend down, and you’ll end up with a blank sky as your canvas. You can move around throughout the shoot to see what angle works best.
Tell a story
Silhouettes are inherently cinematic, having appeared in iconic films ranging from The Third Man to Psycho, where they’re used to evoke mystery and suspense. Elliot Erwitt used silhouettes in Paris in 1989 to evoke an entirely different emotion—love and romance—when photographing the Eiffel Tower.
Silhouettes feel anonymous, so they’re particularly powerful when they reflect universal stories. Whether it’s a thriller or a love story, consider the narrative and the characters at the heart of your photo. In photos without details like color or texture to identify the subject, it’s often this emotional core or plot that creates interest and intrigue.
Tweak it in post
While editing your photos, consider boosting the silhouette effect by bumping up that contrast and adjusting your shadows and blacks to get those deep, inky tones. It can help to convert your photo to black and white from time to time to better visualize how the different values affect the scene.
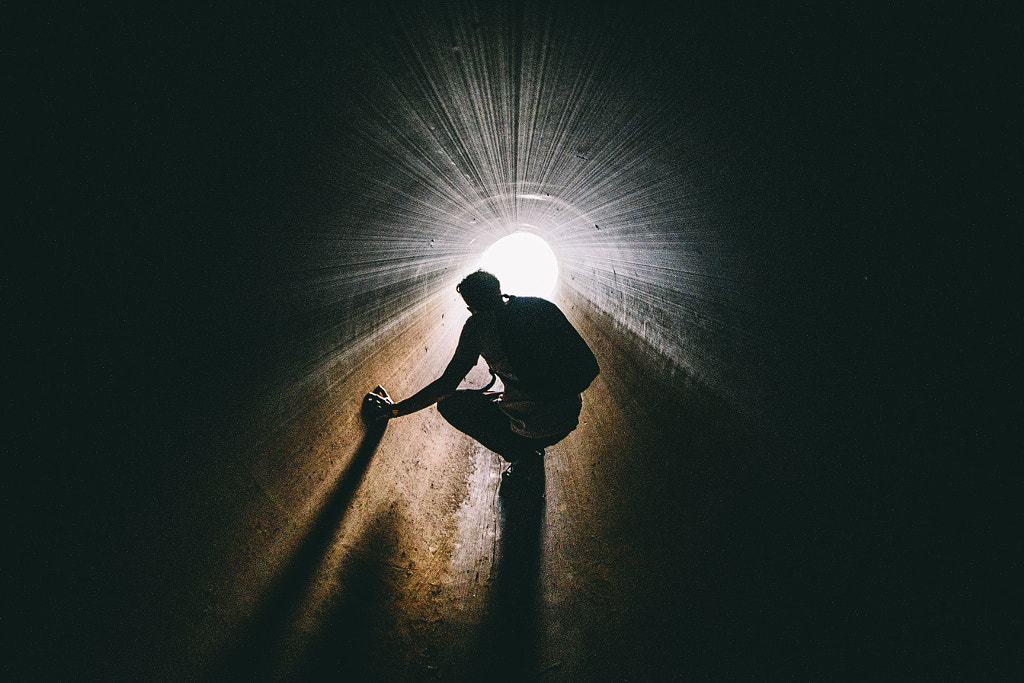
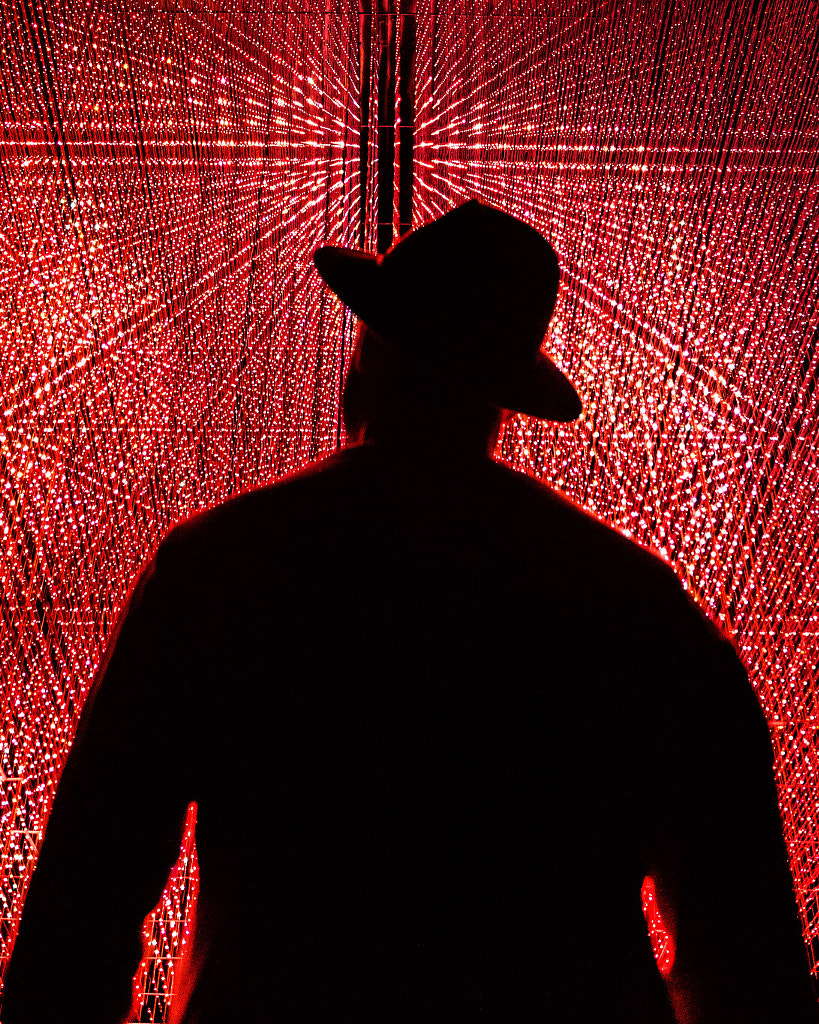
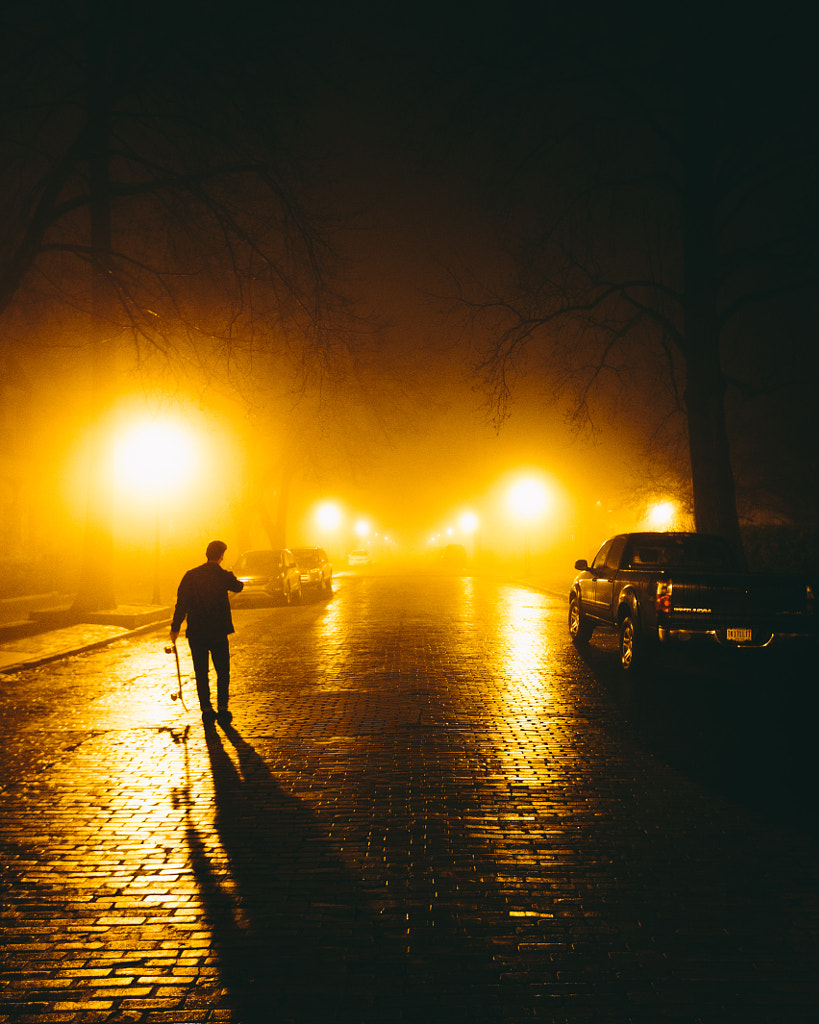
Of course, when shooting silhouettes, you don’t have to stick with the usual light sources like the sun or a window. The Indiana-based photographer Kaleb Jordan has created evocative, cinematic photos using available light like streetlamps or the illumination coming into underground tunnels, to mysterious effect.
Think outside the box, and find a light source that serves as a character in your story or narrative, and remember: not all silhouettes have to be completely dark. You can use partial silhouettes for some dimension, or make them dark for a flat, two-dimensional look. The choice is yours.
Not on 500px yet? Sign up here to explore more impactful photography.

Leave a reply