In 2018, a photographer named Kelsey Maggart went viral online after creating “The Hobby Lobby Challenge,” inviting people to shoot remarkable photos in the aisles of ordinary craft stores. During the pandemic, people got creative when photographing their pets as part of the “see a dog, share a dog” challenge. Meanwhile, the “challenge accepted” trend encouraged women to post self-portraits in black and white.
Browse #photochallenge on social media today, and you’ll find millions of posts, from brand-new shutterbugs and established pros alike. Offline, creative photography also made its way into our living rooms: in 2021, the world-famous photographer Rankin mentored six talented amateurs as part of the BBC’s Great British Photography Challenge.

Between assignments in the studio and sessions with clients, photographers sometimes forget to make time for creative experimentation. But trying new things and stepping out of our comfort zone can motivate us to reach our goals—or approach a familiar problem from a new perspective. In this guide, we’ve put together just a few photo challenges and mini, self-directed assignments to try, inspired by the 500px community and beyond.
Take a photo walk
Photowalking has a rich history, dating back to the amateur “camera clubs” that emerged in the 1880s. In the 1960s, street photographers like Joel Meyerowitz and Garry Winogrand sometimes went out in pairs; those two regularly walked up and down Fifth Avenue in NYC together.
Today, photowalks can take place in bustling cities—always a popular choice among street photographers—and nature trails, which offer a respite from the noise of modern life. Look for local groups in your area, or get some friends together for a day of exploration.
Grab a single-use camera
We actually borrowed this idea from Indoek, a media platform dedicated to surf culture: a few years back, they shipped disposable cameras to some of their favorite photographers, who then shot and sent them back for processing. The project was called 27 Frames, as each photographer was limited to that number of shots alone.
A disposable camera, such as the Kodak Funsaver or the Fujifilm QuickSnap, offers two creative benefits. First, you only have 27 exposures, so you have to slow down and make them count. Second, you won’t get the immediate gratification of seeing your photo right away; instead, you’ll have the fun of waiting to see how they come out, harkening back to the old days of film. Believe it or not, Bienvenido Cruz used a disposable camera to create the dreamy Icelandic portrait at the top of this article.
A quick tip for shooting on a single-use camera: you cannot adjust your aperture, shutter speed, or ISO, so you’ll need a lot of daylight to create a proper exposure. If you don’t have enough light, you’ll have to use the flash. If you’re feeling daring, you can even try an expired disposable camera to create some unexpected colors and effects, as Pritush Maharjan did for the image below.

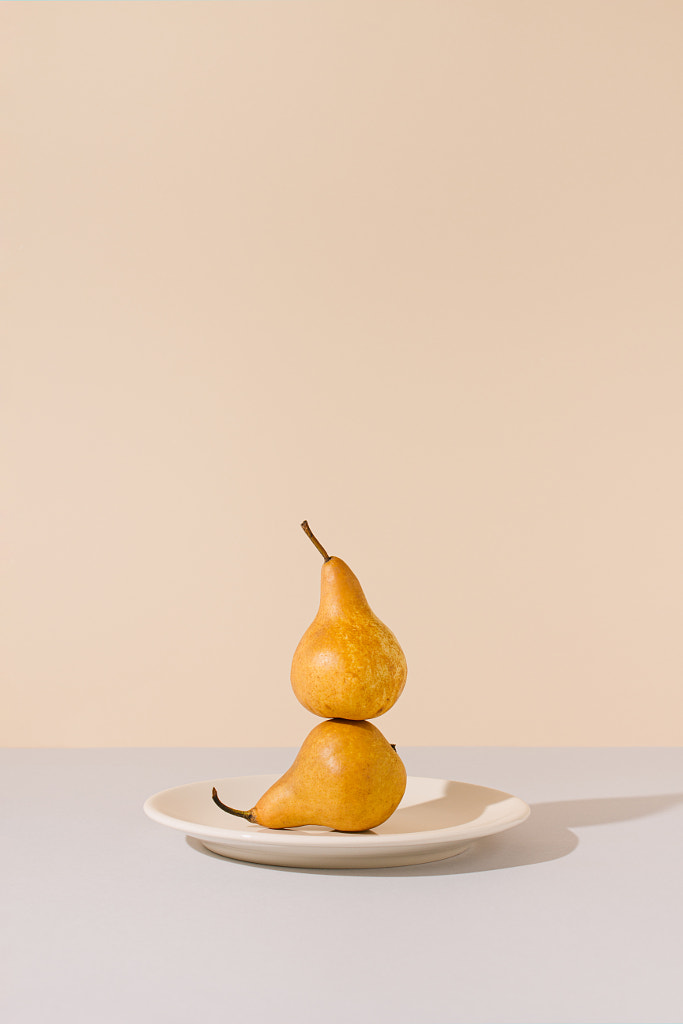
Take a “boring” subject and make it interesting
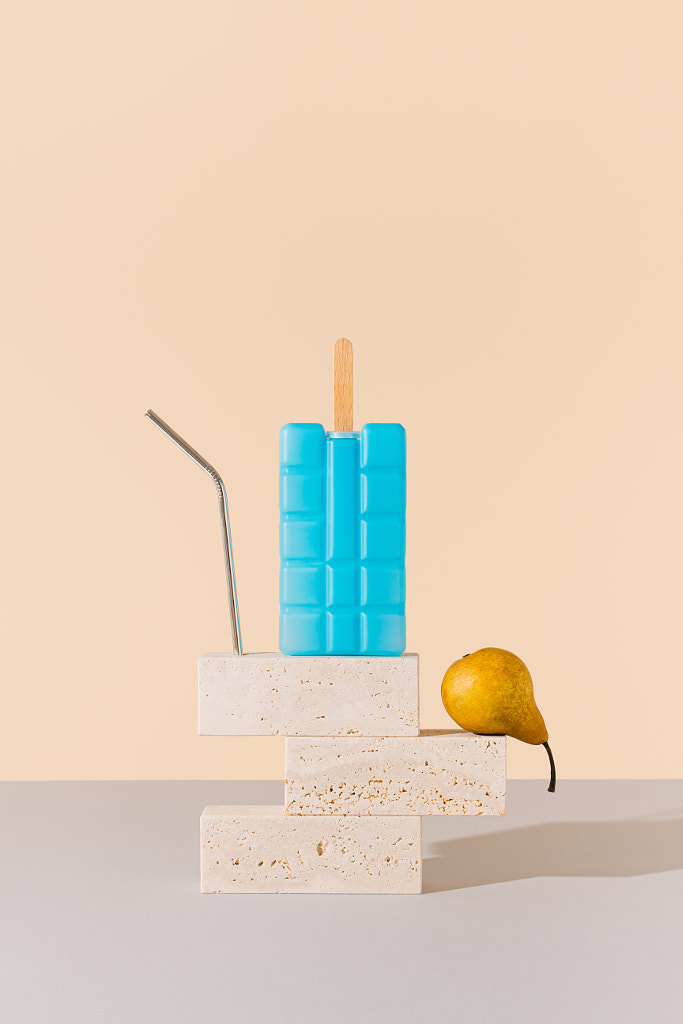
The last few years have encouraged photographers to get creative with what they have at home, so try limiting yourself to a single object. It can be anything: a fork, a mug, a cup of coffee, a piece of fruit. Photograph it in as many different ways as you can, using different props and backgrounds. Let your creativity take the wheel. Draw inspiration from the still-life photographer Ilija Perkovic, who took an ordinary pear and elevated it through minimal, gravity-defying compositions.

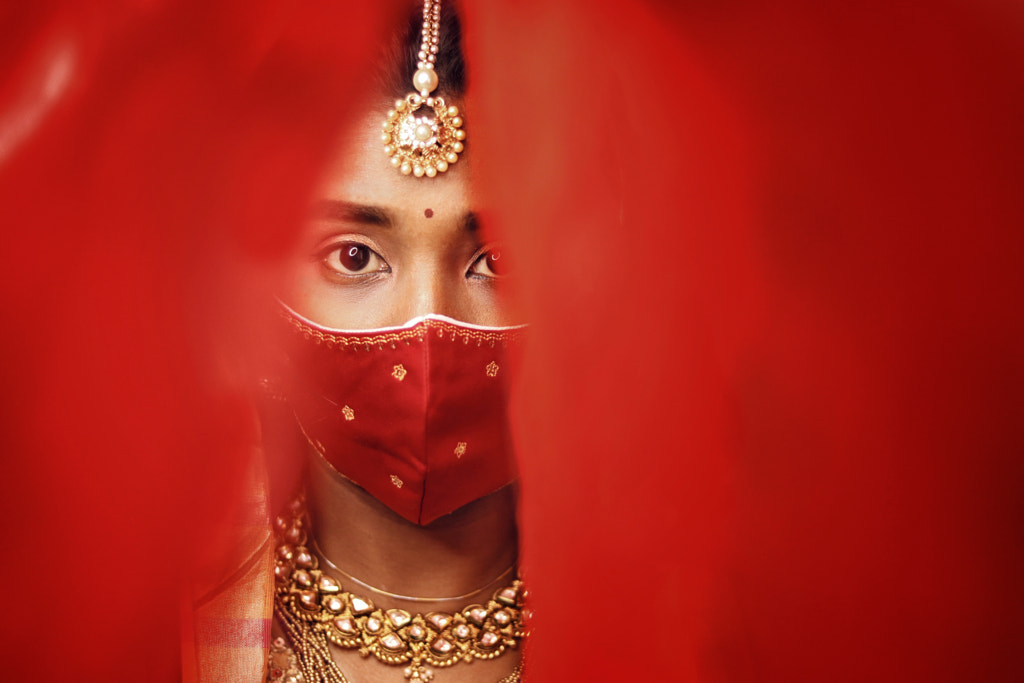
Experiment with reflections
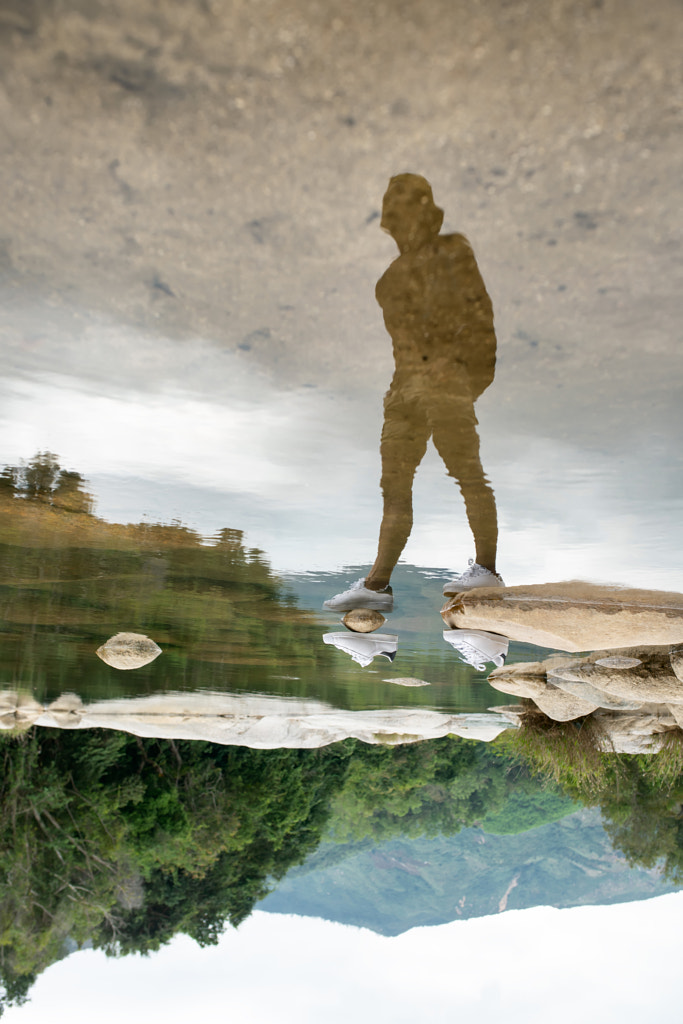
Reflections, whether natural, as in the case of puddles or lakes, or artificial, as in the case of mirrors or windows, have a way of transforming even simple scenes into something surreal and otherworldly. See what happens when you fill the frame with the reflection alone, leaving out the object casting it. Or flip your composition upside down so that the reflection takes center stage. For more photography inspiration and technical tips on shooting reflections, check out this guide.
Shoot in the style of your favorite movie
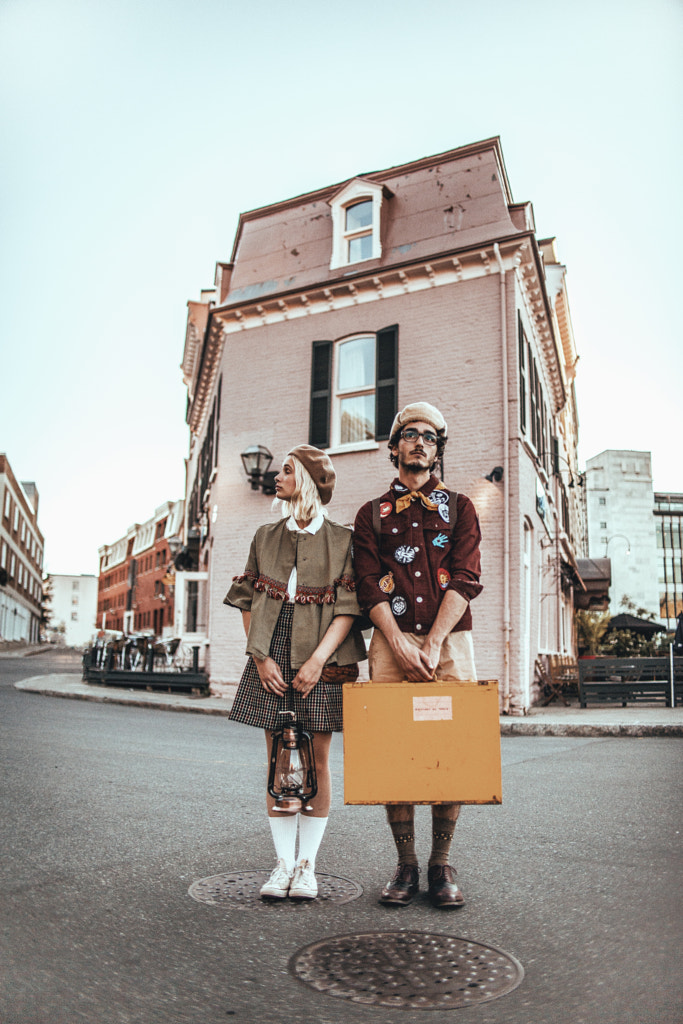
To reinvigorate your still photography, turn to the world of film. Wes Anderson, for example, is known for his pastel color palettes and symmetrical compositions, while Terrence Malick is famous for his use of natural, golden hour light. Rewatch your favorite movie, and take note of the color palette, lighting, and details. Is an unusual perspective used? What about lens flare? Atmospheric fog or haze? Incorporate those elements into a photoshoot. This picture by Laureen Burton, for instance, was inspired by Wes Anderson’s Moonrise Kingdom.
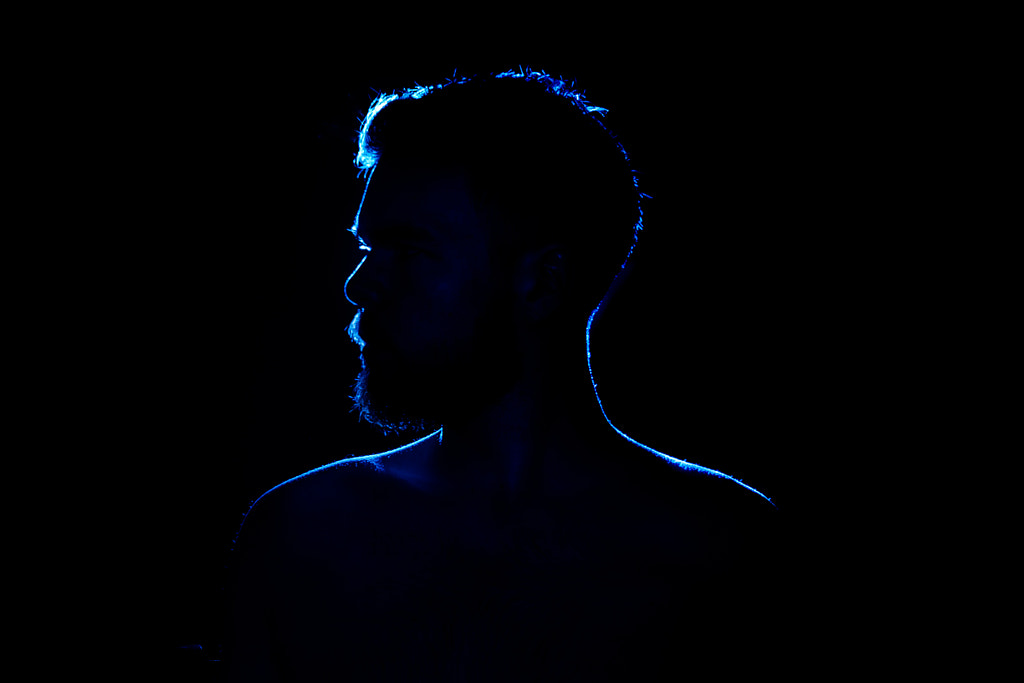
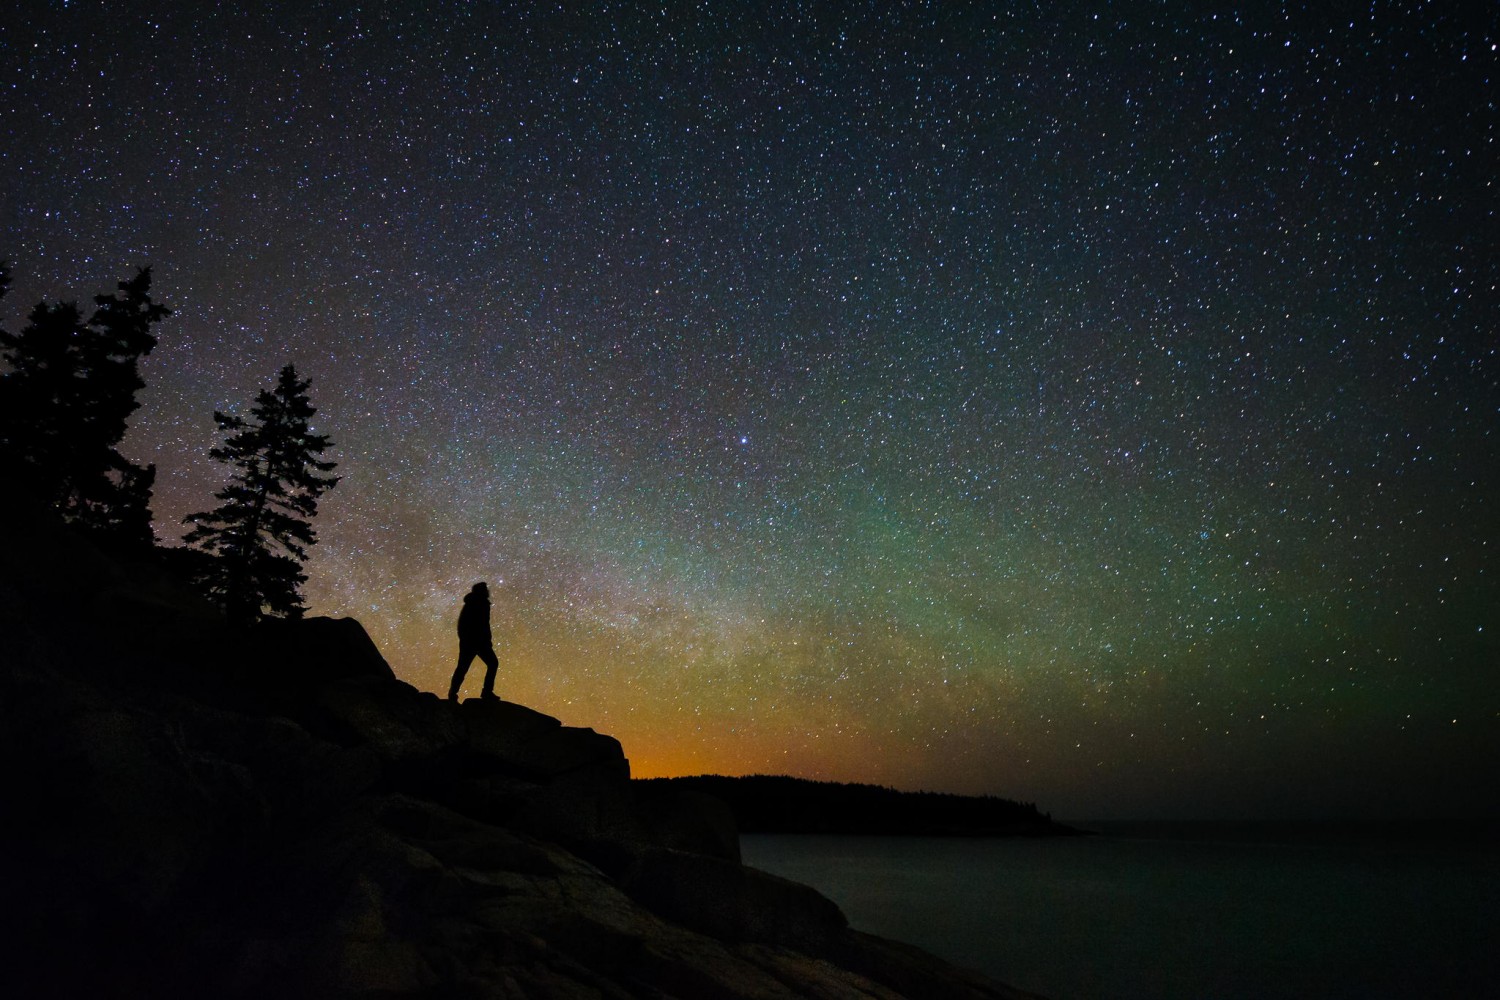
See in silhouette
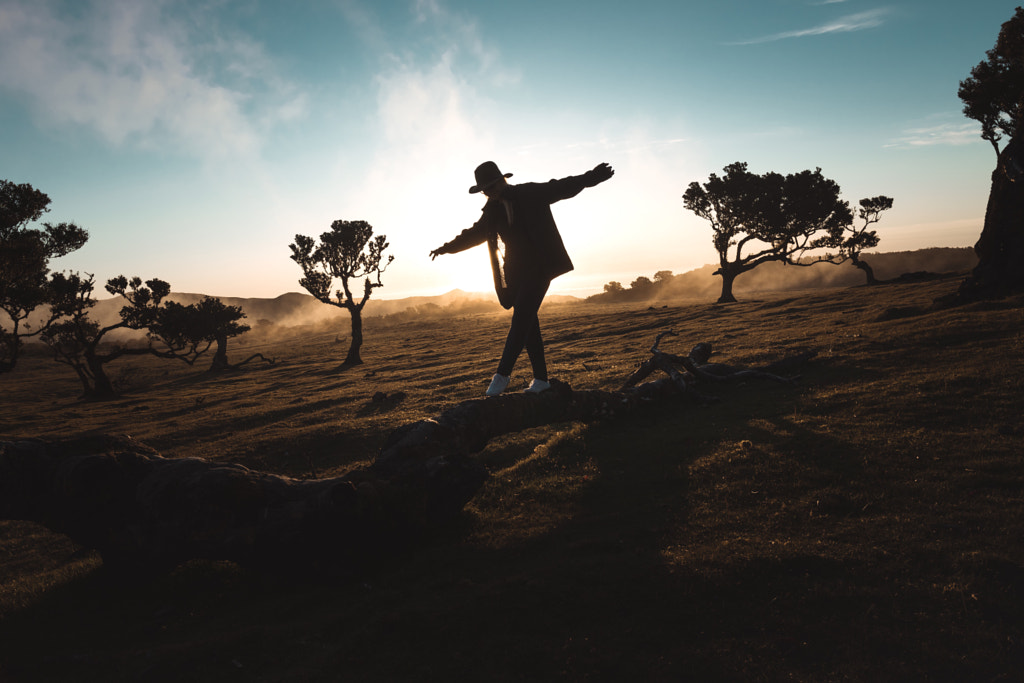
Usually, in portraiture, you want to avoid silhouettes, but consider embracing them instead. Expose for your background, and shoot during the golden hour so that your subject is underexposed and only their outline is visible. Experiment with different poses, gestures, and movements to see what captures the personality of your subject the best. Consider identifying elements to include, such as a hat or billowing coat, to create recognizable, compelling shapes.
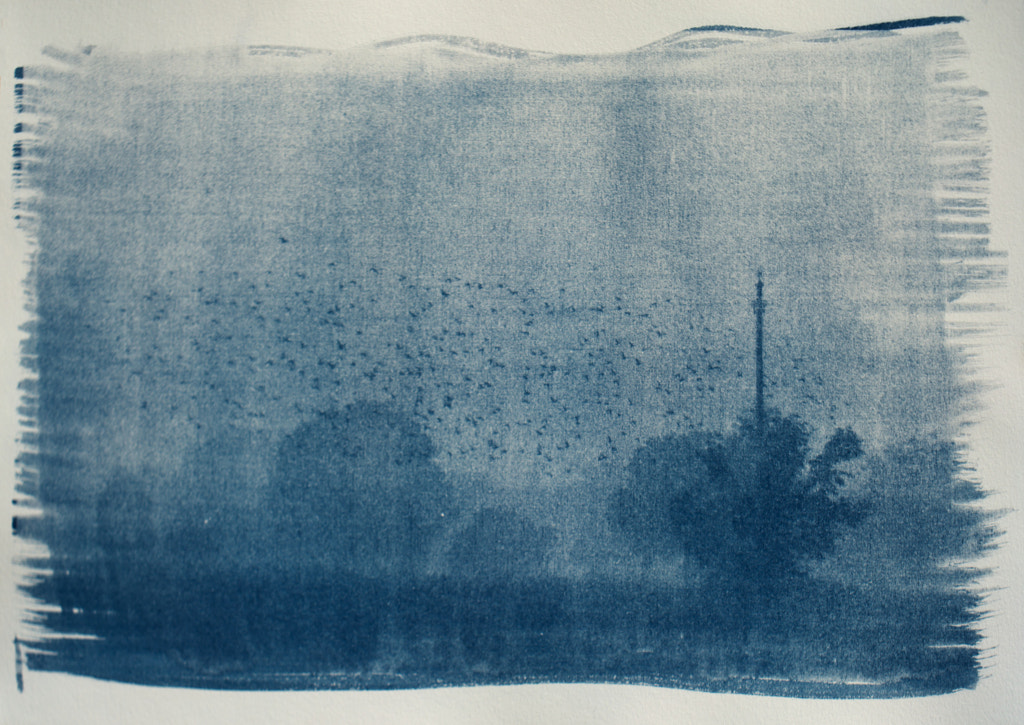
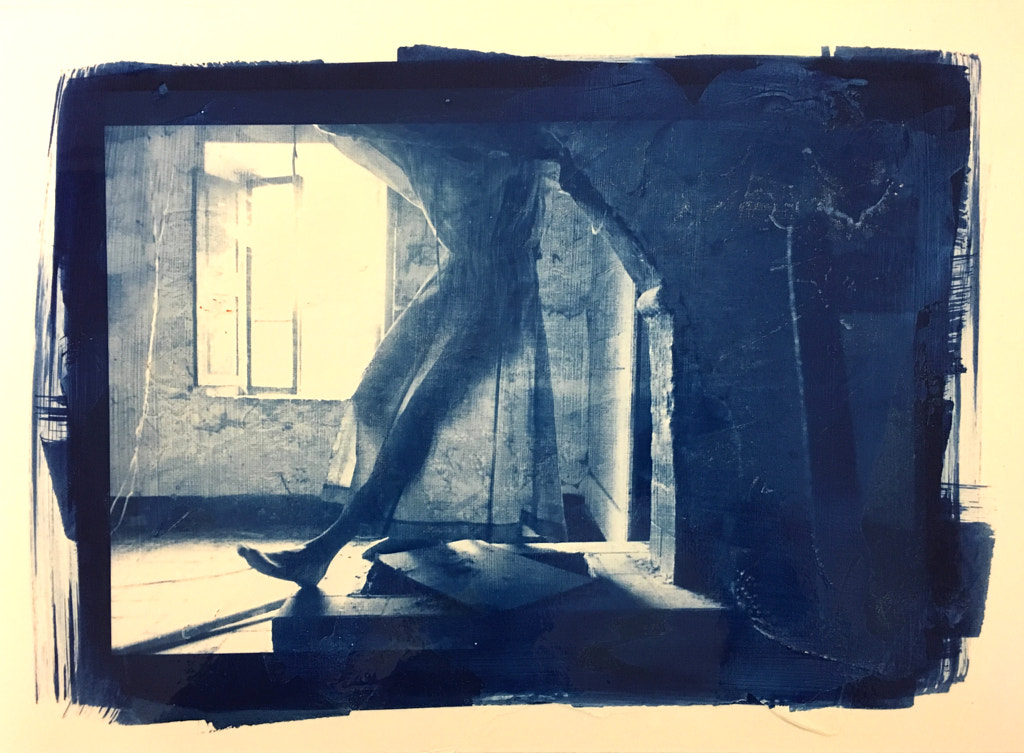
Try an alternative process
The term “alternative process” can be used to describe any printing process outside of the ordinary, including historic techniques such as tintypes or salt prints. A great (and relatively accessible) place to start is with cyanotypes, which are known for their characteristic blue hue. You can make one using film negatives, or you can even place objects directly onto the paper. All you need is a cyanotype printing kit (this chemistry can be purchased online or from your local camera shop), paper or fabric, and water. Expose the paper to sunlight, soak it in water with a bit of hydrogen peroxide, and voilà.
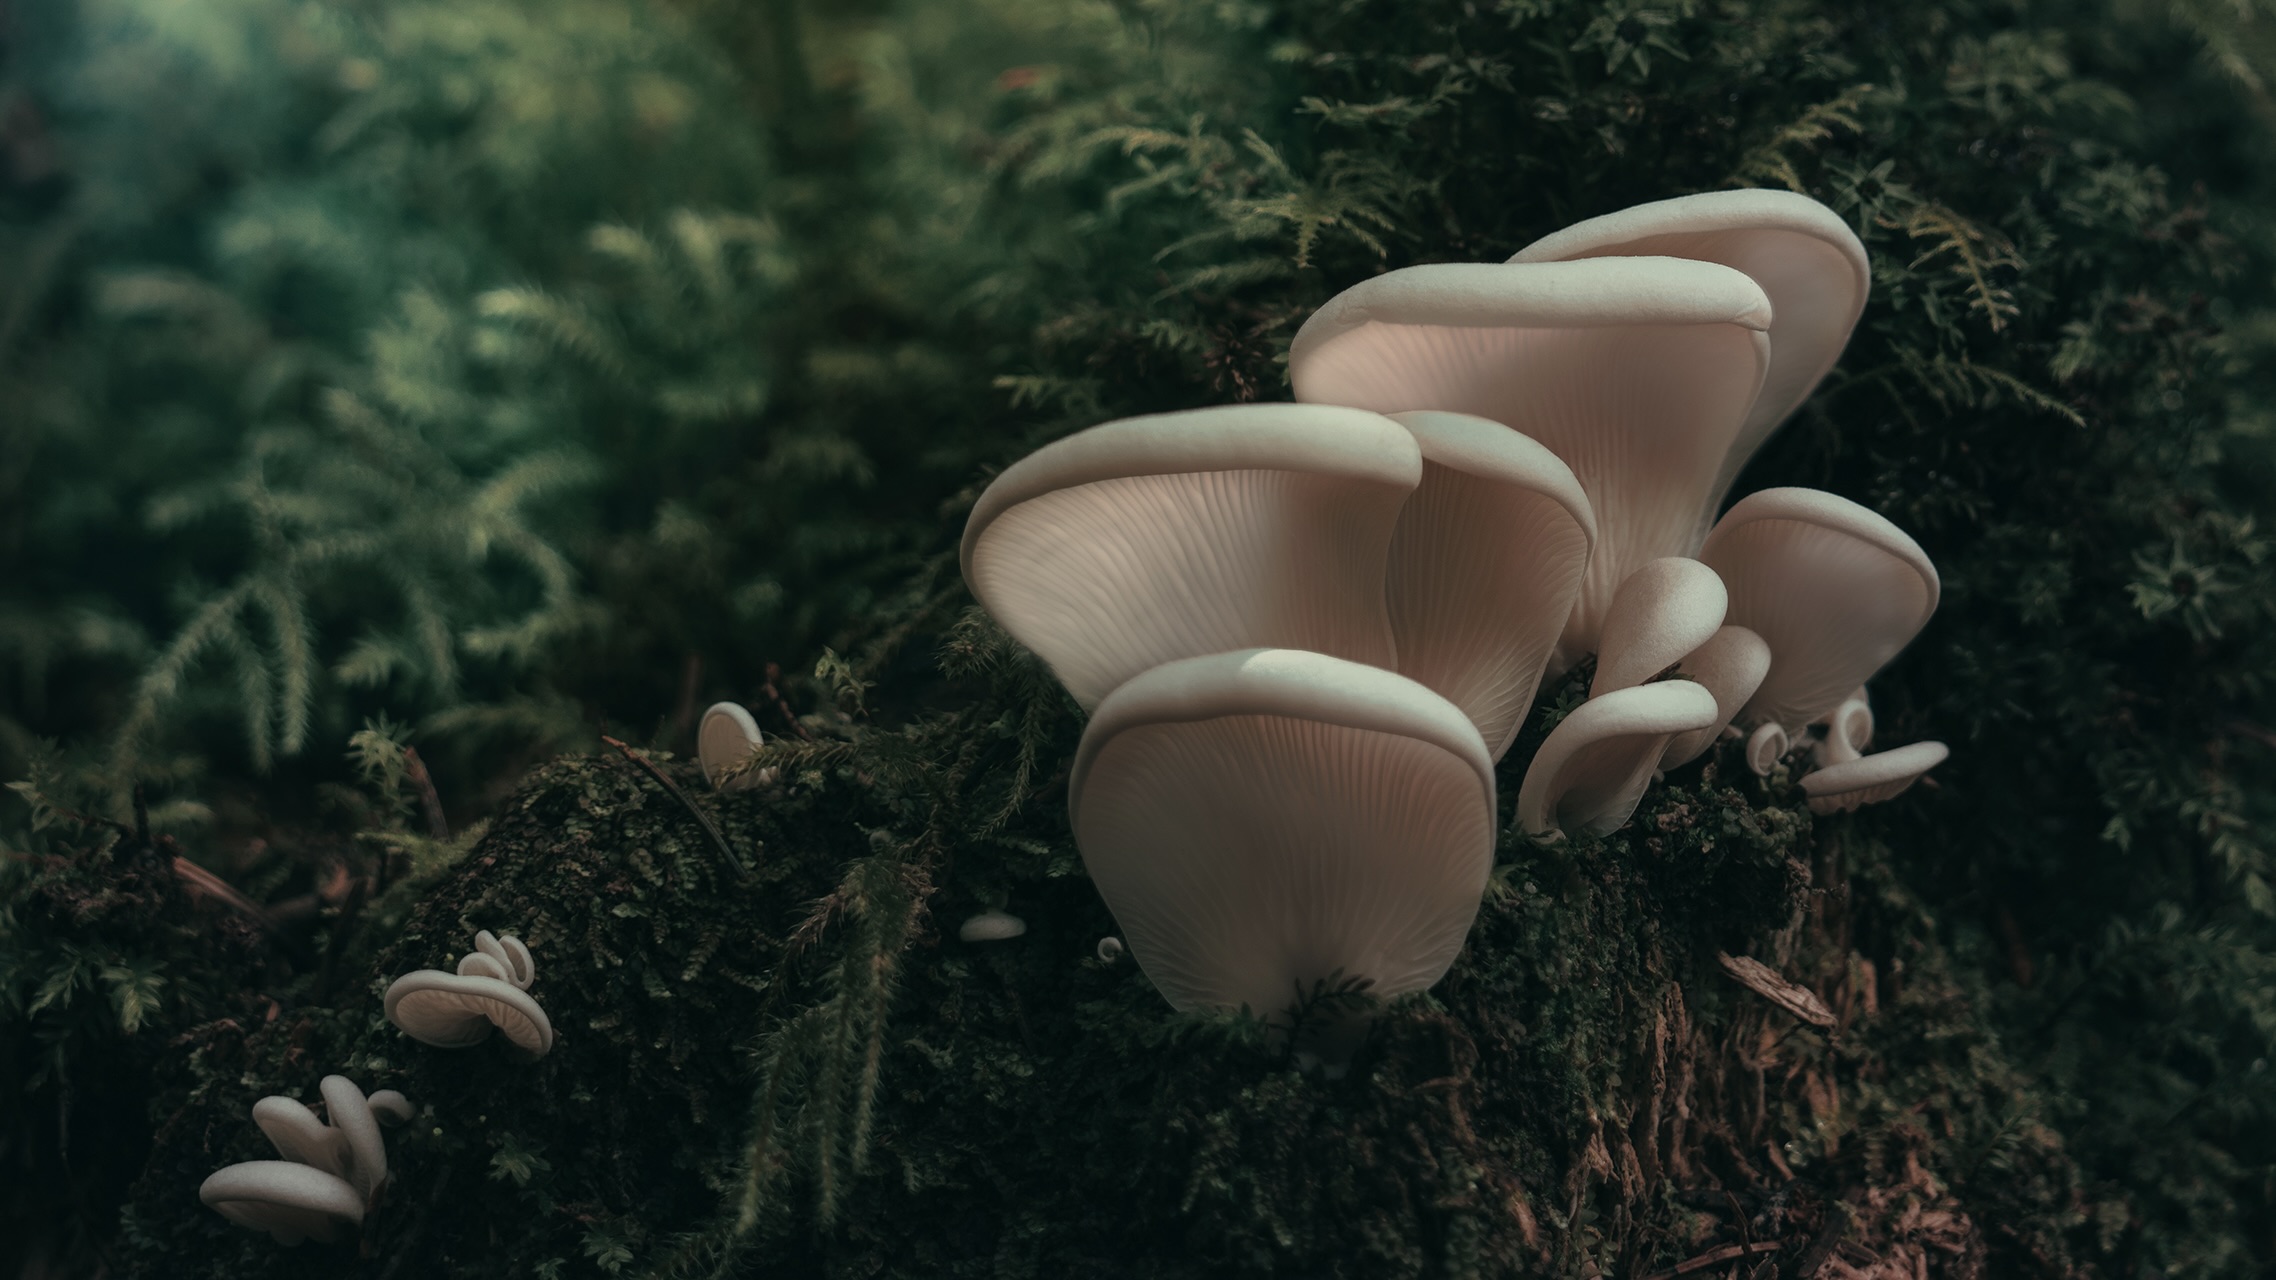
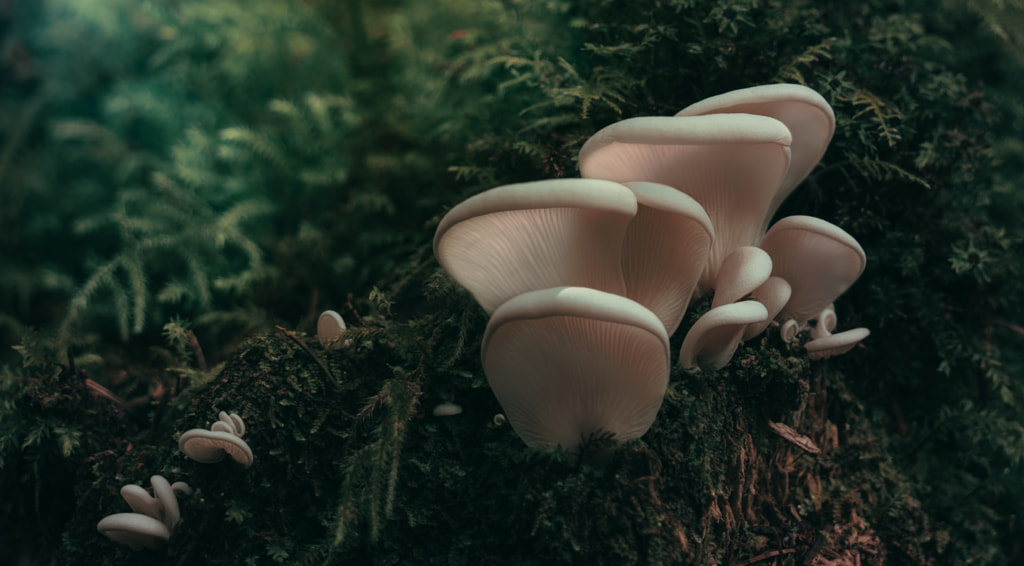
Embrace texture
Texture, along with light and color, can define a photograph, but it’s an element too often overlooked. Find a subject with a visible texture: rough tree bark, fleshy mushrooms, smooth satin, or creamy velvet, and experiment with various lighting setups. In general, side lighting is best for photographing texture, as it’ll create depth and shadow, but backlighting is perfect for translucent subjects, making them appear to glow. You can also juxtapose two or more textures for contrast: soft and hard, rough and smooth, and so on.
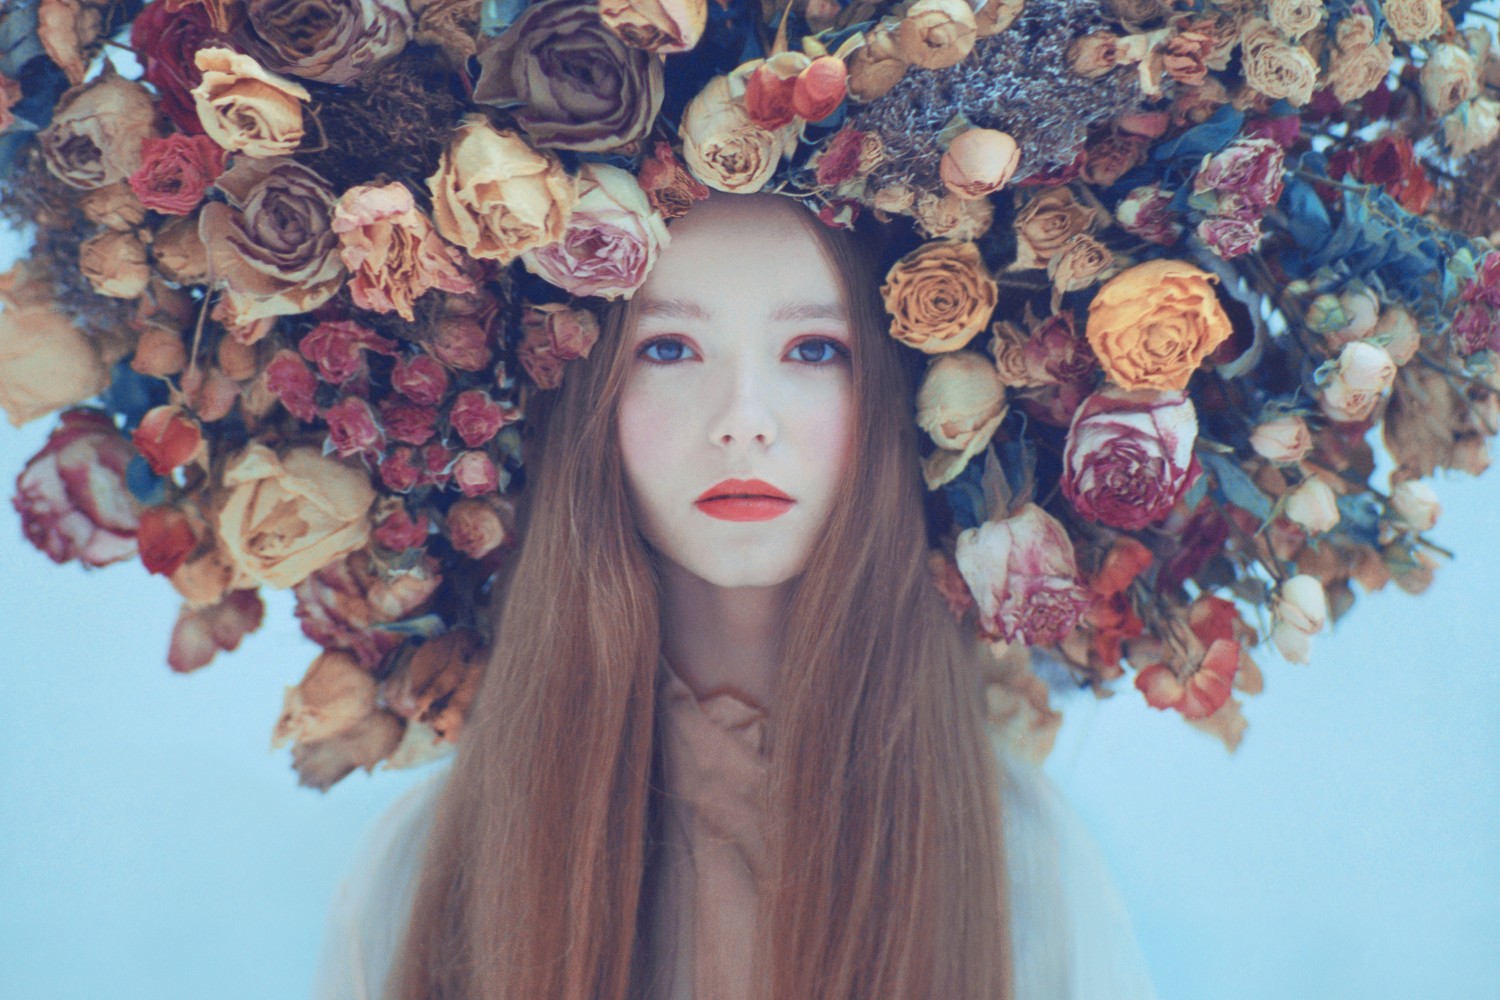
Create a self-portrait
Self-portraits are a photographer’s rite of passage, appearing time and again in the work of legendary talents like Claude Cahun, Francesca Woodman, Andy Warhol, and Robert Mapplethorpe. Self-portraiture requires vulnerability and outside-of-the-box thinking, so get creative, play dress up, or challenge yourself to step out of your comfort zone. Go to the craft store for cheap props, or don a vintage wardrobe from the thrift shop. A few years ago, the photographer David J. Fulde set himself the challenge of taking a self-portrait every day for 100 days; if you’re feeling ambitious, you can challenge yourself to do the same.
Break the “rules” on purpose
When we’re first starting, we learn about the rule of thirds for intriguing compositions. We learn to finesse our exposure settings so the shadows aren’t too dark and the highlights aren’t blown out. We learn to use a fast shutter speed to avoid motion blur or a low ISO to avoid noise. We learn about using balance to create harmony.
But rules are often meant to be bent, so chose a rule, and break it intentionally to create art that challenges and transcends established norms. Underexpose by a stop to create a moody vibe (see Gabriel Pacurariu’s haunting forestscape below), or vary your temperature while developing your film to create more graininess. Place your subject smack-dab in the center, or use asymmetry to create a sense of tension or unease. The “rules” are really just creative tools anyway, so play with them to find what works.

Want to get inspired fast? Check out 12 photography exercises you can do in 30 minutes or less.
Not on 500px yet? Sign up here to explore more impactful photography.


Leave a reply