Some of the last century’s greatest photographers were also ardent rule-breakers. Garry Winogrand was a fan of tilted horizons. Saul Leiter was known for placing his subjects slightly off-center. Diane Arbus, who disliked the idea of “good” versus “bad” compositions, enjoyed making what she called “funny mistakes.”
When we discuss composition in photography, the “rule of thirds” inevitably comes up again and again. Many of today’s most popular cameras, from DSLRs to mobile phones, come with optional “rule of thirds” overlays to help guide your composition. You can also toggle on these grids in most editing applications while straightening or cropping an image.
For emerging photographers, it’s hard to escape this simple “rule,” which suggests an ideal place to position an object within your frame. You can implement the rule of thirds by dividing your frame with two equally spaced horizontal and vertical lines and placing your subject along one of those lines or their points of intersection.
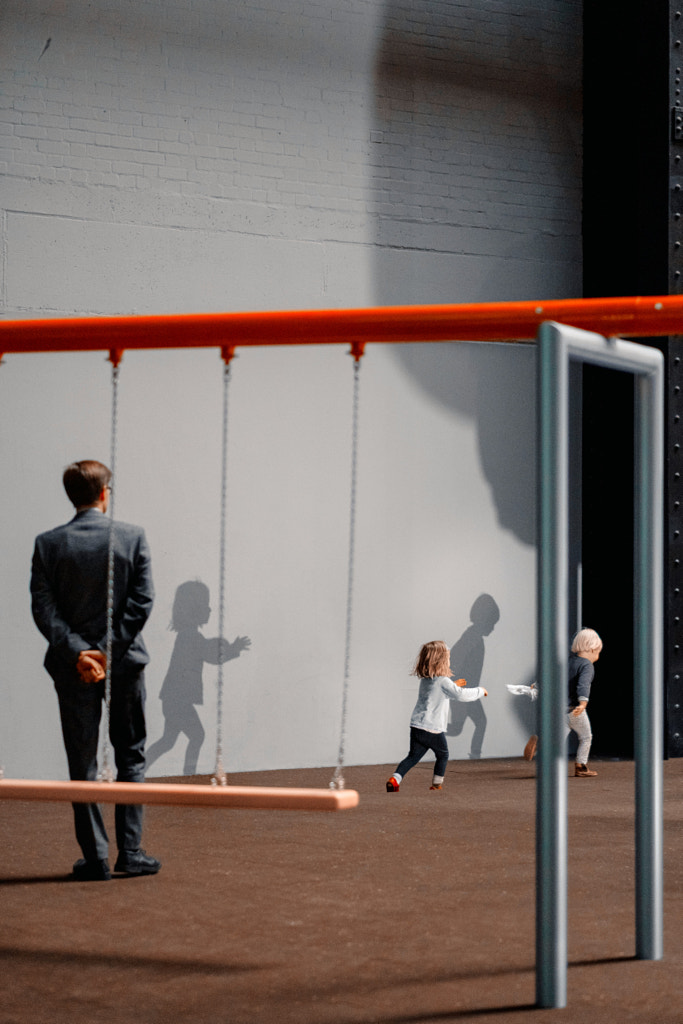
When used well, it’s well worth the hype. Take, for instance, this street photo by Craig Whitehead; the man’s clasped hands sit directly across the intersection of two lines, while the red pole overhead runs across the upper horizontal line. Here, the artist’s clever use of the rule of thirds results in a picture that is at once balanced and dynamic, harmonious and exciting.
While it works well in countless situations, the term “rule of thirds” is misleading, as it’s more of a technique than a hard-and-fast rule. Visit Whitehead’s portfolio, and you’ll see he breaks it just as much as he follows it. Like Arbus and Winogrand, today’s most influential photographers understand that experimentation is the secret to unforgettable compositions. Plus, the rule of thirds is just one trick of many, and unhinged creativity often beats a strict adherence to compositional rules.
Below, we’ll cover 14 unexpected compositional tips and camera techniques to take your photos to the next level.

Tip #1: Change your perspective
As early as 1858, the French photographer Nadar had flown over Paris in a tethered balloon in hopes of capturing a view of the city no one had ever seen. We experience much of the world at ground level, so one of the most effective ways to create interest is by changing your vantage point. If you’re in a city, you can find a rooftop and look down on the traffic as it passes; if you’re a landscape photographer, you might find a hiking trail with an elevated perspective. It might take more research and stamina, but you’ll end up with an image that stands out from the crowd.
Tip #2: Add a pop of color
When it comes to catching the eye and leading it through an image, color is one of the most useful tools at your disposal. One trick is to use complementary color pairs to make your subject stand out from the background. Red and green, blue and orange, and yellow and purple are natural complements; when placed side-by-side, they appear more intense.
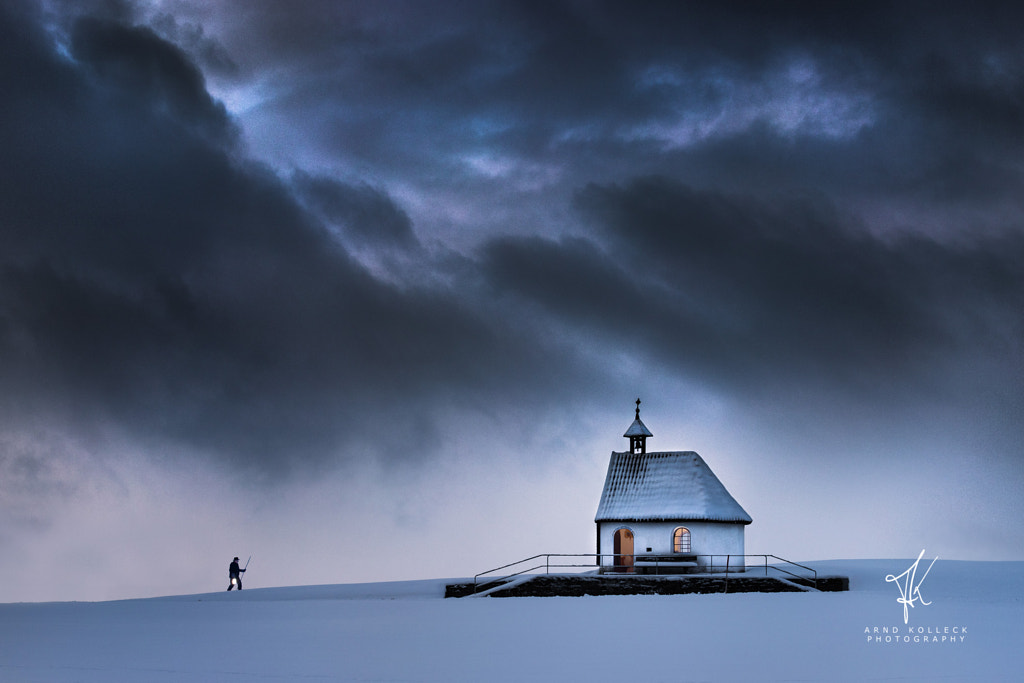
In this evocative photo by Arnd Kolleck, for example, the orange glow from the windows provides a perfect complement to the blue hues of the landscape, catching our attention instantly. While subtle, this use of color reinforces the idea that the warm interior is the most important element in the photo, appropriately titled Heavenly Shelter.
Tip #3: Adjust your aperture
Another way to separate your subject from your background is to open up your aperture, creating a shallow depth of field. Your subject will remain in focus, while your background falls away into a creamy blur. In some cases, you might want to do the opposite and close down your aperture so that every element of your composition remains in crystal clear focus. It depends on whether you want to isolate your subject or retain maximum detail.
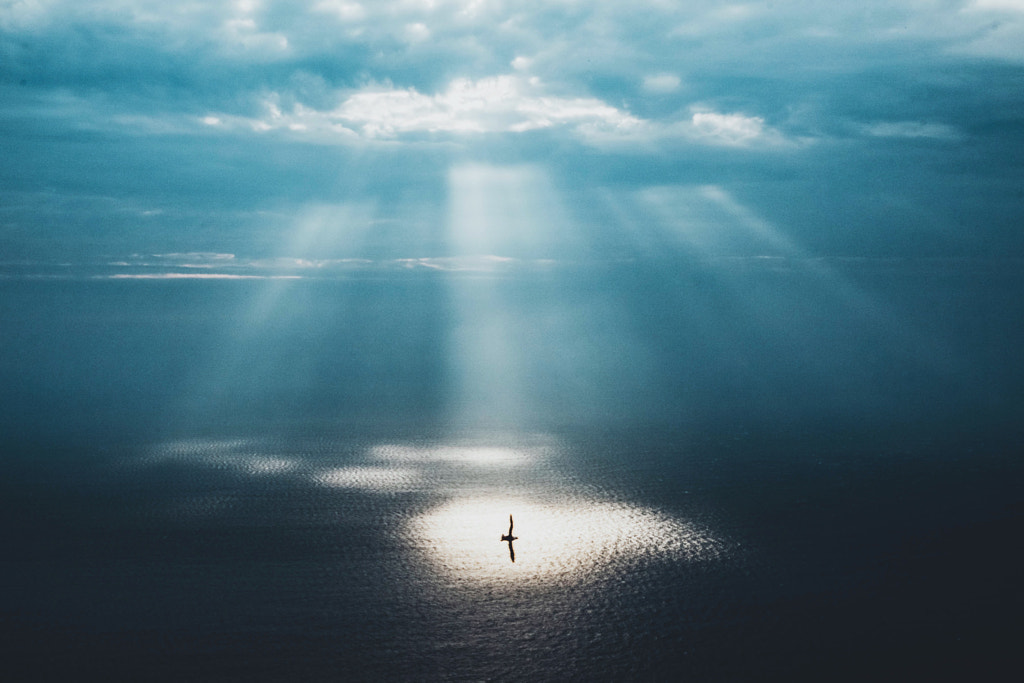
Tip #4: Find natural “spotlights”
Our eyes gravitate toward areas of high contrast between light and dark, so it can help to look for strong single light sources that create a “spotlight effect” on your subject. It might be rays of sunlight reaching through the trees, a car headlight, or a streetlight illuminating a figure in the distance. Adam Firman used rays of light in the Faroe Islands to emphasize this bird in flight; the animal might be small, but he pulls our focus right away.
Tip #5: Play with diagonal lines
Leading lines are a popular compositional tool meant to guide the eye toward your subject, and those lines can be horizontal or vertical, but they can also be diagonal. Diagonal lines are perfect for emphasizing depth and perspective, and they can also add a sense of movement and dynamism to an otherwise static scene. Photographers ranging from Henri Cartier-Bresson to Berenice Abbott have used diagonal lines to create tension throughout some of their most iconic images.

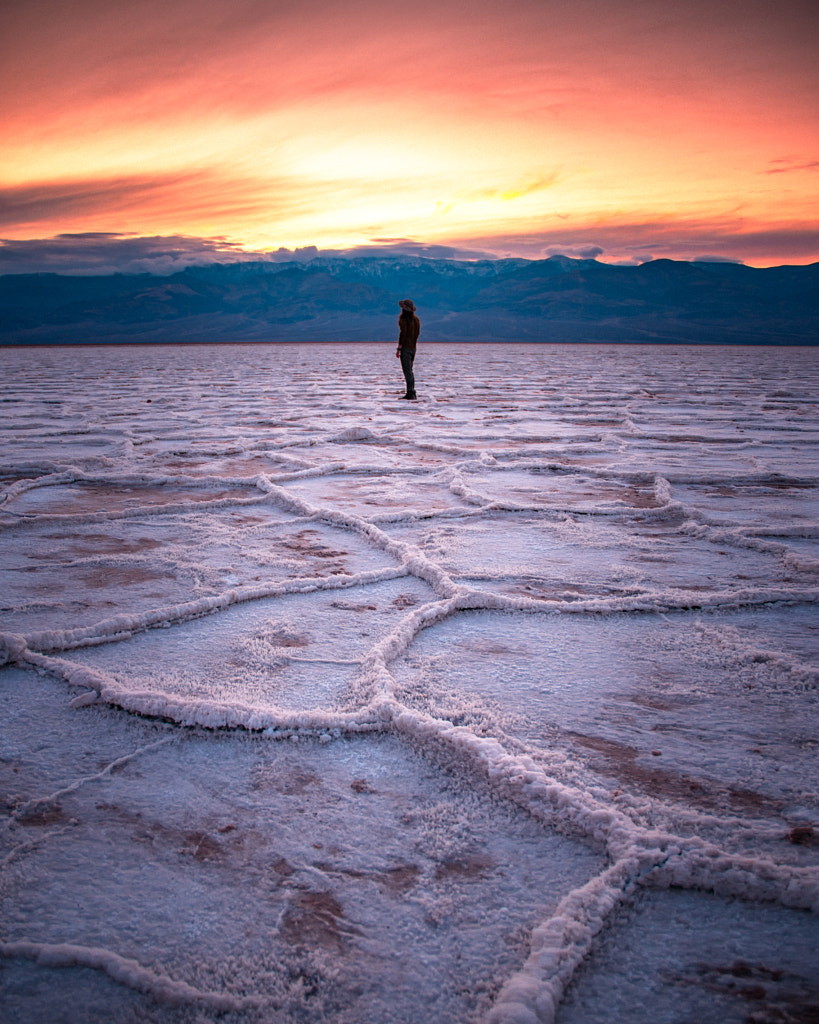
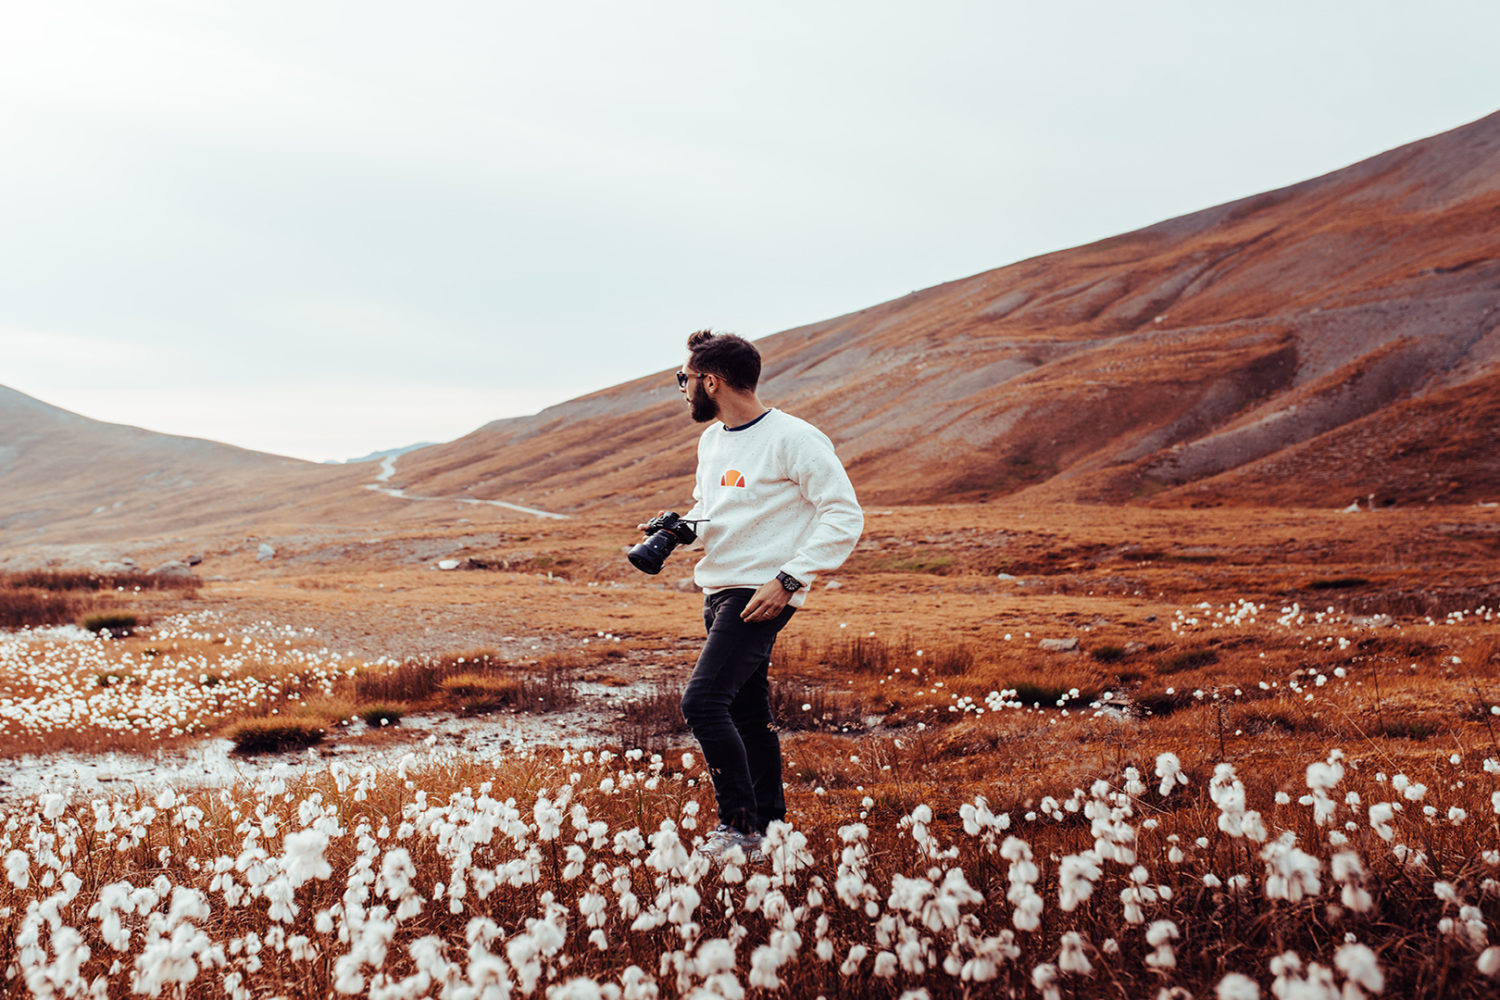
Tip #6: Provide a sense of scale
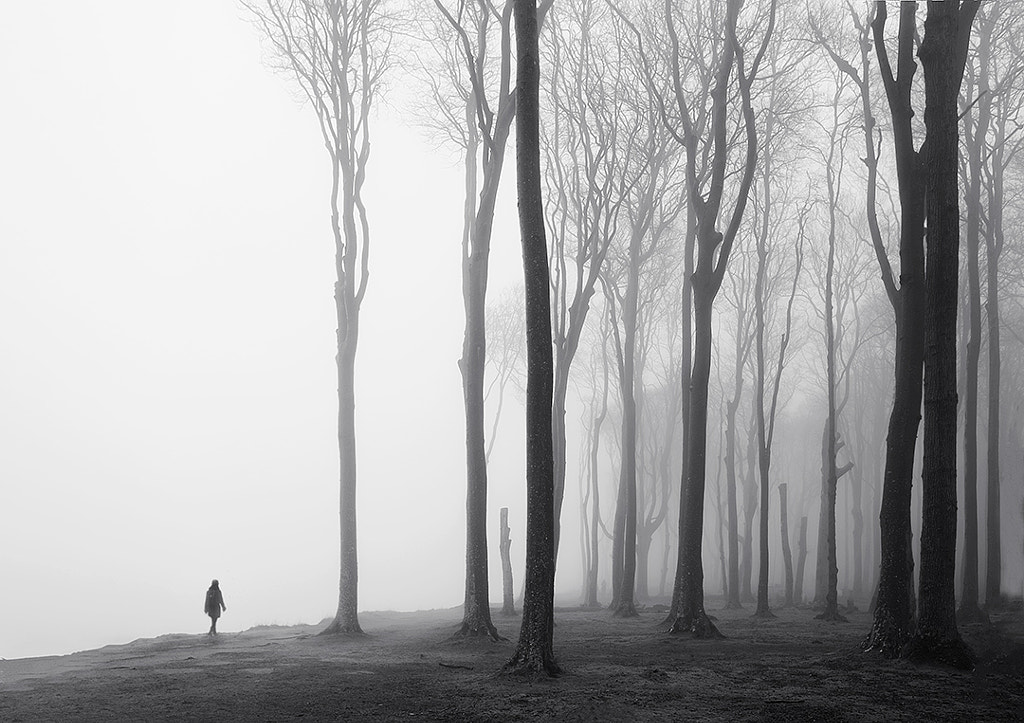
From a human figure to a boat on the horizon, including an object that creates a sense of scale can help bring more dimension to an otherwise flat scene. A popular scenario would be when you’re photographing landscapes—to emphasize the vastness of your surroundings, you might include a tiny person in the distance.
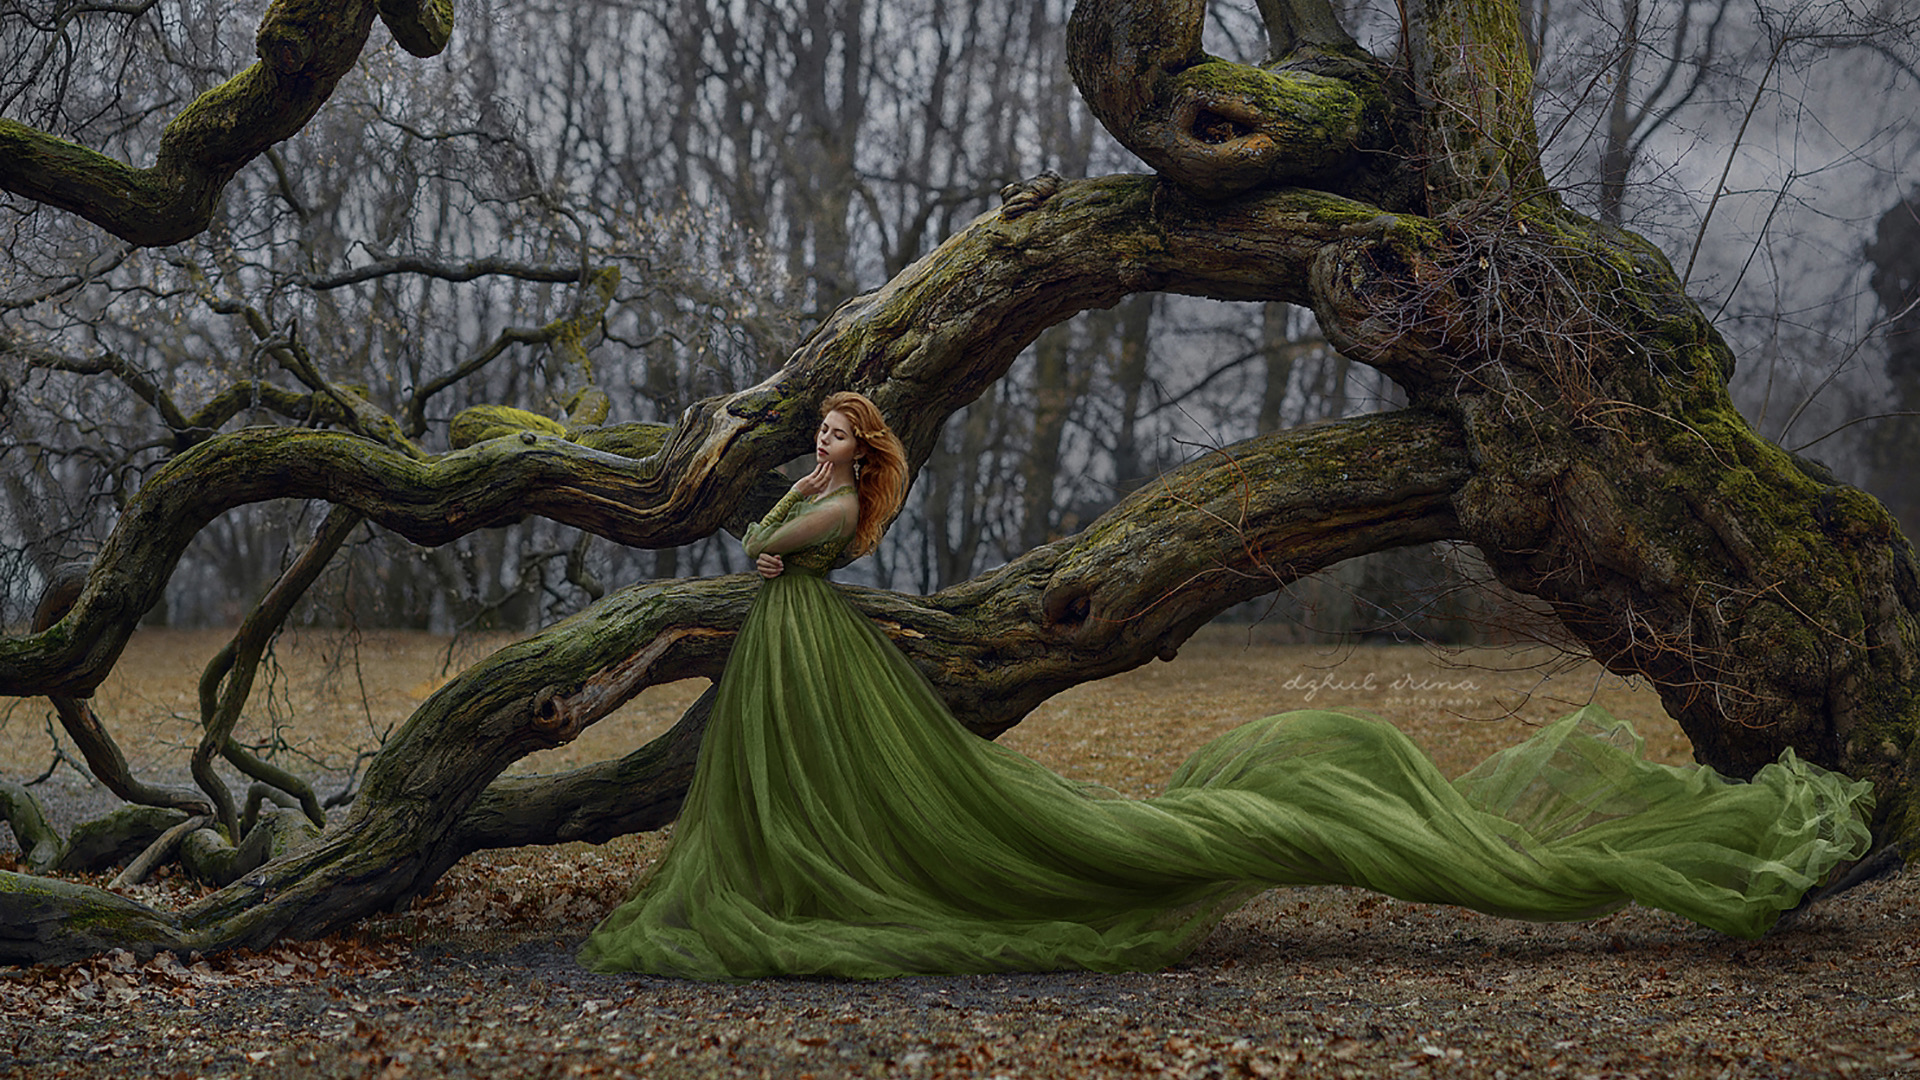
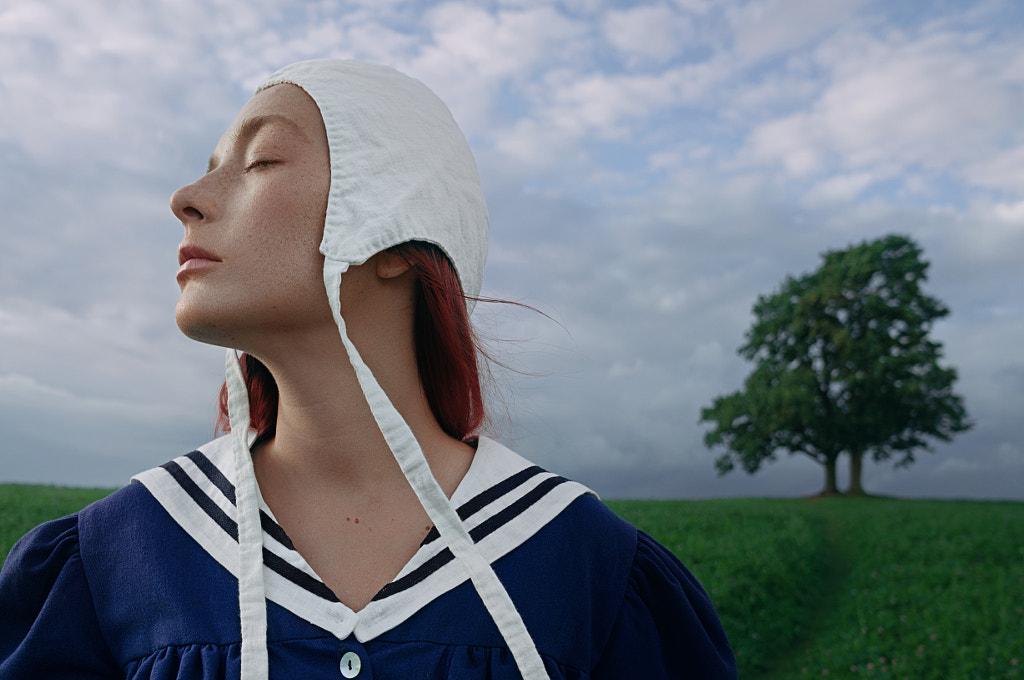
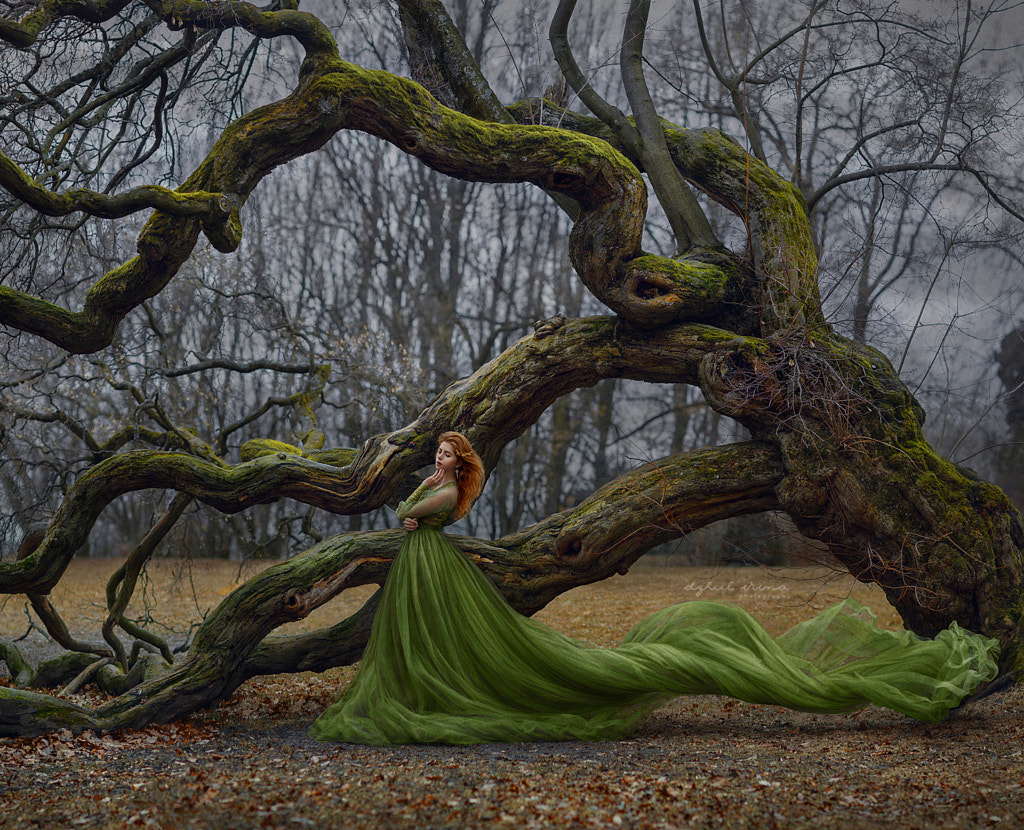
Tip #7: Experiment with forced perspective
While a sense of scale can help provide context to an image, you can also use our perception to “trick” the eye. Forced perspective is an optical illusion: smaller objects can be made to look larger when placed closer to the lens, and larger objects appear smaller when they’re farther away. We know that trees are bigger than faces, but Natasha Yankelevich’s photo below challenges that notion for a compelling twist on a classic portrait.
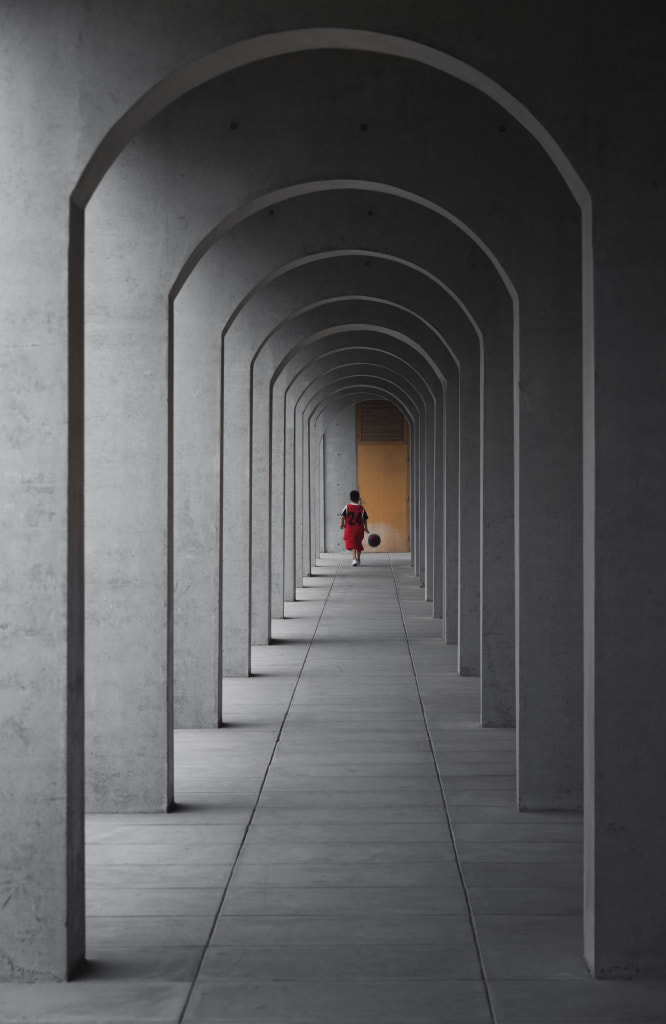
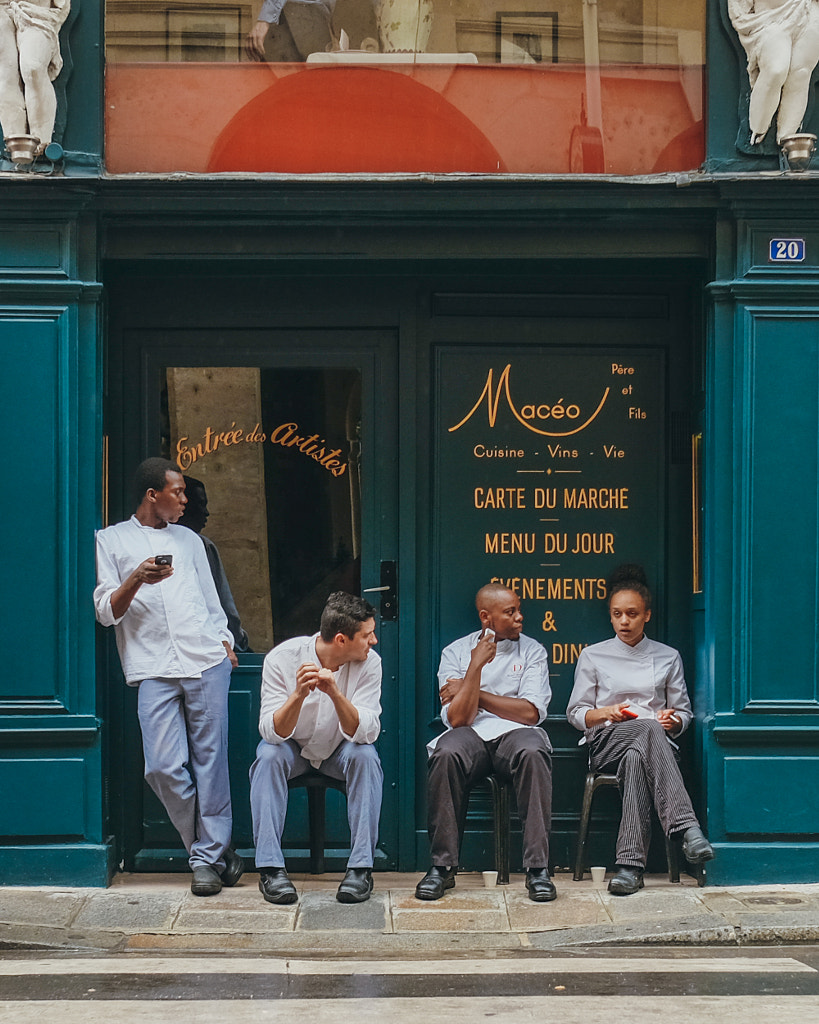
Tip #8: Try a frame within a frame (within a frame…)
This trick is another popular one for creating depth: look around and see if you can find structures that naturally “frame” your subject. It can be as simple as a window framing a face or a door opening to reveal a silhouette. Once you start looking for these natural frames, you’ll notice them everywhere. Use these real-world shapes to emphasize the most important part of your photo, whether it’s a person on the street or a house on a hill. If you want to take it even further, you can create several frames within frames, as SaintChenHRn did in this photo below, to reinforce the subject further while also elevating the drama.
Tip #9: Seek reflections
On calm days with little to no wind, keep an eye out for reflections to include in your frame, from bodies of water to puddles in the street. Reflections work especially well in symmetrical compositions, where the frame is perfectly bisected by the horizon.
Tip #10: Shift your horizon
You’ll often find horizon lines in one of two places: along a thirds line or in the center of a photo. These are great places to start, but in this case, it’s okay to “break the rules” on purpose. You can push the horizon lower to include more of your background, or you can pull it up to highlight your foreground. In this sublime photo, Daniel Kordan has pushed the horizon down to emphasize the beauty of the cypress swamps that bring this Texas landscape to life.

Tip #11: Add some nose room
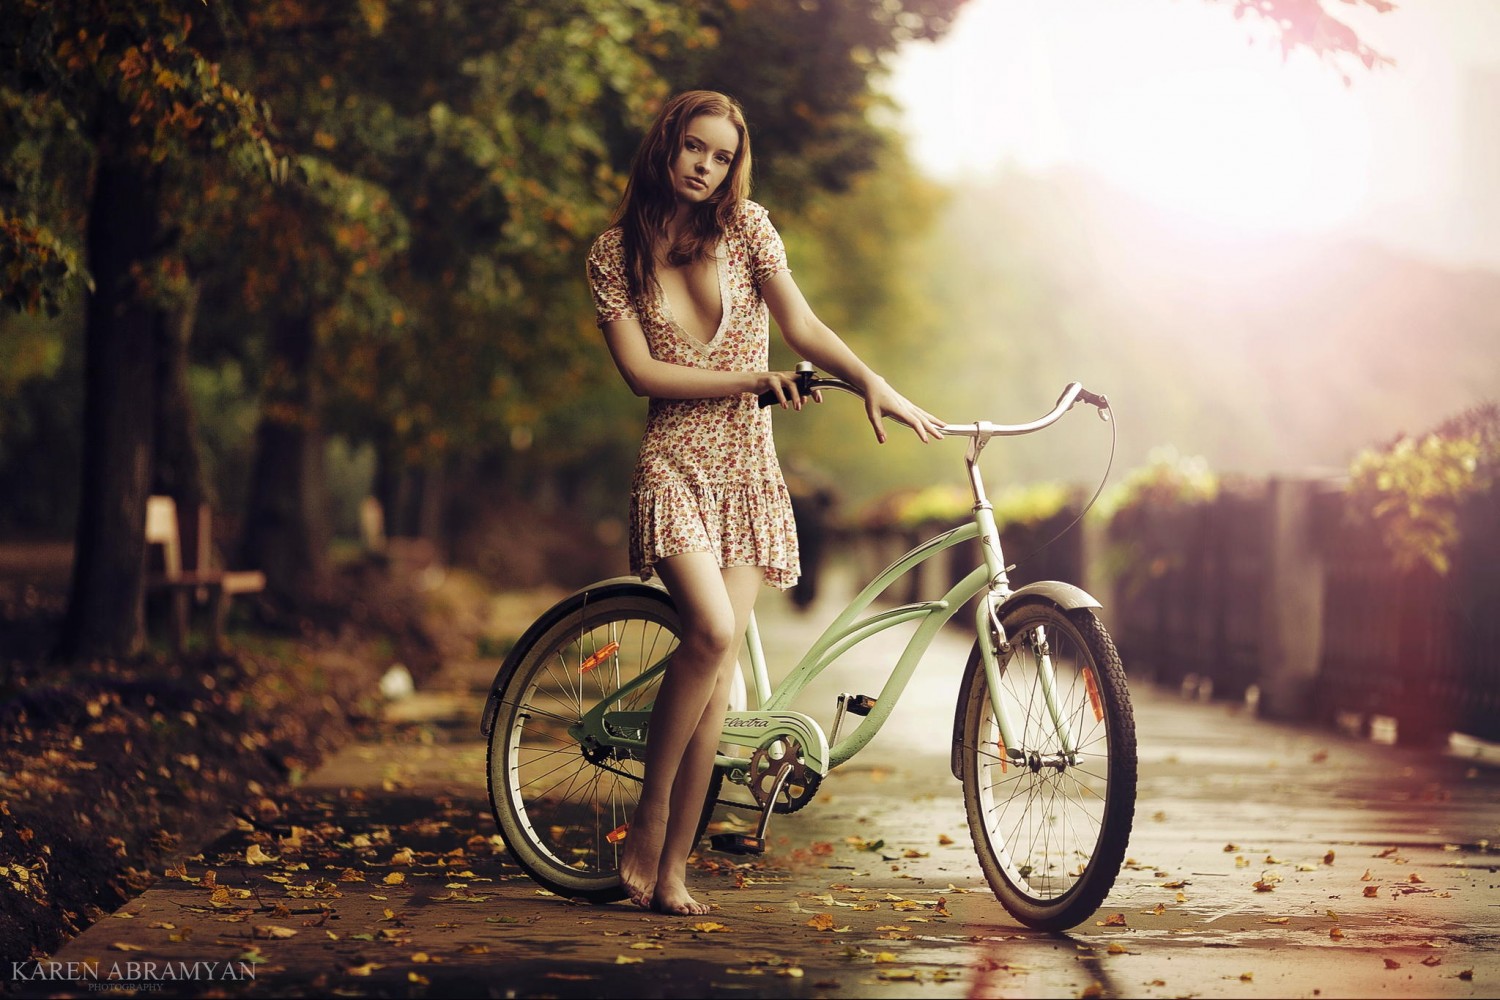
When we look at a photo, we naturally turn our gaze toward where the subject is looking. That’s where “nose room” comes into play; the idea here is to include more negative space in front of your subject than you have behind them. This principle applies to people and animals, but it can also apply to any object in motion, such as a car or bicycle: create a sense of anticipation and movement by giving the eye room to explore. This can sometimes be called the “active space rule,” but like any in photography, it’s a rule you can break from time to time.
Tip #12: Look at other art forms
You can learn a lot about composition by studying the work of great photographers, but there’s no need to limit yourself to one medium. The legendary street photographer Helen Levitt taught herself the basics of composition by studying paintings in galleries and museums. If you can, get out and see as much as you can in person, from printed photographs to paintings to sculptures and installations. Get outside your comfort zone, and challenge yourself to approach photographic framing in a new way.
Tip #13: Take it slow
It’s easy to get stuck photographing from one angle, vantage point, or perspective, so take a moment to plan and consider before clicking the shutter. The first composition you spot isn’t always the best one. Sometimes, the difference between a good composition and a great one boils down to taking a moment to pause, reflect, and reframe. Start with the rule of thirds, or experiment with its close cousin, the golden ratio. Place your subject in the center of your frame, and see how it looks. If one of those compositions doesn’t work, move onto something else.
Tip #14: Trust your gut
This tip might run contrary to the last one, but sometimes it’s best to shoot first and think later. For example, while landscape photographers will often have the time to reframe until their compositions are just right, street shooters rarely get that chance. If you witness a fleeting moment worthy of capturing, take the shot.
At first, your spur-of-the-moment compositions might not be perfect, but the more you practice, the better your instincts will become. With time and repetition, you’ll be able to compose in a fraction of a second, your fingers working long before your conscious mind has time to catch up.
Not on 500px yet? Sign up here to explore more impactful photography.


Leave a reply