Pedro Quintela is a history teacher, talented photographer, and one of the most motivational people on 500px. His latest piece of advice is for anyone who would like to improve their approach to photography, from getting motivated to scene composition to color harmony to finding a great photo title.
For more about or from Pedro, follow him on 500px, check him out on Facebook and join his Photo Reflections FB group, or license his images on the 500px Marketplace.
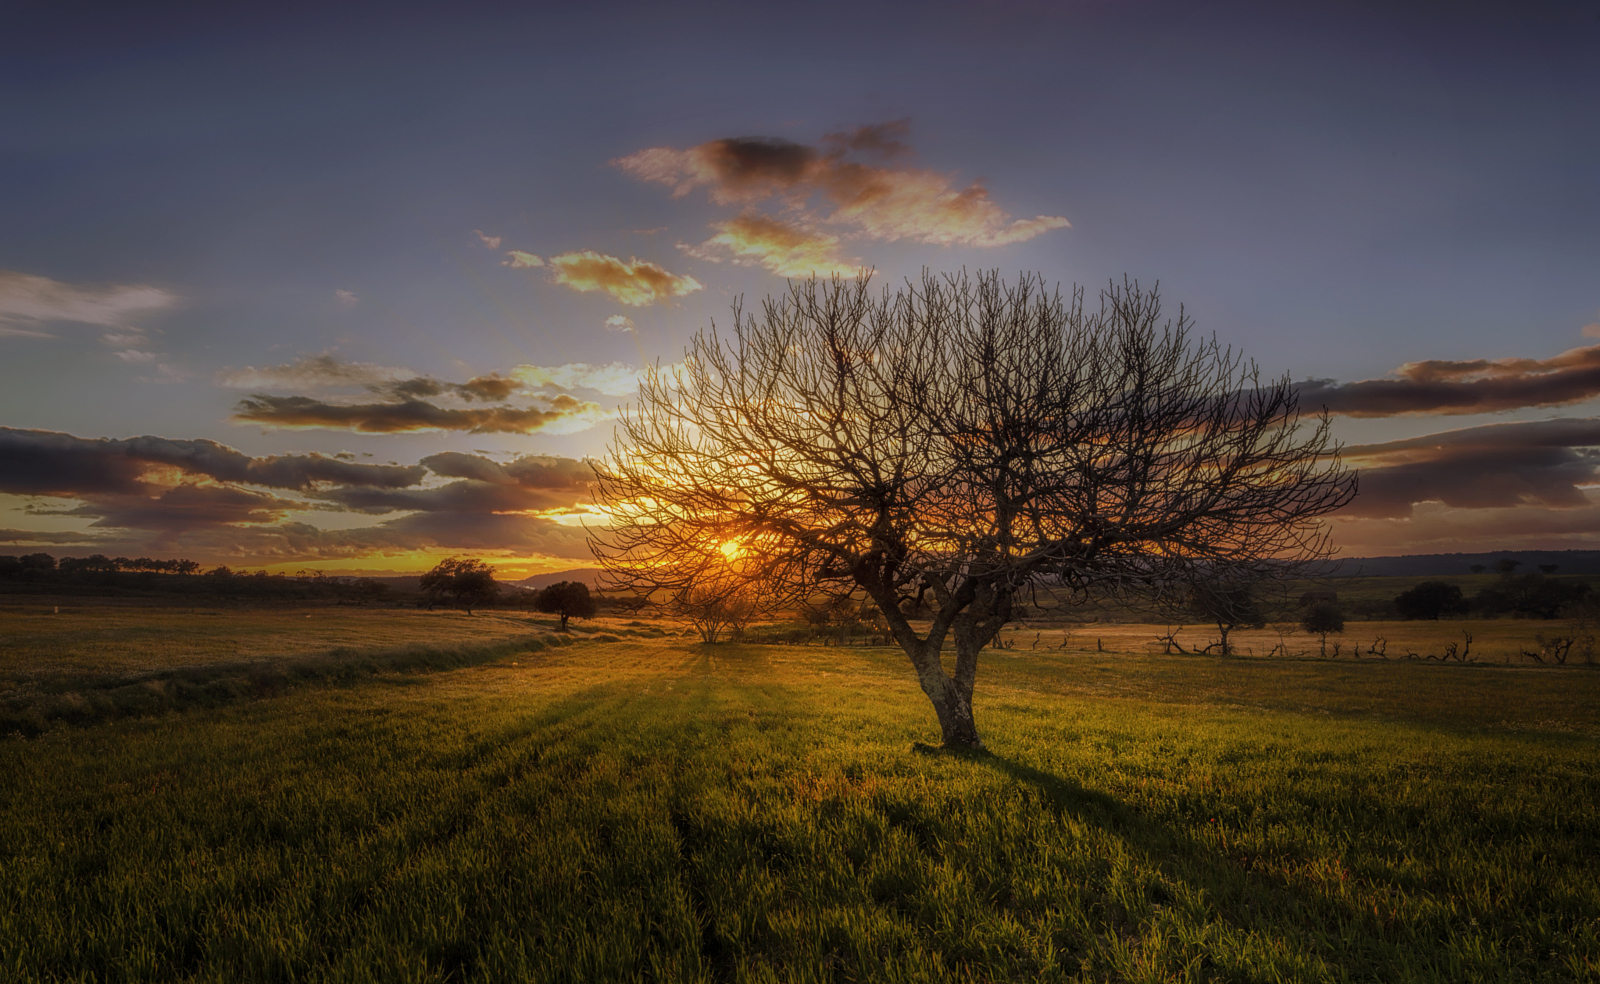
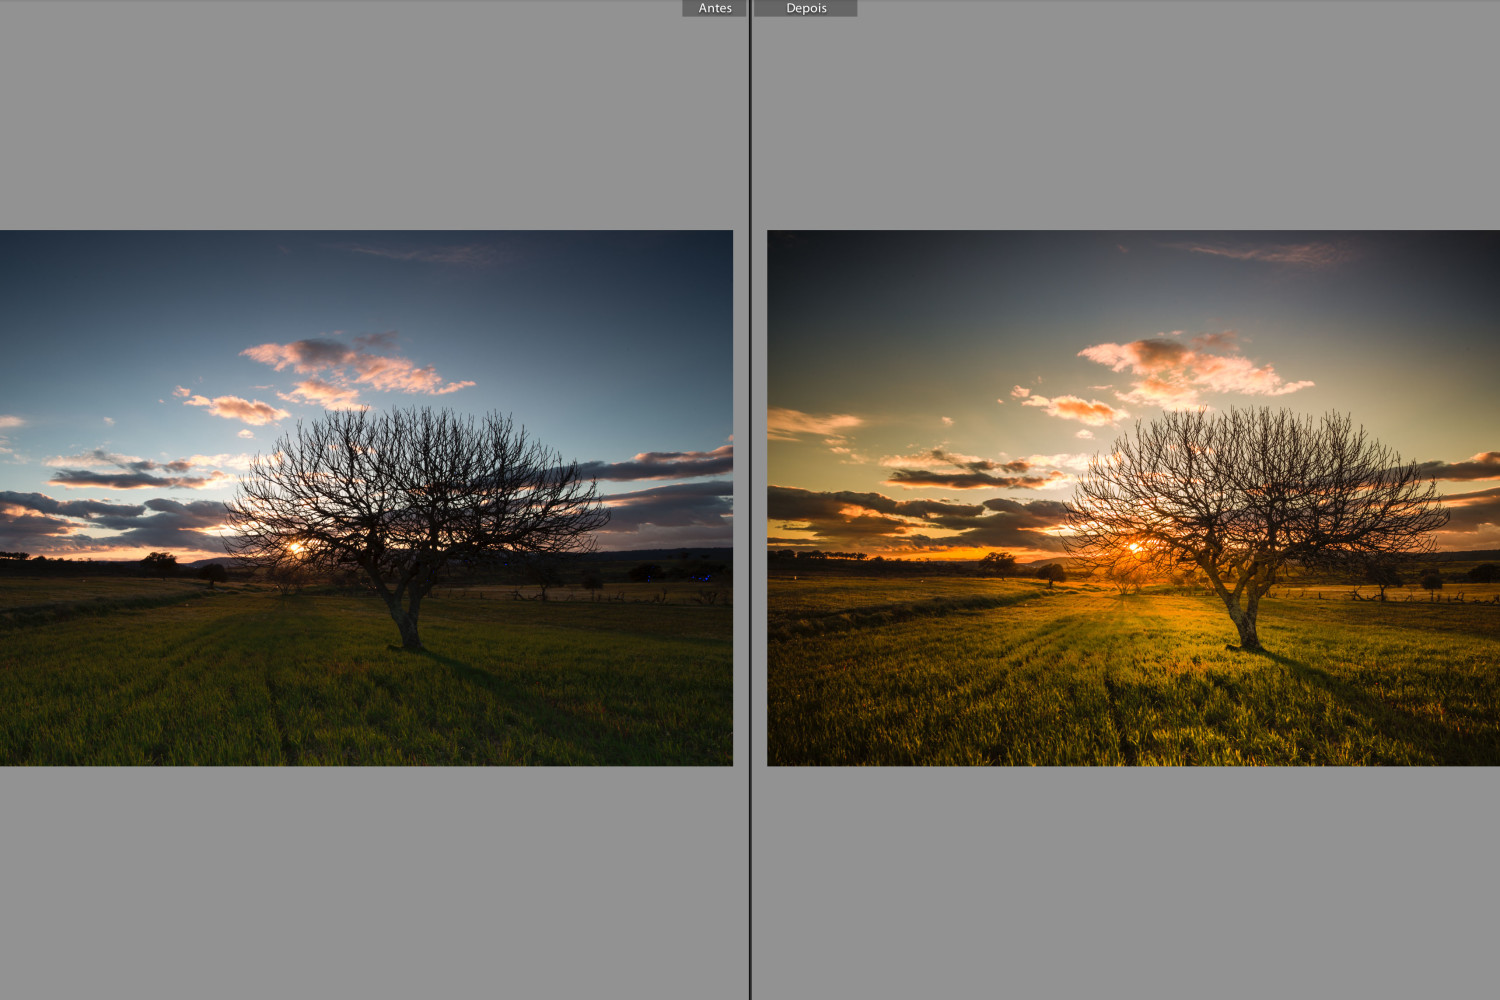
Lots of kind and interested people in the 500px community have shown curiosity in how I capture and edit my images. Because I truly believe in the power of giving back and motivating the community that—week after week—supports me, I decided to create this step-by-step tutorial of one of my latest popular photos, “Shadowland”.

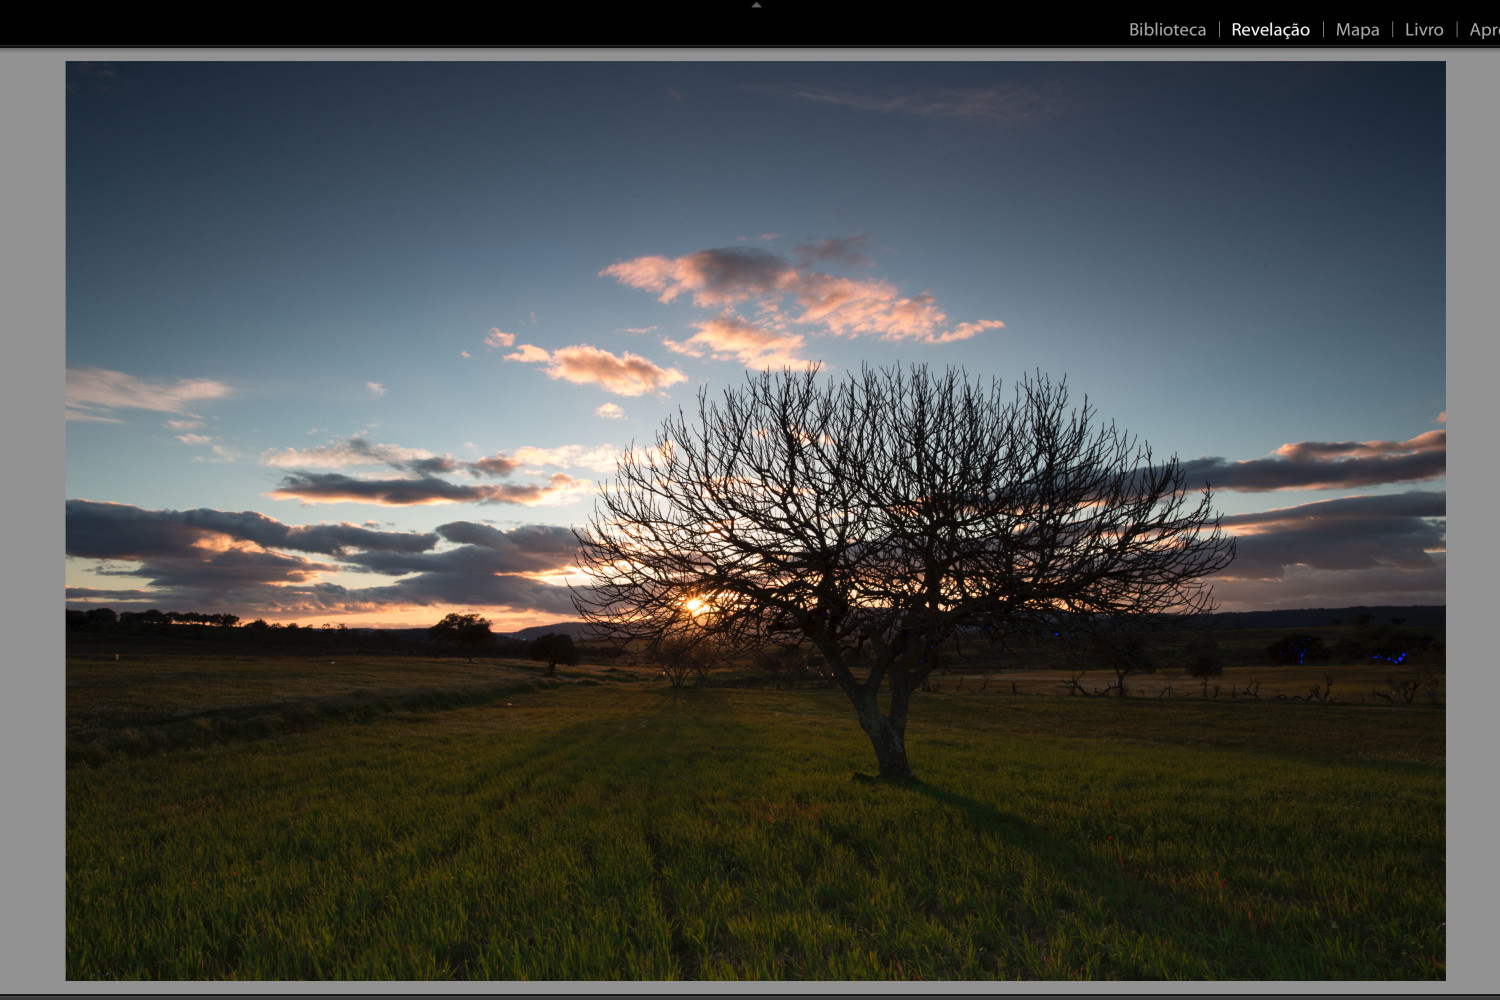
This tutorial could be handy to you in your own landscape photography. This is a step forward for those who read my previous article on the basics of developing your shooting skills. To post-process “Shadowland”, I used Adobe Photoshop Lightroom 5. This will also work on previous or newer versions of the software.
Timing is everything
If you already have a location in mind, the natural step is to find out the day’s forecast, and the times of sunrise and sunset. Specialists say that previsions are only accurate to a maximum of 4 days ahead. Even if I prep my photo field trips more than a week before the shoot, I’m always aware that the forecast of the day can have a dramatic change. I still remain positive and continue on with my shoot, if the location isn’t too far. I also have apps in my phone that can help me get all that accurate information in real time.
Why is it so important to have clouds in your picture? People that aren’t used to landscape photography think that nothing is better than a clear and sunny sky. That isn’t actually very true, because without clouds (65% is optimal), you won’t get the proper drama that we all love to see. I’m not saying it is wrong, but you’ll surely get much more impact with clouds than without it. The only occasion we want clear skies is when you are capturing astrophotography. In this case, a new moon is also the best time of the month to do it.
Another core detail is the moment of the day. Sunrise and sunset ARE the two proper moments. At those particular moments of the day, we achieve longer shadows that create more compelling elements to attract the eye. Plus, the textures gain life from the angle of the light. With a cloudy sky, we can capture amazing colors, and capricious light beams. We never know what Mother Nature has reserved for us, so be aware that in a second, you can capture THAT moment you’ve been waiting for.
So I went 45 minutes before the expected time of sunrise to prepare my framing. I was also alert of the constant light changes that may occur from low cloud formations and wind. And that’s why I chose that particular day and hour to shoot “Shadowland”.
Shooting tips
For me (and almost everybody), shooting a landscape without a tripod is not an option. This is the only that way we can have a perfectly stabilized and leveled camera, avoid crooked horizons, blurriness, and a comfortable working area. I can’t recall shooting a landscape without a tripod. Shooting without the 2-second timer on or a remote control is also a must-have for me. That way, we can prevent a potential camera shake that occurs when you press the shutter. You can also use the mirror lockup to avoid this kind of situation. When you use the usual small apertures to get great depth of field, the shutter speed should be slow. It should be even slower if you use filters. As I explained previously in this tutorial on filters, using filters are a great way to get the best exposure out of a shot.
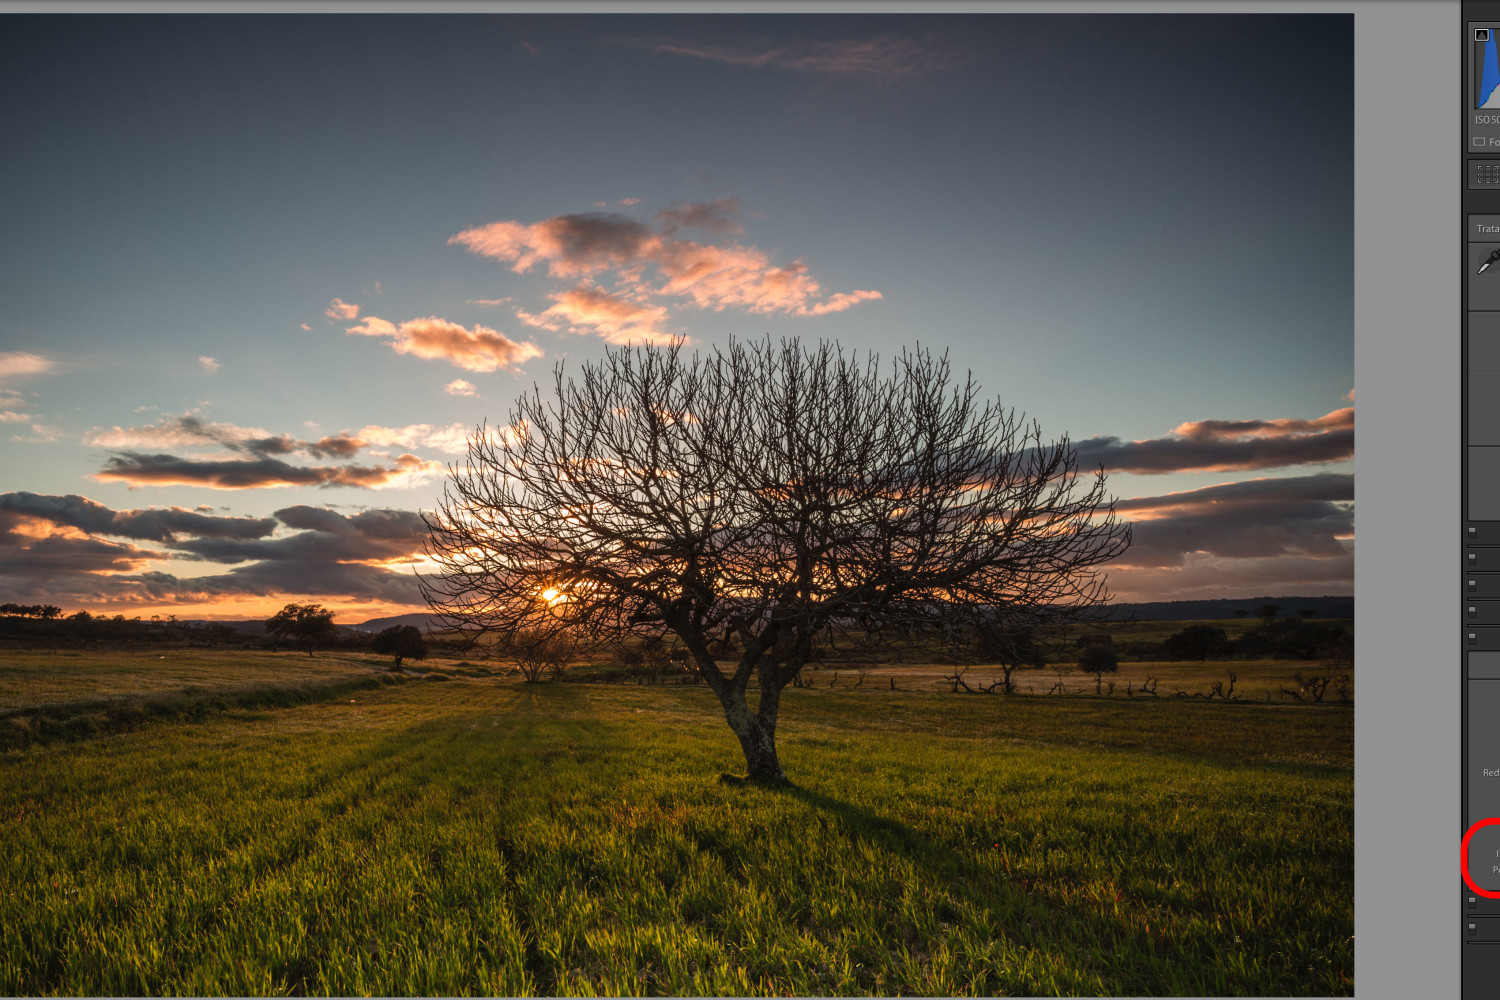
For this image, I used a Canon 6d, at F/16—don’t go above to prevent diffraction. I shot at 25 mm (wide angle) at the lowest possible ISO of 50 to prevent noise, despite the excellent IQ of the full-frame sensor. This way, I could get a shutter speed around 1 second (0,6 in this case) that allowed for the entrance of extra light on the foreground which projected those amazing shadows. This was horizontally-framed on a sturdy tripod with a remote cable attached. On the other hand, I also tried a 0.9 neutral graduated filter with soft transition. Ultimately, I ditched it, and shot for the highlights because I didn’t like the shadow that the dark area of the filter was creating over the tree branches.
Editing workflow
I always shoot in RAW to get the most out of my files, so they can give us more space to work on the digital darkroom. I will not enter on a debate about the pros and cons of editing. In my case, with time, I’ve created a personal workflow suited to capture my vision and style. I usually shoot only one image, preserving the highlights and trusting the nice dynamic range of my camera. If the scene has too much contrast and the filters don’t deliver the correct overall exposure, I use bracketing and blend it in post-processing.
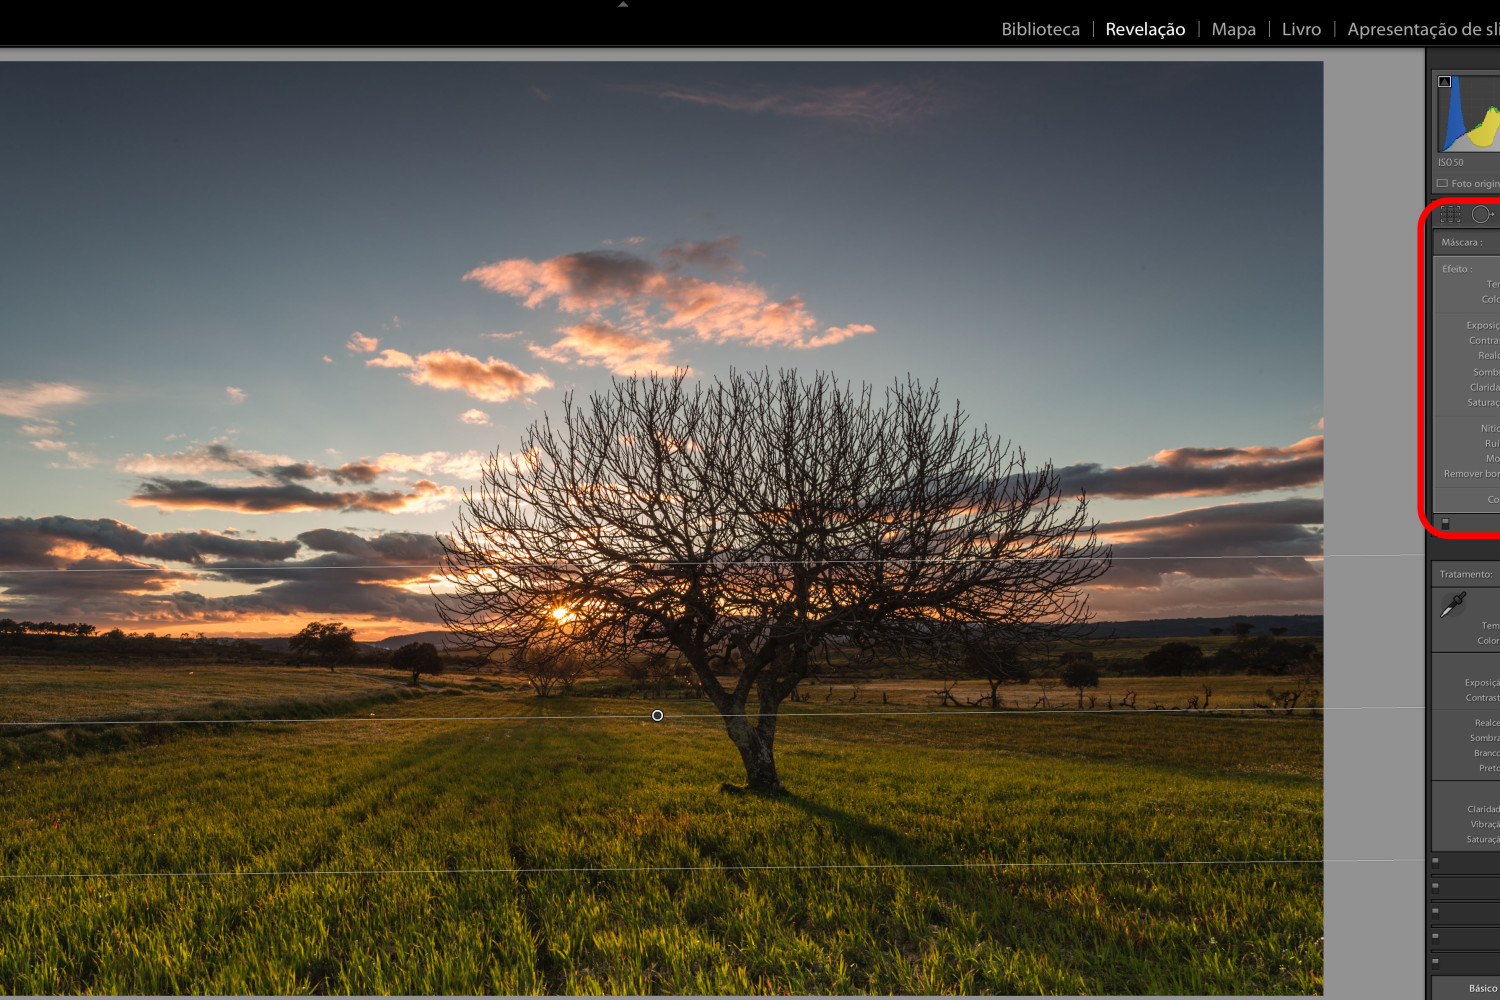
“Shadowland” was edited using one of the workflows I created with time. First, I adjusted the white balance to add warmth to the scene, so it looked more like what I saw in reality. Then, I closed the highlights and opened the shadows. Doing this allowed me to retrieved more information on my underexposed image, which I did on purpose, because it’s safe to do on some level on my full-frame camera without losing detail or gaining noise.
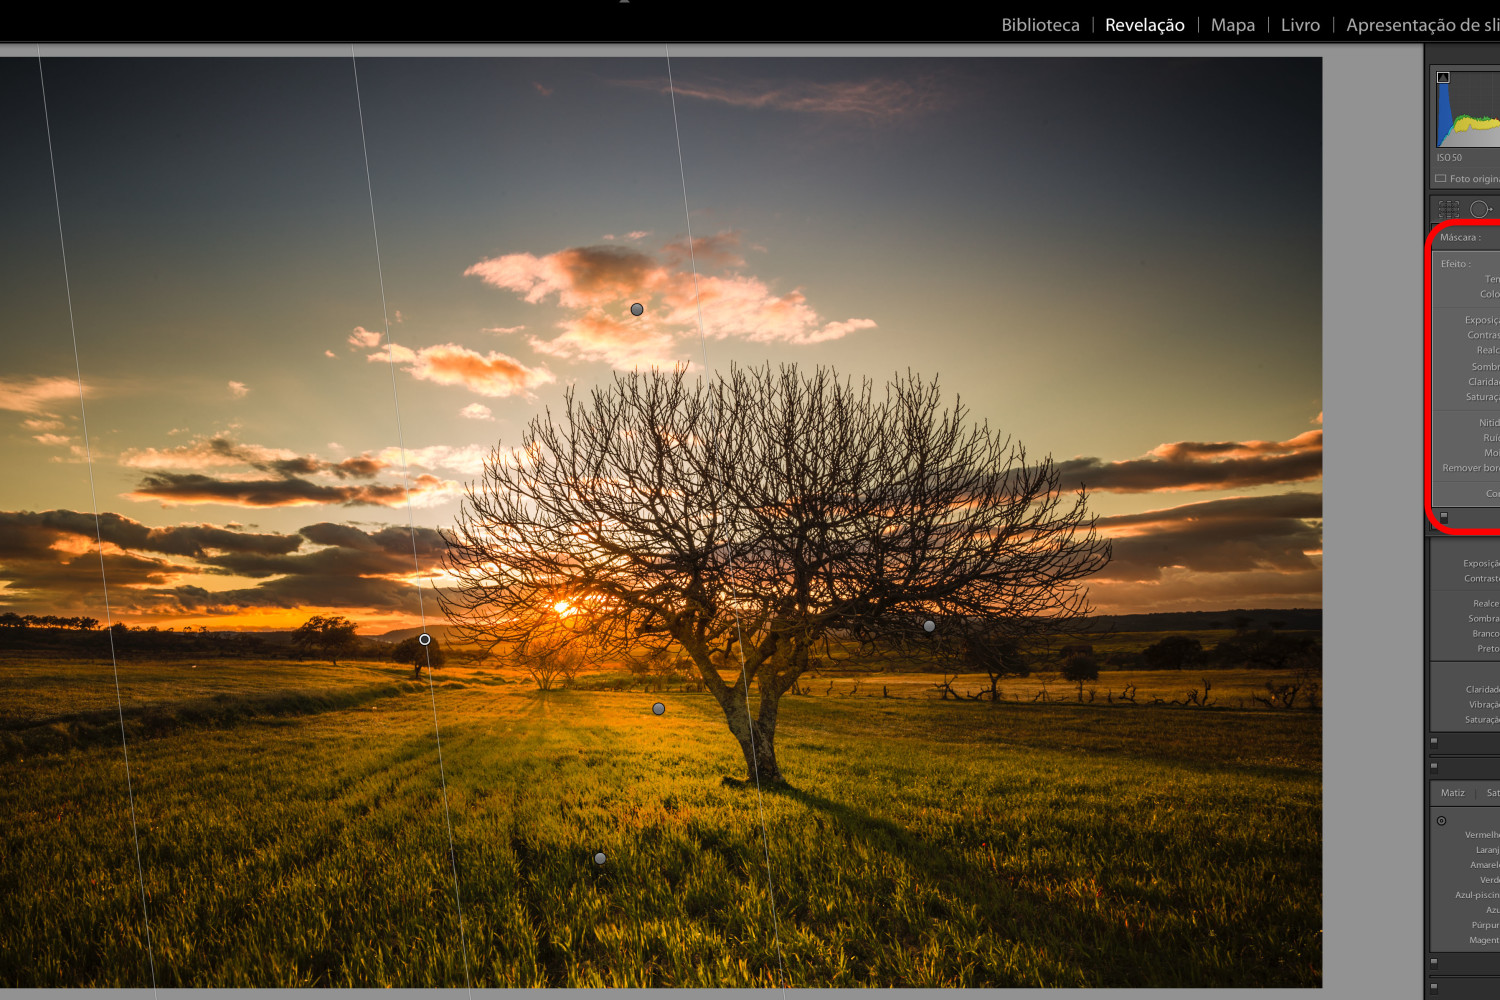
The next step is to adjust the whites and blacks. By holding Alt (Option on PC) and dragging the sliders, you’ll see areas where whites or blacks are clipped. When you reach a white point, you should decrease the whites because you’ll risk “blowing” it out. Also, when you don’t have any more blacks clipping, it’s time to stop raising the black slider.
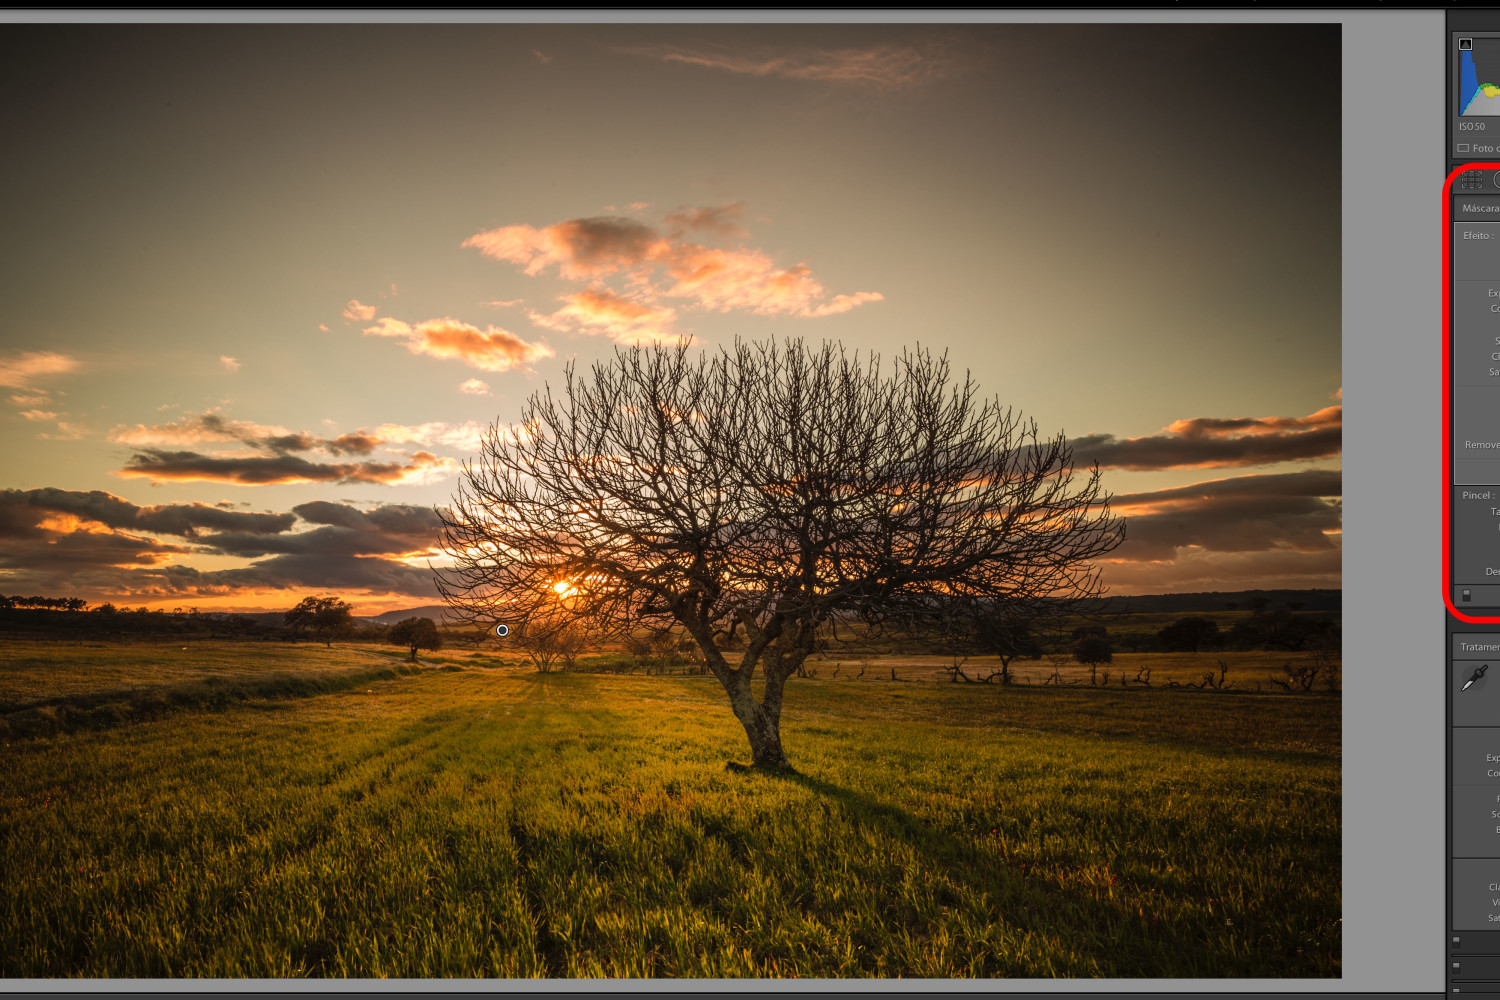
On the presence options, I raised the clarity by 26. This way, I increased the contrast to the mid-tones, which revealed some extra texture and detail that I needed on the lit area of the tree’s shadow. Then, I raised the Contrast slider to +30, which gives an overall boost to the tones. I only use it with this kind of image. The vibration was increased by 10; that way, it added some extra color, without overdoing other areas of the picture by making it too saturated.
The next step was adding a vignette. I used a vignette to move the viewer’s eye. Here, I wanted the viewer to look at the main subject of the scene, the sunset light, the tree, and the profound shadows. All of these subjects initially caught my eye when I was shooting at that spot. To accentuate the mood and feel, I also used a radial filter.
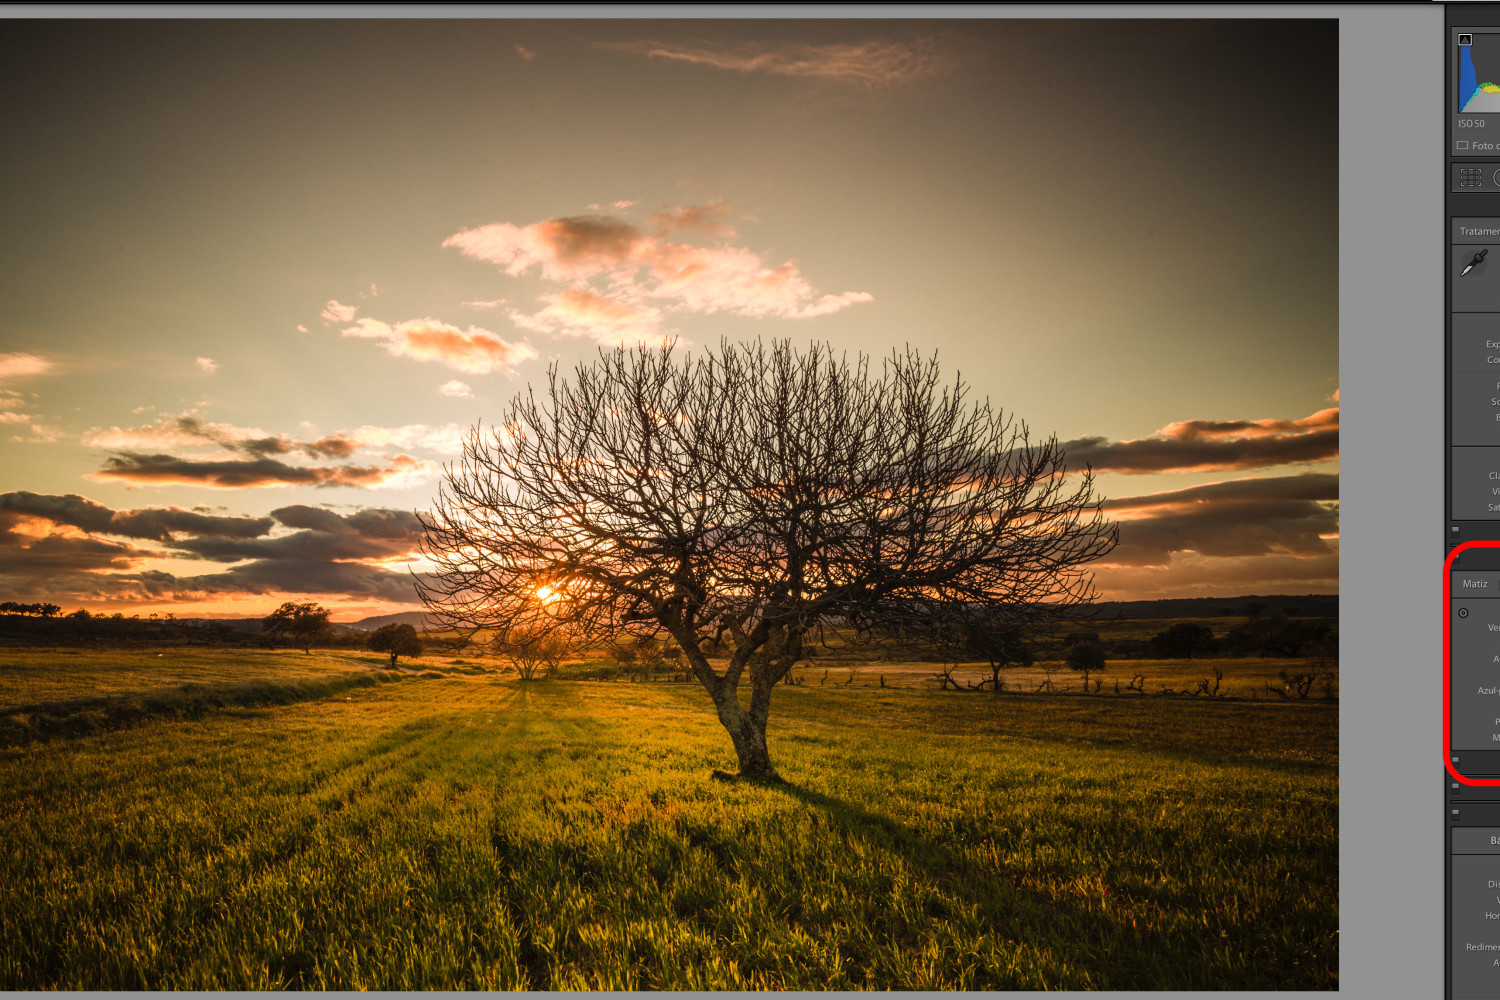
Another important group of adjustments can be found on the HSL panel. Luminance of the red, orange, and yellow were increased on this image. I did this to create an impact to the central area of the scene.
A graduated filter was applied to the top portion of the sky. I wanted to devolve the bluish color it had on location. I also darkened a little more of the negative space around the tree to accentuate the scene.
On the Basic panel, I choose to check the lens correction profile and removed any cremation, because they worked very well in this particular scene.
Before and After
And that’s it! Browse through some of my other memorable shots on 500px:


Leave a reply