Pedro Quintela is a history teacher, talented photographer, and one of the most motivational people on 500px. His latest piece for ISO, published below, is a simple beginner’s guide to lens filters, meant to get you started if you’ve never touched one before.
For more about or from Pedro, follow him on 500px, check him out on Facebook, or license his images through the 500px Marketplace.

Some of the most common questions I receive are about the use of filters… which is good! Before buying them there are some questions that should be answered. So here are some thoughts based on my personal experience using this kind of gear in a simple way.
Why do I need to use filters?
With the current digital tools, techniques, and the dynamic range available on many cameras, it’s not mandatory to have filters—at least for some situations when you can get, for instance, a lot of information from the shadows in a RAW file.
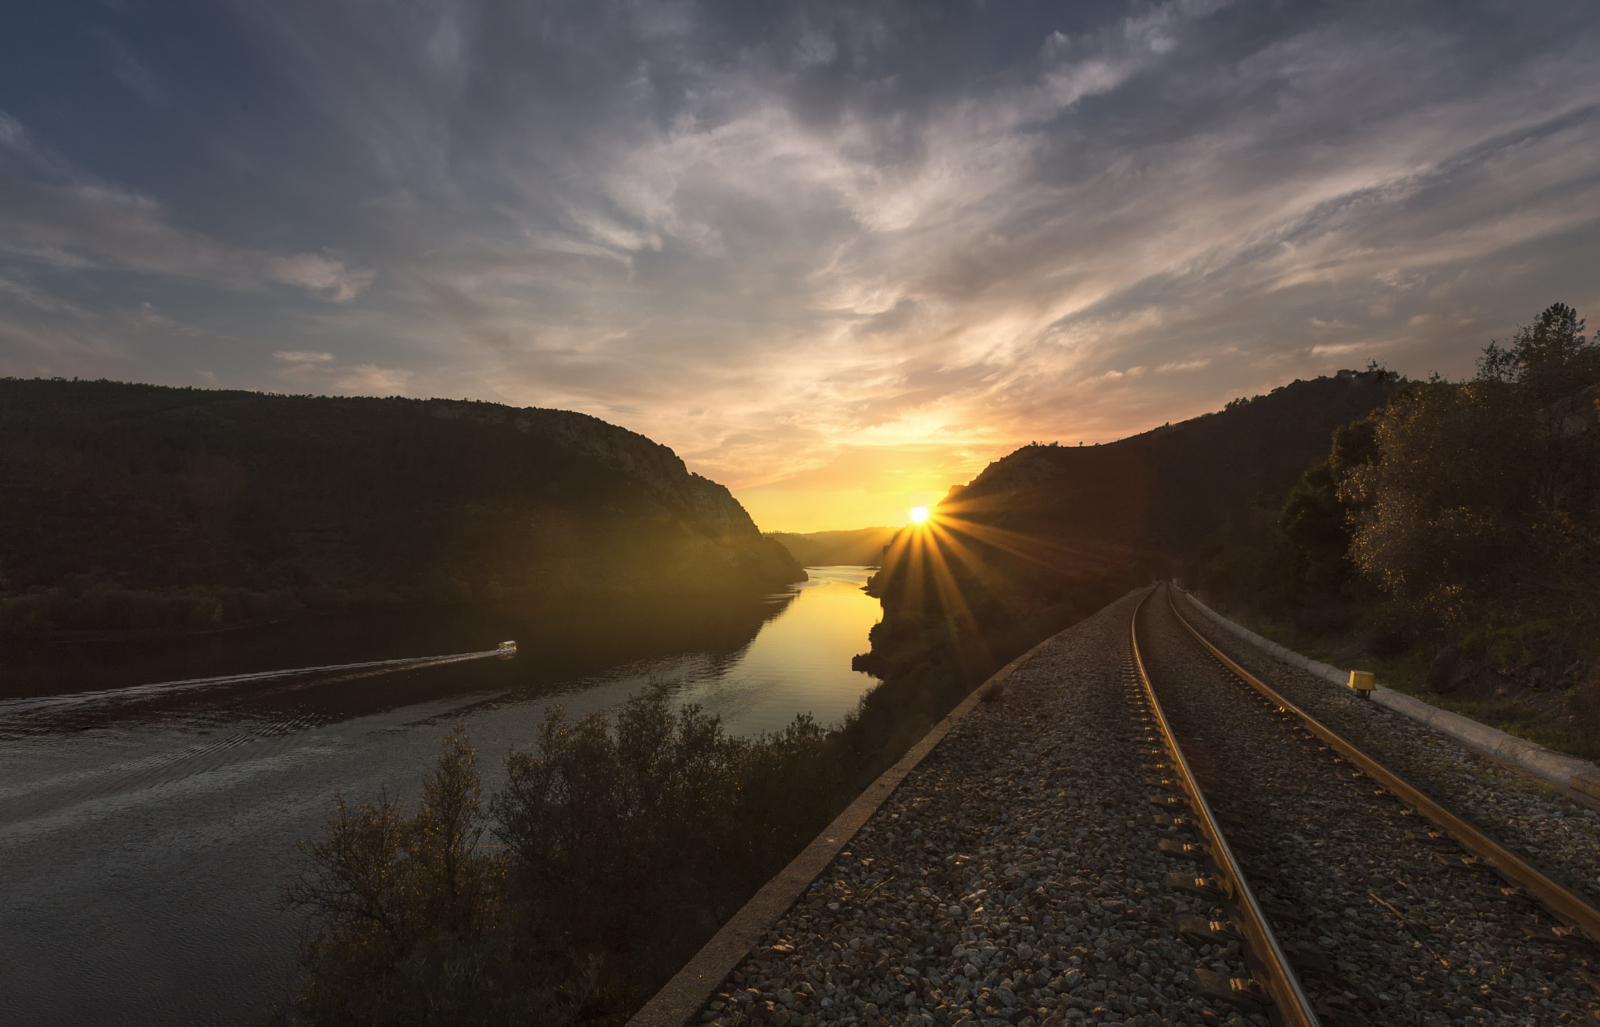
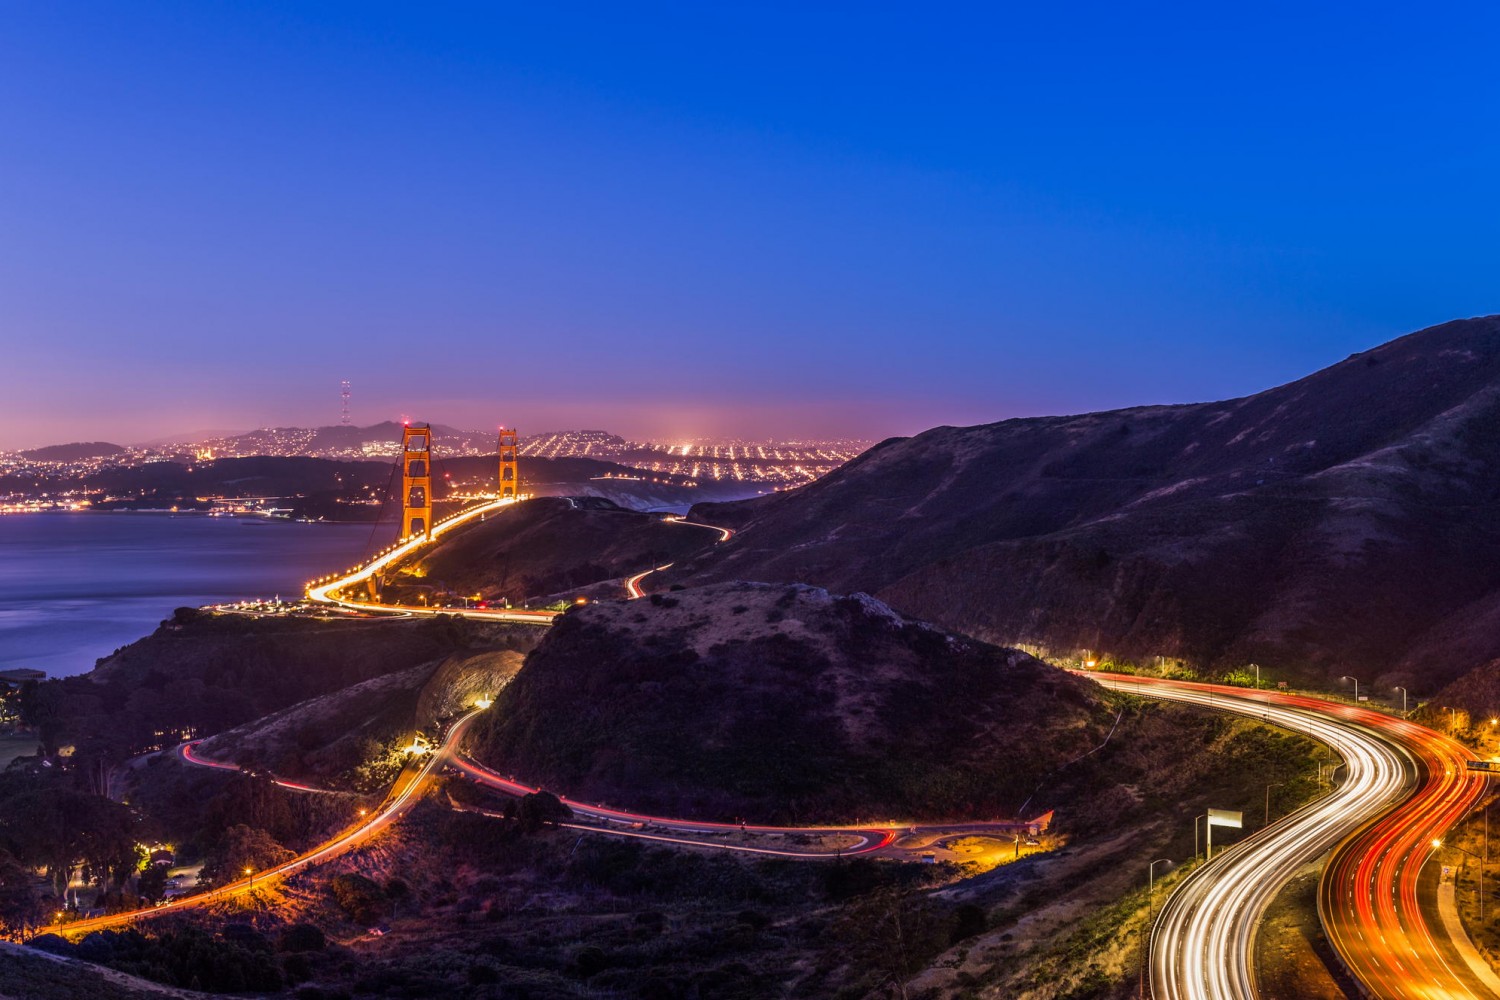
Nevertheless, if you want to take long exposures, capturing, for example, those silky smooth waterfalls or rivers/streams, it is much better to do it with the proper filter on-location. This way, you have much more control both during the shooting and after since the result you’re after is already on your file.
Sure, you can fake it somewhat, but you can’t avoid decreasing the shutter speed if you need more exposure time.

You must see your camera sensor as your own eyes. When there’s too much sunlight you usually need sunglasses; or when you’re doing something dangerous, you use protective goggles, right? Well, it’s the same principle with a camera.
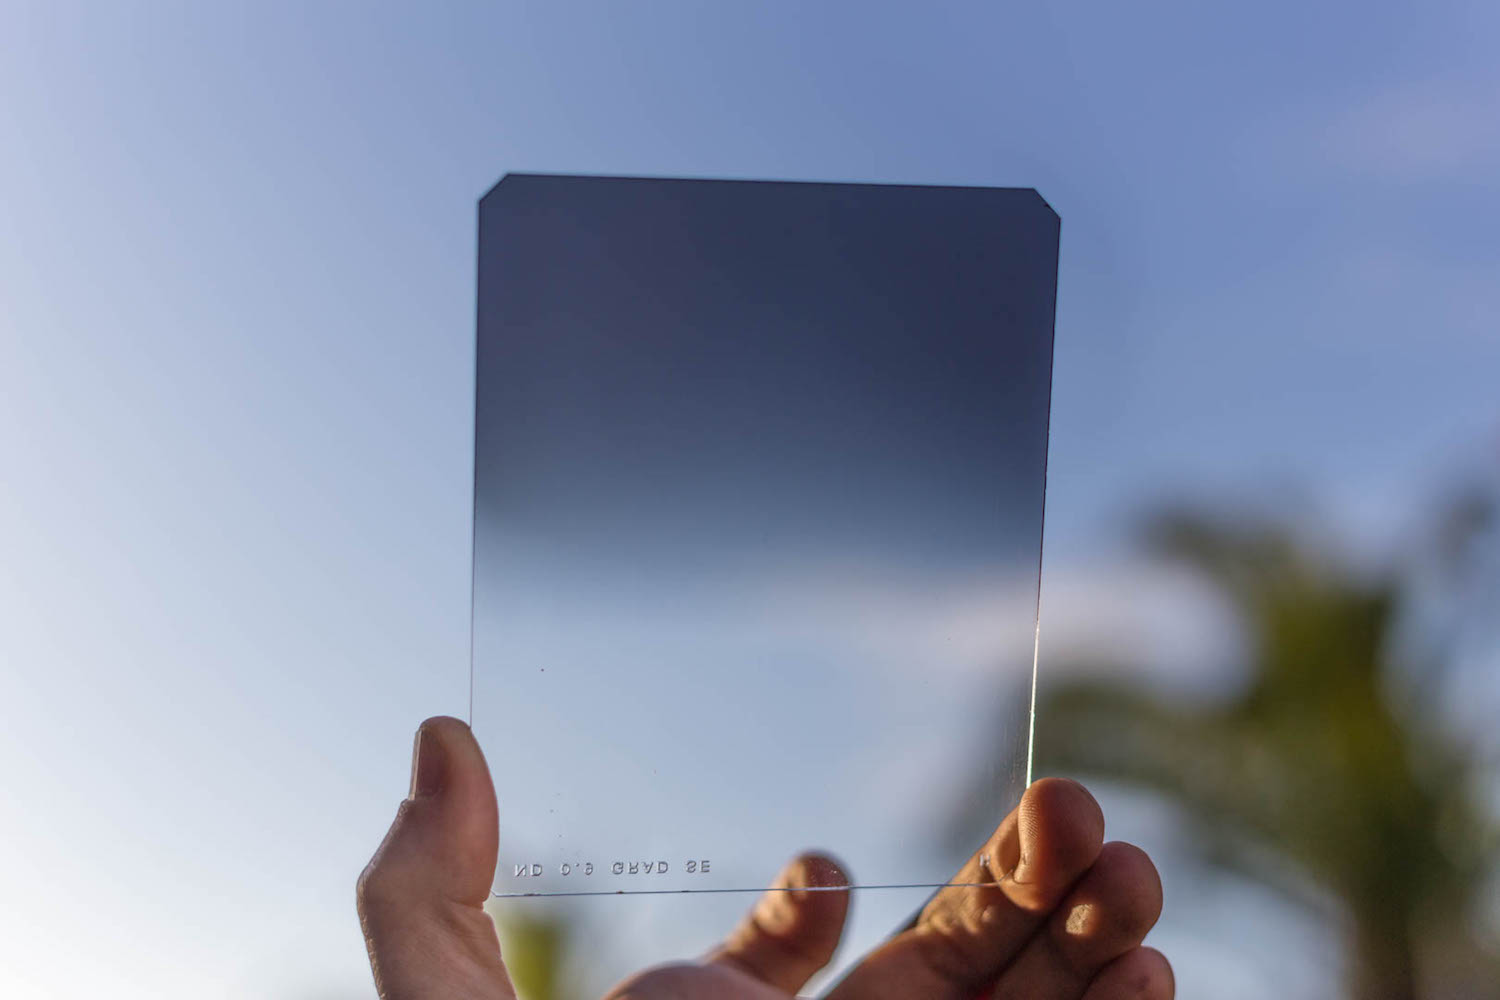
When you’re shooting landscapes during the day, you may have a hard time getting the right exposure because there’s a big dynamic range difference between the sky and the foreground. A graduated filter is the perfect tool to help you take that high contrast scene and make it more balanced.
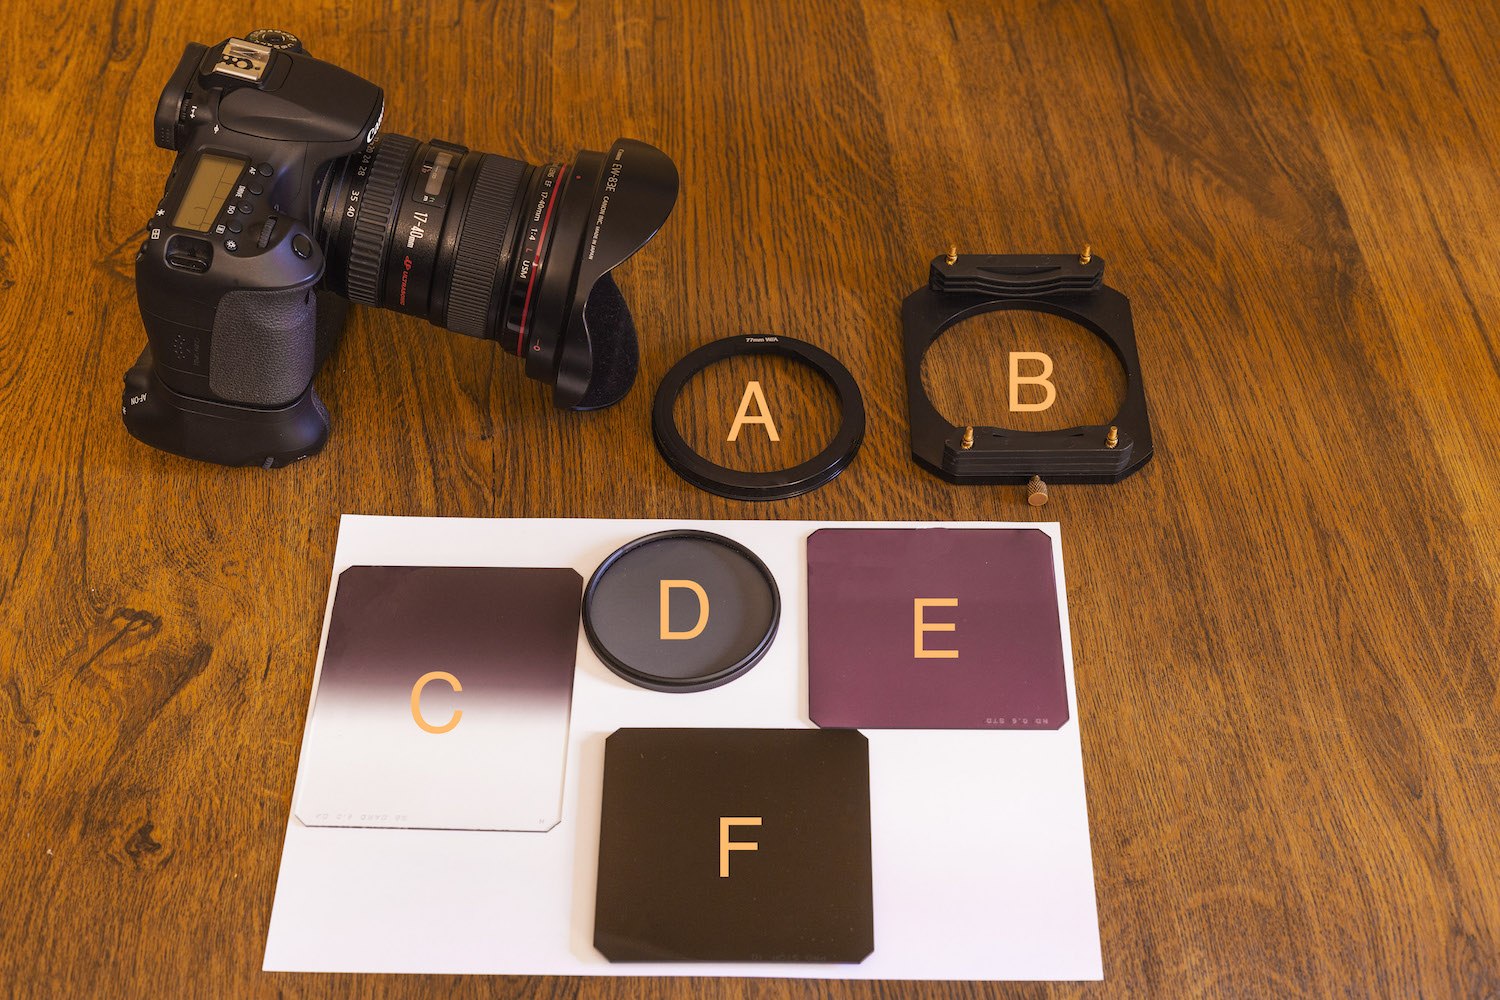
A – Adapter Ring
B – Filter Holster
C – Graduated Neutral Density Filter
D – Circular Polarizer
E – Neutral Density Filter
F – 10 Stop Neutral Density Filter
What kinds of filters exist?
There are 9 kinds of filters: UV, Polarizing, Neutral Density, Graduated Neutral Density, Reverse Graduated, Color, Close Up, and Effects filters. Each category has a very proper reason for existing, and a specific use. They are made of glass (expensive ones), resin, polycarbonate, and polyester.
UV or Haze filters are meant to protect your lens from scratching, dust, and moisture. They are made of clear glass, and many photographers use them as an always-on attachment to protect their lenses.
I personally never use them because I always have my hood on and they are often impractical (you need to remove them to install other filters). Additionally, my lenses are weather sealed, and in my personal experience they degrade the image quality and create some flairs.
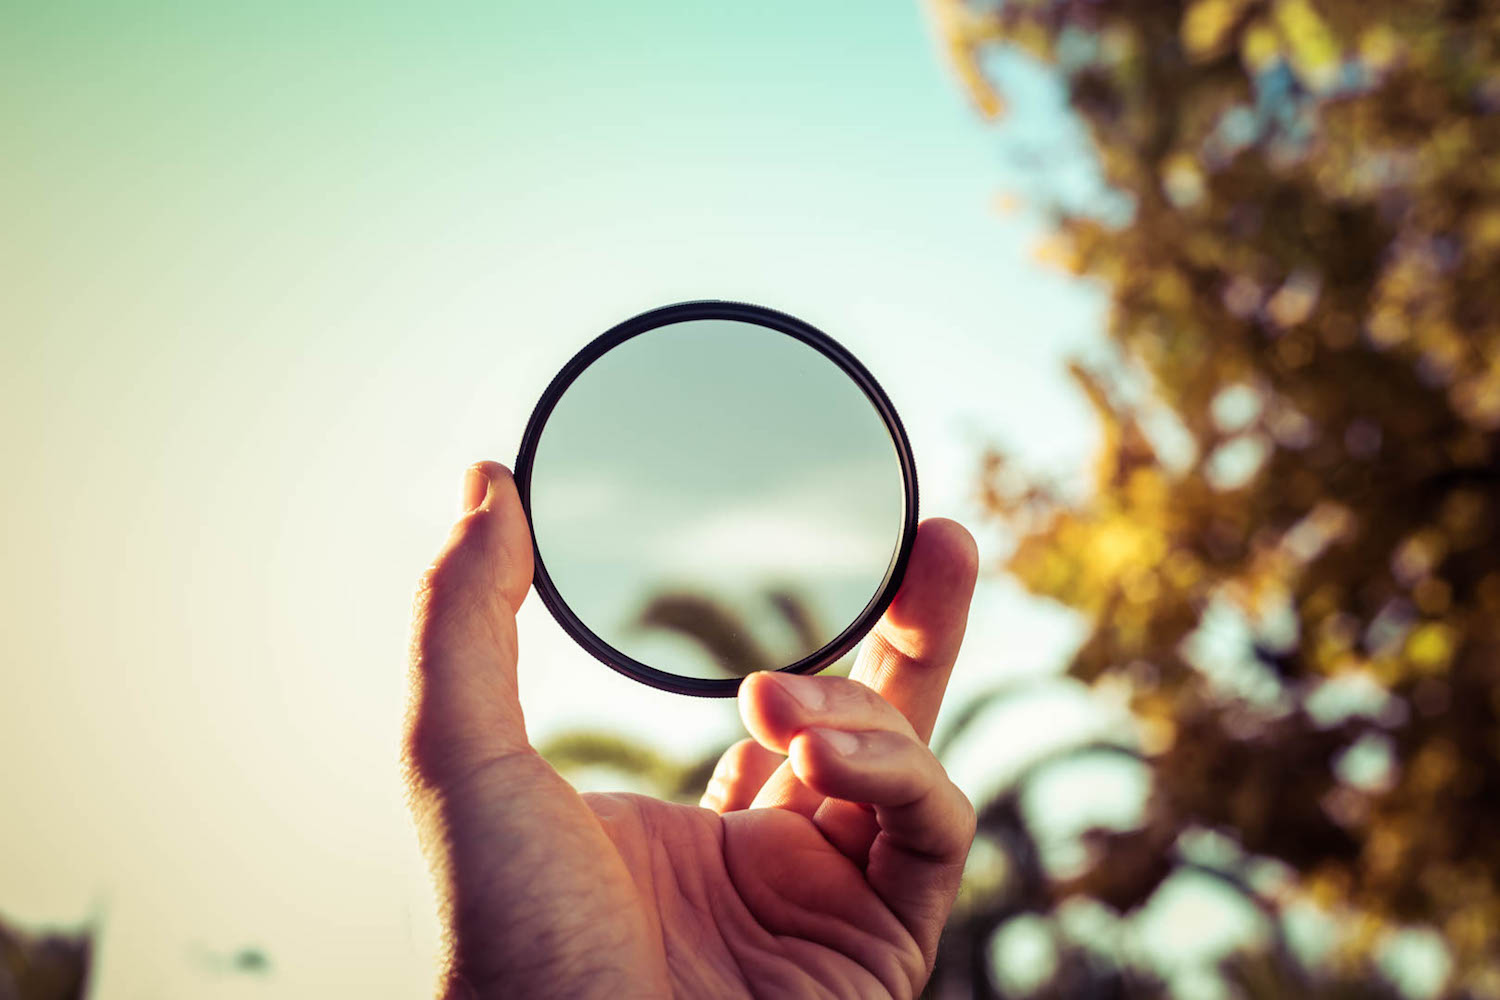
Circular Polarizing filters are used to get more contrasty or saturated images and reduce the amount of glare or reflections. The ordinary situation is capturing a sky that becomes bluer with more contrasty clouds when you rotate the filter to the most pronounced polarizing effect.
Here it is necessary that the lens be pointed away from the sun at a 90º angle, and you should avoid using these with very wide angle lens. Otherwise, you’ll get an area of the sky with a darker band or a vignette if the borders of the filter are thick.
Using a Circular Polarizer, you lose about two stops of light.
My most-used filters are the ND (aka. Neutral Density).
This family of filtering devices reduce, on an enormous scale if you’d like, the amount of light entering your camera, making it possible to shoot at extremely slow shutter speeds and dramatically increase exposure time.
This allows you to capture those silky smooth waterfalls, flatten the sea, or shoot a great sky full of drag clouds during the day when long exposures are usually not possible without blowing out the image.

Close cousins with the standard ND filter is the Graduated Neutral Density filter (ND Grad or GND).
Usually squared-shaped, they are divided in two areas: one dark and another clear. They are a life saver when you have a very bright sky but a darker foreground. By metering the differences between both areas, you can compensate a difference of several stops with the proper filter stop, capturing an overall image that is very balanced and contrasted.
There are two kinds of transitions available on a GND—hard and soft.
The first one is useful to a scene like a sunset on a sea shore, when you a have a clear transition between the foreground and the background, with a clear horizon line; however, if you are dealing with a non-flat horizon line, the soft edge is a must have because the separation from the dark to light areas of the filter are much smoother.

Finally, there’s also a newer family of ND filters that I have only used on a few occasions because they were borrowed from a friend—the Reverse GNDs.
They are darker in the middle of the filter and lighter at the borders, allowing you to better expose sunrise or sunset scenes than with the usual GND. This is because the sun area is much brighter then the rest of the frame, making it very hard to get the proper exposure.
Color filters were used mostly during the film era to correct for or create a certain White Balance. Nowadays, thanks to RAW formats, we can dictate our own personal WB with ease.
“Close up” filters are a way to get into macro shooting without a dedicated lens. They decrease the focus distance at the cost of image quality.
Finally, the last group is the Effects filters (star, bokeh, glow) that lost most of its importance since we can now easily create these effects in post.
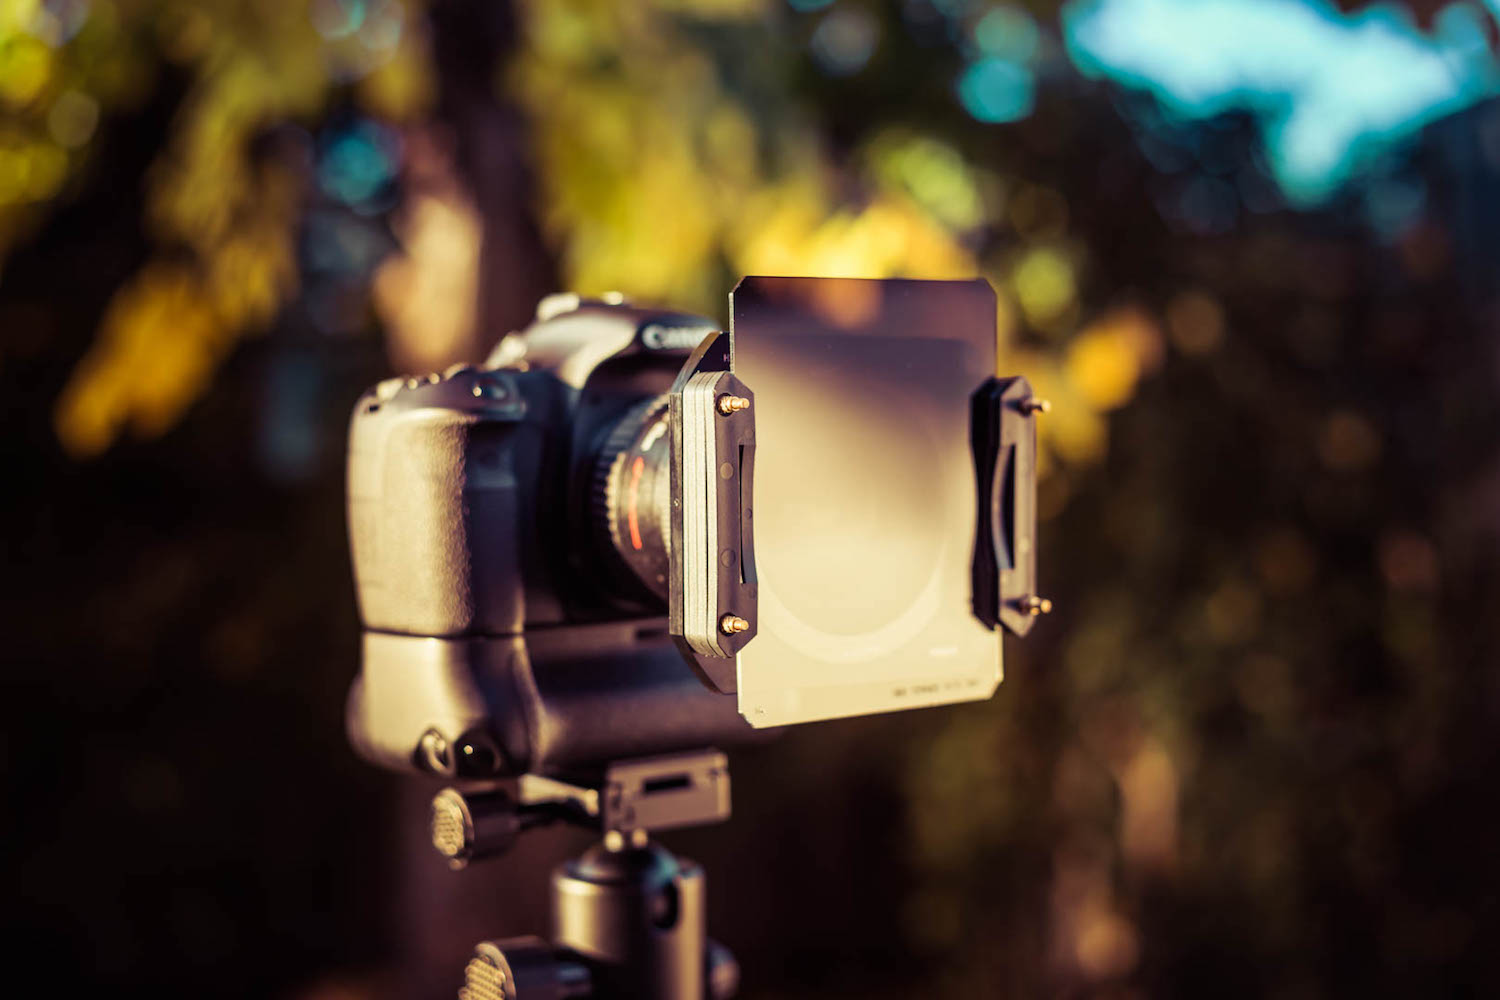
How do I use them?
I personally use a very practical square filter holder system. You can stack up to 3 different filters, combining an ND with a GND if needed. For each diameter lens you use, you have a proper ring that’s attached to the holder.
Here, my biggest advice is simply to invest in a good brand. For many of us, the first kit we want to buy is a cheap one, but that’s a waste of time—you’ll degrade your image quality and usually add a strong cast. This can be correct in post-processing, but it’s yet another thing that you should get right in-camera for quicker or better final results.

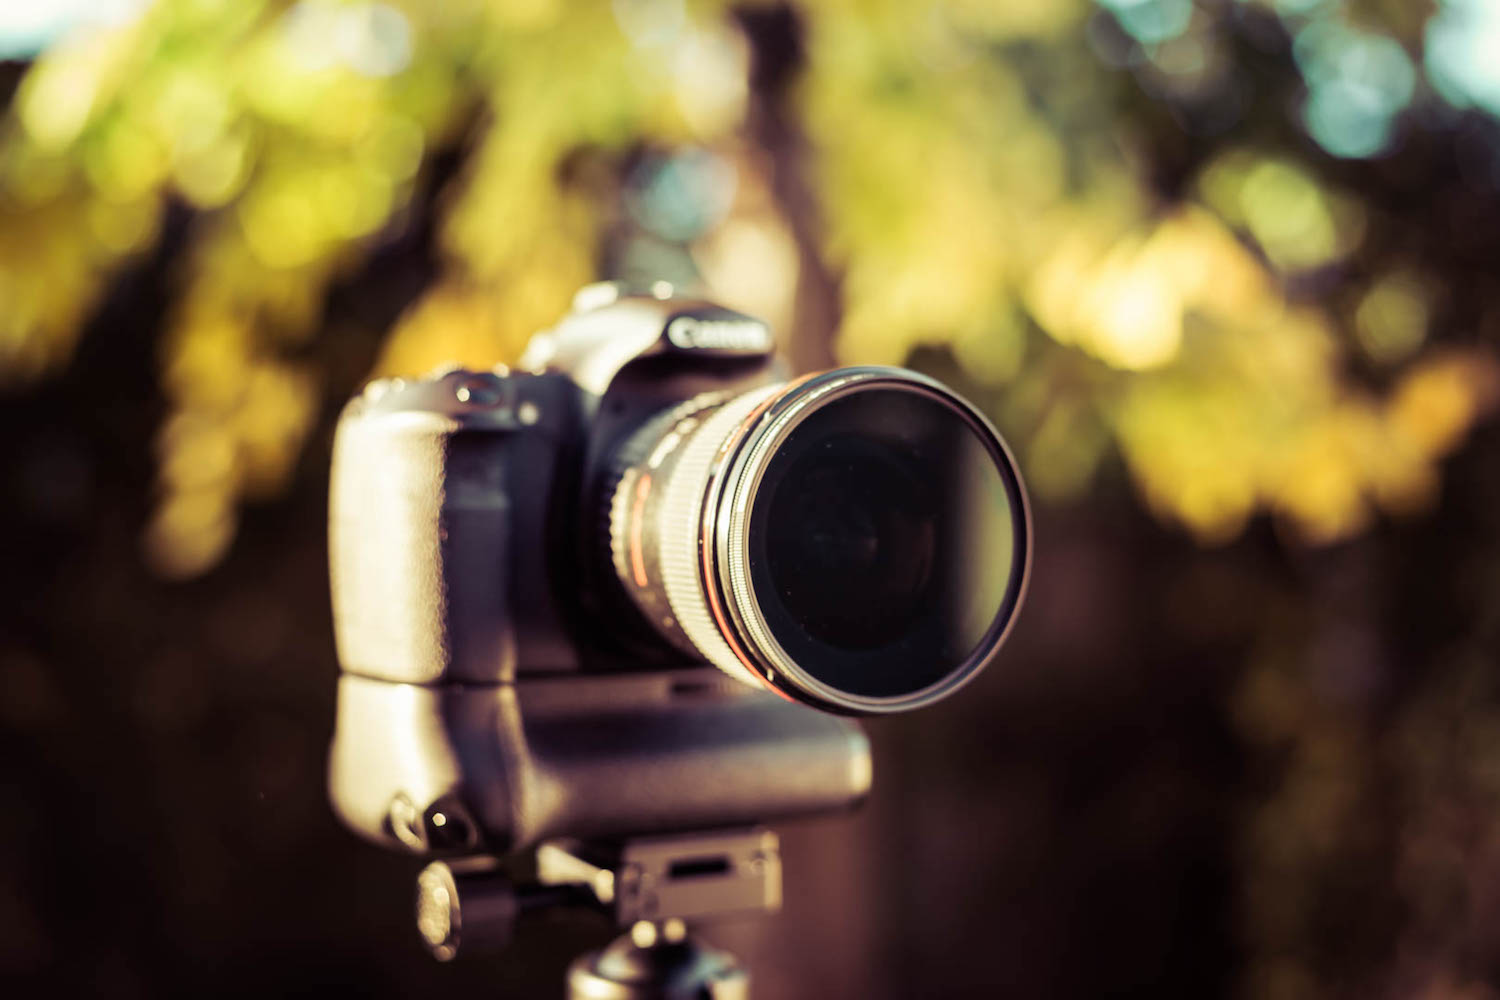
In a very general way, because the final image depends on what you have in mind, my advice is to use the system in a sturdy tripod.
Although it’s always convenient to do that way because you´ll get sharper images, get a 100% leveled horizon, and it’ll be easier to stack or change filters.
Try to shoot in manual mode, capture RAW files, and at ISO 100 (or lower). You can also increase your exposure time even further and capture a deeper depth of field by using small apertures.

The filters you use will depend on the number of stops you need to decrease the light to the optimum histogram of your image (or the effect you’re after, if that’s the type of filter you’re using).
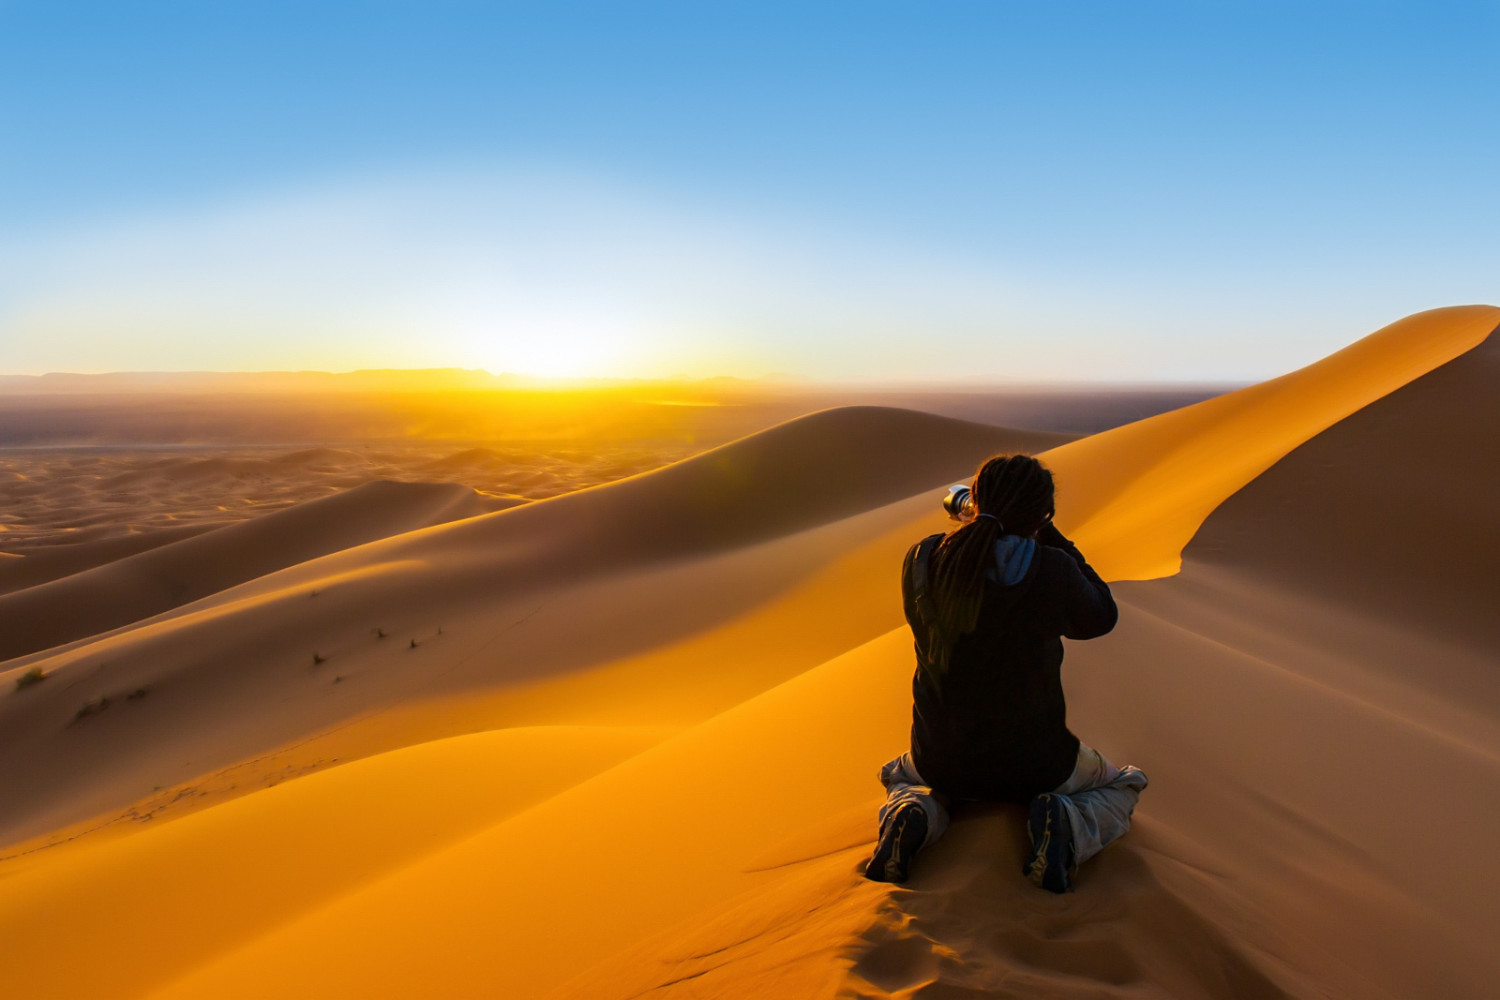
For a sunset, for example, I use a small aperture, take a reading of the sky and another of the foreground. The difference between them will be the number of stops that my GND will have in the darkest portion of the filter.
To shoot a waterfall, you’ll have to use an ND filter, and the strength of it will be determined by the shutter speed you need to make that silky water. Usually you’ll want 1 second or more.


Leave a reply