Practical Photography is the world’s best magazine for photographers who want to improve their camera skills. Whether you’re an absolute beginner, seasoned enthusiast or budding pro, you’ll find all the skills, techniques and ideas you need to take your passion to the next level. Subscribe at greatmagazines.co.uk/pp
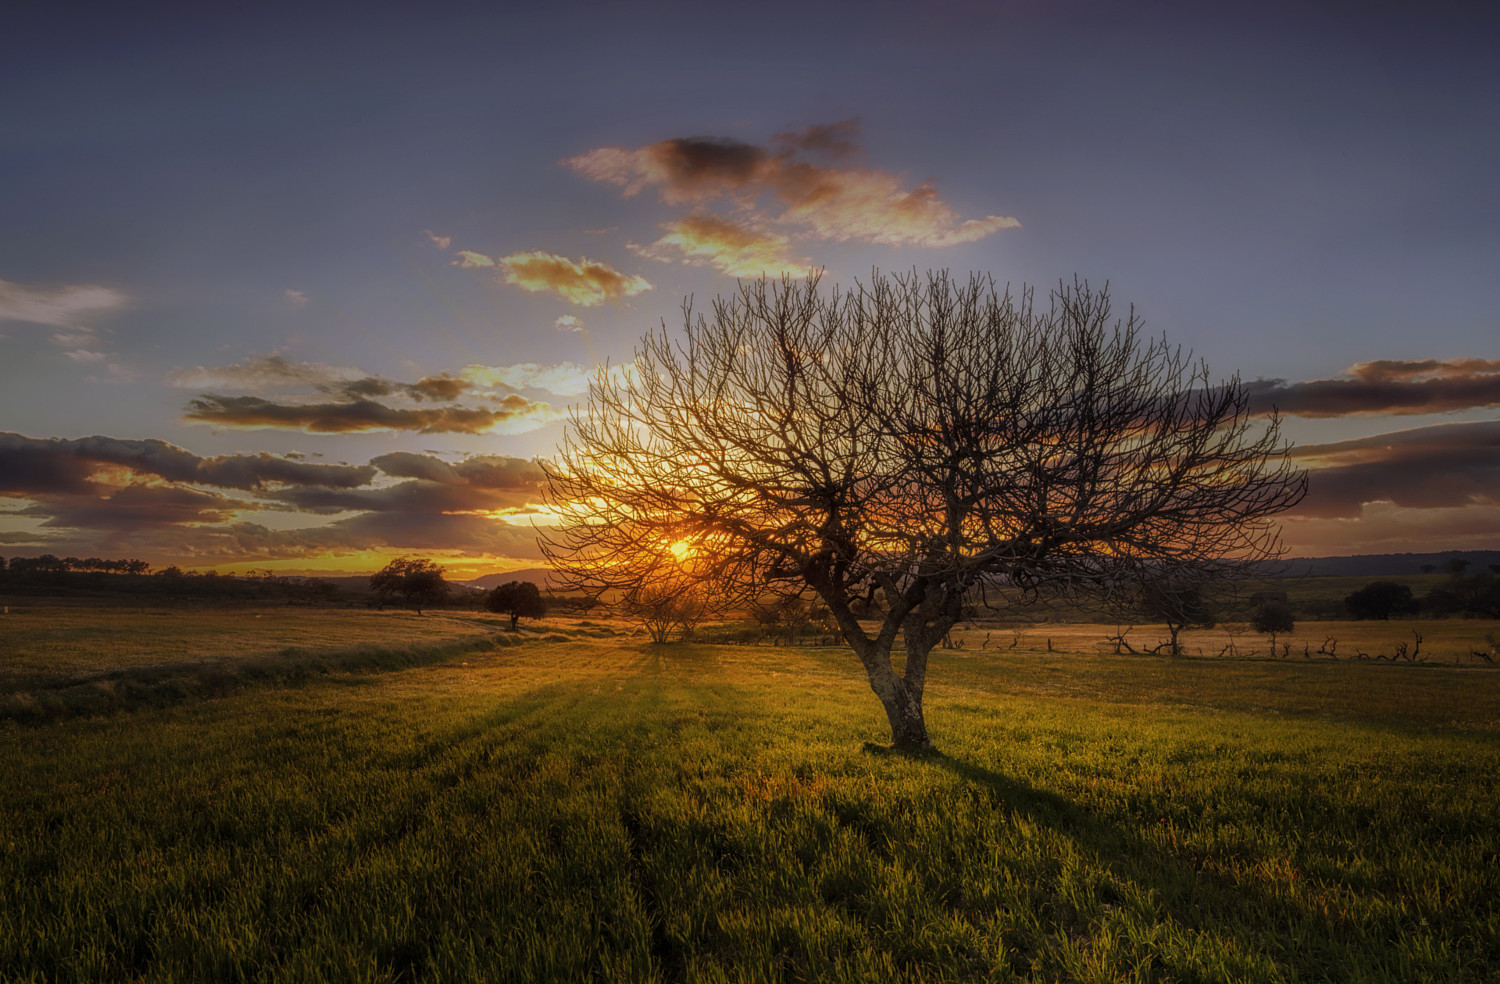
Landscape photography often aims to capture the highest level of detail. In this Photoshop tutorial, Practical Photography magazine shows you how to subtly alter this detail for even more dramatic results.
Photography is full of contradictions in both its technical and creative disciplines, which can be confusing at times. At the creative end of the spectrum, these contradictions within techniques can generate the most interesting results. And the Orton effect is one such example. Coming to life in the days of film, this is an enduring effect that has gained new life in the digital world of photography.
The Orton effect was created by American photographer Michael Orton. His original technique used two transparencies, one that was overexposed and sharp, and a second that was underexposed and slightly out of focus, to make a print. The result was a sharp image containing detail, combined with a painterly element of blur in the scene.
Creating the effect in Photoshop is much easier because it can be applied to any image using just one exposure. By taking advantage of Layers, Filters and blending modes we can replicate the original process with a greater degree of control over how the effect appears.
For landscape photography this means you can give your images a distinctive polish, where the effect you’ve used won’t be immediately, if at all obvious. Fine details are accentuated and take on an interesting appearance. It sounds impossible, but this really is an incredible technique…
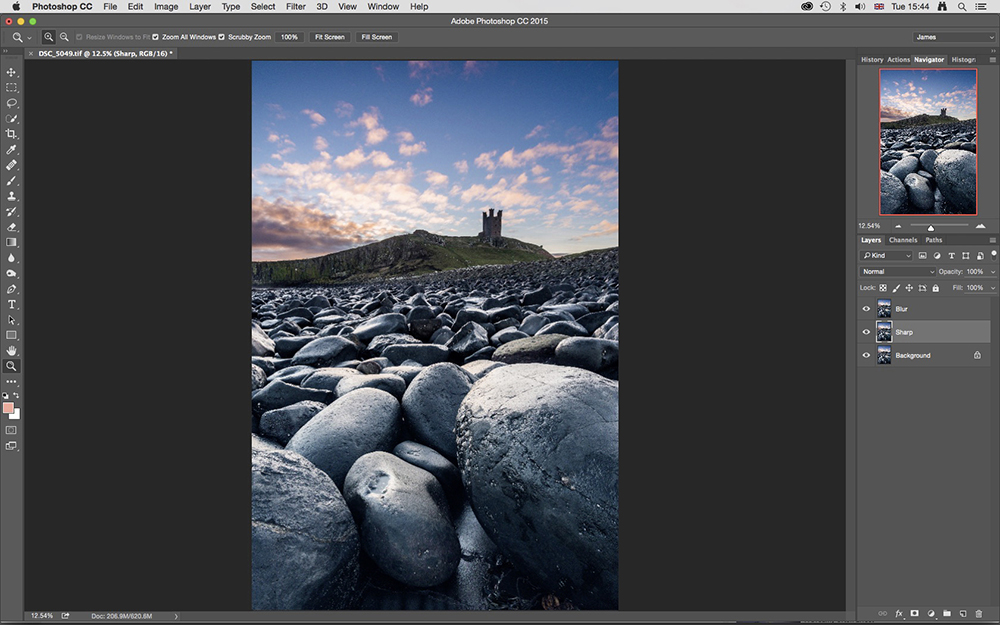
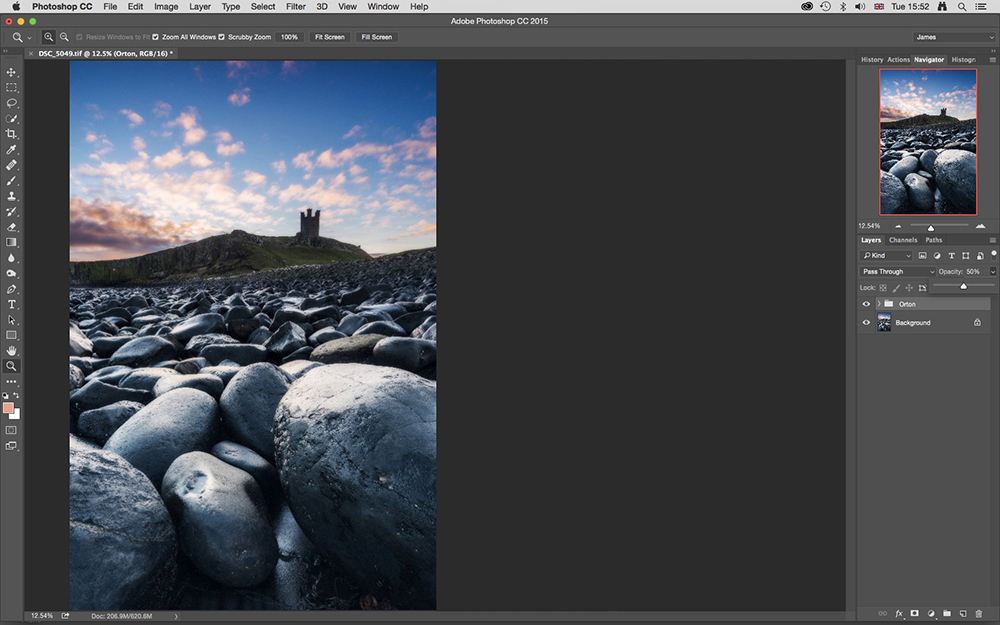
1. Duplicate the Background Layer
Open your image in Photoshop and press Ctrl+J twice to make two copies of the Background Layer. Double-click on the name of the top Layer and rename it Blur. Next double-click on the middle Layer and rename it Sharp. Now click on the Blur Layer once to make it active. Renaming the Layers helps avoid confusion during processing, and also if you maintain the Layers by saving the image as a TIFF or PSD.
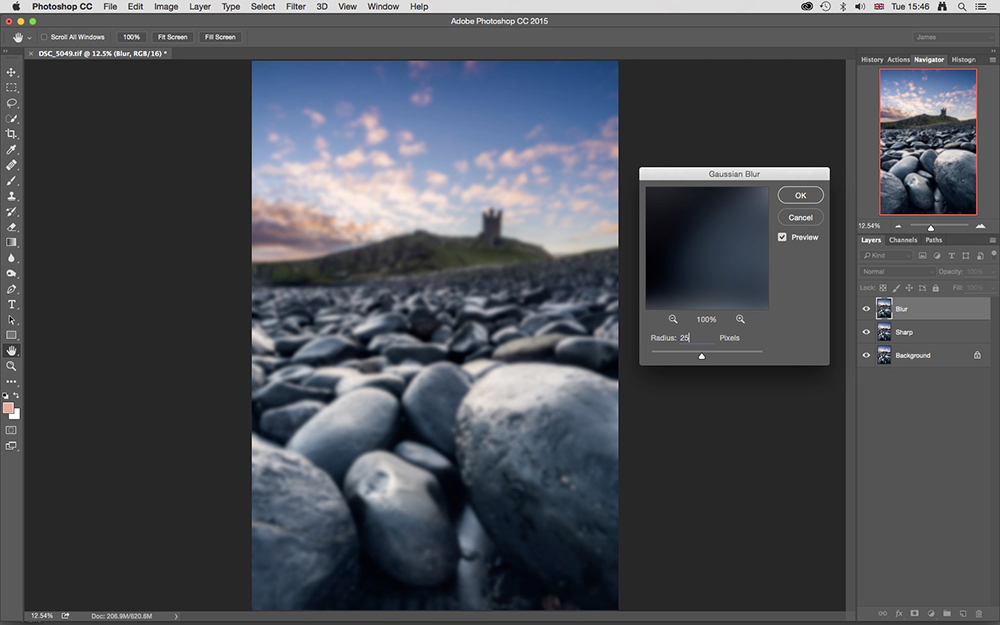
2. Add Gaussian Blur
With the Blur Layer active from the last step, go to the main Photoshop menu and click on Filter>Blur>Gaussian Blur. When the dialogue box opens set Radius to between 15-25 Pixels. If you have a camera that’s around 20MP, select 15 Pixels. But if you shot with a camera with a much higher resolution you’ll need to use a higher setting of 20-25 Pixels. Experiment to see what works best.
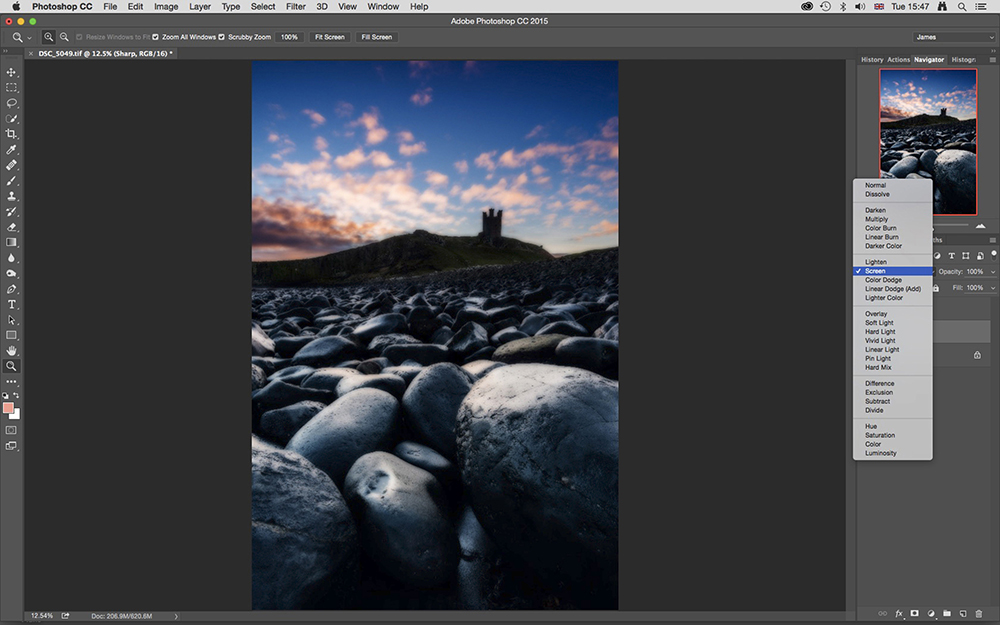
3. Change Layer blending modes
You now need to add a degree of transparency to the two
Layers you created, so with the Blur Layer still active click on the drop-down menu at the top of the Layers panel that’s set to Normal by default. Select Multiply from the list of options. Next click on the Sharp Layer and change the blending mode from Normal to Screen. When you’ve done this click on the Blur Layer again so it’s active.
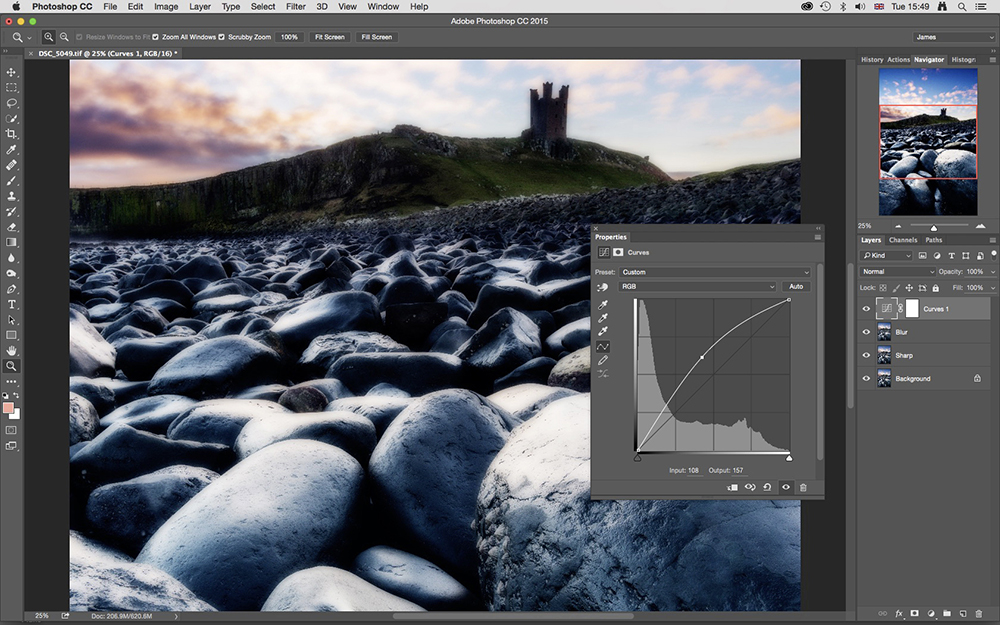
4. Adjust image brightness
Click on the Create new fill or adjustment layer icon at the bottom of the Layers panel. It’s the half-black/half-white circle. Select Curves from the list of options. Left-click your mouse on the centre of the curve and drag it up and to the left until the image looks roughly as bright as it did when it was first opened. When the image looks as bright as it needs to, close the Curves dialogue box.
5. Group Layers and control Opacity
The Curves Layer will now be active at the top of the stack. Hold down the Shift key on the keyboard and left-click on the Sharp Layer. Next press Ctrl+G to group the three Layers. You can double-click the Group name and rename it if you wish. To finish off, go to the Opacity slider at the top right of the Layers panel and reduce Opacity until you’re happy with the overall effect.
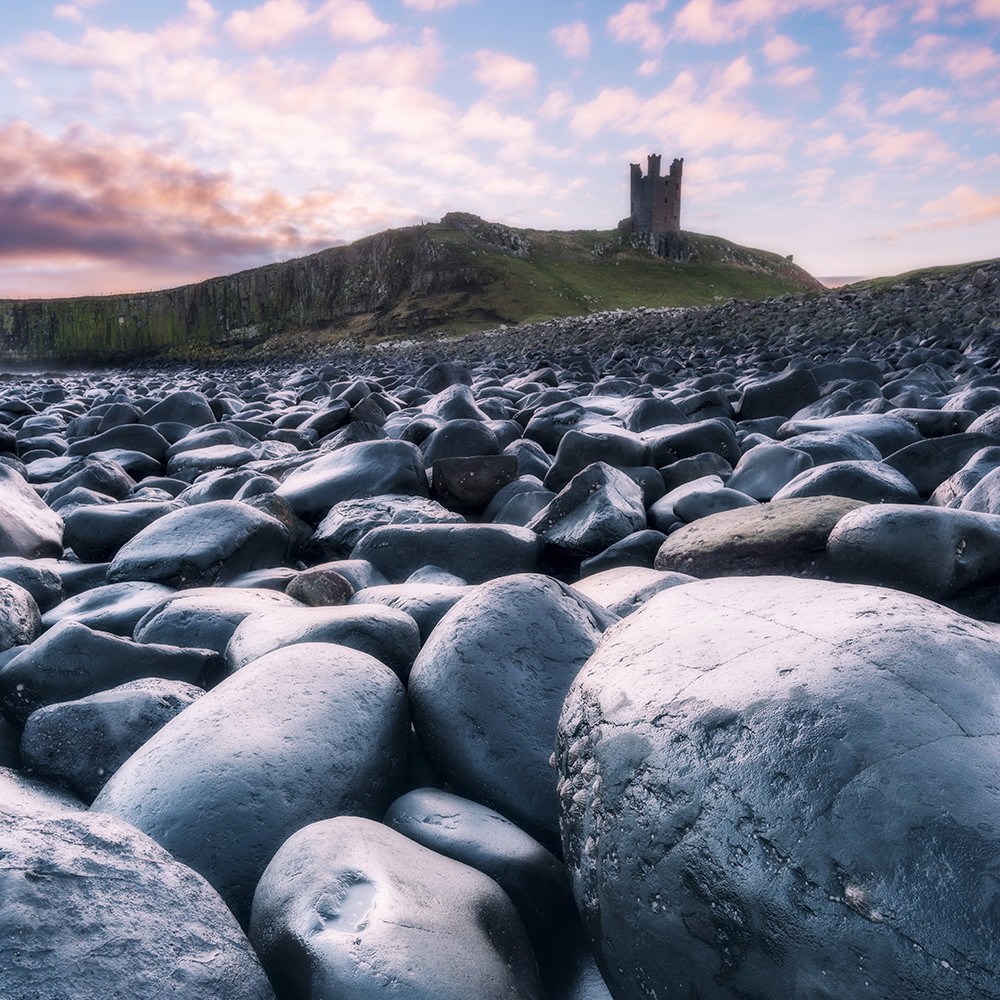
And that’s it! Here’s the before and after:
[twentytwenty]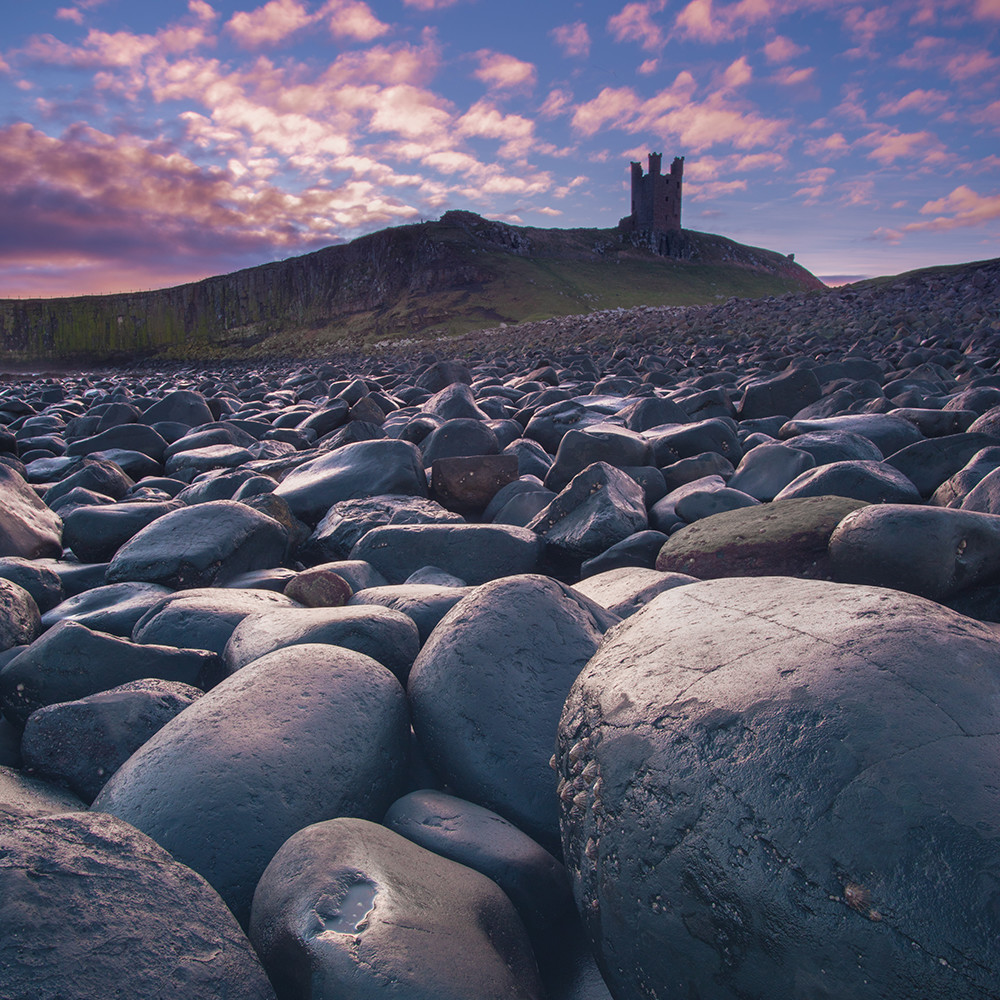
 [/twentytwenty]
We hope you found this tutorial useful! If you have any questions feel free to drop them in the comments.


Leave a reply