Mary Ellen Mark started using a Brownie Box camera at just nine years old. At thirteen, Francesca Woodman created her first self-portrait. Stanley Kubrick was the same age when his father gifted him with a Graflex. Edward Weston’s dad gave him his first camera, a Kodak Bulls-Eye No. 2, on his sixteenth birthday. Photography appeals to artists of all ages, and for many, it’s an interest to be nurtured and developed over time.
In the last year, many families have spent more time together than ever before, giving parents and children the chance to learn new skills and explore different hobbies. Photographers are no exception. For shutterbugs and their loved ones, we put together this quick list of just a few fun and educational activities you can do together on the weekends or afternoons.
Note: Box cutters, scissors, and other potentially dangerous items are to be handled by adults only!
Design a scavenger hunt
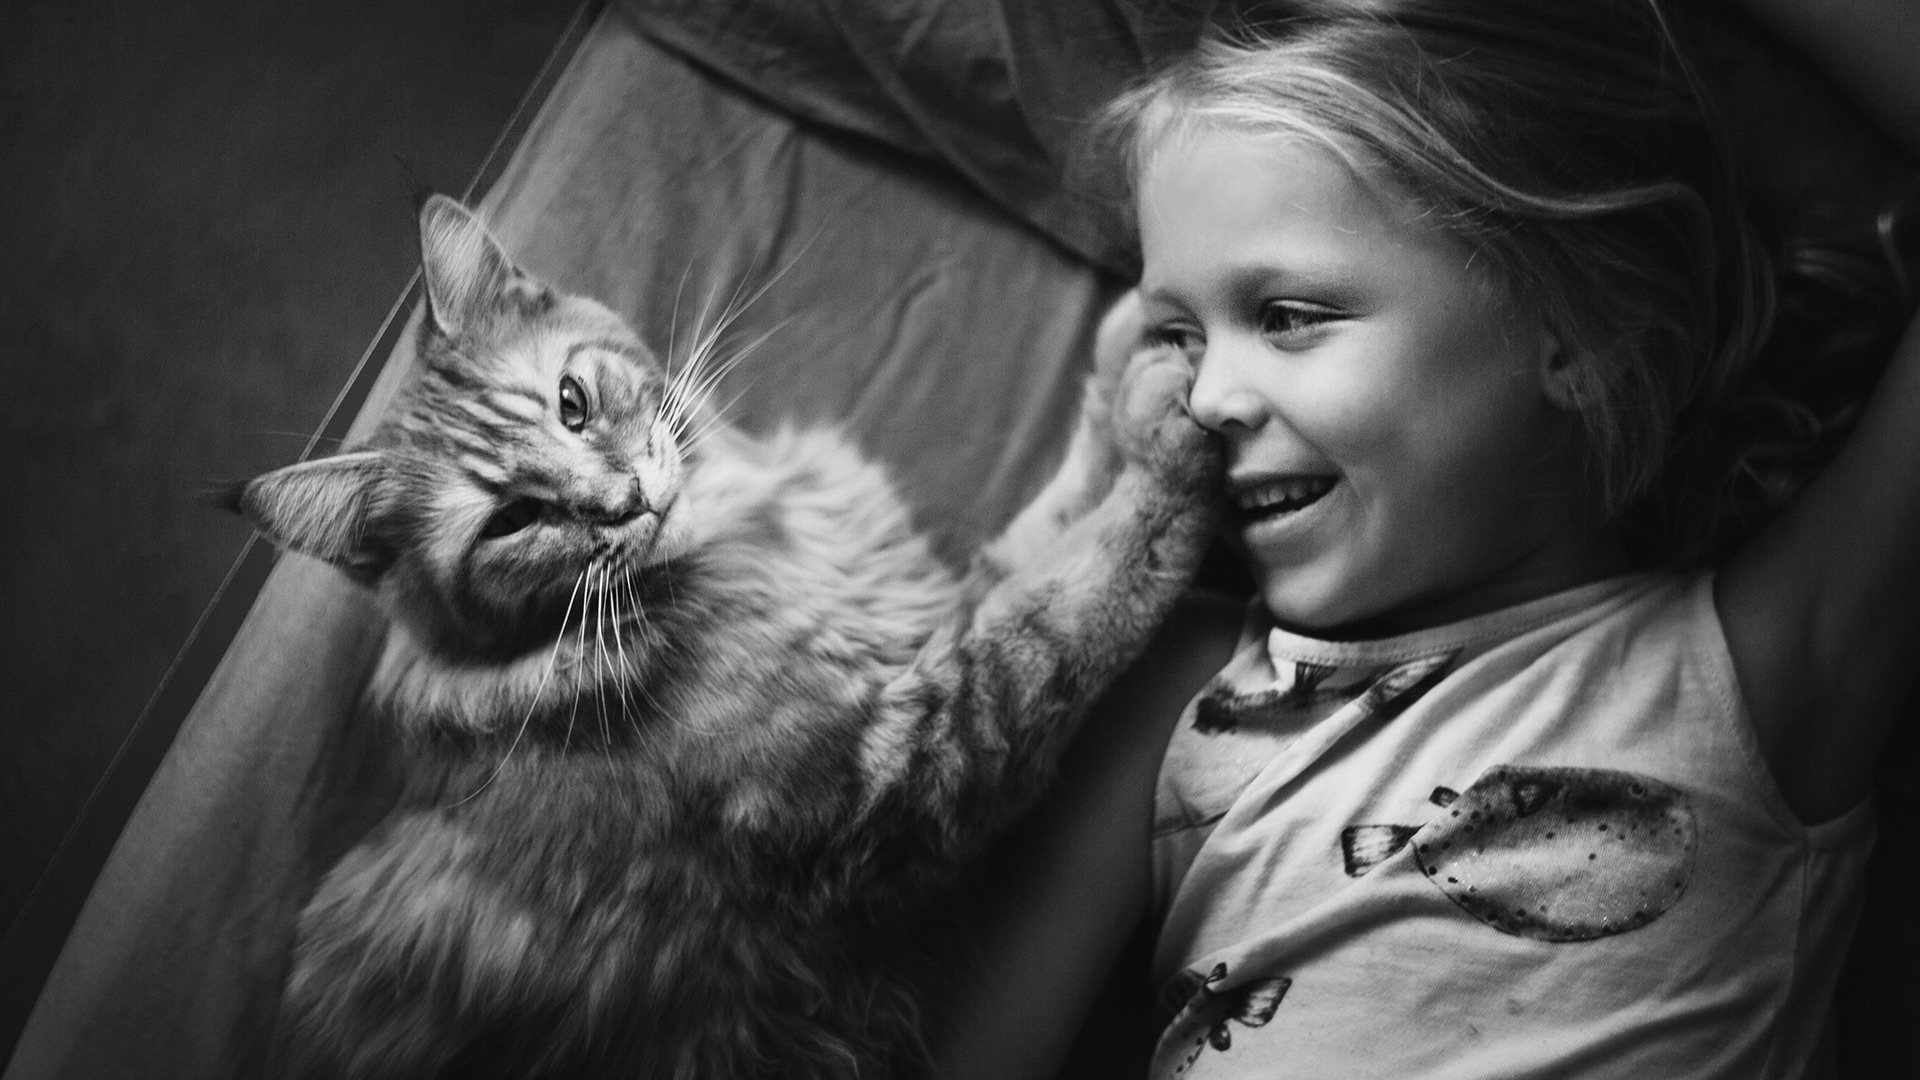
Photo scavenger hunts can be as simple as making a list of interesting subjects found in your neighborhood (a favorite tree, a type of flower, a quirky storefront, a sparrow in flight, a squirrel with an acorn, the neighbor’s cat in the window—you name it) and setting out with family members of all ages to document them.
You can also take a more conceptual approach, challenging family members to try different styles and genres, from flat lay still lives to candid street photos to self-portraits. Or perhaps your checklist revolves around colors, forms, or moods: something blue, something round, something abstract, something that makes you happy. Keep an open mind, and leave room for creativity.
Participants can use their phone, a point-and-shoot, or something super fun and kid-friendly like the Diana Baby 110 film camera. You can make your scavenger hunt competitive, or you can do it purely for the fun of it. You can set a time limit or give everyone as much time as they want. At the end of the day, everyone will have a series or collection of images, so consider printing them out or creating a photo book of each person’s favorite edits.
Make prints using plants
Anthotypes are photographic prints made using plants, so they’re an environmentally-friendly (and kid-friendly) alternative to other historic processes involving chemicals. You can use many colorful berries or flowers for this, and beetroot juice is always a popular choice for its vivid hue. You’ll use these plants, plus water or alcohol, to create a paste, either in a blender or with a simple kitchen mortar and pestle.
Believe it or not, this paste will be your emulsion, so you’ll need to purchase a box of alternative printing paper to hold it. Once the emulsion is blended, you can use a coffee filter to get rid of any solid bits and pieces for a liquid solution. Head to a darkened room to coat your paper; you can use a brush to do this or dip it in a darkroom tray for quick coverage. You might need to apply multiple layers of coating.
After the paper dries (in the dark), you’ll make your image using a large, transparent photo positive and contact printing frame. Place it in direct sunlight for several days (or even weeks) to start the bleaching process. You can experiment with different exposure times to see what works best. Once the exposure is over, you’ll have a finished sun print.
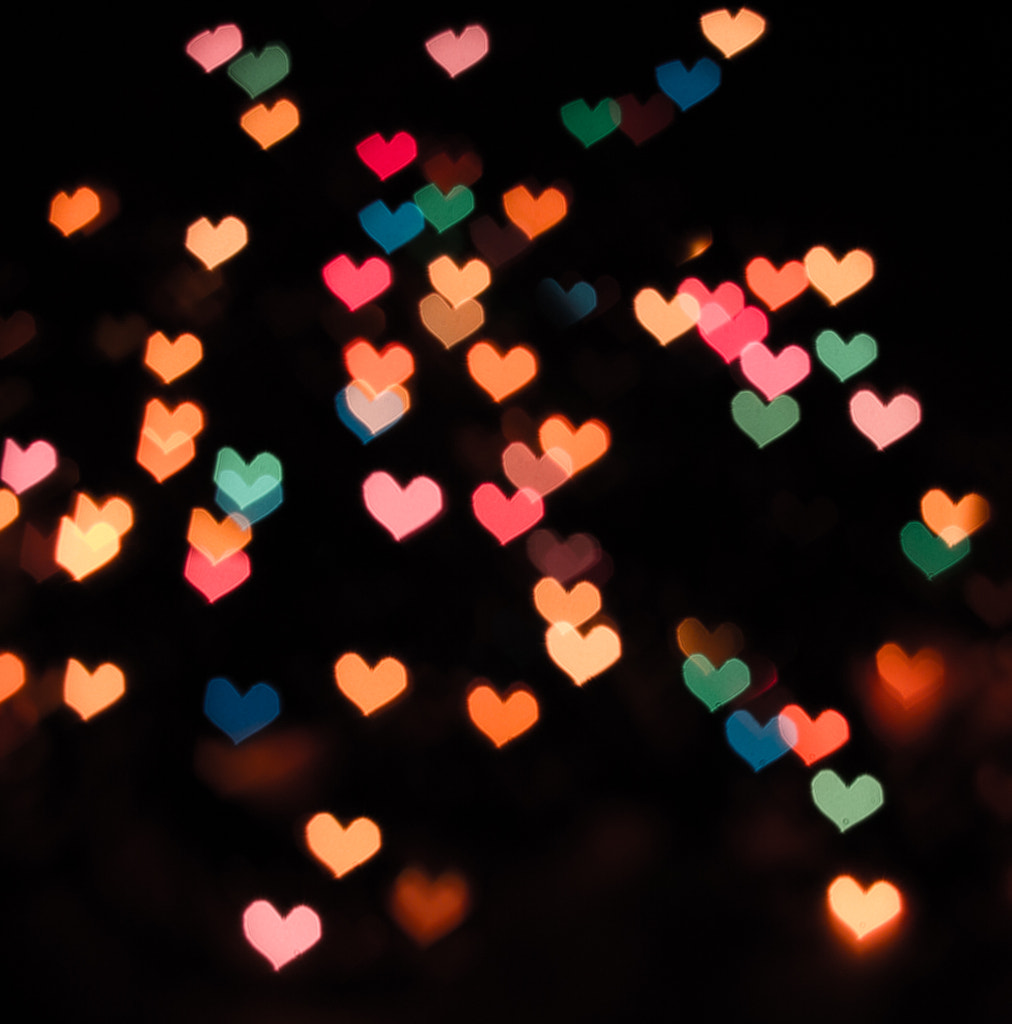
Experiment with bokeh shapes
Bokeh describes the aesthetic effect you get in the blurry areas of an image, especially when using a shallow depth of field for a creamy, out-of-focus background or foreground. While most bokeh balls are rounded like aperture blades—hence the name—you can also create custom filters for shapes like hearts, flowers, and more.
For this, you’ll use a sheet of black construction paper to create a “cap” around your lens. Trace a circle and cut it out to fit your lens (make sure to leave enough space to cover the lens entirely and go over its edges, without any light getting through). You might have to experiment with the size and edges of the paper to make it fit well.
In the middle of your cap or “filter,” have a family member draw or trace a shape. Clear, simple shapes work best. An adult will then cut out that shape using a box cutter. You can secure the filter to your lens using tape or a rubber band; play with different techniques and methods to get the look you want. Start shooting, and be sure to check out our best bokeh tips here; most of the fun comes with figuring out what camera settings work best.
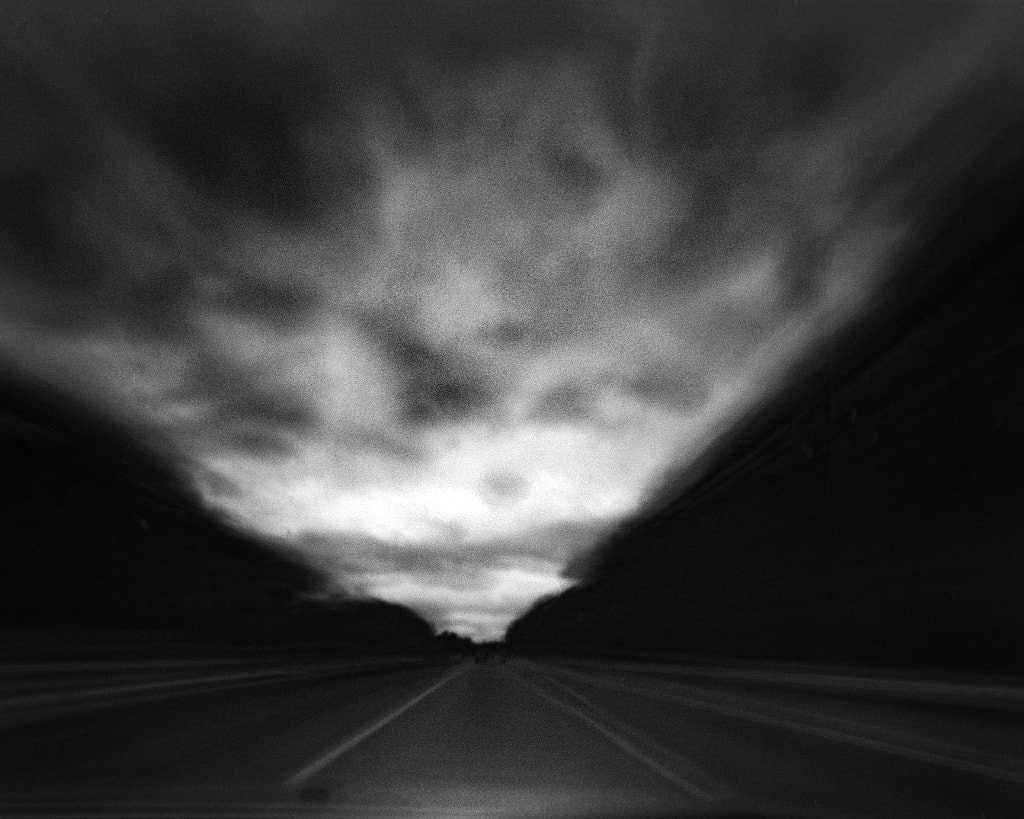
Andrew Crocker created this photo using a pinhole camera and 4×5 black and white film
Make a pinhole viewer
Pinhole cameras range from simple to complex, but it’s easy to teach kids the fundamentals of what goes on inside a pinhole camera without actually taking photos. To do it, you’ll need a rectangular cardboard box with a lid (National Geographic recommends a shoebox), a pencil, scissors, a box cutter, wax paper, tape, and a blanket.
If your shoebox has any light leaks or openings, cover them thoroughly with black card paper. You’ll use the sharp pencil to poke a very fine (but smooth) hole right in the center of one of the shorter sides of the box, while an adult cuts a larger square window into the opposite side using the box cutter. From there, you’ll tape the wax paper over the window to create a “screen.”
In a dark room, place a candle (or a lamp) on a solid surface. Stand around a meter or five feet away from the light. Cover your head and shoebox with a heavy blanket to block out as much ambient light as possible. Look through the large square window, and point the pinhole toward the light, holding it steady. You’ll then see your flame (or lamp) flipped upside down, just as you would with a working pinhole camera.

Build a lightbox
For budding photographers, building a DIY lightbox is the perfect way to learn about lighting. You can find tons of different ways to make a lightbox online, but one of the easiest requires a large cardboard box, a box cutter, scissors, a marker, matte white poster board, tracing paper, tape, and two lamps.
To start, turn your box to face where you want the front to be and get rid of any flaps. An adult will use a ruler, marker, and box cutter to cut two matching, clean, and even “windows” on the left and right sides of the box. Once that’s done, cover both of your windows with tracing paper (this will act as a diffuser). Finally, line the background/inside of the box with the poster board (cut to fit your box and taped up top), as this will serve as your backdrop. Be careful to avoid wrinkles; the poster board can drape or curve slightly.
Once you’re done with the box, you can put two lamps on either side (look for ones with clamps), and place an object (a piece of jewelry, a piece of fruit, a flower or botanical specimen, etc.) in the lightbox to be photographed. You’ll find you get nice, diffused light hitting your subject.
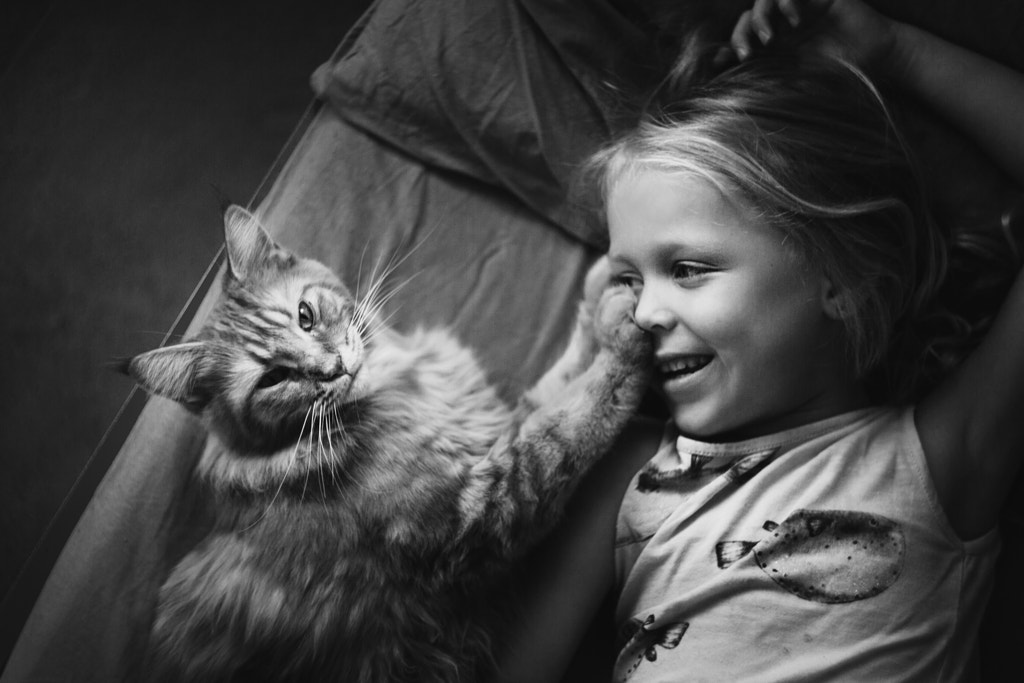
A black and white family photo, like this one by Katerina Annenkova, would work beautifully in a photo luminary.
Create photo luminaries
You can make photo luminaries or centerpieces with a few simple items: several picture frames (with straight flat edges, all the same size and format), foam board, a box cutter, scissors, super glue, and printed photos on vellum paper.
You can have your family members choose/curate the photos and the crop (to fit the frames) and print yourself (if you have an appropriate professional printer) or use a local fine art printer. We recommend black and white for a classic look, but color also works. After cutting your vellum prints to fit, you’ll remove the backing of your frames and put the images in place.
You won’t use that backing at all; instead, place the print in first and then add the glass and secure it. You’ll then glue the edges of the frames together to create your luminaries: three frames for a triangular one or four for a square. Make a custom base for your luminary using foam board. Finally, put a candle in the center using a protective glass cover (you can also use an LED), for a timeless centerpiece to bring out during family meals.
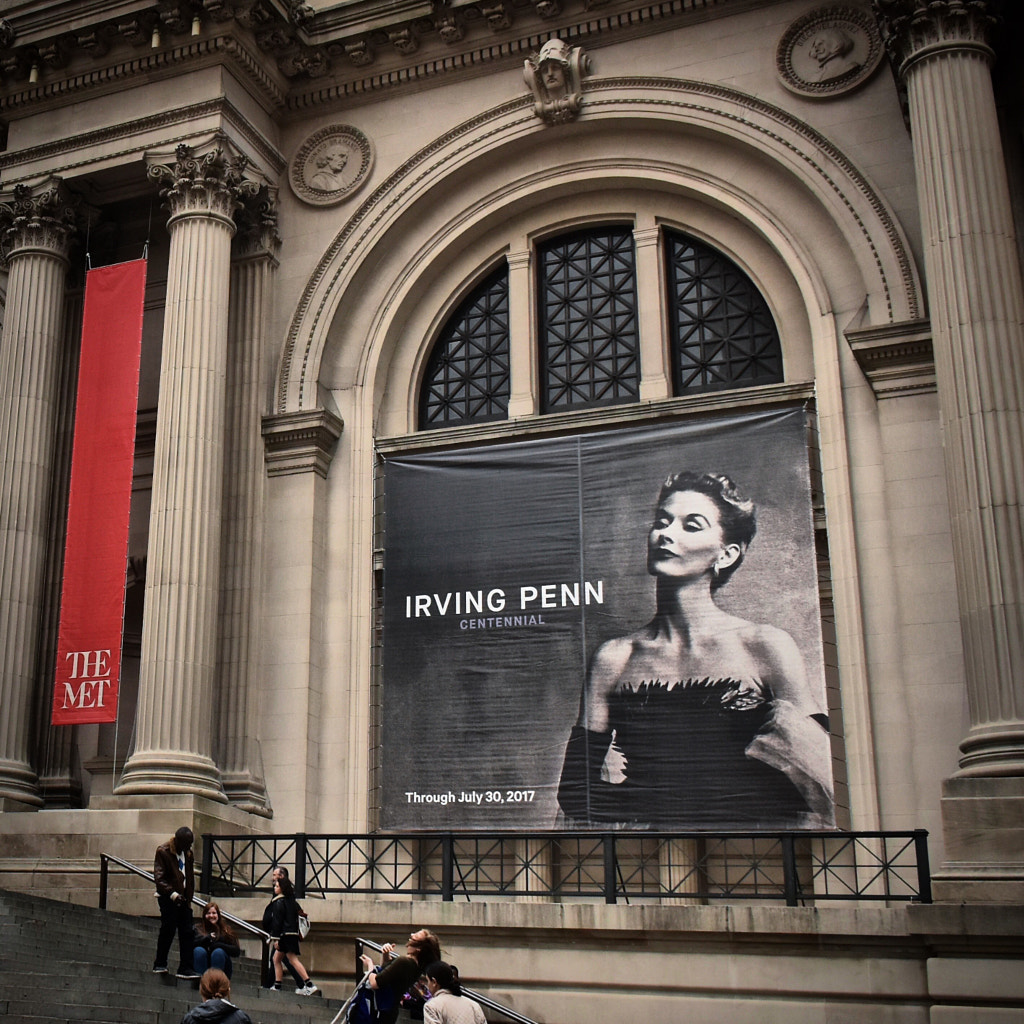
Head to the museum
Many museums are open at a limited capacity right now, and nothing compares to seeing great photography up-close. For New Yorkers, the Museum of Modern Art has an extraordinary collection of photographs dating back to the 1930s, while the collection at the Metropolitan Museum of Art has masterworks by everyone from Walker Evans and Robert Frank to Berenice Abbott and Garry Winogrand. Of course, you can find museum collections like these all over the world, in addition to smaller local galleries representing contemporary and emerging artists.
If you visit a museum with a gift shop, you can play a game my grandmother once did with me: have the kids browse the postcard section and pick out a photograph (or several) that they like. The Met, for example, has plenty from Alfred Stieglitz, Berenice Abbott, and Edward Steichen. You can buy the postcards and spend the day exploring the museum and tracking down the real-life prints, enjoying the magic of seeing them in-person, as the artist intended. At the end of the day, you’ll get to take the postcards home with you to remember your adventure.
Not on 500px yet? Sign up here to explore more impactful photography.

Leave a reply