
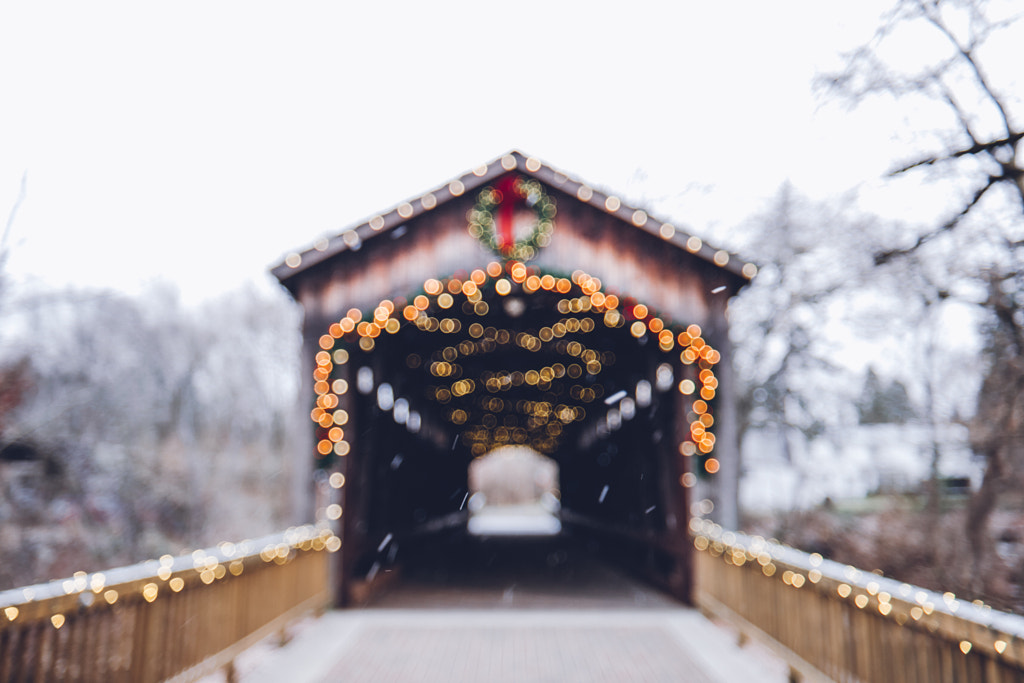
Fall and winter are the times of year for warm sweaters, cozy evenings, twinkling lights, and—for photographers, at least—magical bokeh. A few years ago, a Reddit user went viral after noticing that Google searches for “bokeh” peak in December, perhaps due to more photographers looking to create the effect using holiday lights.

With more photographers investing in quality lenses and leveling up their skills, this particular trend doesn’t seem to be slowing down anytime soon.
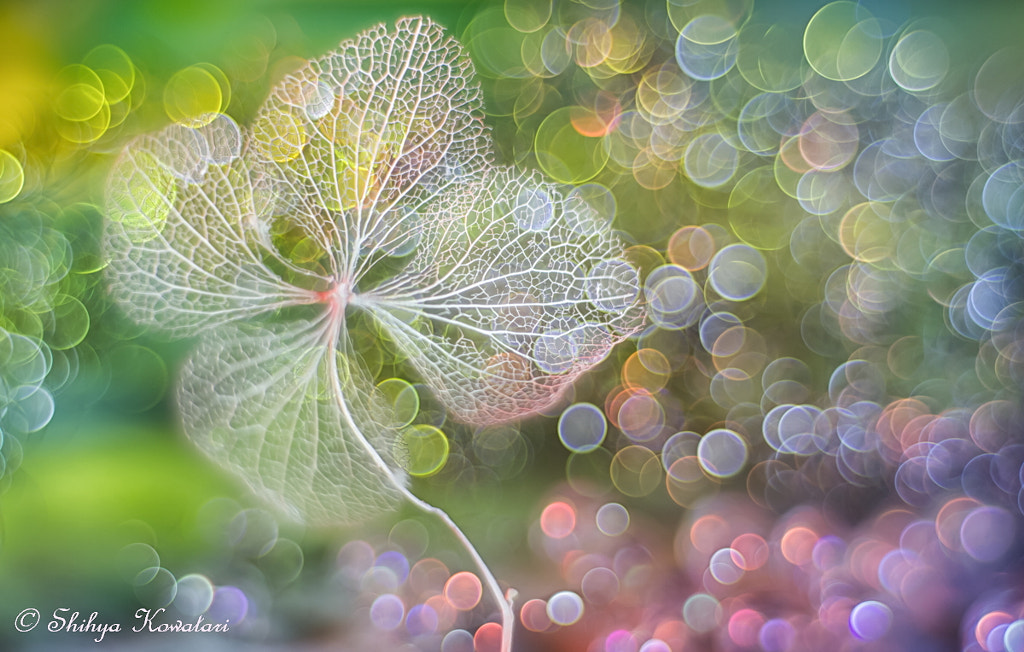
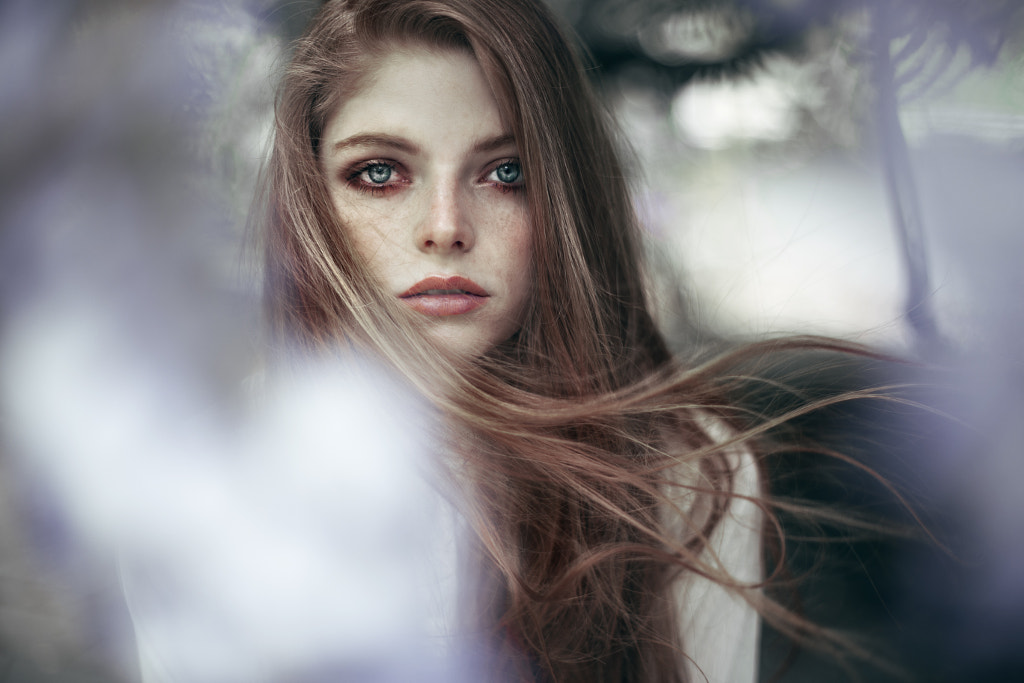
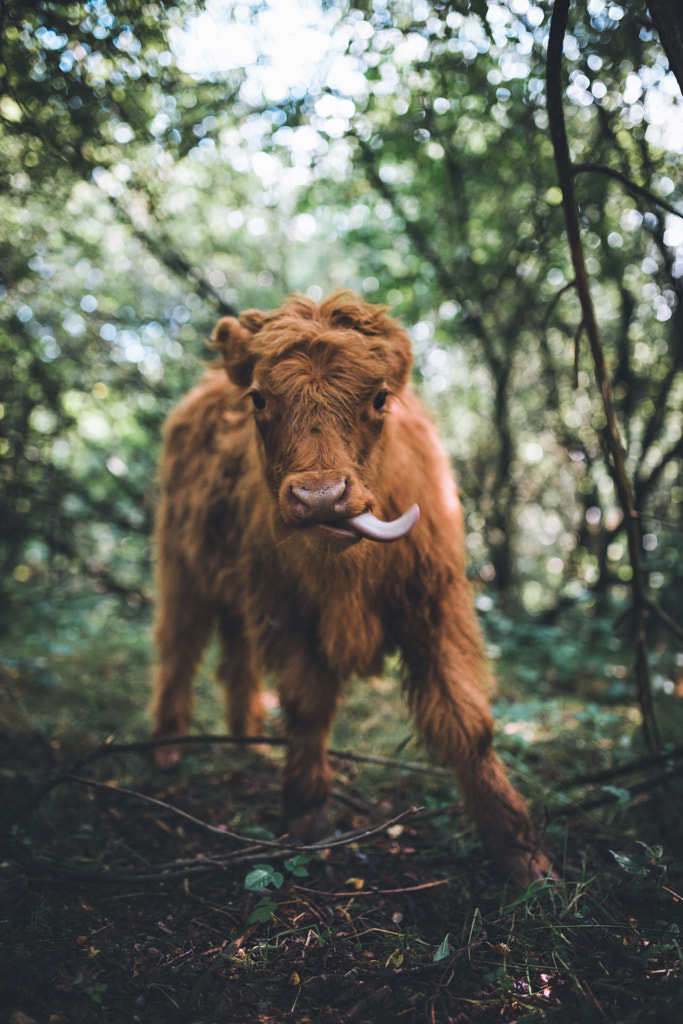
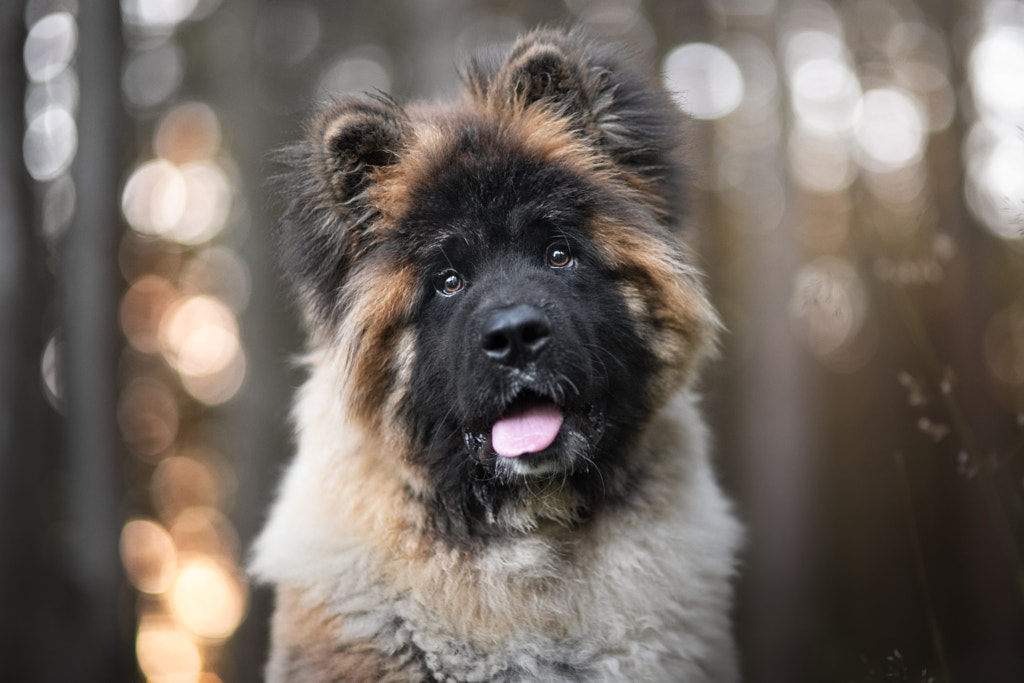
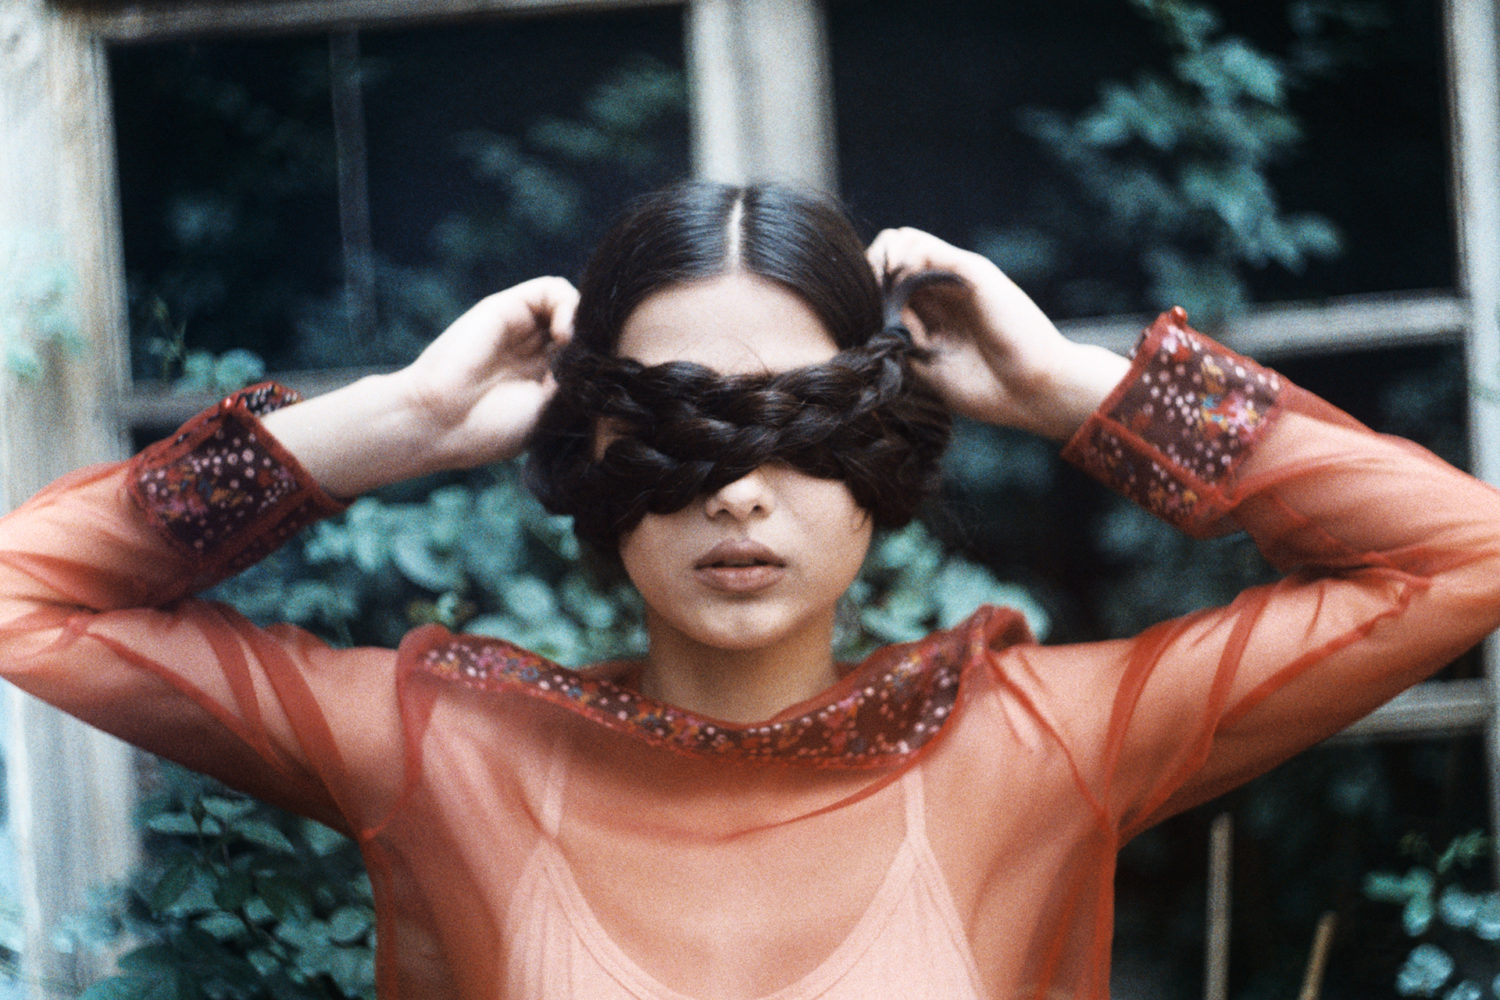
The word “bokeh” comes from the Japanese word for “blur”—in photography, it describes the aesthetic quality of the out-of-focus blur you get in the foreground or background when using a shallow depth of field. It’s a favorite effect of portrait photographers, in particular, though it shows up in other genres as well, like macro and still life.
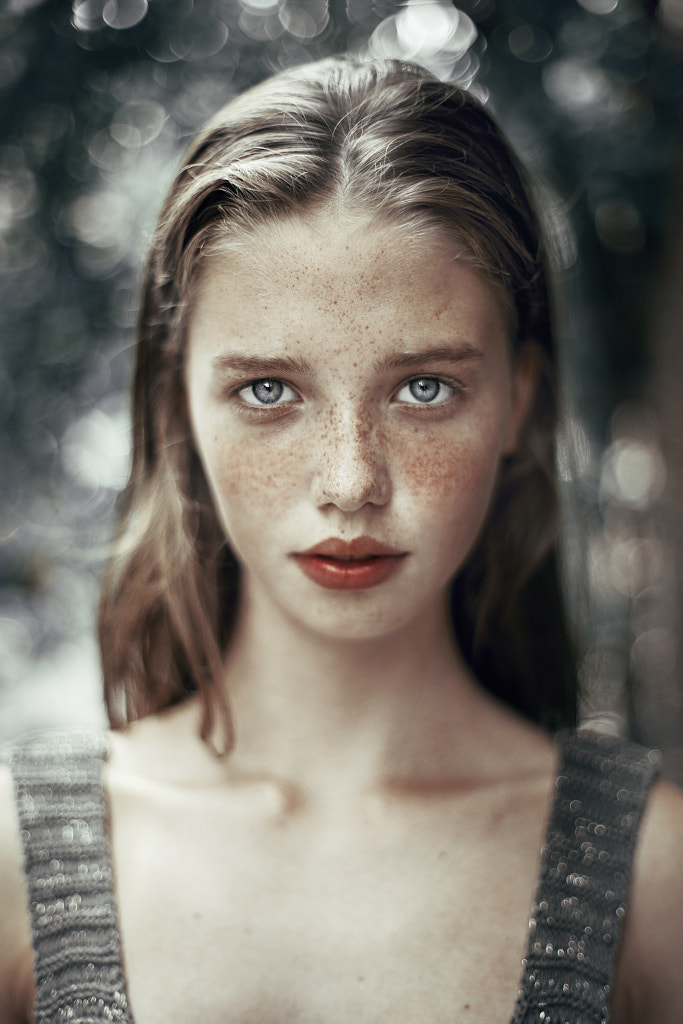
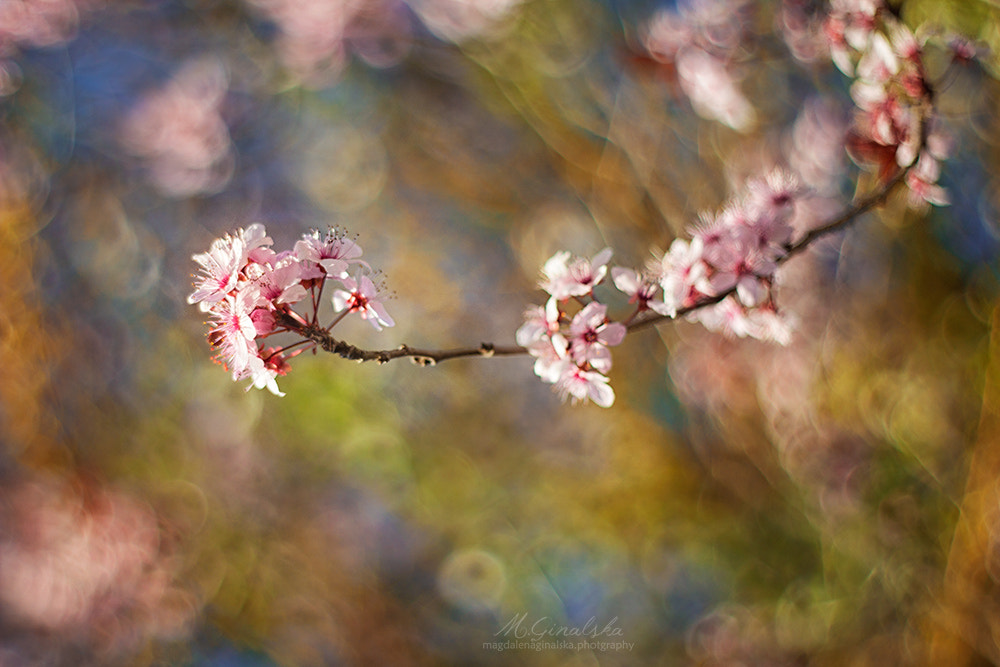
While photographers often describe bokeh as “good” or “bad,” these terms are subjective. In general, “good” bokeh creates a soft, creamy look in the parts of the frame that are out of focus, creating separation between the foreground and background and elevating the mood of the photo overall.

In recent years, mobile manufacturers have gotten better and better at mimicking the bokeh effect, as seen with the iPhone’s signature “Portrait Mode” and Google’s machine learning tech; while nothing quite compares to what you can get with a traditional, full-frame camera and prime lens, these trends point to the enduring popularity of bokeh—and the interesting ways in which it might evolve over time.
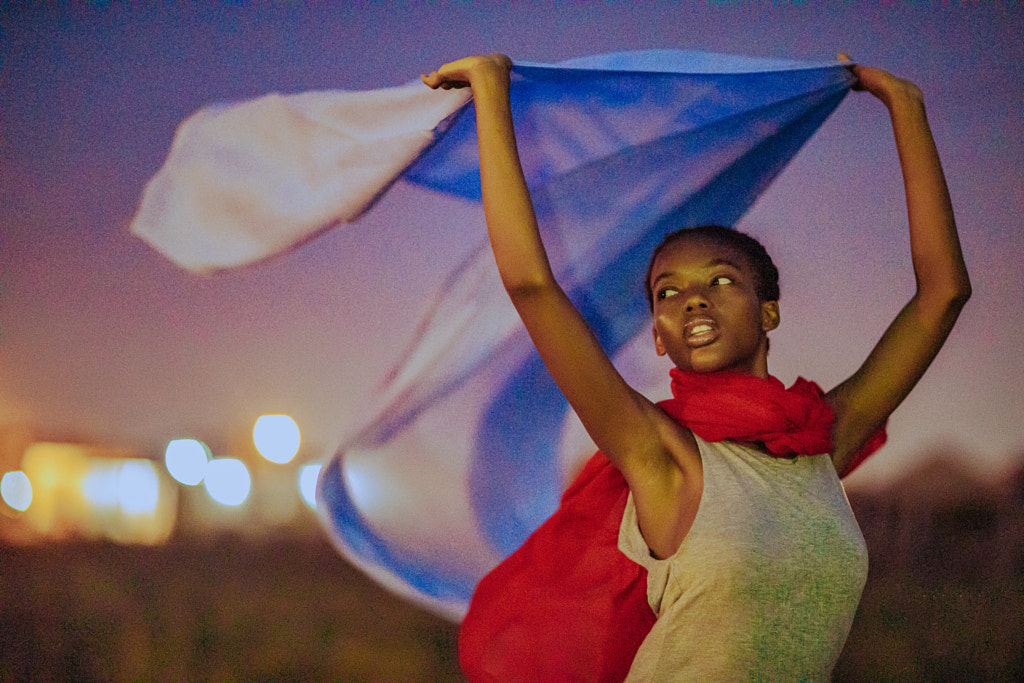
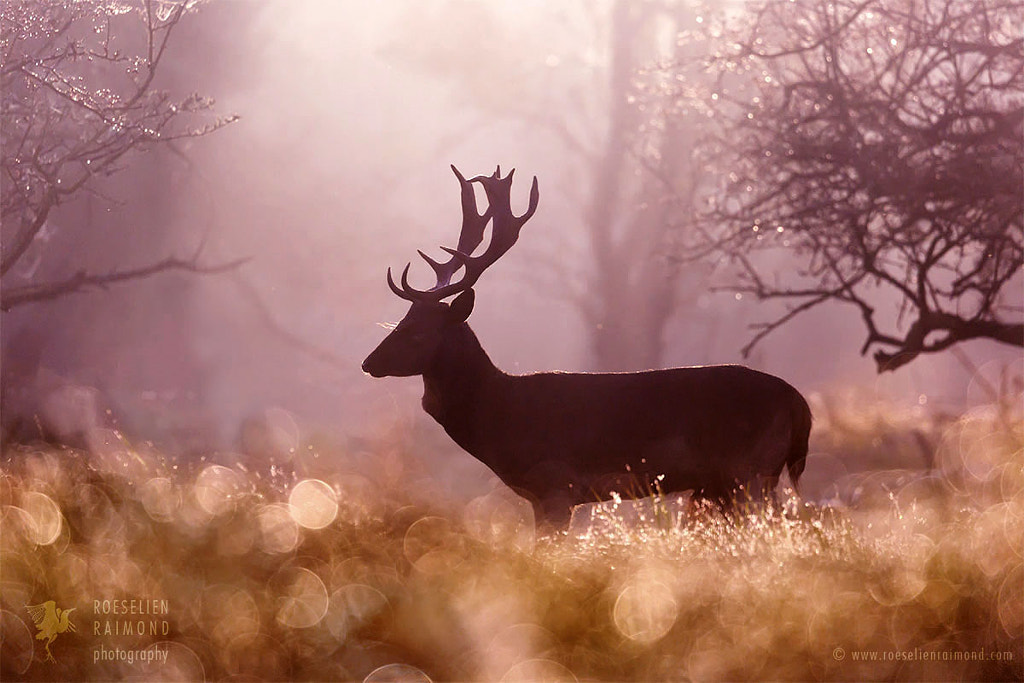
Read on for our tips for getting dreamy bokeh “balls,” with some stunning examples from the 500px community.


Tip #1: Invest in a fast lens
A fast lens—or one with a wide maximum aperture (lower f-number)—is ideal for bokeh photos, so look for an f2.8 lens or faster (f1.4 is even better). For portraits, a classic “nifty fifty” prime lens should do the trick, but keep in mind that longer focal lengths will result in more intense bokeh.
If you want to take it a step further and create even more bokeh, for instance, you might opt for an 85mm or longer. Of course, a faster lens often means a bigger investment, so borrow or rent, take it for a test drive, and make sure you like the bokeh created by any given lens before you buy it.


Tip #2: Count those blades
The actual shape of your bokeh balls will not depend on the shape of the light source but on the diaphragm of your lens, so in addition to choosing a fast lens, make sure you know how many blades are in that diaphragm.
The more blades it has, the more rounded your bokeh will be; nine or eleven (or more) blades will result in smooth curves, while five or seven will have straighter edges. Many prefer the softer look that comes with more blades and rounder balls, but it’s a matter of personal taste, and polygonal bokeh “balls” can also work.
Older lenses tend to have fewer blades, but camera manufacturers have made a push in recent years for more “bokelicious” diaphragms, giving consumers more options and creative freedom.


Tip #3: Shoot wide-open
Shoot in manual mode (or aperture priority), and open up that aperture. The lower your f-number, the shallower your depth of field, and the larger and softer your bokeh. As you close your aperture, you’ll notice your bokeh balls get harder, smaller, and more defined.
Of course, opening up your aperture will also result in brighter exposures, so you might have to compensate with your other camera settings, like shutter speed and ISO, to avoid overexposure. Similarly, on bright, sunny days, your camera’s maximum aperture might not be practical, so you might need to stop down just a bit, use a neutral density filter, or wait for better lighting conditions.


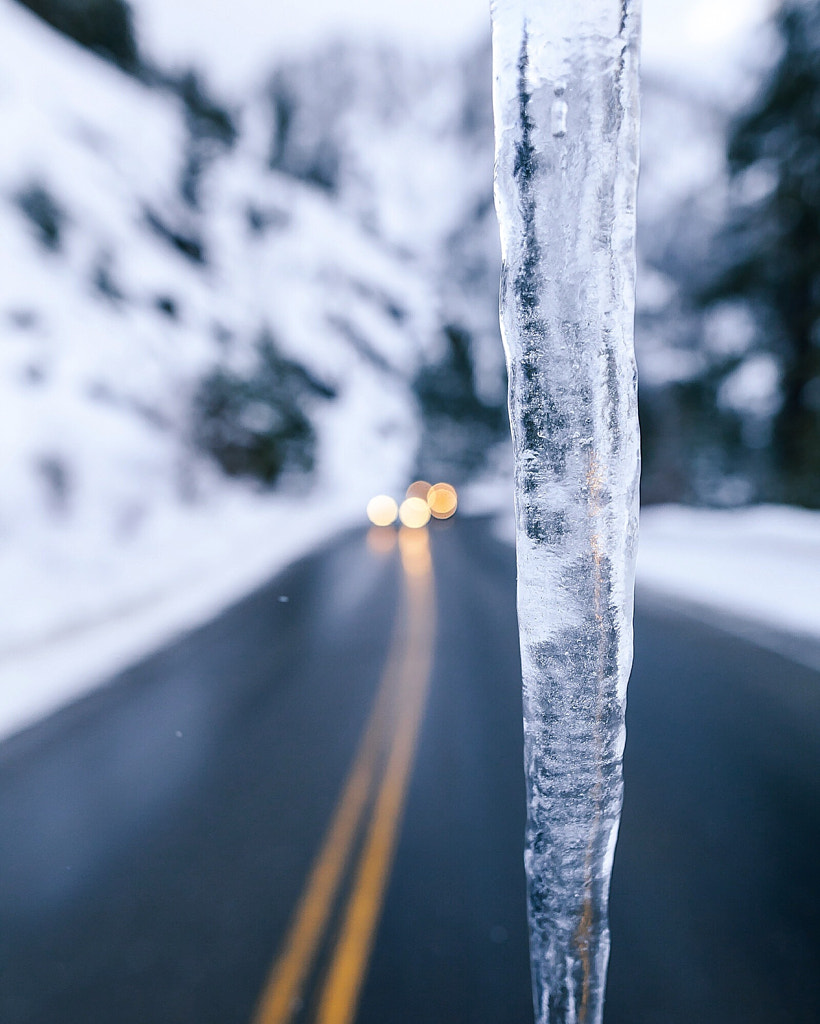
Tip #4: Create some distance
When incorporating bokeh, your subject will still be tack-sharp, but the background will be out of focus. Even with a wider depth of field, you can throw your background out of focus by moving your subject closer to the camera and farther from the background.
Another option would be to move closer to the subject yourself. In other words, make sure there is more distance between your subject and your background than there is between the subject and yourself.


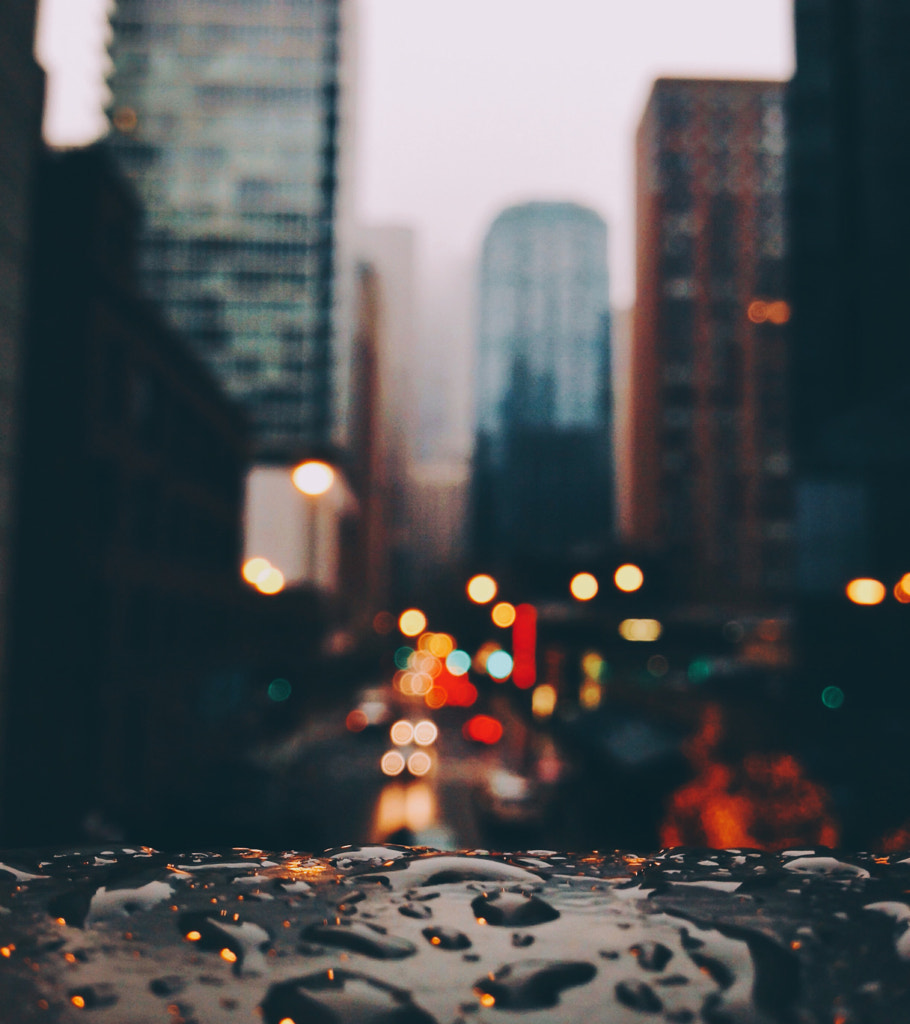


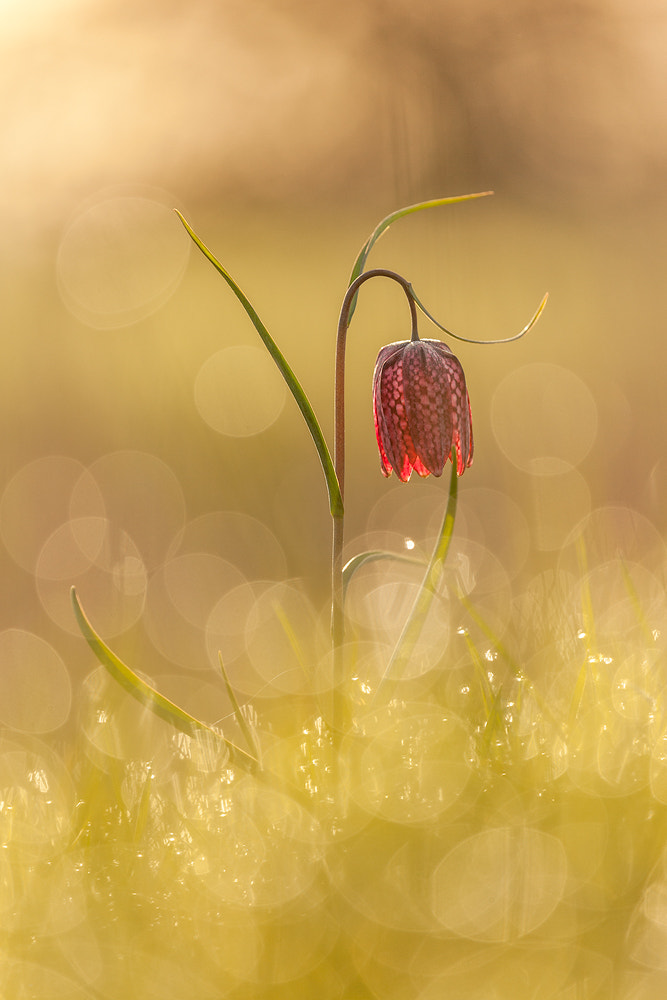
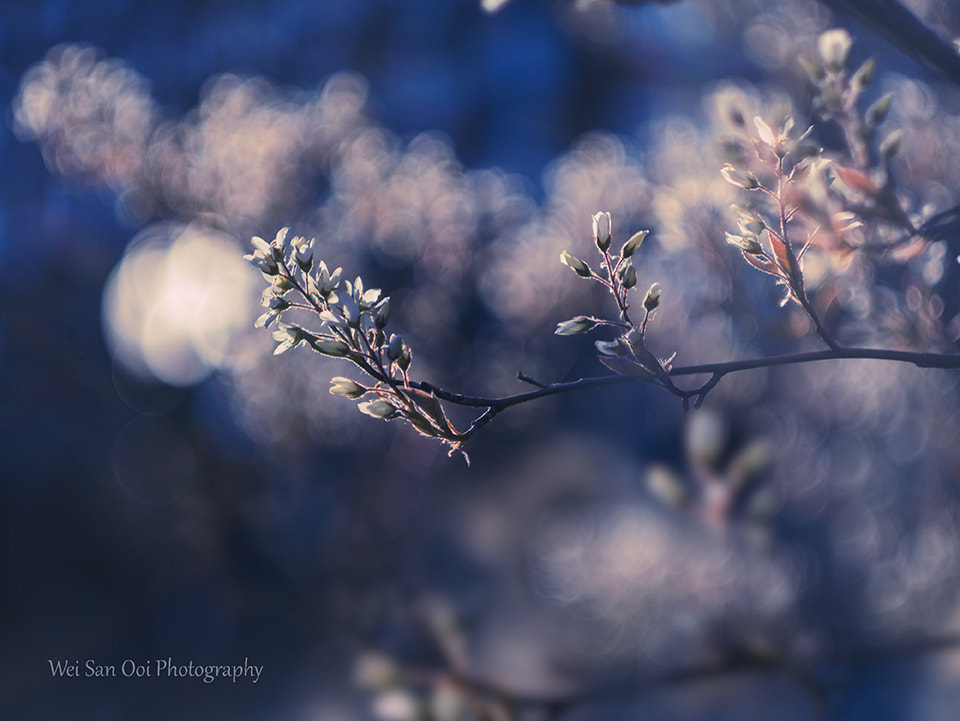
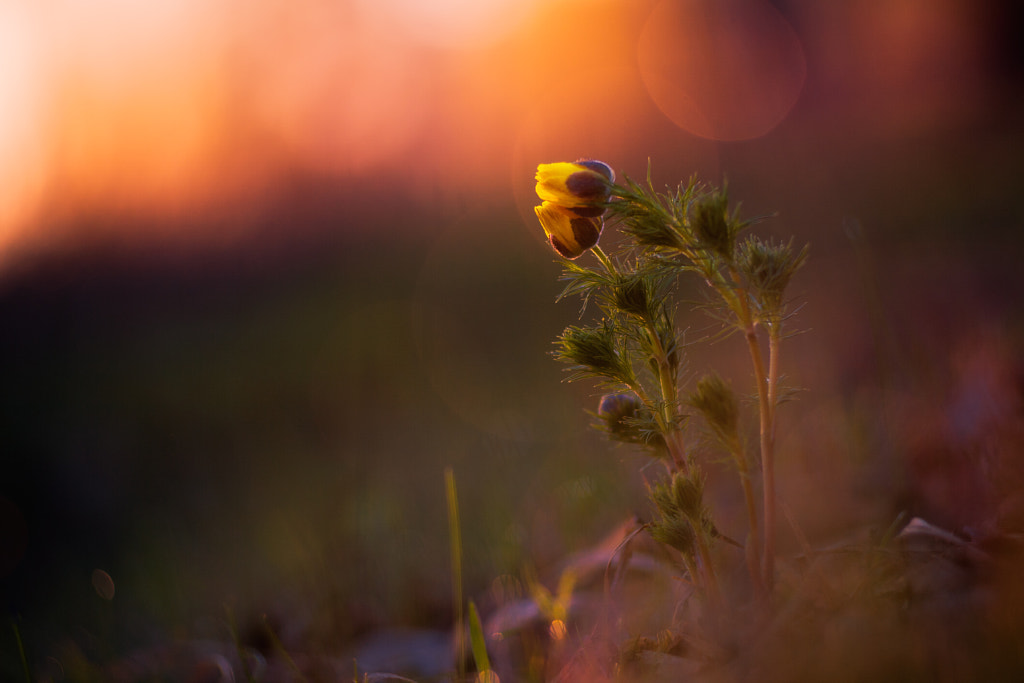
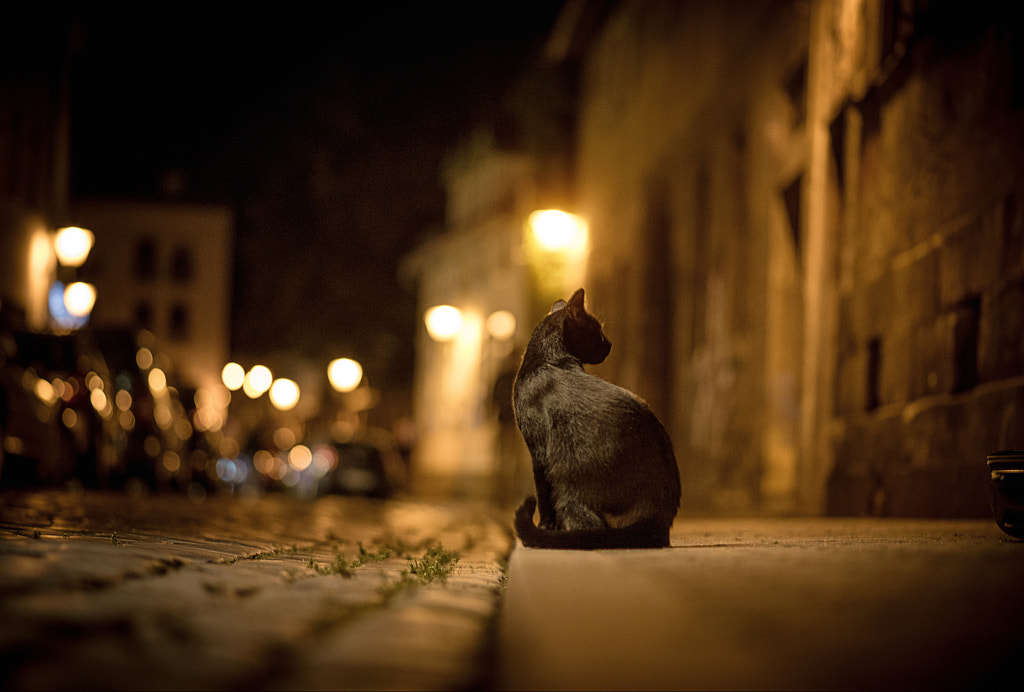
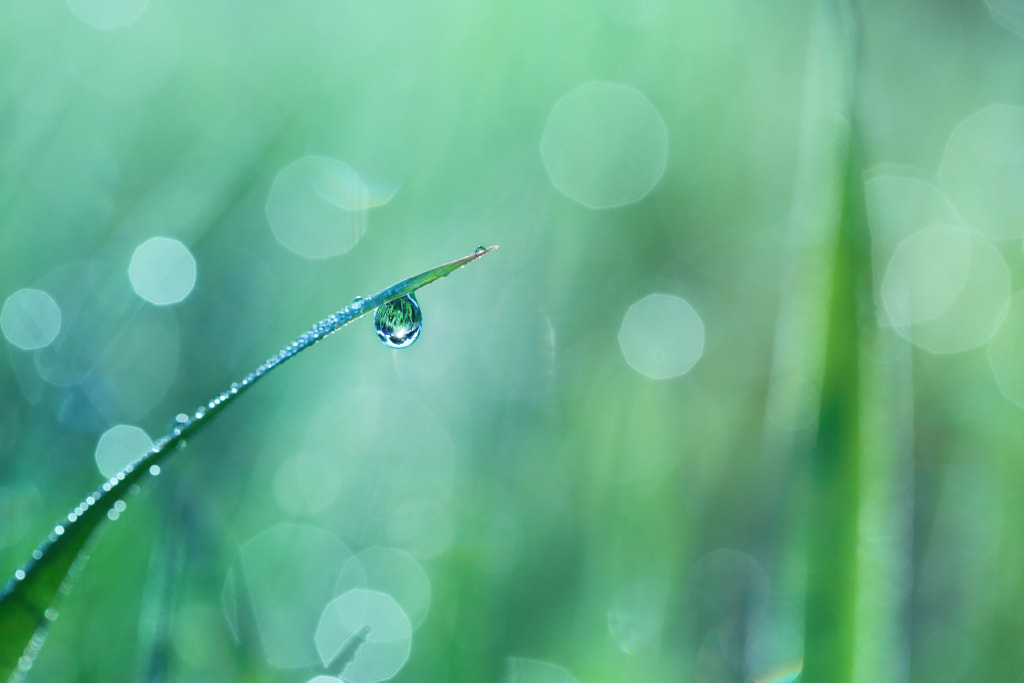
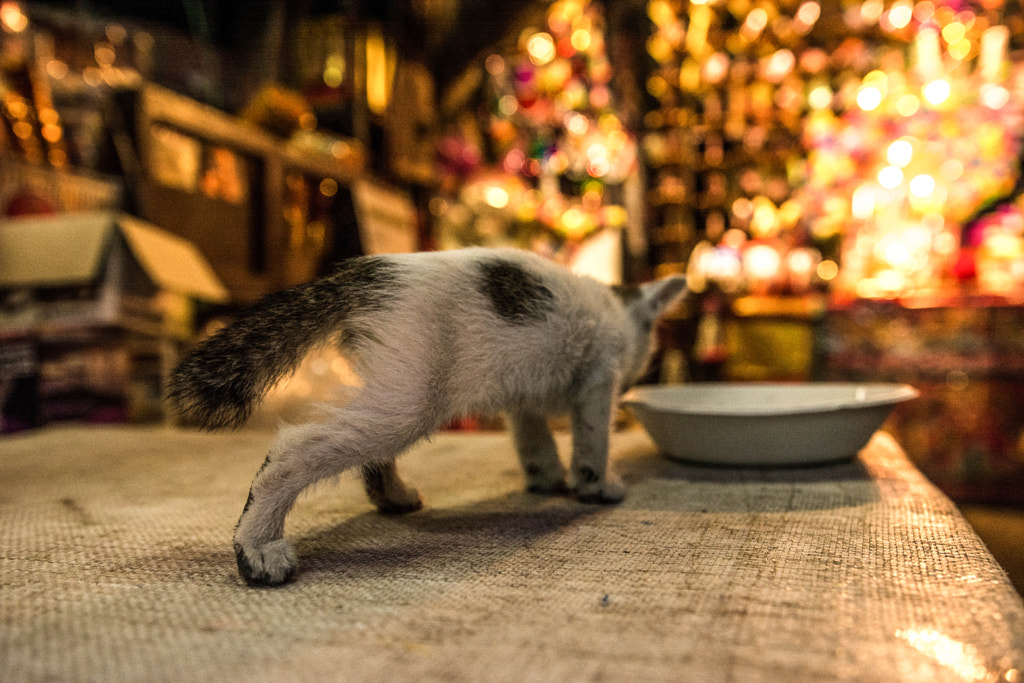
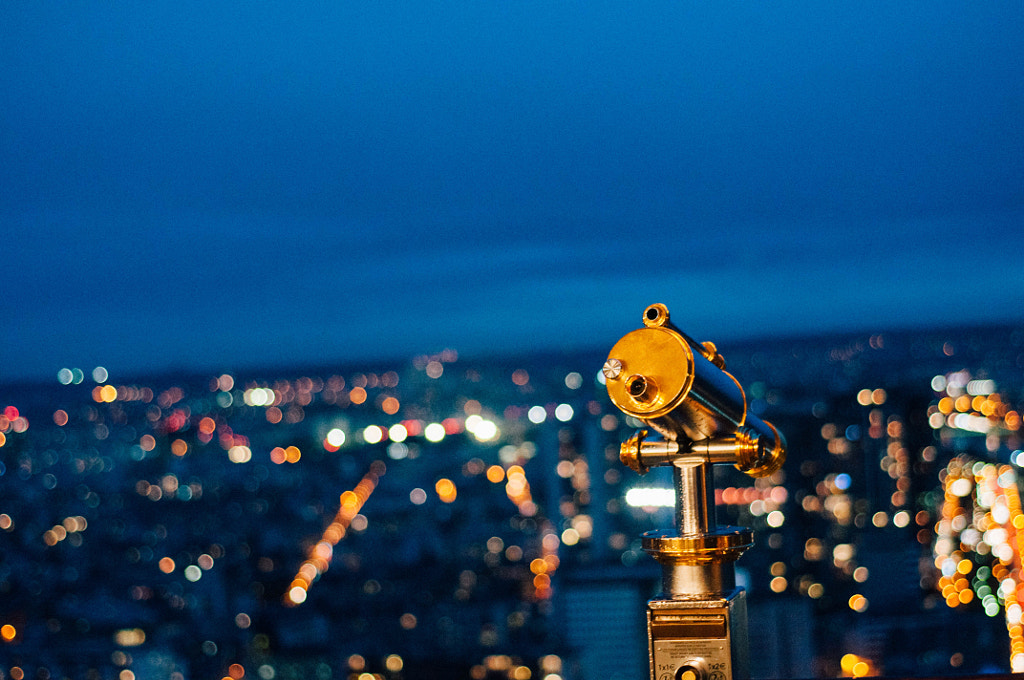
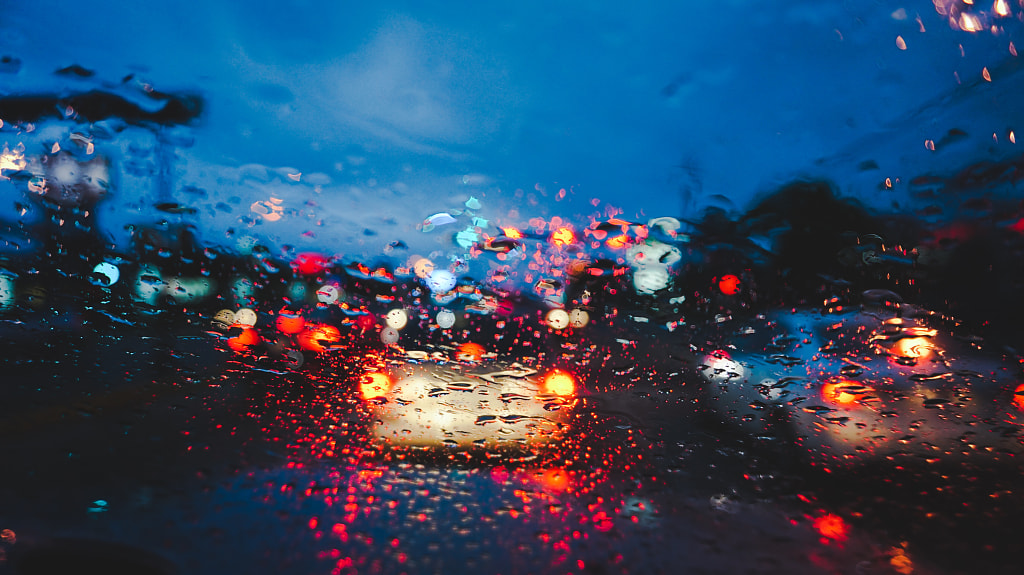
Tip #5: Watch the background
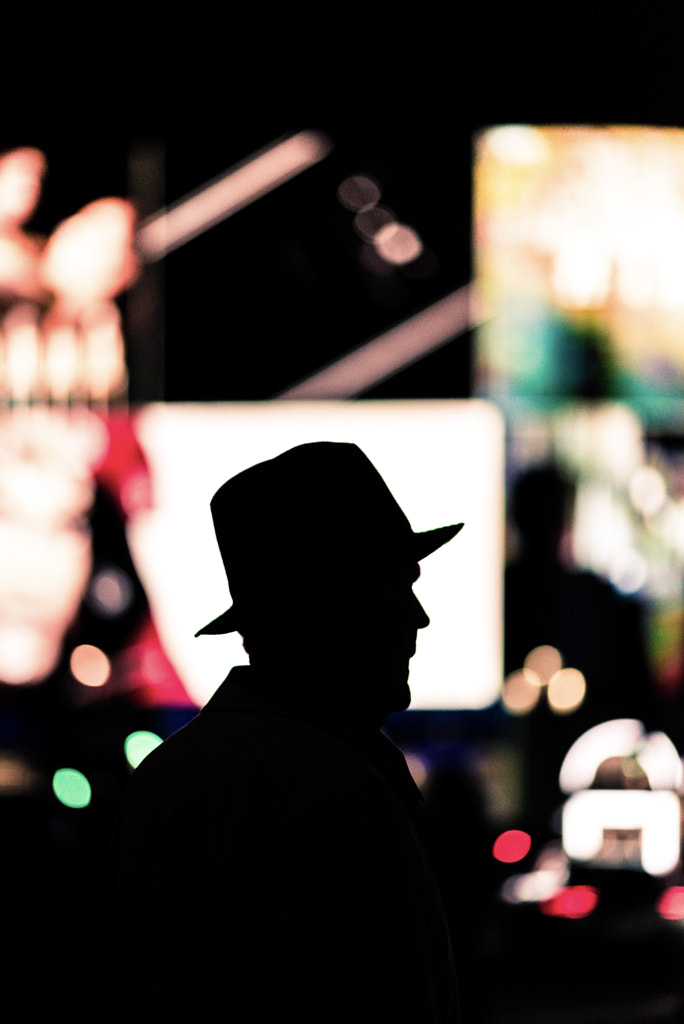
Your bokeh will usually be more visible in the highlights, so plan your background accordingly. You can use natural backlight filtering in through the trees outdoors or city street lights at night.
Look for multiple points of light for more impact, and be aware of the lighting situation wherever you plan to photograph. You can also set up fairy lights, use reflective surfaces (e.g., crinkled aluminum foil), raindrops, or water droplets for an ethereal effect.
Using bokeh is a great excuse to pull out all the stops and get creative, so swap out your plain seamless and mix it up with textures and colors. For example, if you’re photographing someone in green light, you could include bokeh balls in a complementary magenta. Just remember to expose for your subject and not those highlights; otherwise, the subject could be thrown into silhouette.
Quick tip: These highlights are often in the background, but you can also place them in the foreground for bokeh in front of your subject.


Tip #6: DIY
You’re not always beholden to the shape of your lens’s diaphragm, as creative photographers have experimented with all sorts of DIY lens filters. We’ve seen bokeh in the shape of hearts, stars, butterflies, and more. To do this, you’ll need black construction paper, scissors or an X-Acto knife or laser cutter, tape, and a rubber band.
Alternatively, you can buy a kit online with a variety of filters to use. Lensbaby, for instance, offers a kit with nine magnetic drop-in disks plus two for you to create your own shape.

Tip #7: Clean that lens
Nothing ruins bokeh balls quite like dust, so give the rear element of your lens a careful cleaning if you notice distracting specks. Just remember to follow the instructions of the manufacturer to avoid damaging your glass; as a rule, you should only clean your lens when you have to and avoid over-cleaning.
If you are in need of a clean, you can use a manual air blower (not your own breath and never compressed air!), a soft-bristled brush, a dedicated lens cleaning cloth, which you toss after each use, and just a drop of lens cleaning solution. Trust us: it’s easier to clean your lens than it is to edit out bokeh imperfections on the computer.


Tip #8: Test it out
Because bokeh is subjective—what looks great to one photographer might not to another—take the time to do some test shots with your background and subject. You can check as you go to see how your lens and your setup renders your bokeh balls and adjust as you see fit.
If, for instance, you aren’t getting enough bokeh, you might move your subject toward you and away from the background. If, on the other hand, you find your bokeh looks polygonal when you want it to look circular, you can open up your aperture. It can take a bit of trial and error to nail the look, so feel free to experiment.
Not on 500px yet? Sign up here to explore more impactful photography.


Leave a reply