In the early days of photography, shooting at night was almost impossible. It wasn’t until the turn of the 20th century that night photography came into its own, with artists like Paul Martin and Alfred Stieglitz making magic with glittering street lamps and moody, poetic moments. Since then, photographic pioneers ranging from William Klein to Diane Arbus have made nighttime their own, each revealing the mysteries that only come out after dark.
Today, cameras are capable of capturing low light scenes earlier generations could only dream of. Phone manufacturers introduced “night modes” that have allowed people to shoot in low light using only their mobiles. Meanwhile, this year, Canon will release an image sensor that’s able to produce high-quality color photos in almost total darkness.
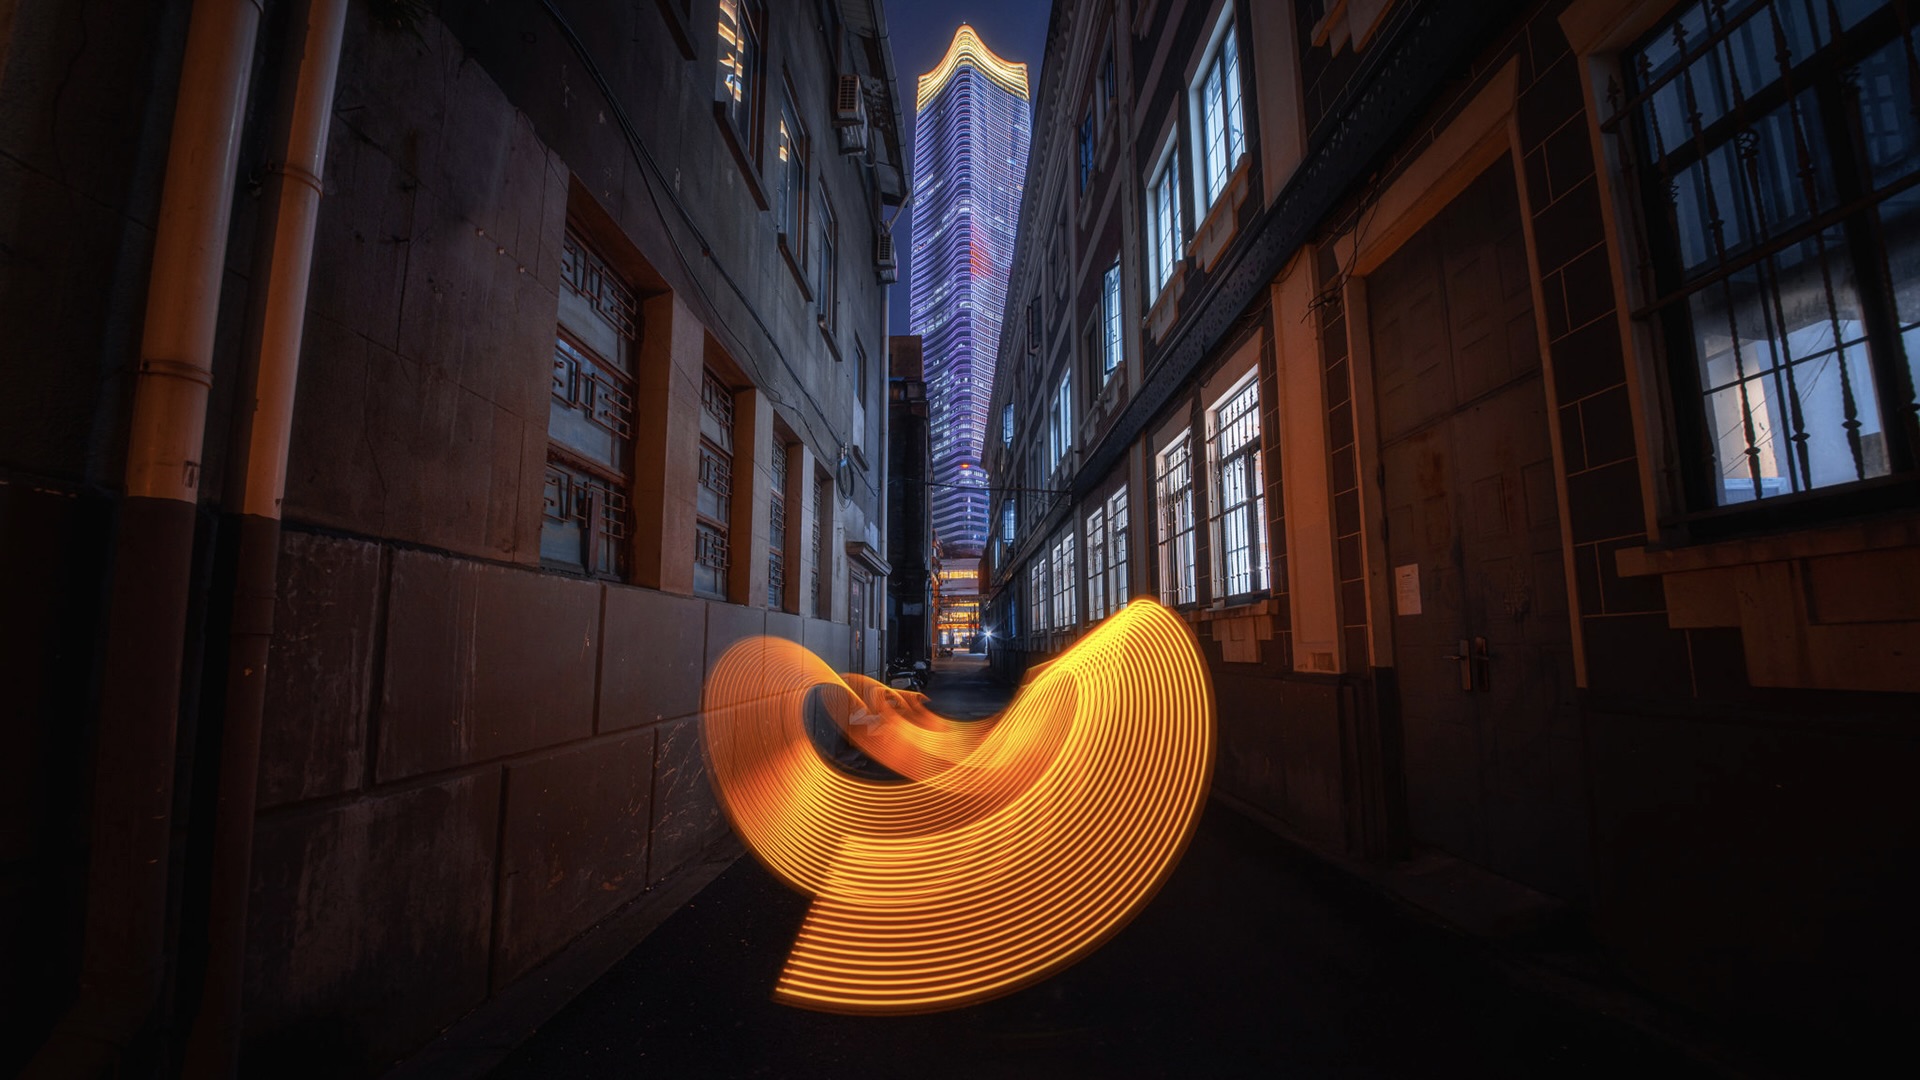
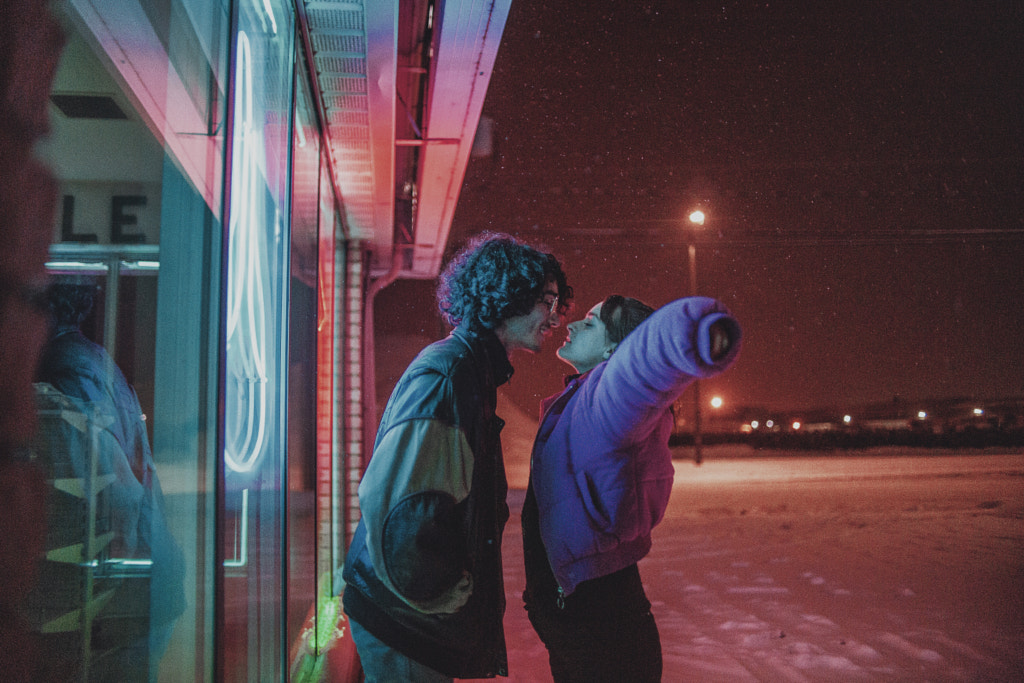
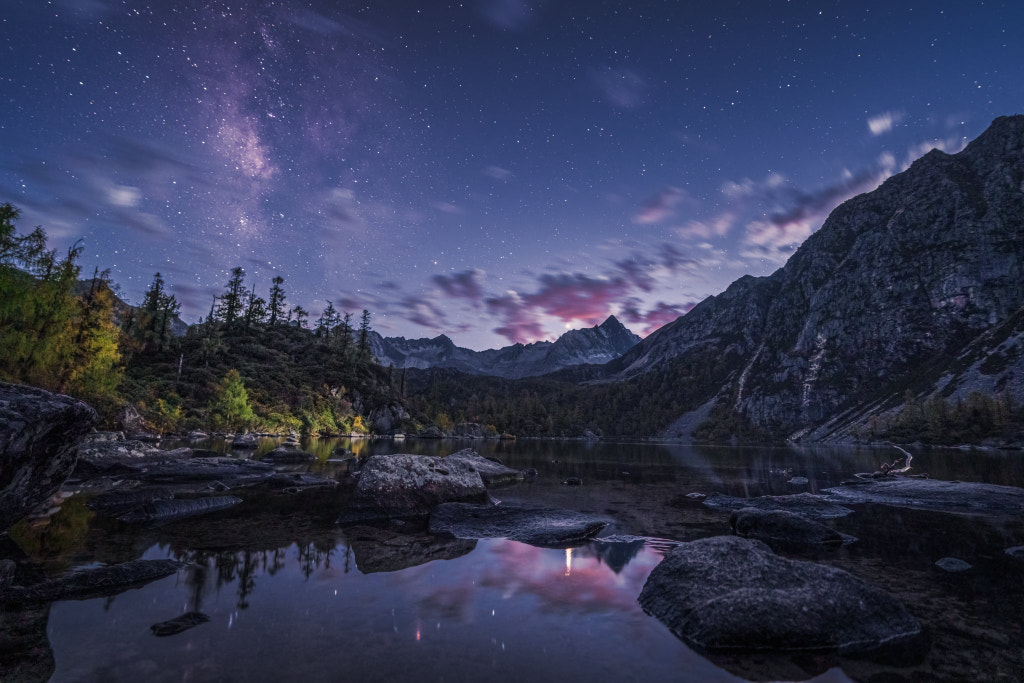
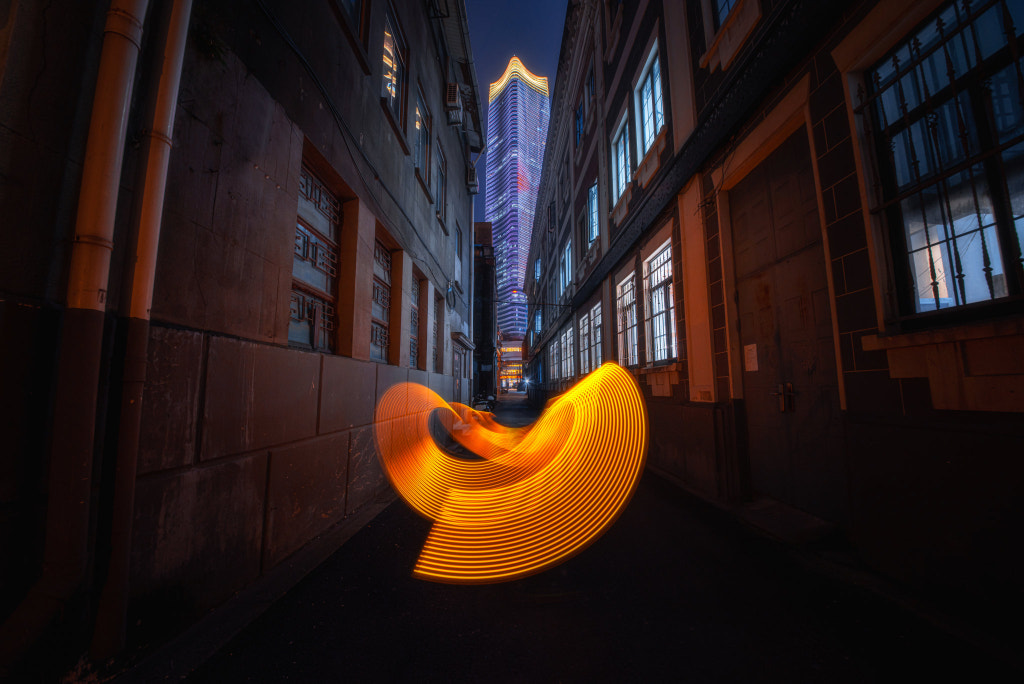
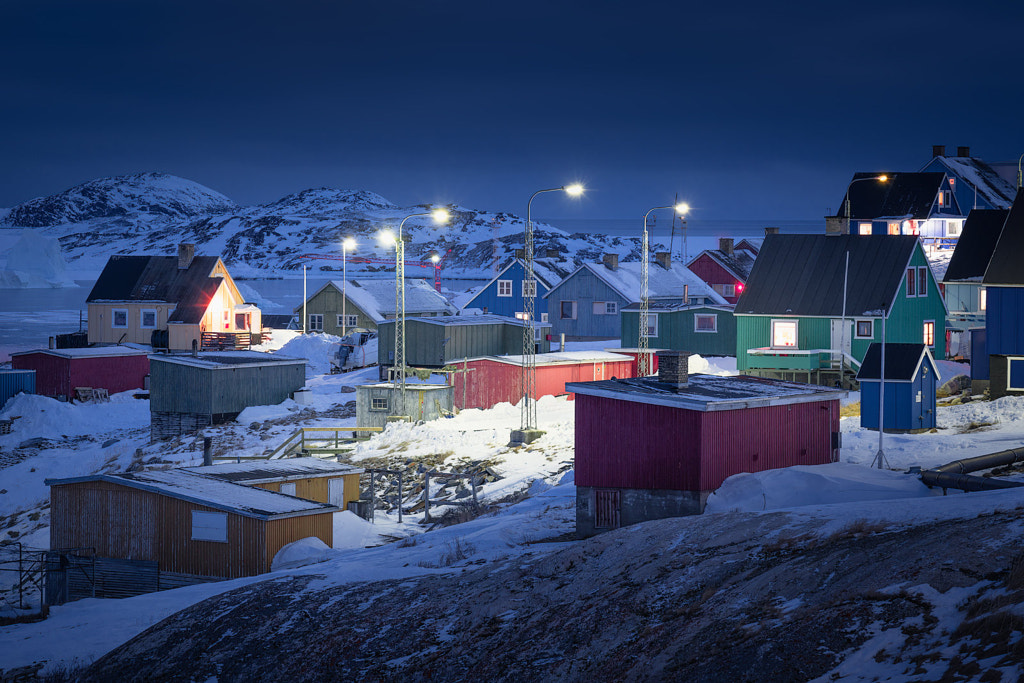
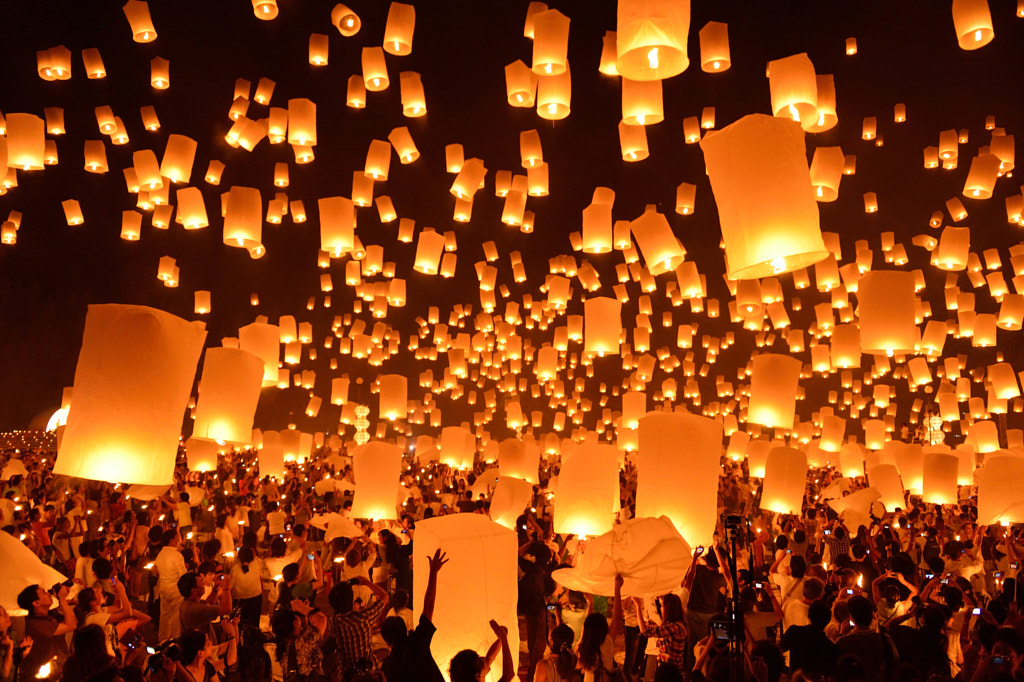
Photographers of all genres can exercise their creative muscles through after-dark sessions. Landscape photographers relish the opportunity to photograph the night sky or aurora borealis. For fine artists, low light photography offers the opportunity to experiment with long-exposure light paintings. Street photography at night provides a sense of mystery, atmosphere, and intrigue. There’s never been a better time to get started.

The basics: Technical tips for shooting at night
First, forget auto mode and switch to manual exposure. The three camera settings that compose the exposure triangle—aperture, shutter speed, and ISO—take on a new layer of importance in low light. Without a thorough understanding of how they work, you can easily end up with exposure issues.
There are two ways to maximize the amount of light coming into your camera: the first is to open your aperture, and the second is to use a slower shutter speed. The first approach will result in a shallow depth of field, while the second will result in motion blur.
A third option is to bump up your ISO; bear in mind that boosting ISO will introduce more noise into your image, but it’s sometimes worth it. Some cameras handle high ISOs much better than others, so know your gear. If you plan to spend a lot of time shooting at night, it might be worth investing in a camera built specifically to handle high ISO settings.
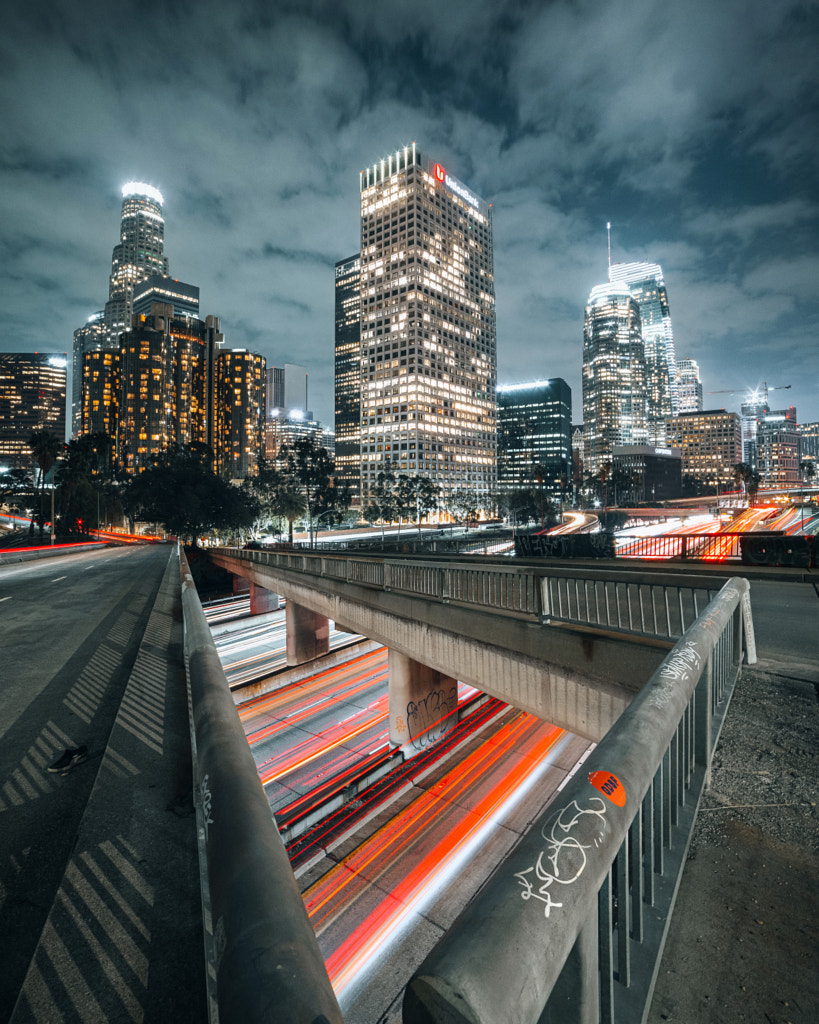
With long exposures (slow shutter speeds), you’ll need a tripod and remote shutter release. Wind can also introduce camera shake, so opt for calm and quiet nights, if possible. Long exposures are also necessary for shooting those moving star trails and light trails (for instance, from cars in motion) at night. In genres that are less technical, such as street photography, you might be able to get away with not having a tripod, but in many cases, it’s non-negotiable.
Note: Remember to turn off image stabilization when using a tripod, as it can introduce unwanted blur.
We also recommend taking plenty of test shots as you go to make sure you have the right exposure. You can use the high ISO testing method to save time; this just means ramping up your ISO so you can use a faster shutter speed while testing before adjusting your settings for a long exposure. This can require some trial and error, but the result is worth it.
LCD screens are notoriously unreliable at night, so check your histogram regularly to make sure your highlights aren’t getting blown out; in many cases, clipping in the shadows will be inevitable at night, so you don’t have to worry about that as much. You can also bracket your shots to be safe.
In general, manual focus—in conjunction with Live View—is more reliable at night than autofocus, so feel free to take your time getting it just right. Also, shoot in RAW. RAW files give you more flexibility to correct mistakes during post-production; for instance, you can easily correct unattractive color casts (common at nighttime) by adjusting your white balance, but you need to have the RAW file to do this.
Location scouting
It might go without saying, but it’s very difficult to find a compelling subject and vantage point when you’re working in the dark. For that reason, scout your spot in the daytime so you have plenty of room to explore and experiment. If you’re not able to visit in person, use Google Earth, and browse photographs made in the same location by other artists. On the day of the shoot, arrive early if you can—before the sun sets—so you can set up without rushing.
It’s also a good idea to do some research on how the location looks at nighttime. Will you have to contend with light pollution or mixed lighting? Prepare for any potential challenges by checking out the location and assessing the artificial and natural lighting conditions you’re likely to encounter.
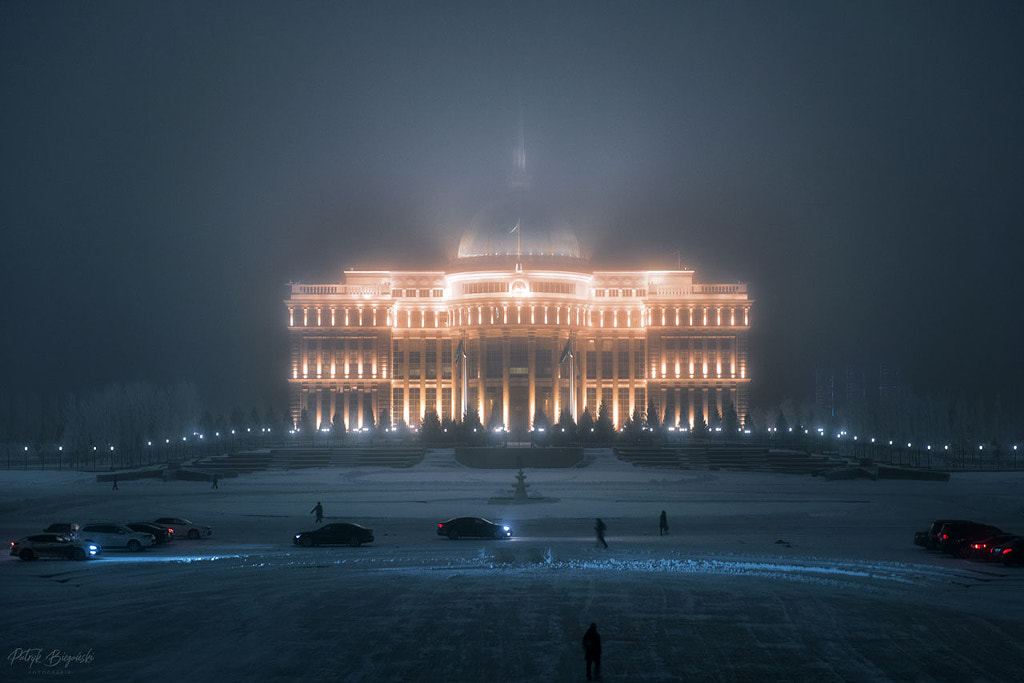
As with any shoot, check the weather forecast, and plan accordingly. Rainy or foggy weather can be beautifully atmospheric at night. Brassai, the quintessential night photographer, certainly thought so. The Polish photographer Patryk Biega?ski was able to capture this once-in-a-lifetime shot of Nur-Sultan, the second coldest capital city in the world, during a foggy spell when temperatures fell to -20 Celsius.
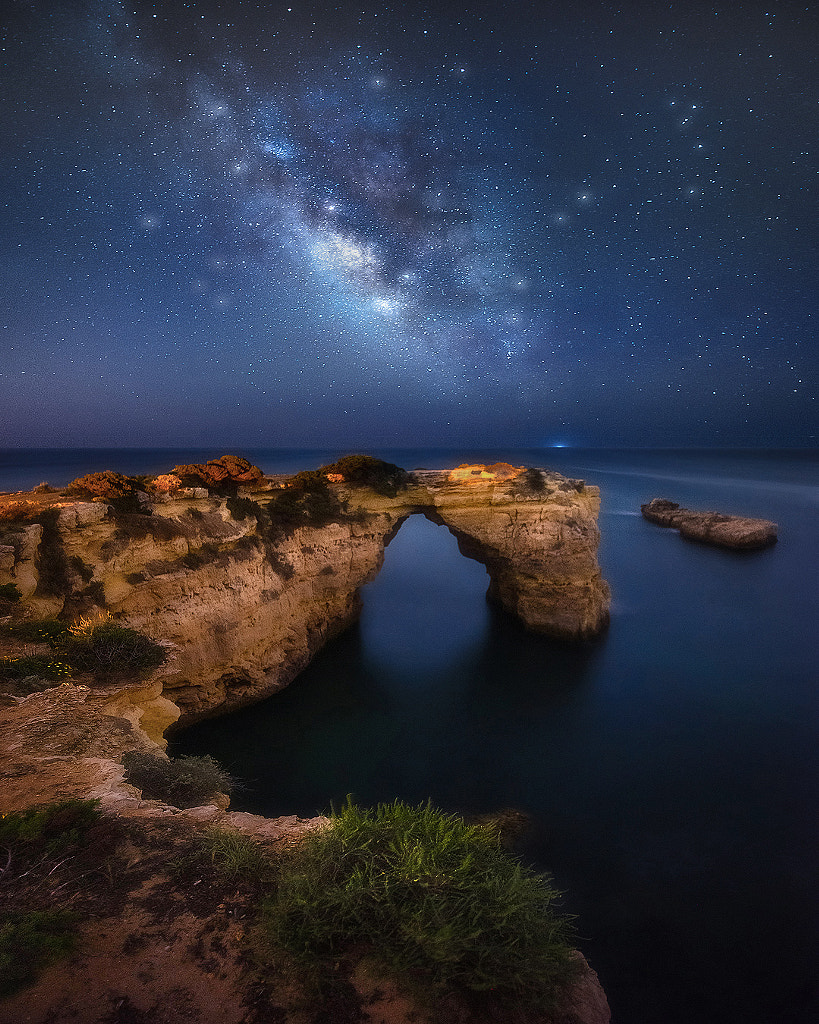
With that being said, if you do plan for fog, rain, or snow, you’ll need to come prepared, well-dressed, and with your gear protected. For outdoor pictures, apps like PhotoPills or The Photographer’s Ephemeris can give you detailed information about the sun and moon positioning plus any additional lighting conditions to be aware of at specific locations. If you’re planning to shoot the stars, the new moon is best, as evidenced by this breathtaking capture by the photographer José Ramos, made at Albandeira Beach in Portugal.
When packing your camera bag, remember to bring a headlamp for safety and convenience and extra batteries just in case (especially if you’re using long exposures or dealing with colder temperatures). Another accessory that comes in handy on location, especially if you’re dealing with bright city lights, is a lens hood.
Trial and error
Finally, give yourself plenty of time. Night photography requires more experimentation than daylight shoots do, and you’re likely to spend quite a bit of time perfecting your focus and exposure. In the beginning, you might get more unusable shots than good ones, but results will come with practice.
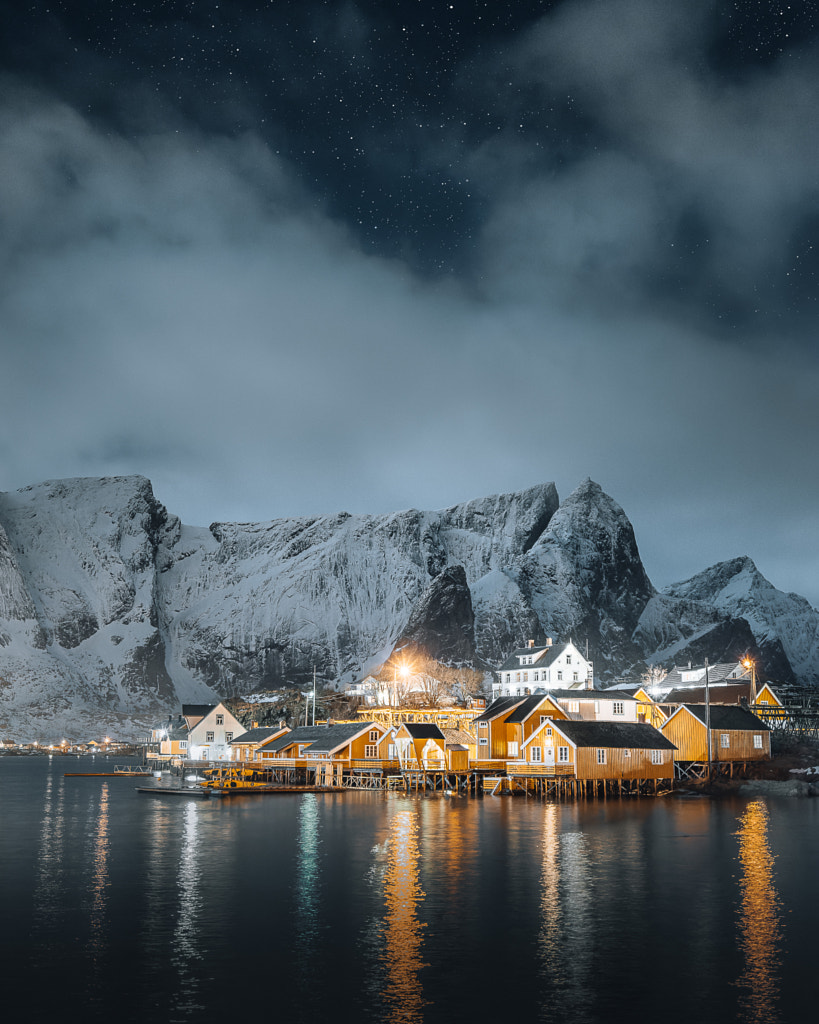
If you’re lucky, you might also end up with “happy accidents” along the way. When creating this stunning image in Lofoten, Norway, for example, the photographer Marc Hennige bumped up his ISO to 3200 simply to test the framing because the scene was completely dark. As it happens, he liked the shorter exposure more. Bring some snacks, a warm thermos with tea, and your favorite music, and enjoy the adventure.
Not on 500px yet? Click here to sign up.


Leave a reply