High resolution. Fast autofocus. Low-light performance. Long battery life. Durability.
These are just some of the advantages of upgrading to a DSLR (digital single-lens reflex) camera, considered by many pros to be a gold-standard in an industry that’s constantly evolving and rolling out new technologies. Because these cameras have been around for a while, your first DSLR is likely to last for years, giving you a huge range of lenses and accessories to explore.
DSLRs are also versatile, and you have options when it comes to shooting modes, exposure settings, and autofocus modes—some of which come with a bit of a learning curve. In this brief guide, we’ve tried to simplify some of the most important modes and settings you’ll find in your new camera.

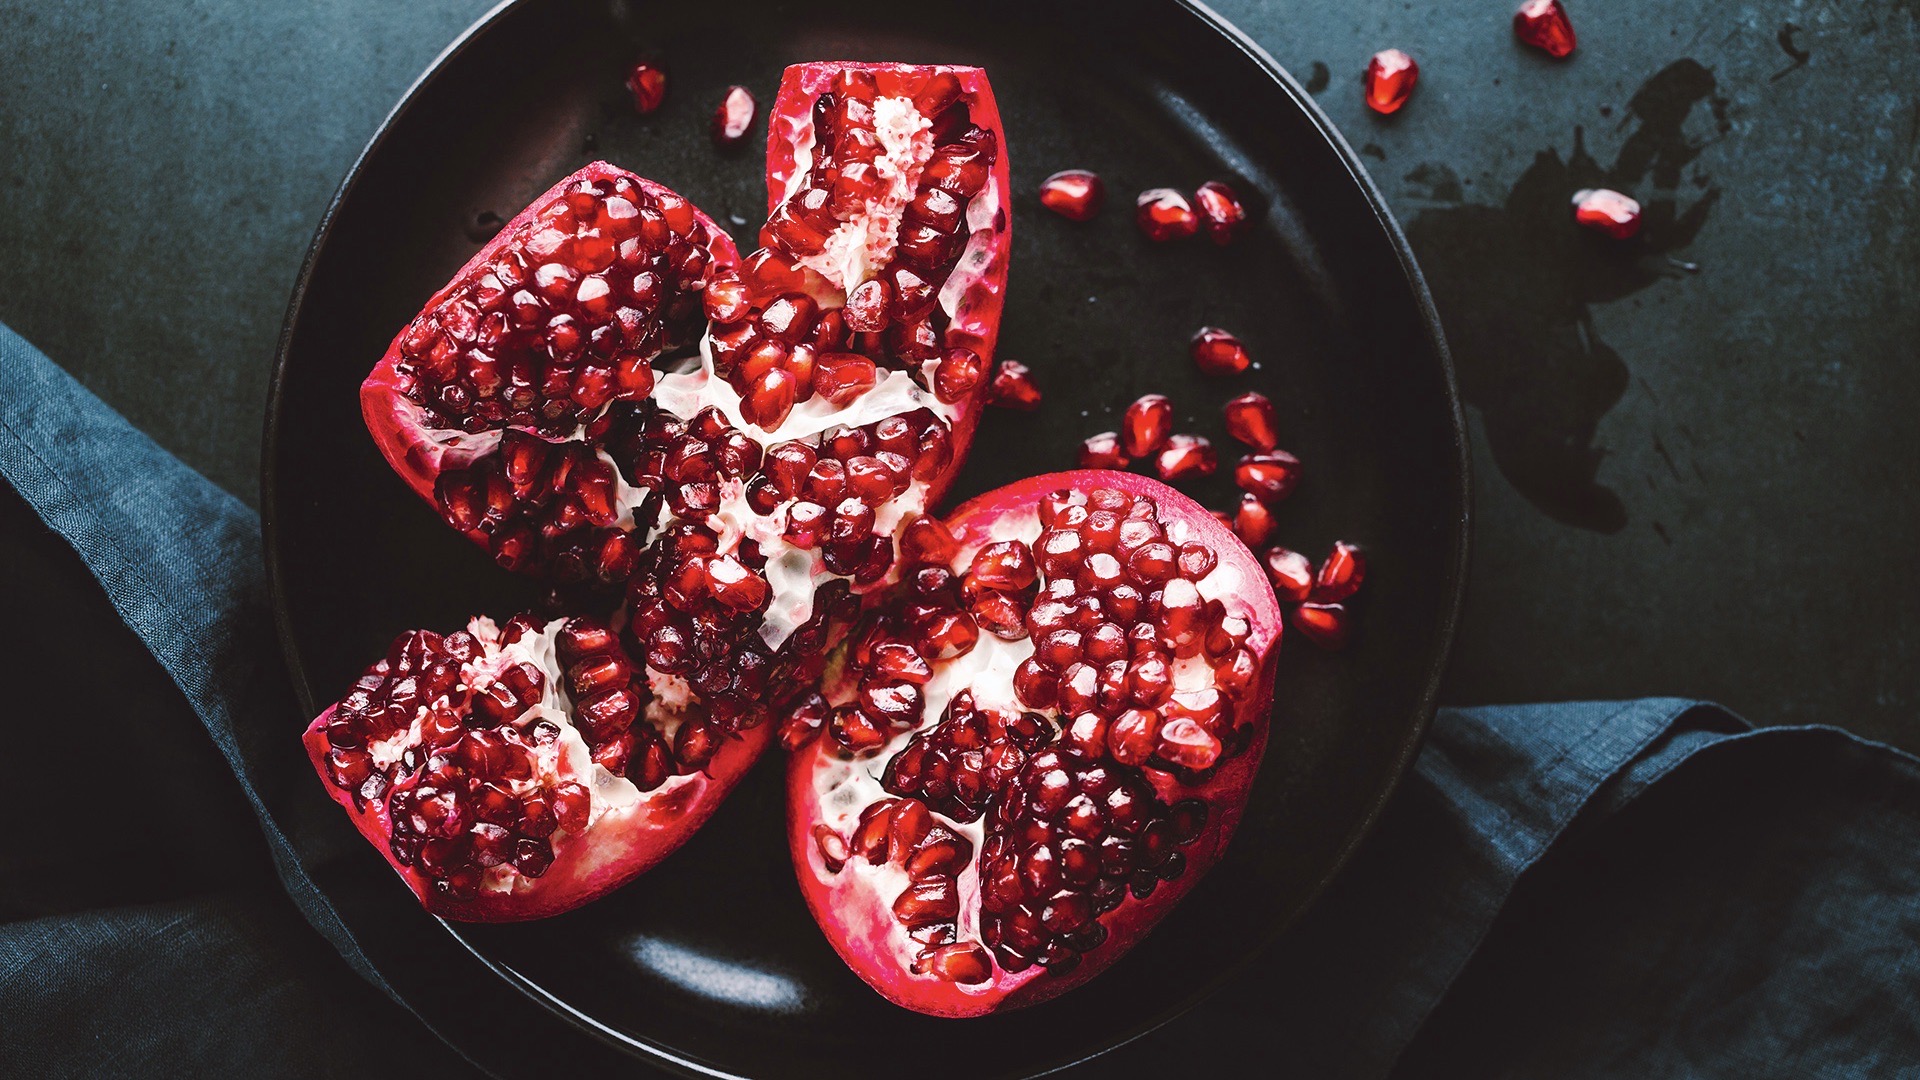
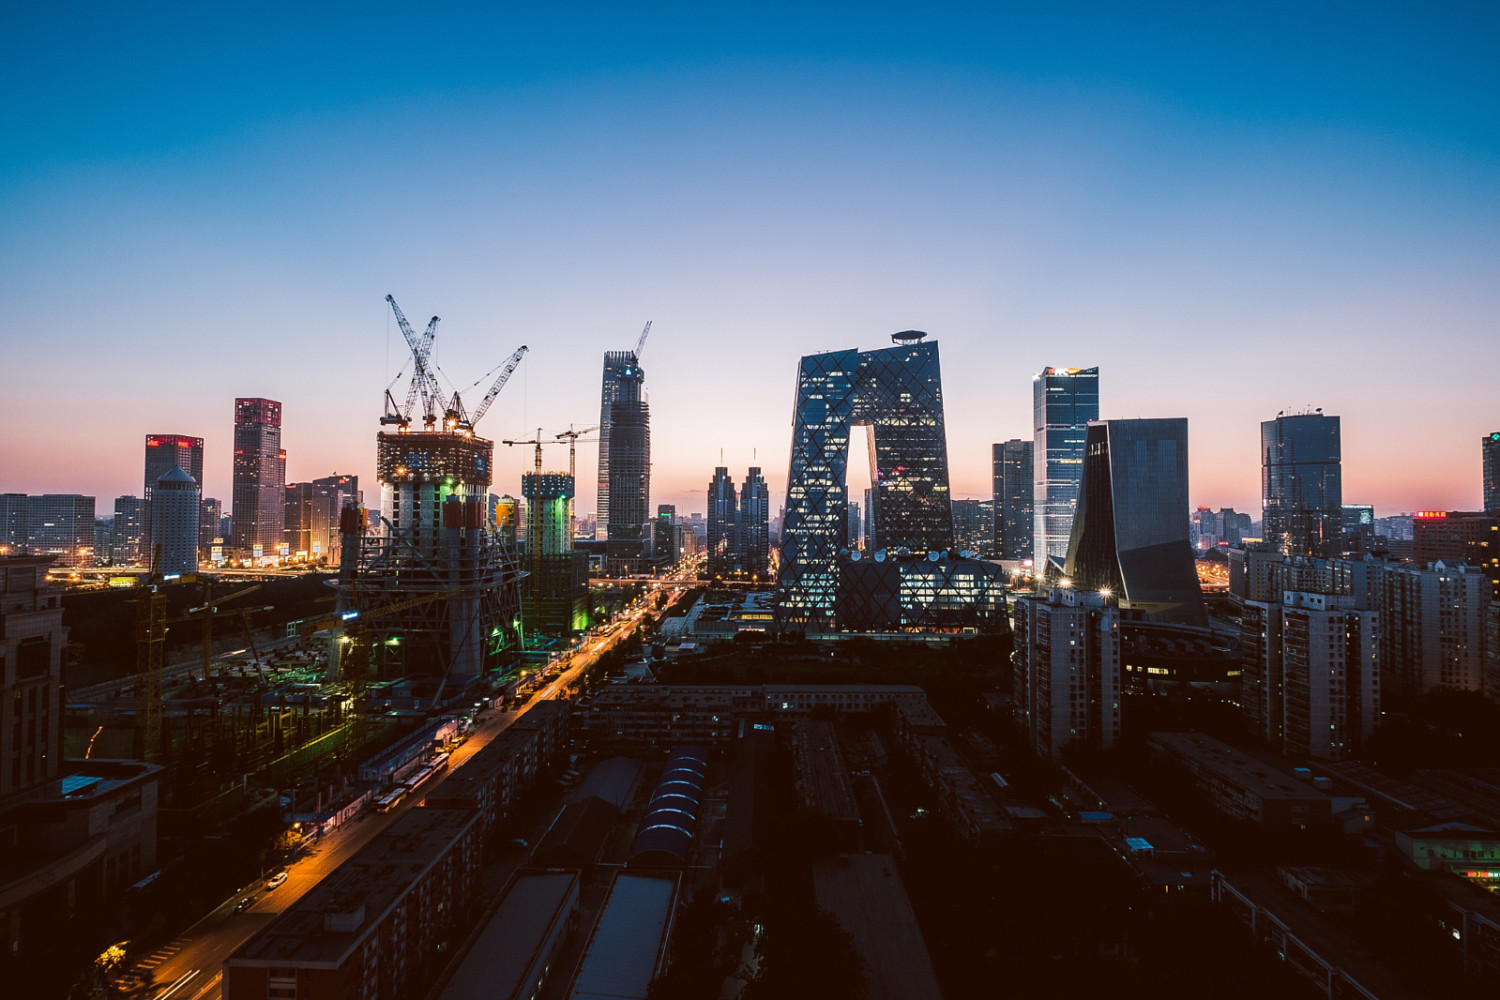
Created with the Canon EOS 5D Mark IV
Big camera brands use their own abbreviations and lingo, but here, we tried to keep it as simple and generic as possible. Throughout, we’ve selected standout photos made with some of the best DSLRs on the market to show you what they can do. Make sure to follow along with your camera manual to see what specific terms your manufacturer uses as you go through this guide, and hold onto it as you learn the nuances of your particular model.
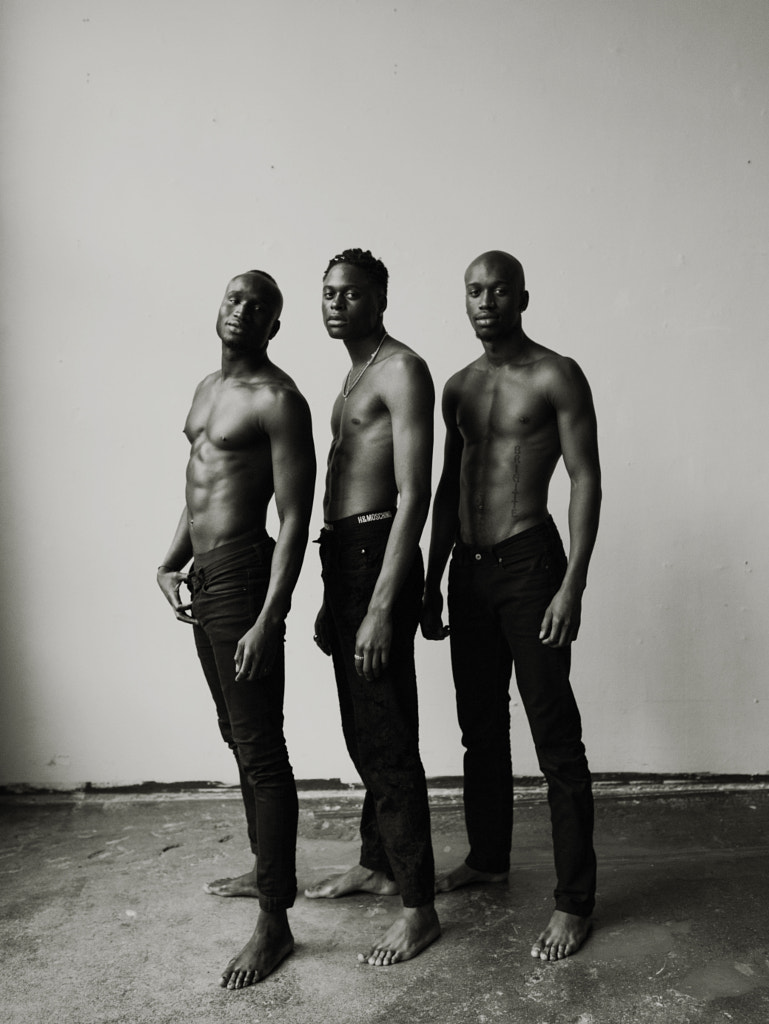
Quick tip: Use both hands! DSLRs are big and bulky, so you’ll need two hands to stabilize your camera; place your dominant hand on the hand-grip, and use your other hand below the lens for support.
Shooting modes
If you haven’t read our guides to aperture, shutter speed, and ISO, those are great places to start. Known as the “exposure triangle,” these three Settings determine how bright or dark your photo is. They also come with unique “side-effects,” like depth of field, motion blur, and noise, respectively.
Here’s where your shooting modes and mode dial come in: auto mode gives your camera full control over all your Settings. It will assess the scene and available light and make a guess about what works best for the situation at hand.
This mode is convenient when you’re starting out because it takes the technical aspects out of your hands and lets the camera do the work for you. The trade-off is that sometimes your camera will “guess” wrong, especially if you want to freeze motion or keep your entire scene in focus.
For more control, you can move a step away from auto mode with a semi-automatic mode like aperture priority or shutter priority. As you might expect, the former allows you to select the aperture (and therefore, the depth of field) you want, and then the camera will adjust the shutter speed to get a proper exposure. Shutter priority does the opposite; you choose the shutter speed, and your camera compensates by selecting an aperture.

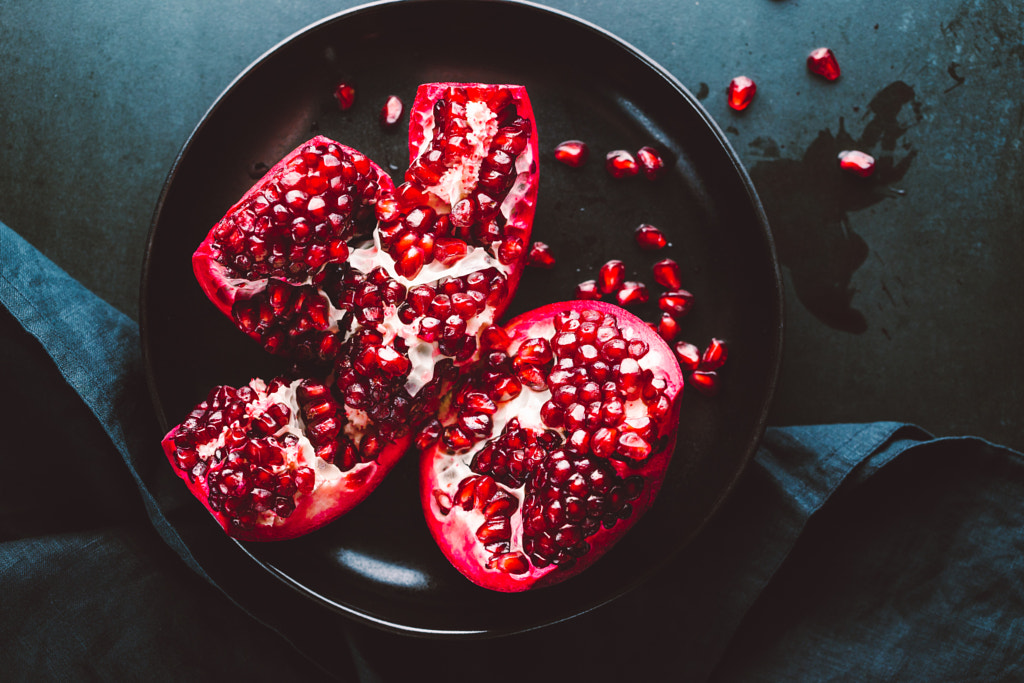
Created with the Nikon D850
Program mode falls somewhere in between your camera’s auto and aperture and shutter priority modes; it’ll choose your shutter speed and aperture, but you’ll be able to adjust your ISO, exposure compensation, and white balance.
You can also play around with “scene modes” like portrait, nighttime, sports, or landscape, which tell your camera what Settings to choose based on the genre or conditions of your shoot. These predetermined Settings might vary based on your camera model and manufacturer, and while they won’t always be accurate, they can provide the occasional convenient shortcut.
Created with the Canon EOS 6D Mark II
Finally, if you’d like to have full control over your ISO, depth of field, and motion blur, your best bet is to work in manual mode. In this mode, you can adjust every setting to your liking, but remember to keep an eye on your exposure meter, as you’ll have to finesse each setting to get it just right.
If your camera is indicating the exposure is too far to the left, you’ll end up with an image that’s too dark; too far to the right, and it’ll be too bright or blown-out. Aim for that sweet spot—indicated by the number ‘0’—in the middle.
Quick tip: DSLRs are durable, but they aren’t invincible. Invest in a nice, sturdy camera backpack and camera strap. Find a UV filter for your lens, and keep the cap on whenever possible. Avoid dirt, dust, sand, smoke, and water as much as you can, and if you have to shoot in dusty conditions, refrain from changing your lens.
Metering modes
If you’re wondering how your camera determines the correct exposure for your photo, go into your menu and explore your metering modes.
Matrix mode, sometimes called “evaluative mode,” might be the most straightforward; in this mode, your camera selects the right exposure based on everything in your frame, from side-to-side and top-to-bottom. In most cases, that’ll do just fine, but that might change if you’re only interested in exposing for a specific part of the image.
Created with the Canon EOS 6D Mark II
In weighted mode, your camera will measure the light in the center of your frame, while ignoring the edges. This mode works well if you’re shooting a high-contrast scene where you want the exposure to be perfect on your subject, who takes up most of the middle of your frame, and you don’t care as much about the background.
If your subject is small or off-center, switch to spot metering instead, as that will allow you to expose precisely for that area of your frame.
Quick tip: Use a dedicated microfiber cloth or brush for your lens, rather than clothing, tissues, paper towels, or rags. Steer clear of household cleaners as well, as they can easily cause damage to your equipment. You can use a lens tissue and high-grade isopropyl alcohol on your lens glass.
Autofocus modes
Your DSLR has a manual focus mode—which gives you the power to adjust your focus by hand—but it also has several autofocus modes, and each has its applications. In most cases, the first two autofocus modes to tackle are single and continuous.
The former, single area autofocus, locks your focus on your subject as you press the shutter halfway down and keeps it there. This approach is great for stationary objects and people, but if your subject moves within this mode, it might become out of focus. With continuous autofocus, on the other hand, your camera will lock focus on a moving subject as you hold down the shutter button halfway, so it works well with objects and people in motion.

Created with the Nikon D750
Auto-servo or hybrid autofocus mode will leave that decision up to your camera; it will determine whether or not the subject is moving, without your input, and work accordingly.
Quick tip: It might go without saying, but don’t touch your camera sensor. To clean it, use a hand air blower only—never canned air.
Autofocus points
You tell your camera exactly where in your composition you want it to focus by selecting your autofocus point(s); depending on your camera, you could have anywhere from nine to 51 of these points to choose from.
You can use the single-point mode to focus on a specific, stationary part of your frame, or you can opt for a group mode to activate several focus points. Alternatively, dynamic modes will track your subject and keep it in focus if it moves to and from points surrounding a single locked-in point.

Created with the Canon EOS Rebel SL3 / 250D
If you’re not sure where you want to focus, or you don’t feel like selecting your autofocus points, you can always let your camera take its best guess in auto area autofocus mode, though we recommend choosing your focus points for more creative control.
Quick tip: During cleaning, do a routine check to make sure your lens mounts smoothly, your lens contacts are clean, your zoom rings run smoothly, and all your dials are in working condition. Take some test shots when you’re done to ensure your camera is ready to go before your shoot.
More than anything, we suggest getting started shooting as soon as possible; try out different modes, and see how they work. The more you experiment, the quicker you’ll grasp these key concepts. Make mistakes, evaluate your settings, switch modes, and try again until you get the look you want.
Not on 500px yet? Sign up here to explore more impactful photography.


Leave a reply