If you’re a film buff, you know that some movies revolve around a single color. The Matrix, for example, includes scenes with a signature green hue, meant to represent the virtual world. Wes Anderson famously used variations of pink in The Grand Budapest Hotel. The Three Colours trilogy, a series of French films by Krzysztof Kie?lowski, use blue, white, and red, respectively.
In art and design, a monochrome color palette uses one hue only, often with varying saturations or values. These schemes can heighten the emotion or idea behind iconic films, and they can be used similarly in still photography. In this quick guide, we’ll explore how to use these palettes to your advantage.
A quick note on language
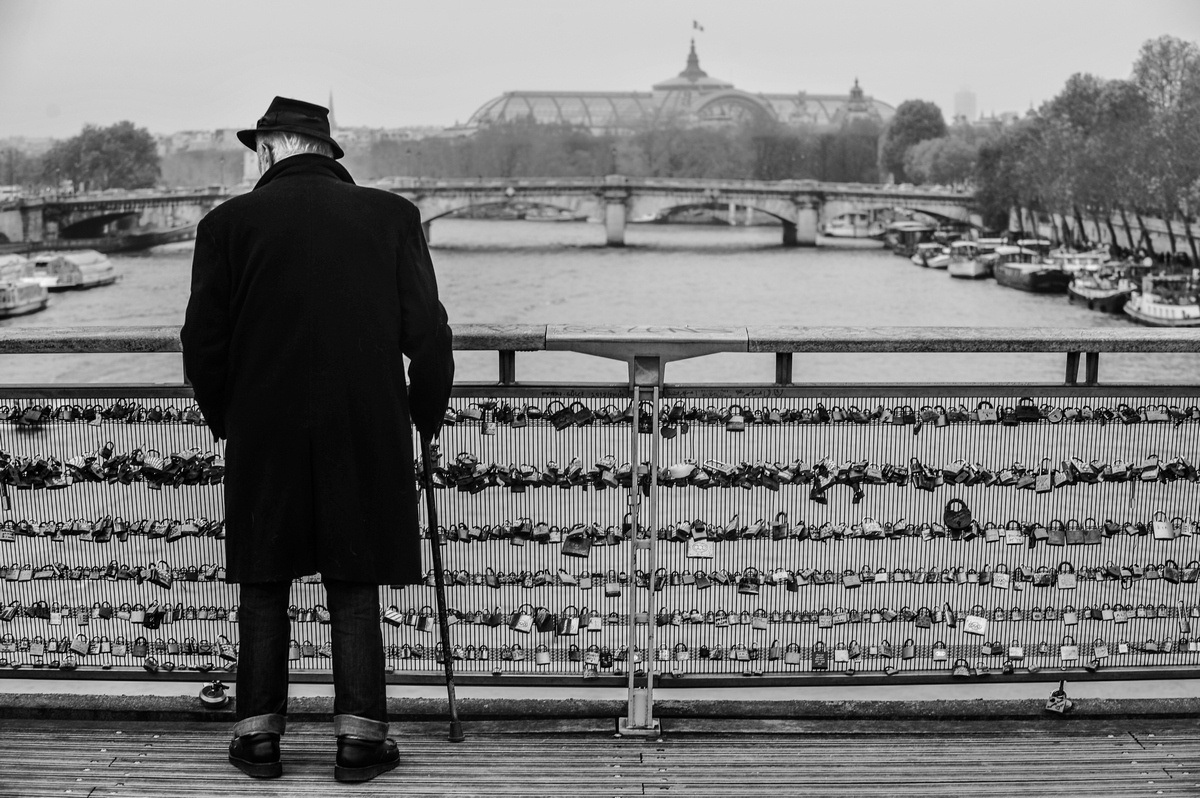
While “monochromatic” and “black and white” are often used interchangeably in photography, they mean different things. All black and white photographs are monochrome, but not all monochrome photos are black and white. Some examples of images that are monochrome but not black and white would be cyanotypes, with their characteristic Prussian blue, or warm sepia photos.
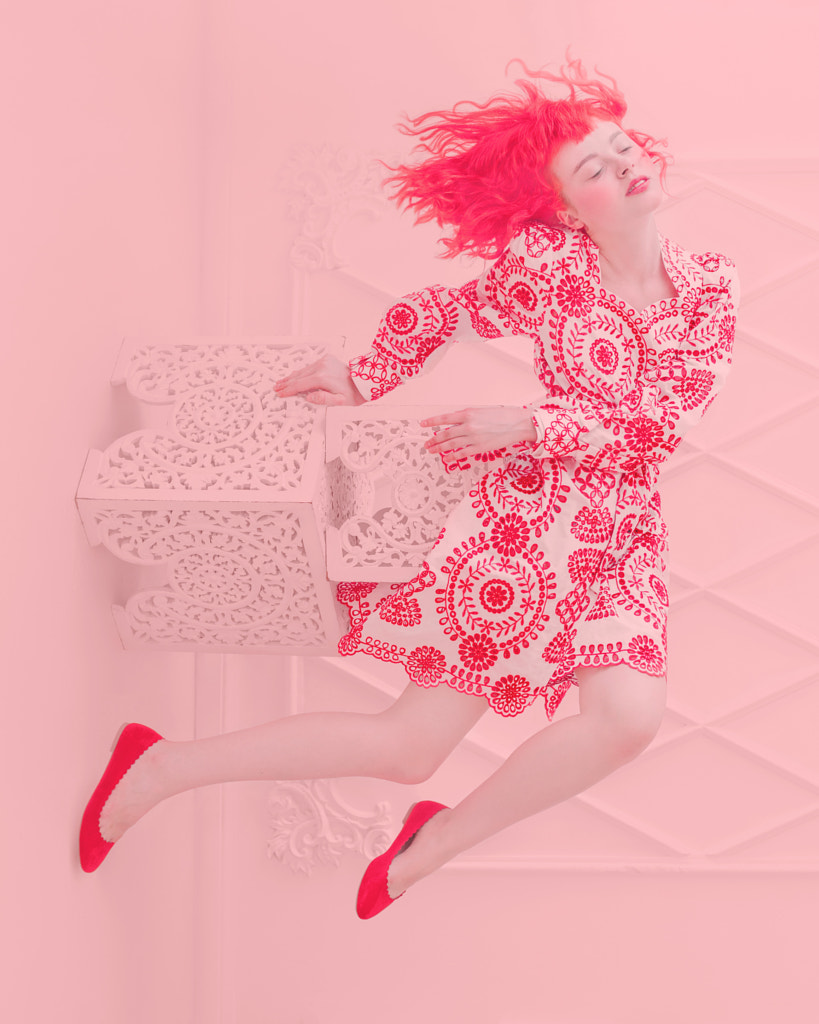
Monochrome photos can be any color, as long as they exclusively use varying tones of that hue. Monochrome moments can sometimes be found in the real world—for example, in natural landscapes of one primary hue. Other photographers, like 500px Ambassador Renat Renee-Ell, might carefully select locations, wardrobe, and props specifically to follow a monochrome color scheme. This approach takes time, but it often pays off.
Finally, many photographers choose to enhance or create the monochrome effect in post-production to elevate a specific mood or atmosphere. In this story, we’ll focus primarily on how to shoot with a monochrome color palette in mind, rather than how to convert an image from color to monochrome in post, but this can easily be accomplished in Adobe Lightroom or a comparable app. Presets can also provide a nice point of departure; from there, you can tweak to taste.
For more about black and white photography specifically, check out this article.

Why monochrome?
The truth is that some photographs work in monochrome, while others end up looking flat or muddy. The monochrome approach can be especially effective when you have an outstanding composition, a range of lights and darks, and interesting details and shapes.
Limiting yourself to just one hue can also eliminate distractions and help distill a photograph to only its most essential parts. In the best cases, where the artist had a clear reason for choosing monochrome, it can create an effect that is at once subtle and dramatic.
Tip #1: Isolate your subject
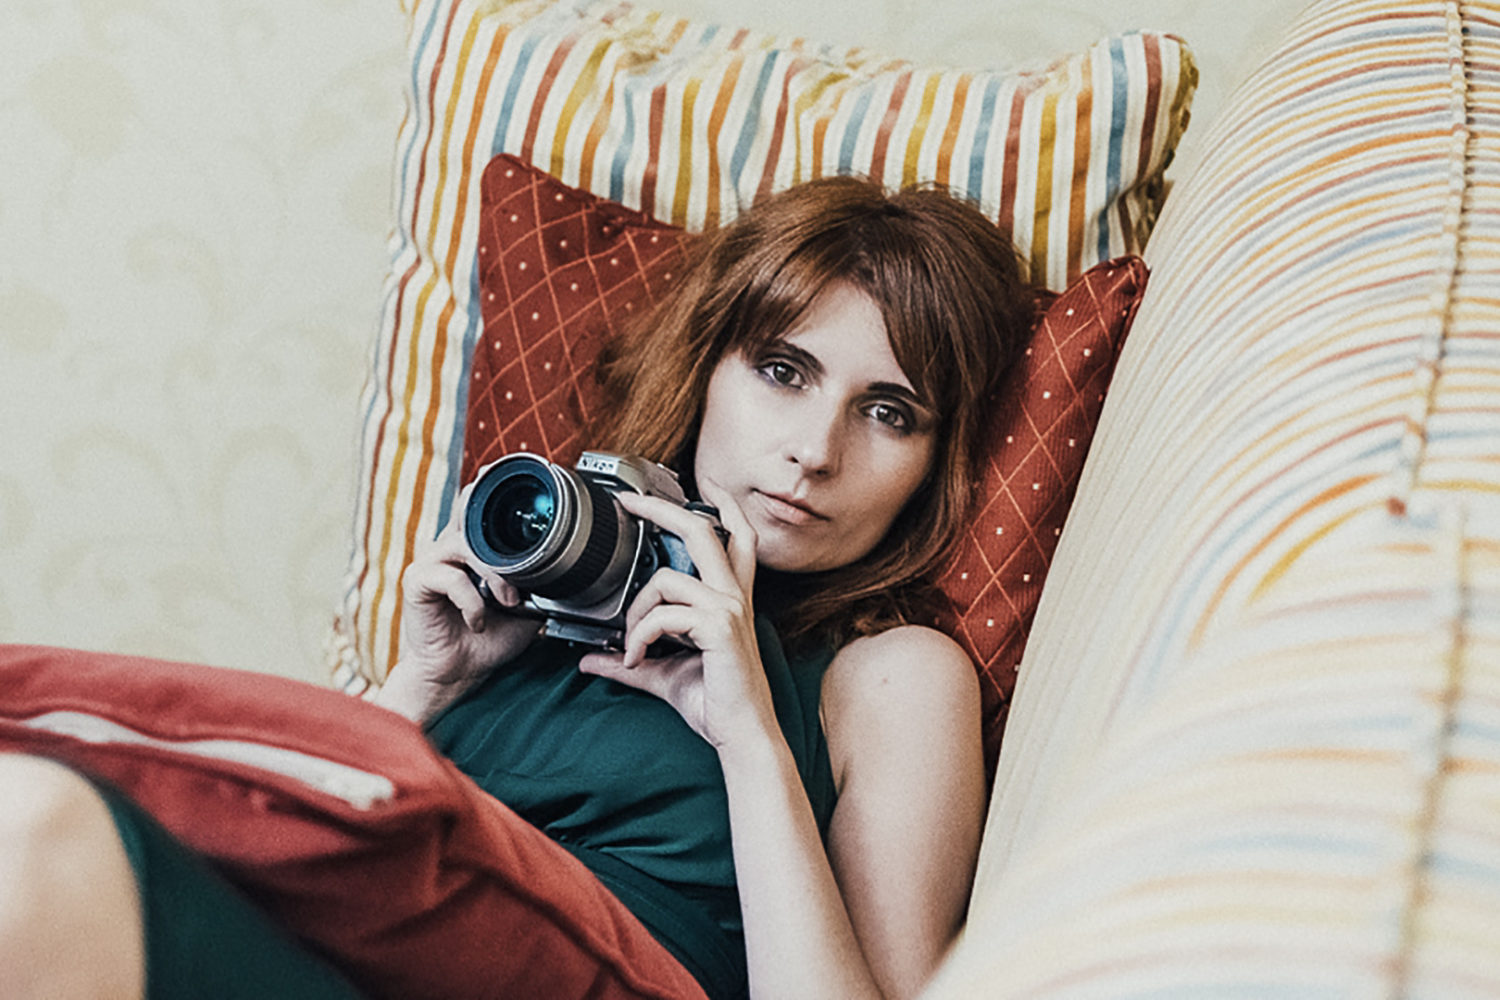
One danger in monochrome photography is letting your subject fall away or become muddled with the background; after all, the foreground, background, and middle ground will all be the same hue. Luckily, there are many ways around this problem. The first, and perhaps most obvious, is to use lights and darks to create contrast. Choose a light subject and a dark background, or vice versa.
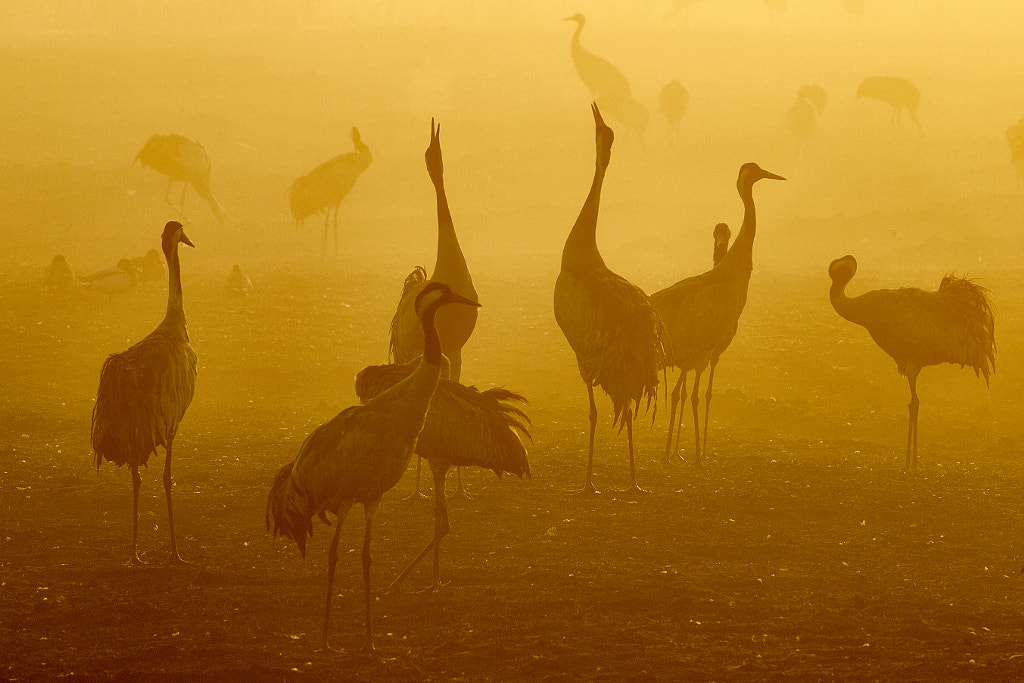
Hint: If you have a light background and dark subject, try using backlight, exposing for the background, and letting your subject fall into silhouette. Silhouettes can be especially powerful in monochrome.
Another way to create that separation would be to open up your aperture. This method is particularly popular in portrait photography: with a shallower depth of field, you can keep your subject in focus while creating pretty background blur or bokeh behind them.
Tip #2: Embrace natural light
These days, you can do almost anything with color in post-production, from boosting the saturation to introducing tons of contrast—but that doesn’t mean you should. The best editing is often the most natural, and while monochromatic photographs might give you more freedom and artistic license, that rule still holds.
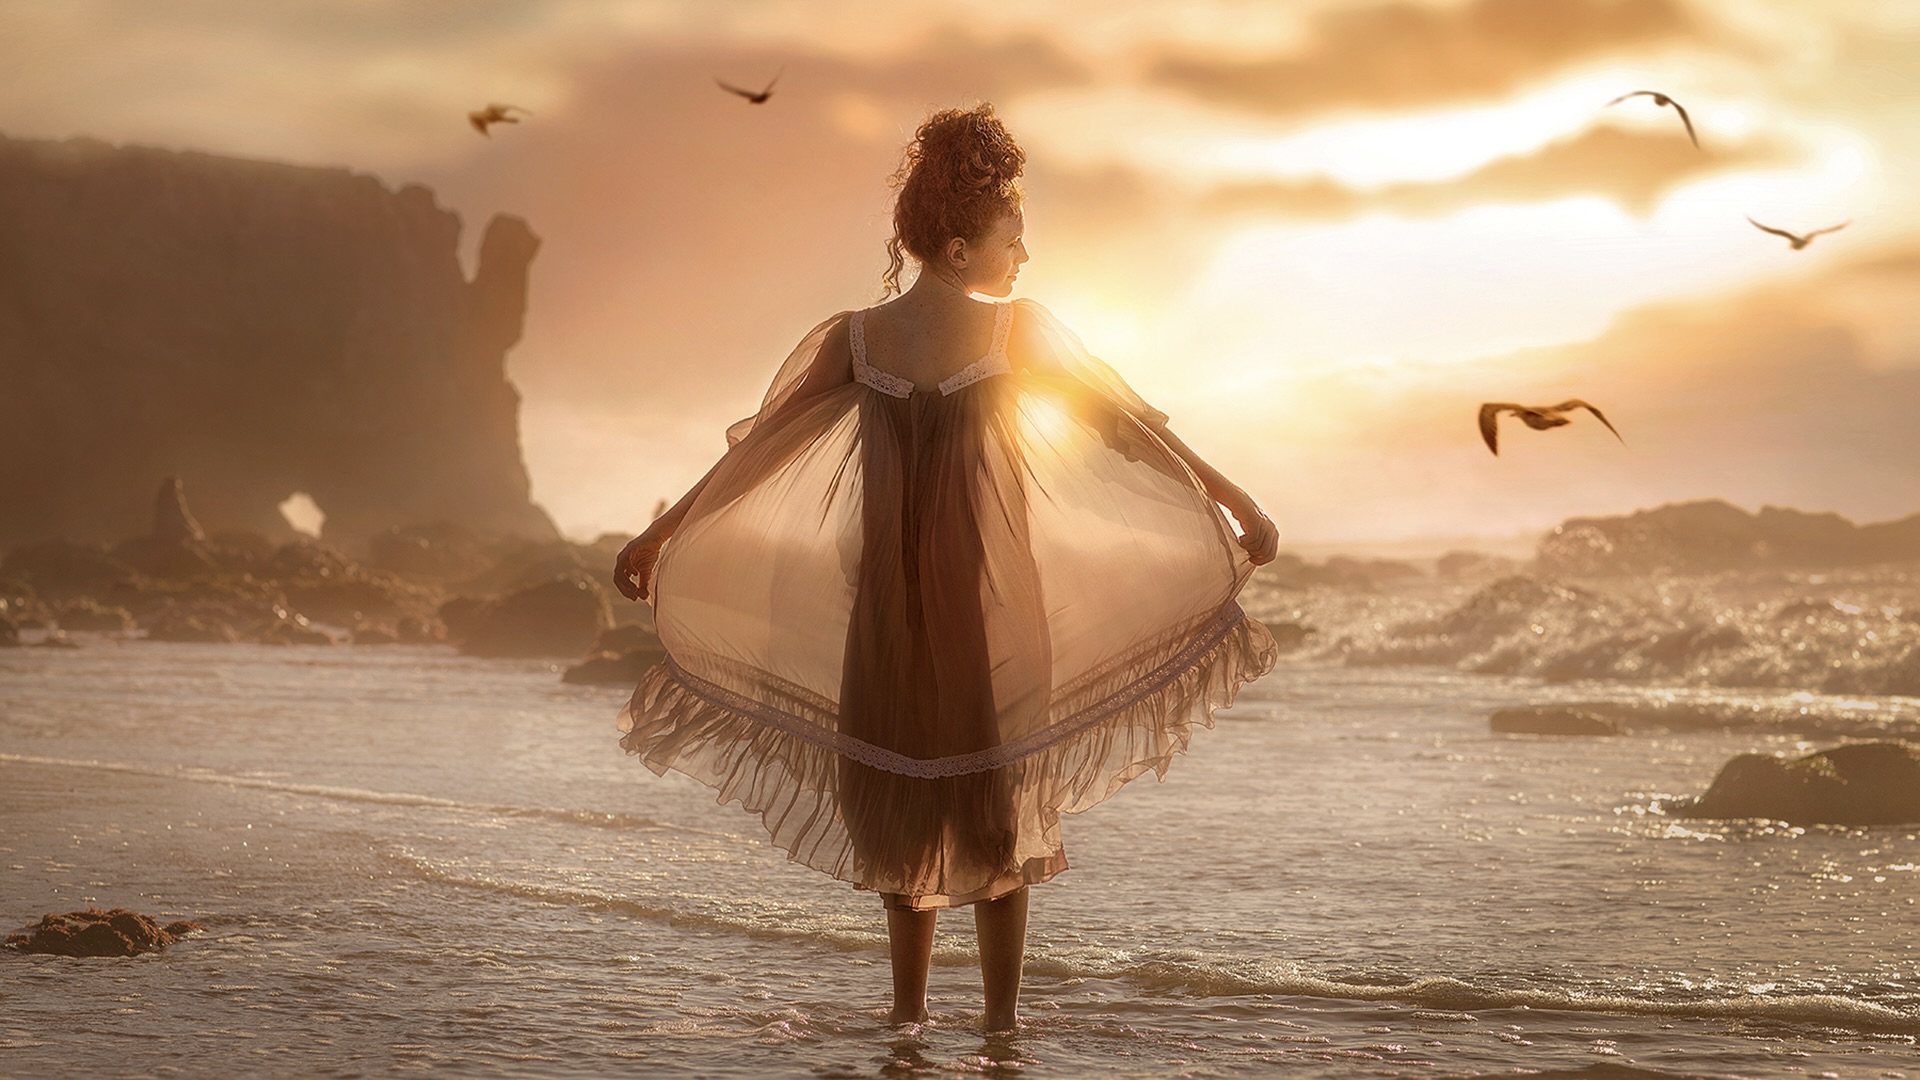
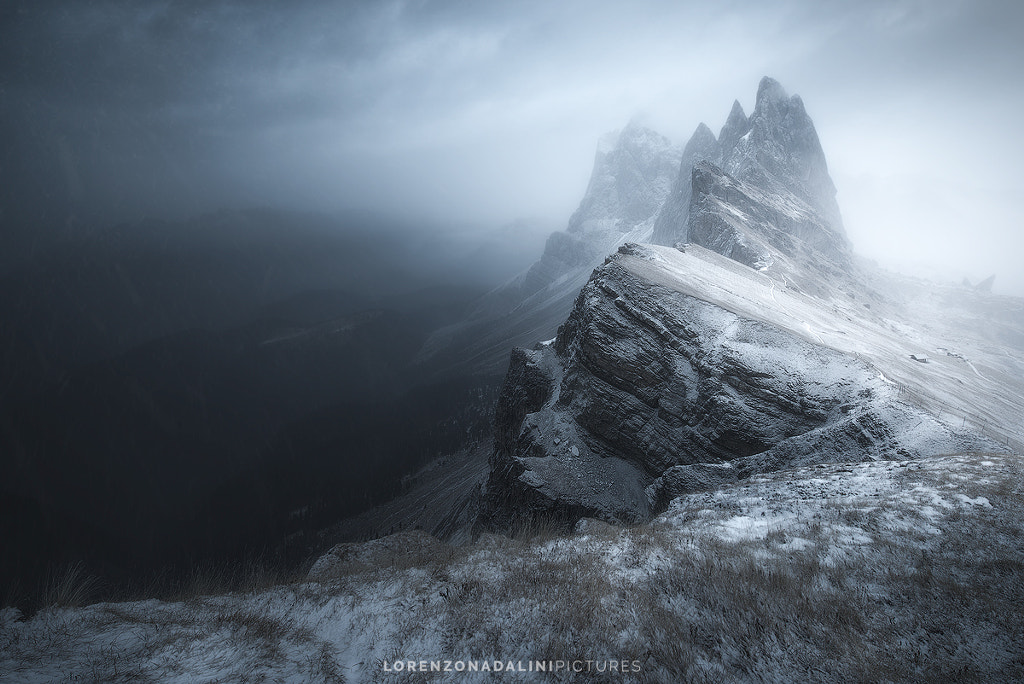
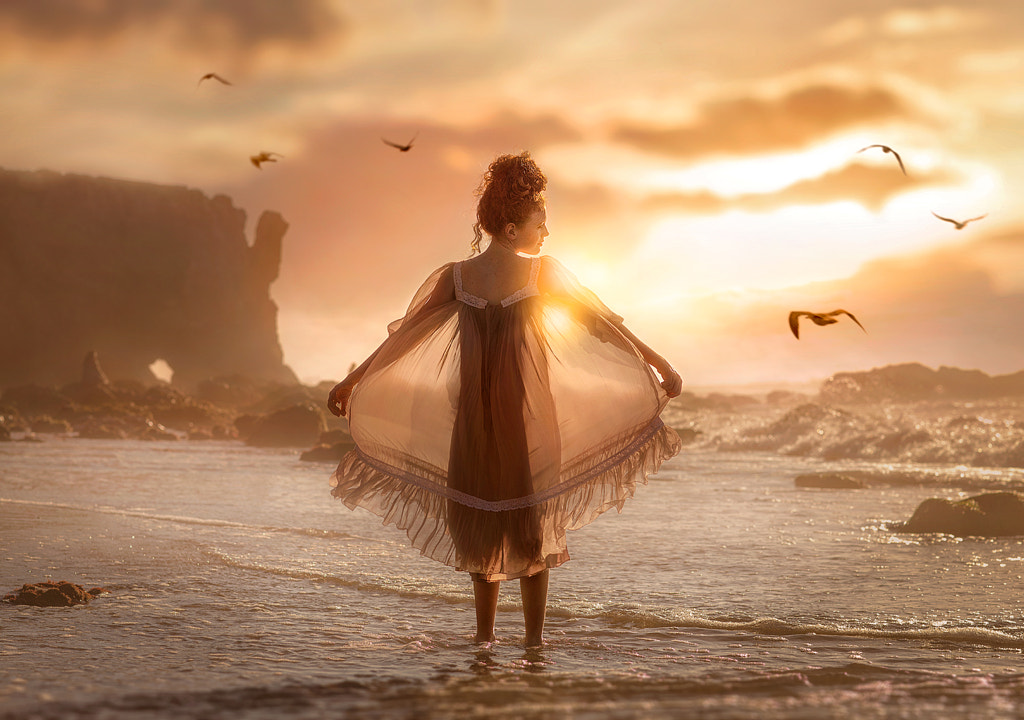
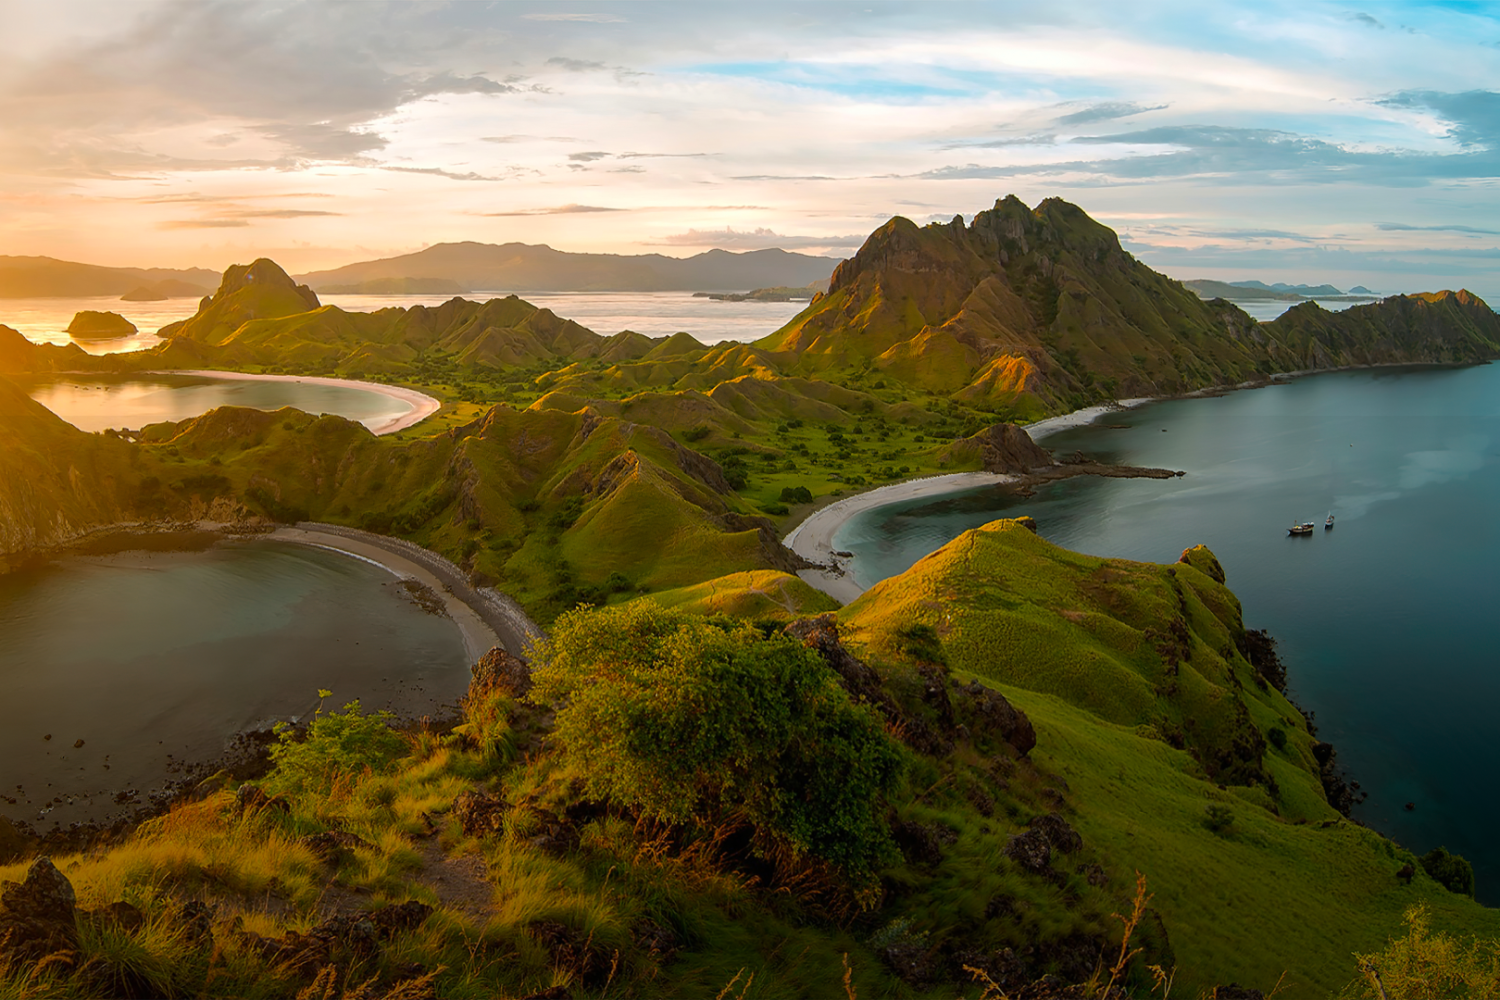
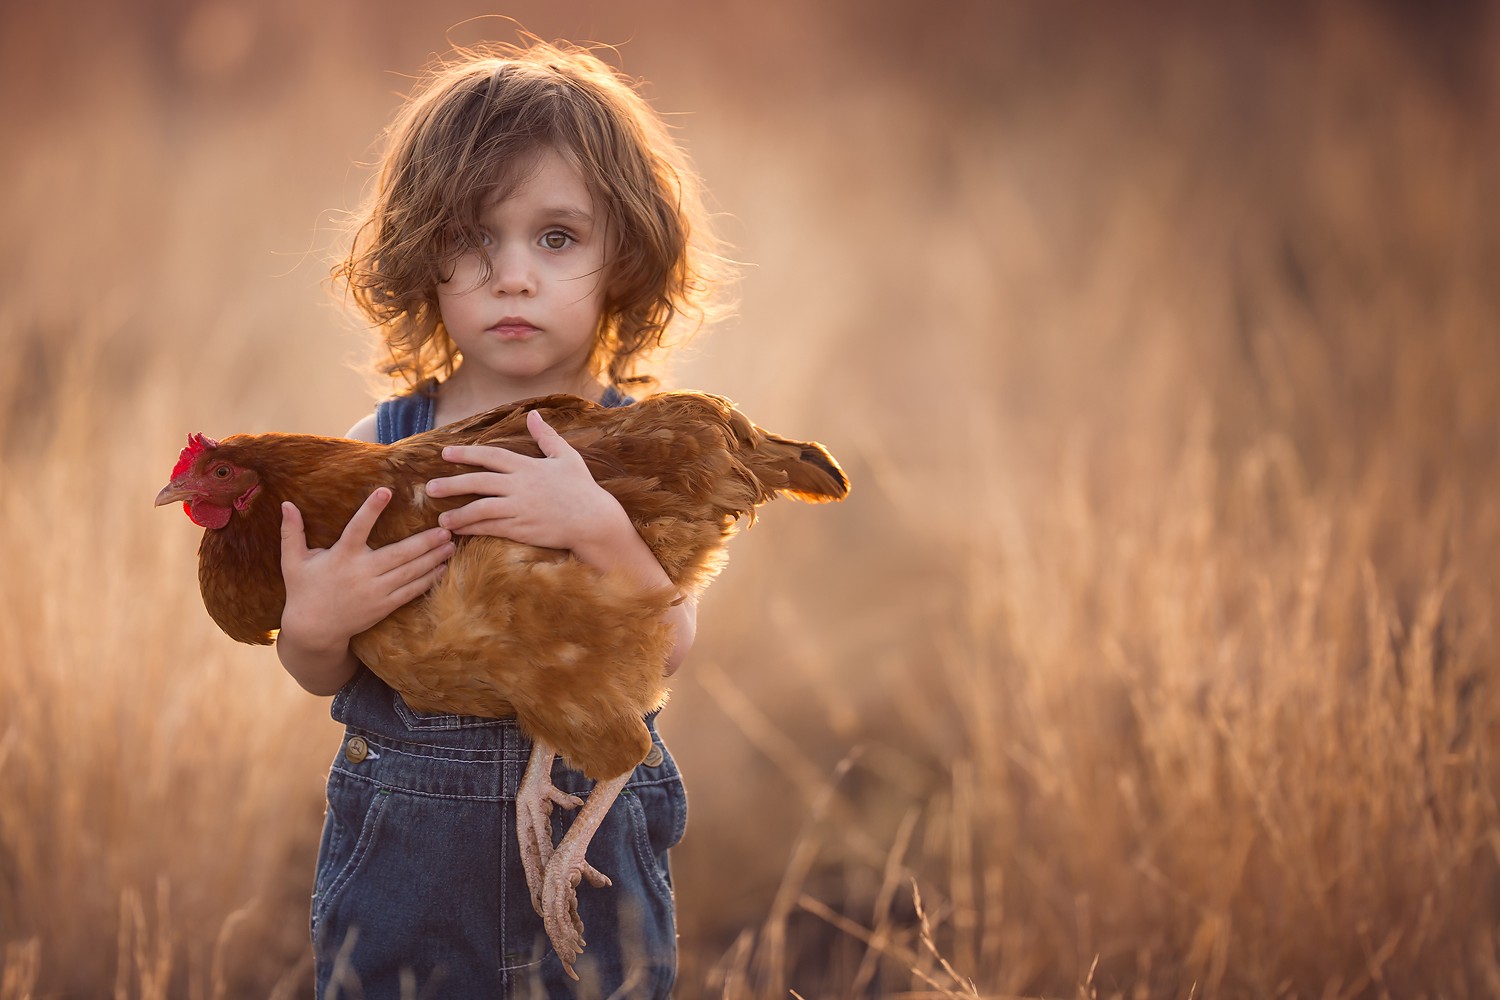
Luckily, there are some natural lighting situations that can lend themselves to an almost monochrome palette, including the appropriately named “blue” and “golden” hours around sunrise and sunset. While the blue hour might work best for lonely winter landscapes, the golden hour can bring a sense of warmth and nostalgia to otherwise ordinary scenes. Consider these conditions when choosing locations, and feel free to enhance the mood in post-production, using a light touch.

Tip #3: Look for texture
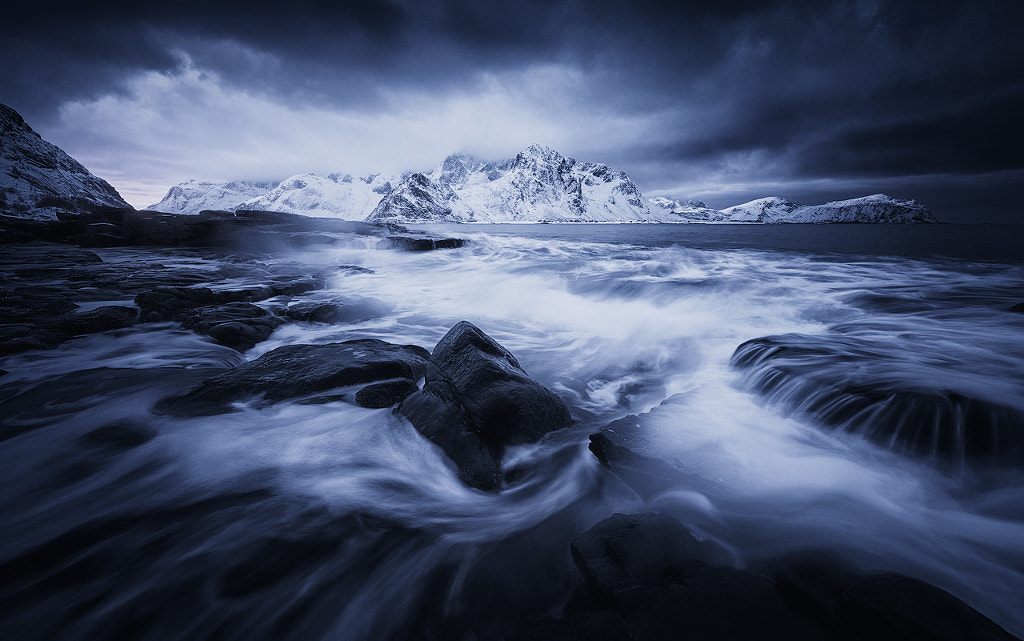
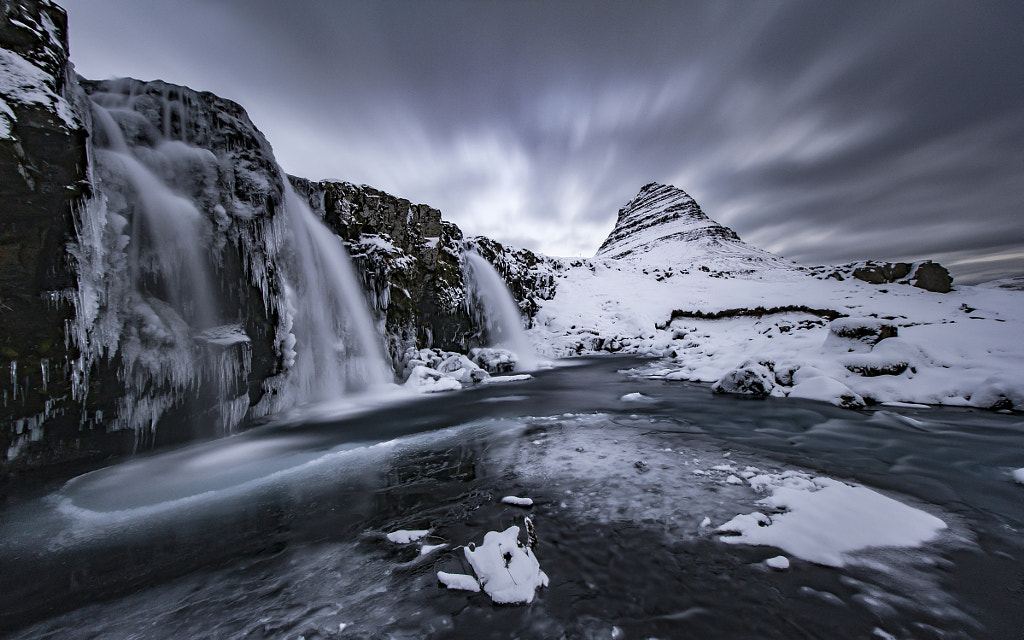
Monochrome photos don’t have color contrast, so one way to create interest is by introducing texture, whether it’s a rough and craggy landscape or the silky surface of a body of water. Textures look best when lit from the side, so pay attention to where your light source is in relation to your subject. Adjust your position accordingly, or plan your shoot for when the sun will be in the ideal spot in the sky.
Tip #4: Introduce motion
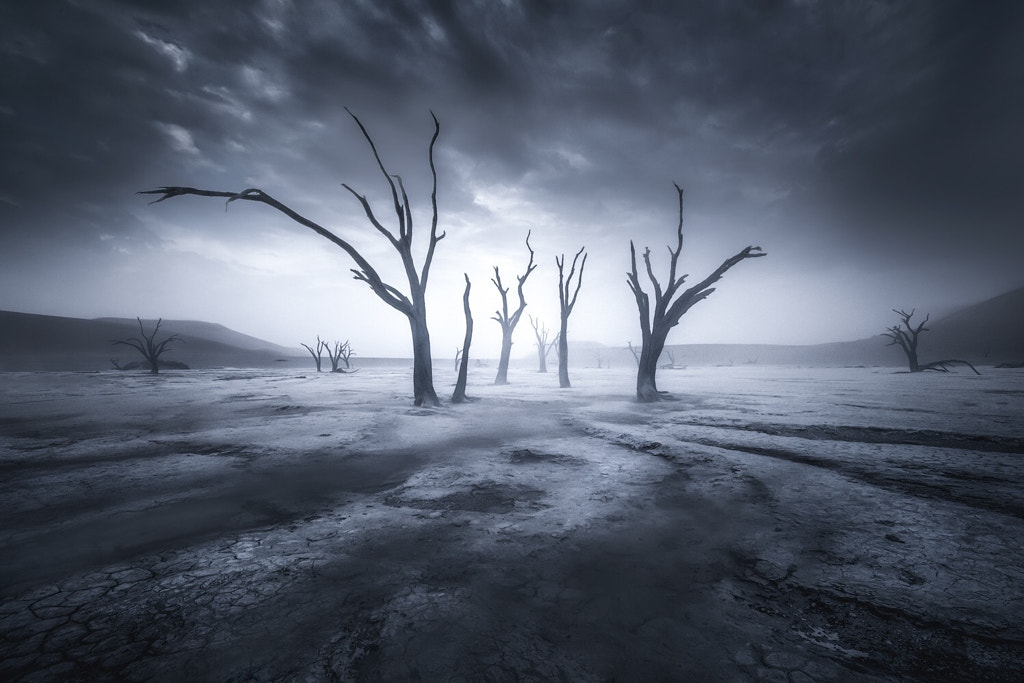
Movement, like texture, can help bring drama to a scene that lacks color contrast. If you’re shooting landscapes, you can incorporate motion by using long exposures to blur clouds or waves. In general, dramatic, cloudy skies work best in monochrome, as plain skies can look boring without those characteristic streaks of color.

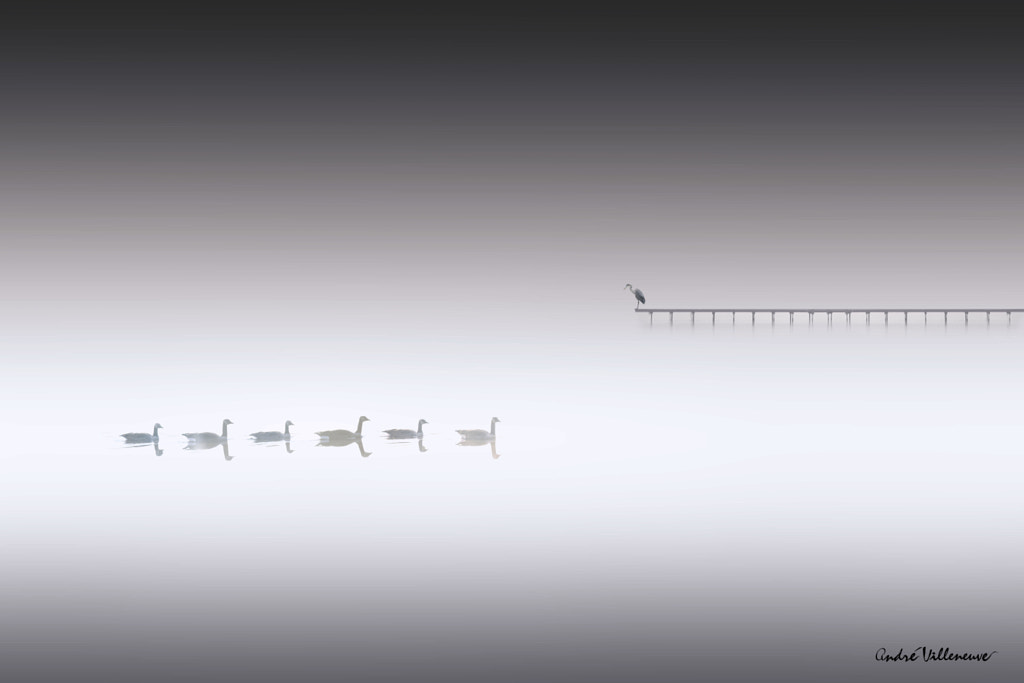
Tip #5: Simplify your composition
Ultimately, monochromatic photography is about stripping your composition back to its essential elements. For that reason, a monochrome palette often works well with minimal compositions. Look for textures, lines, and shapes, but remember to be just as deliberate about what you don’t include as you are about what you do. Subtract distracting elements by moving around, and position your subject where it’ll stand out (for example, using the rule of thirds). A monochrome color palette can inspire you to get back to the basics and focus on what matters most.
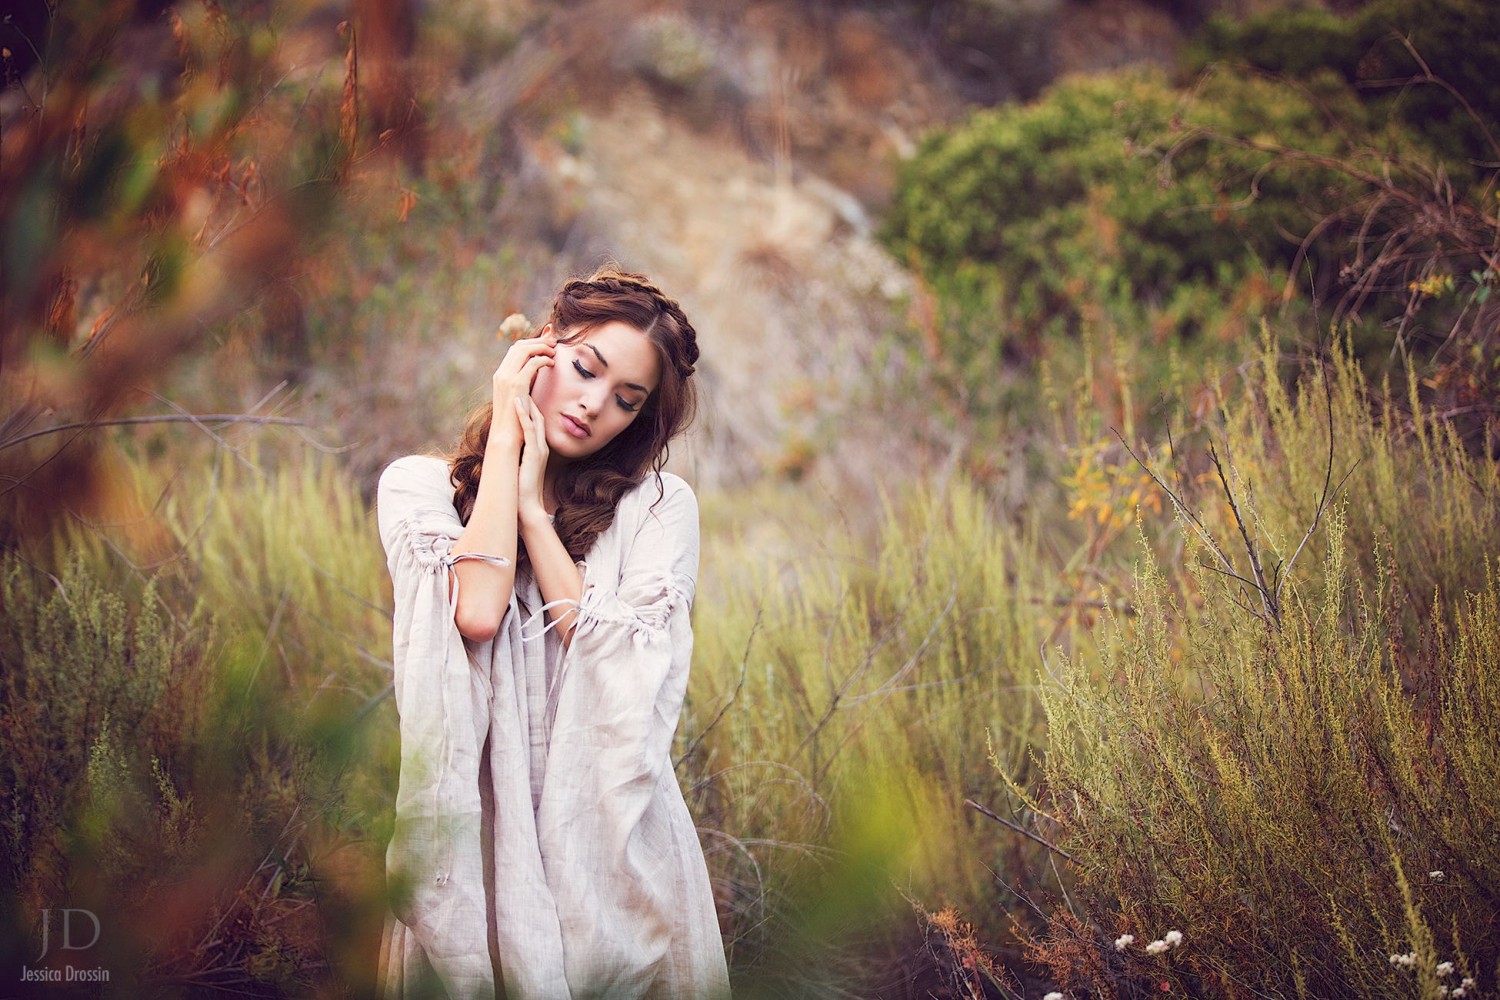
Finally, you don’t necessarily need to create a strictly monochromatic photo to reap the benefits of this kind of color palette. Sometimes, one hue will dominate a scene, appearing in multiple shades, tints, and tones—but with the occasional appearance of another hue. In that case, you wouldn’t have a pure monochrome picture, but maybe the image works better that way.
In any case, understanding how to work with lights and darks and intense or desaturated versions of one hue will help you understand how to use a monochrome palette as a tool that you can adapt to your needs—rather than a rule that needs to be followed.
If you’re ready to test out your skills submit to our Monochrome Mood Quest Today!
Not on 500px yet? Sign up here to explore more impactful photography.
Leave a reply