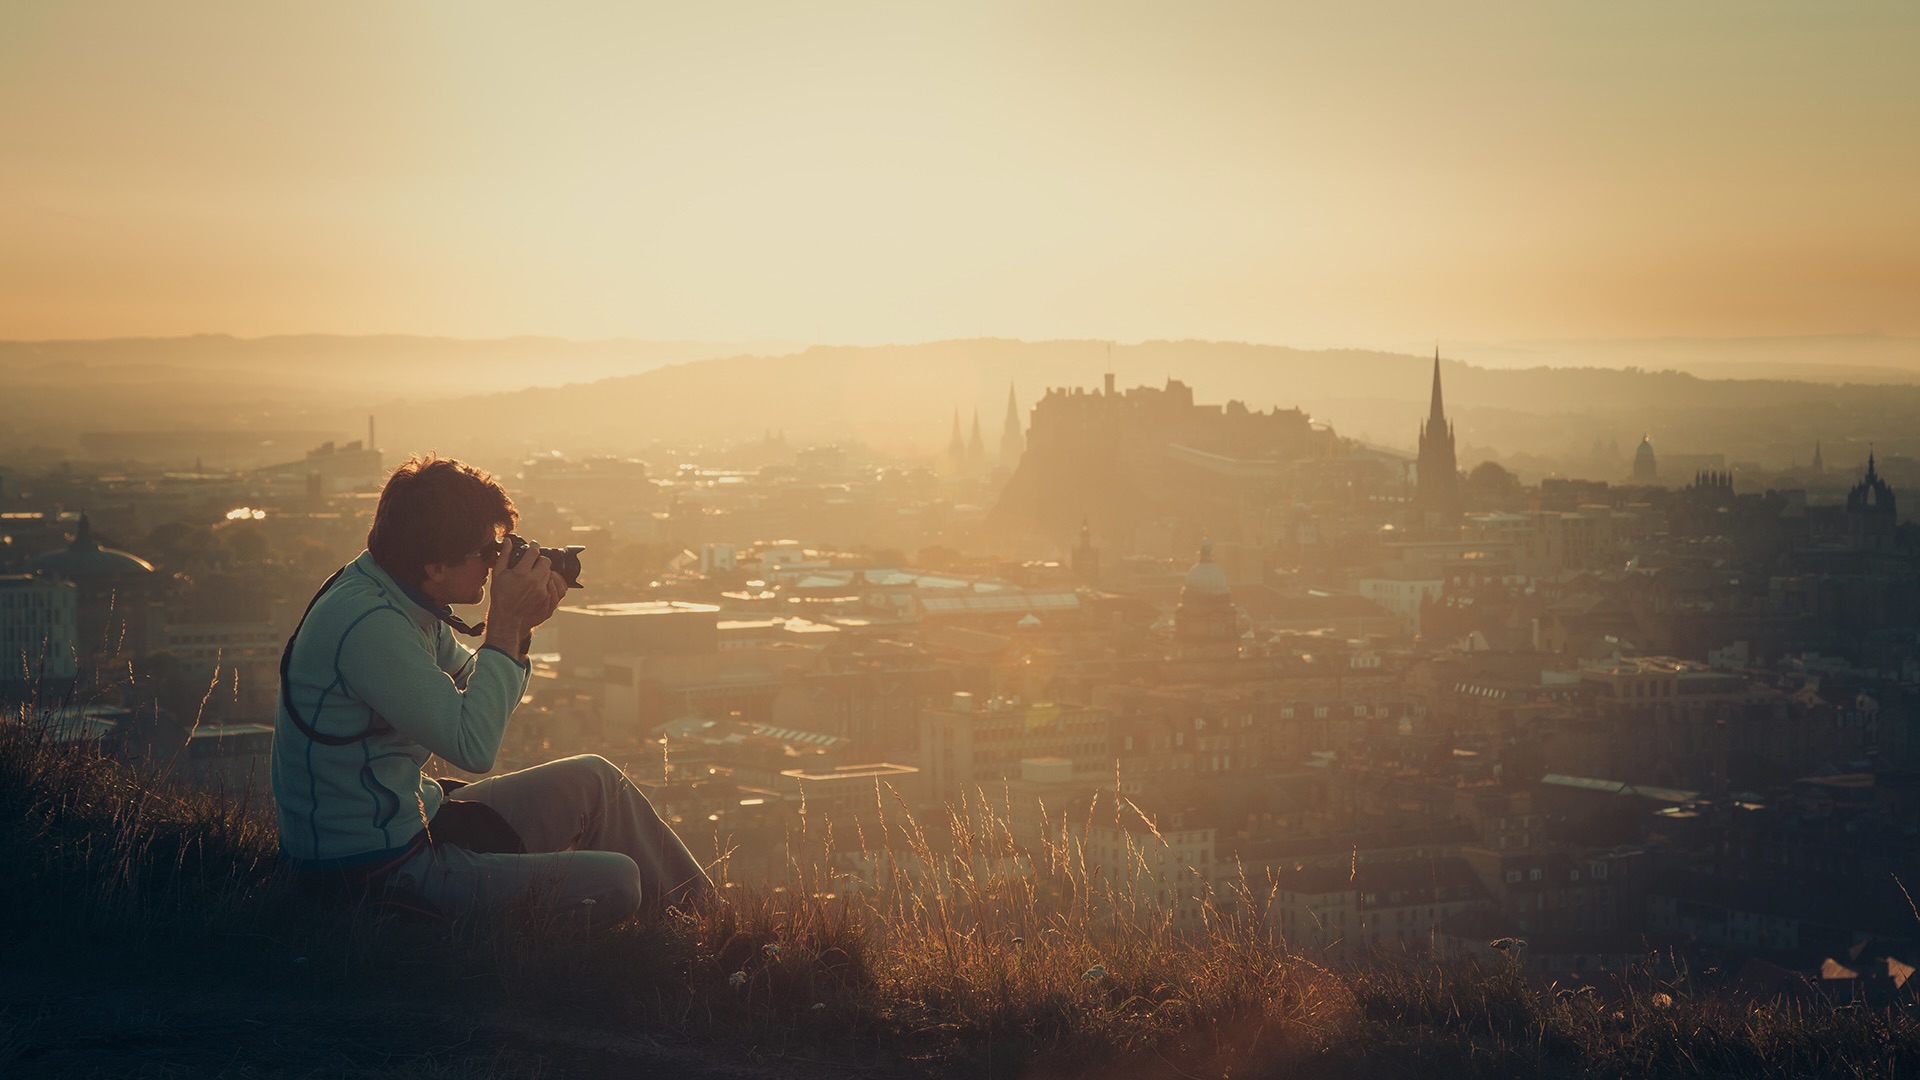
From Edward Weston’s nudes to Ansel Adams’s landscapes, the beauty is often found in the details. Nearly a century ago, both photographers made a name for themselves through the use of crisp, clean lines. They replaced the soft-focus lenses of the day with sharper ones, and they used narrow apertures to capture every last curve or shadow, rendering seashells and mountains so realistic that you could almost reach out to touch them.
While creative blur and soft-focus techniques will always have their place, photographers today still strive to capture perfect sharpness, often with the same rigor applied by Weston and Adams. Today, in most commercial genres, such as interior, headshot, food, or white-background product photography, professionals are expected to be perfectly sharp every single time. For beginning photographers, too, unwanted blur can instantly ruin an image, while crisp details can transform it into something special.
In this quick guide, we’ll break down the basics of getting sharper photos on your next shoot. While it is possible to sharpen your photographs in post-production using a tool like Adobe Lightroom or software by Topaz Labs, it’s always best to get it right in-camera so that you have more flexibility when you do start photo editing.

Understanding the exposure triangle
The three settings that control how bright or dark your photos are—shutter speed, aperture, and ISO—will also determine other aspects of how your image turns out. For sharper photos, you want to use the lowest ISO possible, as ramping it up can result in unwanted noise (or grain, if you’re shooting film).
A slow shutter speed will introduce motion blur, which will also influence the sharpness of your scene, so if you’re shooting handheld, you want to keep it as low as possible. Finally, your aperture setting will affect your depth of field, or how much of your photo is in focus, so if you want everything razor-sharp, from foreground to background, you’ll need a narrow aperture (high f-number).
Often, you’ll have to juggle these three settings according to the subject and lighting conditions on location. If you’re shooting a fast-moving subject, for instance, it might be worth boosting your ISO so that you can crank up your shutter speed, as a little noise might be preferable to a blurred subject. It helps to shoot and review your photos at 100% to make sure everything is acceptably sharp, and then adjust your settings accordingly.
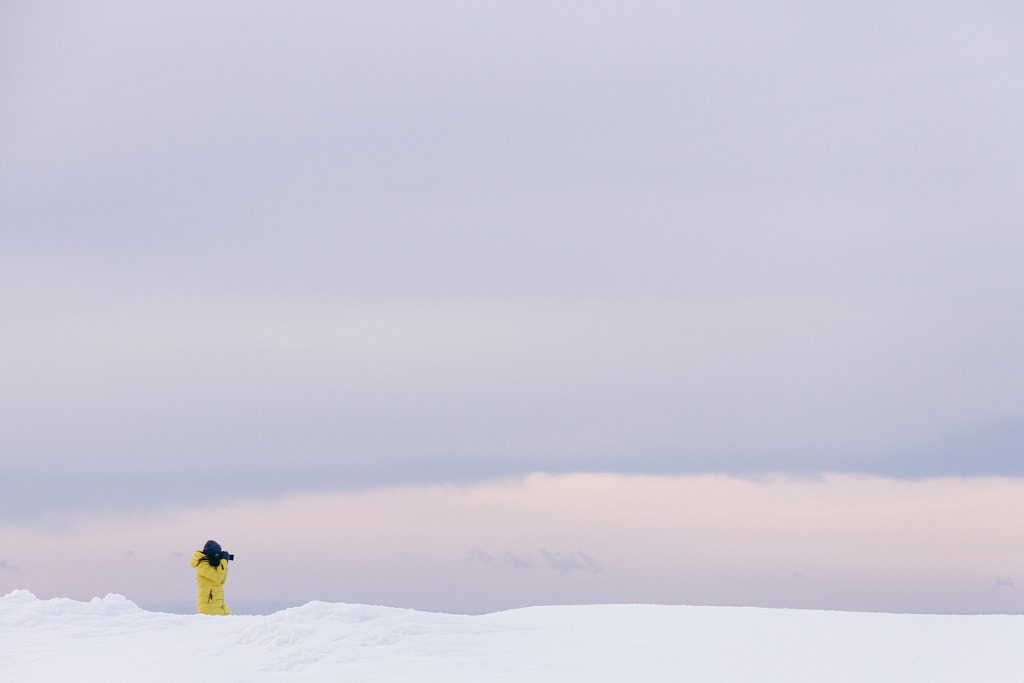
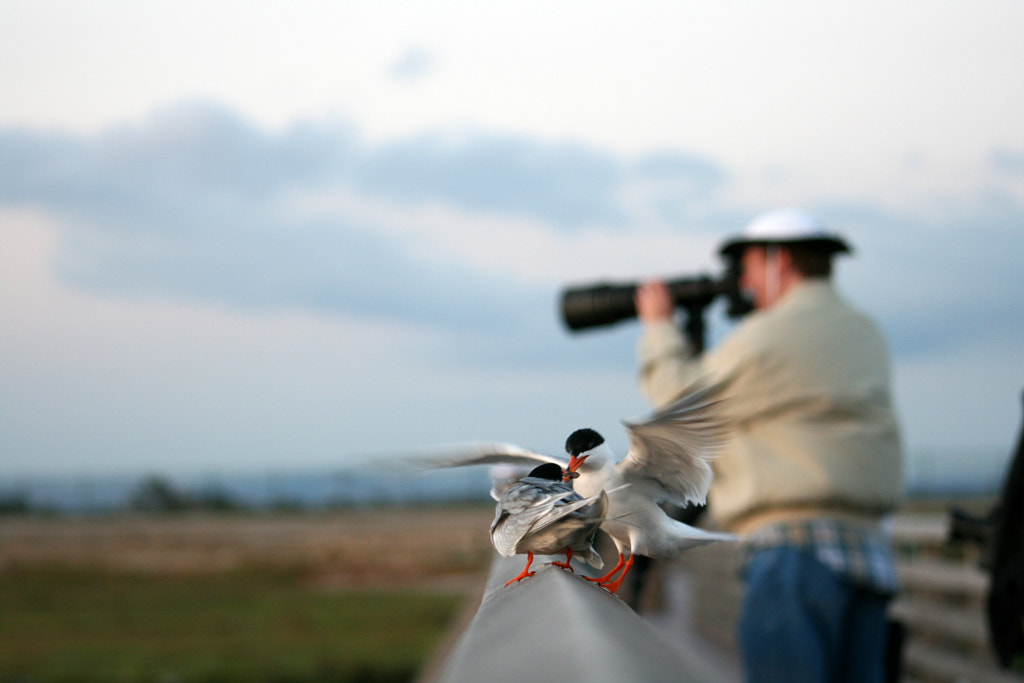
A note on air quality: Atmospheric conditions like air pollution or mist or fog can result in your photographs looking less crisp than you’d like. Heatwaves can also cause distortions. It can help to get closer to your subject, reducing the amount of air the light has to pass through, or you can wait for a day with better air quality.
Step 1: Skip the kit lens
Unfortunately, cheap kit lenses tend to be soft, but high-quality prime lenses are relatively affordable. A pro zoom lens will cost more, but if you have the budget, it’ll go a long way. With that being said, zoom lenses can lose sharpness at the very ends of their zoom range, so it’s best to keep your focal length closer to the middle of its range.
This might go without saying, but keep your lenses clean; smudges can easily result in less-than-sharp photos. Additionally, for sharp photography, remember that every lens will have a “sweet spot” where it’s sharpest—usually around two to three stops from your maximum aperture. Close the aperture down too much, and you’ll end up with diffraction.
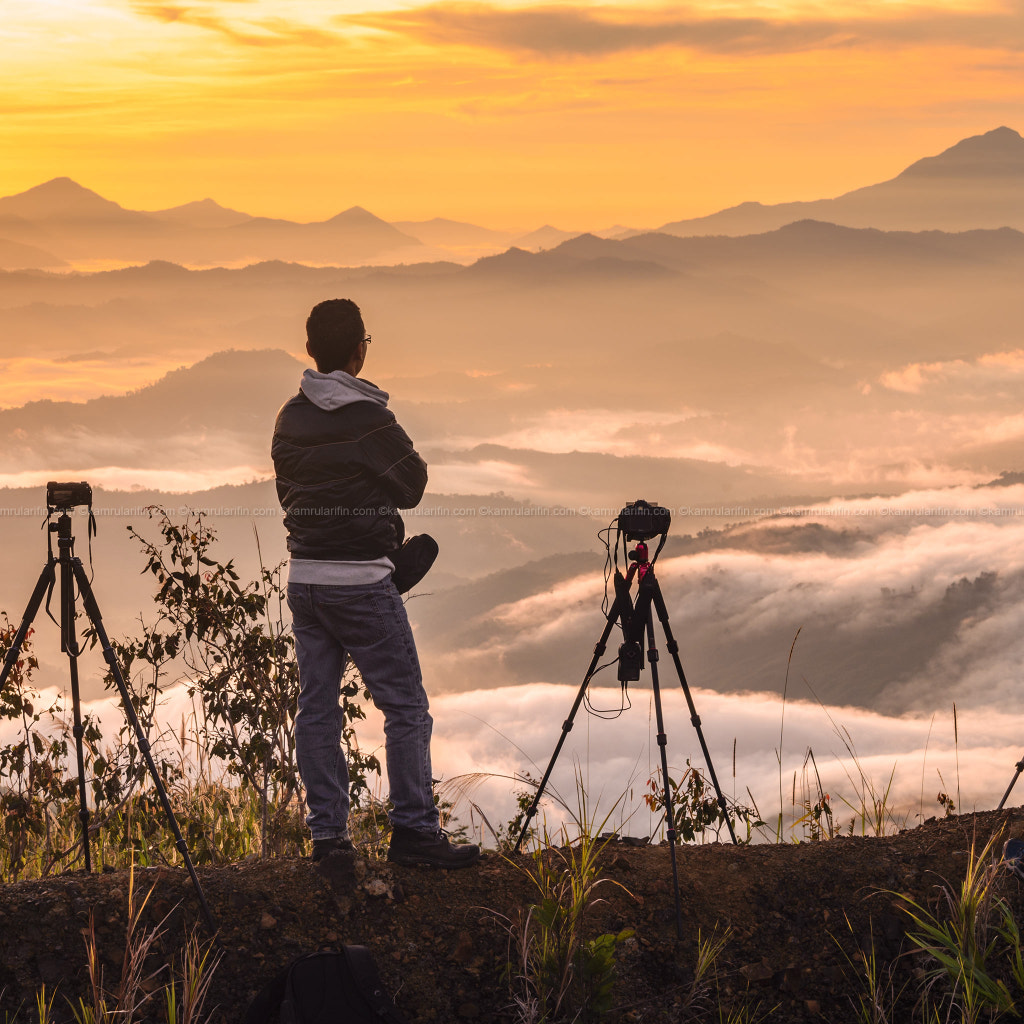
Step 2: Watch your shutter speed
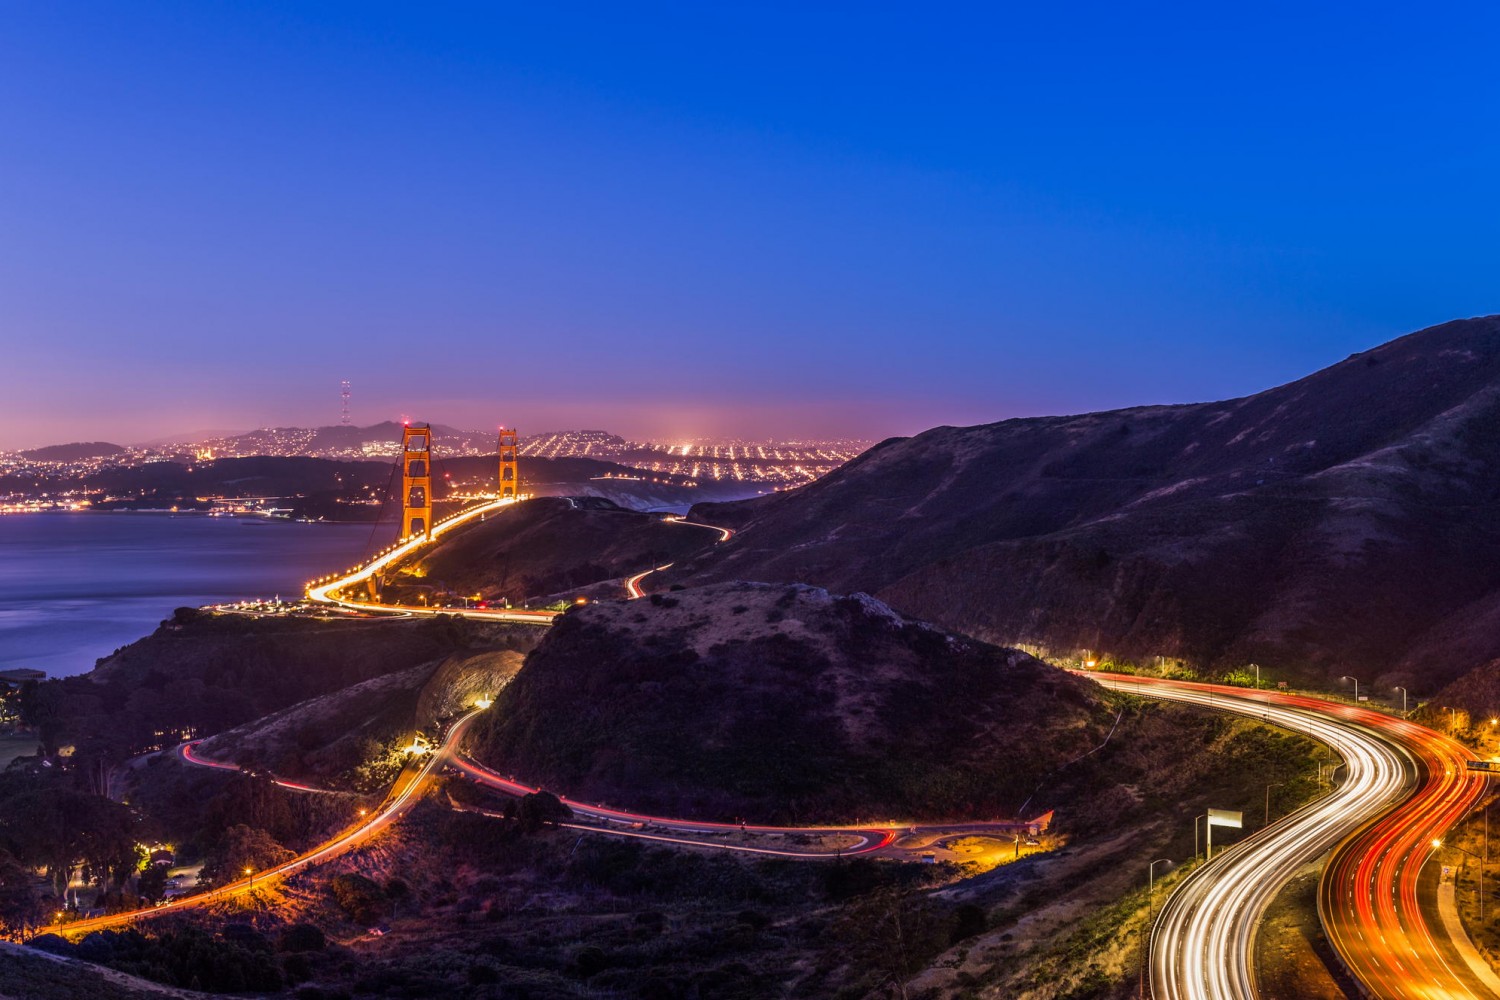
A tripod and remote shutter release are must-haves if you’re using a slower shutter speed (long exposure), which is useful when shooting static subjects (for instance, a landscape). If you don’t have a tripod, you’re limited in terms of shutter speed, though you can turn on image stabilization for a bit more flexibility. (Just remember to turn off that image stabilization if you’re using a tripod.)
The general rule is that your shutter speed should be faster than the reciprocal of your effective focal length if you’re shooting handheld. That is, if you’re shooting on a full-frame camera with a 50mm focal length, you don’t want to go any slower than a shutter speed of around 1/60 of a second. The wider your lens, the more leeway you have.
(The reciprocal rule applies to stationary objects. For fast-moving subjects, of course, you’ll need even shorter shutter speeds.)
Step 3: Hold your camera correctly
When shooting handheld, take care to hold your camera properly for stability. Use one hand to hold your handgrip, and support the lens from below with your other hand. Hold the camera to your eye and close to your body, with your elbows tucked to your torso. Place your feet apart to minimize swaying. Depending on your location, you might also be able to lean on a wall or other surface for added stability. Finally, for high-quality images, it can help to shoot on the exhale so that your breathing doesn’t introduce unwanted movement.
(Another quick tip: On DSLRs, you can reduce vibration further by using the “mirror lock-up” feature. Mirrorless cameras will help you avoid that issue entirely.)

Step 4: Use the right focus mode
If you’re using a digital camera, you’ll likely use two autofocus modes pretty regularly, depending on the situation. Single-shot autofocus is designed for stationary subjects, such as landscapes, while continuous autofocus is best for moving subjects, such as athletes or wildlife.
Outside of autofocus, you can always use manual focus for more control. Manual focus is most often used in specific cases where autofocus can get it wrong, including scenes without much contrast. Additionally, you might opt for manual focus when shooting in low light or working with macro photography. When using manual focus, it can help to use the live view mode and take advantage of the magnifying tool to make sure you’ve got it just right.
Step 5: Select your autofocus area
When using autofocus, you could leave it up to the camera to decide where to focus, but it’s usually best to adjust your Focus Area yourself and direct the focus exactly where you want it to be. You can select a single focus point for still subjects, or use Dynamic area AF to track moving subjects. Check your camera manual for instructions on how to do this. Of course, cameras with more focus points offer more versatility and precision.
Alternatively, for more precision for stationary subjects, you can also try the “focus and recompose” technique. The center focus point is usually the most accurate, so start by placing your subject in the center of your frame. Press your shutter button halfway down to “lock” focus, and then recompose your shot to get the composition you want. When using this technique, just remember that you cannot move closer or farther from your subject, or it will be out of focus.
In most cases, these five simple steps will form the basis of capturing a sharp image. If all else fails, go ahead and perfect your shot in post-production. Using a High Pass filter in Photoshop is a great way to achieve some of that clarity, while Topaz Sharpen AI is a popular standalone image sharpening program that specializes in shake reduction, focus correction, and blur removal.
Experiment with different software options to see what works for you and your workflow. For more editing tips, check out this simple guide to expert photography editing software or this roundup of editing apps that can take your photos to the next level.
Not on 500px yet? Sign up here to explore more impactful photography.


Leave a reply