Full Disclosure: This post was written by and about Macphun, a proud sponsor of the 500px Fujifilm Global Photo Walk.
Amanda Quintenz-Fiedler is an avid photographer, educator, and writer whose entire life revolves around photography. She’s worked as a commercial and corporate photographer in the past, but is currently focusing her efforts on fine art. She also regularly contributes to several online photography publications such as Digital Photo Pro, Rangefinder, Photographer’s Forum, and the Macphun blog.
Let’s talk a little about making our images better. As much as we may want to snap a picture and have it be perfect in camera, that’s not the reality of great images. And it usually isn’t the truth for images that will get noticed either.
Post processing is a necessary part of photography, but it doesn’t have to be overwhelming or time consuming.
The ideal workflow for a photographer is to capture the best possible images in camera and then improve those images with post processing. If you aren’t the type of photographer who enjoys sitting behind the computer all day and would rather be out there, capturing images, then it is even more important that you find a workflow that is consistent, fast, simple, and preferably, inexpensive.
That’s where Macphun apps can have a big impact on your workflow. The simplicity and ease of use of the following tools allow you to invest more time capturing images, and spend less time in front of a computer screen to get just the right look. Download free trials at www.macphun.com/downloads and try these six affordable tools to help your images stand out.
Bonus: Anyone participating in the 500px Fujifilm Global Photo Walk is eligible for a free copy of Intensify for Mac. Go here to get it.

1. Quiet Down
Noise in images can be a huge distraction from the content of the image. So it’s essential that you find a way to reduce noise in your images without introducing other problems. Noise in general is created in two main ways:
Low Quality Camera (small image sensor)
Just because your smart phone is the latest model, that doesn’t mean it has conquered the potential for noise in low light situations. The small sensor size and high pixel count can introduce noise not seen in higher end cameras, especially when you “pinch and zoom” into the subject. But because it is always on you, it may be the only option for capturing impromptu moments.
High ISO
Even the best cameras have a limit to how high the ISO can get before noise begins to degrade the image. Even if you are pushing your ISO in broad daylight to freeze fast action, you can get noise—think of shrinking your aperture for wider depth of field, but needing extra sensitivity to freeze a fast moving subject, like catching a motocross rider mid jump. No matter the situation, when ISO goes up, noise increases. So you need a way to handle it.
[twentytwenty]
 [/twentytwenty]
Solution
Macphun created a fast, intuitive tool called Noiseless that will reduce image noise with just a couple clicks. If you prefer more control over the noise reduction, structure, or detail in your image, you can apply a filter or change the overall opacity of a preset, or customize settings and save your own.
Quick Tip: The latest version of Noiseless offers Batch Processing. So, if you have a set of images that were taken in the same conditions—like that amazing concert you went to—spend some time making one of the images perfect and then use the “Last Saved Settings” option to apply settings to every other image.

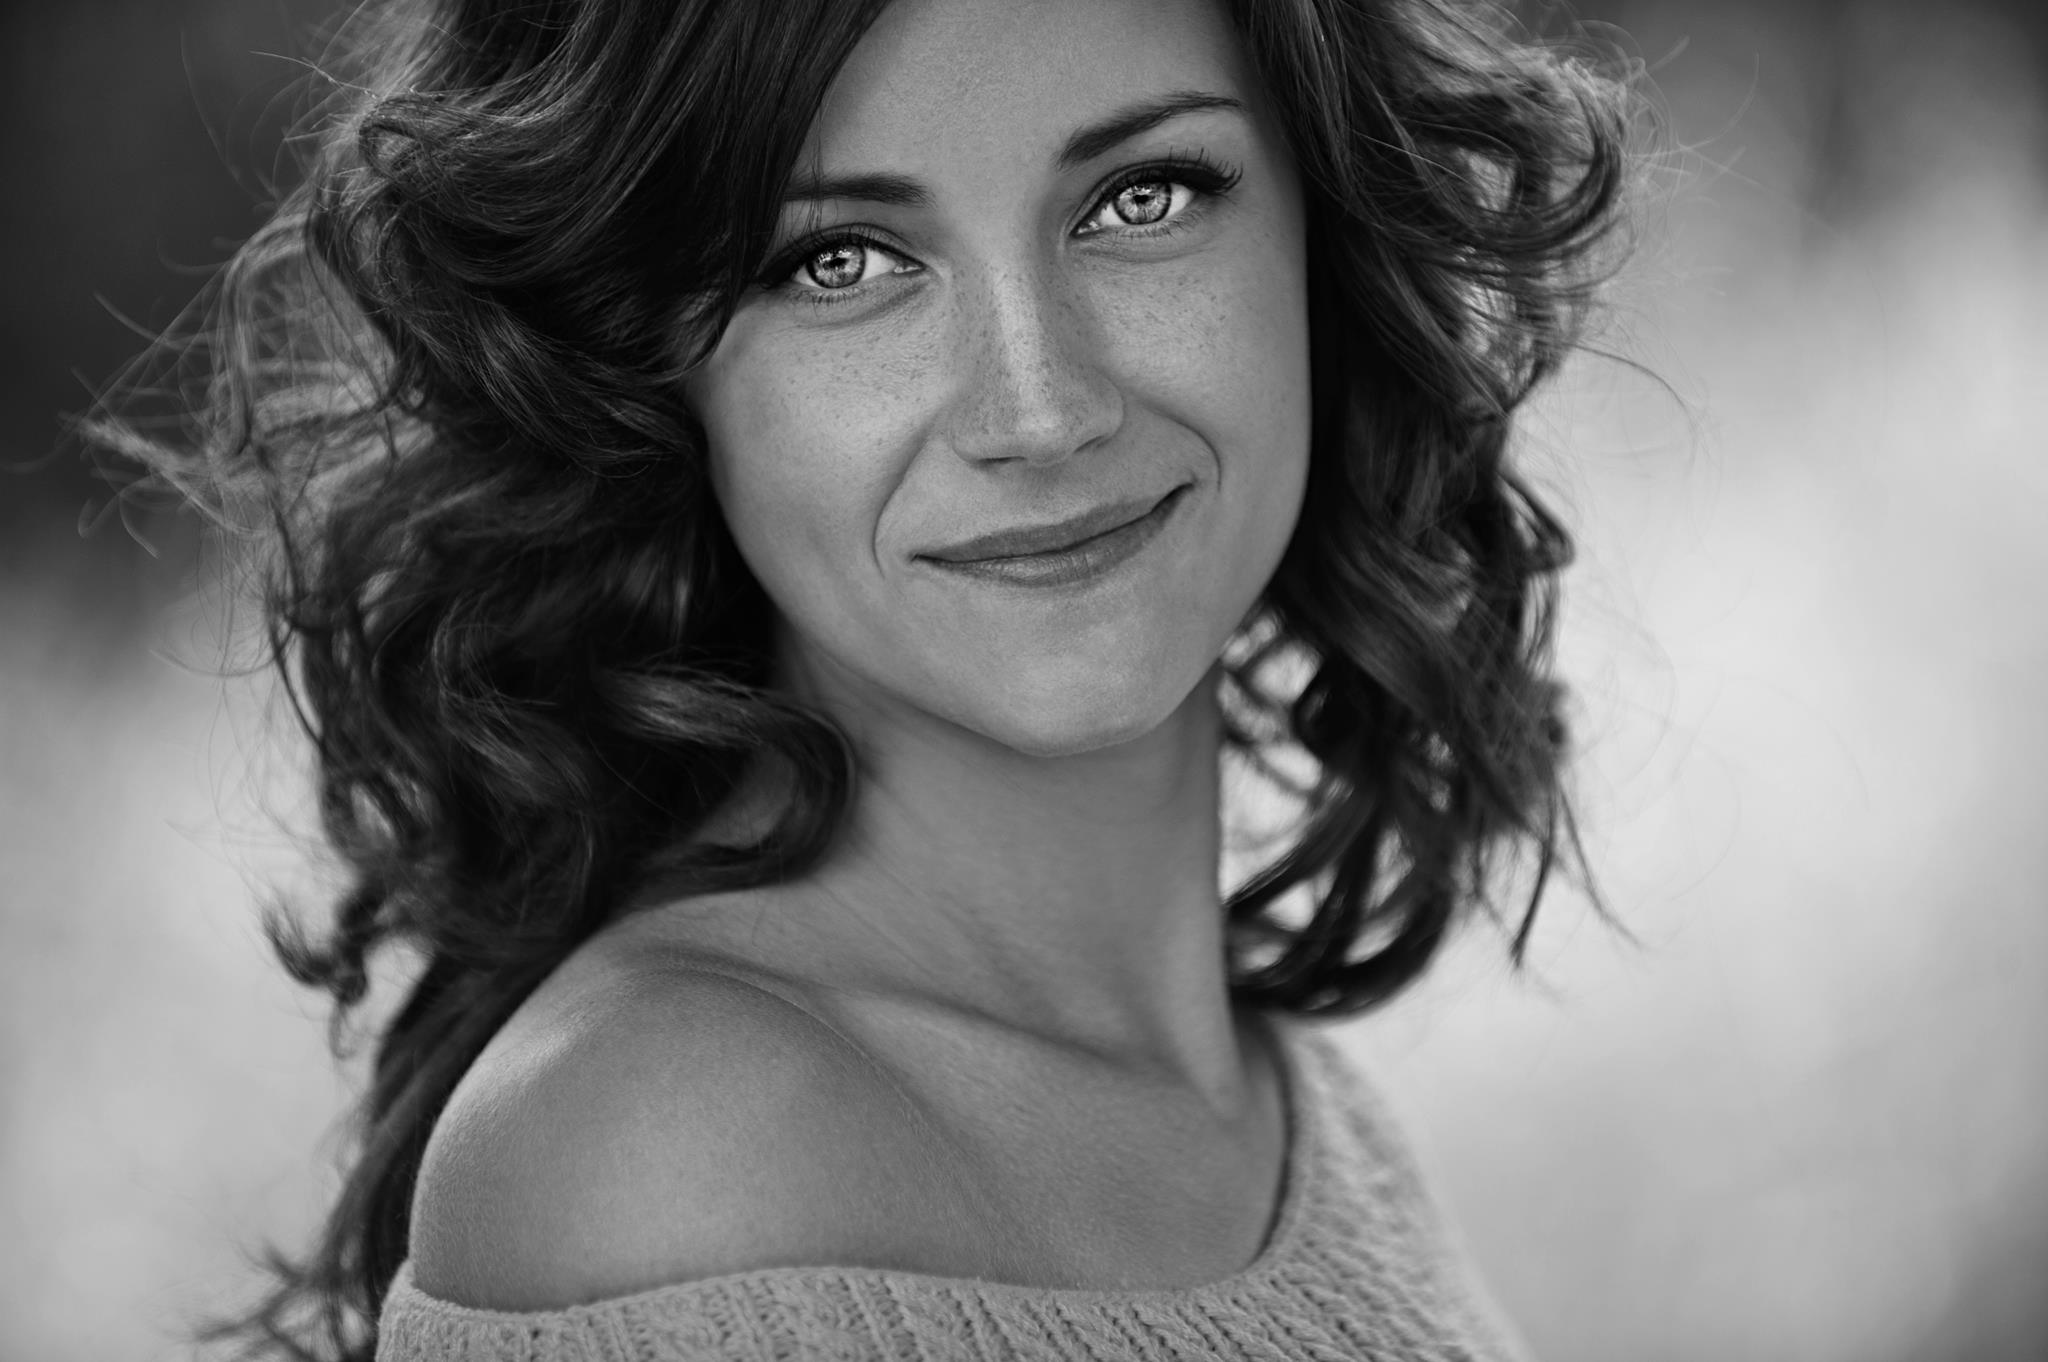
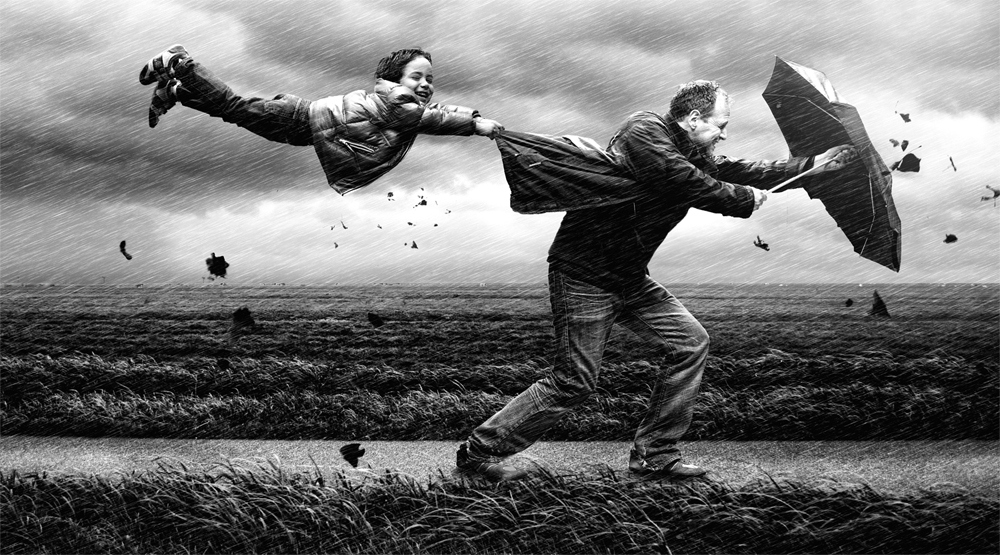
2. Color Drain
Sometimes the adjustments you want to make aren’t about fixing something, but creating a look you love. If you like that rich, black and white look, learning a way to create timeless monochrome images quickly is a huge benefit in producing your own personal vision and style.
There are admittedly a lot of tools you can use to create monochrome images—including setting your camera to monochrome—but be careful! If you lose your color detail with an auto setting in camera, you lose some flexibility in post processing.
Quick Tip: NEVER convert your images to black and white in camera unless you have the original color version as well; if you only capture the black and white, you will not be able to add color back later, but you can always remove it!
Instead, find a tool that you can use in post to create the look you want. If you have a whole body of work that you want to make monochrome, be sure to use a tool that gives you consistency as well as ease.
[twentytwenty]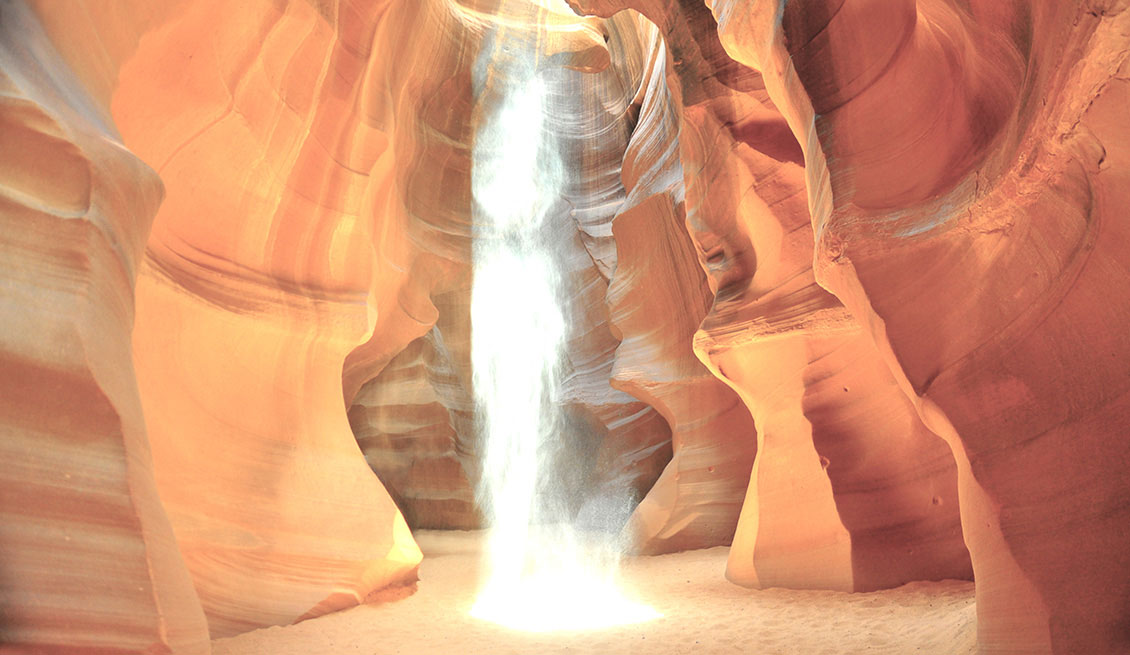
 [/twentytwenty]
Solution
Macphun has a great app for this as well. Tonality Pro allows you the same one-click ease as Noiseless, but it goes a step further with over 150 presets that can help you instantly create your desired look. The presets are conveniently shown in a filmstrip at the bottom of the page as well as sorted into different styles to help you narrow your concept. Clicking on any preset will apply a specific look. For instance, you can choose the folder for Street presets and then within that choose Grunge 2 for a crunchy, bleach bypass look.
You also have terrific creative flexibility here too; use the Layers feature to stack presets or manipulate the myriad Adjust sliders like Grain, Textures, or Split Toning to create your own look. Save that as a custom preset and you’ve got an easy way to apply that same look to a body of work—making images look professional and polished.
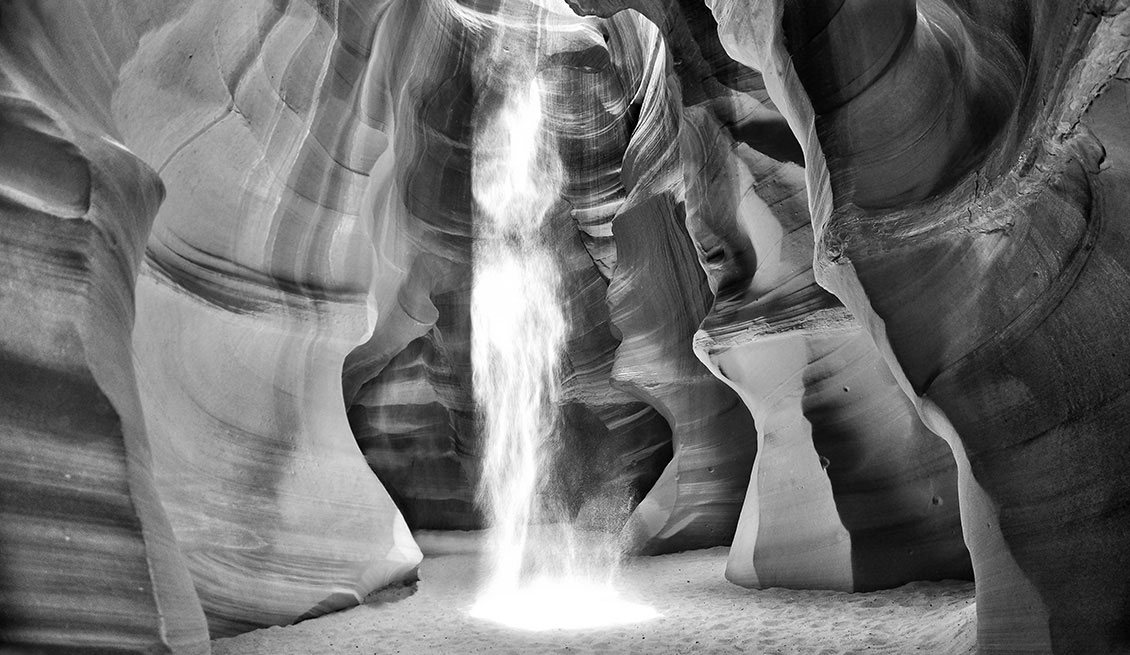
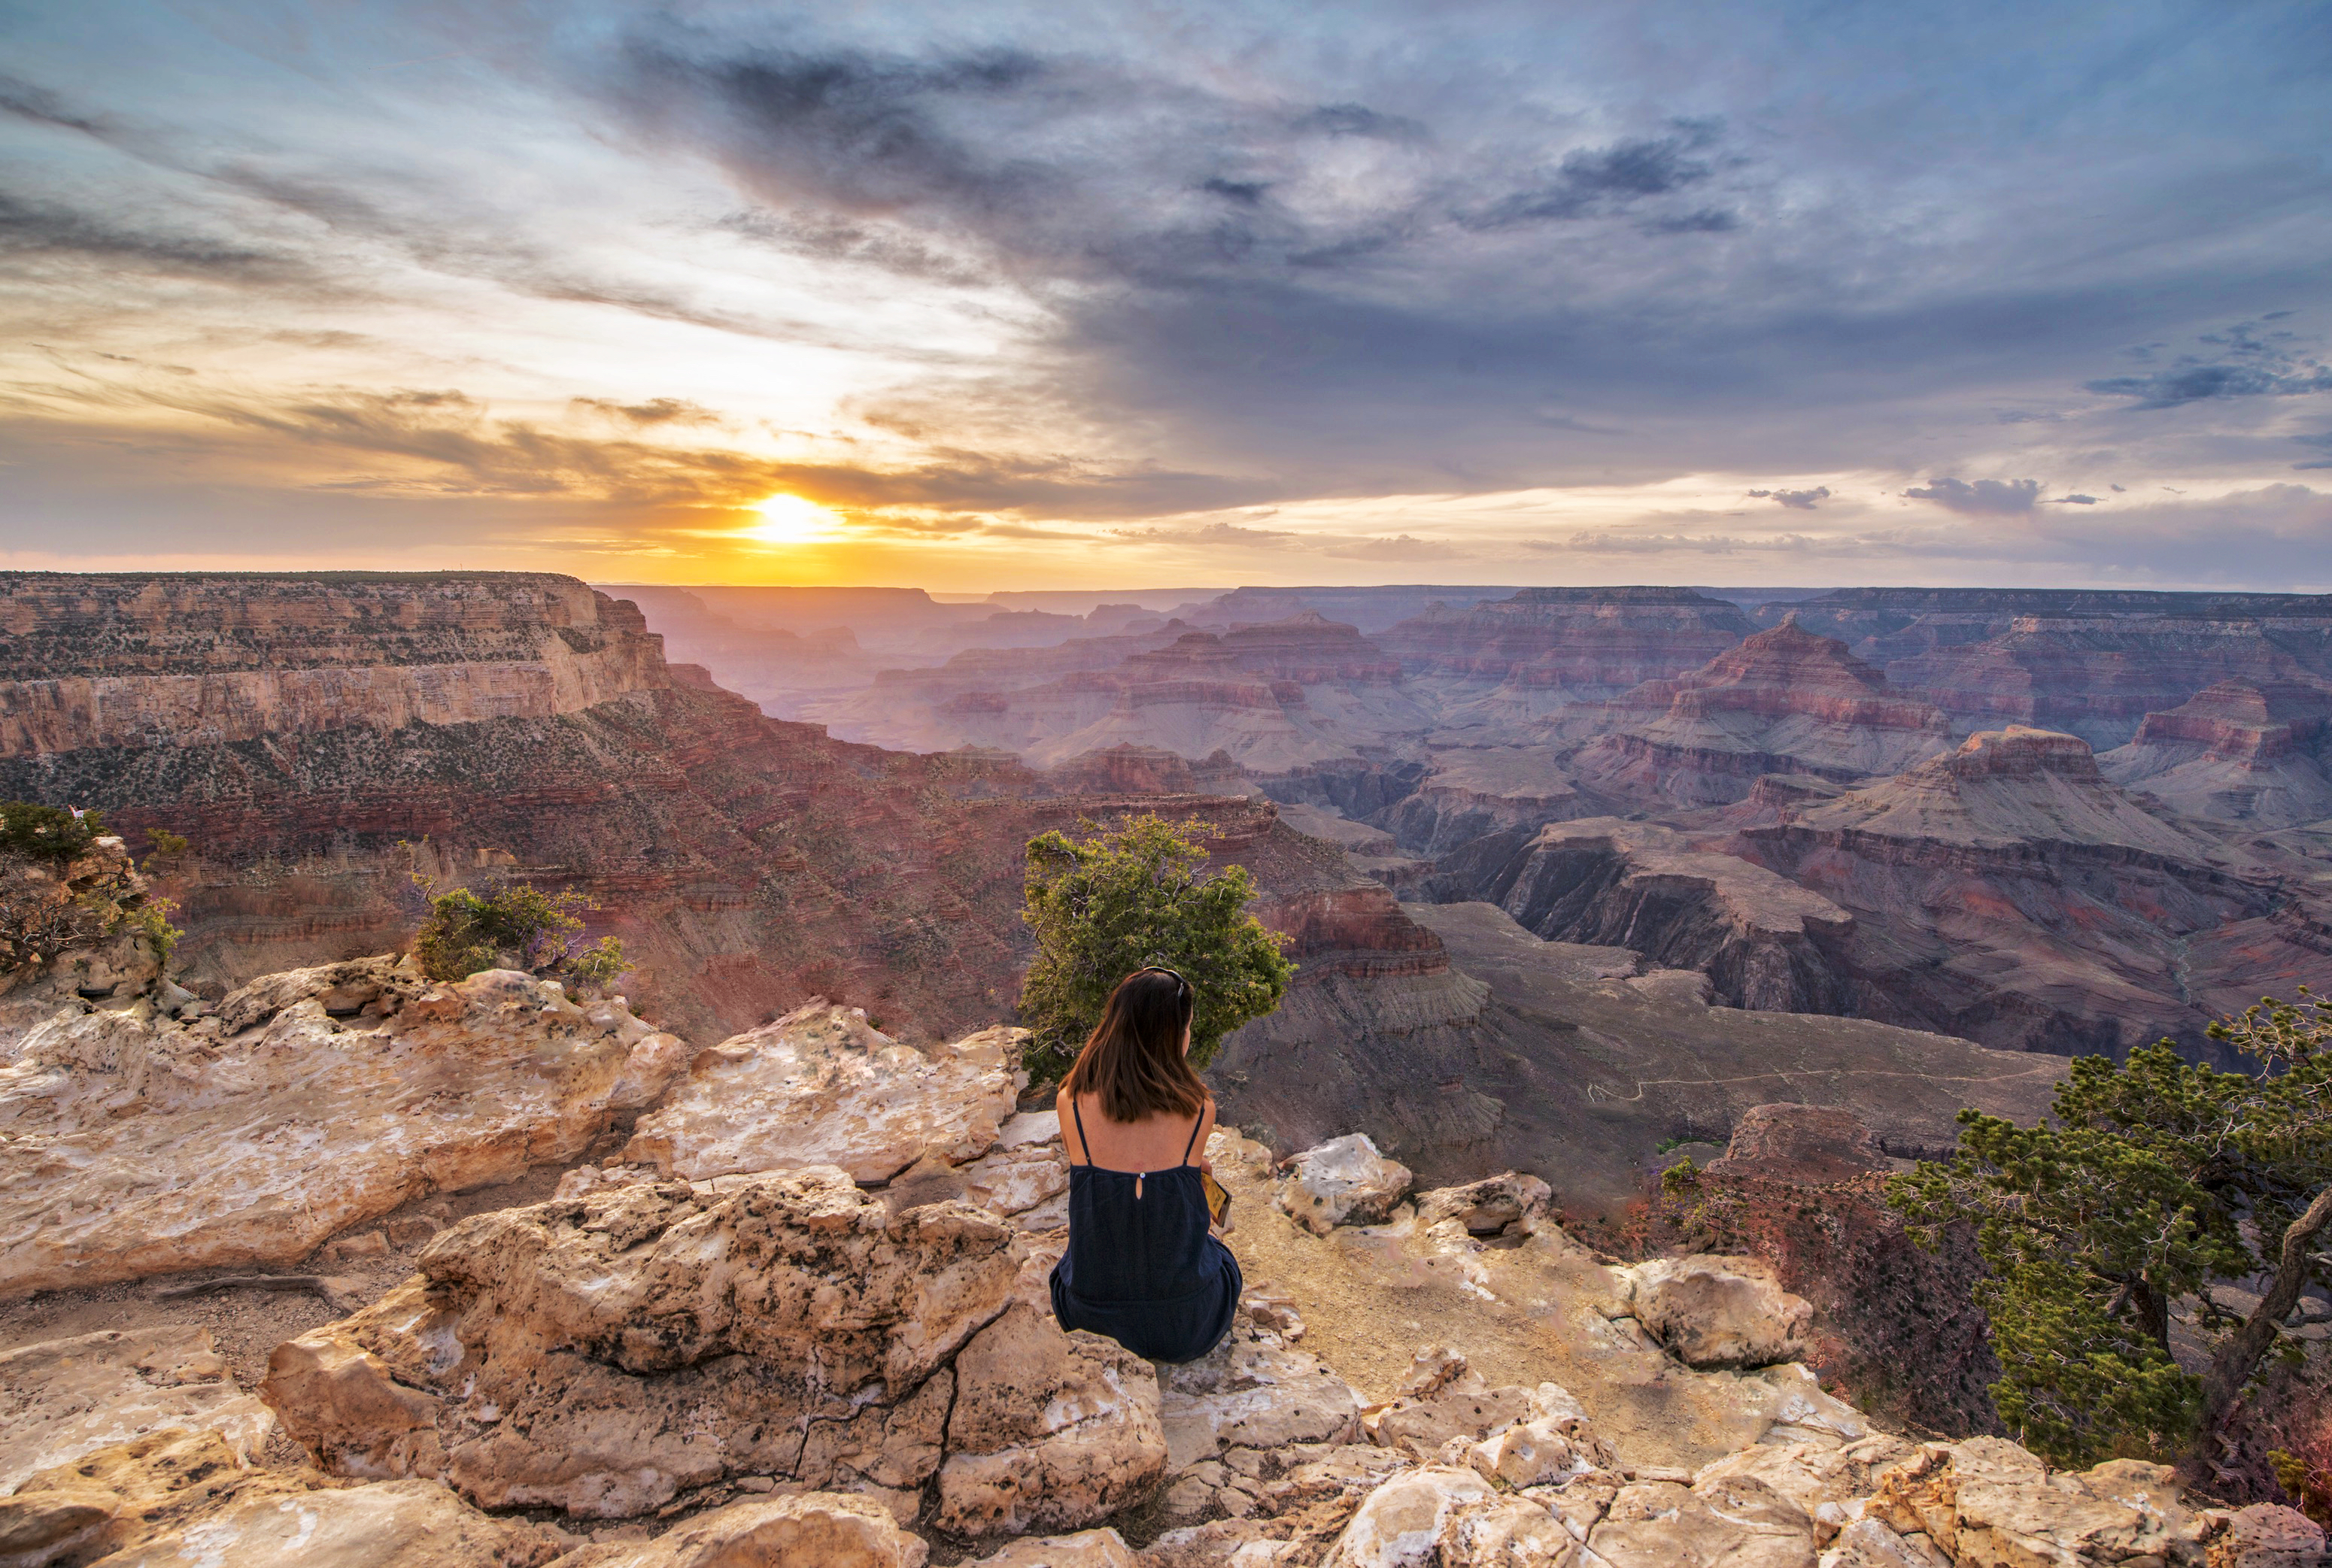
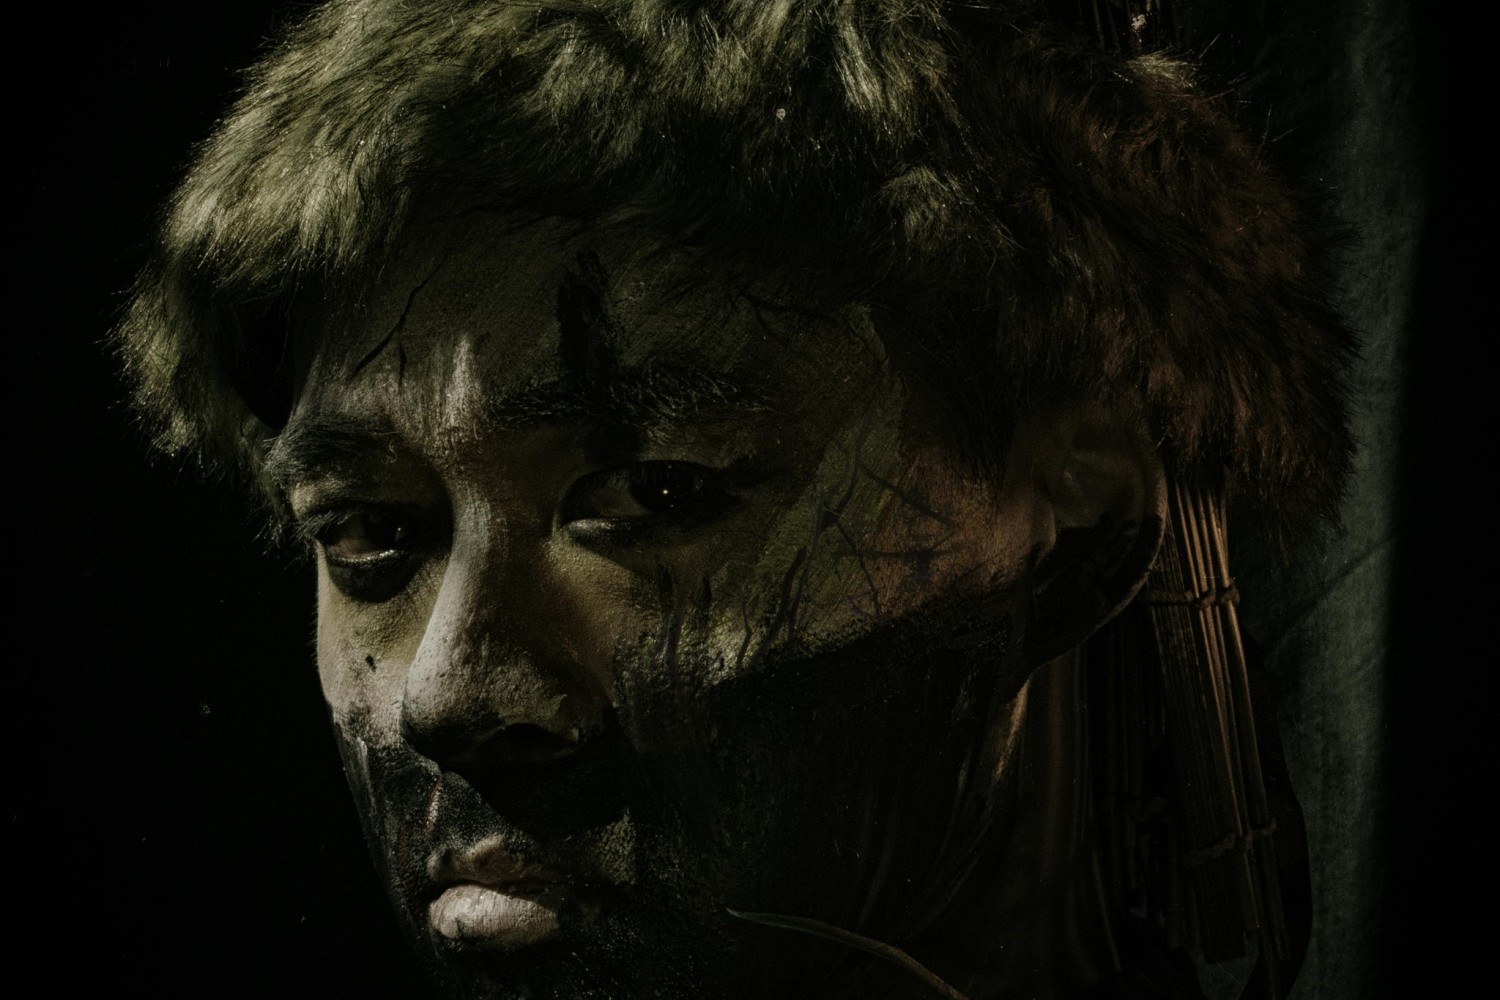
3. Awe Factor
Chances are, you’ve seen an image that amazed you. If not, you probably were not looking very hard (explore 500px for a bit, and then come back to us … we’ll wait).
That image, whatever it is, wasn’t merely snapped arbitrarily and posted without consideration. If you want your images to have the same kind of impact as THAT image, you need to take your own raw material and pump it up.
You can find the power in images you already have by amping up specific elements of your image without too much trouble. If you focus on enhancing clarity, drama, and detail, your new favorite image might just be one of your own.
[twentytwenty]
 [/twentytwenty]
Solution
Adding oomph to your images is easier said than done. The same process won’t work for every image and you need a little time to learn what not to do. Finding a suitable tool helps you to create some wonderful looks while allowing you to improve in a fraction of the time.
Macphun’s Intensify give you access to a wide range of presets—labeled in groups like Architecture and Landscape—or you can use the adjustment panel with 30 individual sliders you can fine tune.
Quick Tip: Intensify also has a layers function that allows you to build up the look you want and mix different custom looks with varied opacities. Be sure to experiment with the Micro Sharpness feature – every photographer’s “secret weapon” for punching up an image!
4. Personal Assistant
The worst part of every photo shoot is determining which images are your winners. Of those 200 concert pics or those images from your cousin’s wedding, most of them are probably not remarkable. But going through them all is like marching through mud. Wouldn’t you rather have a personal assistant do the heavy lifting?
While you may not be able to afford that real live assistant yet—and haven’t invented that dream AI—you can get help slogging through those images to find the amazing ones. Once you find them, you don’t want to have to do that again, so you want to be sure to have a tool that can help you organize, edit, and retain your best images.
Solution
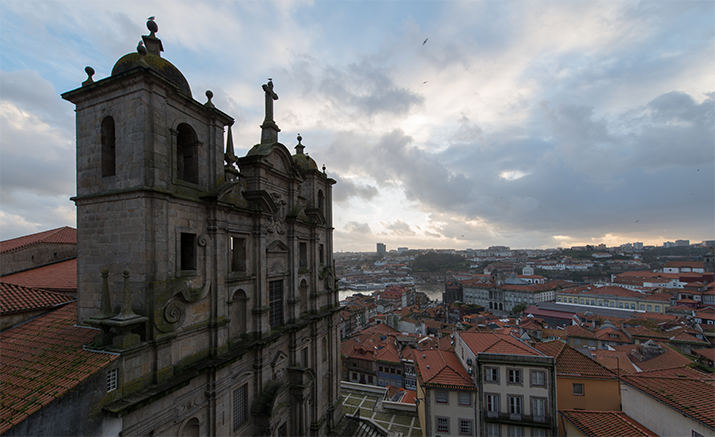
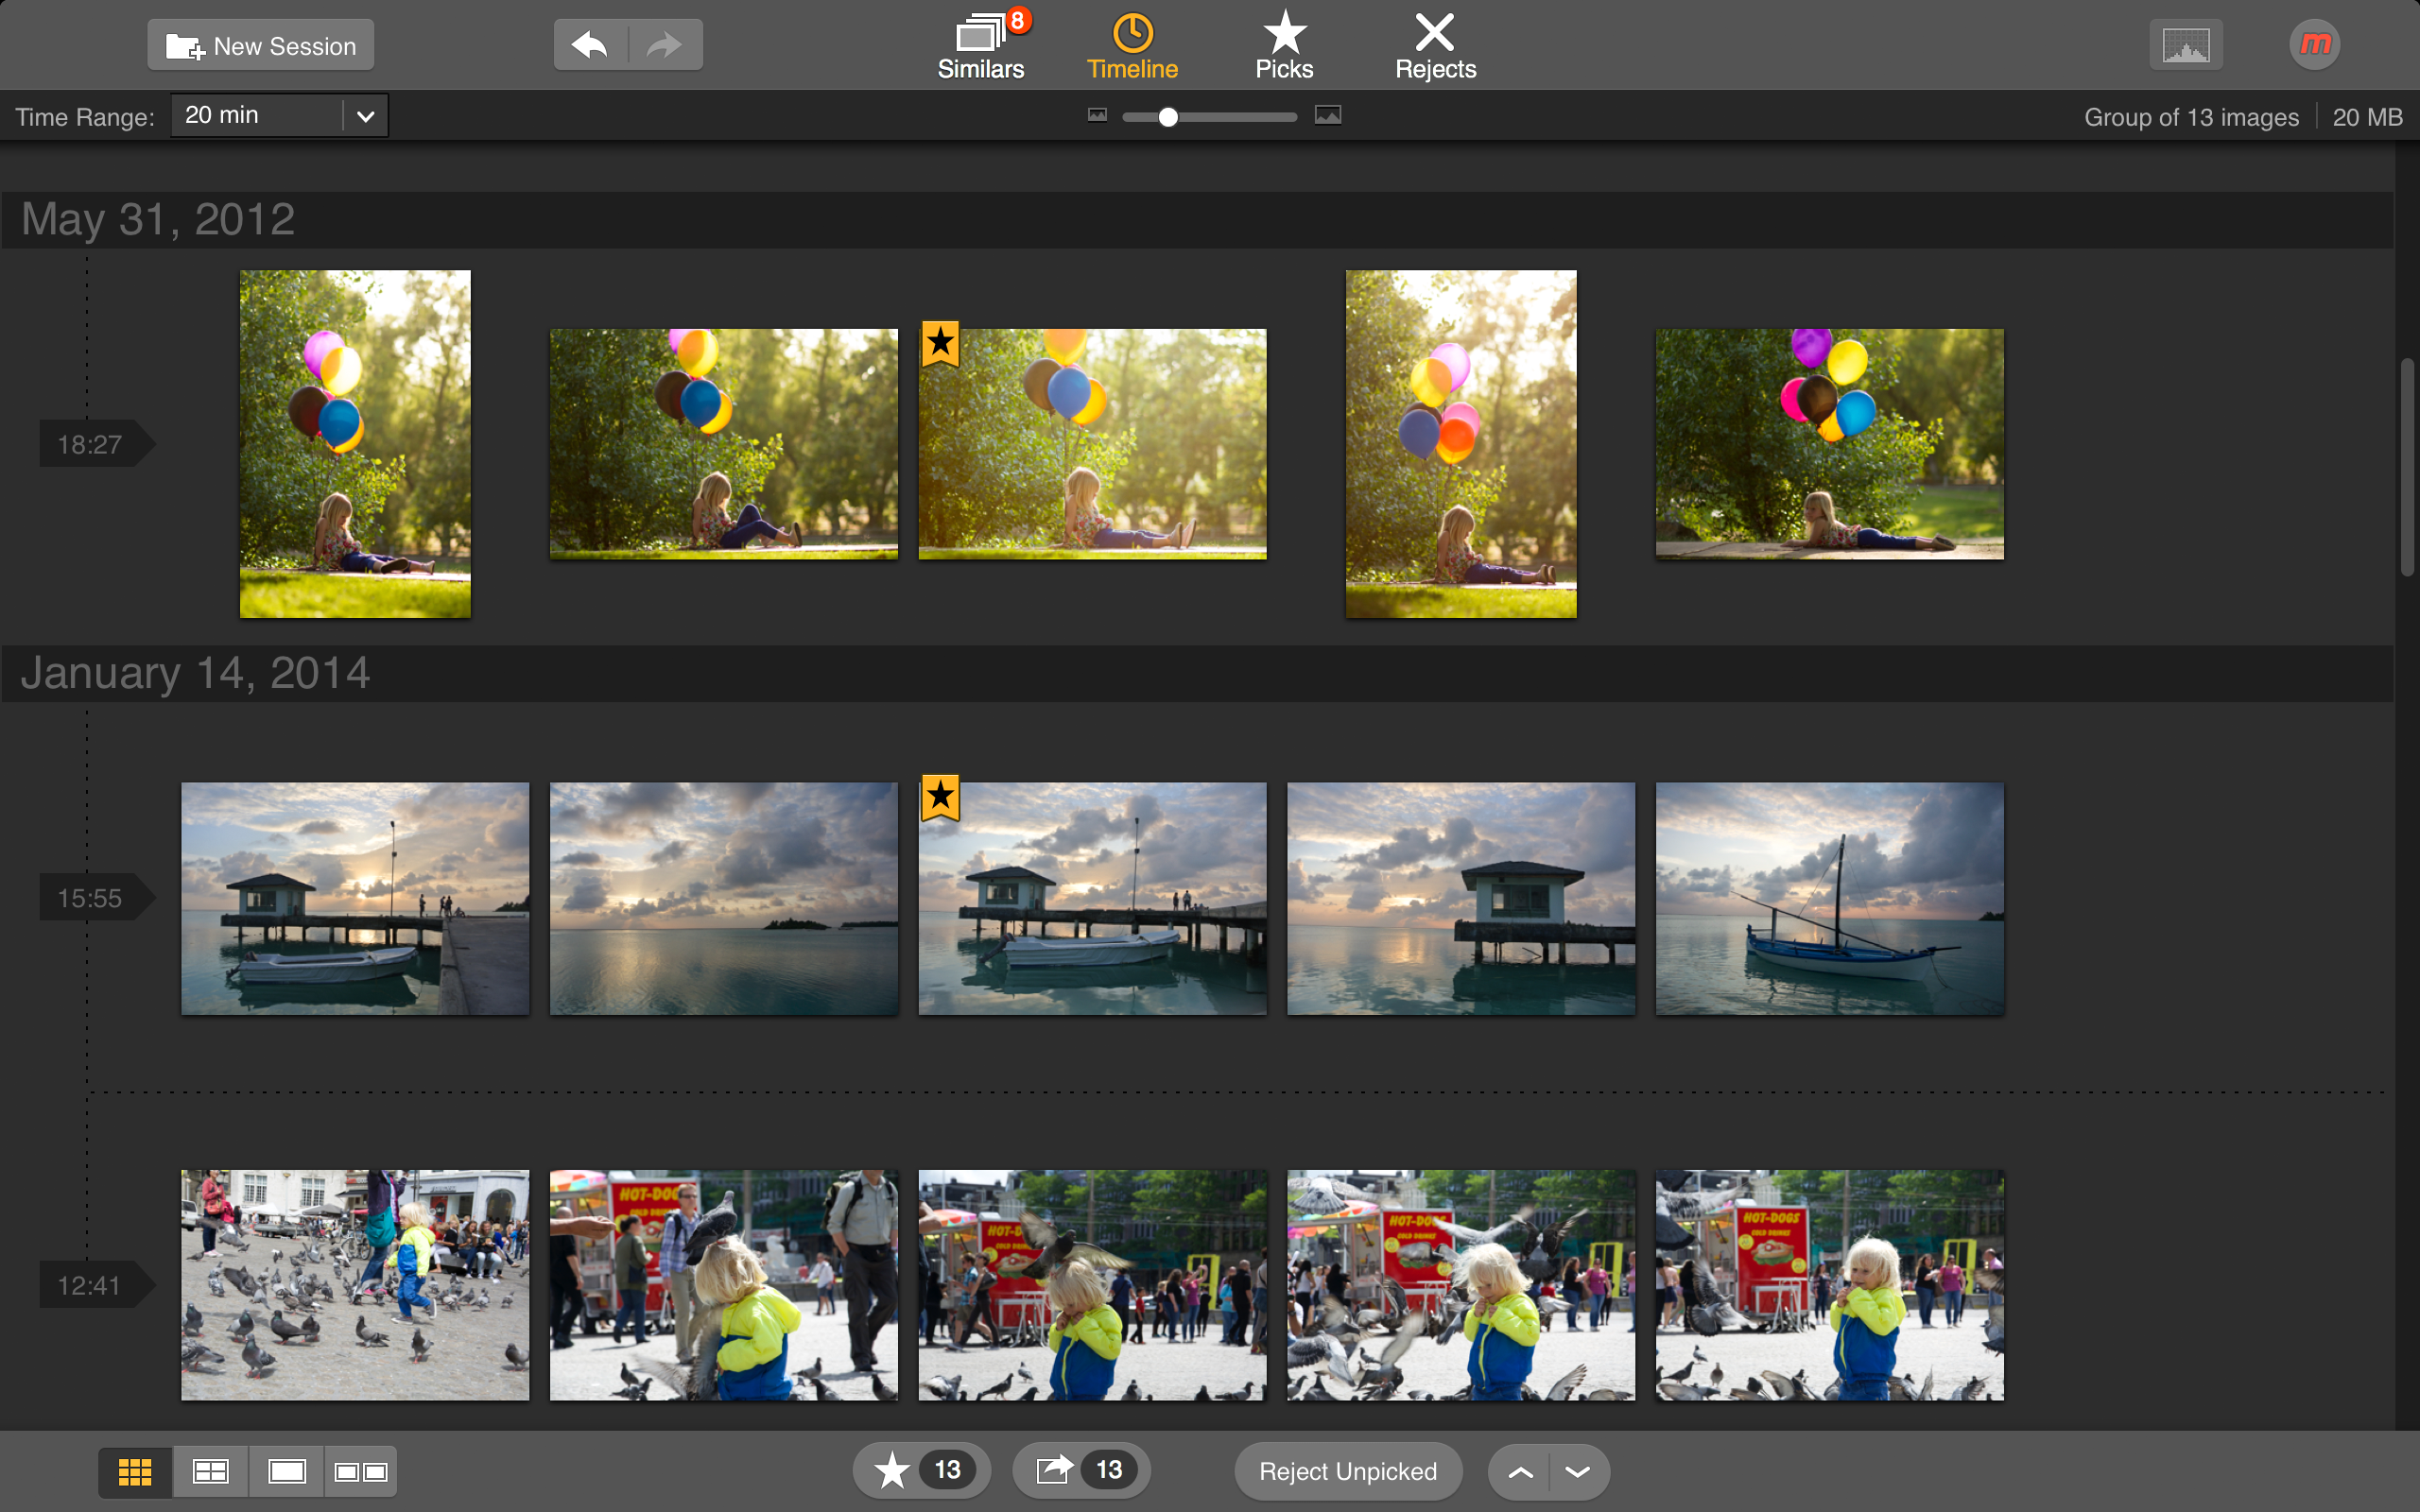
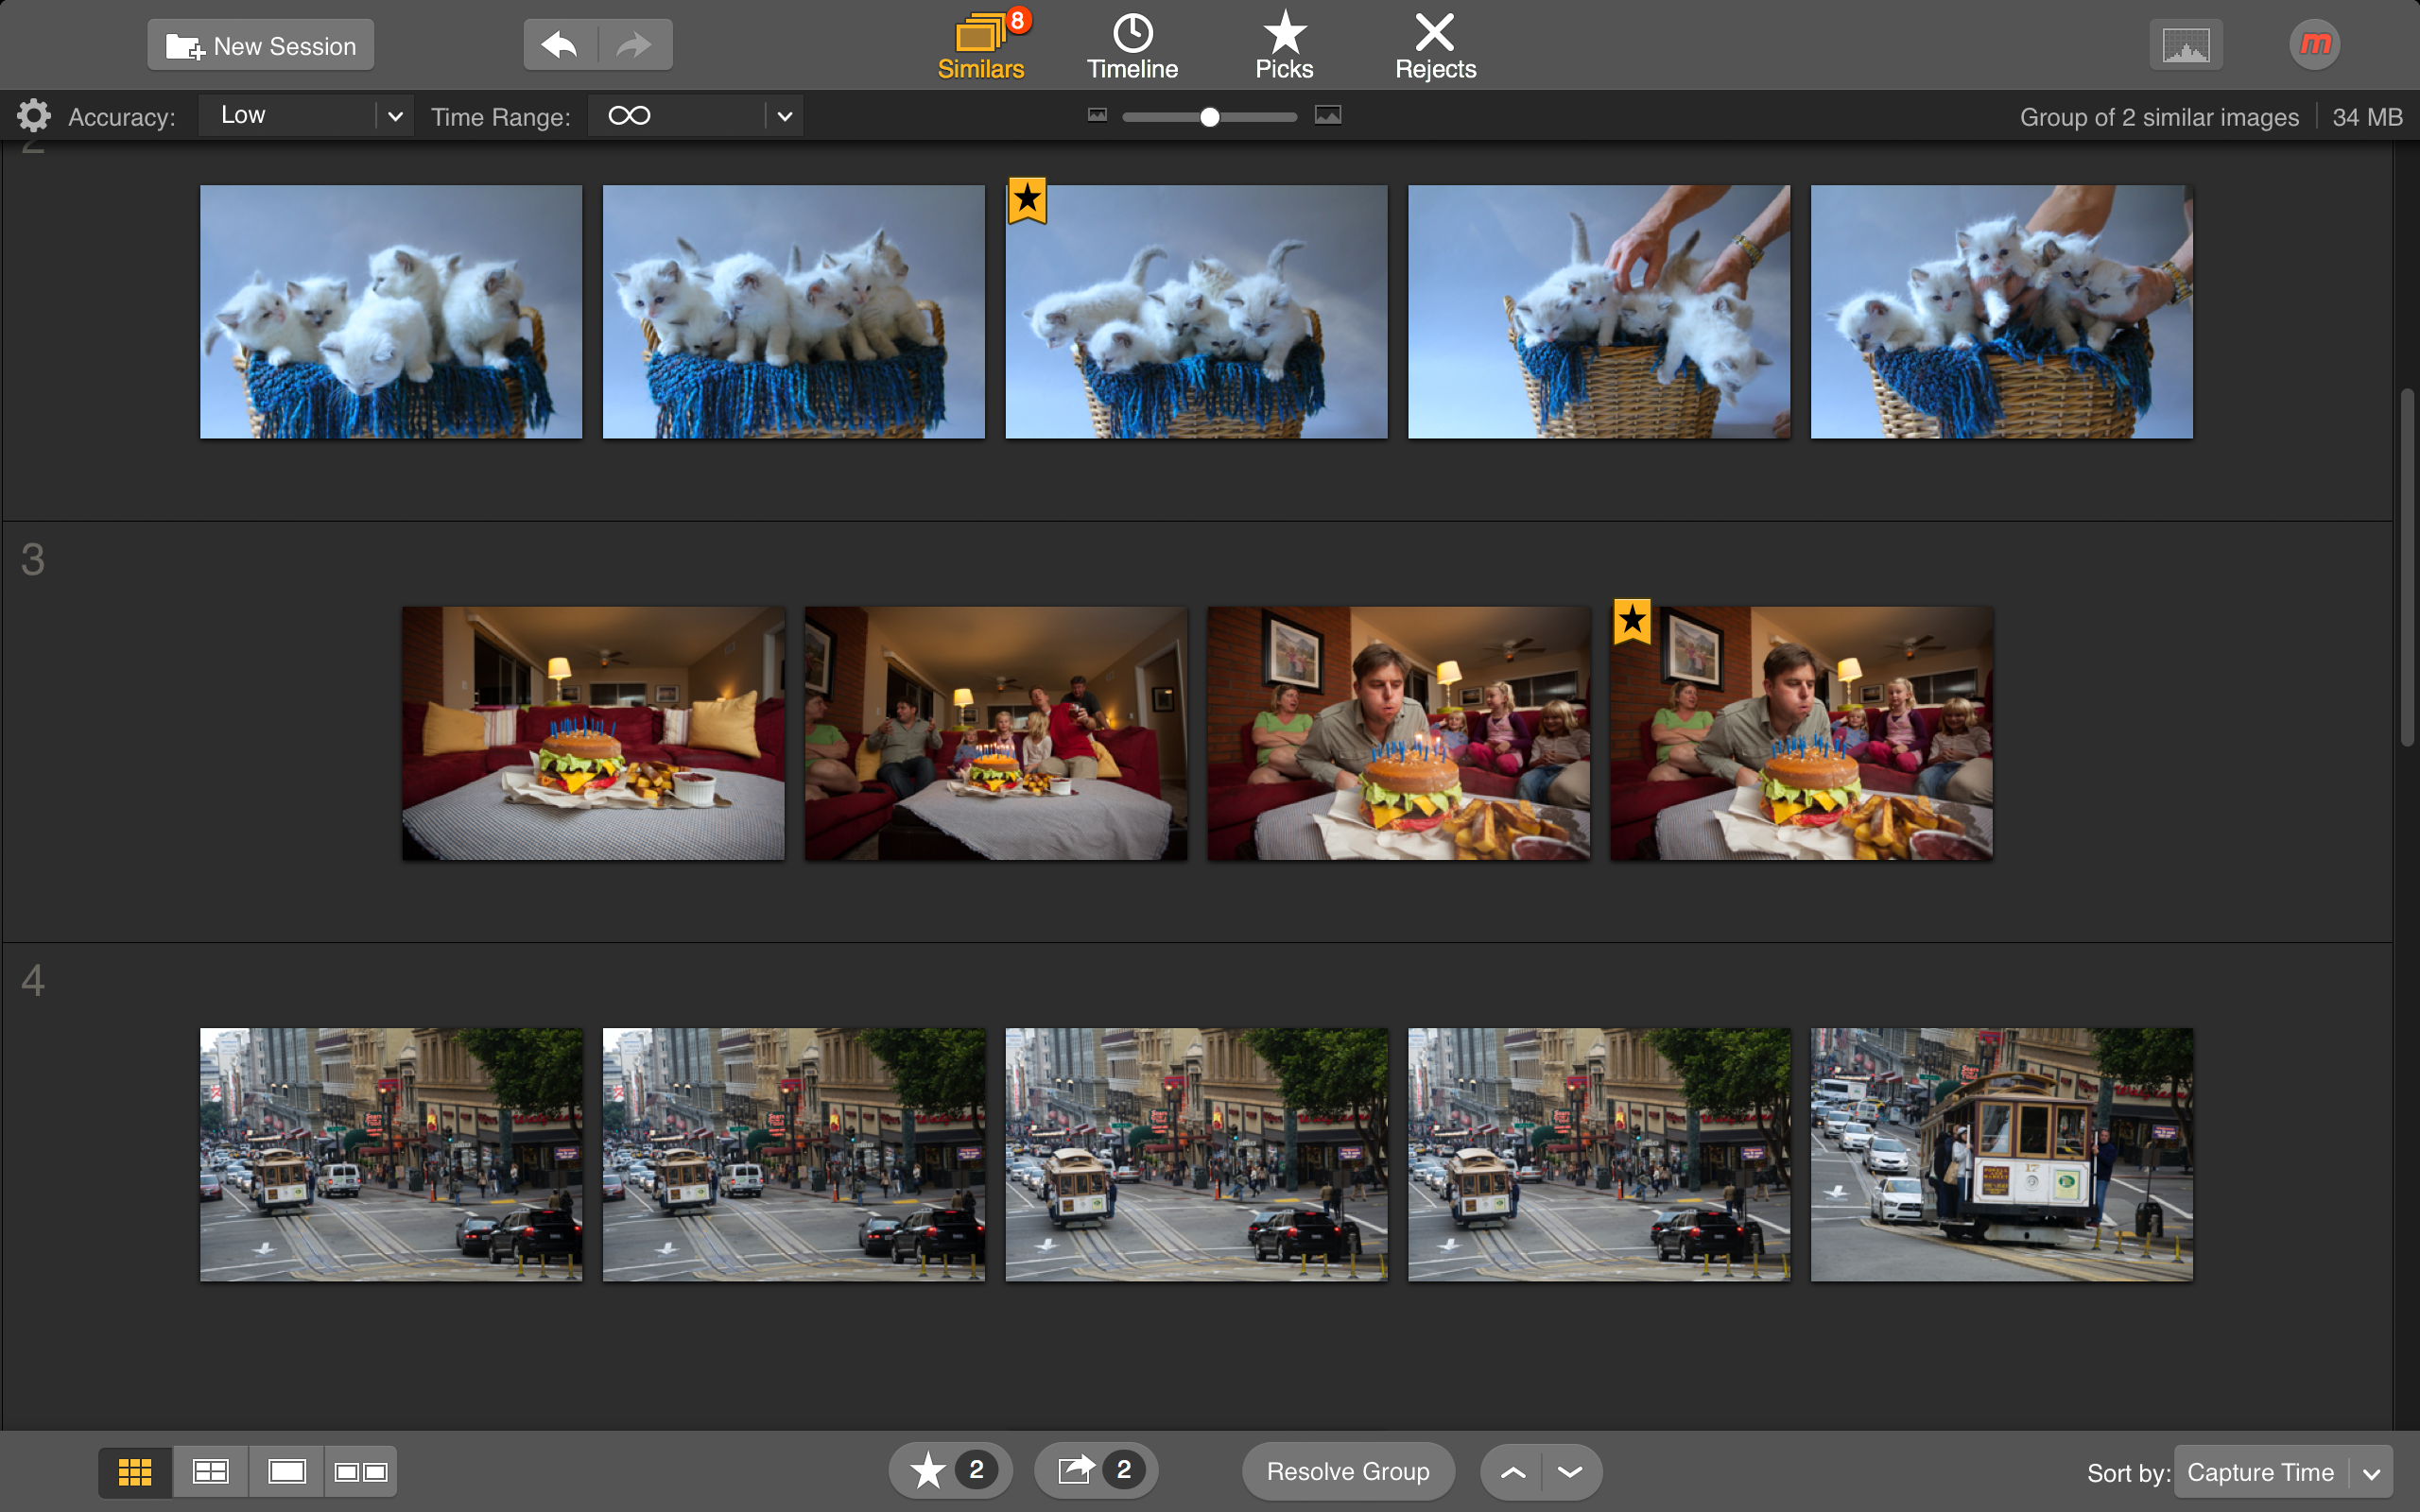
Snapselect by Macphun automatically groups similar images, allowing you to quickly sort them, rate them, and remember which ones you determine are your best.
Depending on your workflow, you can delete the ones that aren’t spectacular or just push them to the background while you work on the ones that are calling to you. Snapselect will help you determine which images might be duplicates and group like images together so that you can make the decision about what to keep and what to shelve.
Quick Tip: Once you have a few images that are truly “keepers” use the Macphun App Center to instantly transfer them to other Macphun tools for further editing and final polish.
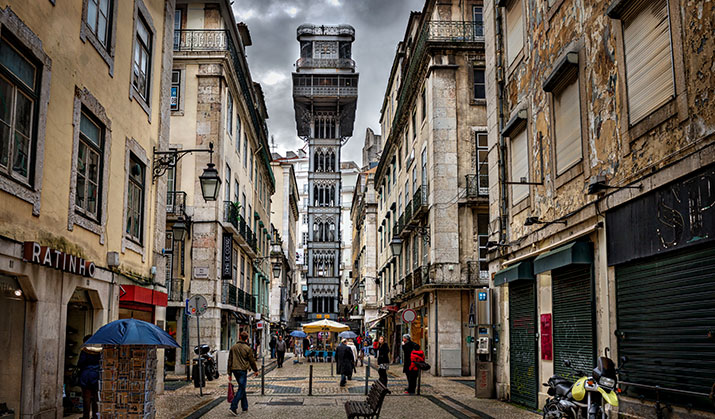
5. Perfect Imperfections
You know you have that great image that would be so perfect if that powerline/stranger/airplane/building/trash wasn’t in the background? Or that beautiful friend of yours who hates that otherwise amazing picture you took because of that huge zit on her forehead?
Life is messy. But your images don’t have to be. A huge part of post-processing is determining what part of the image stays and what has to go. This is accomplished with cropping for issues on the edges, and with a healing tool for those issues in the middle of your scene. And, it’s vital that you don’t have to spend forever in front of your computer.
While you should always try to get the best angle on an image, you can’t always get rid of those jarring elements that detract from your perfect picture. But you can rescue those images and show the world the beauty you see.
[twentytwenty]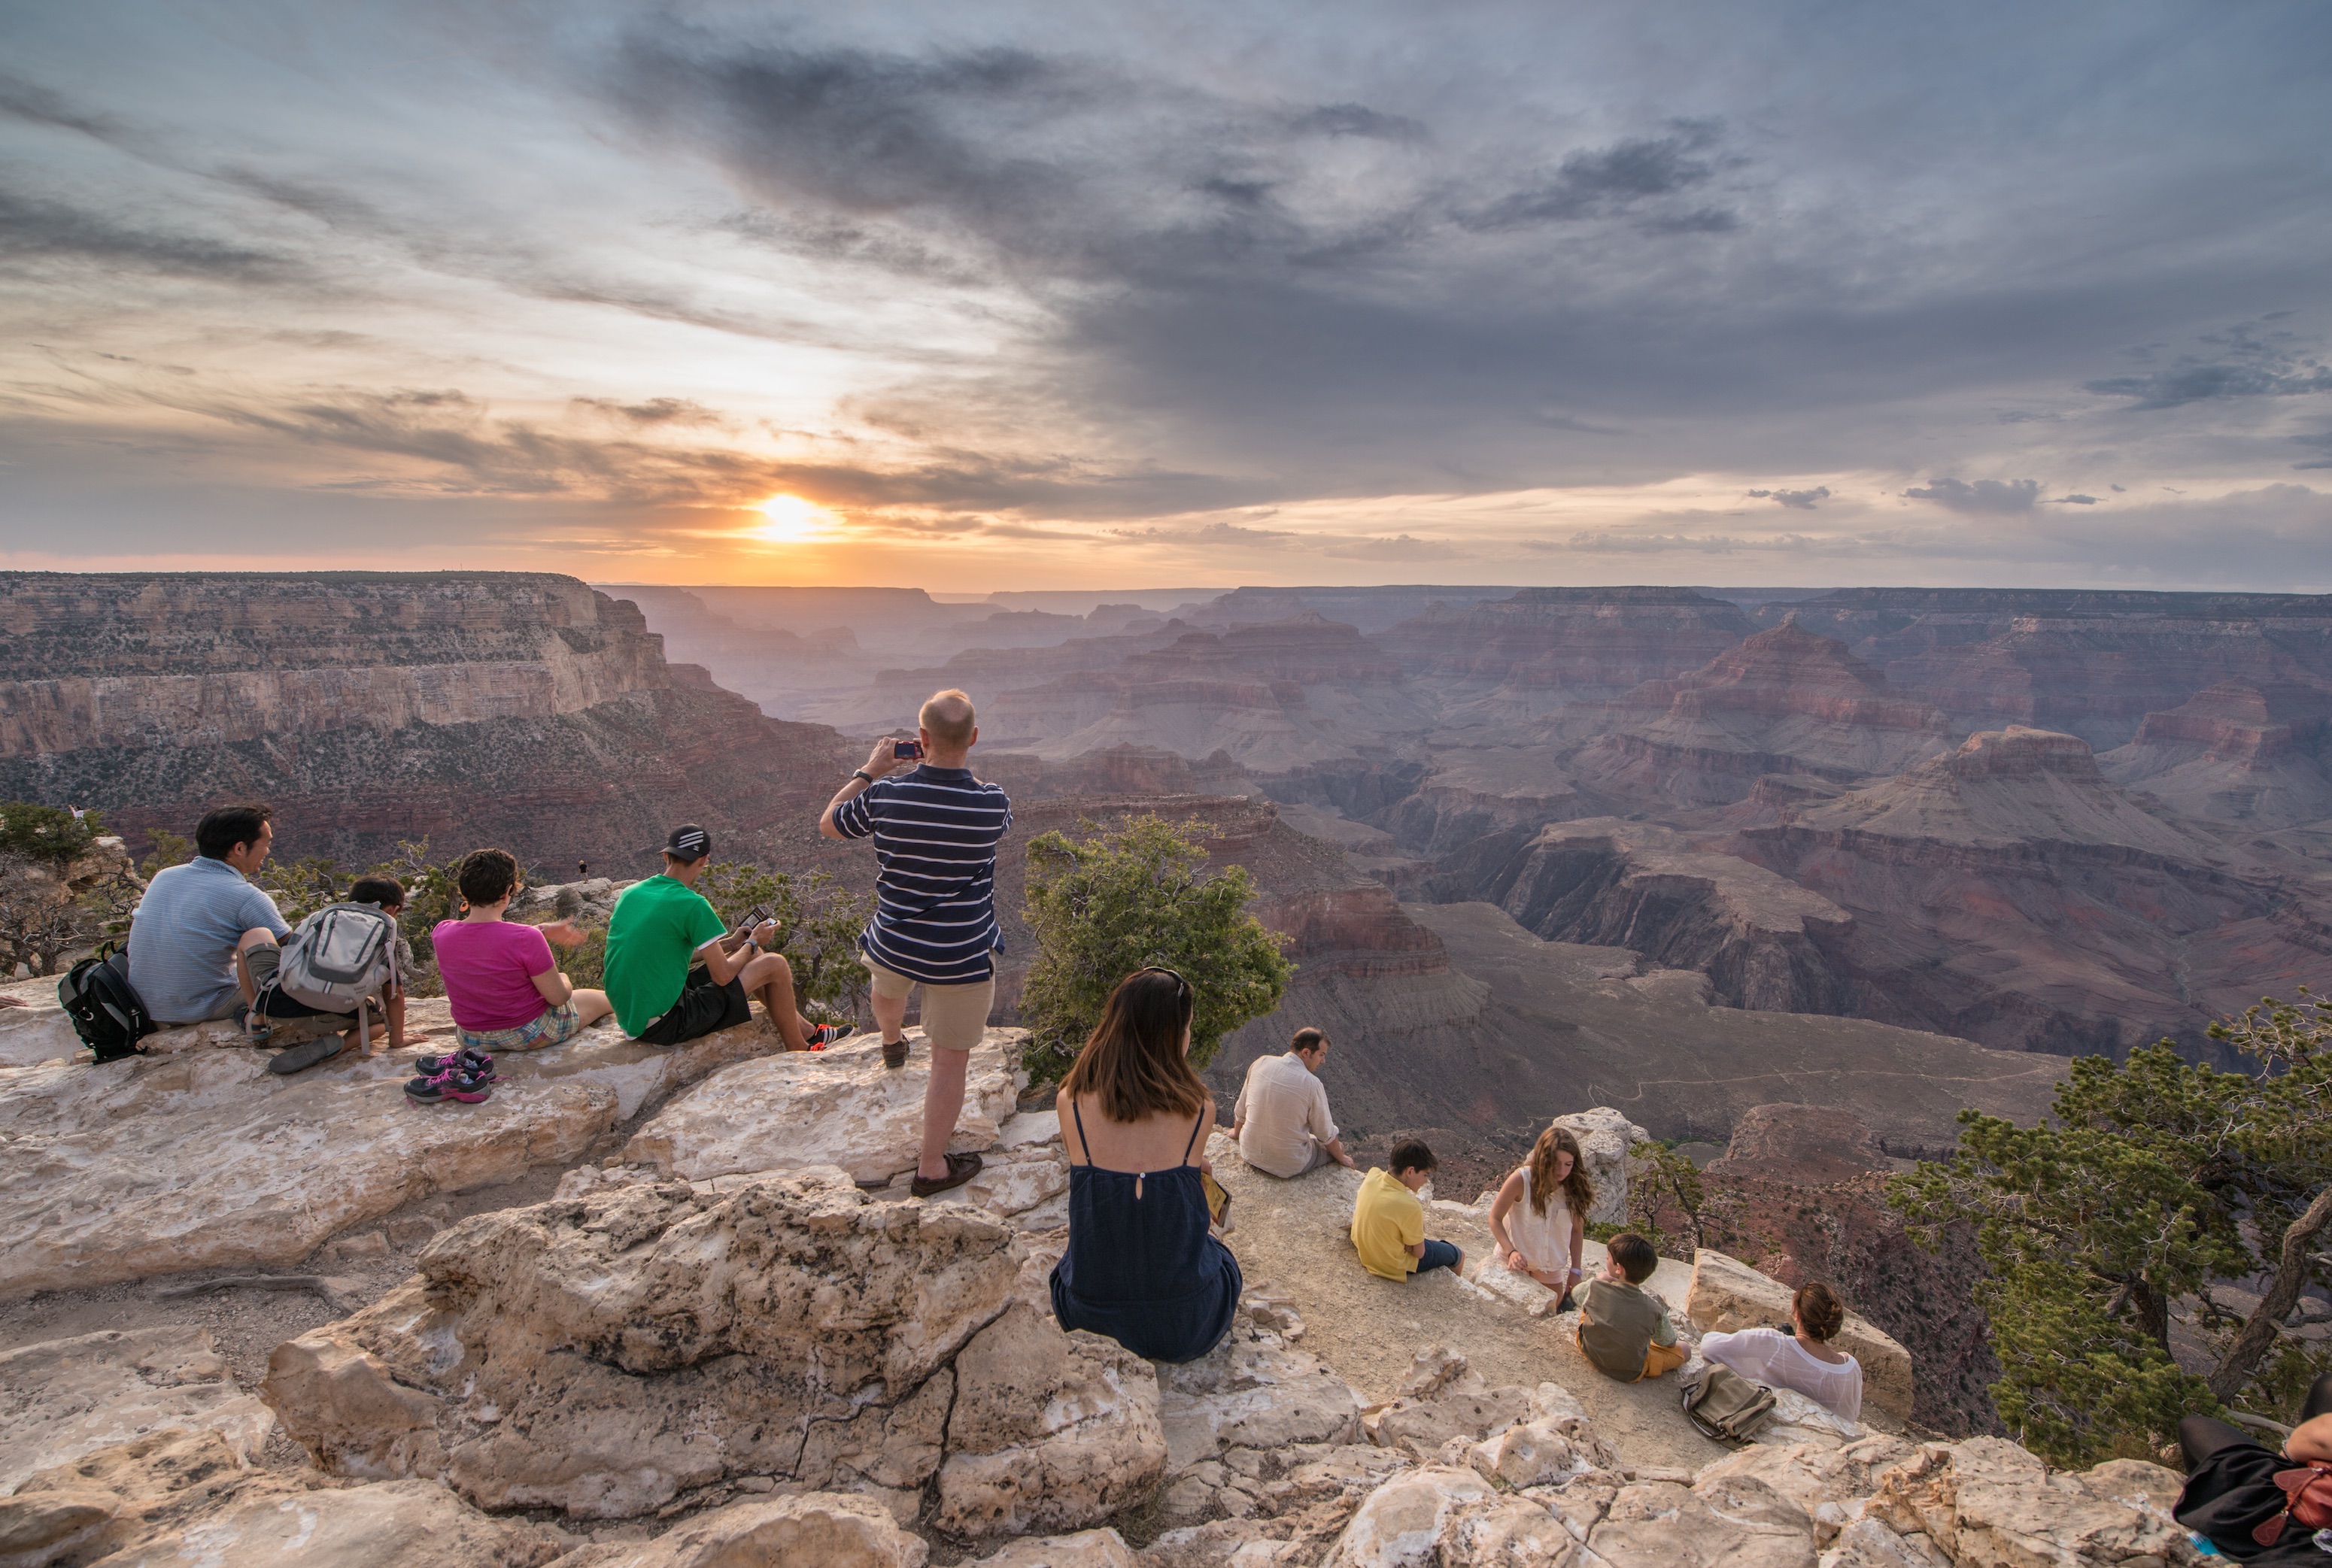
[/twentytwenty]
Solution
There are a lot of programs out there that offer healing to your images. As with all of the other tips here, you should find a program that is easy, efficient, and affordable when you are getting started.
Macphun’s Snapheal is an excellent app, offering a variety of “erase modes” that allow you to find the problems in your image and remove them. You don’t have to be precise in your selection, either. This isn’t an exercise in making perfect selections that are then replaced with alternate content. Based on a quick, even brusque, selection from you, the app algorithms work their magic.
You might have to play around at first to get the hang of what erase modes work best with what types of content, but once you do a few, you’ll never go back.
Quick Tip: When you’re starting out with Snapheal, play around with a few different types of images to learn the process, then it will be a natural choice in the future.
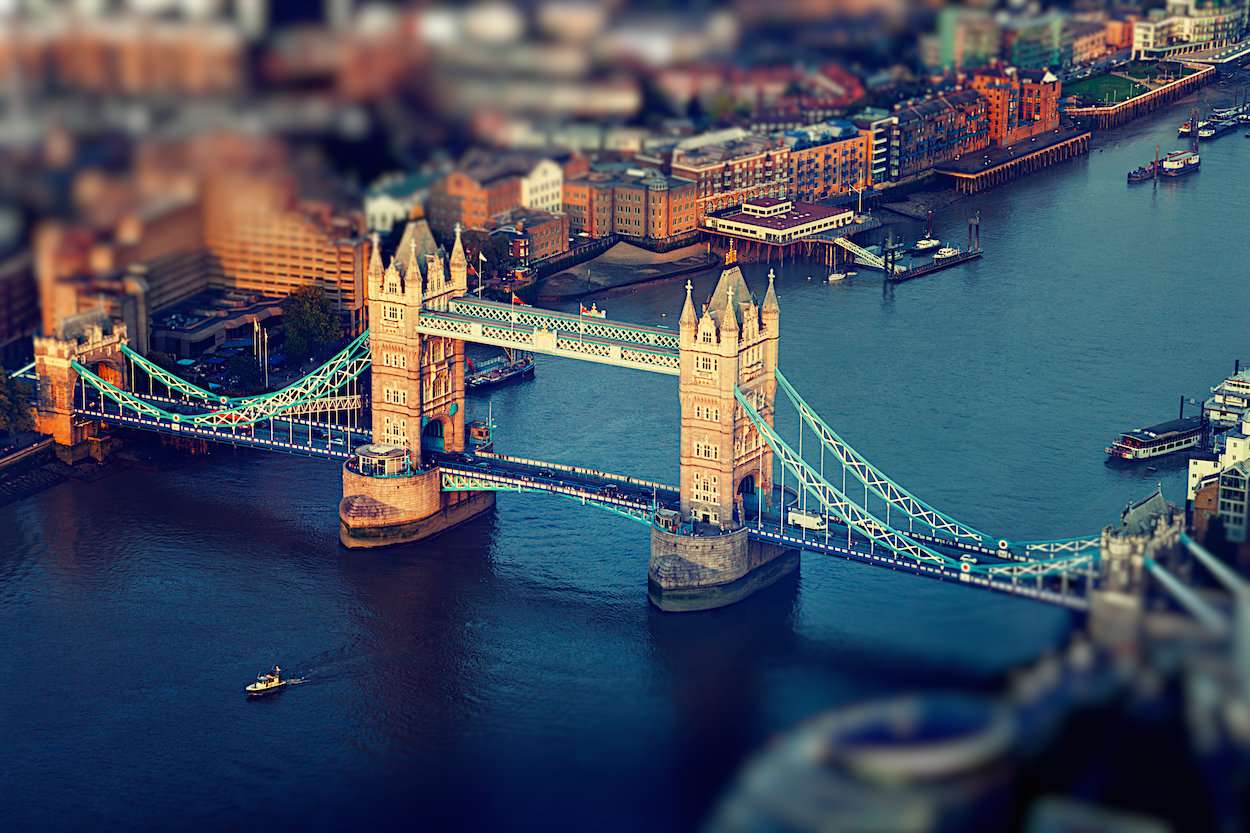
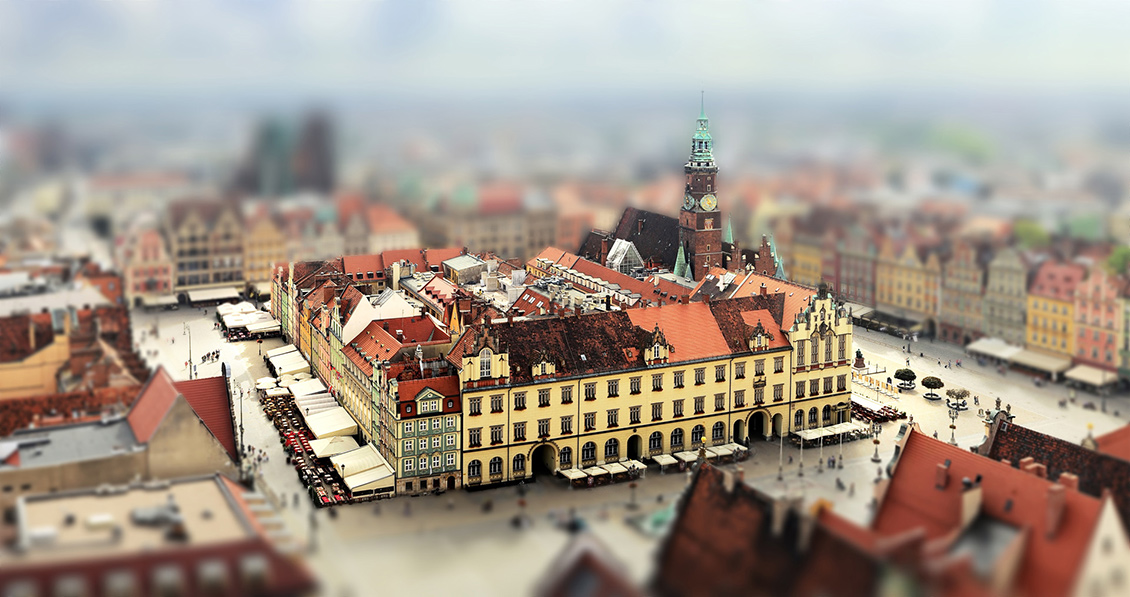
6. Attention Grabber
Have you ever wanted to get that incredibly crisp macro focus look with a background blurred into oblivion, but your lens just wouldn’t let you do it? You couldn’t get close enough to focus with the composition you wanted, or your lens is an f/5.6 when you would really need that sweet f/1.4 you’ve been drooling over?
When you can’t get that image in camera, the next best thing is to get as close as you can and then enhance the image in post. As long as the subject you want to be in focus is crisp in camera, you can make nearly any other decisions with focus you want after the shutter. This lets you direct your viewers attention directly to the subject that you want them to notice.
You don’t need that expensive macro lens and yes, you can hold off on getting that f/1.4 a little while longer. Who knows, once you figure out how to get that look in post, you might not want it at all.
[twentytwenty]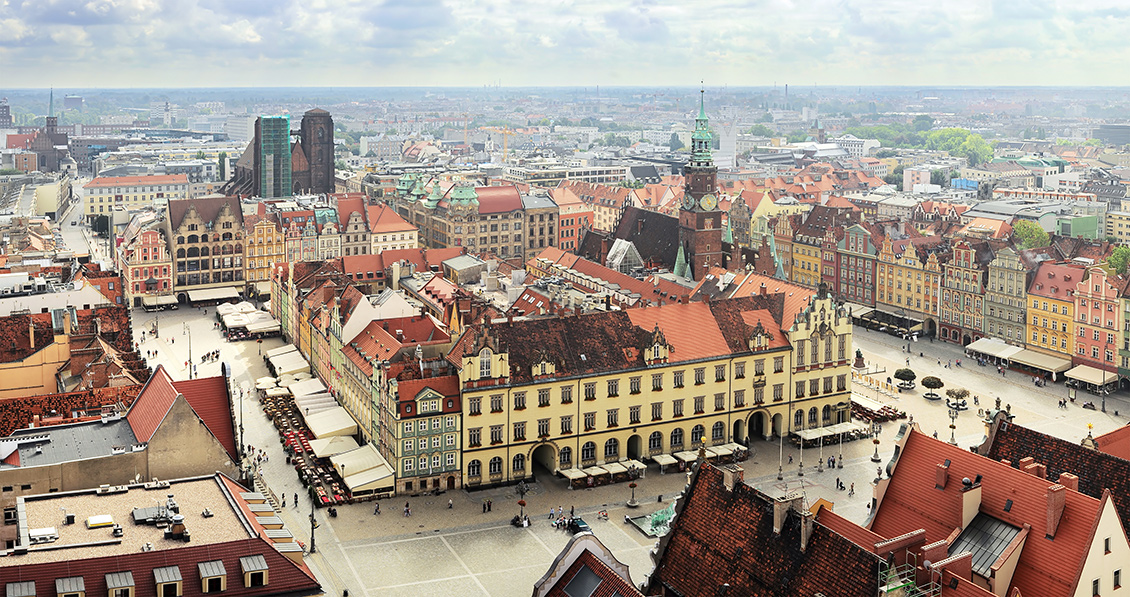
 [/twentytwenty]
Solution
Changing the focus of your images is becoming big business, and with the tilt-shift look having enormous popularity right now, there are options for your post-processing focus manipulation. The Macphun app, Focus, is an excellent option.
You can get selective focus, lens blur, motion blur, and the great tilt-shift effect with a few easy clicks. The software lets you hone in on exactly what you want to have in focus and gives you a variety of artistic alterations to the surrounding area, allowing you to push your images beyond the limitations of your physical equipment. If you see an image in your mind’s eye, it’s about time you can recreate it with affordable tools.
No matter what, you need to post process your images. So you may as well find the easiest way to do that and spend your time capturing images rather than hovering over an LCD screen for hours.
The best advice for creating great images is to first try to avoid any issues in camera, and then use the tips above to make your images the best they can be. Free trials of all Macphun photo editing apps at www.macphun.com/downloads.
You Might Also Like These Articles:
- The Best Photo Editing Software For Photographers in 2020
- Back to Basics: A Long Exposure Photo and Processing Tutorial for Beginners
- Meet Photolemur: Artificial intelligence that automates your post-processing
- 23 Landscape Photography Tips From A Pro


Leave a reply