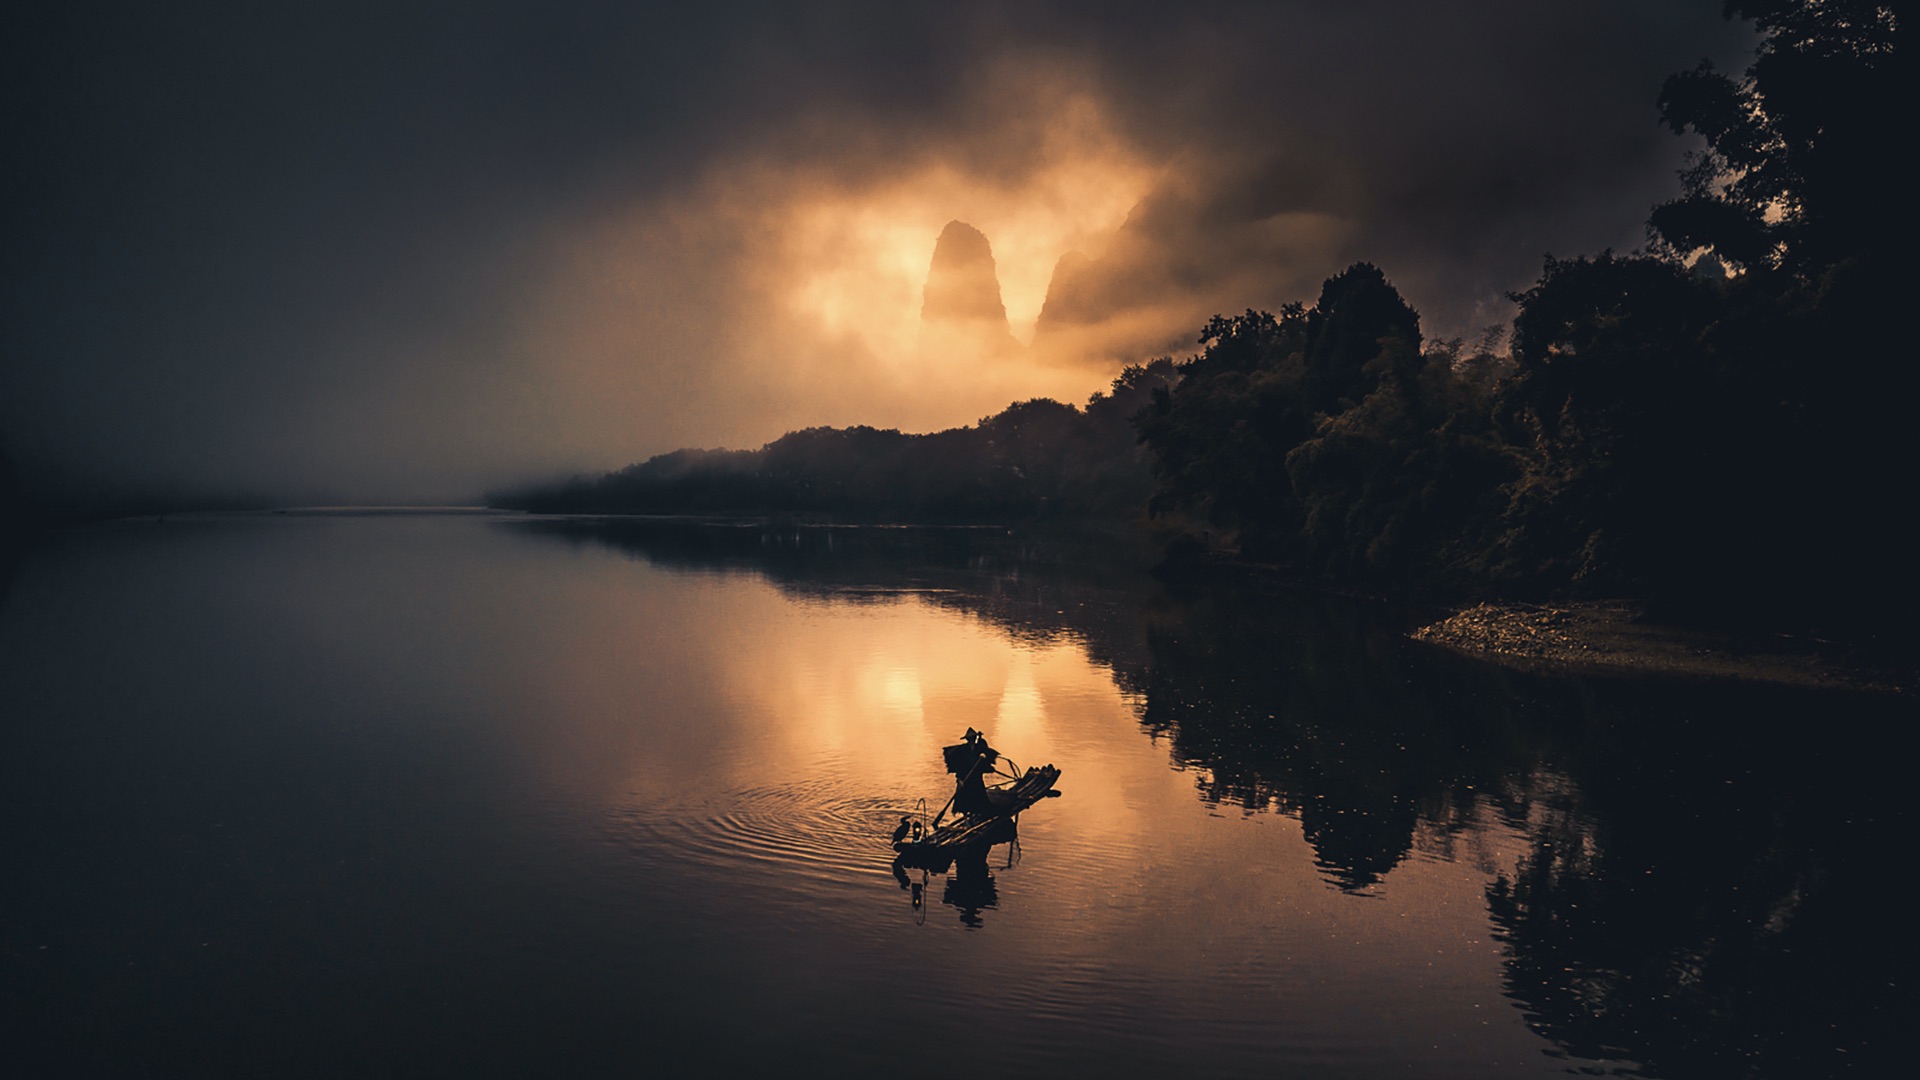
A few months ago, Swedish photographer Tobias Hägg spent a midsummer morning on the banks of the Li River in China. Accompanying him was a local cormorant fisherman, who had journeyed through the night to watch the sunrise.
After much waiting and anticipation, Hägg wondered if the long trip was worth it—or if it had been in vain. “All of a sudden, I see a tiny light on the river,” he remembered later. “What comes after is just amazing.”
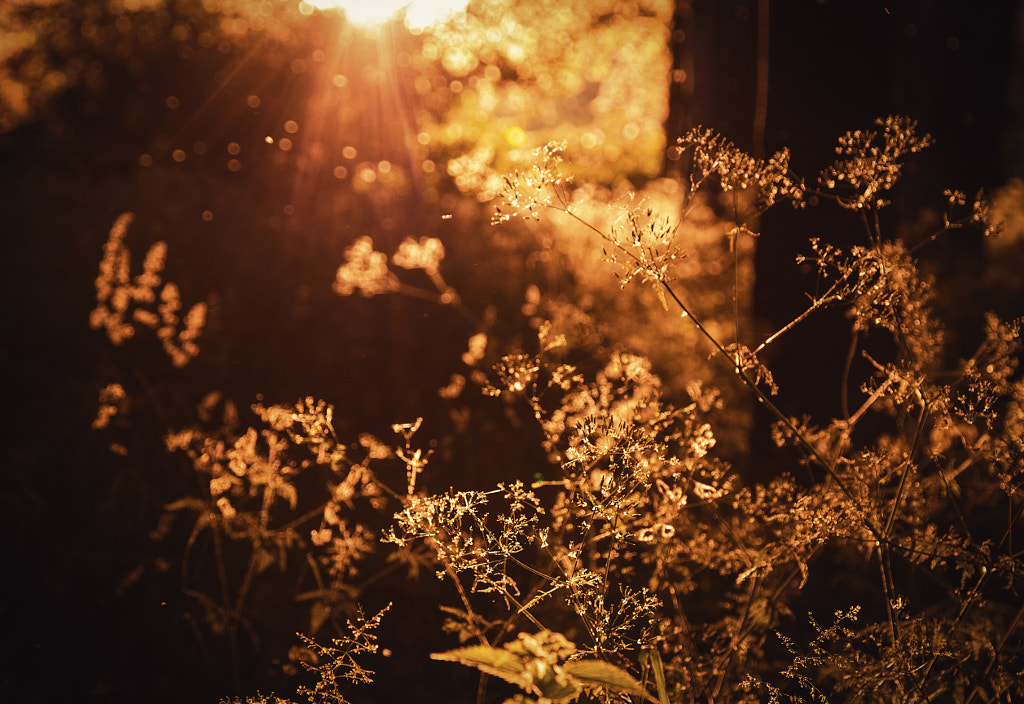
In photography, the “golden hour” adds romance and mystery, but we often overlook the hard work that goes into creating a shot like this one. Golden hour photographers wake up before dawn and stay out late into the night—all to capture a single moment of magical sunlight.
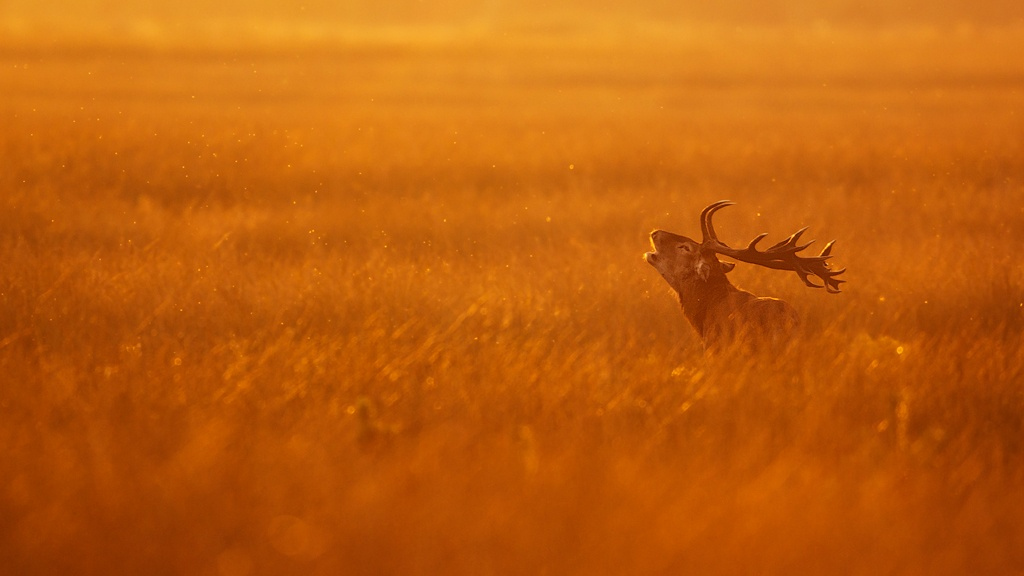
The golden hour varies based on your location, but it always happens shortly after sunrise and just before sunset—when the sun is low. As the sun reaches the horizon, the atmosphere filters out blue and violet light, leaving behind an orange glow.
For our purposes, the “golden hour” describes any portion of the day or night when the sun sits between four degrees below and six degrees above the horizon. If you live on the equator, it could come and go in a matter of minutes—the farther you travel to either pole (north or south), the longer your golden hour will be.
While the golden hour is notoriously unpredictable, here are a few concrete steps you can take to make the most of it.
Download an app
The local weather forecast is a great starting point, but you need more detailed information if you want to get the most out of your golden hour shoots.
Apps like PhotoPills, The Photographer’s Ephemeris, Sun Surveyor, and SunCalc, provide accurate, up-to-date information on astronomical events—and their implications for photographers—all catered to your exact location.
Scout your location…
Take as many trips to your location as you can, and study how the light falls. Take a few test shots, and then go home and make notes. You’ll return with a better understanding of the terrain and how it behaves in different conditions.
…and arrive early
If you know you’ll have just thirty minutes of perfect light, build in some extra time to set up and prepare. You won’t want to waste any of those precious moments fixing your tripod or scrambling with your camera settings.
Embrace bad weather
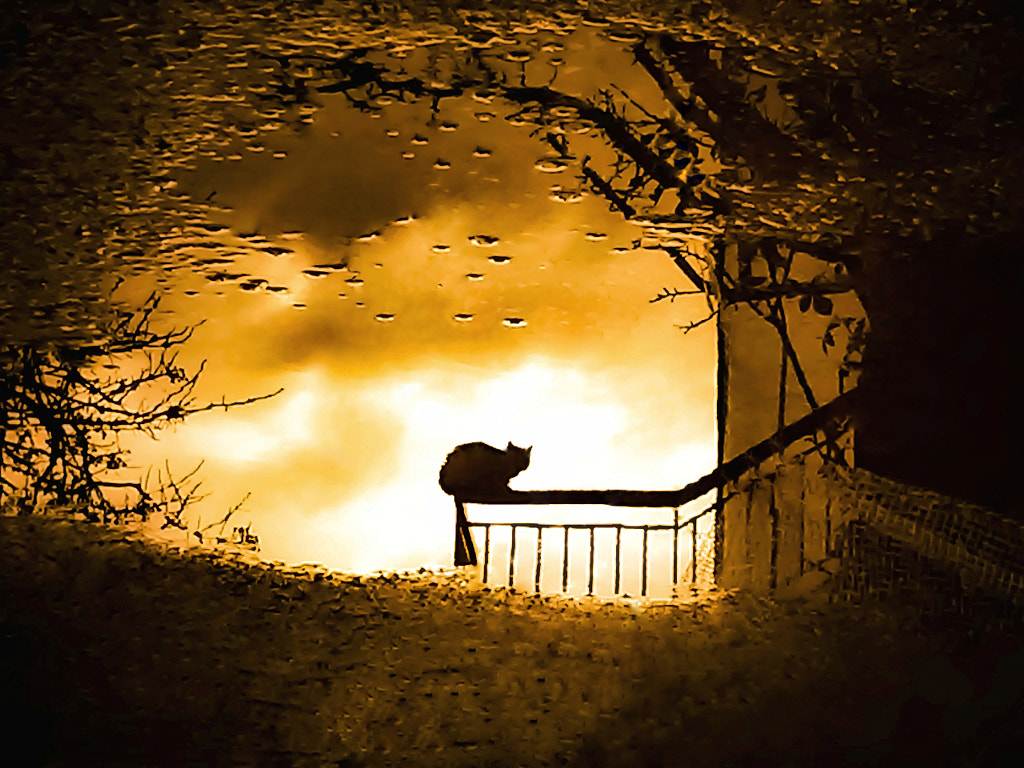
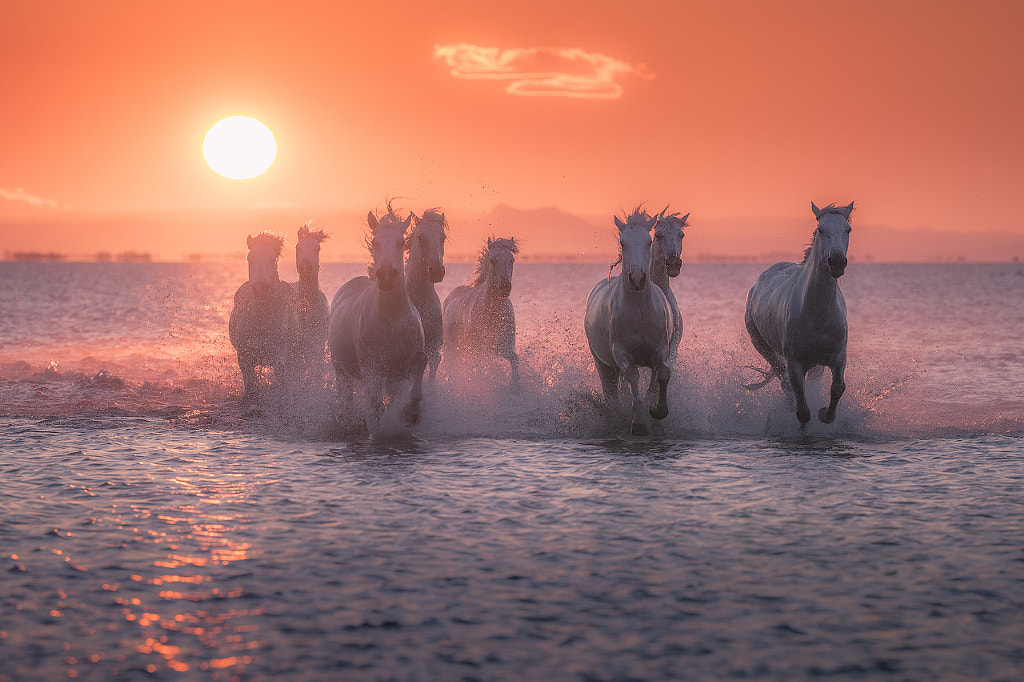
A cloudy sky works as a natural diffuser, creating balanced, even light. Just make sure that the clouds are rolling out rather than coming in—and that there’s plenty of space between them. If it’s rained throughout the afternoon, and the sun is just starting to poke through, that’s your cue to head out and get shooting. Use the puddles and reflections to your advantage.
Mist and fog will also work in your favor by creating a soft, dreamy atmosphere, but you’ll usually have to wake up early in the morning to get these photos.

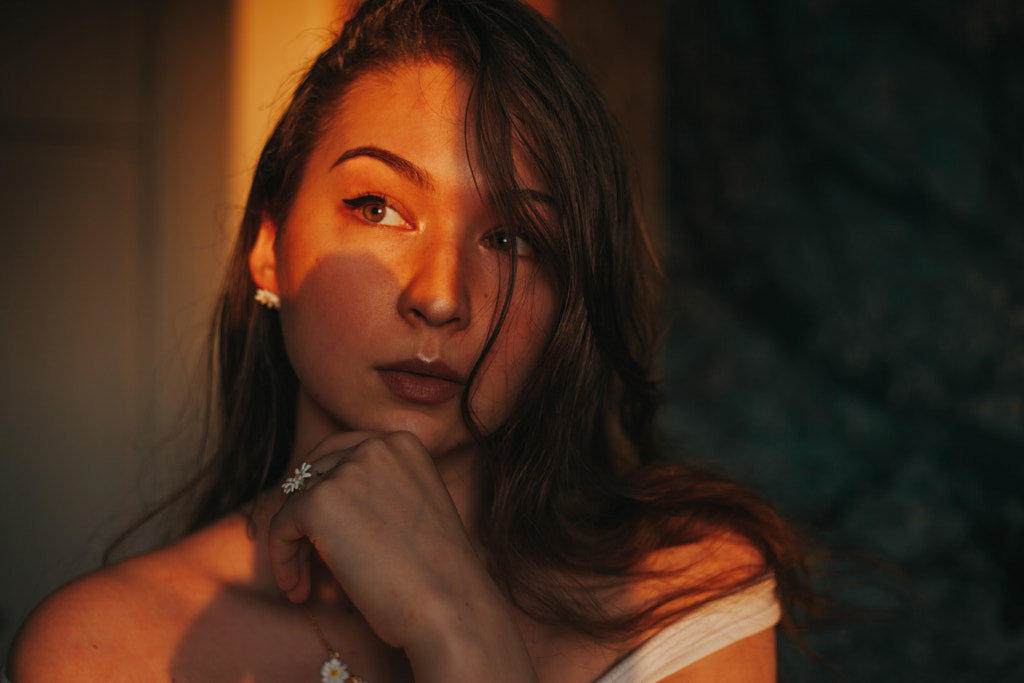
Bring a reflector for portraits…
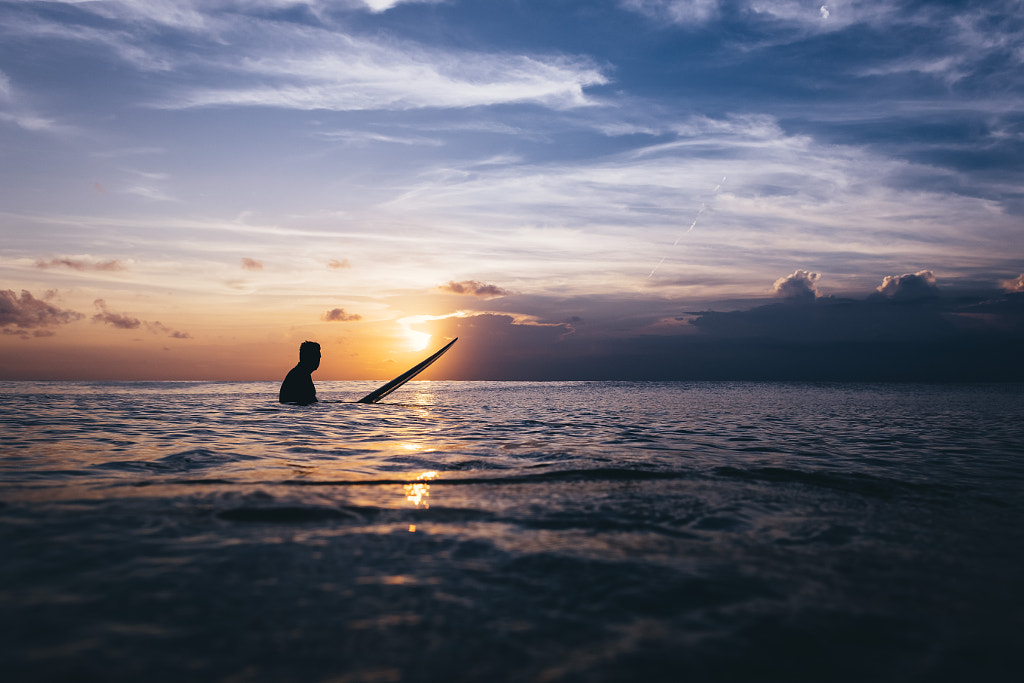
While golden hour light is far easier to expose for than midday light, it’s not without its challenges—especially if you’re a portrait photographer. When you’re working with backlight, you risk creating a silhouette and losing the face to shadows.
Use a reflector to bounce back some of that light onto your subject’s face. Opt for a gold reflector rather than a silver one to keep the light temperature nice and warm. If needed, you can also use a diffused flash with an orange gel or warming filter, but in many cases, the reflector and natural light will do the trick.
…and a tripod for landscapes
Once the sun dips below the horizon, you’ll start shooting longer exposures. Instead of bumping up your ISO and increasing noise, use a sturdy tripod. Consider a remote shutter release as well, and remember to keep a neutral density filter on hand for long exposures.
Avoid auto white balance
If you’re camera’s set to auto white balance, it’ll neutralize those golden tones, making them cooler. Instead, opt for the “shade” or “cloudy” setting. For even more control, set it manually, and of course, remember to shoot in RAW—these files will give you more freedom to tweak and correct the colors in post.
Use aperture priority mode
The light during the golden hour can change on a dime, so consider working in aperture priority mode to keep your depth of field the same throughout the shoot.
A wide aperture will work well with portraits—especially if you’re going for the bokeh look—but you’ll want to stop down for landscapes to keep everything sharp. Once the sun slips beneath the horizon, you can stop using aperture priority and switch to manual instead.
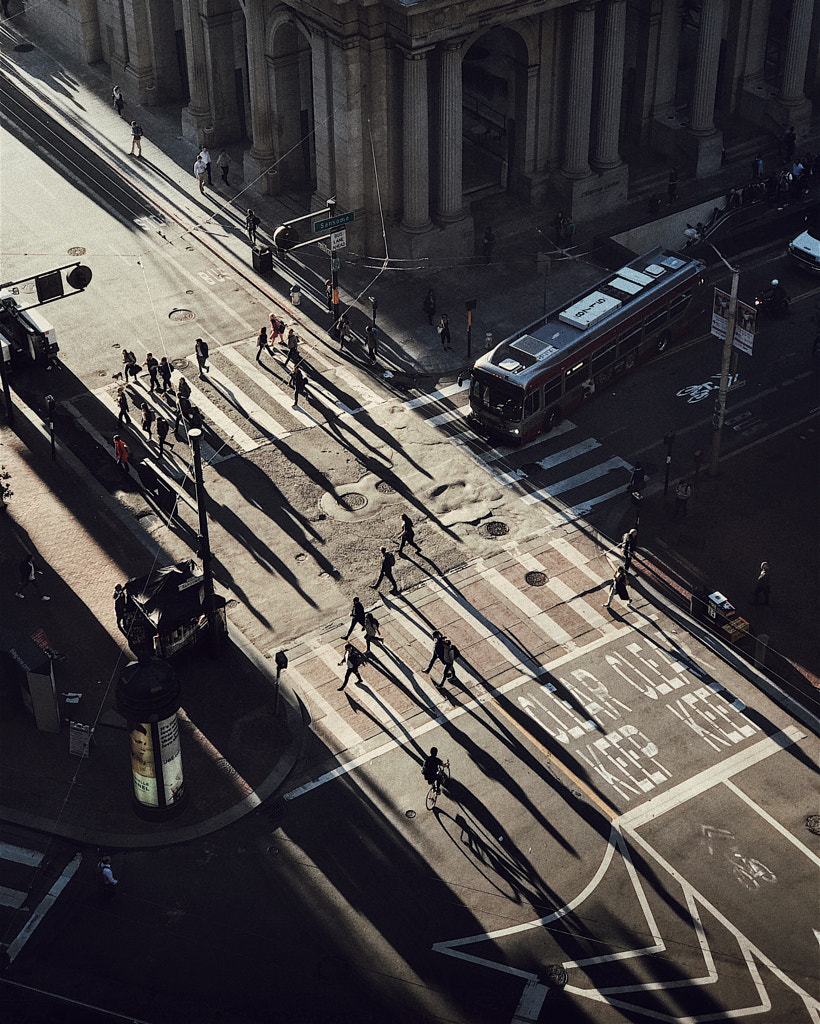
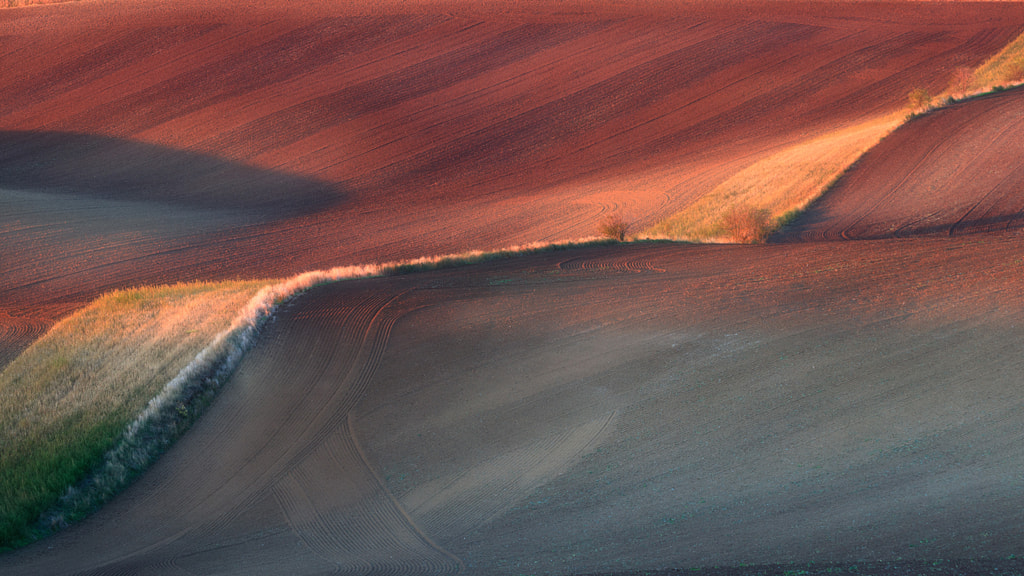
Incorporate shadows
Golden hour light produces long, dramatic shadows. While your own shadow can easily ruin the shot, a thoughtfully-placed shadow can do just the opposite by adding drama and depth. Just remember to expose for the shadow(s) rather than the bright sky so you don’t lose any detail.
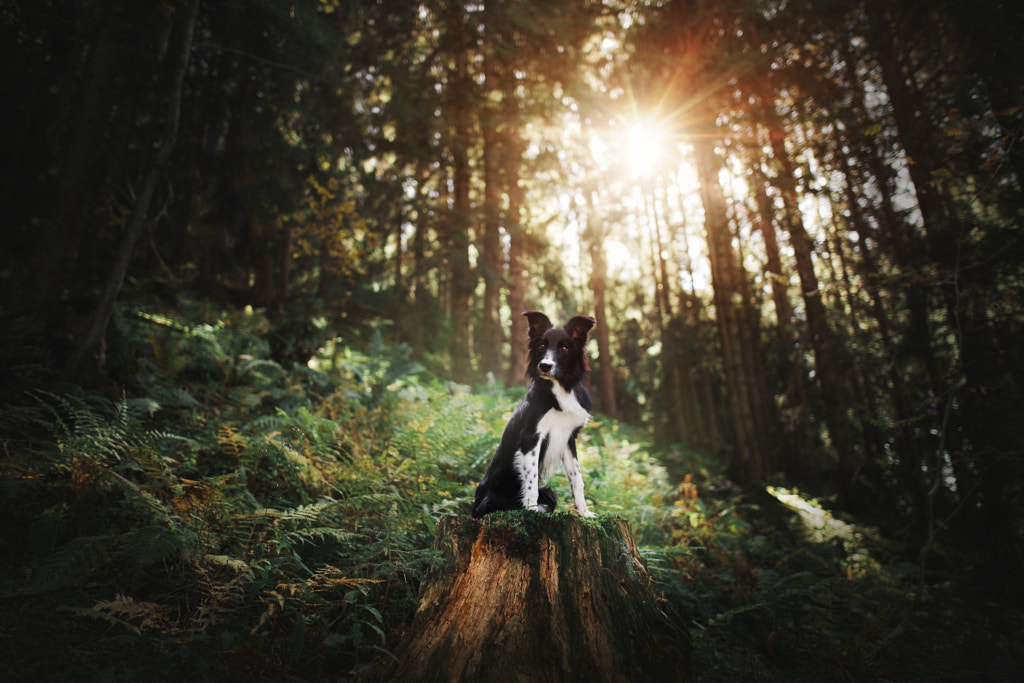
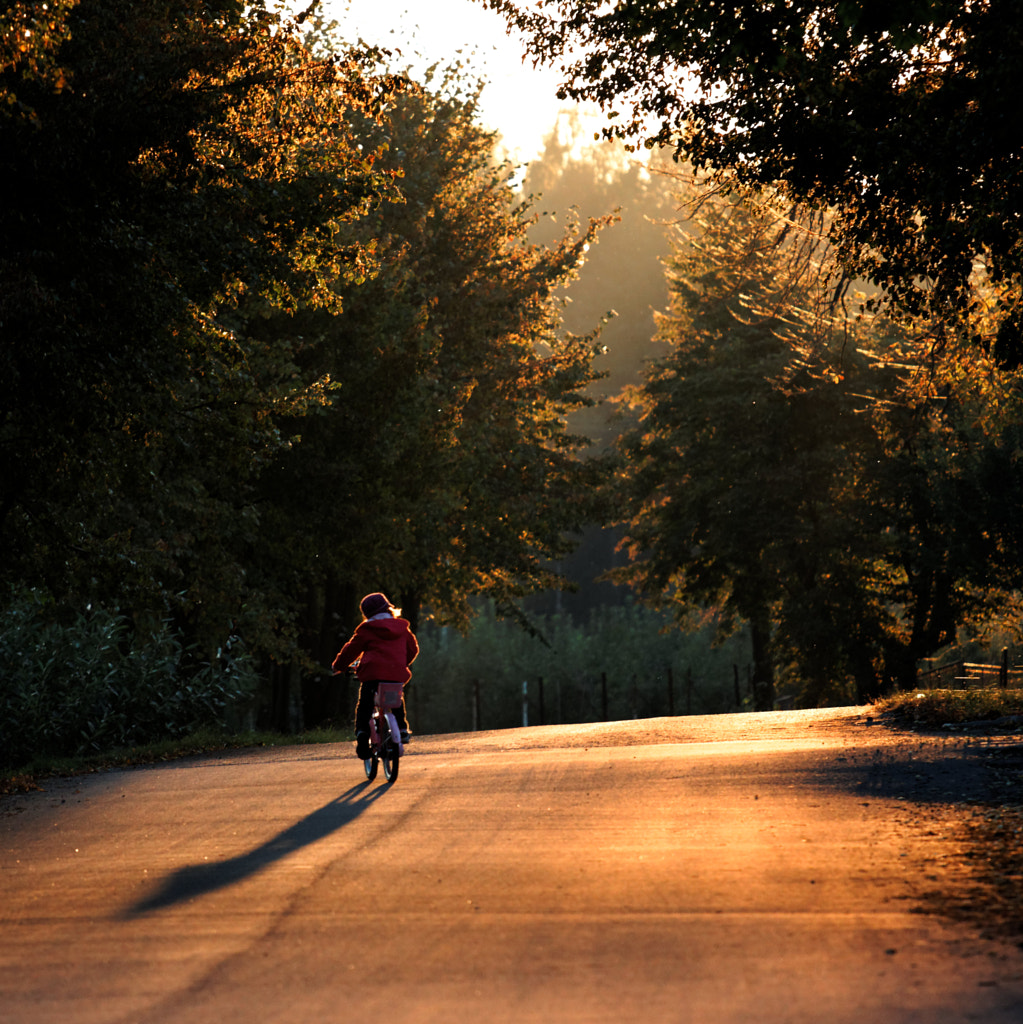
Play hide-and-seek
At the start of the golden hour, the light will still be relatively bright, so use this opportunity to experiment with foreground elements. Stand behind some trees and watch the sun peek through the leaves, or watch it set over a row of houses.
Check your photos
Normally, it’s a mistake to take a peek at your LCD after every shot because it pulls you out of the moment. But during the golden hour, the conditions are ever-changing, so it helps to keep an eye on how your photos are coming out. Check your histogram too to make sure the sun’s not blowing out all your highlights.
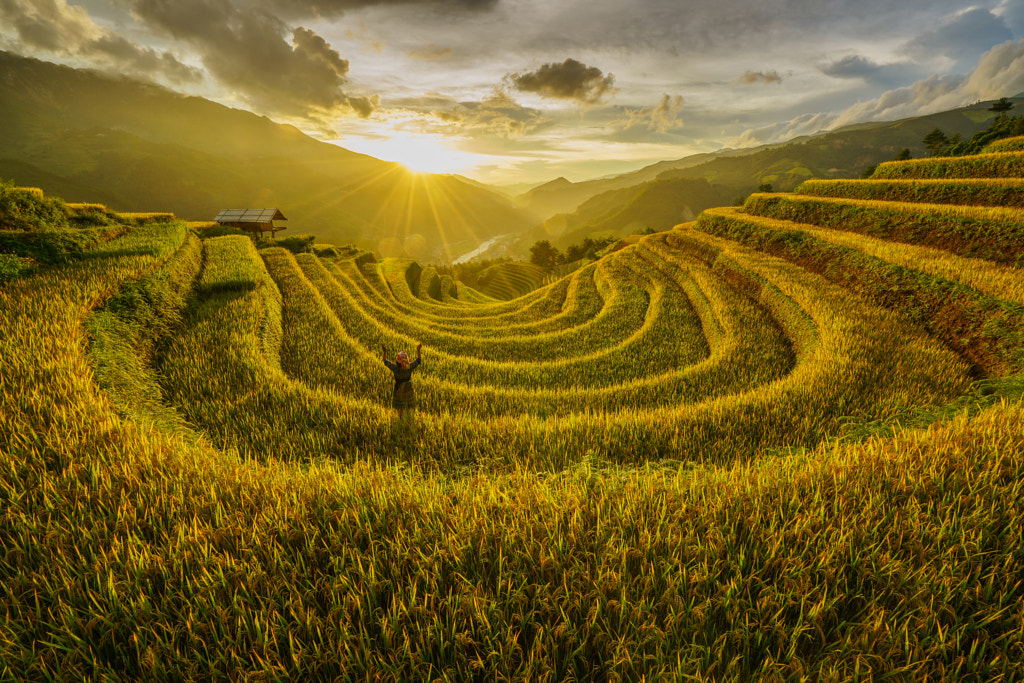
Get up high
As the sun sets, trees and buildings will block out the sun, so look for hills, rock formations, and rooftops. An elevated vantage point will make your golden hour last a little bit longer.

Move indoors
Capitalize on the golden hour by bringing your subject inside. Find a space with big windows and doors so you can let the light stream into the room (and control it as you see fit).
Get creative with lighting
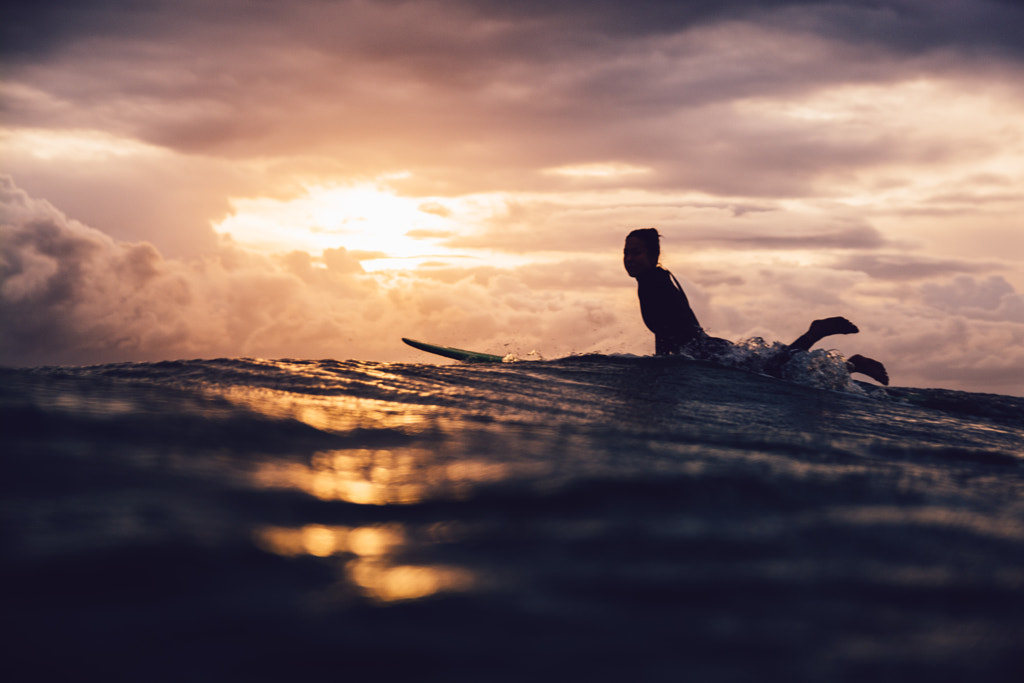
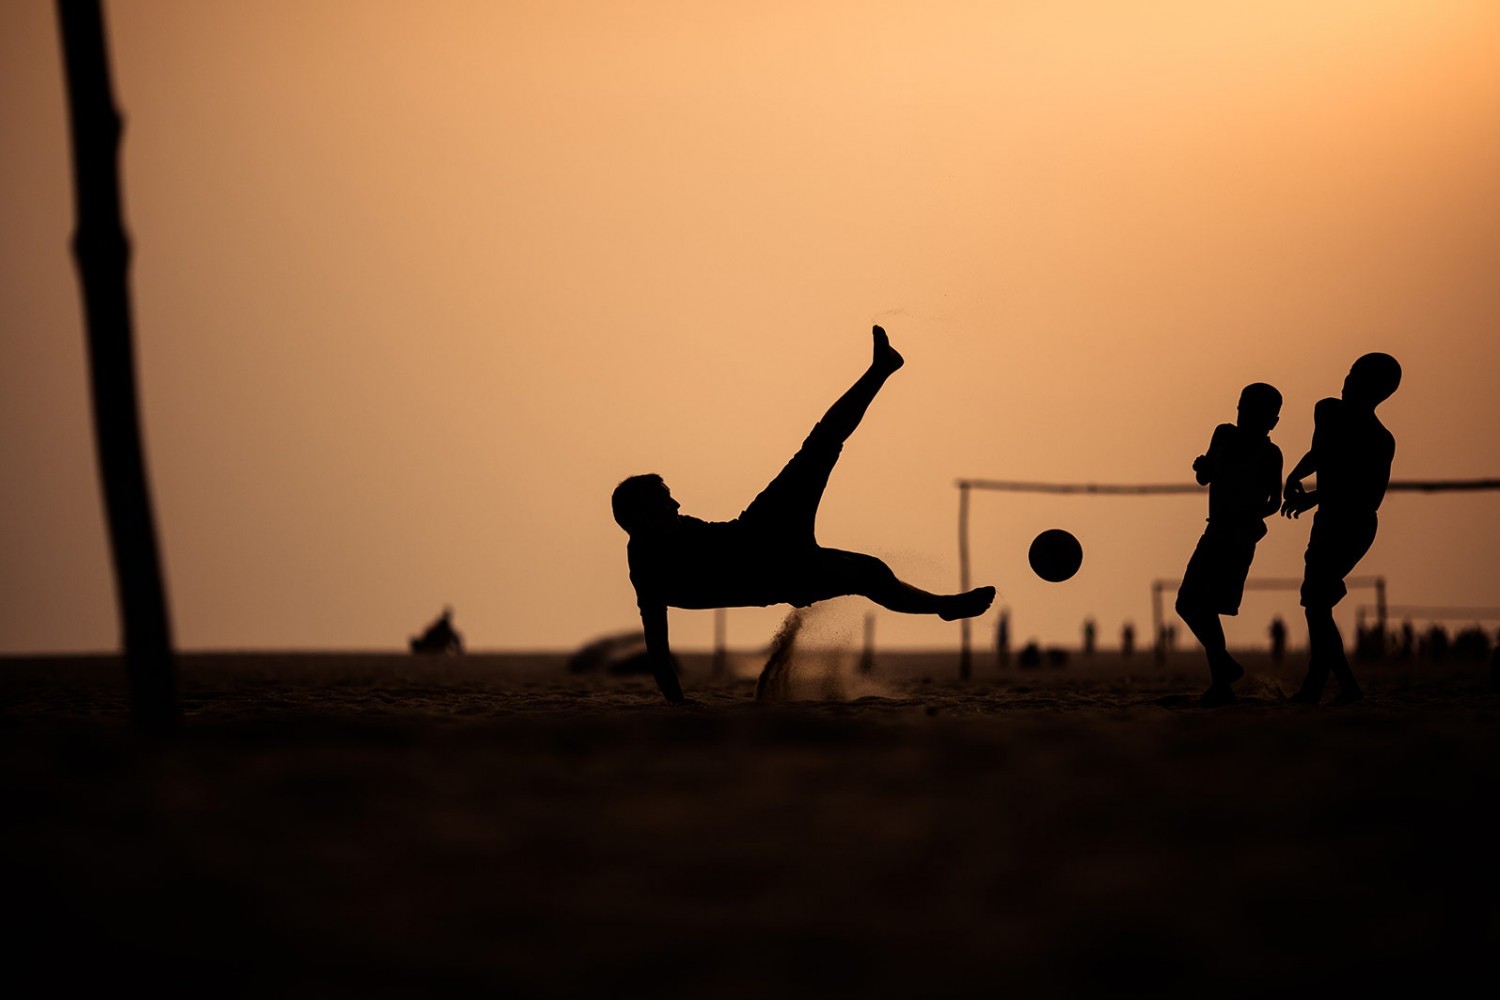
Golden hour light is forgiving and versatile, so move around and experiment. You can achieve interesting lens flares by having your subject partially block out the sun—or you can have them block out the sun entirely for a clean silhouette (expose for the highlights here). Light your subject from the front, the back, and the side.
This time of day is also ideal for rim lighting—where your subject is outlined by an otherworldly halo. If you do opt for rim lighting, search for a darker background to bring out that glowy contrast.
Adding elements like bubbles, glitter, sheer fabric, and even prisms can help bend the light in new and surprising ways, so keep a running list of “golden hour props” to keep in your camera bag.
Stick around
Tobias Hägg was about to throw in the towel before he saw that orange glow over the Li River. Shooting the golden hour often feels like a race against the clock, but it also requires patience and persistence. Just when you’re ready to pack up and call it a day, think again.
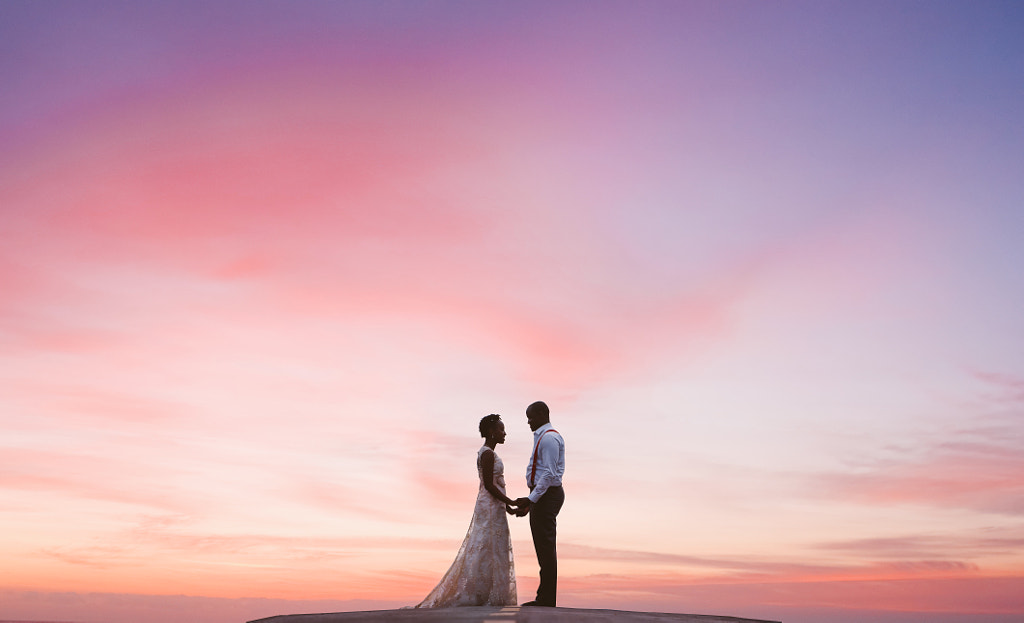
You might not always get the golden hour shots you’ve imagined, but you can still take advantage of the blue twilight tones—or what some photographers call the “second sunset,” a phenomenon that occurs about 15 to 25 minutes after sunset and paints the sky in magentas and reds.
Not on 500px yet? Sign up here to explore more impactful photography.


Leave a reply