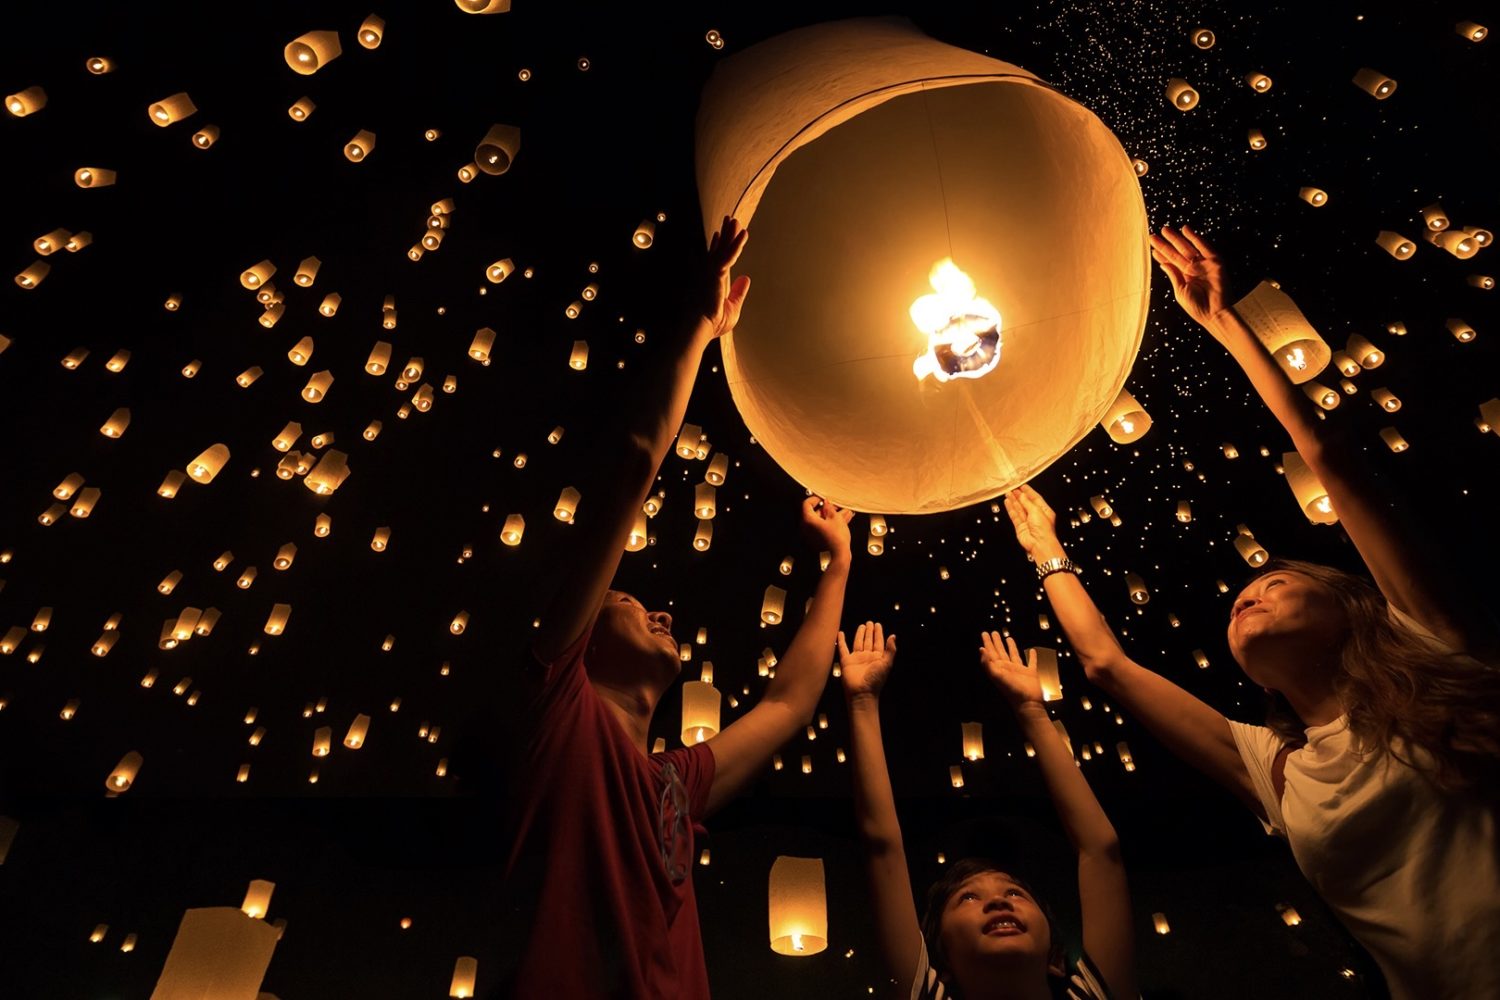
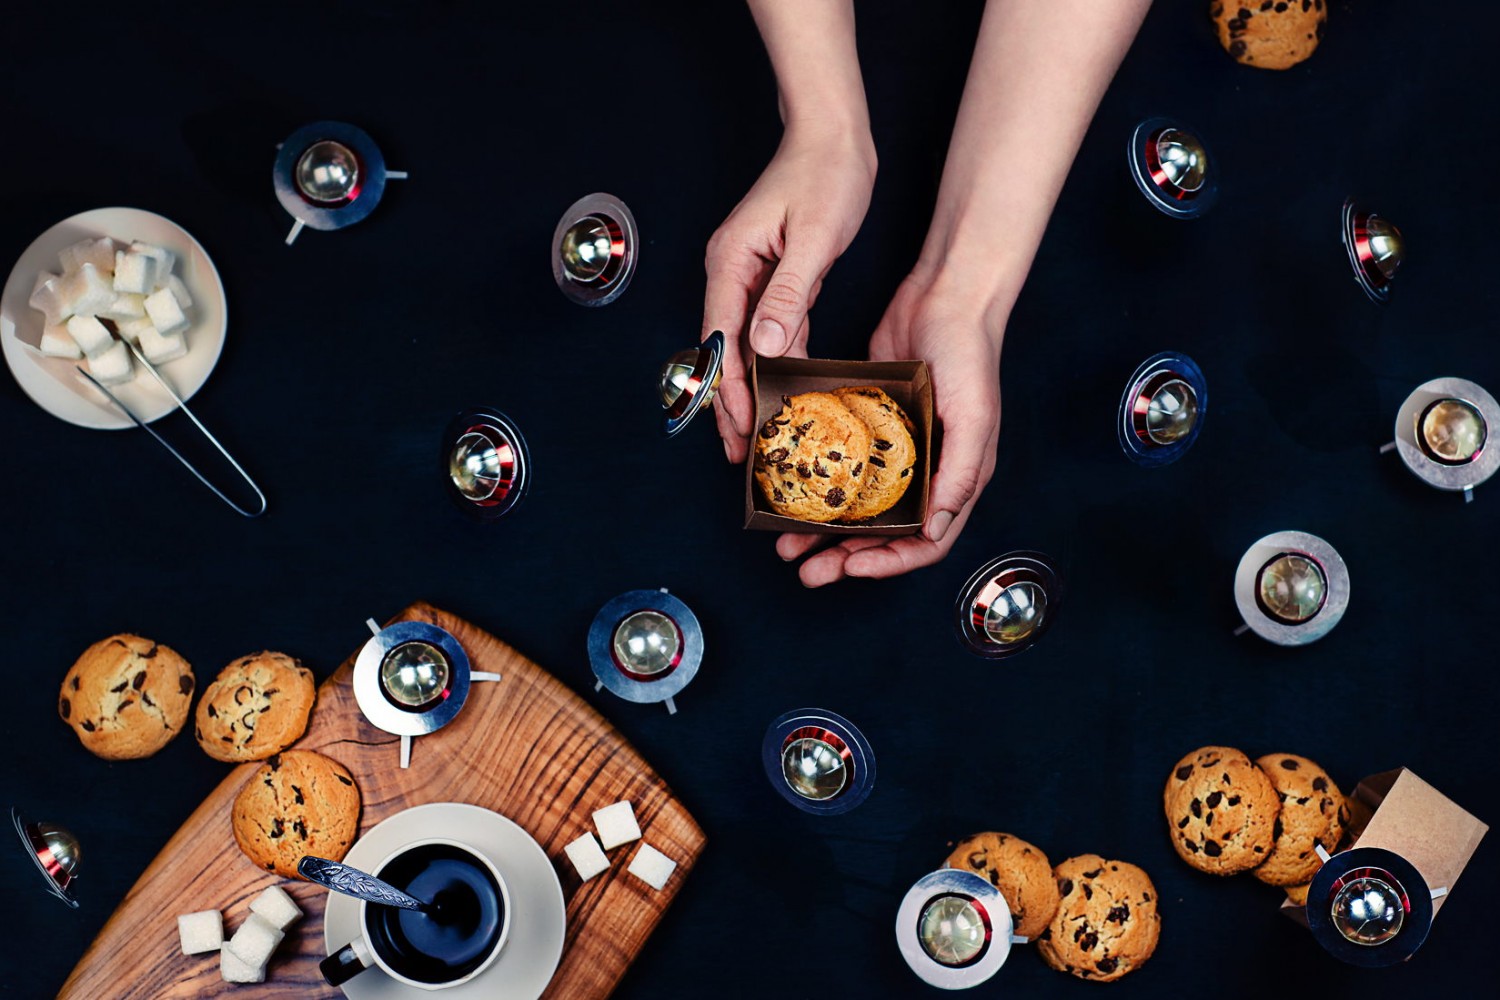
When we adjusted to life at home back in 2020, many of us found ourselves spending more time in the kitchen, with Google searches for flavorful confections like chocolate chip banana bread, whipped coffee, beer bread, apple cider cocktails, tapioca pearls, and grapefruit margaritas soaring. But for photographers, the kitchen served as more than just a place to make meals. Around the world, kitchens became makeshift studios, with artists using whatever props and lighting tools they had on hand during lockdowns.
Meanwhile, searches for “DIY” rose on Google by 80% from 2019. These last few years has taught us that we don’t need expensive gear and studio space to create unforgettable images. We just need a few essentials and some clever hacks. DIY tabletop photo studios for shooting still life and food photos can fit anywhere you have a table: the kitchen, the bedroom, or even the bathroom. Here’s everything you need to get set up and start shooting.
What you need: The basics
There’s no “wrong” lens for tabletop/food photography, but some choices are better than others. Prime lenses are sharper, but zoom lenses are more versatile, so it depends on what you envision for your shoot. A 24-70mm lens is a great place to start because it gives you plenty of options, from close-ups to wide shots. “Nifty fifties” (50mm lenses) are also popular for their sharpness and shallow depth of field.
Of course, it also helps to have a macro lens on hand for close-ups. They’re expensive, but they give you more creative control. Some pros might use a tilt-shift lens as well for the perfect blur effect. In addition to your camera and lens, you’ll need a tripod to hold everything steady. The right background is also essential. White backgrounds are generally preferred for eCommerce-style product photography, but if you have more creative freedom, you can use backgrounds of different colors, surfaces, and textures.
It’s worth noting that lightboxes (sometimes called “tents”) can be bought at camera stores or made easily (and cheaply) at home, and they’re ideal for providing diffused, even light for product shoots. They frequently come with a selection of backgrounds as well, or you can purchase those separately. Some photographers prefer a shooting table to a tent because they don’t have walls and therefore offer more flexibility. Your setup doesn’t have to be complex, so start simple.
As for lighting, you can use natural window light, which works best for food, or you can opt for artificial lights, whether they’re LEDs or strobes. It might go without saying, but steer clear of your kitchen’s overhead lights, which generally have a yellow tinge. White cards will help you open up any unsightly shadows, while black cards can act as flags. Grab some stands and clamps so you can perfect the position of your modifiers while going hands-free.
Quick tips for getting started
Soften that light
There are some situations that might call for dramatic, hard lighting, but in many cases, you’ll want a softer look. In those cases, you’ll diffuse your light source. You can use sheer white curtains or a white sheet if you’re working with window light (choose a window that offers indirect sunlight), or you can make your own custom diffusers/softboxes with foam board and parchment paper (these are great for use with LEDs because they don’t heat up).
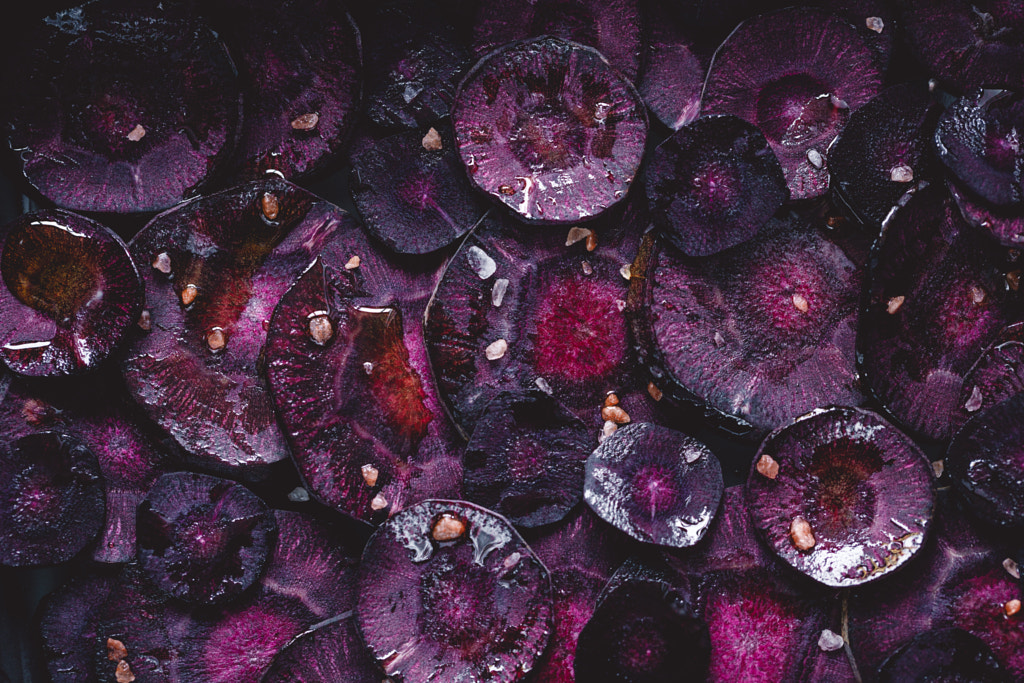
Light from the sides or back
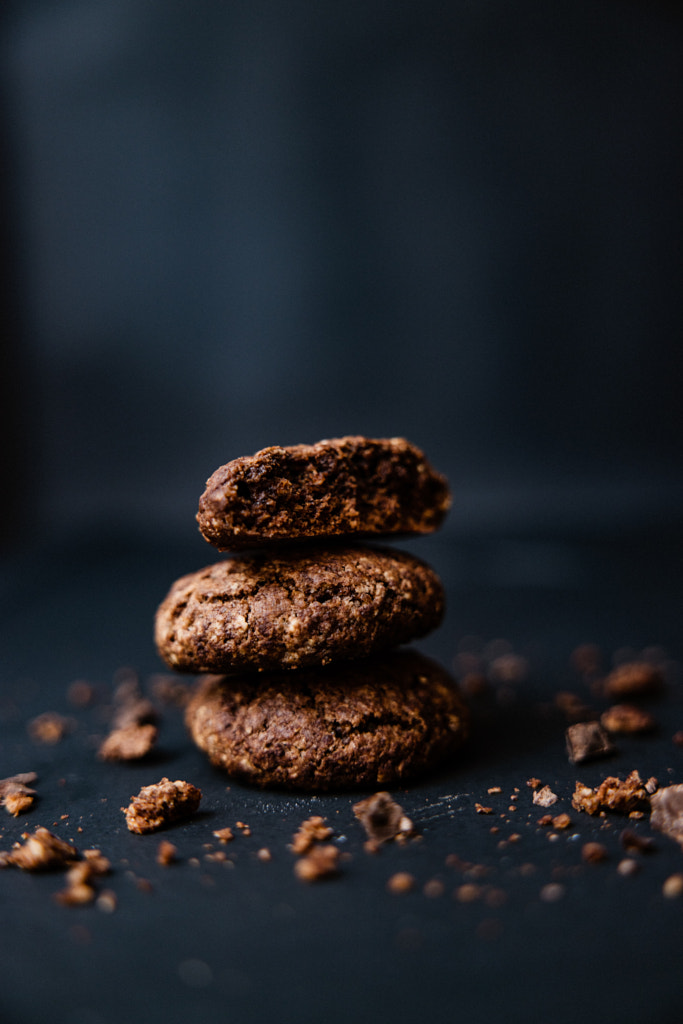
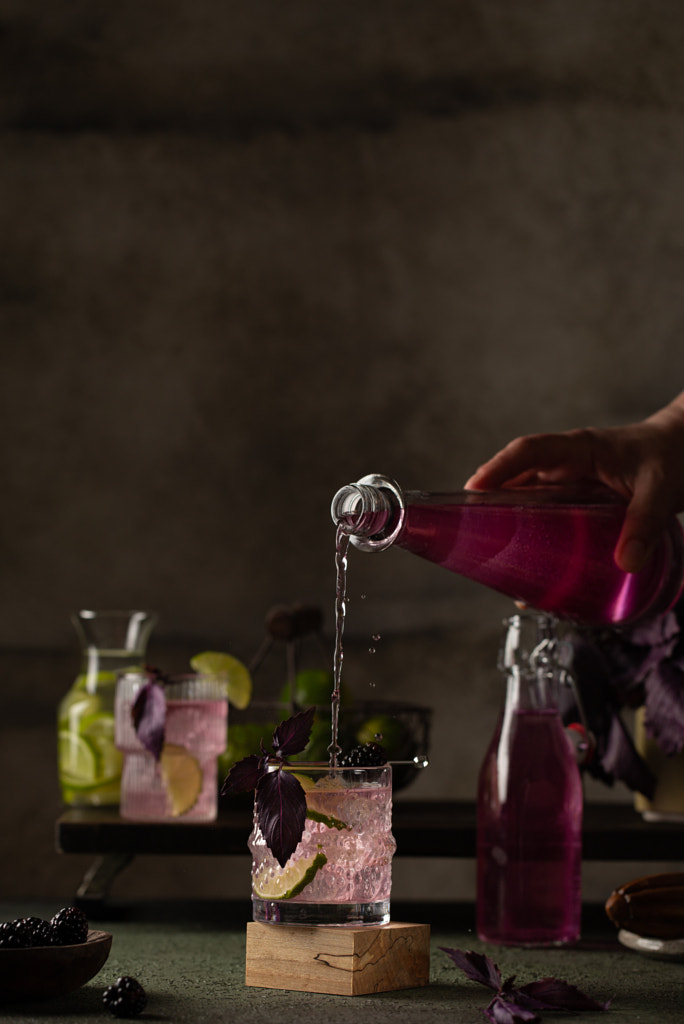
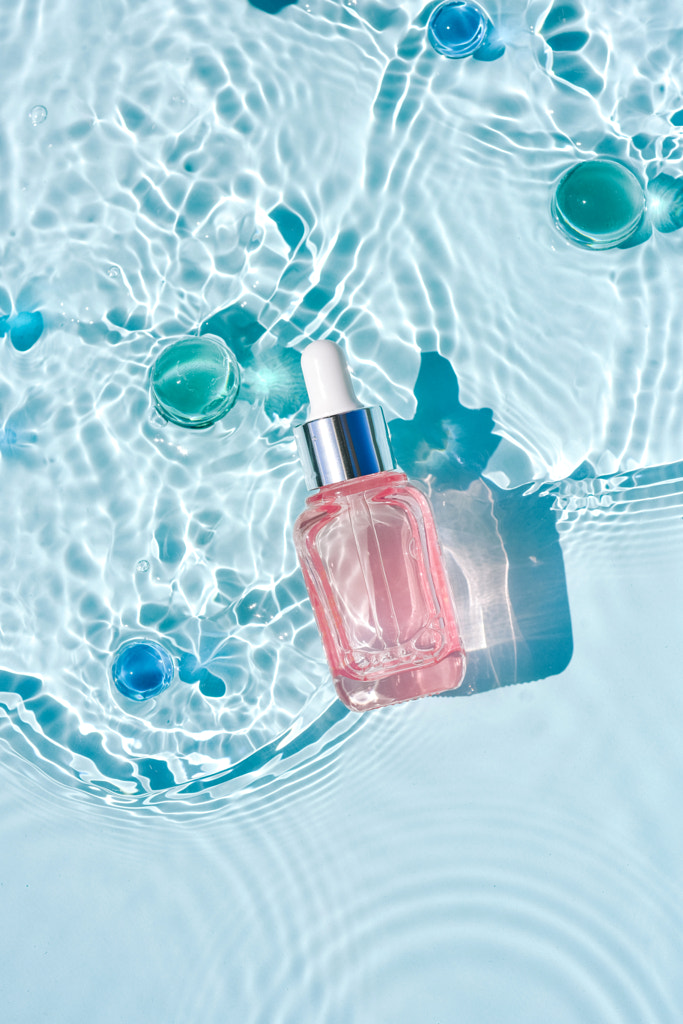
Front lighting isn’t necessarily bad, but it can look flat if you’re not careful. Start with back or side-lighting instead. Side-light is ideal when you want to capture the texture of your product, while also creating a sense of depth. Backlighting is popular with transparent products like beverages in clear glasses.
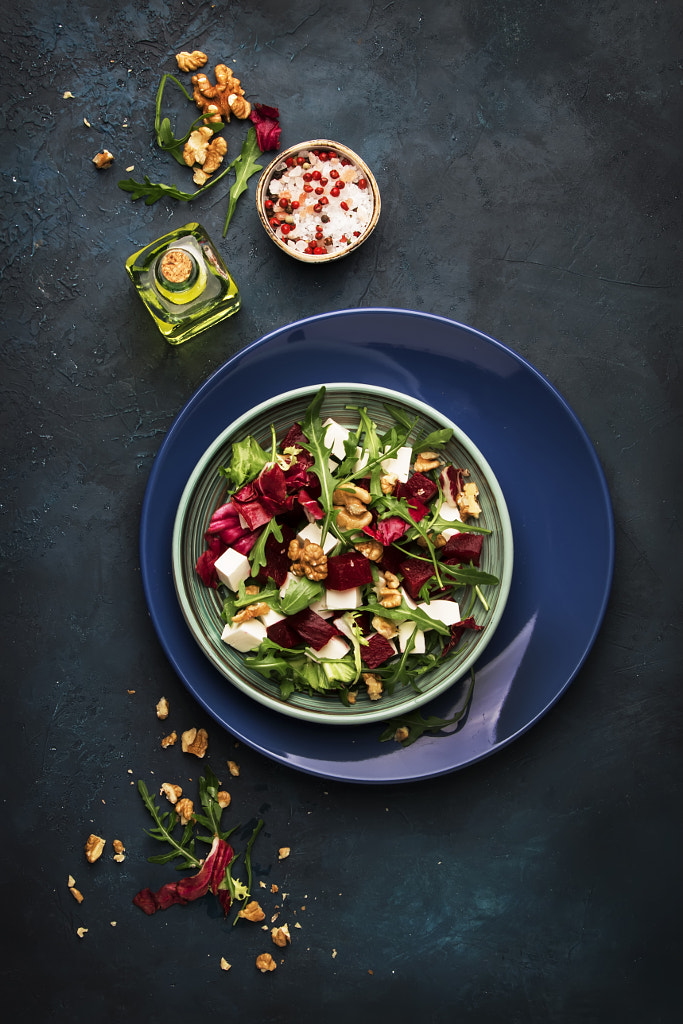
Test out a few angles
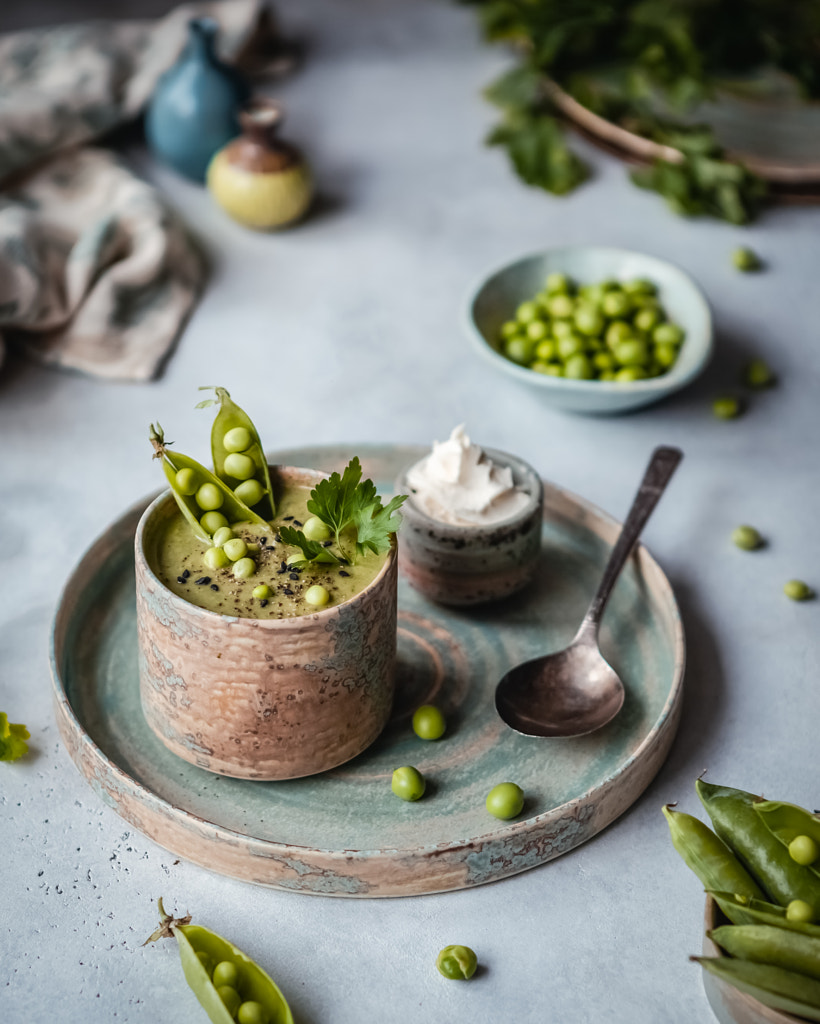
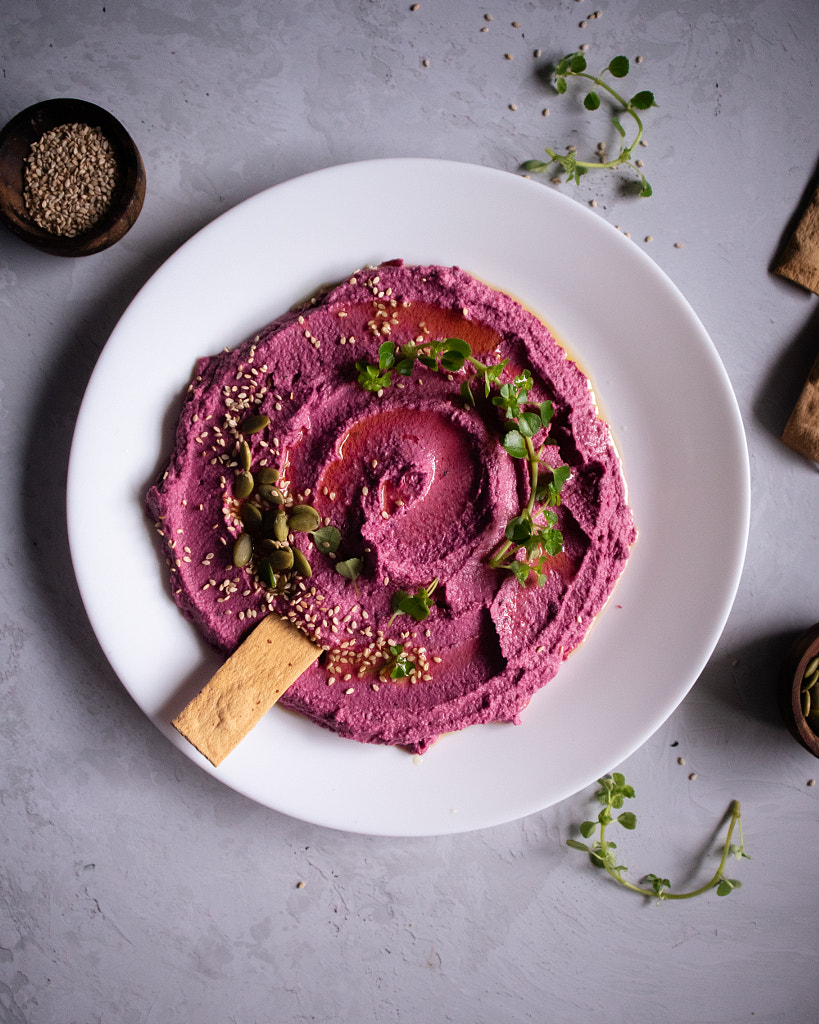
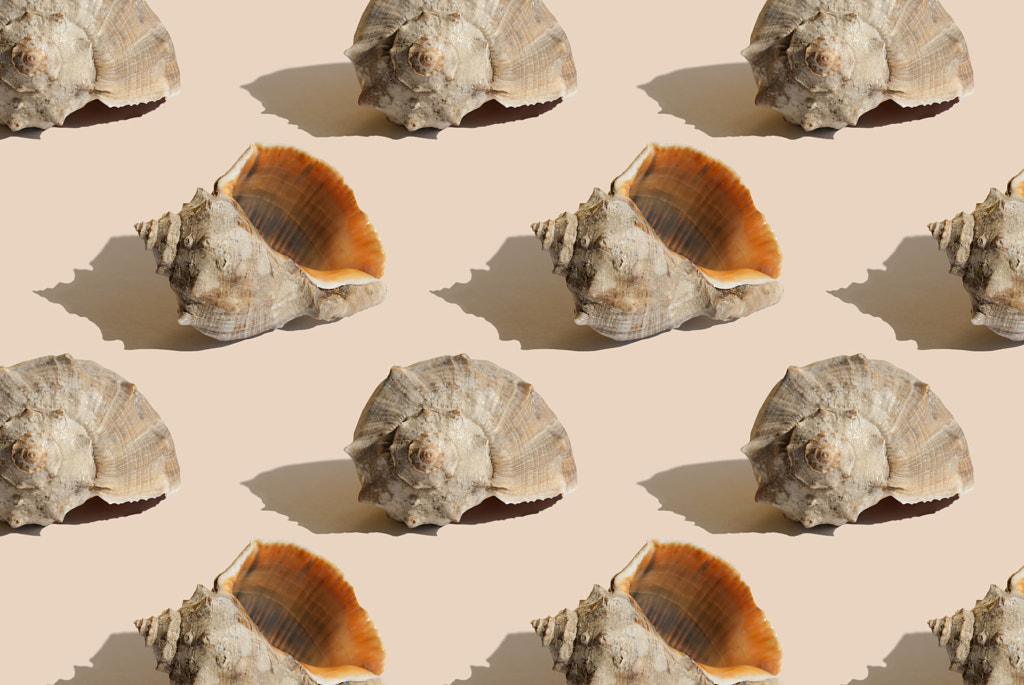
Rotating your product just a few degrees can make a significant difference in your composition, so don’t rule anything out. Shoot it from the top, and then shoot from the front. While some products might look okay head-on, you’ll find most come to life when they’re placed at a bit of an angle. Three-quarter angles are a popular choice in eCommerce photos, but you can play around with it.
Buy second-hand
It’s easy to rack up huge costs buying professional props and dishware, so search your home for items you already have before buying something new. Antique fairs and flea markets can also be perfect for unusual finds, including books, dishware, baskets, or globes. Another benefit of buying second-hand is that it’s sustainable; as public awareness around plastic pollution has grown, interest in upcycling has boomed. You can easily turn a salvaged prop into a quick afternoon DIY project and continue to use it for years to come. Remember to start with timeless, neutral pieces you can keep for a long time.
Quick tip: For silverware, glasses, and other reflective props, you might consider having some anti-glare spray on hand to prevent reflections.
Keep it fresh
If you’re shooting food or flowers, even just for garnishes, make sure they’re the freshest available. Consider forgoing the supermarket and using the money you saved on studio space to support a neighborhood farmers’ market, where you can get local produce right from the source. Even better, visit a friend’s garden. Greens, in particular, wilt quickly, so try to buy them as close to your shoot as possible—and purchase backups just in case.
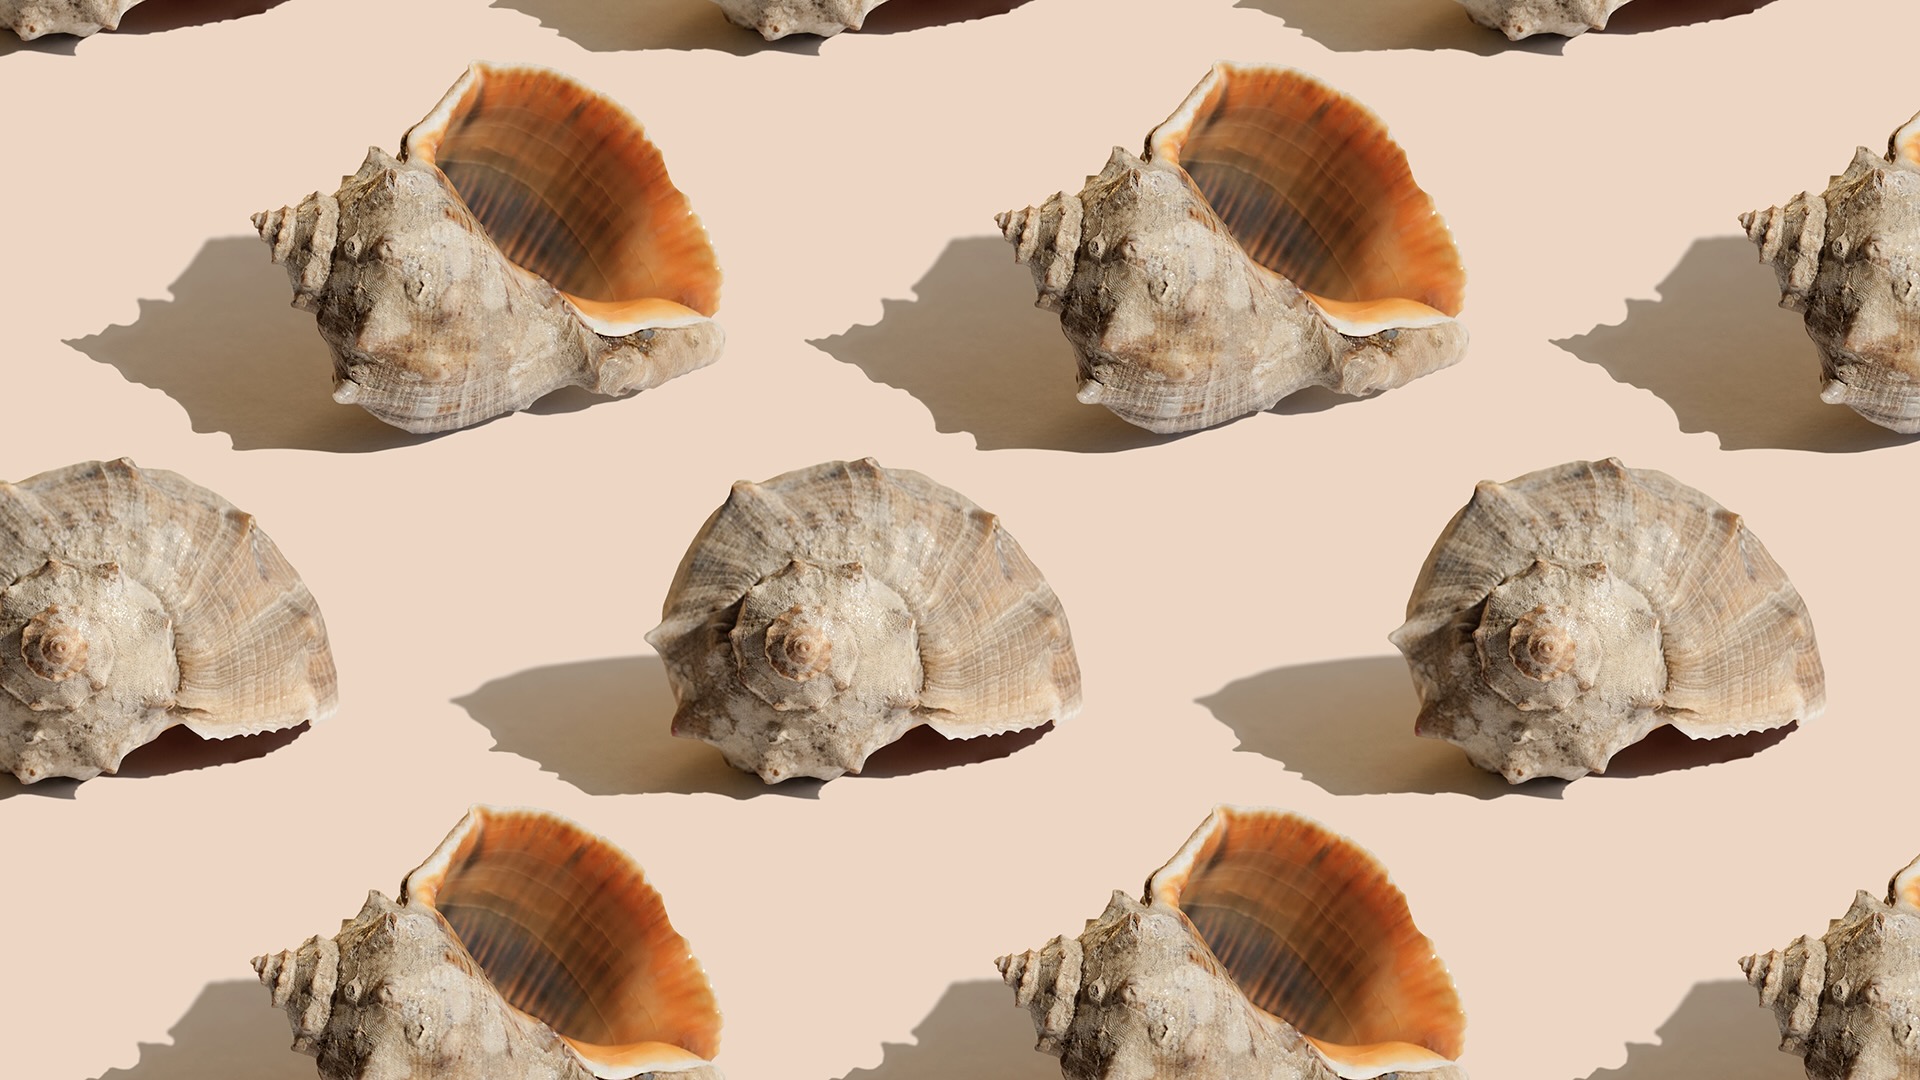
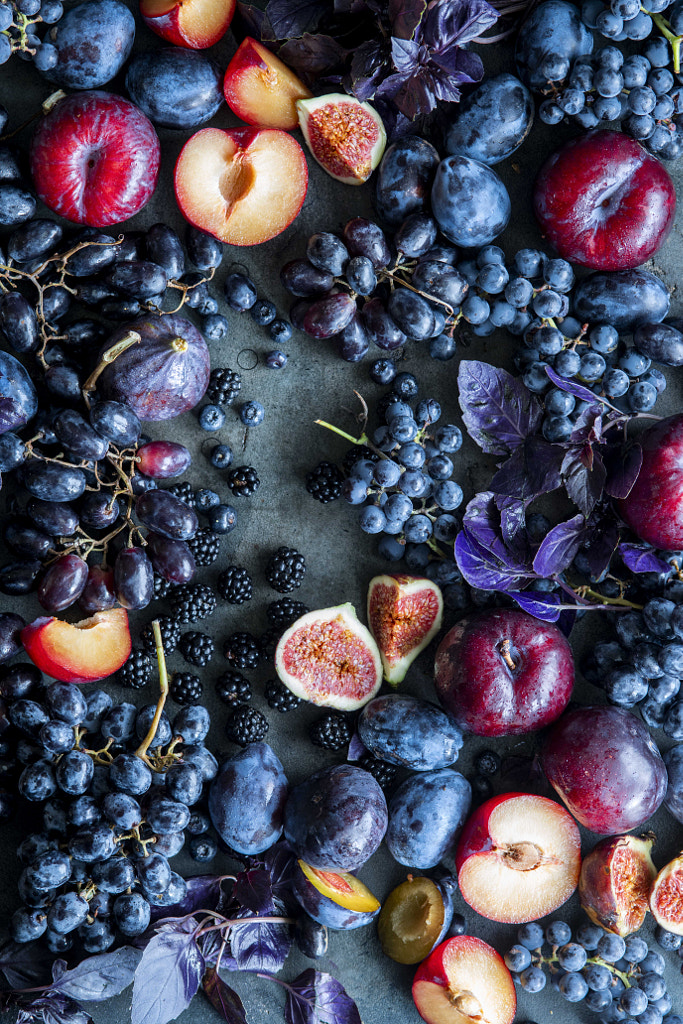
Use the color wheel
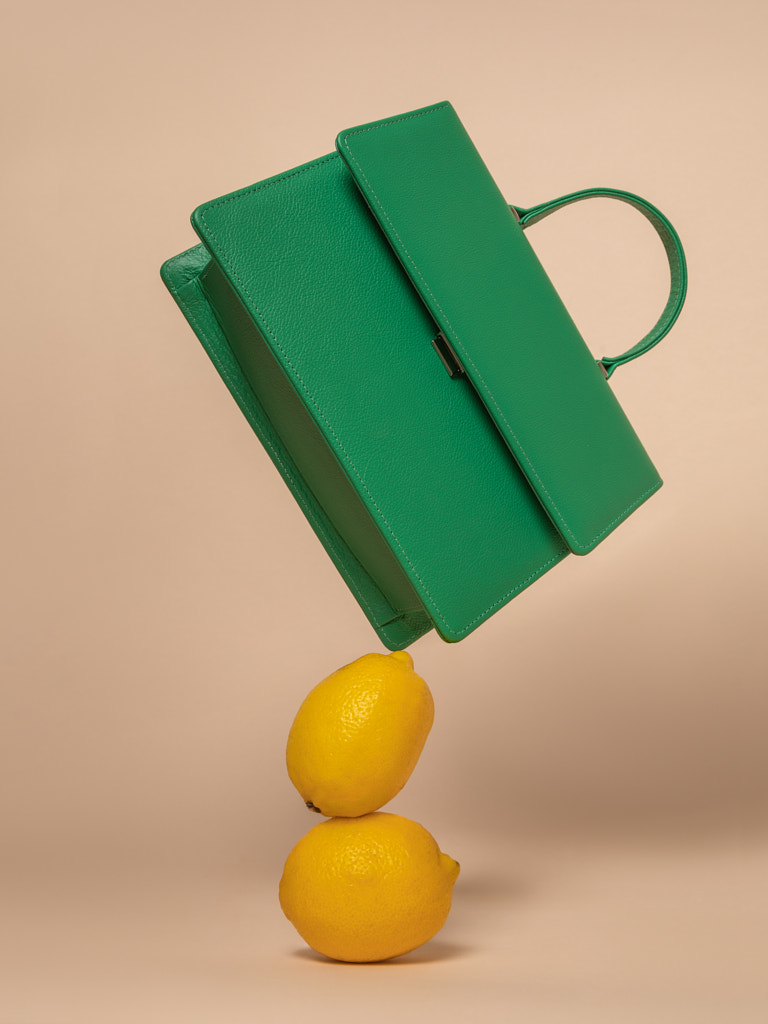
When selecting props, pay attention to color harmonies. Two easy color schemes to work with include a monochrome color palette, where you use variations of the same hue, and a complementary color palette, where you use colors opposite each other on the color wheel (e.g., purple and yellow, green and red, orange and blue). Using too many colors in a single composition can get overwhelming, so strip it back to just one, two, or three hues at most to keep focus on your subject.
Slow down
Unlike other genres of photography, tabletop sessions offer you full control over the lighting, styling, and composition. For that reason, it’s important to take your time. Sketch out your composition, and add layers (linens, plates, flowers, etc.) to see if they enhance the scene. Plan out your photos, but then give yourself extra time to play around with additional items and textures.
Don’t be afraid to take props away either; sometimes, you’ll find you added too much when that space would be better left empty. If you’re working with ingredients with a clock (like real ice, greens, etc.), have extras on hand just in case, and save them for last. You can always rearrange and change things up before adding those final touches at the very last minute.
Not on 500px yet? Sign up here to explore more impactful photography.
Leave a reply