With the rise of home gardeners brought on by pandemic lockdowns, seed stores are experiencing more demand than ever for everything from kale to tomatoes. Some have sold five or six times the normal amount of seed, and others are likening it to a gardening “gold rush.” Certain varieties have even experienced shortages.
Photography and plants have enjoyed a love affair dating back to the 19th and early 20th centuries, when practitioners ranging from the renowned botanist Anna Atkins (1799-1871) to the professional estate gardener Charles Jones (1866-1959) and the artist Karl Blossfeldt (1965-1932) first started to experiment with cataloging various flowers, vegetables, algae, and fruits in pictures.
For photographers, this year offers the perfect opportunity to combine the public’s newfound interest in gardening with your skills behind the camera. Below, we’ll share our top tips for capturing beautiful pictures of Earth from your own garden, without ever leaving home.

Get up early
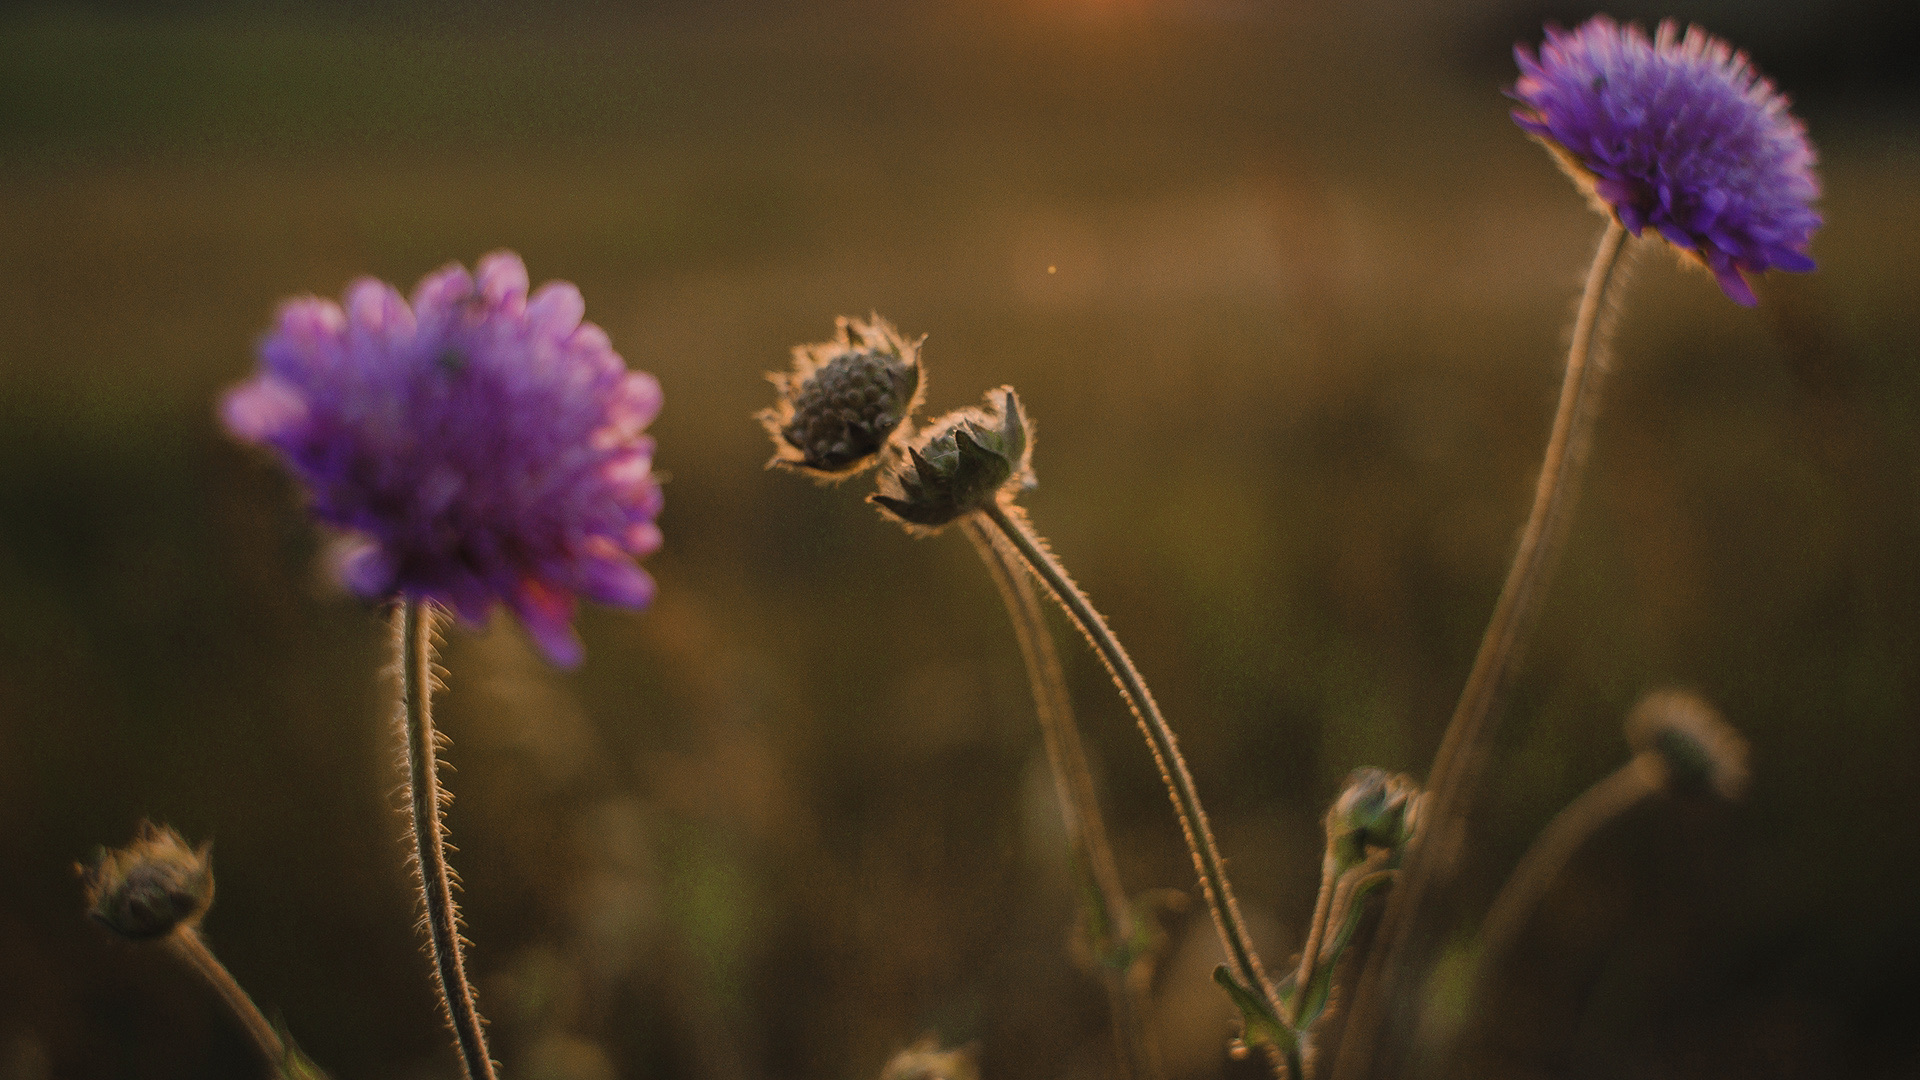
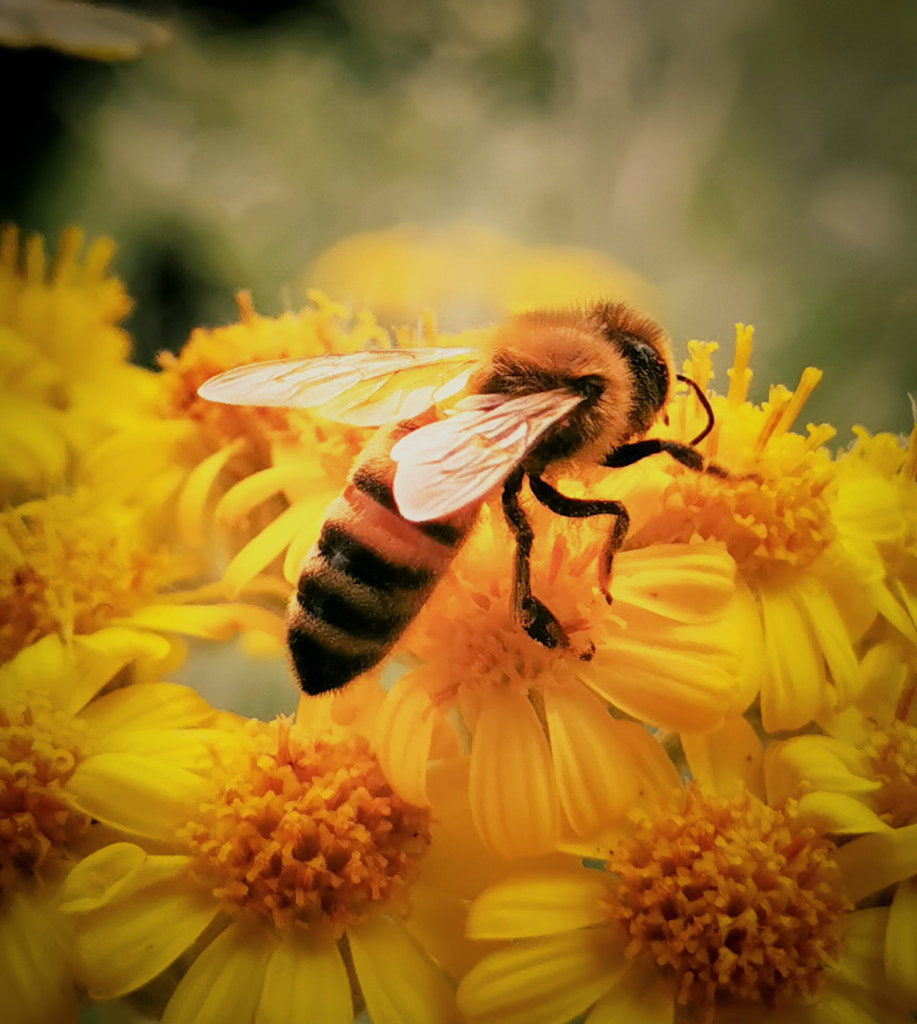
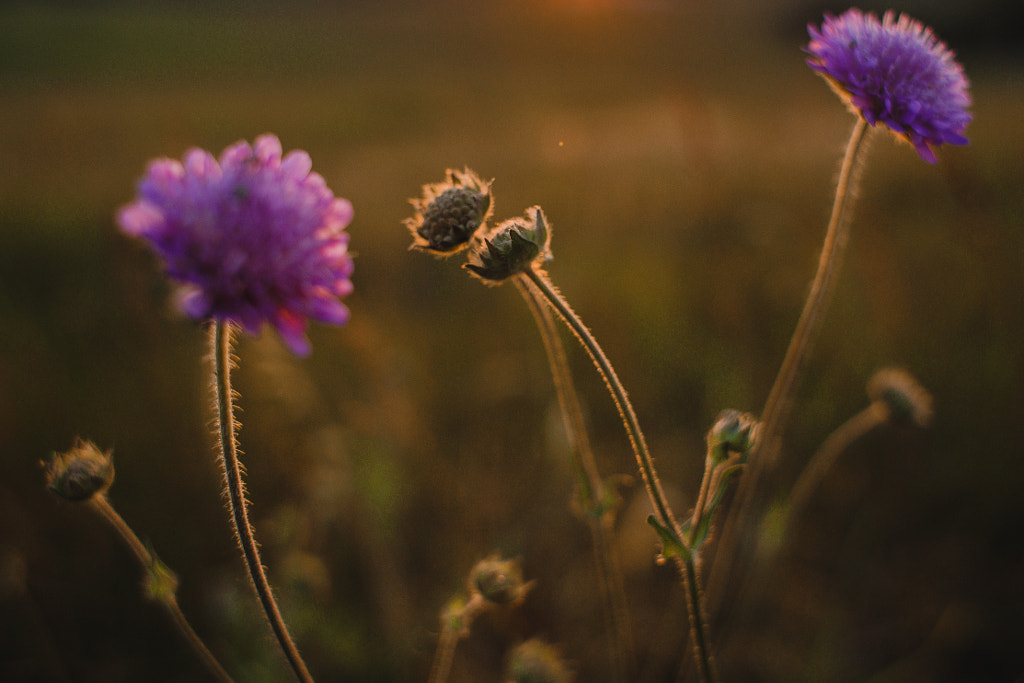
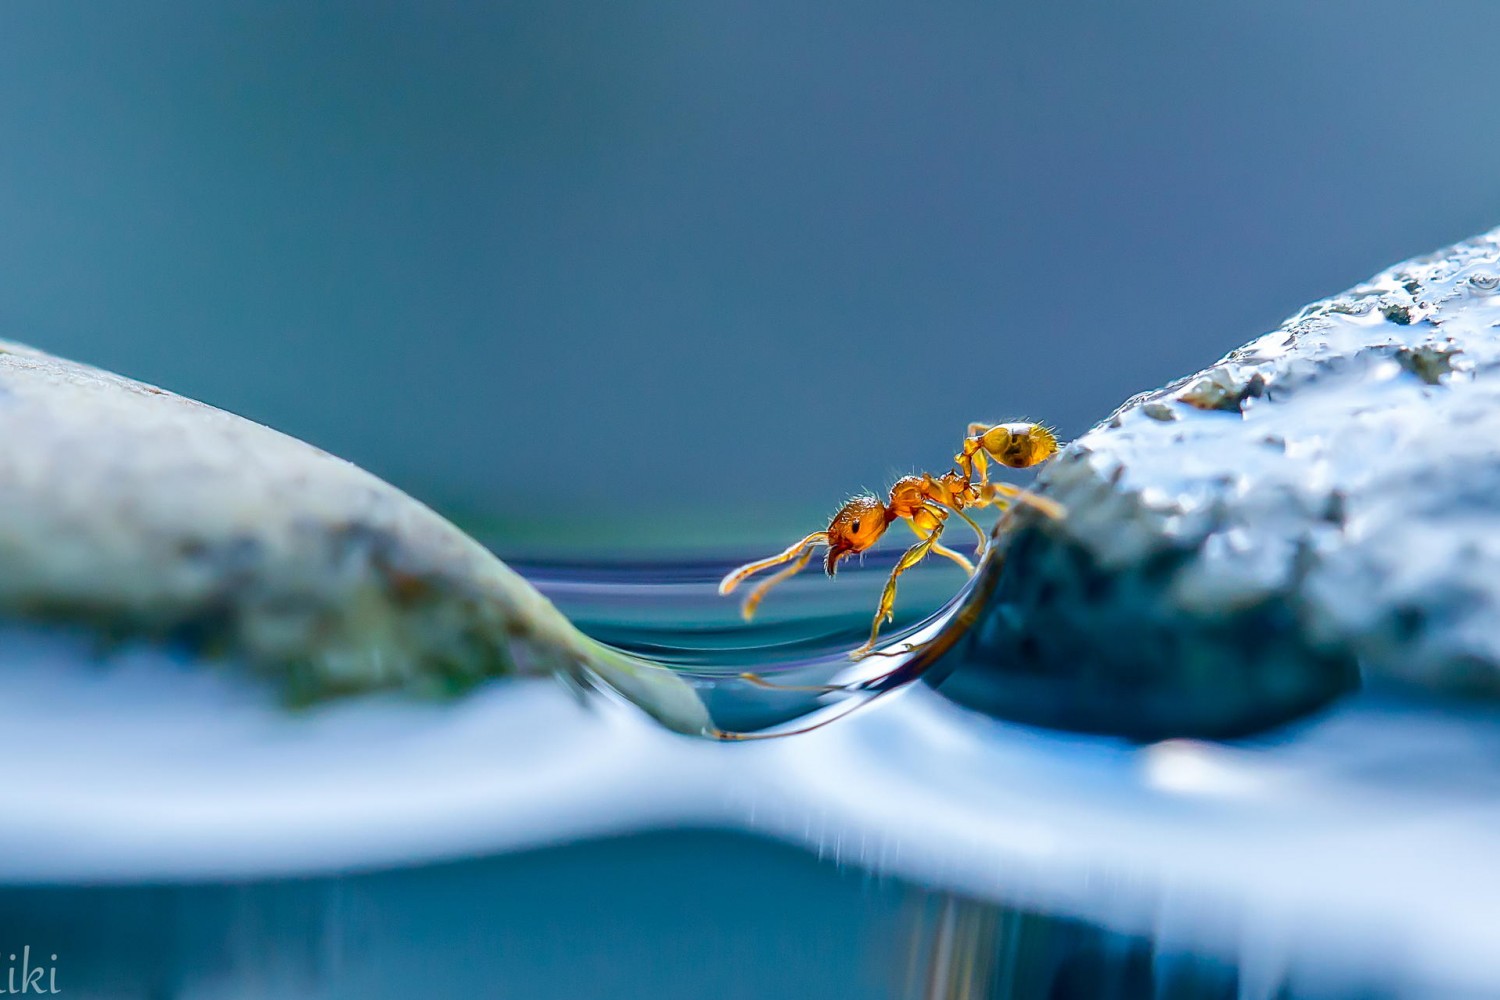
You can photograph your garden at any time of day, but there’s something special about early morning. For starters, it’s the only time when you’ll get those gorgeous dew drops on your plants, and it’s also ideal for spotting insects and pollinators with a macro lens. In the early morning, garden critters tend to be chilly and slow-moving; they can be quite delicate, so always avoid touching, and never interfere with their environment.
Quick tip: Speaking of dewdrops, don’t be afraid to shoot after a rain shower, either. A little water can instantly boost the saturation of your greenery and florals.
Use a reflector
Reflectors are cheap (you can even make your own with foil and cardboard), and they’ll come in handy in a number of different lighting conditions you might find in your garden. During the golden hour, for instance, you might want to use backlighting for that warm, glowy effect and pretty, translucent petals—in which case you can use a gold reflector to bounce light back onto the plant.
On too-bright sunny days, a reflector can also help you cope with less-than-ideal lighting by cutting down on harsh, unsightly shadows. You can also look for patches of open shade (or create your own) and avoid direct sunlight for more even lighting (no one likes blown-out highlights). If you must shoot in harsh sunlight, use a diffuser to soften it.
Take your time
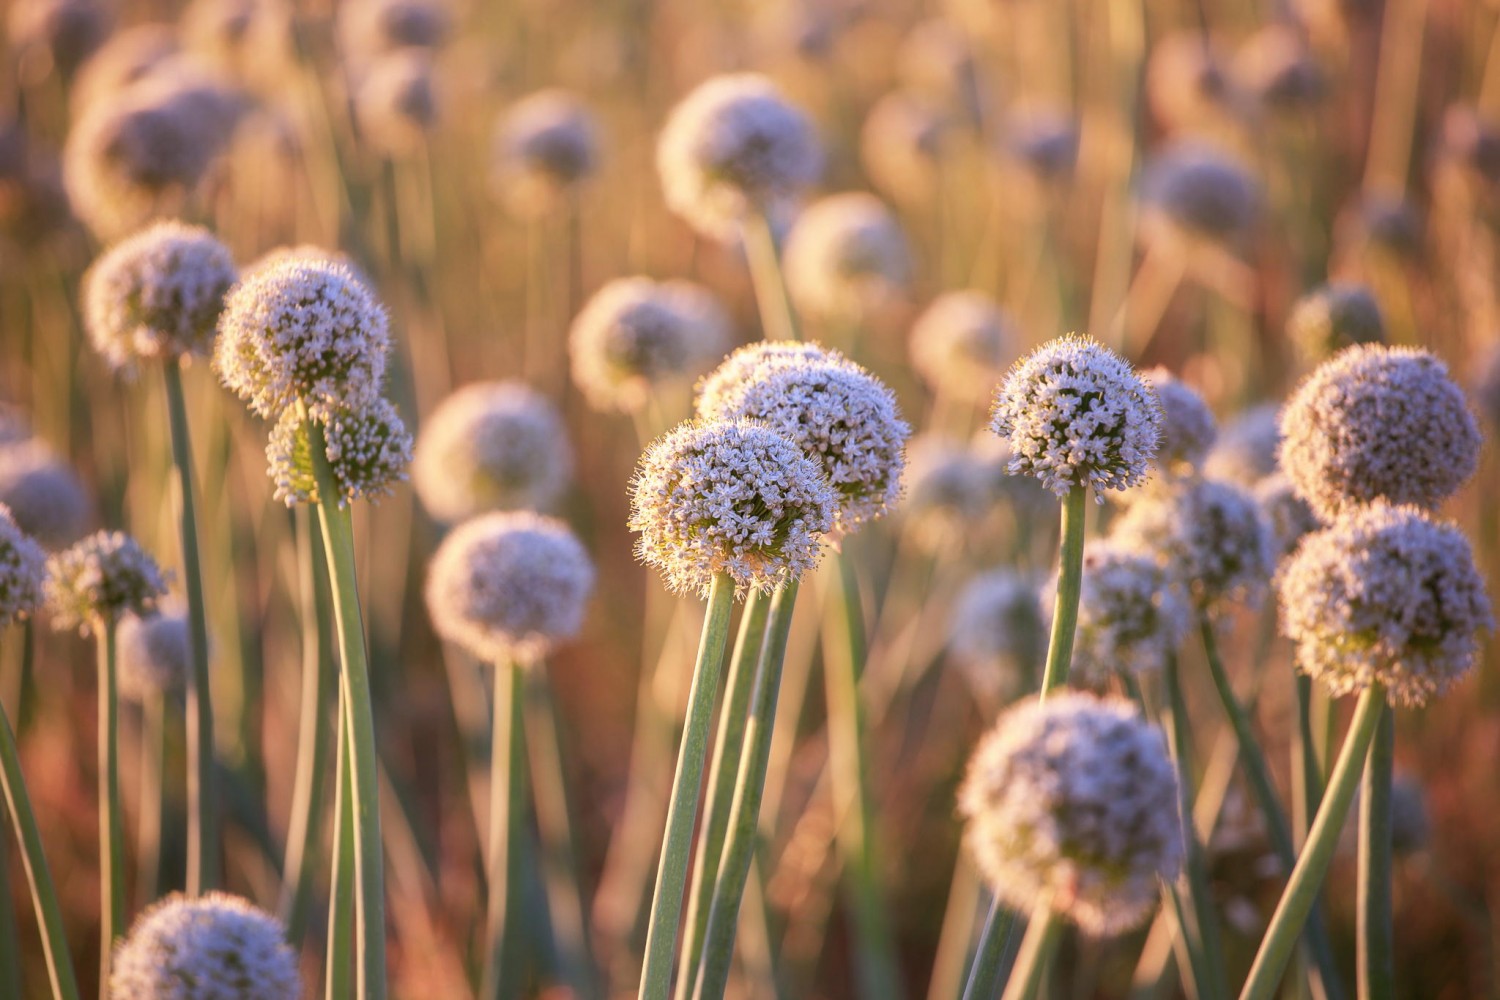
In the 1920s, Imogen Cunningham famously photographed Magnolias and Calla Lilies—two common plants in the Bay Area—again and again, perfecting her technique. Later, she repeatedly photographed the same agave plant in her garden. The more familiar you are with the plants in your garden, the better your nature pictures will be. Study up on the species you have in your garden, and schedule your shoot to coincide with their bloom time. You might have to get down in the dirt to find the best specimens (no insect bites, wilting leaves, etc.), so embrace the process.
Mix up your angles
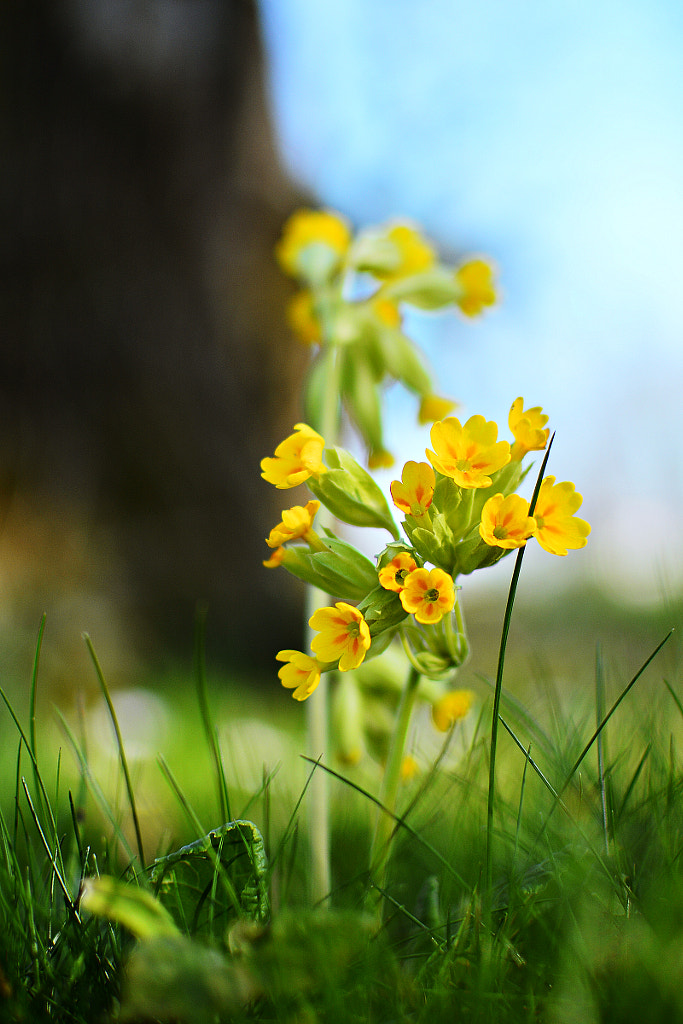
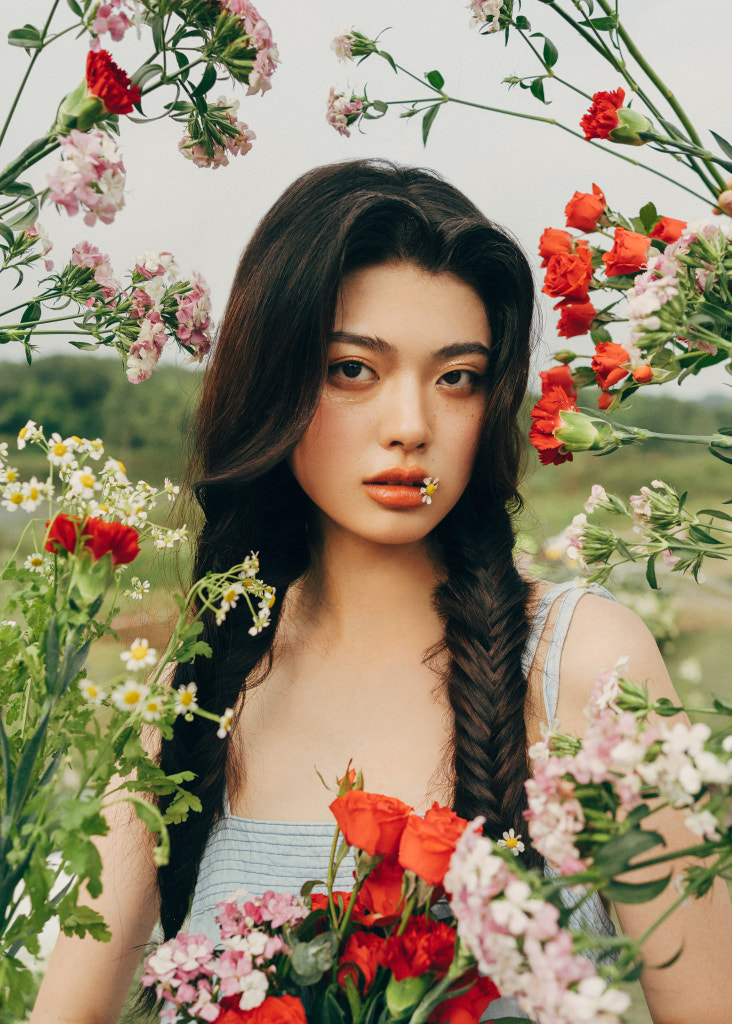
Professional garden photographers typically shoot both establishing shots and detail shots, so if you can, try a few different lenses, from wide-angles for landscapes to macros for close-ups. Get closer to your subject to fill the frame, or bend down to get a new perspective (kneepads can come in handy here!). Keep an eye on the edges of your frame, as these can easily pull focus from your star subject: the plant itself.
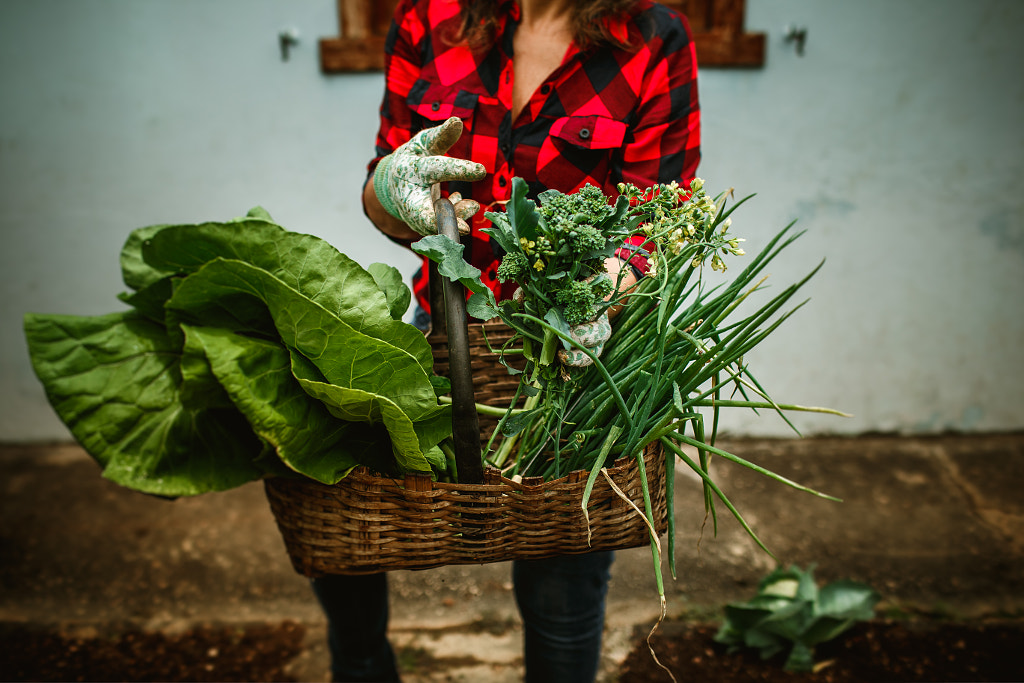
Consider stepping out of your comfort zone to tell the larger story behind your garden. The sky can make for a nice background if you’re shooting up. Or you can bring a ladder to get high. If you want to include a human element, you might even document the gardening process itself, with a hand reaching into the soil.
Mind the forecast
Overcast but sunny days work well if you’re looking for soft and diffused light and natural colors, without the shadows common to harsher conditions. Another thing to consider when planning your session is the wind speed and direction. Unless you’re going for an intentional blurry effect (and this approach can result in lovely, painterly images of nature), look for a calm day without much wind. Another option would be to use a macro clamp (you can find some made specifically for plants) to gently hold the stem in place.
Beware of background details
The plant might be the main focus of your shot, but the background is often what brings it to life. If you’re working with living plants in situ, you might have to get creative to avoid unwanted elements (e.g., other plants, branches, a hose, a gate or gazebo, etc.).
One way to isolate your subject would be to open up your aperture for a blurry, out-of-focus background; all those distracting details will fall away into abstraction. Of course, if you want to keep everything in focus, a narrow aperture will be necessary, so experiment with different angles to get a clean background.
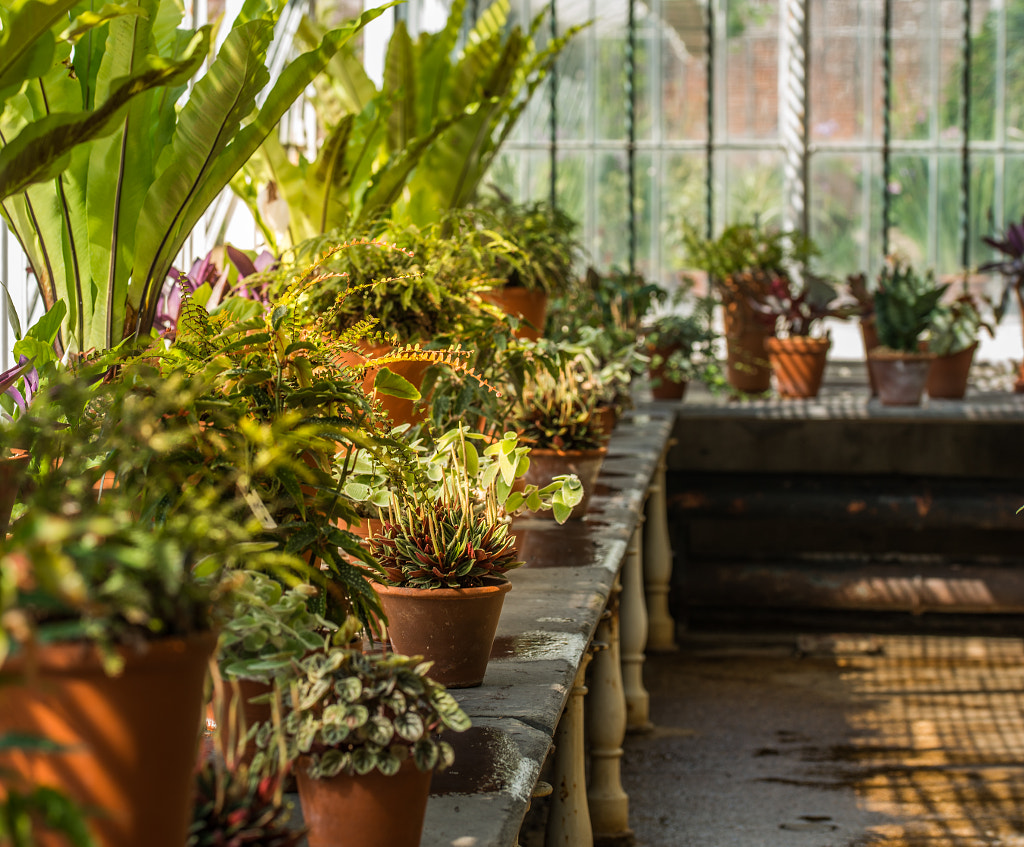
If you’re shooting in a personal greenhouse or indoor garden, of course, you have more flexibility in choosing your background. We recommend selecting a background color that complements the colors of your plants; green works well with reds and pinks, for example, as evidenced by Lotte van Baalen’s popular Instagram gallery, @PlantsonPink.
Watch your white balance
Color temperature can instantly transform the mood of your photo; while orange tones can feel warm and cozy, cooler colors might work best for capturing greenery on cold or rainy days. If you’re shooting in RAW, you’ll have a lot of freedom over your white balance in post. Plants are seasonal, so maybe you match your settings to your species. For bluer photos of wintertime plant varieties, consider using lower settings; for autumn leaves, you might go warmer.
In other situations, of course, you might want the colors to appear natural and true-to-life. If you’re photographing snowdrops and want them to appear a clear, crisp white, for example, you might go for a perfectly neutral white balance. Regardless of the lighting conditions you might encounter in the field, you can counteract overly warm tones by adding blue or eliminate cool tones by adding orange. Green or pink casts can also be common in gardens, and although they can be frustrating, you can correct them in post. There are no rules here, so tailor your approach to your subject.
Embrace native plants
This tip is as much about gardening as it is about photography, but it’s still important. Right now, the gardening community is experiencing a shift toward native plants, which can help restore native habitats and protect local biodiversity. Instead of shopping for exotic plants when visiting the nursery, check out native alternatives (Audobon has a database you can use to find them).
Keep a journal
Garden journals can be invaluable for at-home plant photographers, so get a notebook and binder to track your progress. Make sure to note bloom times and keep a running list of all the plants in your garden (and plants that look best on-camera). You can add photos to your journal, or make sketches outlining your plans for your garden. By referring to your journal throughout the season/year, you’ll be able to document every stage of the life cycle of your plants.
Not on 500px yet? Sign up here to explore more impactful photography.


Leave a reply