Shooting in midday sun is challenging for a few reasons, including hard shadows, blown-out highlights, and uneven lighting. But while most photographers prefer the diffuse lighting around sunrise and sunset, being able to harness and adapt to harsh sunlight is an invaluable skill to have as an artist.
Too many times, the first tip you’ll hear about shooting in harsh light is something along the lines of “don’t do it.” The problem is that sometimes you won’t have a choice but to shoot at noon. Street photographers documenting the lunchtime rush, wedding photographers taking “first look” pictures, and commercial shooters working on a client’s schedule often have to think on their feet while contending with less-than-ideal lighting.
Other times, you might intentionally shoot in midday to take advantage of that intense contrast. Legendary photographers ranging from André Kertész to Viviane Sassen have gone against the grain by using bright light and dramatic shadows to create iconic and eye-popping images. While it’s easy to take great photos at the golden hour, it takes a master to do the same at noon. Read on for our tips for making the most of this uncommon hour.
Find some shade
Of course, the easiest way to get more even lighting is to avoid direct sunlight falling across your subject. A patch of open shade beside a building or beneath a tree should do the trick, as long as it’s not dappled and uneven. You can also “make your own shade” using an umbrella. Don’t forget your lens hood, either, as you’ll want to cut down on any lens flare.

Grab a reflector
Reflectors are worth their weight in gold, especially during backlit, mid-day photoshoots. Cut down on those unflattering shadows by bouncing sunlight back into your model’s face. Choose a 5-in-1 reflector (like this one from Westcott) for more versatility—you can switch between a translucent disc (for diffusing direct sunlight) and different colors (silver, gold, white, black mix) for more control over contrast and temperature.
You can also make your own diffuser using white fabric (even a curtain) or a reflector using poster board or foil. Another benefit of using a reflector is that it’ll bring back those lovely catchlights in your model’s eyes. Ask a friend to assist you by holding it, or set it up using a stand and clips. A lightly painted wall or even a sand-covered beach can also work as a giant natural reflector.
Note: If you prefer using fill flash to a reflector, you can do that too.
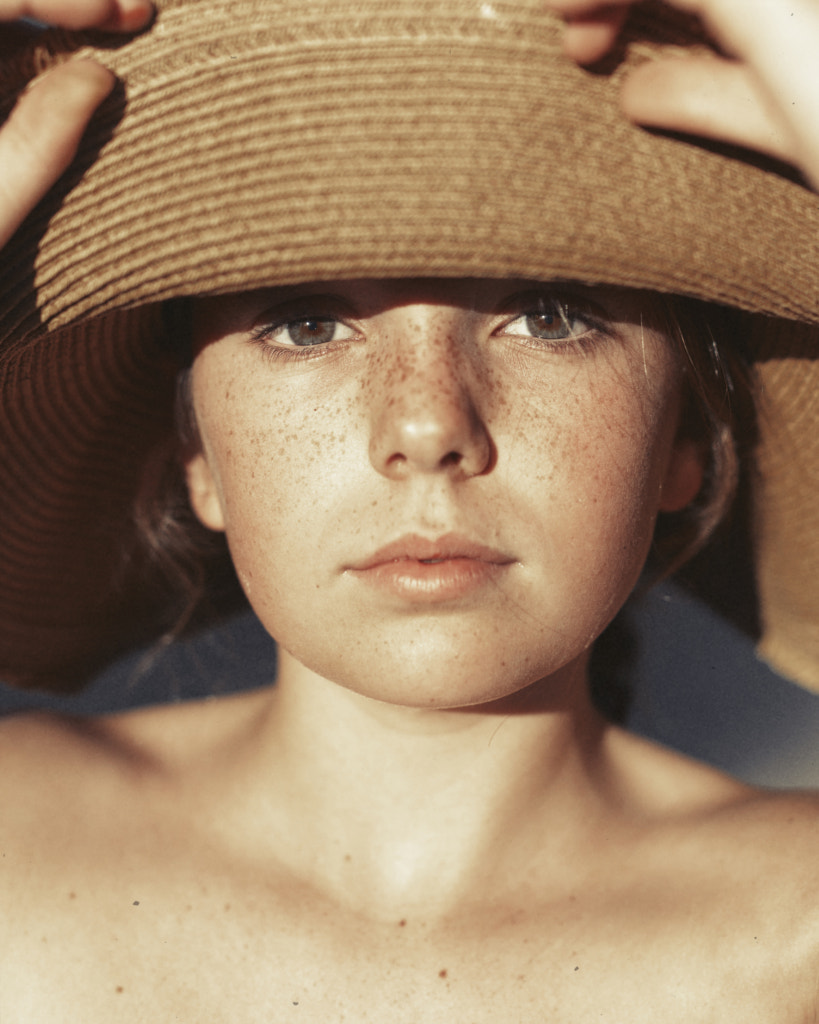
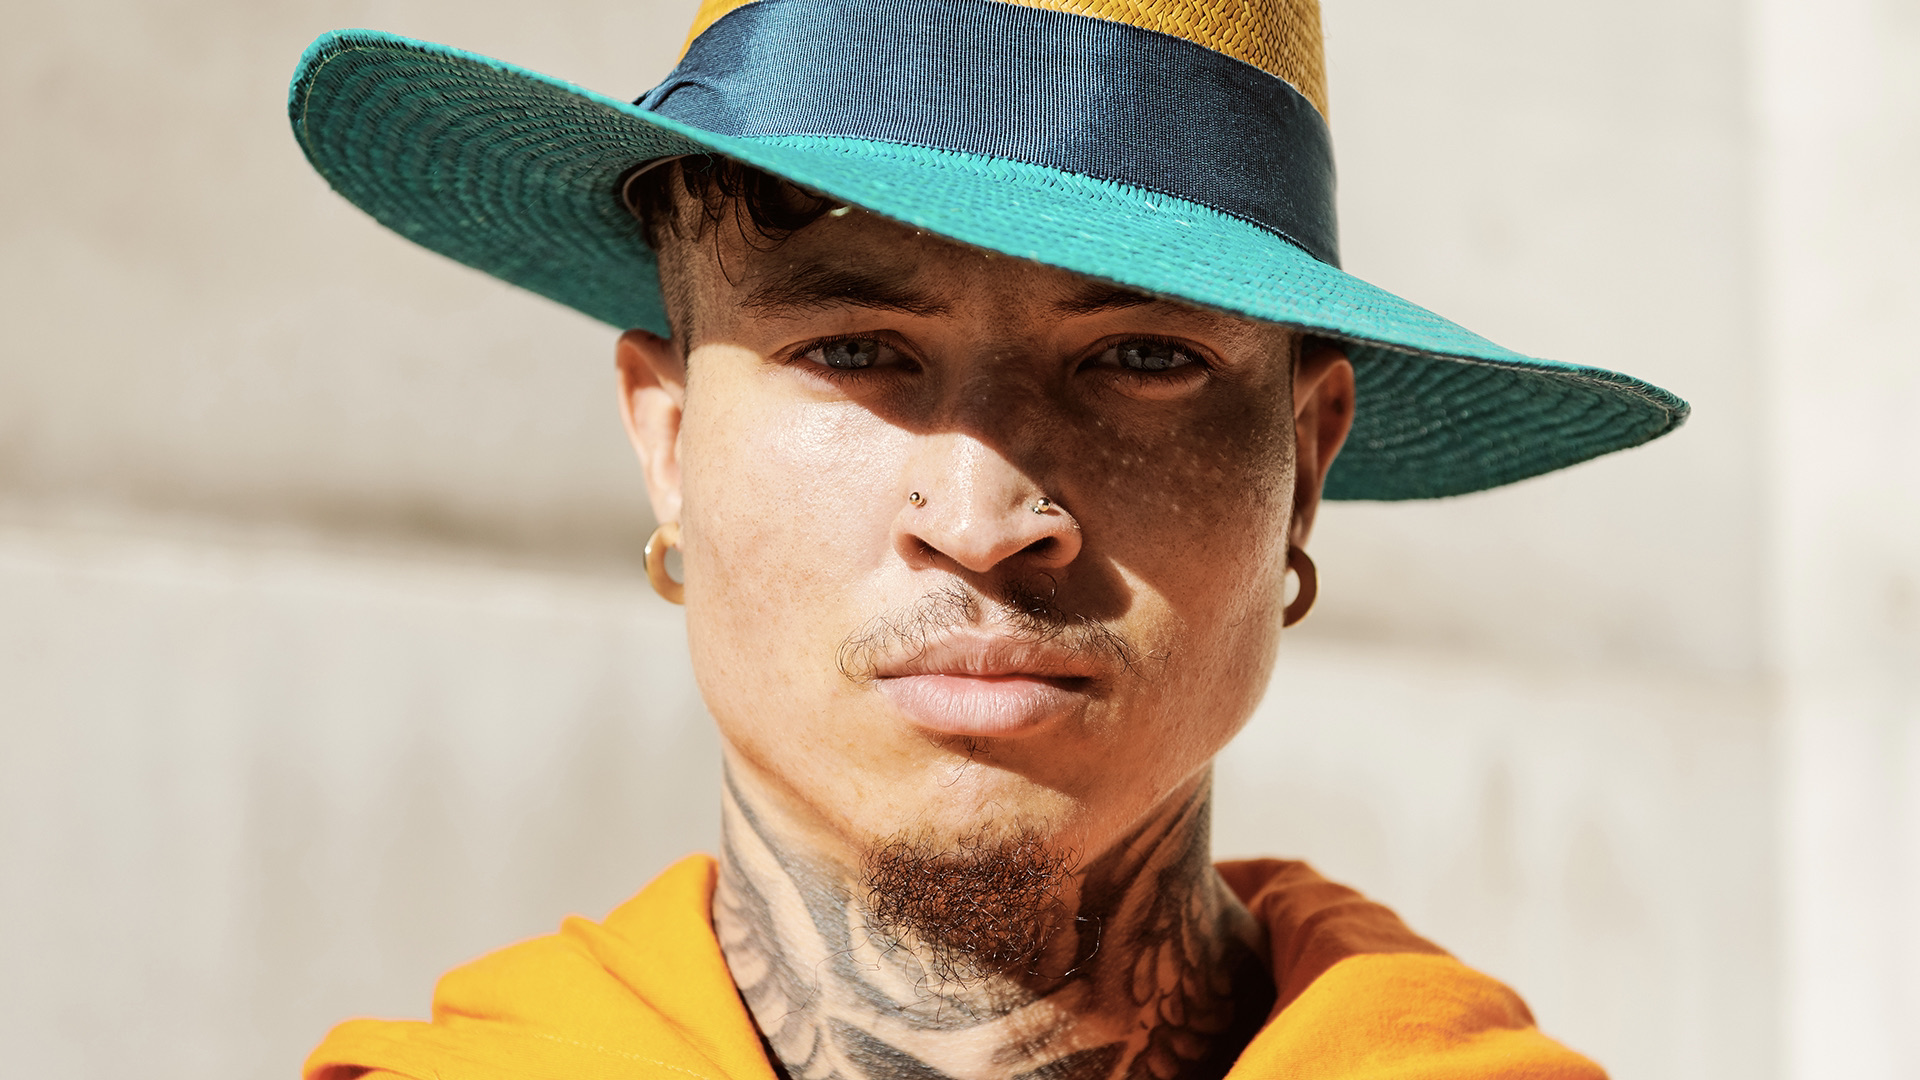
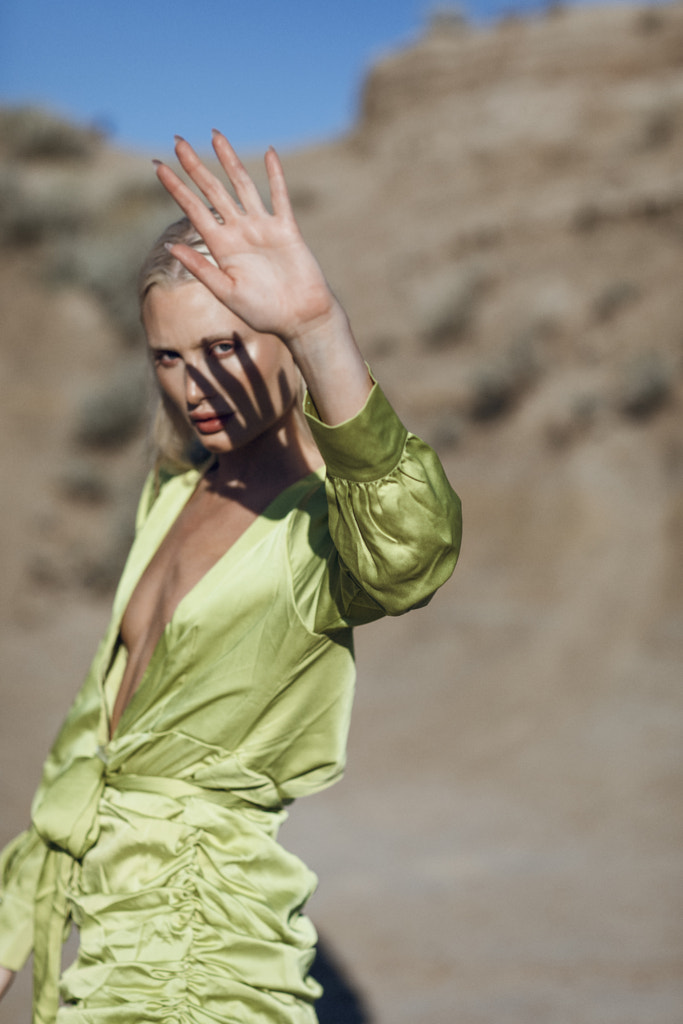
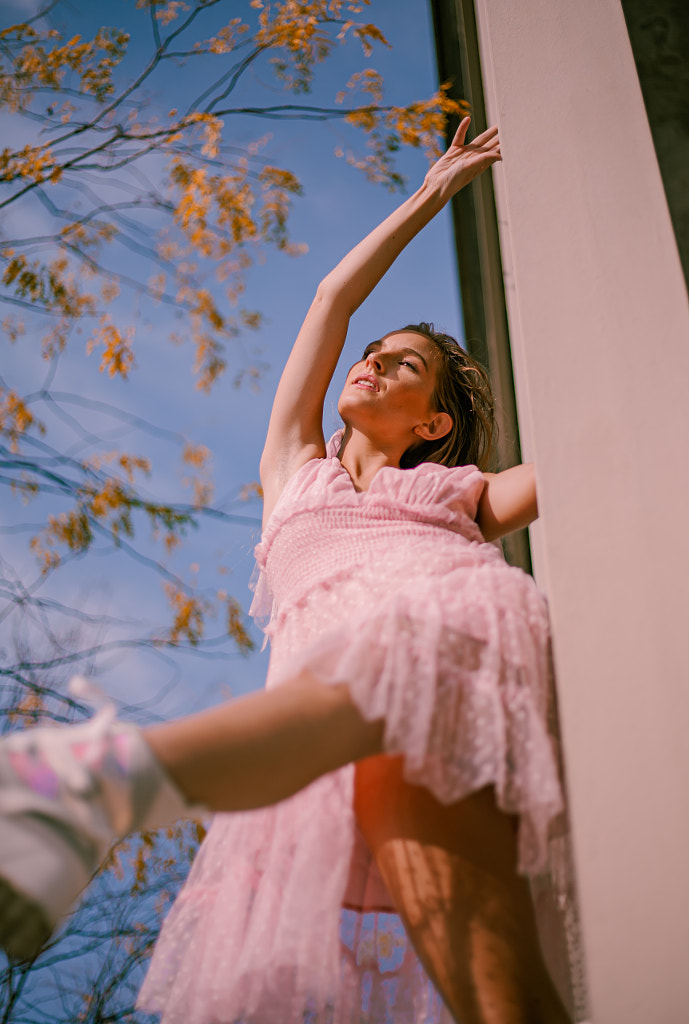
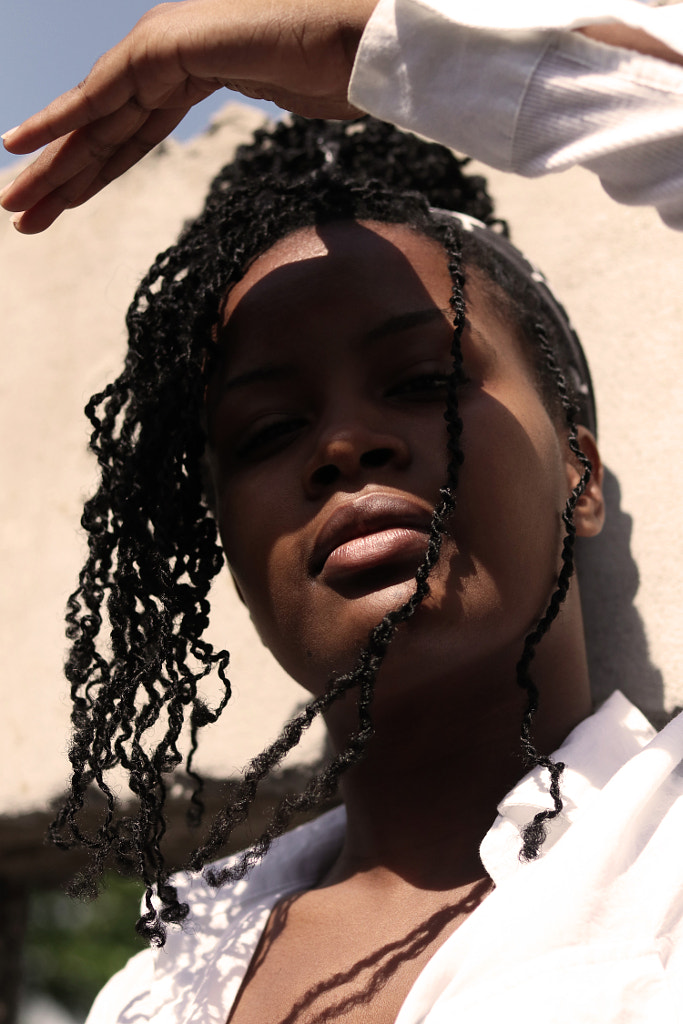
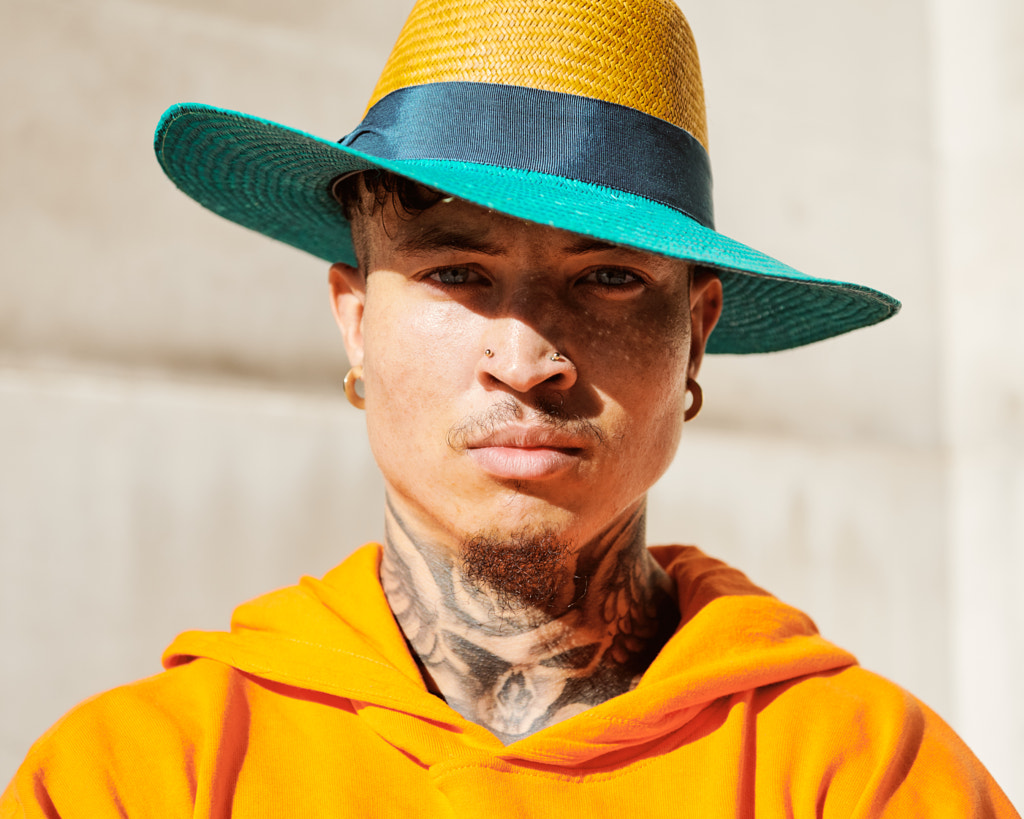
Protect the eyes
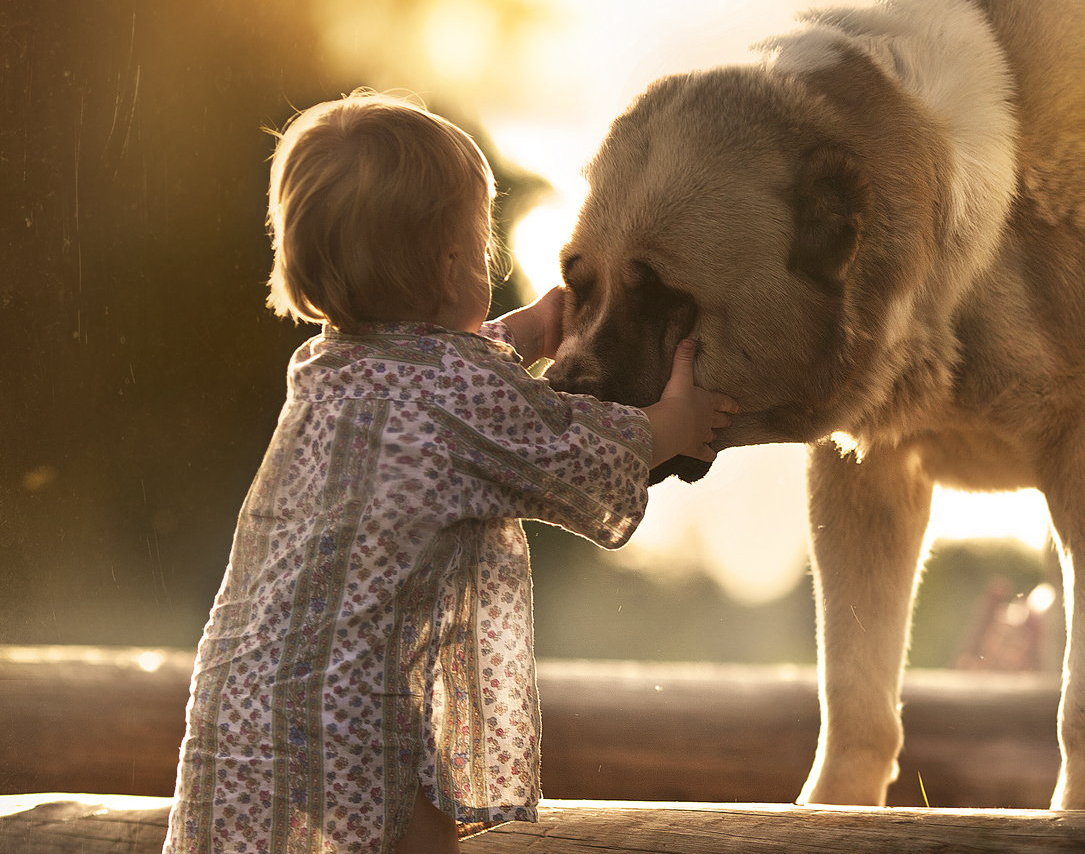
Spare your model’s eyes from direct sunlight by shooting in backlighting or having them close their eyes. Keeping your subject comfortable will ensure you get nice, natural expressions, without squinting. You can also have them wear a hat or sunglasses. Protect your eyes too, and never look directly into the sun.
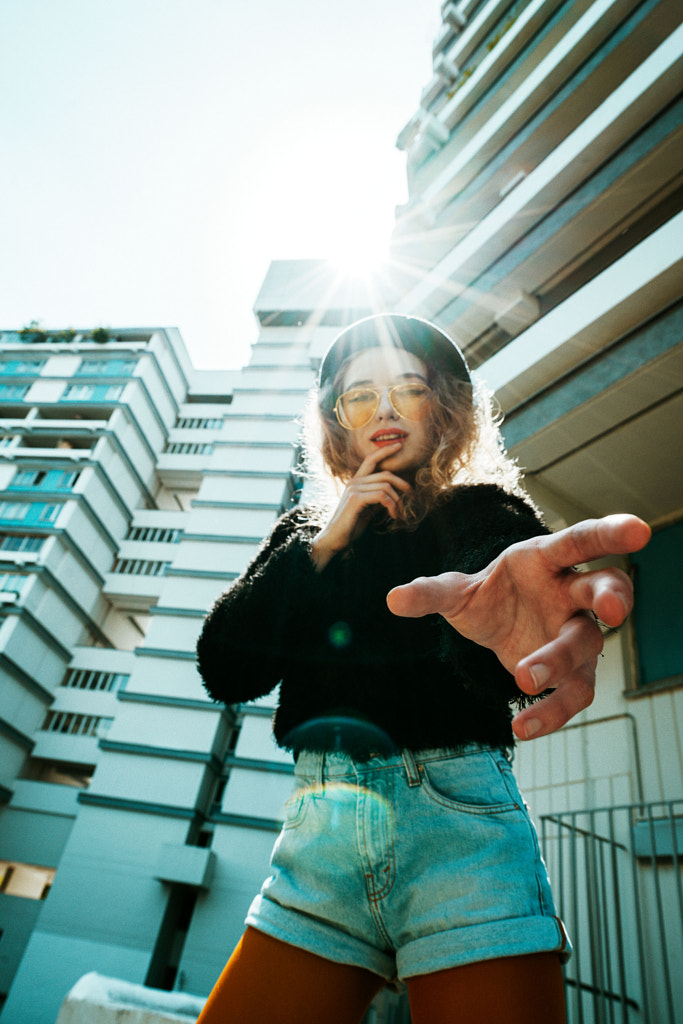
Move around
Backlighting is a favorite technique for shooting in bright sunlight, especially because it creates that beautiful rim lighting effect, but it’s also worth moving around and trying different angles to see what works. Reposition your model and angle his face up or down away from the sun, noticing how it affects the way the shadows fall. Walk around your model, and crouch down or find a higher vantage point until you get the lighting you want. Another trick? Have one model’s shadow block the light from falling onto the other model’s face.
Watch those highlights
One of the biggest risks of shooting in harsh sunlight is getting blown-out highlights that you can’t recover in post. Luckily, you can turn on your blinking highlight warnings to see these spots in real-time and compensate by changing your exposure settings or positioning as you see fit. Keep an eye on that histogram too, especially the right side. If you have a neutral density filter, bring it with you, as it’ll do wonders to protect your highlights.
Use spot metering
Your camera might struggle with the contrast of harsh lighting, so switch to center-weighted or spot metering for more control. Many photographers like to meter off their subject’s face so the most important part of the image is well-exposed, but you can also meter off the highlights if you’re worried about blowing them out (though if you do this, your subject will likely end up in silhouette).
Invest in a polarizing filter
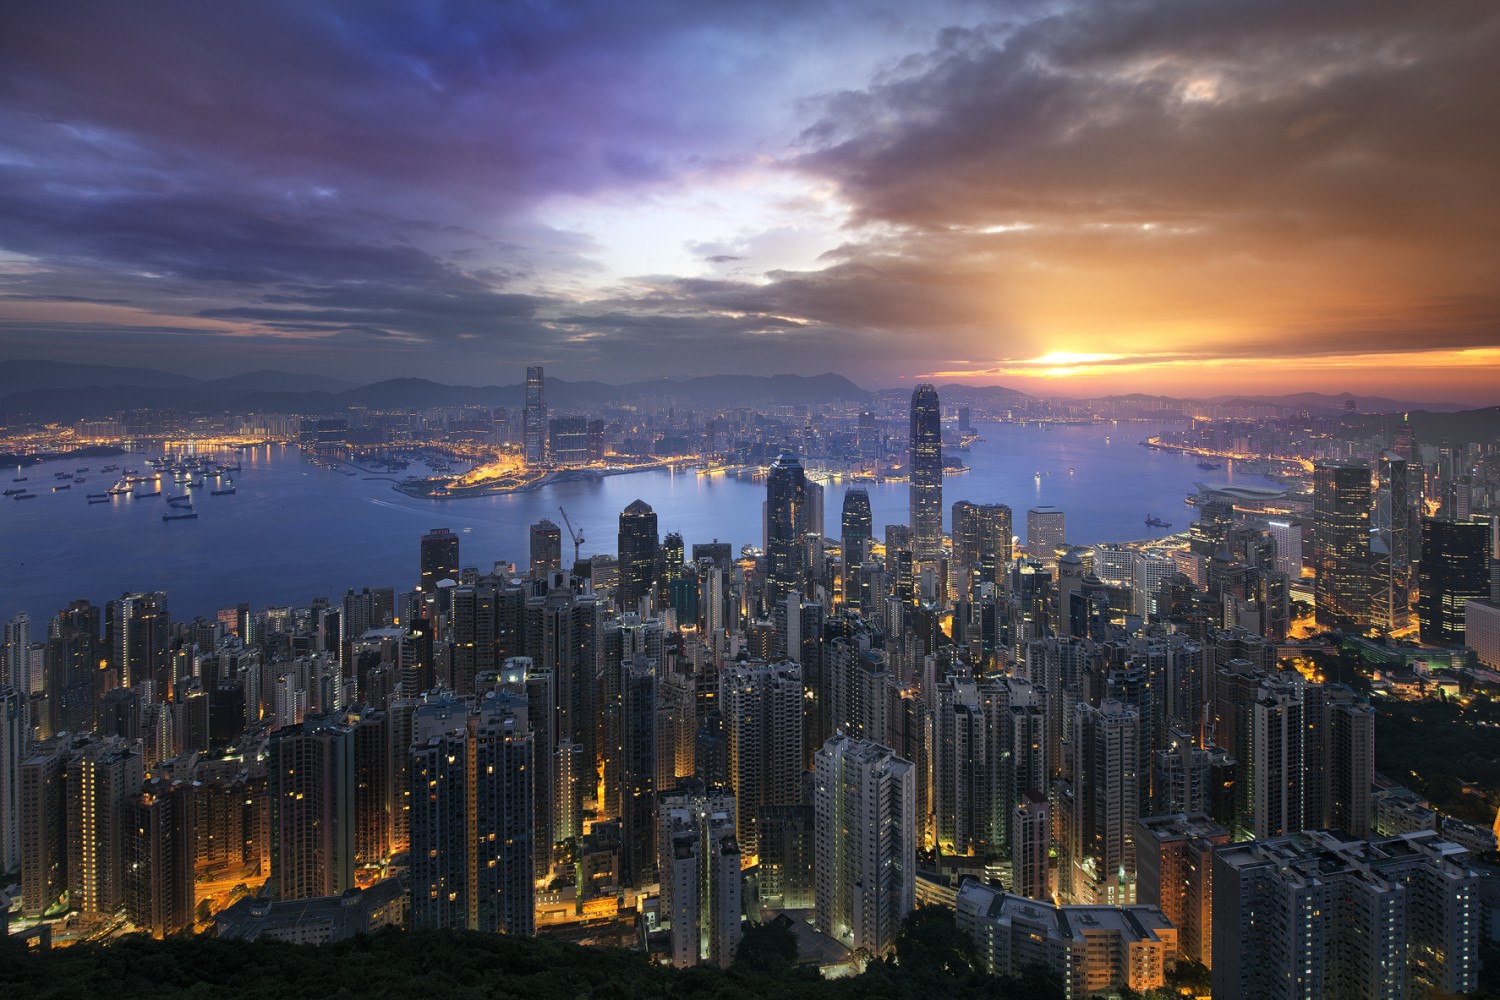
You might also want a polarizer to reduce reflections and glare in harsh light. They’ll also help keep your skies a nice, saturated blue. These filters work best when you’re at a right (90°) angle from the sun. A word of warning: tread lightly if you’re using an ultra-wide-angle lens, as polarizers can easily turn the sky darker than you intended.
Start with the ‘Sunny 16’ rule
It won’t work in every situation, but if you don’t have a light meter, the ‘Sunny 16’ rule can be a good place to start with your exposure settings on bright days. Set your aperture to f/16, and then set your shutter speed as close to the reciprocal of your ISO as you can (for example, if you’re shooting at ISO 100, opt for a shutter speed of 1/125 of a second; if you choose ISO 200, set it to 1/250 of a second). Start with the lowest ISO possible to keep the light in check, and go from there. Take some shots, and tweak as needed until you get the exposure where you want it.
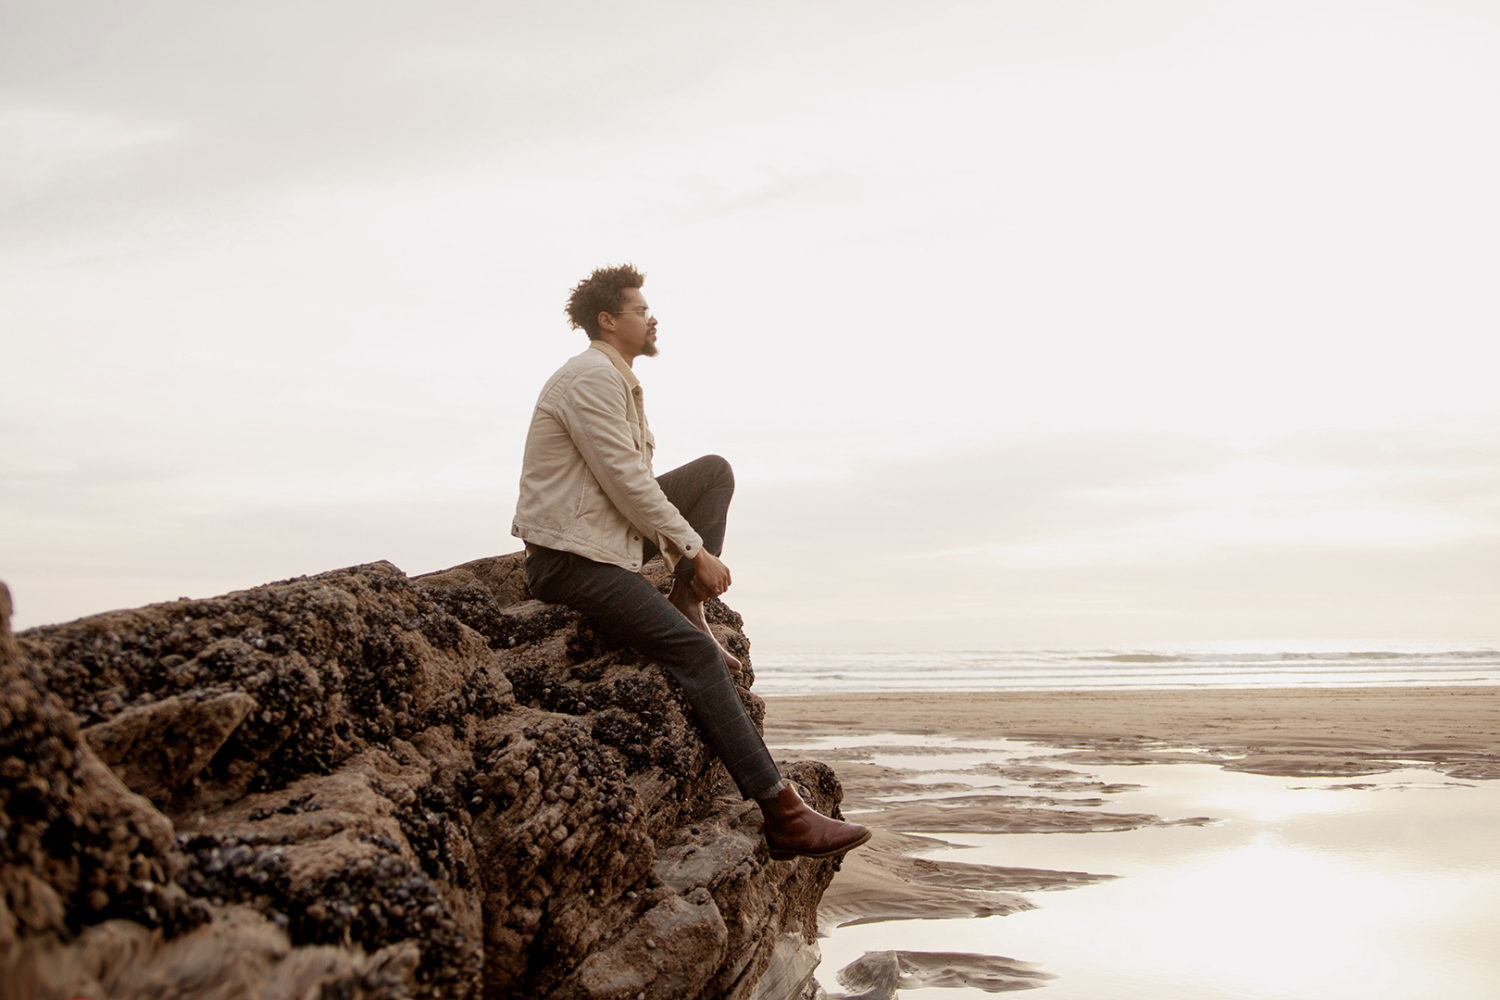
Go bold
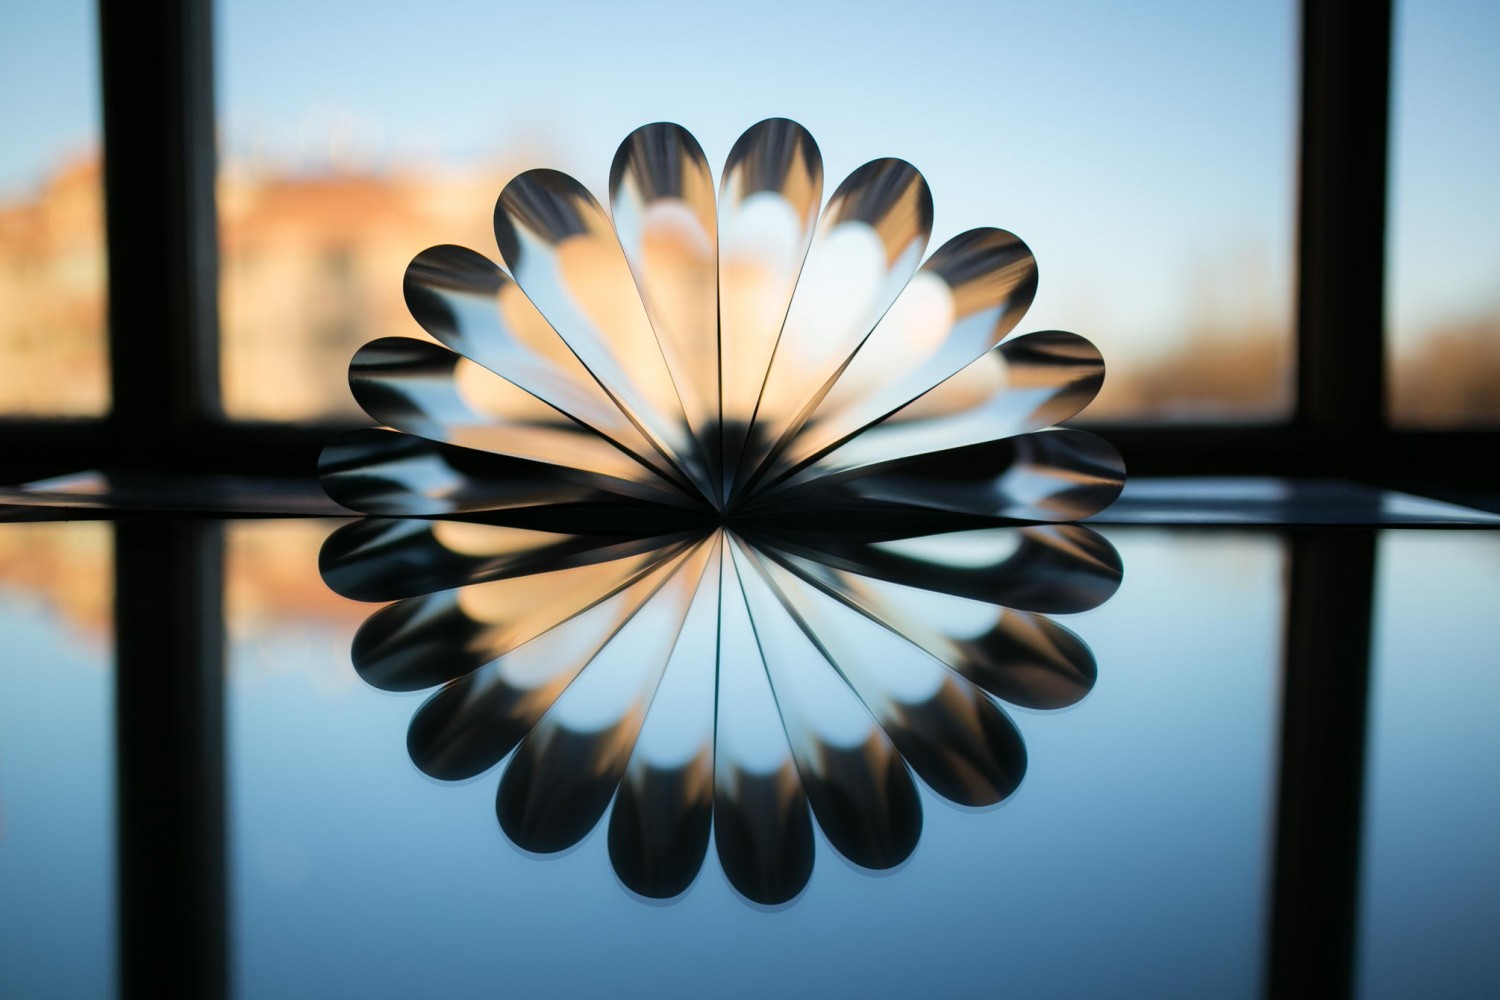
Most of these tips are about mitigating or downplaying the effects of harsh sunlight, but that’s not the only option. Another way to go when working with harsh light is to embrace it, rather than trying to fight it. Use those strong shadows and saturated colors to enhance your composition, rather than detract from it.
Use shadows as leading lines or create striking contrast between those bright and dark areas. Midday photoshoots are tricky, and it’s not the best time for dreamy, soft images. But if you play it right, you can get some strong and graphic compositions that “pop” off the screen.
Not on 500px yet? Sign up here to explore more impactful photography.

Leave a reply