Meet The Artist
Hey! I’m Rob Woodcox. I’m a fine art and fashion photographer based in Portland, Oregon, and I’ll be joining the 500px ISO blog on a monthly basis to share inspiration from the community along with stories and tips behind my own photographic work. I’ll be talking about various topics including, but not limited to, conceptualizing ideas, Adobe Photoshop, image manipulation, lighting technique, working with models and locations, and much more. I’ve been photographing as a hobby since 2009 and went full-time professional in 2014. My journey has taken me to over 20 North American cities and 15 countries to teach photographic seminars, and I’m excited to bring my experiences to the 500px community. I love conversation and sharing ideas, so if you enjoy the articles or have questions, please share in the comments below. And remember—the world is watching, so please be constructive and respectful to each other and myself!

The Concept
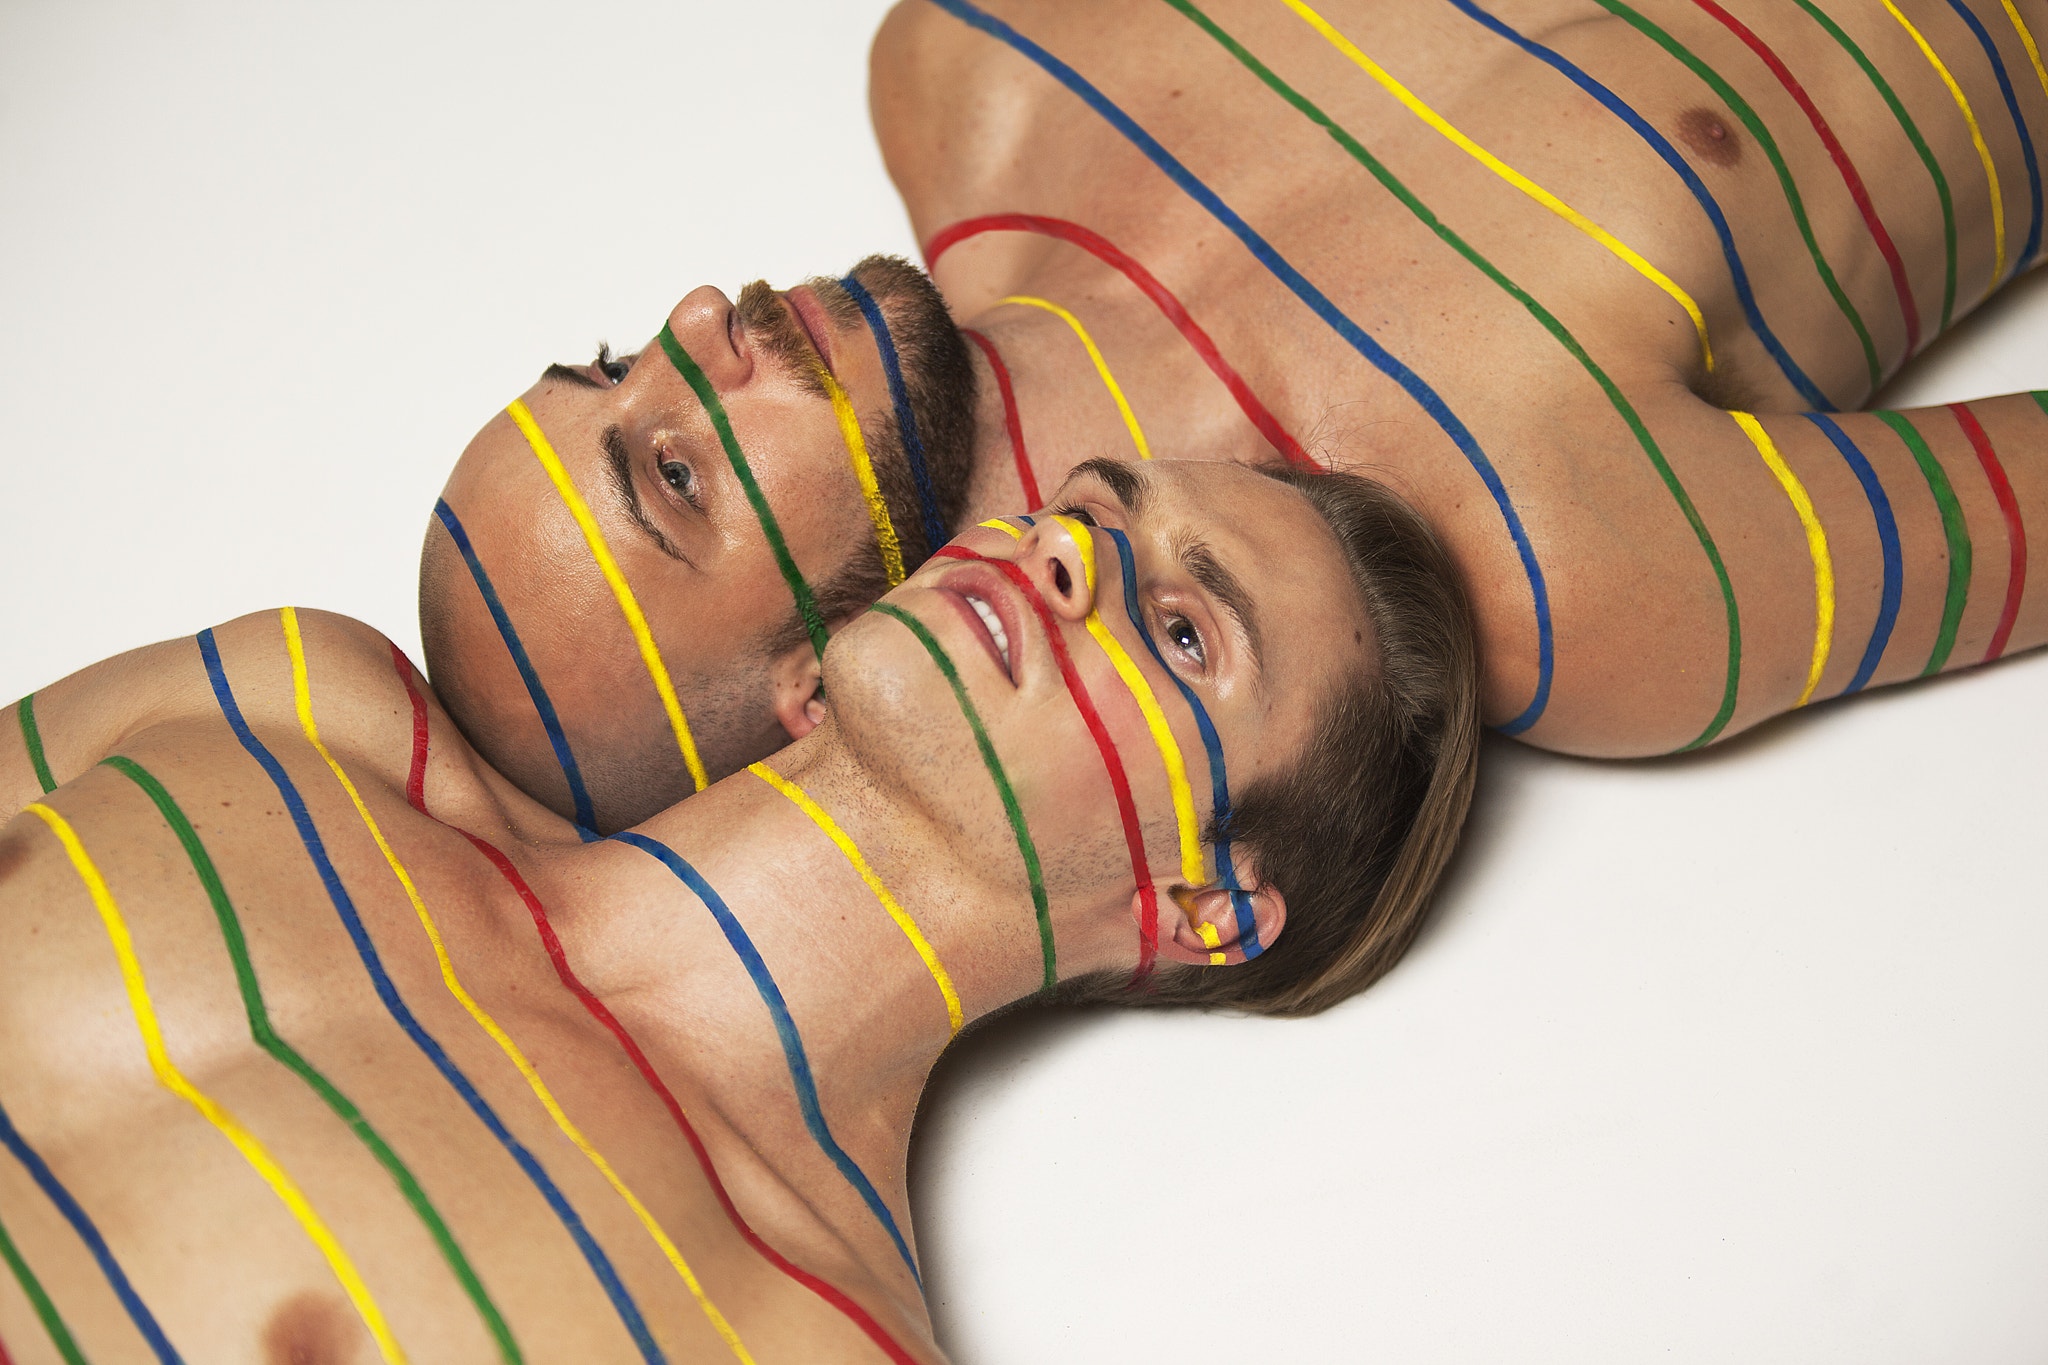
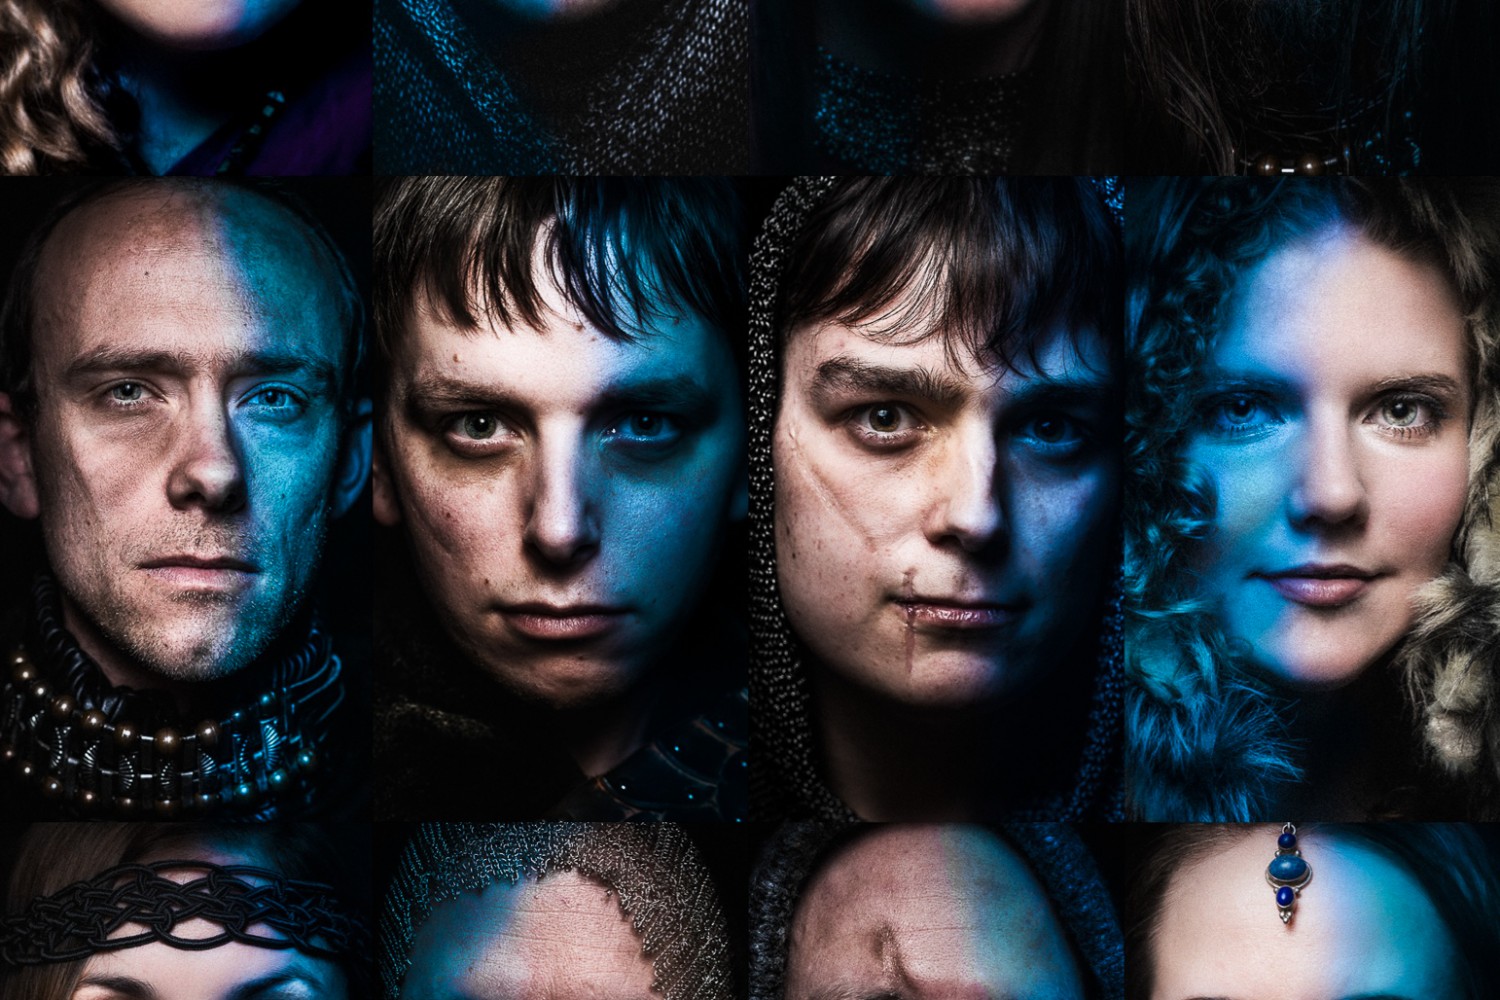
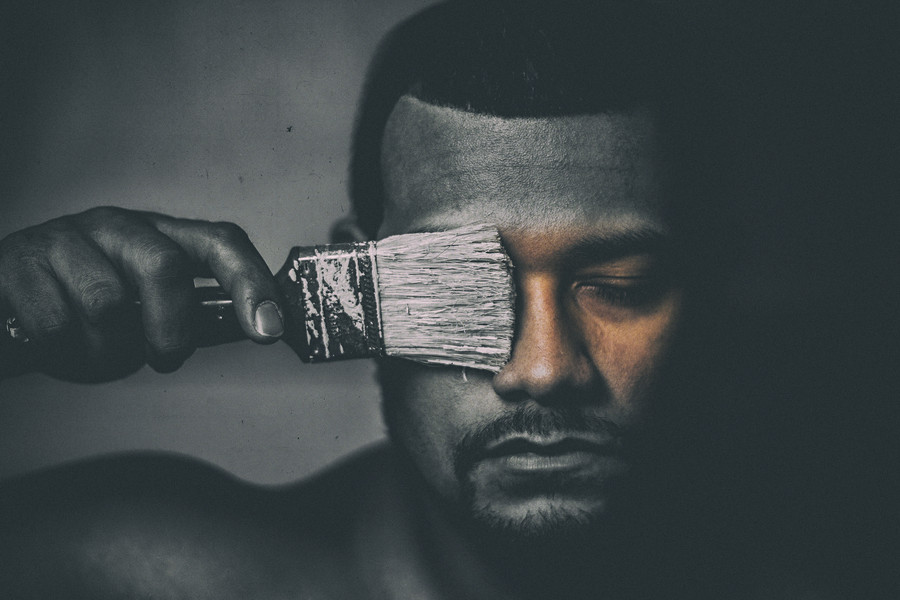
For starters, HAPPY PRIDE! This week I’m going to share an important concept and some tips on how to achieve similar looks using Photoshop to polish your images. The concept behind this set of images was to create a tribute to the victims of gay and queer hate crimes all over the world, and celebrate the strength and endurance of the community that continues to move forward in love despite these tragedies. I wanted to show the beauty of human connection and symbolize our differing but also overlapping traits as individuals using colorful lines. Though we all have different experiences, at the end of the day, we all have similar basic needs and want to be accepted and loved.
The Creation
There are three tools in Photoshop that allowed me to take these portraits from good to spectacular. I’d like to share with you how I used the Liquify Tool, Patch Tool, and Clone Stamp Tool to perfect skin tone and skin texture and clean up the lines of paint that had imperfections in the RAW files of these images. When it comes to portrait retouching in my work, I always aim to keep a realistic look to the skin but like to get rid of temporary blemishes that aren’t a part of the subject’s identity. I used non-toxic tempera paint to make the lines. I’ve found that although it can get dry and cracked-looking after a few hours, it’s one of the easiest paints to wash off the skin and makes the model’s life much easier after the shoot. Let’s start with before and after comparisons of these images:
Patch Tool
One of the easiest ways to remove blemishes, flecks of paint, stray hairs, etc. is using the patch tool. The patch tool gives you a cursor similar to the lasso tool: simply draw a circle around the entire blemish area, and then drag the selection to an area of skin/clothing/paint/etc. that has the desired texture for that space. The patch tool replaces the texture of your selection with the new texture and adopts the surrounding color and tonal values—removing blemishes seamlessly. I spent about 15-20 minutes per photo removing blemishes from this set using the patch tool.
Liquify Tool
For areas that are slightly misshaped or bulging out in an undesired way, the liquify tool can be used to completely change and smooth out the shape. Be careful not to liquify too large of an area—this can create distortion and unrealistic stretching. As you can see below, I used the marquee tool to select just the portion of the image I wanted to liquify; I then went to filter>liquify and worked within the liquify window to straighten out the lines and minimize the amount of cloning I’d have to do later. This tool is great for adding/subtracting volume to hair, altering the shape of clothing, and much more.
Clone Stamp
Finally, I used the clone stamp tool to re-draw the edges of rough lines and used a combination of the patch tool and clone stamp to remove cracked textures from the paint and make it more smooth. To use the clone stamp, you simply hold down the option button, click the area you want to sample texture from, and then release the option button and paint the texture into the region you want changed. If you hold down the shift button and just continue to click along the edge of straight lines, the stamp tool will draw a straight line for you, taking content from the original sample point. Since the clone stamp duplicates exact patterns that may exist in the skin or paint being sampled, you should go back over the newly cloned area with a patch tool and change the patterns of the new cloned area so they don’t mimic the original area. You can do this pretty quickly by just removing identifiable dark and light spots that obviously mimic the sample area.
After a couple hours of perfecting the skin textures and each line using these techniques, my final image came out looking clean and polished. When creating an art piece, it’s worth taking the time to ensure your images are the best they can be. I’d love to see what you’re working on using these techniques—feel free to post any recent work or questions in the comments below!

For anyone interested in learning from me in person in one of the most life changing retreats ever, check out my Mount Everest Base Camp Yoga & Photography retreat. There are still a few spaces left.

Links
500px: 500px.com/robwoodcoxphoto
Instagram: @robwoodcoxphoto
Facebook: Facebook.com/robwoodcoxphotography
Twitter: @robwoodcox

Leave a reply