
When Ansel Adams released his early photographs of Yosemite, he stunned the world with his sharp-as-a-tack focus. To the surprise of audience members, the faraway mountains in his pictures were just as crisp as the rocks at his feet. Back in the 1930s, he’d done something as radical as it was simple: he used a wide depth of field.
These days, sharp photographs are the norm, not the exception, but we’re witnessing a renaissance in out-of-focus, artistic backgrounds. Even though most smartphones can’t produce a shallow depth of field, it hasn’t kept app builders from trying; in recent years, they’ve developed filters to mimic the romantic, old-school bokeh effect.
Whether you’re a fine artist like Ansel Adams or an Instagram influencer paving the way for the next generation (or both), depth of field can help refine your creative voice and vision. In a fraction of a second, it can transform your pictures from dreamy to realistic and back again. Here’s everything you need to know about controlling depth of field.
What does “depth of field” mean?
The depth of field in your image refers to the level of focus throughout that image. A shallow depth of field means that only a small portion of your photo will be in focus, sometimes less than a centimeter. A wide depth of field is the opposite: more of your image is sharp.
Why you need to understand depth of field
Depth of field can draw attention to certain elements of your composition. It works well for softening distracting details in the background (and for creating a bokeh effect). On the other hand, you may wish to show detail throughout your image. For example, if you are shooting a landscape with a model in the foreground and mountains in the distance, you’ll need to know how to manipulate your depth of field so that there is sharpness in the foreground, the background, and everywhere in between.
Since a large factor in depth of field is the setting of your aperture, one of the three corners in the exposure triangle, it may be difficult to balance your desired level of focus with a quality exposure. Because of that, it is especially helpful to be familiar with supplementary methods to manage depth of field (although we’ll start with aperture here, since that’s the main one).
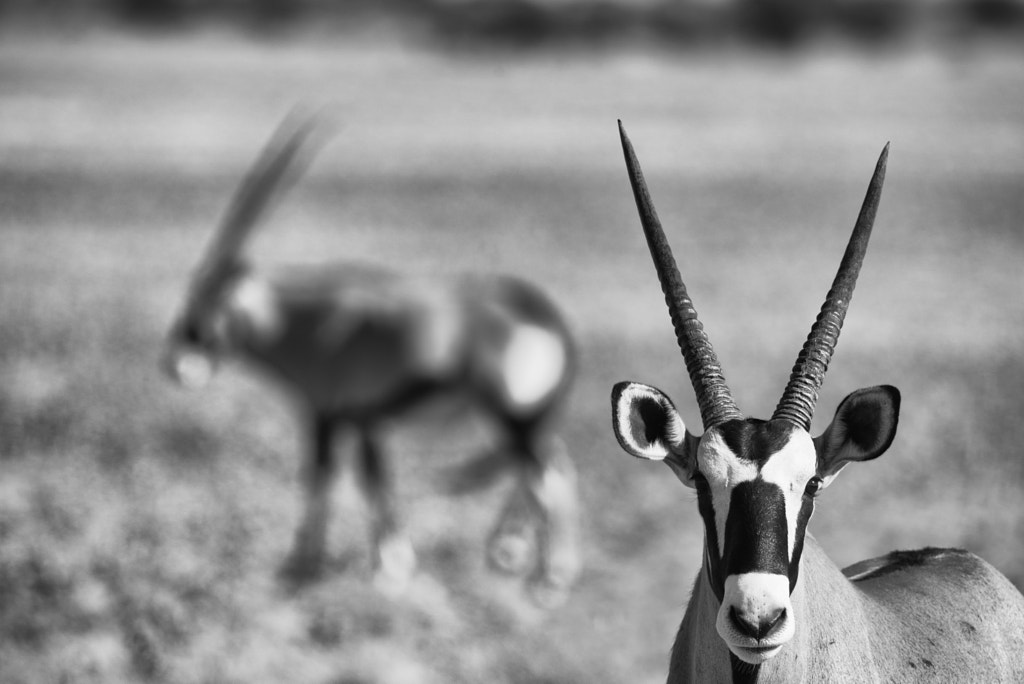
‘Oryx pair’ by Duncan Phillips (above) uses a shallow depth of field.
Controlling depth of field with your aperture setting
The diameter of your aperture directly affects the level of focus in your image. The wider your aperture (meaning, the smaller your f-number), the more shallow your depth of field will be. A shallow depth of field is usually captured at an f-number of about f/5.6 or lower. An f-number of f/1.2 would be extremely shallow; you would probably struggle to get your subject’s eyes and nose completely sharp at the same time.
This means that the smaller your aperture (and the larger your f-number), the wider your depth of field will be. F-numbers of f/11 and higher will give results on the wider end of the depth of field spectrum. A number like f/32 would be an extremely small opening, yielding an extremely wide depth of field.
Distance and its effect on depth of field
Proximity is another factor that can impact depth of field. The closer you are to your subject, the more shallow your depth of field will be. If you are struggling to balance an exposure at the desired level of focus, you can move closer to or further away from your subject to change the depth of field without altering your aperture.
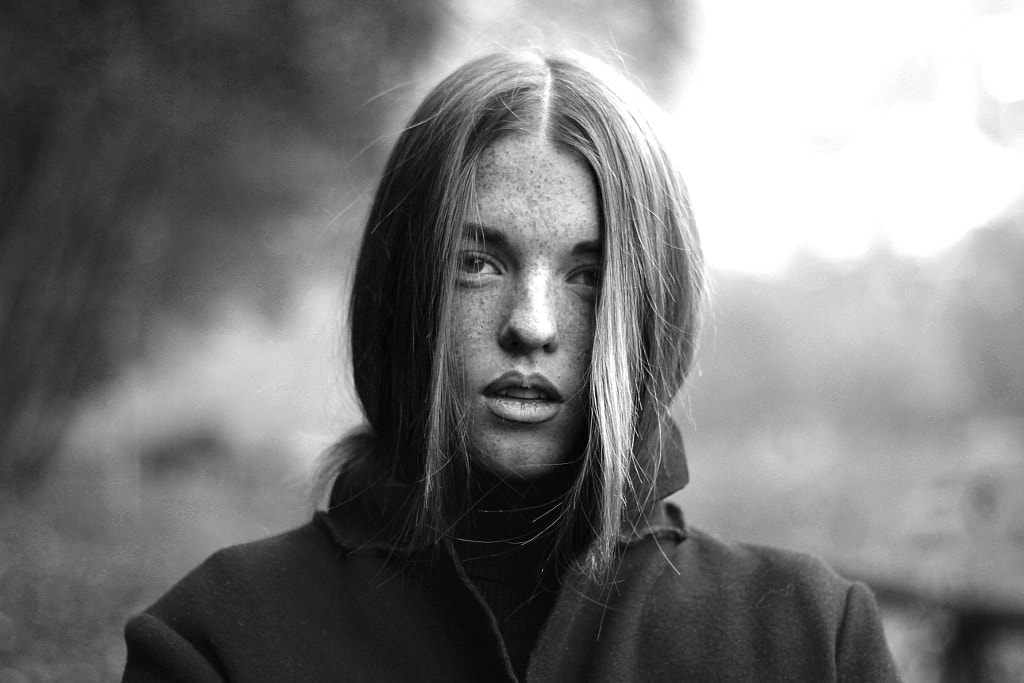
‘Lara Vogel Nr. 2’ by Celine Marie Daliot (above) uses a shallow depth of field.
Managing your subject’s distance from the background
Your subject’s distance from the background also affects depth of field. The background becomes more blurred as the subject moves farther away from it. Keep this in mind when you scout for locations. During a shoot, you can ask your model to step closer to or farther away from elements in the background to manage the level of separation.
Teleconverters and depth of field
A teleconverter is essentially a magnifier. It can affect the maximum aperture of your lens and its ability to autofocus properly. It will give you a more shallow depth of field than you would originally expect, so factor that in when you shoot with a teleconverter.
Focal length and depth of field
This is another option for managing your depth of field without changing your f-stop. As with a teleconverter, using a longer focal length is a way to magnify a scene through your lens. The longer your focal length, the more shallow your depth of field will be. Conversely, you can choose a shorter focal length if you’re not experiencing enough depth of field.
A 50mm lens is generally considered to be closest to your natural field of view (this can fluctuate depending on your camera sensor). Use that as a rule of thumb when you are trying to determine which focal length with which to manage your depth of field.
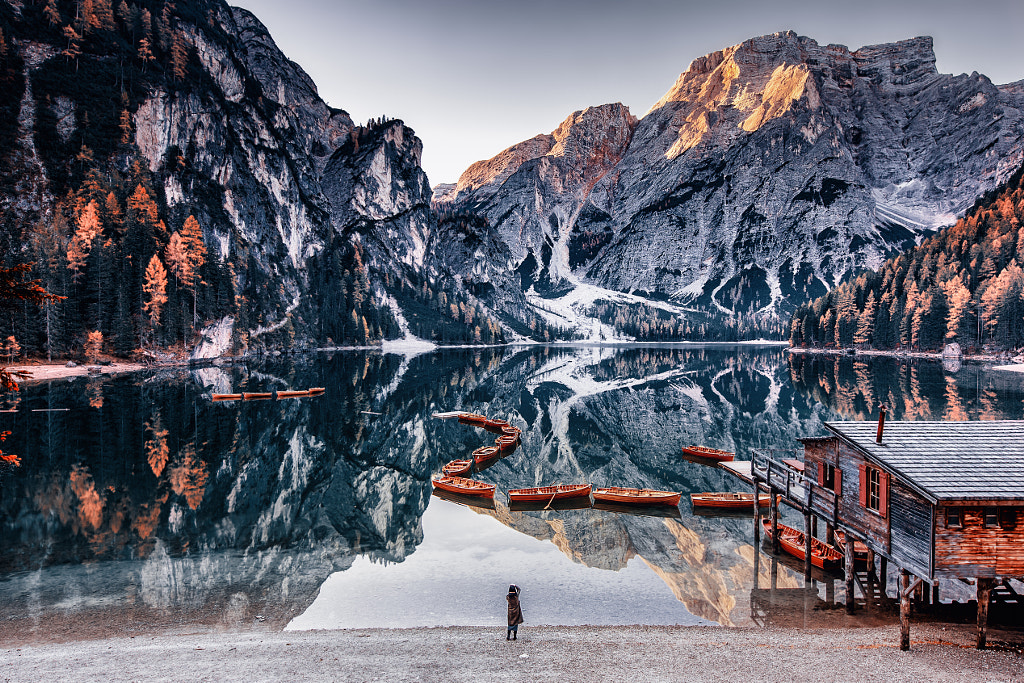
‘Largo di Braies, Italy’ by Sven Taubert (above) uses a wide depth of field.
Choosing the right depth of field
You can set your depth of field precisely for each situation, using the aperture settings on your camera. However, since it will impact the amount of light in your image, it could necessitate changes in shutter speed and/or ISO as well. You could be introducing digital noise or blurred motion as you change the other settings to accommodate your desired depth of field. Be ready to compromise, at times, or make changes in post-processing.
You’ll have more flexibility if you manage the other factors discussed here (such as proximity and focal length) in tandem with aperture.

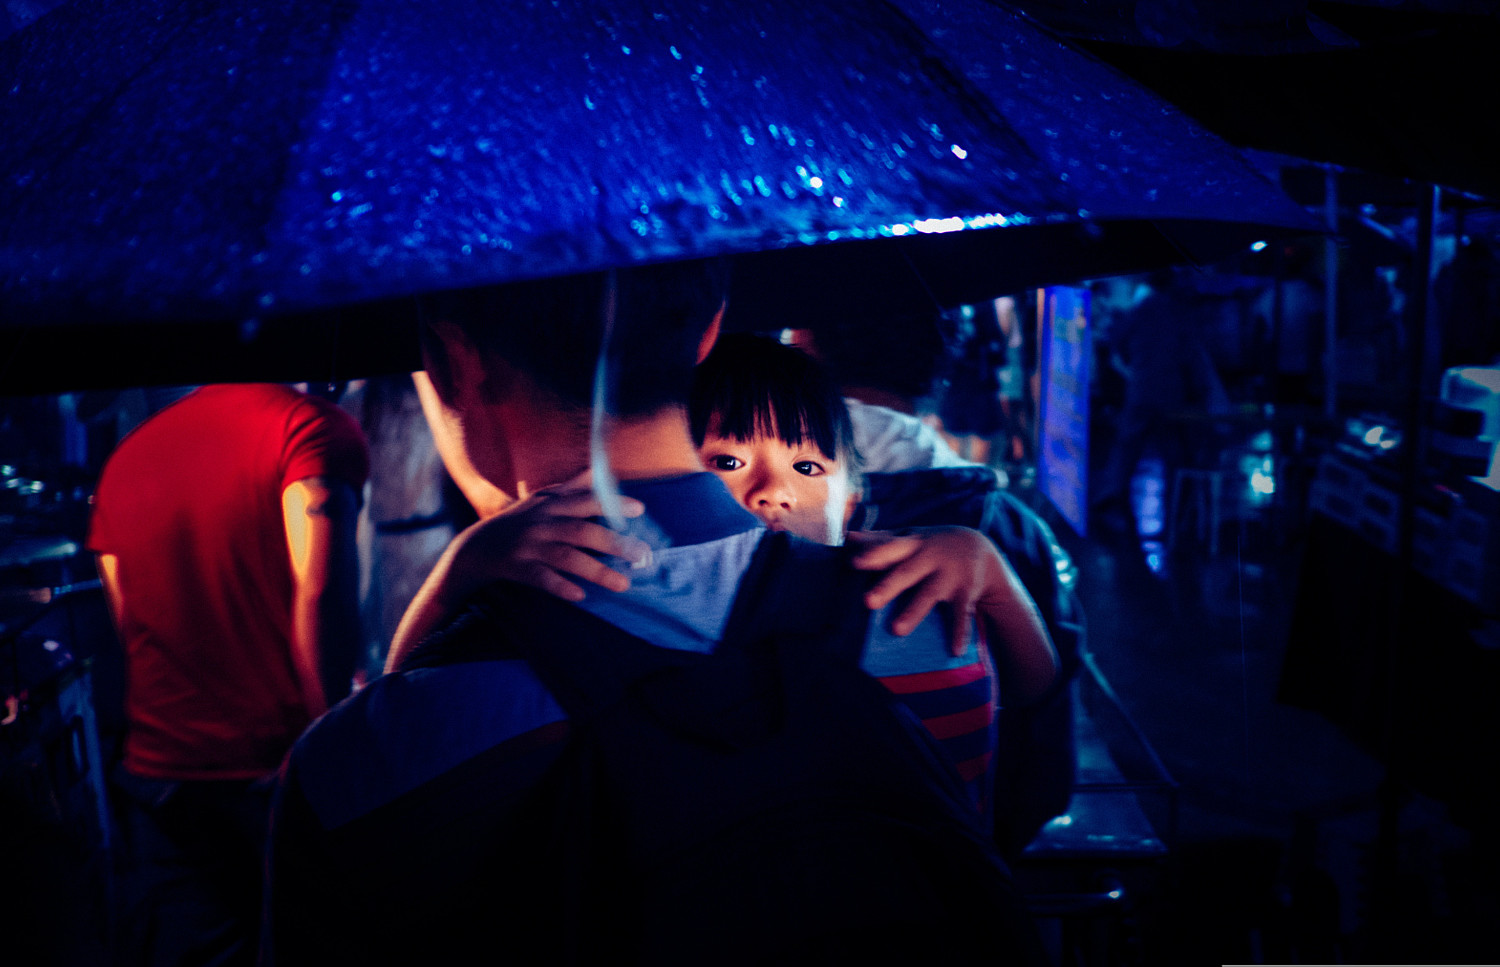
‘My baby’ by Taya Iv (above) uses a shallow depth of field.
When to use a shallow depth of field
A shallow depth of field is useful for many situations, but the most common one you are likely to see is in outdoor portraiture. When you want your model’s face to be in focus and not the visually distracting background elements, a shallow depth of field can keep the former sharp while blending the latter.

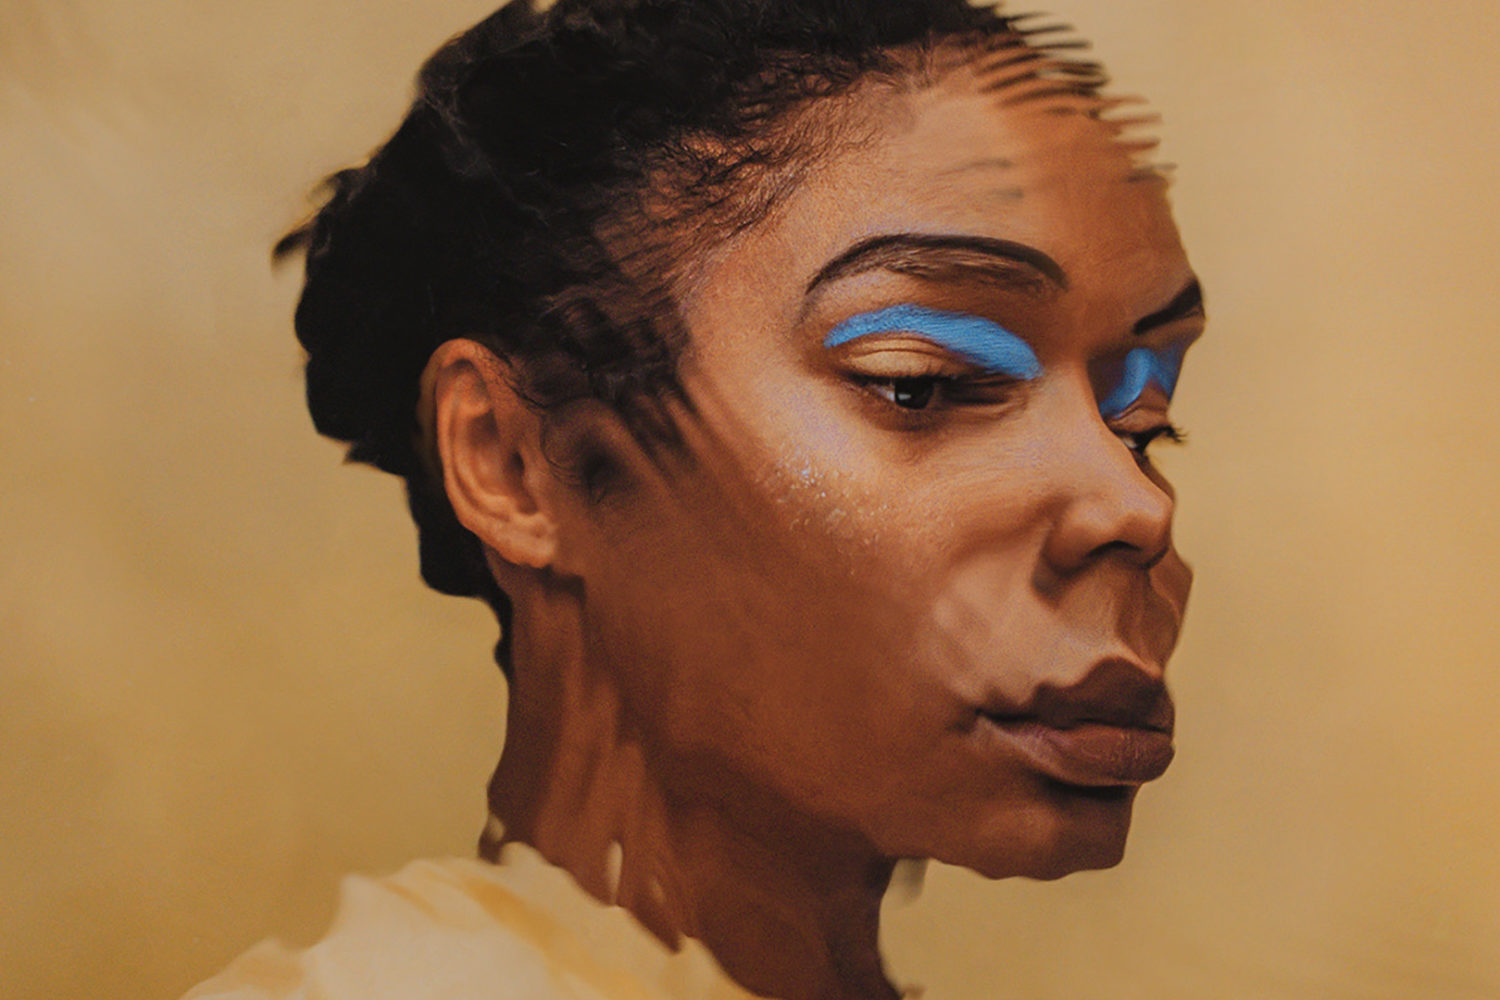
This portrait by Maria Kovalevskaya (above) uses a shallow depth of field.
For a shallow depth of field, you want the important elements in your photo to all be on the same plane, or near to it. If your model is holding a flower out from her body and you’re shooting at f/2.8, either the flower or her face will be blurred. You would need to stop down or have your subject move the flower closer for a chance at having them both appear sharp.
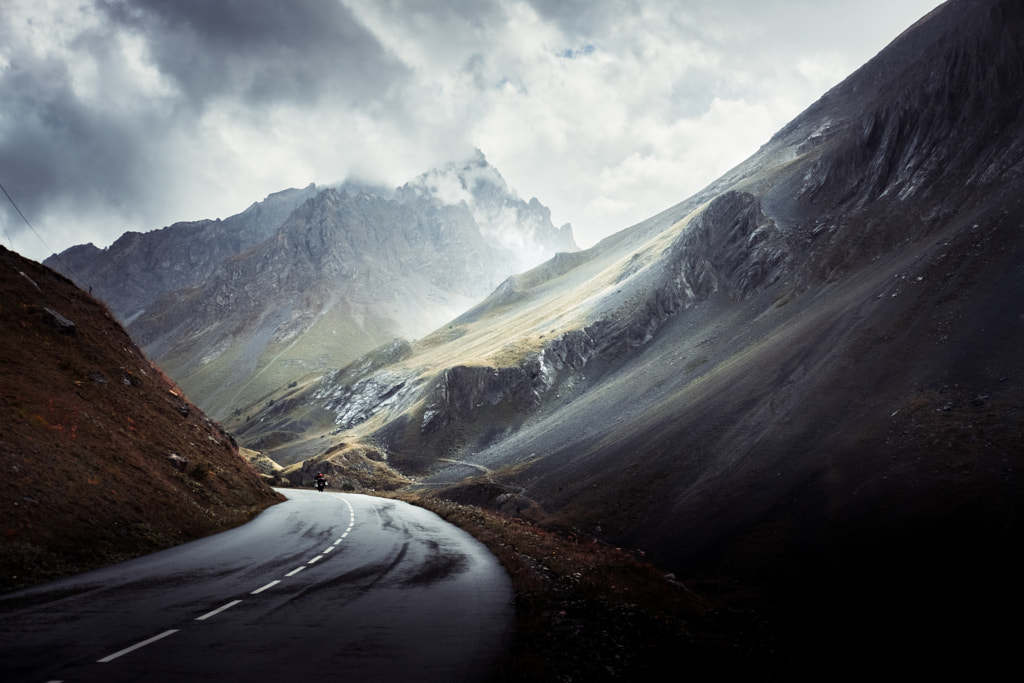
Les lumières du Galibier by Youri Meot (above) uses a wide depth of field.
When to use a wide depth of field
A wide depth of field is the better choice any time you have multiple important elements on different planes. For example, group shots can be challenging to capture with a shallow depth of field unless everyone is standing in a neat, stiff row.
Deep landscapes are another example. You may want something that is miles away to be every bit as sharp as the tree branch that’s only a few feet from you.
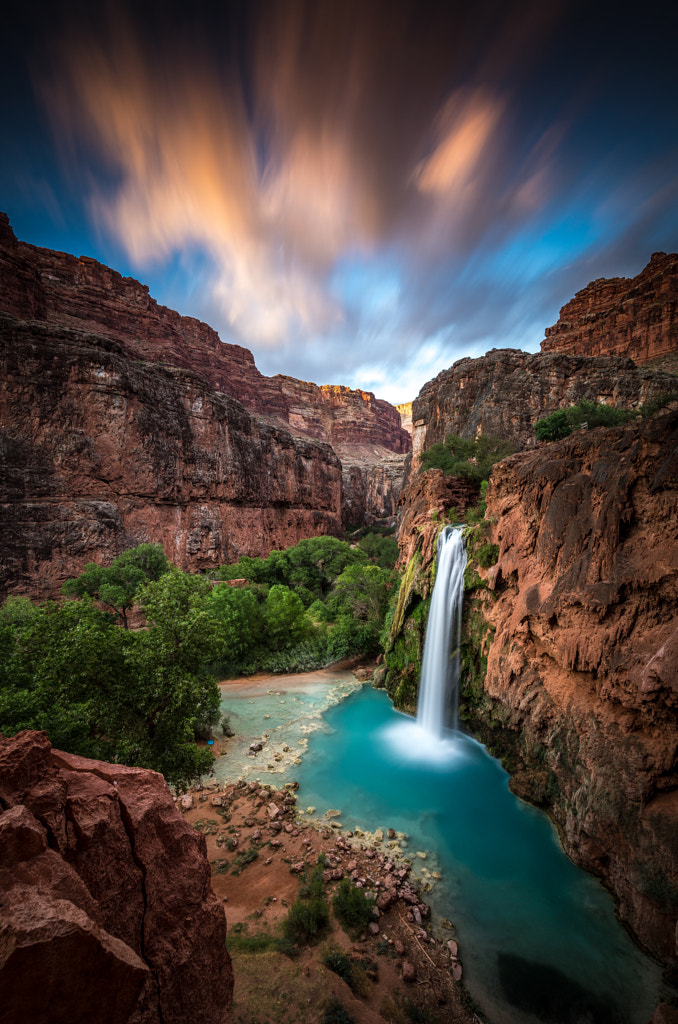
‘Sunset In Paradise’ by Kevin Choi (above) uses a wide depth of field.
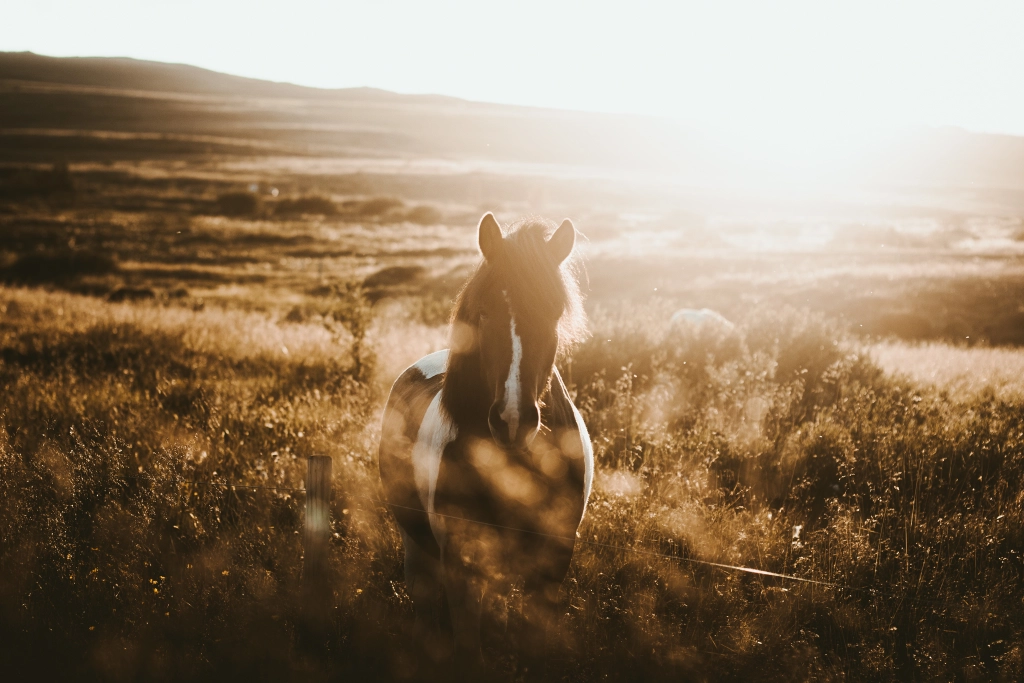
‘Golden warmth’ by Marina Weishaupt (above) uses a shallow depth of field.
How to determine depth of field
As you learn, a depth of field chart will help you make educated guesses about approximate distances in your scene and the settings you’ll need. As you become more comfortable with the concept, you’ll begin to develop a sort of intuition about which settings will get you a certain result. You’ll also have a better idea of what your specific lenses are capable of the more you use them.
You can always start by only changing your aperture. As you master that method, move on to other methods of altering depth of field. Remember to look at depth of field examples to gain inspiration as you go.
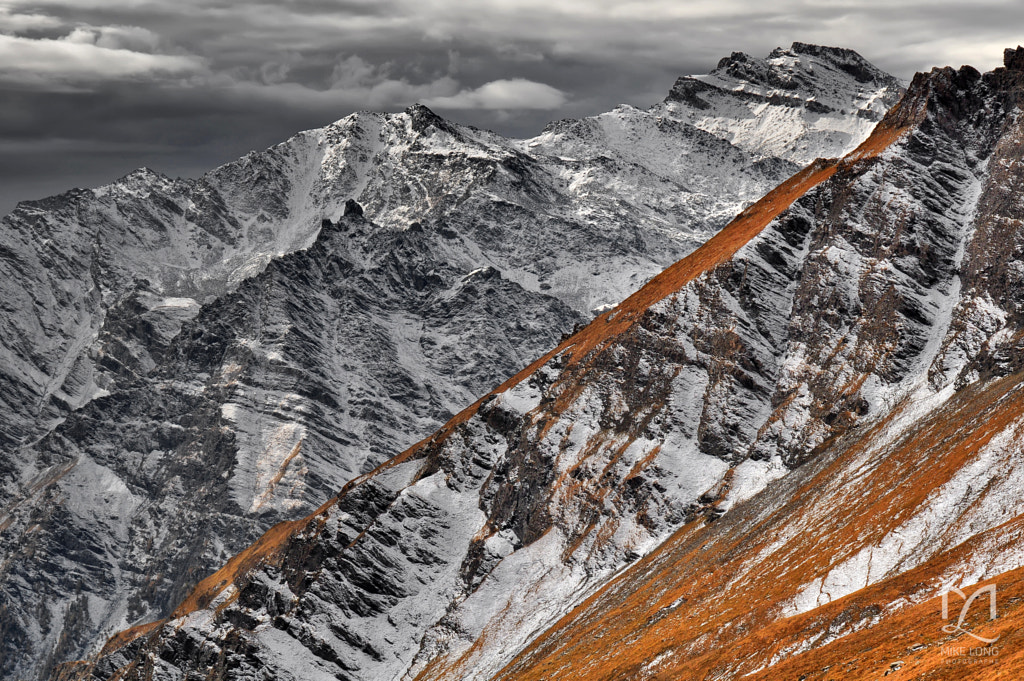
‘French Alps’ by Mike Long (above) uses a wide depth of field.
Can depth of field be adjusted to get everything in focus?
This is one of the most-often-asked questions about depth of field. The answer is yes (in theory). You certainly can get everything in focus by choosing a high f-number, a short focal length, and positioning yourself at a reasonable distance from all of the elements in your image.
The trick is balancing your exposure so that you can actually see that wide depth of field, since such a small aperture doesn’t allow much light to hit your camera sensor. Shoot with a tripod and remote shutter release to allow for longer shutter speeds and practice diffusing a speedlight or studio strobe to add brightness. With some experience, you’ll be able to get the depth of field you are looking for.
Altering your depth of field is one of the most dramatic ways to impact your photography, and fortunately, it’s also one of the easiest techniques to learn. Keep experimenting with your aperture, focal length, and different distances to master depth of field and take your photography to a new level.
Test out what you’ve learned and submit to the In Focus Quest.
Not on 500px yet? Sign up here to explore more impactful photography.


Leave a reply