
Introduction
Initially I was planning to shoot in the pool outside, but it was taken up by the kids. So I had to wait, reconsider that idea and instead settle for shooting indoors using an inflatable pool. My place is not very big so I had limited space to work with.
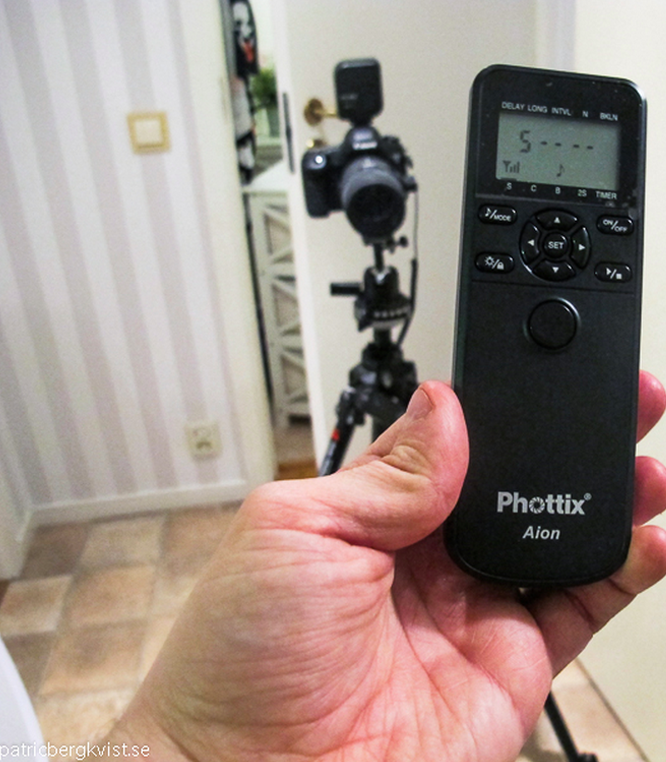
I am usually assisted by my girlfriend when shooting splash images and after some time she bought me a wireless remote shutter release (Phottix Aion) as an early birthday present. I guess she was not too fond of standing and splashing different types of fluids anymore.
Equipment
At first I needed to gather all the equipment in order to setup. Here is a list of all equipment used:
- 1 glass (attached or glued to a tripod mount)
- Liquids: Milk or milk-like substance, water and coffee
- Inflatable pool and plastic covers (to protect your home from stains and pool to gather all the splashed water)
- Duct tape or painters tape to seal all the covers together
- Camera
- Tripod and tripod mount
- Remote control for the strobes
- Soft-box with strobes on tripod with soft-box grid. Grid is useful to direct the light for narrowing down and spotlighting. You can DIY a grid for under $10
- Flash on a tripod, used to light the subject from the other side
- Backdrop. You can use just a plain wall or cover the wall with large sheets of bristol paper (experimenting with plain white or colour paper)
- Flash gels (to change the background colour)
Setup
Once I gathered all the equipment I started to redecorate the hall, inflated the pool, took out tape and plastic sheeting and taped it up to the wall. Then I took superglue, a bolt and an empty wine glass. I glued it all together so that the wine glass could be mounted to a tripod.
Here are some pictures of the setup as a whole, I was in a hurry to start photographing the product so I did not take as many behind the scenes photos as I wanted.
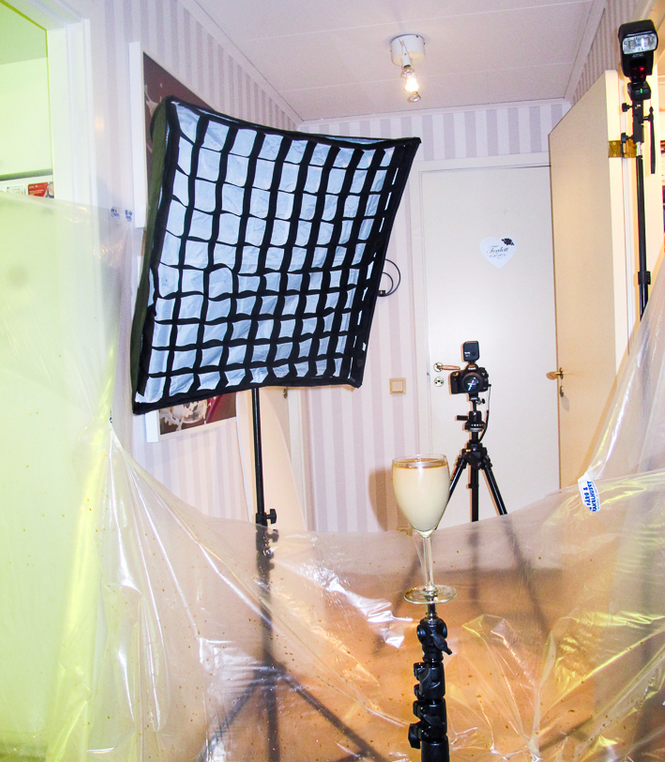
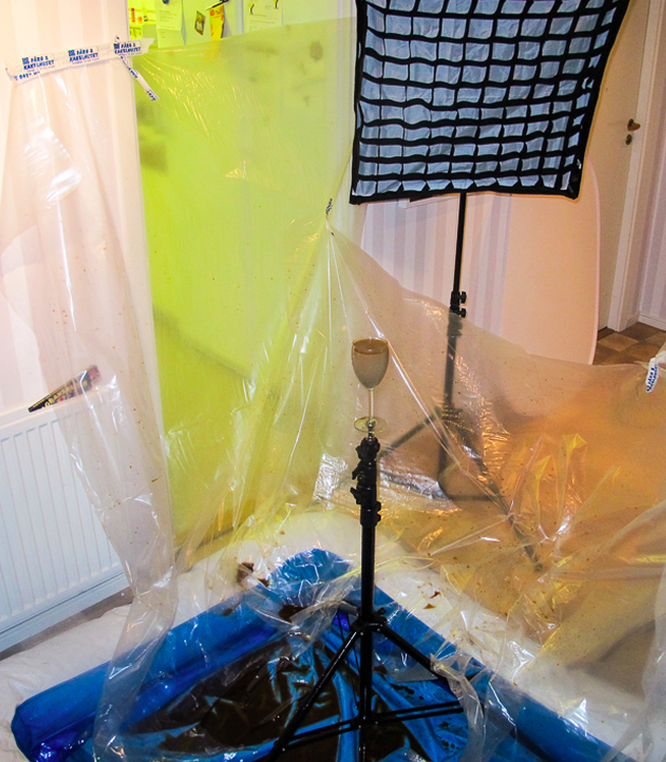

I placed a tripod in the middle of the pool and bolted the wineglass onto the tripod — now the tripod served as the stand for the wineglass. Next I started setting up the flashes (one external flash on a tripod and one with a softbox and a grid). Then I taped up the background with backdrop paper, turned on the remote switch for the the camera, and took out my iPad.
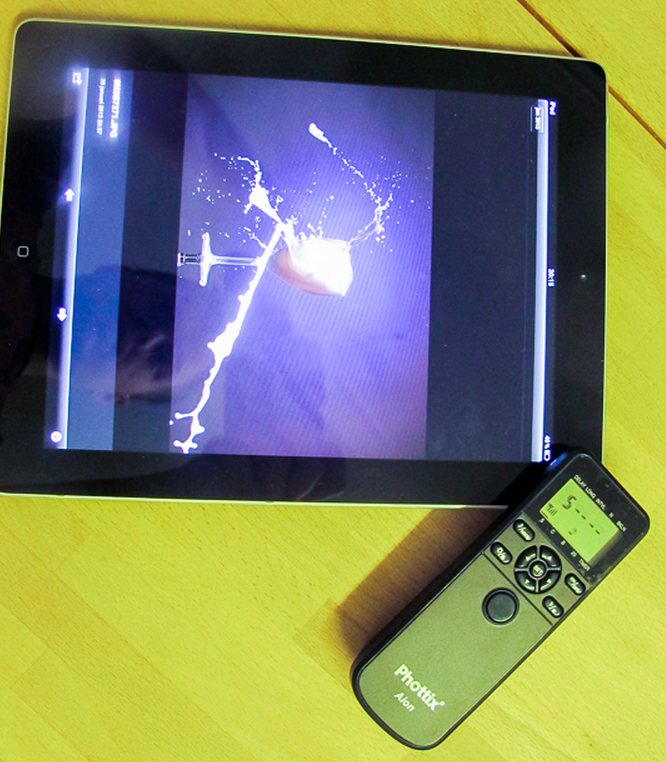
I bought an Eye-fi card to send JPEG images to the iPad while I shoot, this way I don’t need to run back to camera to see if photos turned out OK, checking for brightness, sharpness, etc. The background paper that I taped-up was very wrinkled but that was the only paper available that was wide enough so I had to use it. To combat the wrinkles I decided to use the widest aperture possible to blur the background and hence smooth out the wrinkles (with a zoom lens zooming all the way in would achieve a similar affect).
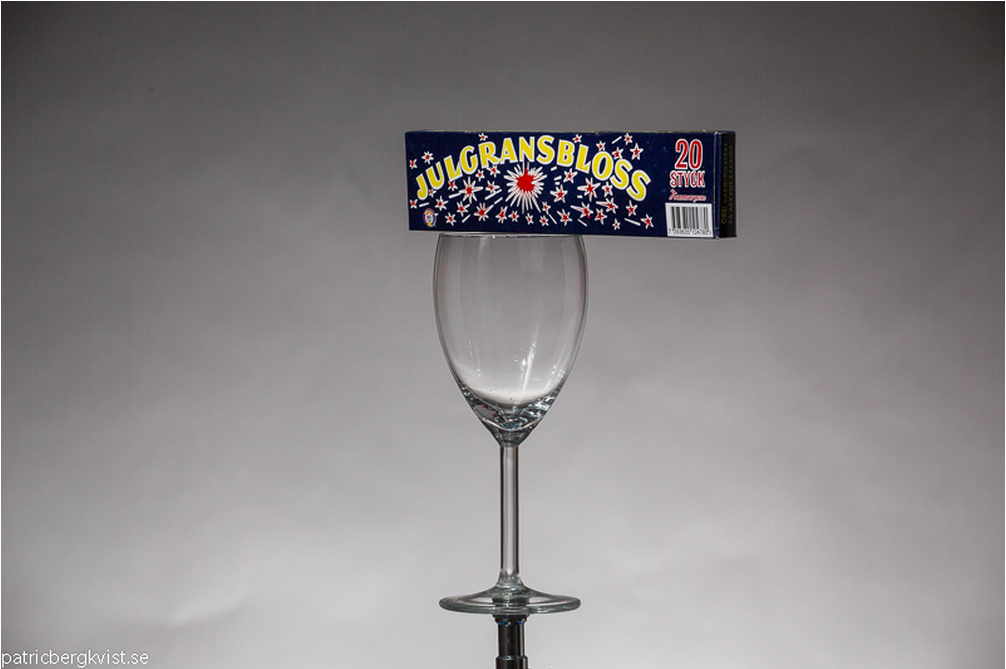
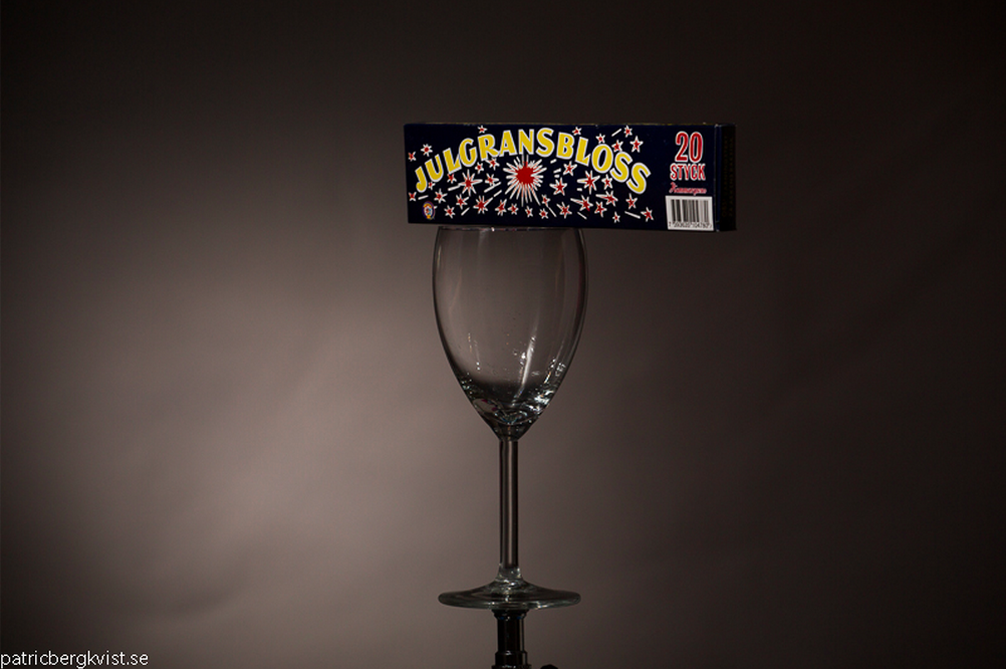
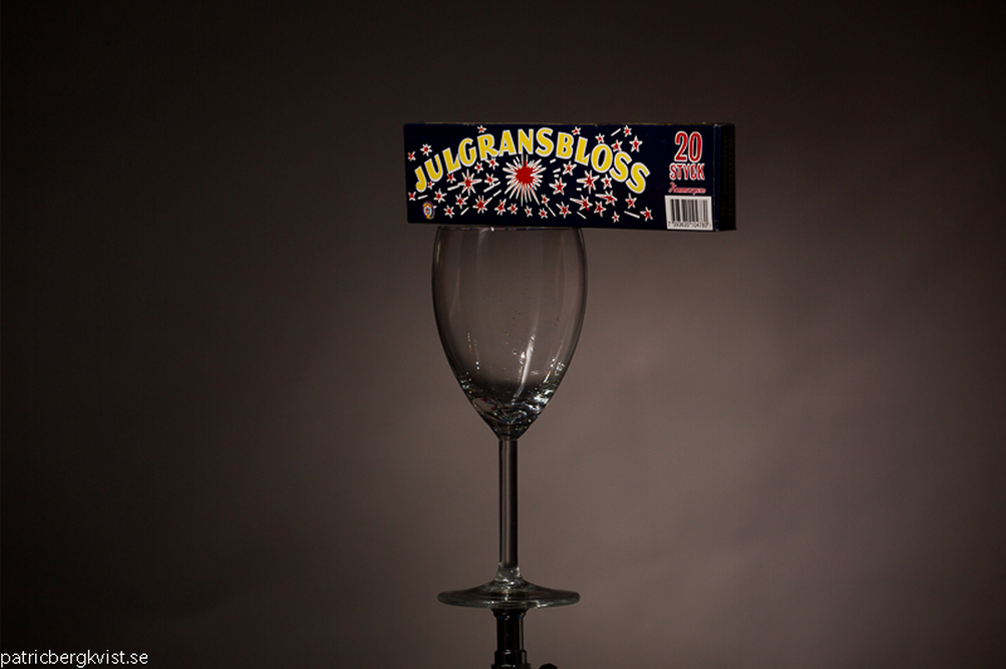
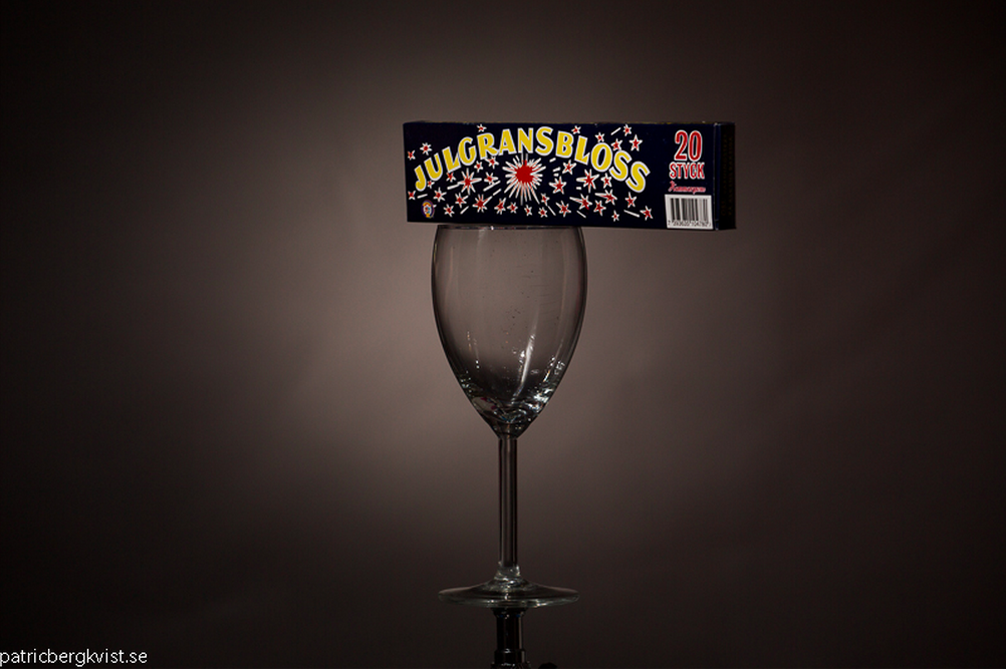
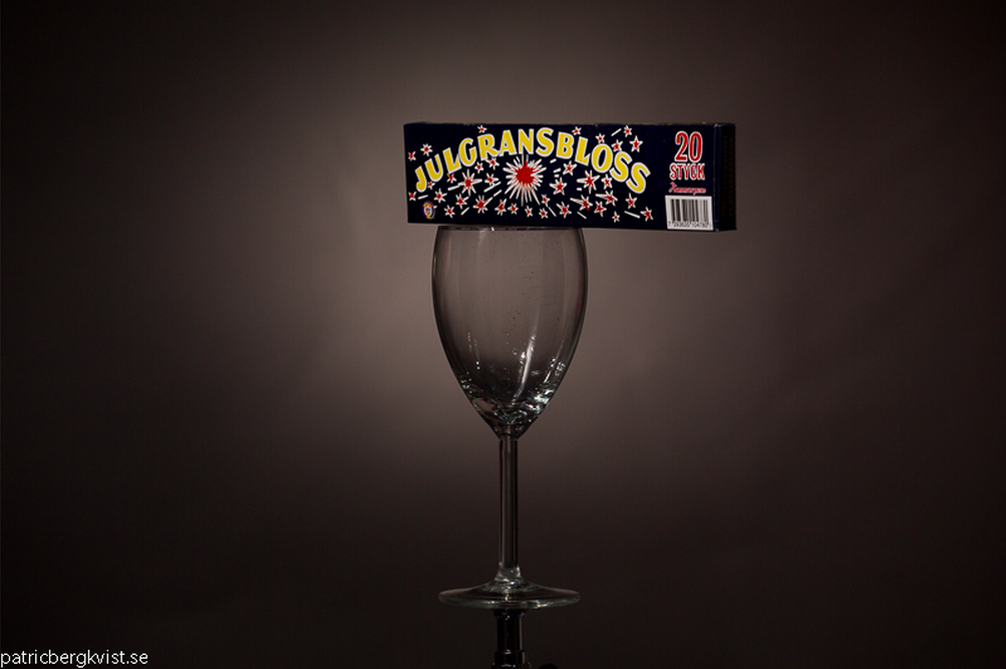
Going for wide aperture I had to balance it out since I wanted to avoid a shallow of a depth of field as I needed for the splashes to look and be sharp on camera. Hence I needed to run test shots to see which aperture worked best. Not wanting to waste liquids and get the place messy without a need, I used a box of sparklers as a point of sharpness measure (it also served as a great focusing point). So I put a pack of sparklers on top of the wine glass and ran some tests.
Test Shots For Aperture:
f/11
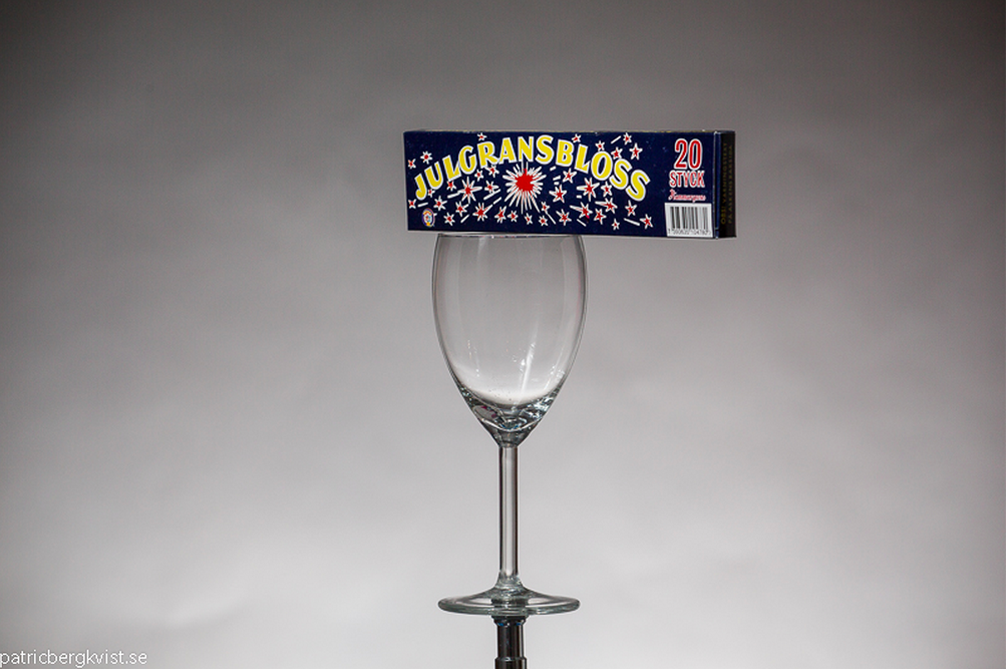
f/8
As you can see above the background became blurred and the folds were less visible at aperture F/8, and there was sufficient clarity on the sparkler packaging.
Flash Setup
In the pictures above, I have a flash on the floor near the background with the flash head angled upward to get this fade-effect where it goes from lighter at the bottom to darker at the top, but did not think it was quite as I wanted it.
So I put the flash on a tripod and set it so the flash ended up flush with the wine glass, fired it from the side to get a circle behind the wine glass instead, took some pictures, and then adjust the position of the flash until the circle ended where I wanted it (It helped a ton to have the Eye-fi card sending images to my iPad, as well as the wireless remote shutter release).
Change Background Colour/Flash Gel
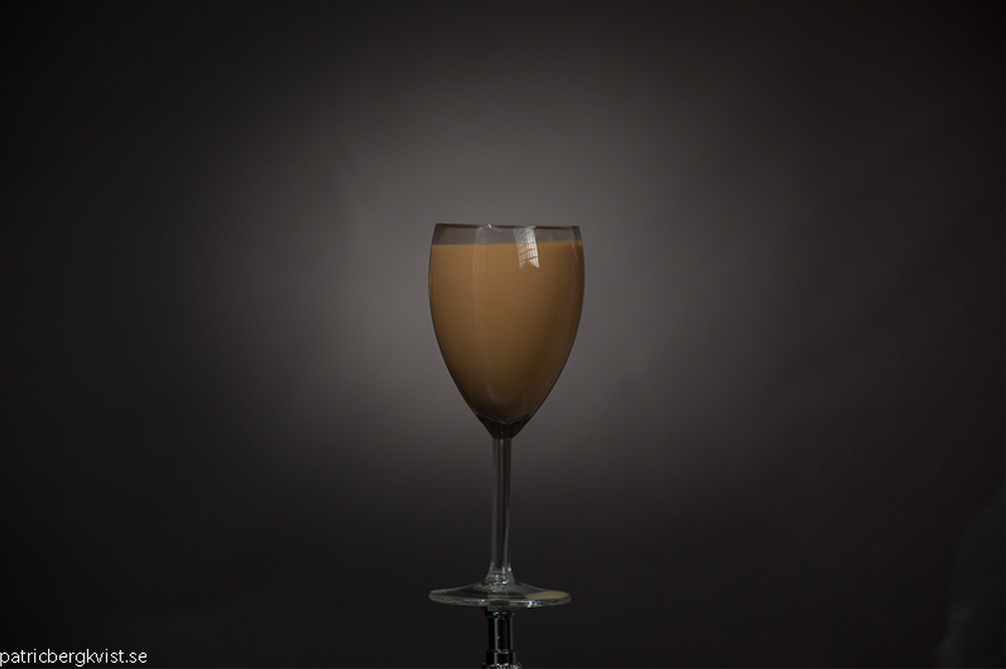
I knew I was done with flash testing once I got the spotlight affect with light, so I decided to move forward and fill up the glass with liquids and take more photos from there. My idea was to have a product shoot of coffee with milk, so I gathered the liquids needed, filled up the empty glass with approximately 75% coffee and the rest with milk, and got a nice brown (chocolate milk looking) colour.
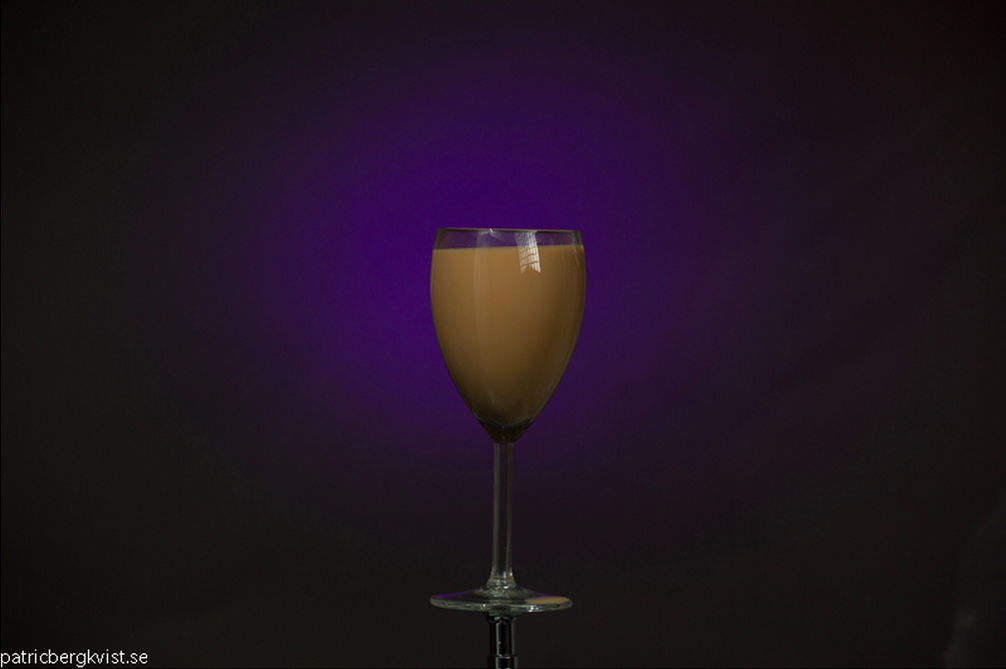
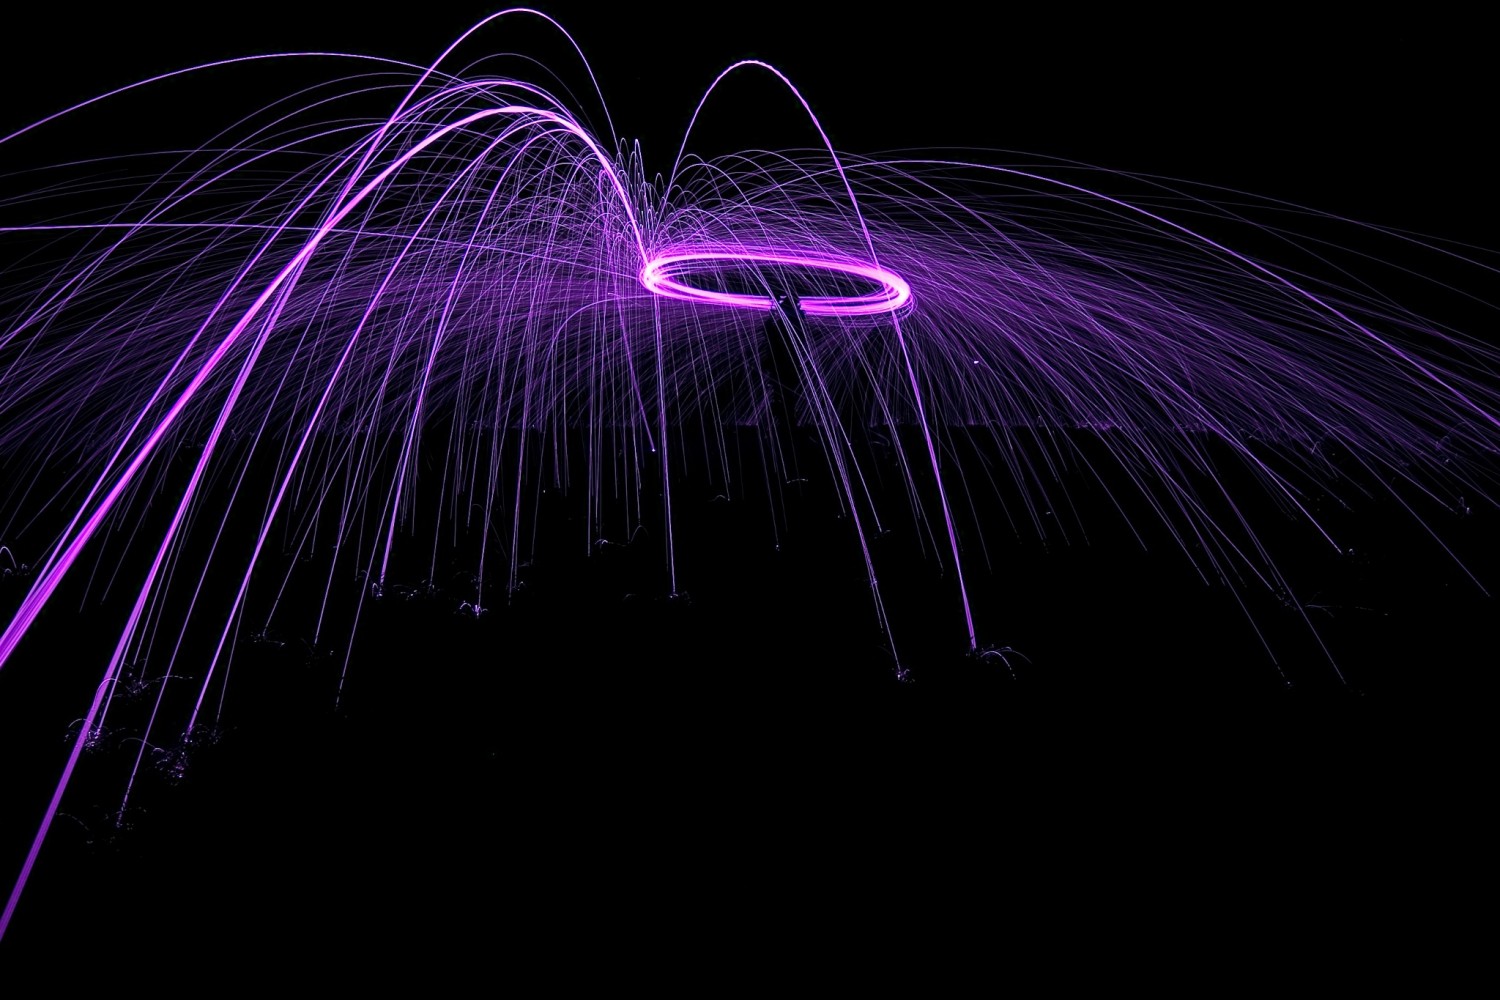
After I took a shot with the liquid, it reminded me of photos that I’ve seen before and I wanted to add more interest to it. To solve this I decided to add colour to the background with photo gels. I picked up my little box of gels and looked up a purple color. I adjusted the photo gel, mounting it to a flash, adjusted the grid, to get the circle and took a photo. Here are the results:
Handling Liquids
That day I brewed 30 cups of coffee (about 3 quarts) and poured it into a bucket. I stood under the stairs (to the left of the camera view) and splashed coffee with one hand while taking photos with the other using the remote switch. It took me about 5-10 exposures before it was the right time to splash coffee and shoot, so that the moment when the coffee hit the glass was synced with the time the shot was taken.
When the coffee bucket was empty it was time to add the milk to the coffee photos. I went into the kitchen and filled that bucket with 1.5 liters of milk and mixed in about 1 liter of water. Once I had bucket full of milk mixture I went back and started splashing milk… taking photos in a similar fashion.
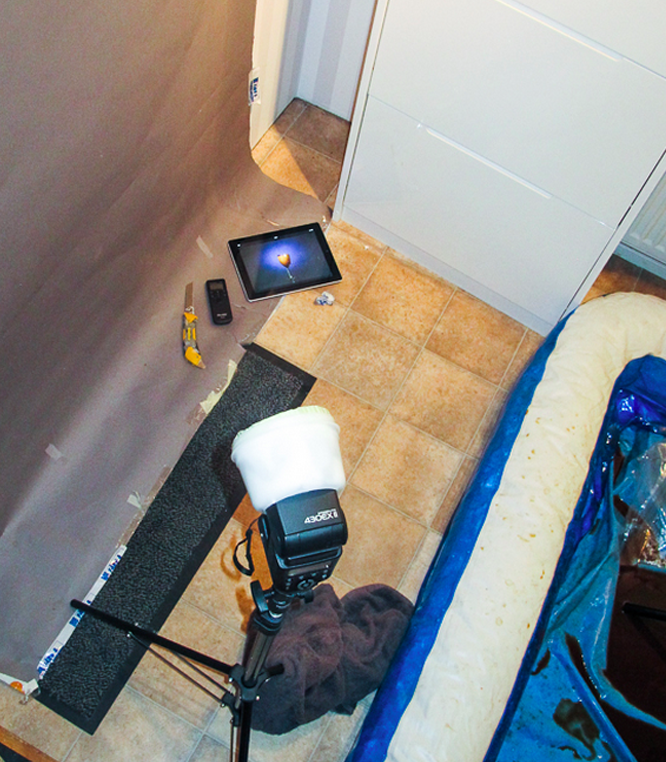
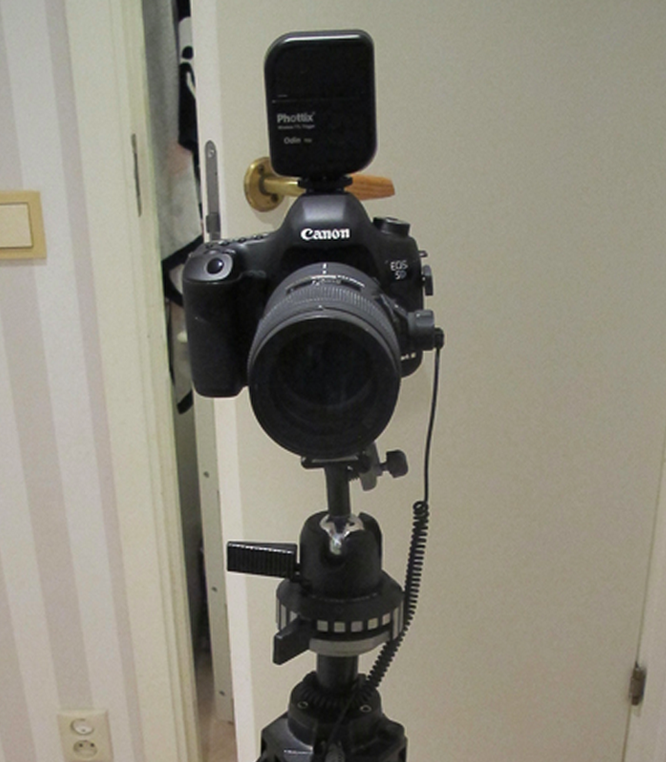
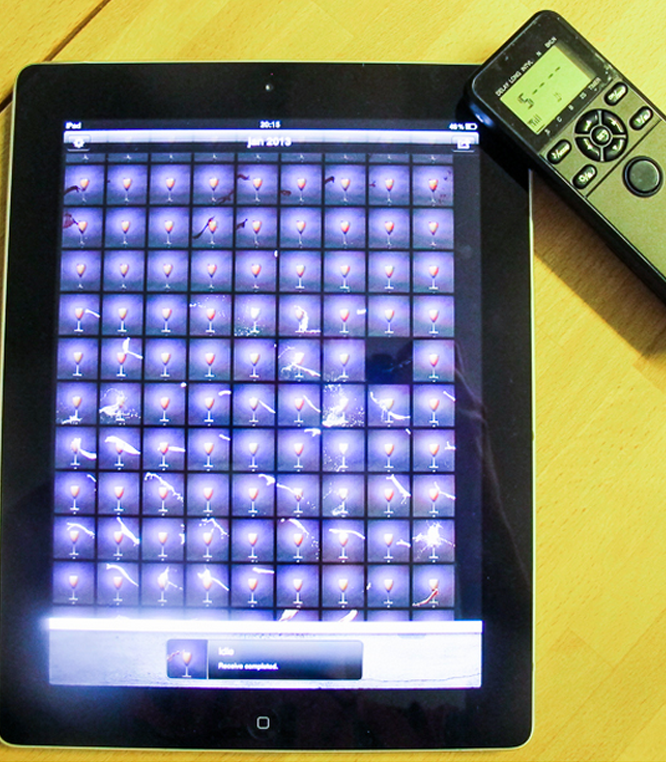
When the milk was finished, I scraped for the liquid mixture that was now in the inflatable pool and started splashing again. All images were sent from camera directly to the iPad, so I had an eye on how the pictures turned out while I was doing all the splashing, taking brakes in between to review the photos. Here are the photos of my iPad and camera setup:
Results
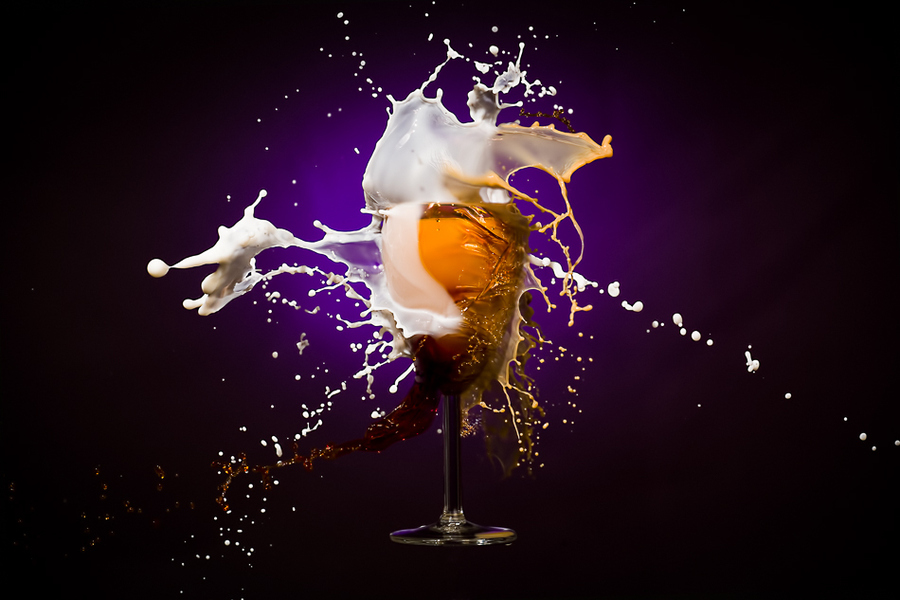
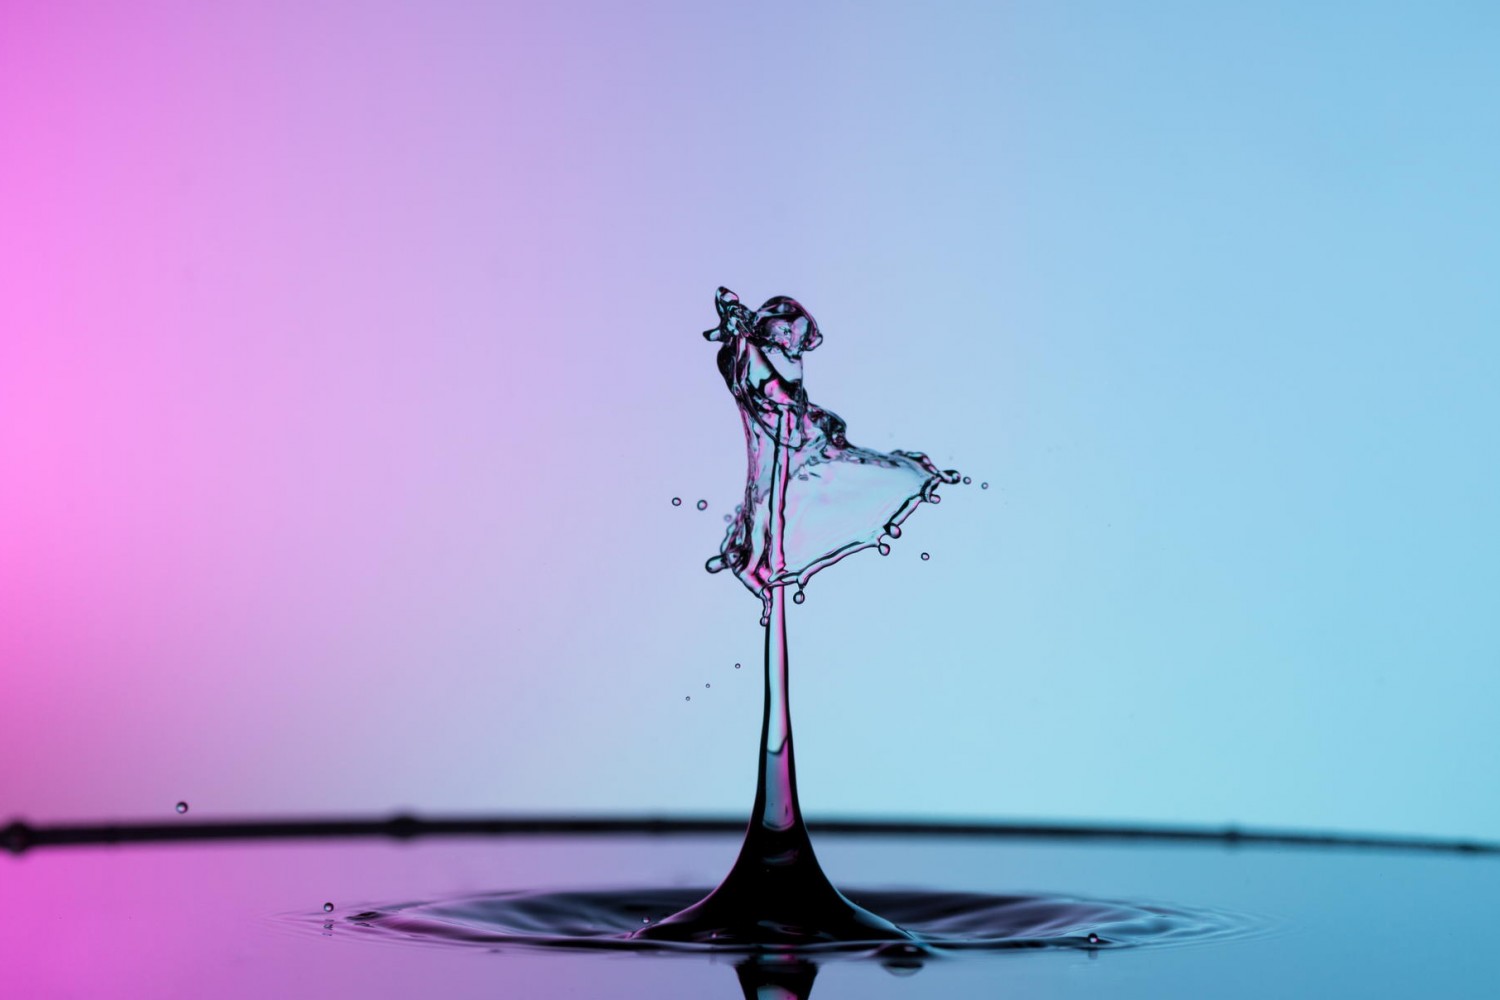
When everything was photographed, it was down to selecting three photos and merging them in Photoshop.
I chose three photos: one with coffee, one with milk, and one with coffee and milk mixture. Then I merged those three in a post-processing program. You can replicate the same in Photoshop or any other program using multiple layers, transparency, and erasing all the parts that you think do not suit the final image. The idea is to make the final photo look as natural and real as possible:
Thank you for reading & thanks to Patric for sharing this tutorial! If you’d like more advice from Patric or to follow his future updates, follow him on 500px, visit his website, or like his Facebook Page. For more tutorials visit “Paint with fire“, previously featured post that will introduce you to Light Painting.
Do you have photos taken using this technique? Upload them to 500px and share links in the comments below, we’d love to see your results! And if you have any questions or details that you’d like to know from Patric about this tutorial, feel free to ask away in the comments.


Leave a reply