Patrizio Lari is an Italian photographer who has made it a habit to experiment with different styles of photography, from macro to landscapes. In this tutorial, he will teach you how to shoot a very popular still life subject: high-speed water drop photography. Read on, and try this colorful tutorial at home!
by Patrizio Lari
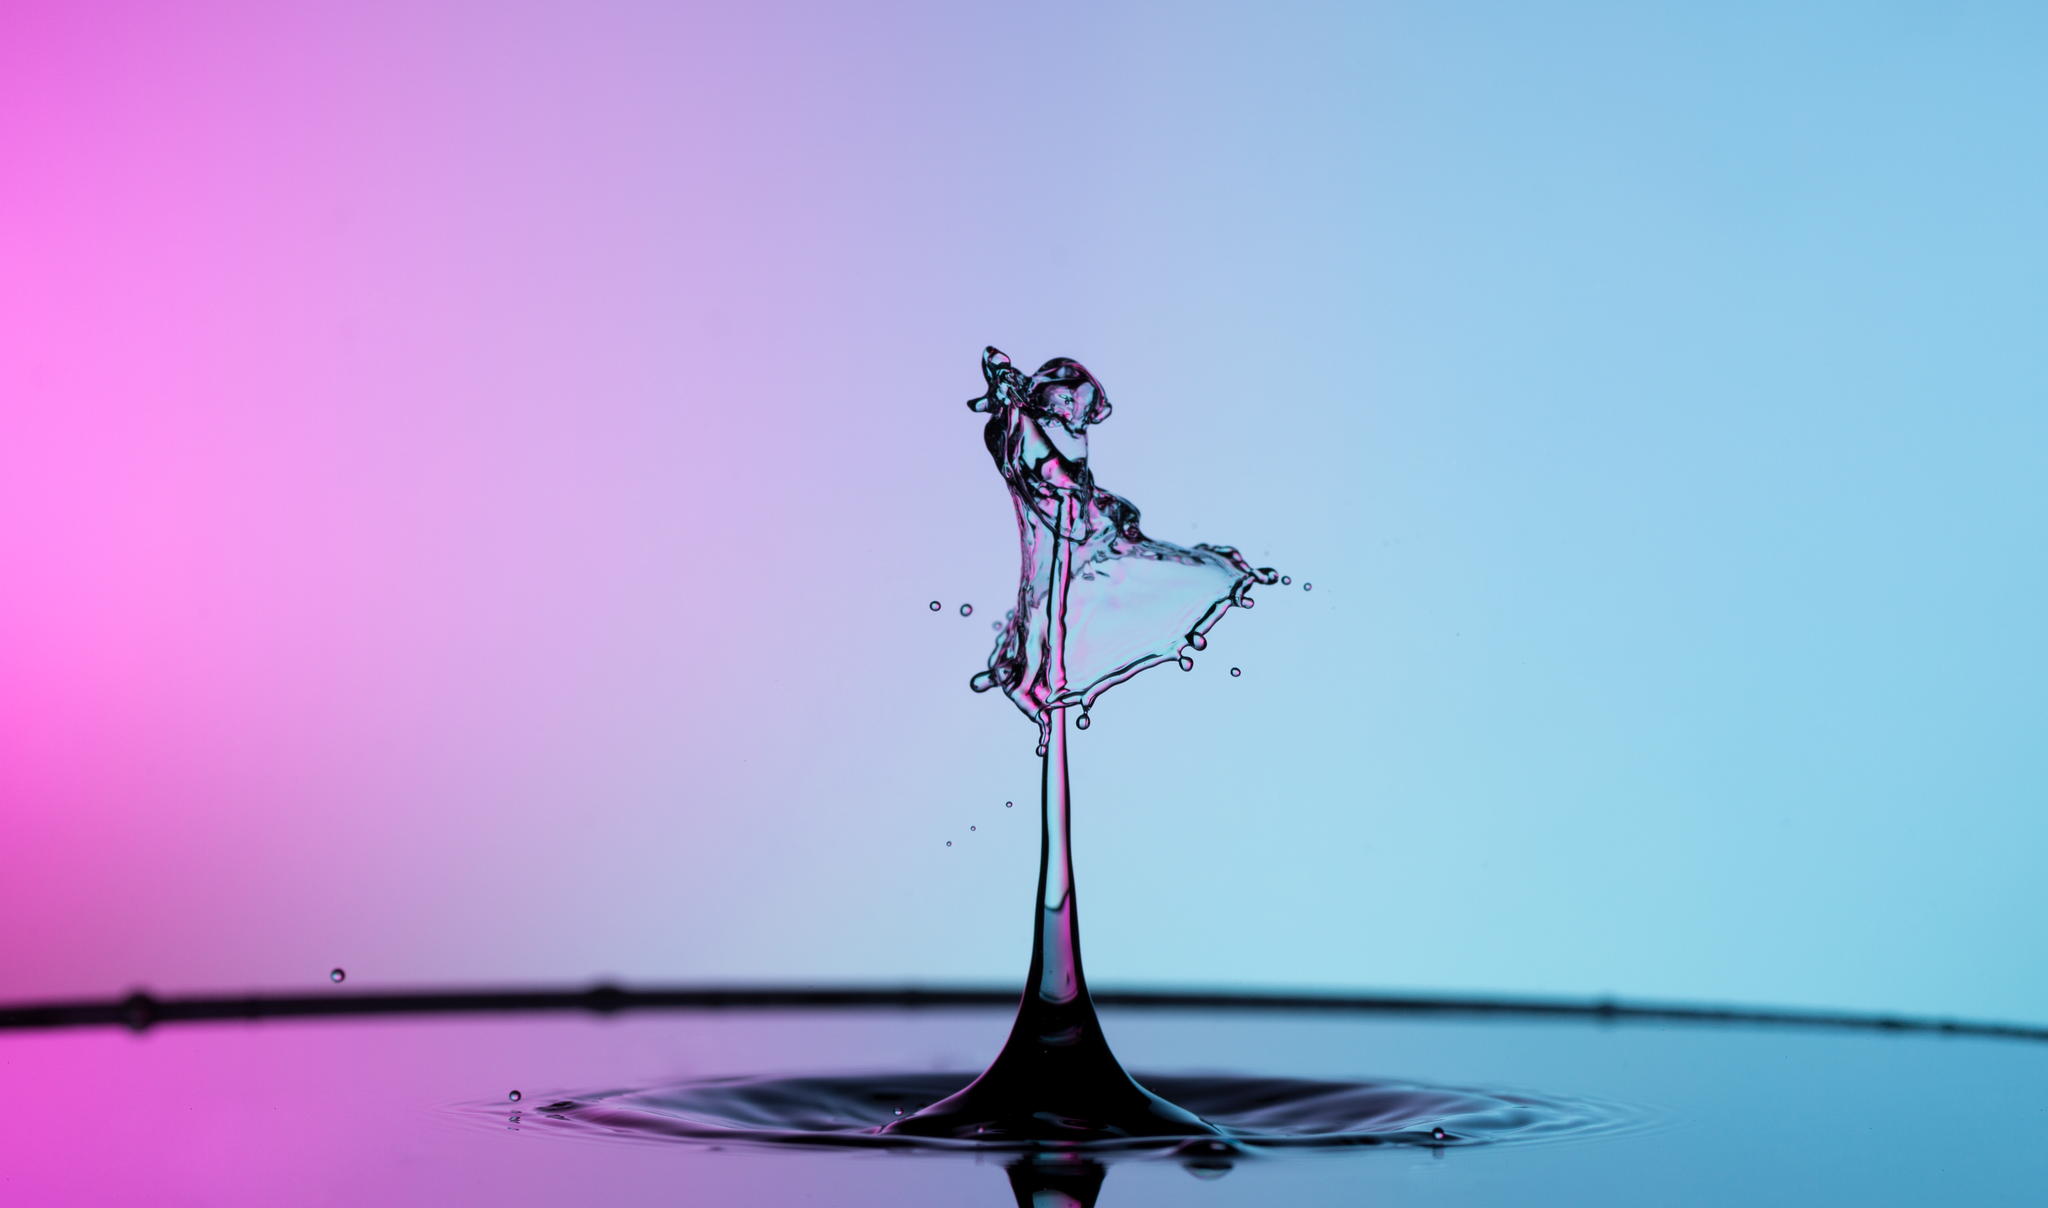
How exciting is to freeze an action? High-speed photography and water make the perfect recipe to get stunning images—and creating them is incredibly fun! In this tutorial, I will show you how to capture great liquid drop collision images. When you play with water drop collisions, there is no way to get the desired shape. During a session with over 200 shots, you can only probably get 8 or 10 images that reveal interesting shapes. It’s all about the power of imagination.
The coolest part of this technique is that the capture is done by the flash and not by the camera. It’s all about your flash sync settings. This technique requires a lot of training and experimentation with different settings. Even a millisecond difference between the drops can completely change the shape of the collision.
WHAT YOU’LL NEED
- A camera with manual settings. I used my Canon 5D Mark III.
- A macro lens. I used Tamron 90mm f/2.8.
- Flash with wireless triggers. I used 3 speedlites.
- Remote shutter
- Tripod
- A matte background. I used a white background.
- Water drop kit or a plastic dropper
- Water recipient filled with water or any other liquid, like milk.
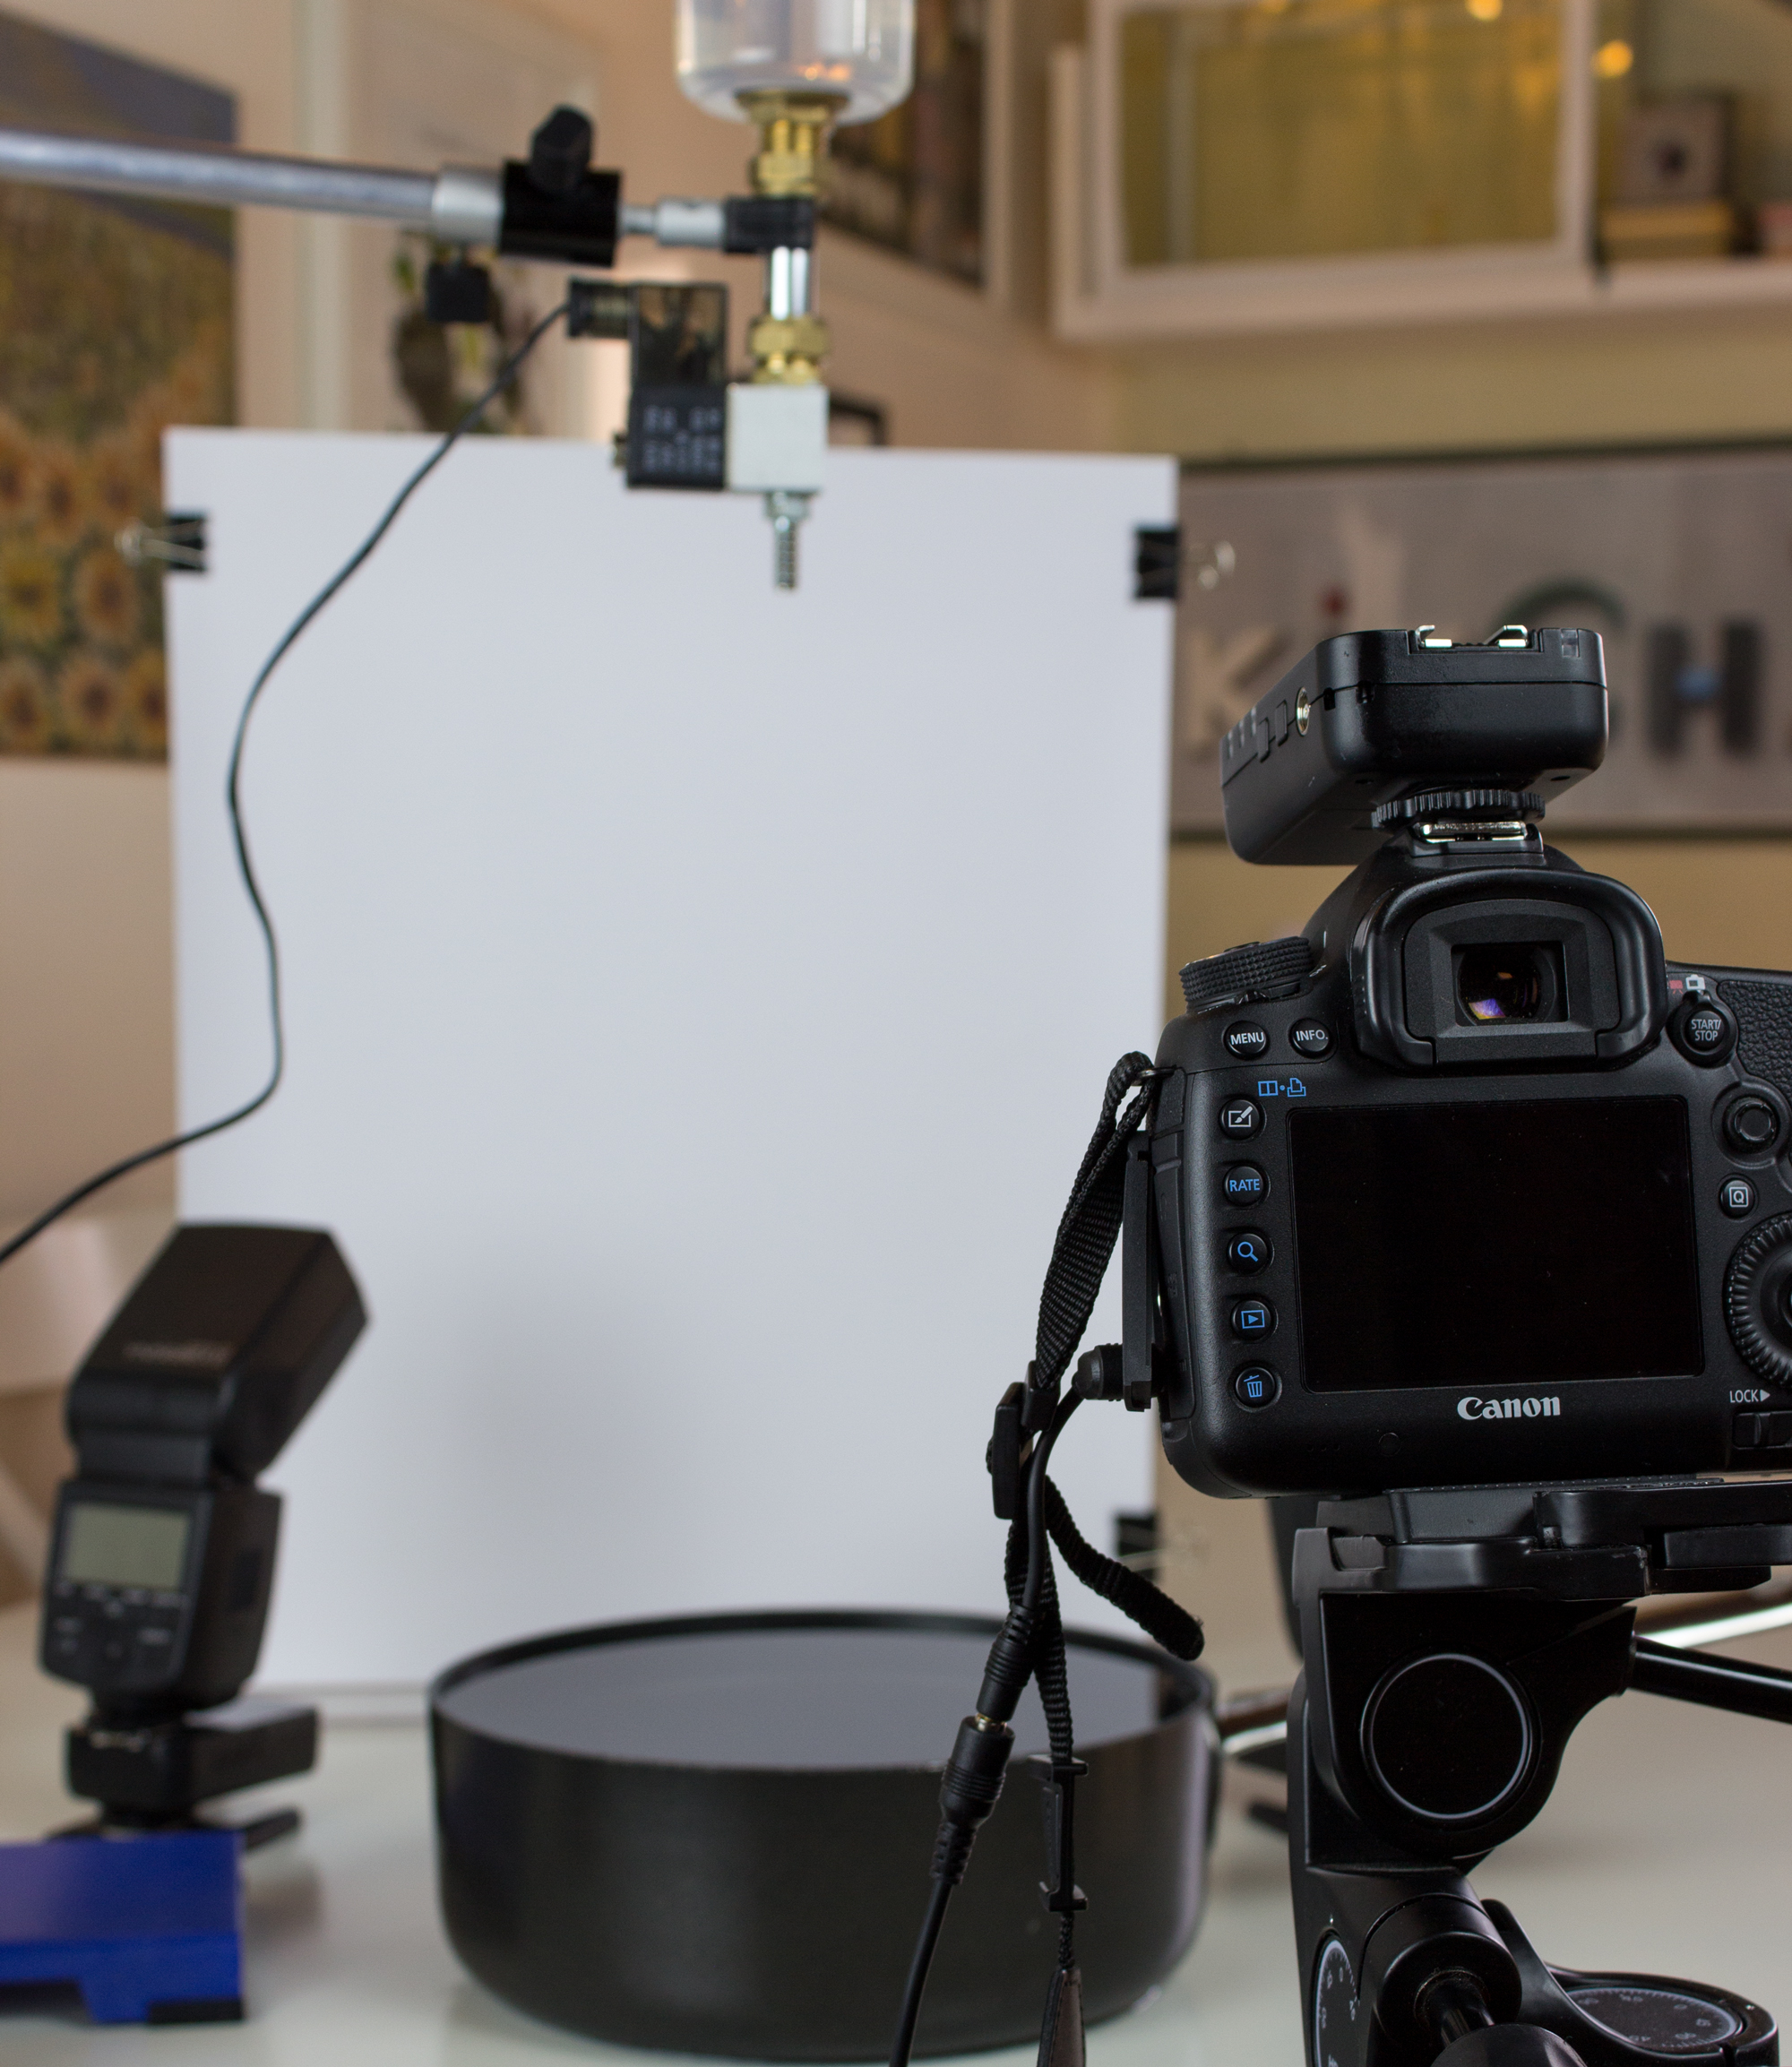
SETUP
Essentially you’ll need a plain surface in a dark room.
1. Place the liquid container on the surface and then place the background about 50cm behind it. You will need a small aperture to get the drops in focus, but a blurred background is crucial to achieve a compelling look.
2. Place the water drop kit just over the center of the water container, already filled with water, with a momentary focus aid. You can use anything you like. Before I purchased the kit, I created a simple wooden structure with a dropper taped in the middle.
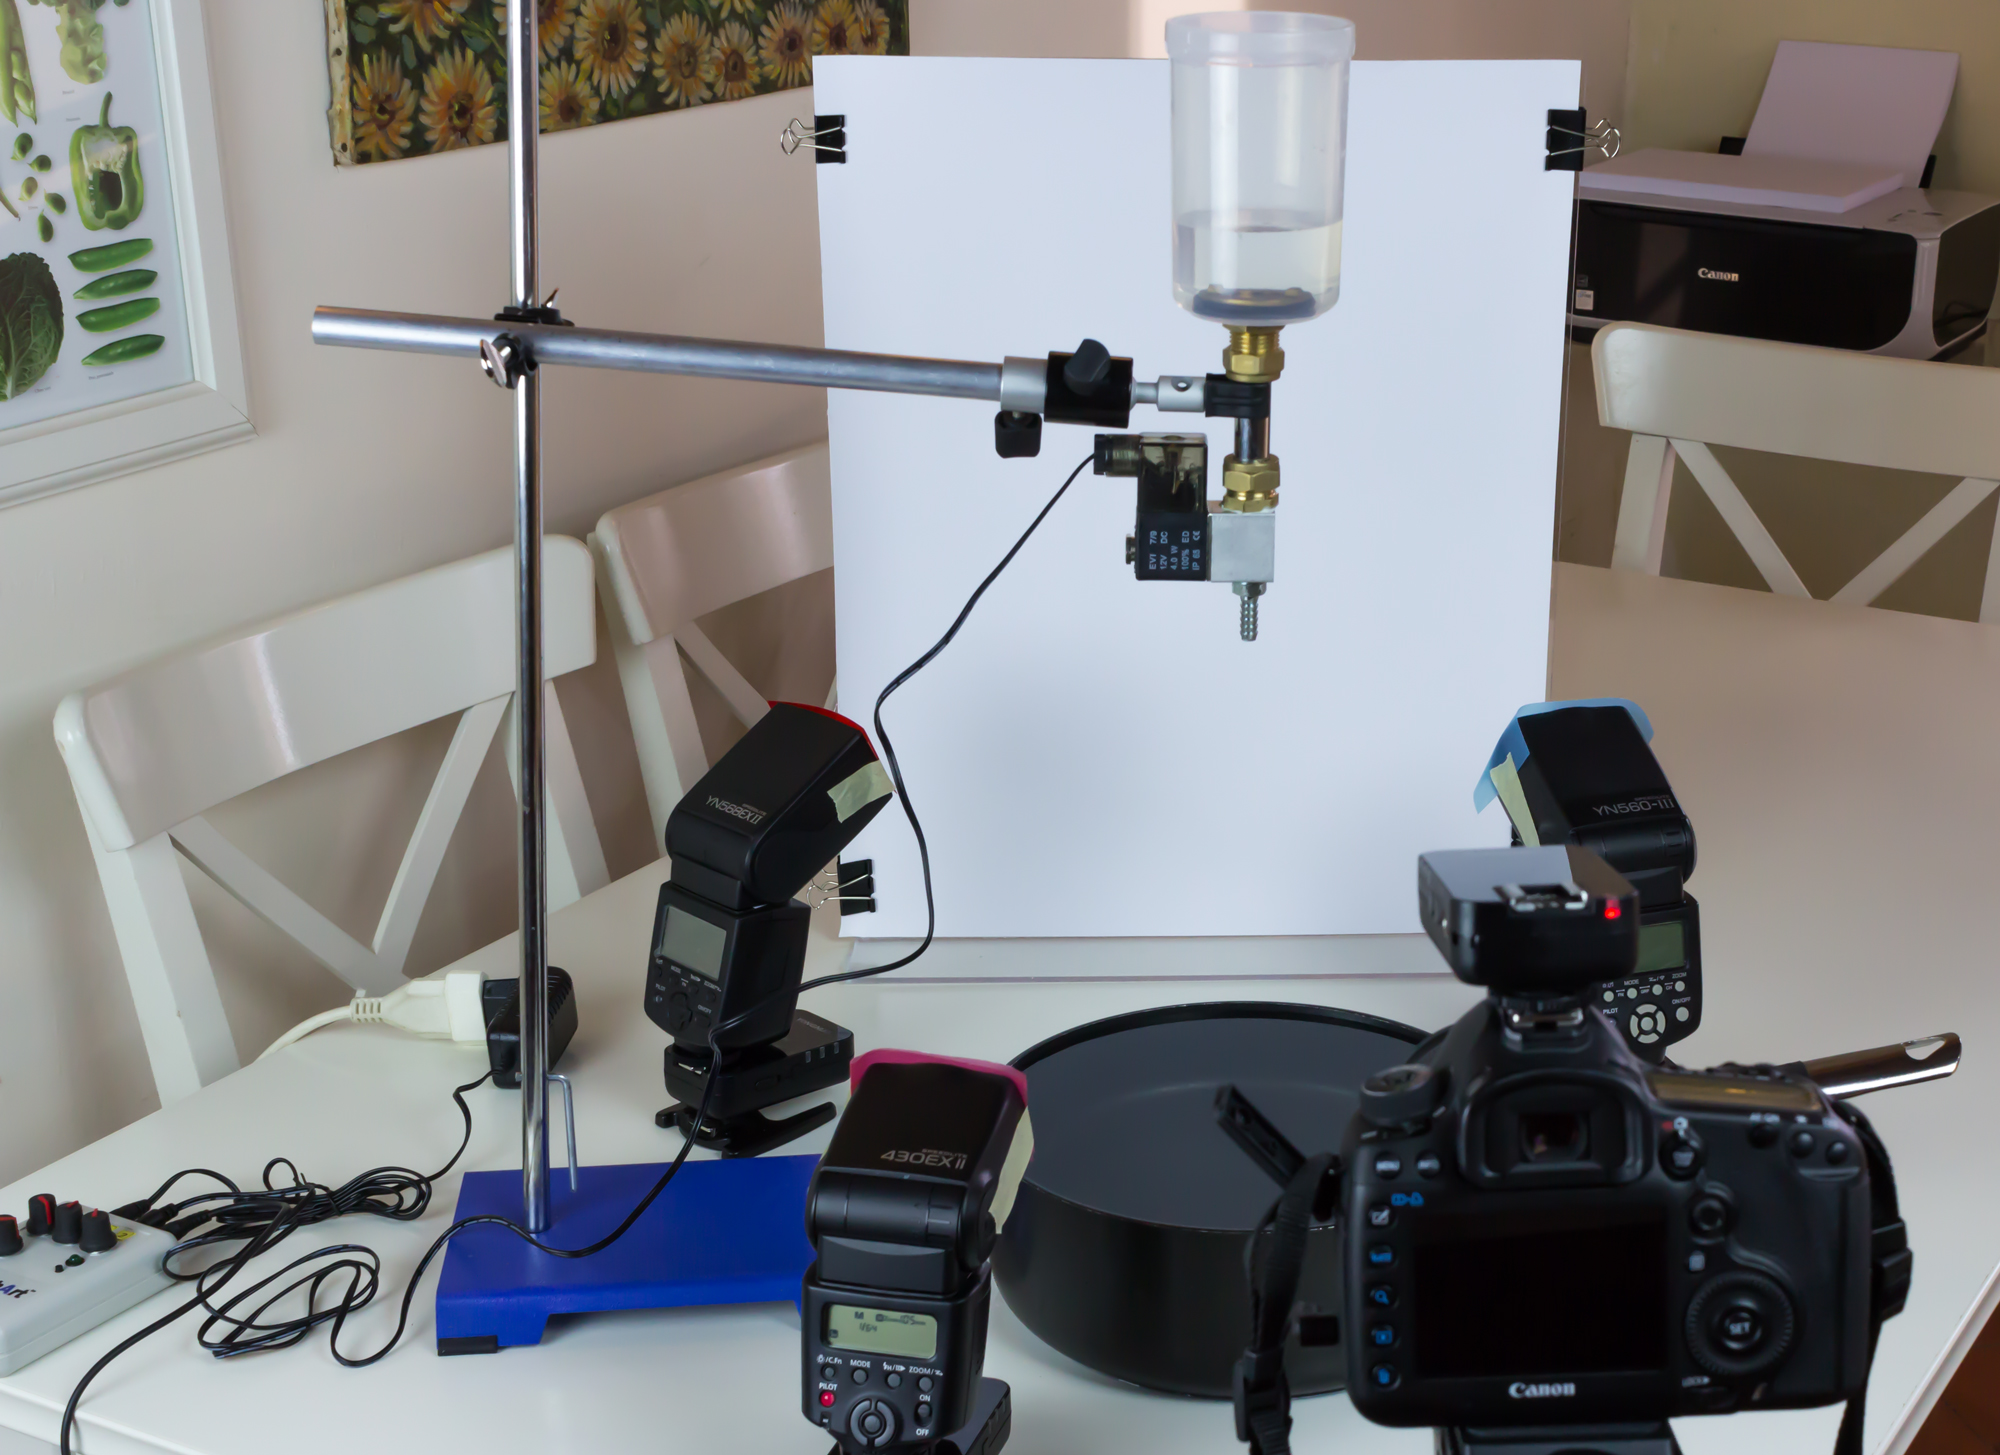
3. Place the camera on the tripod and tilt the camera about 20 degrees.
4. Place the speedlites. I put two of them behind the drops and one on the side to give contrast on the water. Because I used a white background, I like to add some colored gel on my speedlites. It will create some nice colors to your shot.
5. Now it’s time to manually focus.
CAMERA SETTINGS
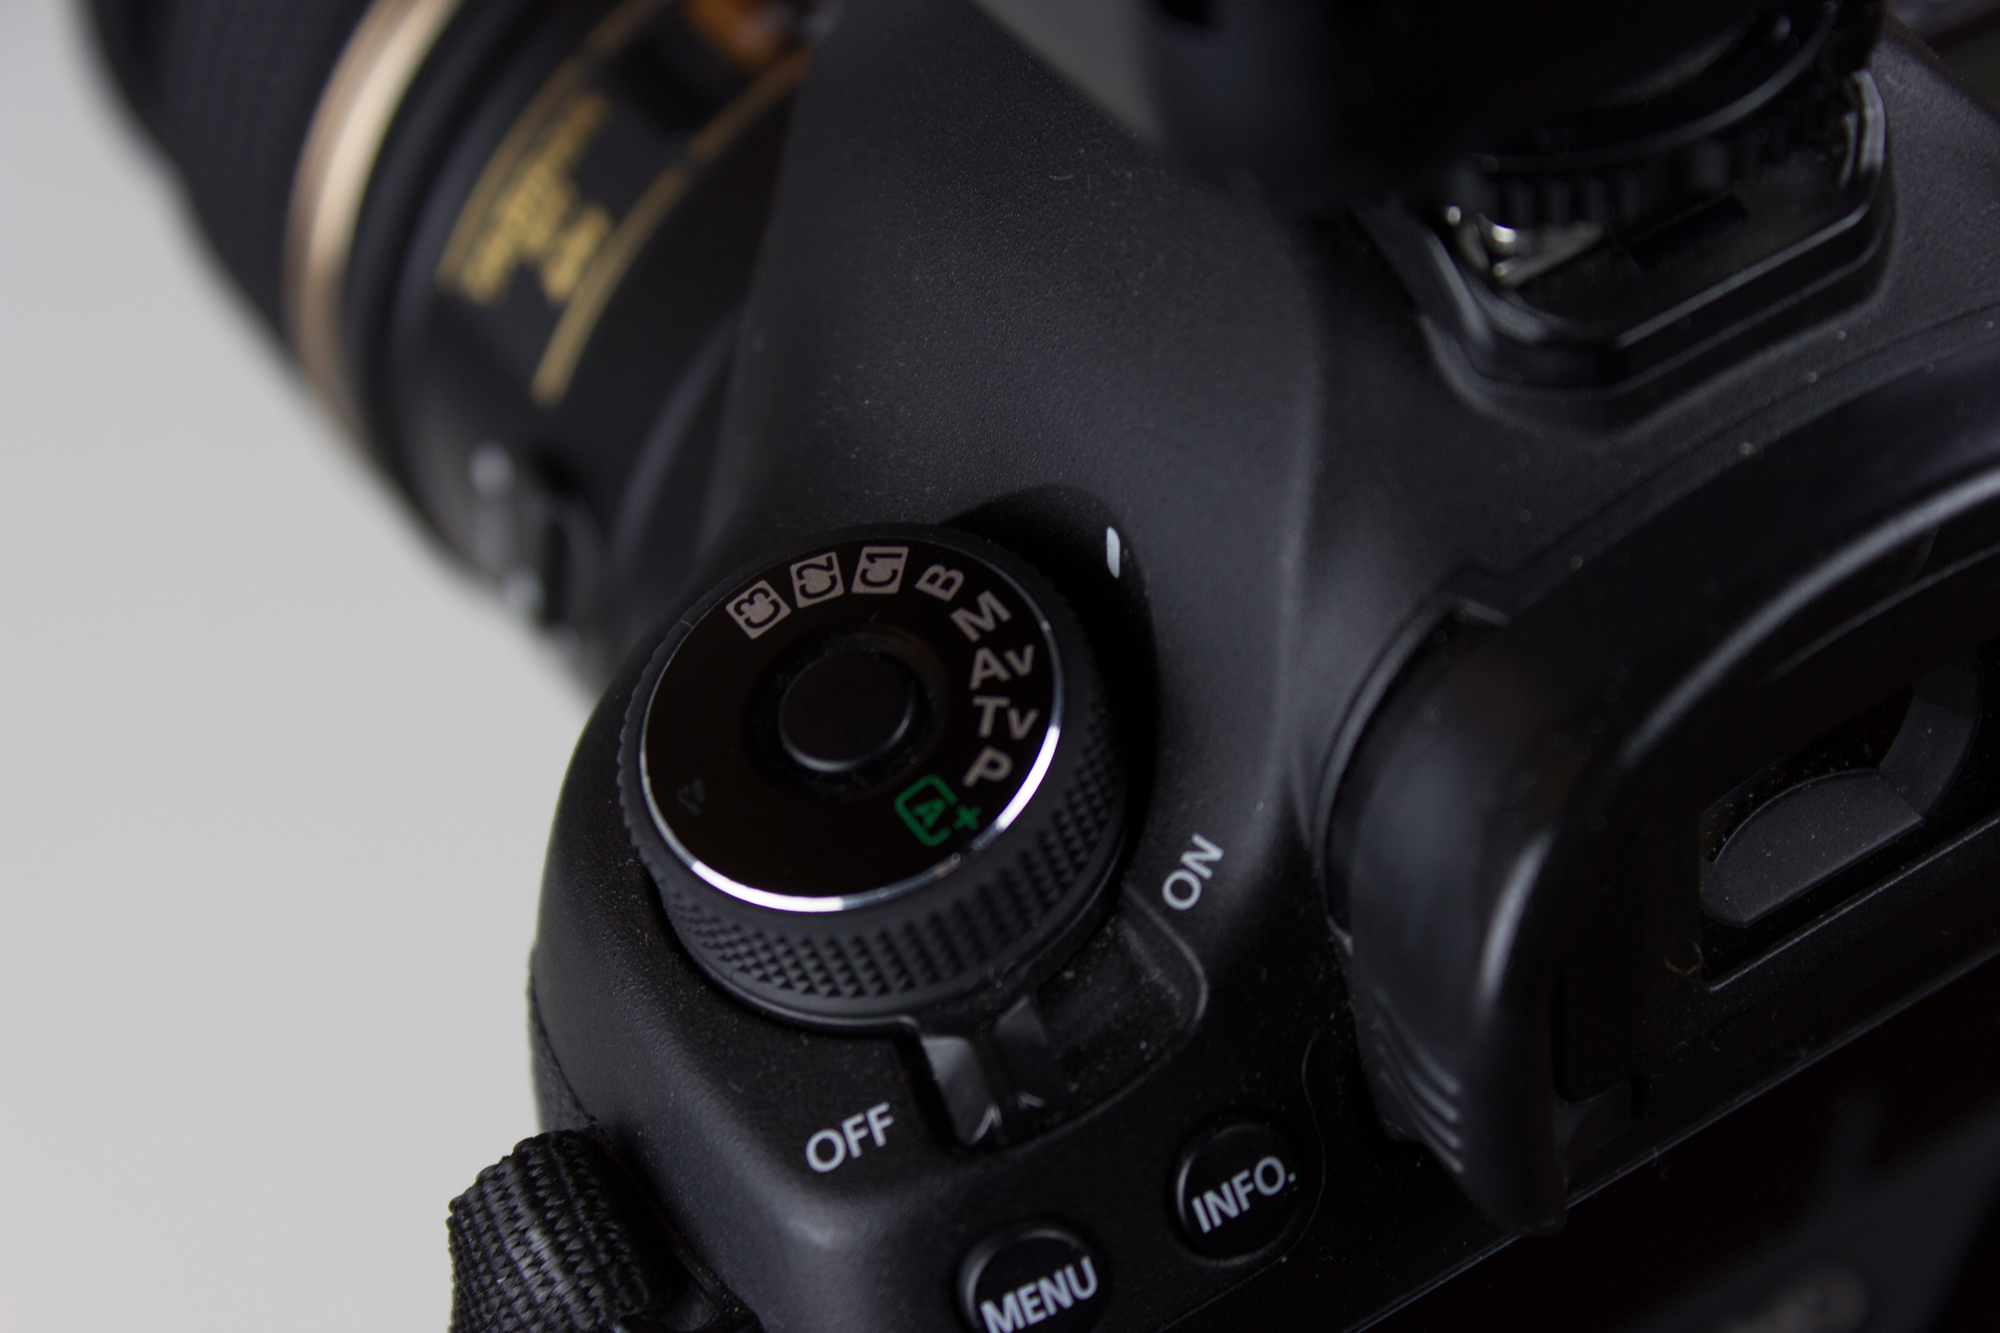
The camera must be in manual mode. I recommend to shoot RAW with auto white balance. You can use the picture style you like better—I suggest Neutral.
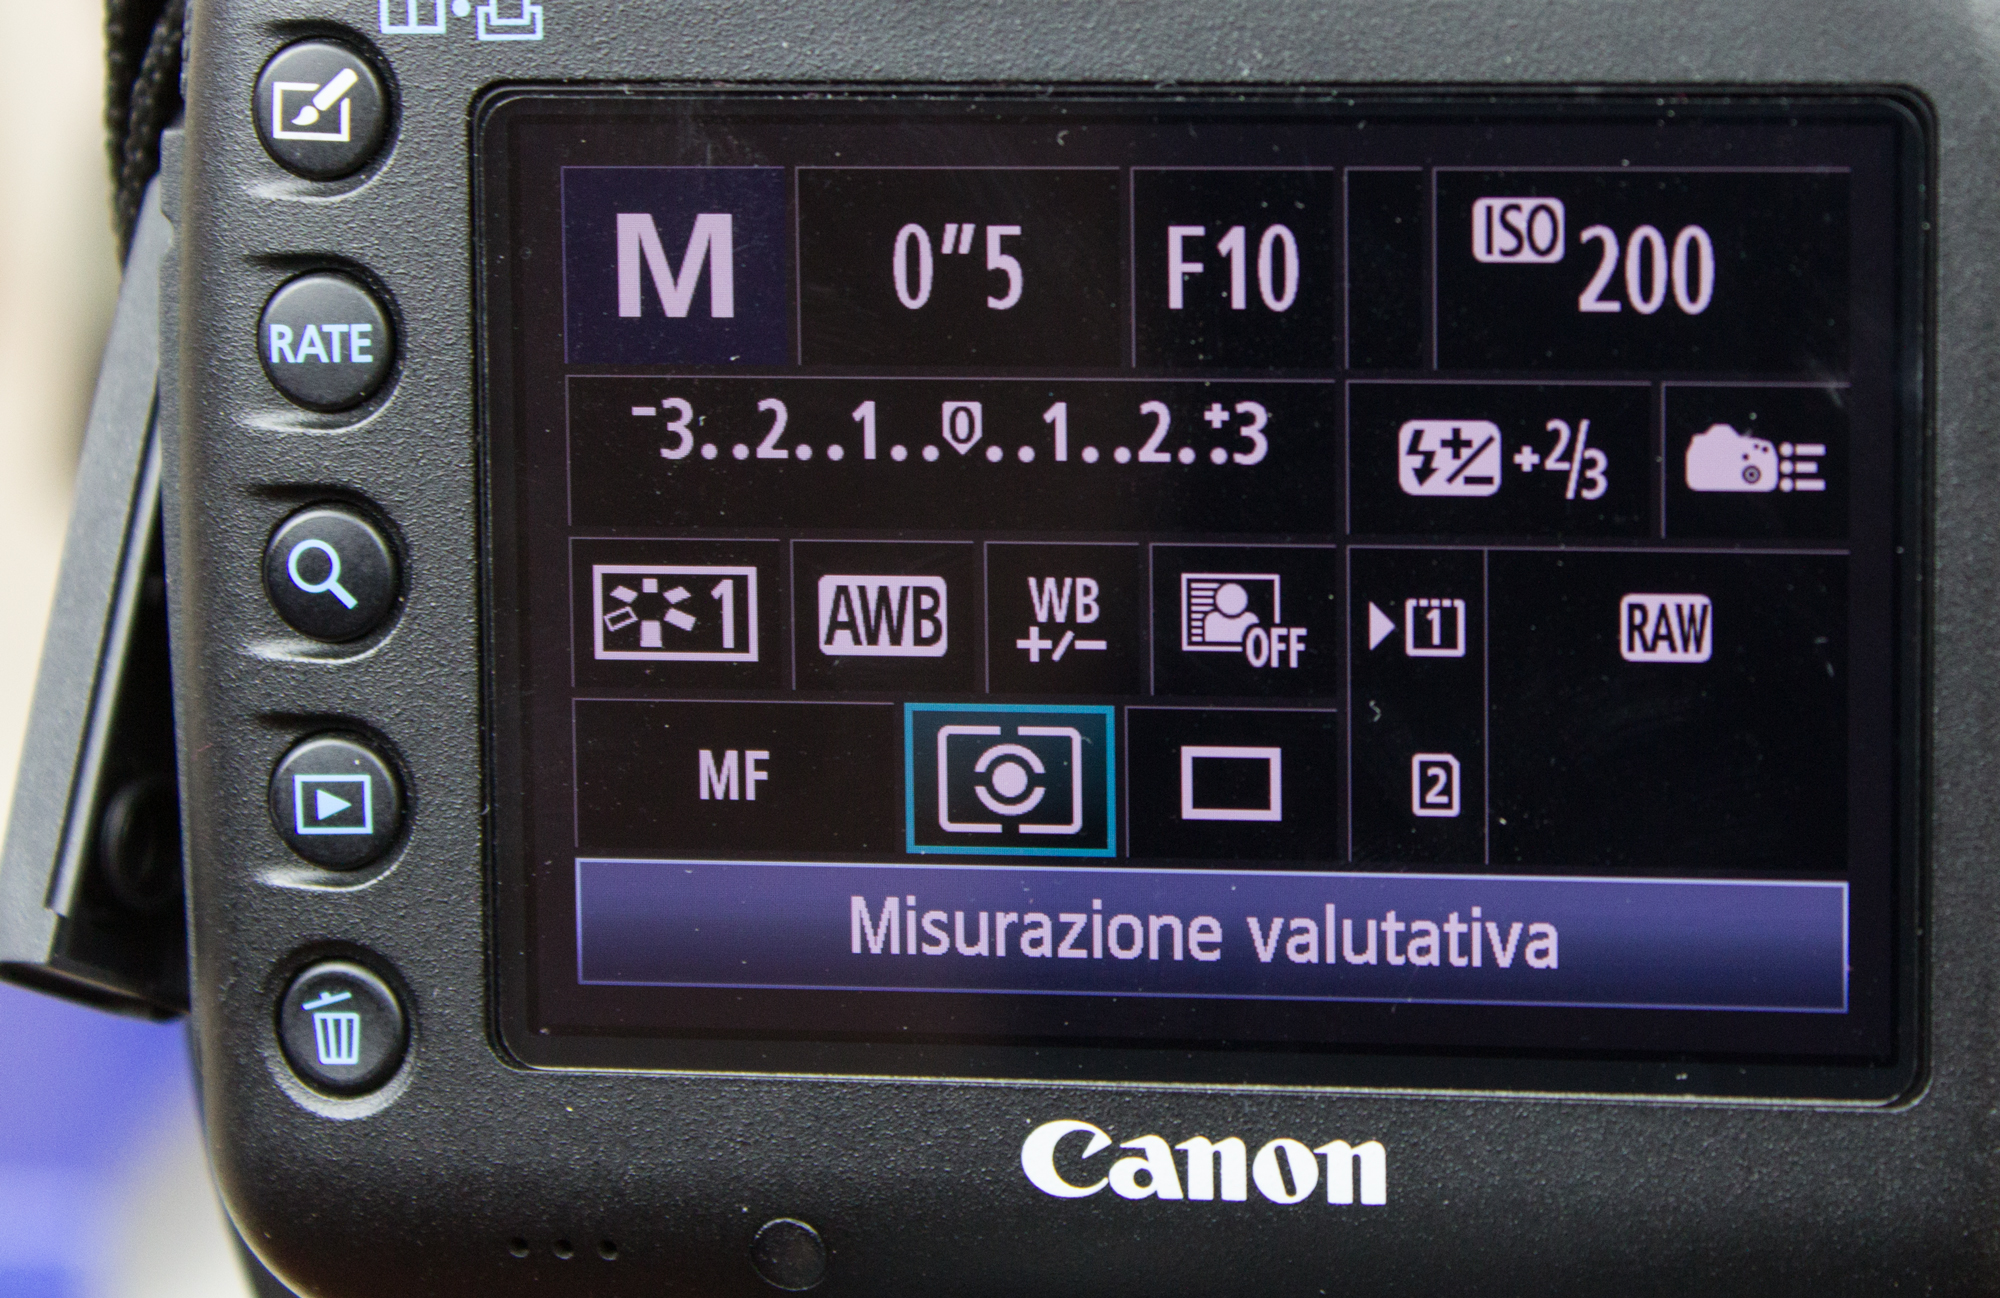
The aperture should be between f/8 and f/11.
For the ISO settings, it all depends on how many speedlites you are going to use. I used 3 so I set my ISO to 200.
Mirror Lock: Yes. This will prevent unwanted small vibrations.
The shutter speed is the secret. I use 0.5s because all the work is done by the speedlites.
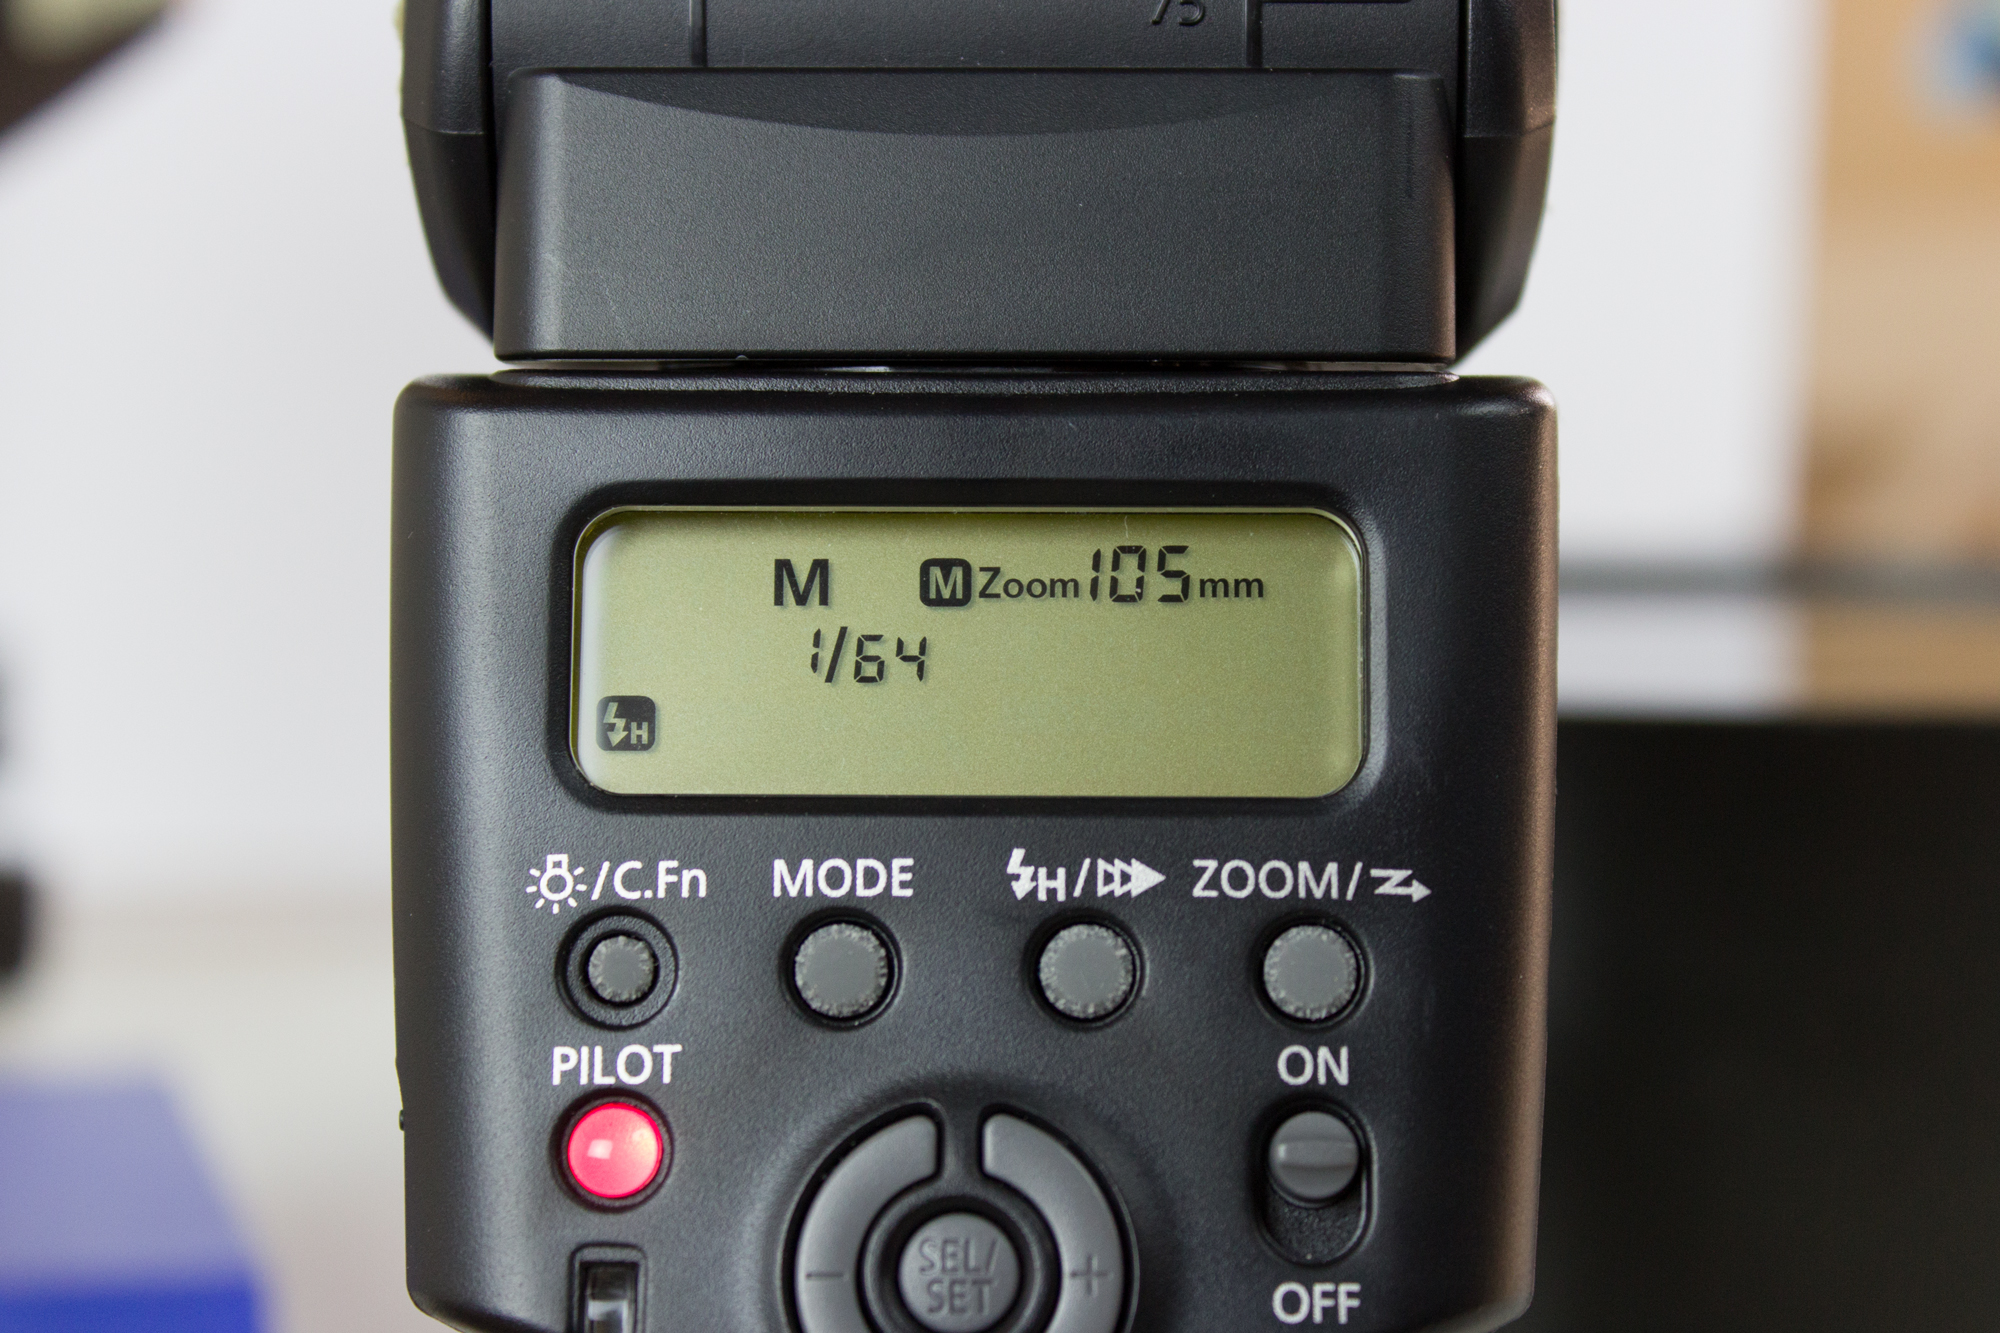
FLASH SETTINGS
The image will be frozen by the strobe speed. The faster the light impulse, the less blur you will get on the drop images. The best settings for me is M mode and 1/64 of speed. These settings will give you enough light, and it won’t be necessary to increase the ISO settings. Now it’s time to shoot!
Once set is done, and you’ve focused and synched flash, it’s now time to get some test shots.
Remember to turn off the lights before you start.
I usually shoot between 150 and 200 shots, trying to modify the interval between the 2 drops collision. When I find the right balance, I keep shooting.
POST-PRODUCTION
After I’ve selected the shots I like, my post-production workflow is pretty easy. I do the most of the work in ARC such as cropping, straightening, adjusting the hue and saturation, and fixing the color temperature of the images. In Photoshop, I simply remove all the dots and the unwanted water spray.
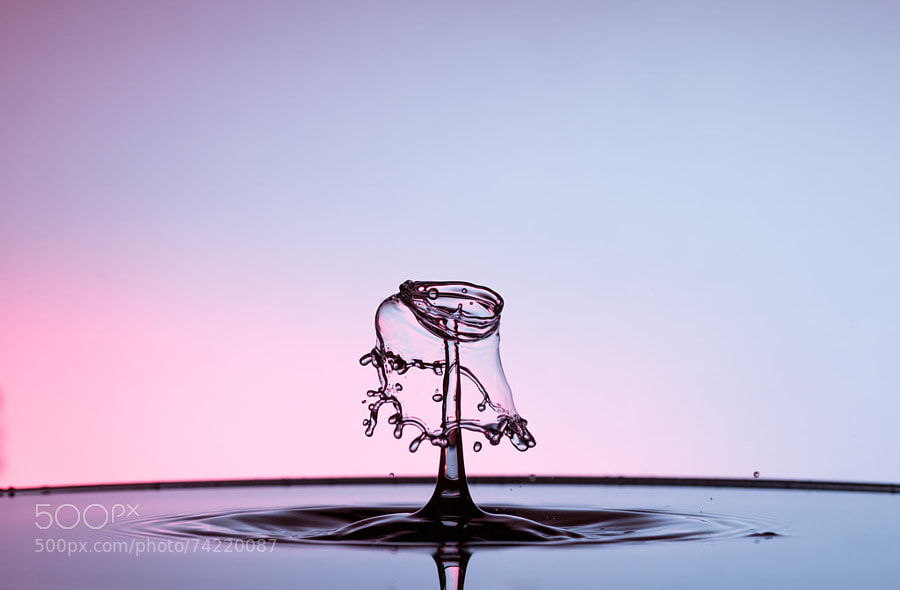
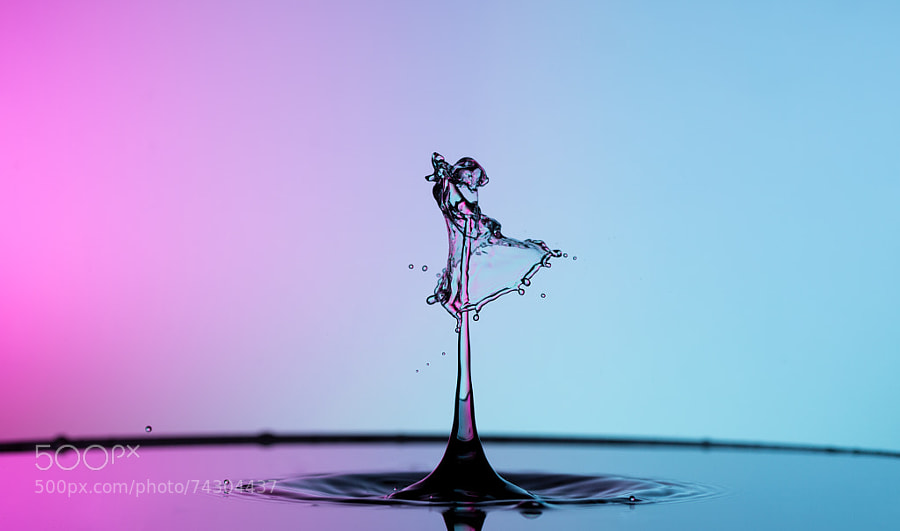
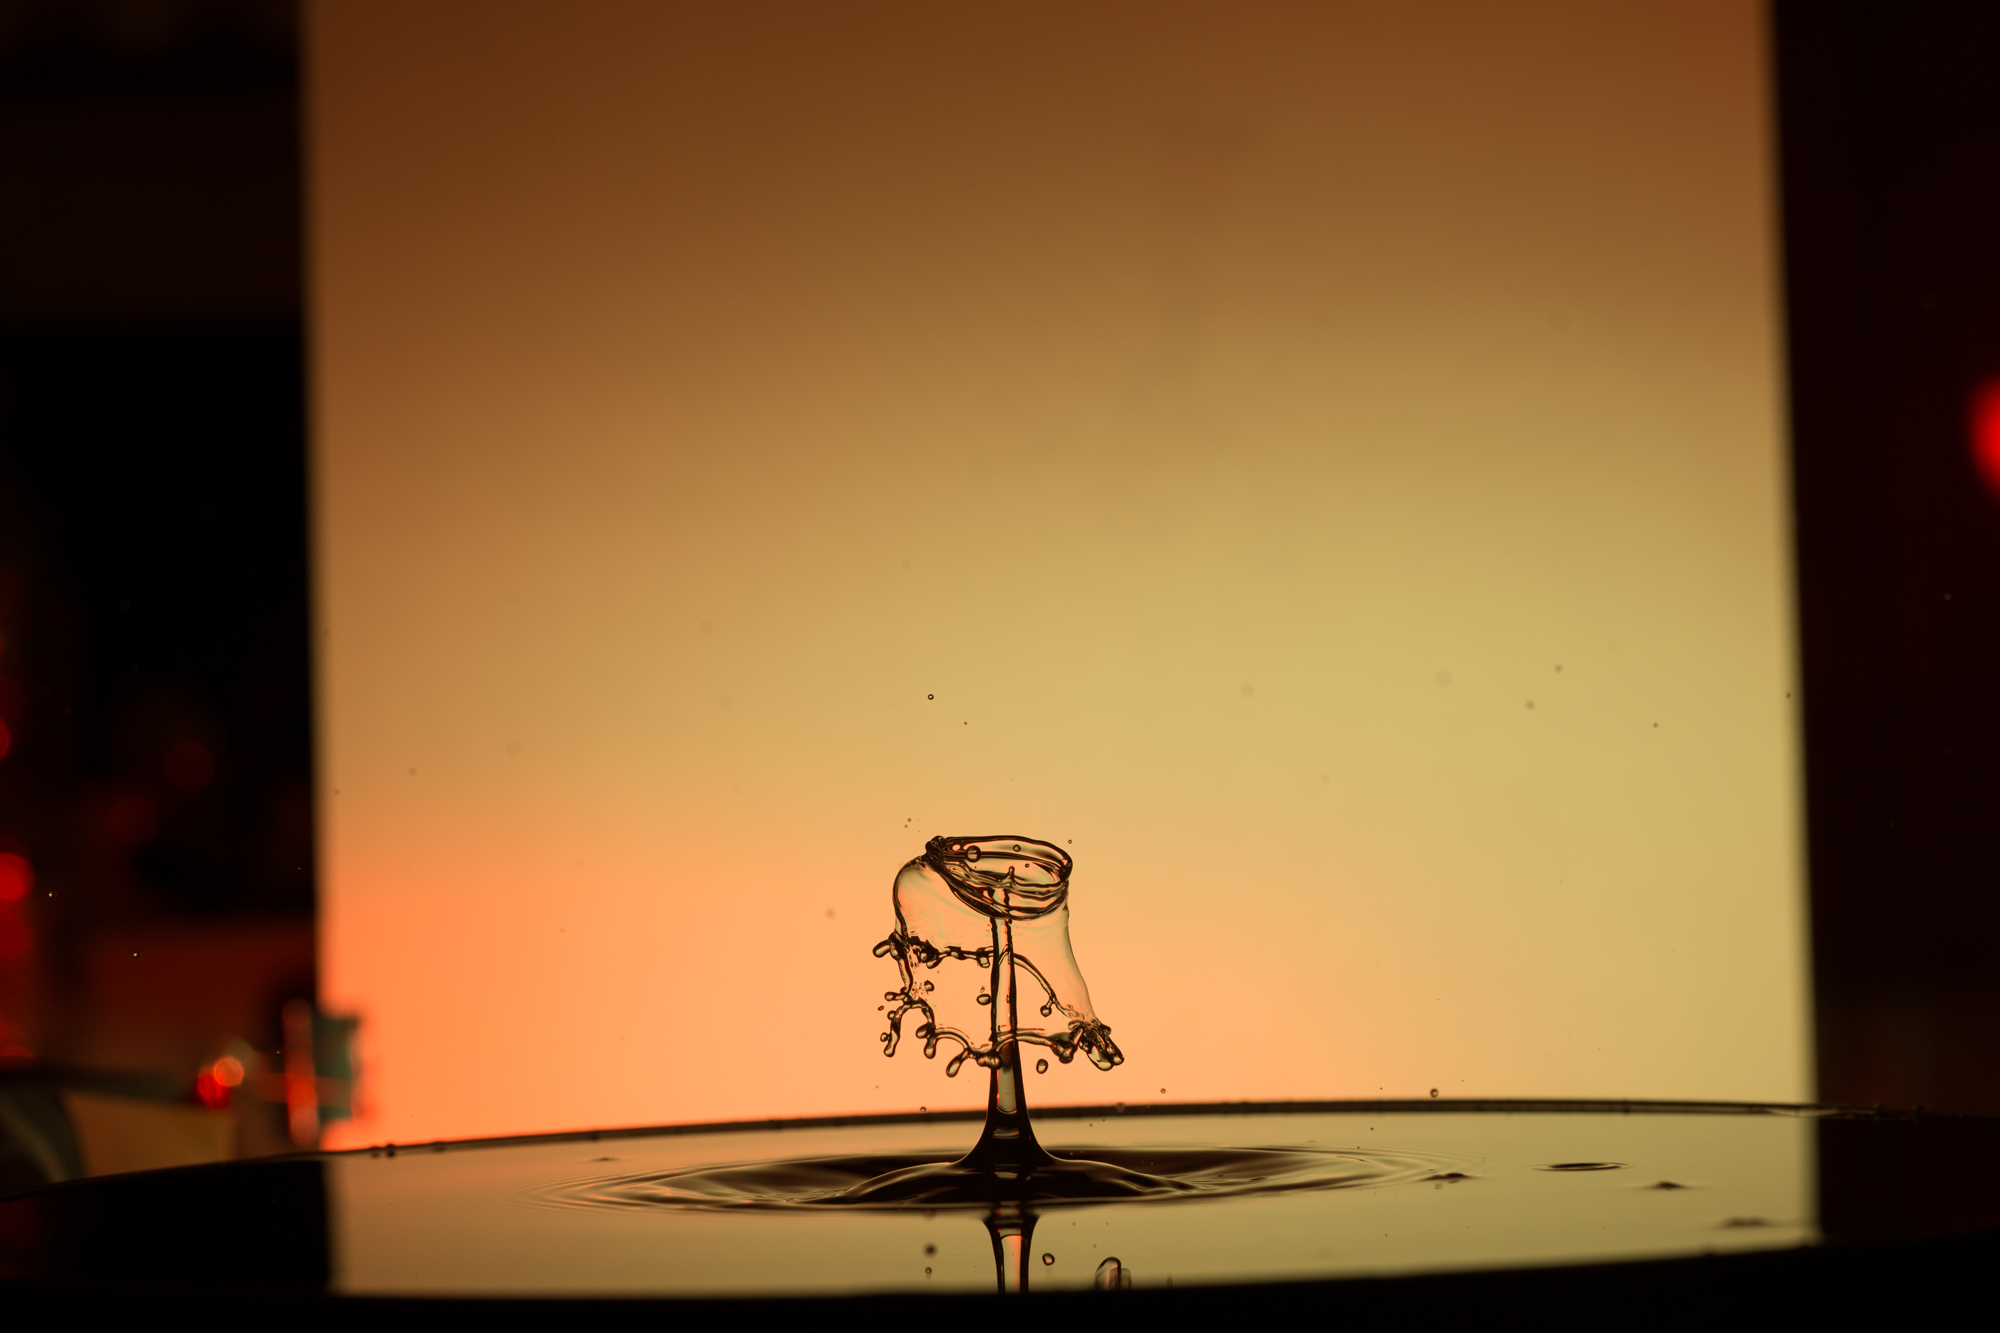
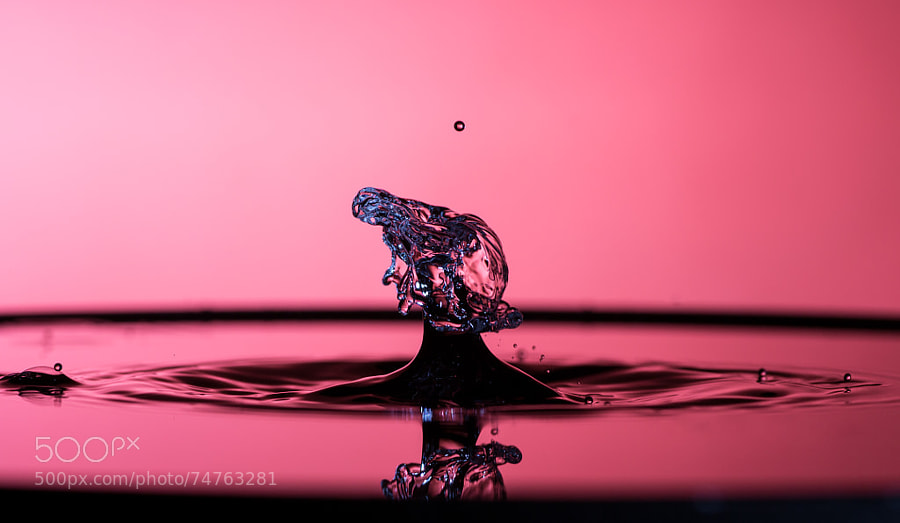
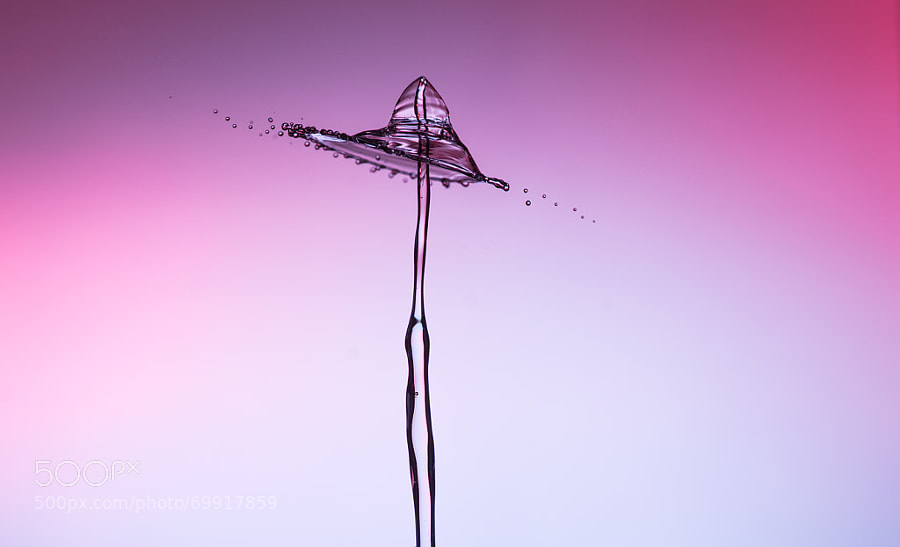
Below are the final images:
To see more of his work, follow Patrizio Lari on 500px.
Got a question about his high-speed water photography techniques and process? Leave a comment for Patrizio below!

Leave a reply