In 2006, Edward Steichen’s 1904 picture of a pond in Westchester County, New York, bathed in moonlight, fetched a whopping $2.9 million at Sotheby’s. In 2011, Andreas Gursky’s photograph of the Rhine river sold for $4,338,500 at Christie’s. And in 2020, even at the height of the pandemic, an Ansel Adams print, created at Grand Teton National Park, sold for a record $988,000; a larger collection of rare Adams photographs, as a whole, sold for $6.4 million at Sotheby’s.
Landscape photography is timeless, and it’s a genre that’s encouraged countless artists to pack up their belongings and gear, hike into the wilderness, and set up camp beneath the stars. While unforgettable landscape shots require dedication, patience, and planning, they continue to inspire us to explore the world—and appreciate its hidden treasures. In this quick guide, we’ll share our top tips to help you create a stunning landscape photo.
Essential gear
DSLR or mirrorless camera
Any DSLR or mirrorless camera will deliver detailed landscape photos, while giving you full control over your settings. A full-frame camera is ideal if you have the budget for one, though it’s not strictly necessary. While DSLRs are tried-and-true, some prefer mirrorless options because they’re lightweight, meaning they’re great for carrying over long distances. Roberto De Simone, for instance, used a Sony Alpha A7R II mirrorless camera when making this picture in the Dolomites.
Wide-angle lens
While most landscape photographers use a range of lenses (including telephotos!), the most common starting point is a wide-angle, as wide-angle lenses will allow you to capture more of the scene. Start with a 24mm or similar and then build from there. You can grab a 24-70mm for lots of versatility, and add a 70-200mm when you’re ready for something longer.
Tripod
A sturdy tripod makes all the difference, especially if you’re shooting on uneven terrain. This is one area where you really want to invest or splurge; a good tripod lasts forever, and it’ll give you so much flexibility when shooting long exposures (especially at night). Karol Nienartowicz, a professional mountain photographer from Poland, uses Manfrotto tripods while navigating rugged landscapes.
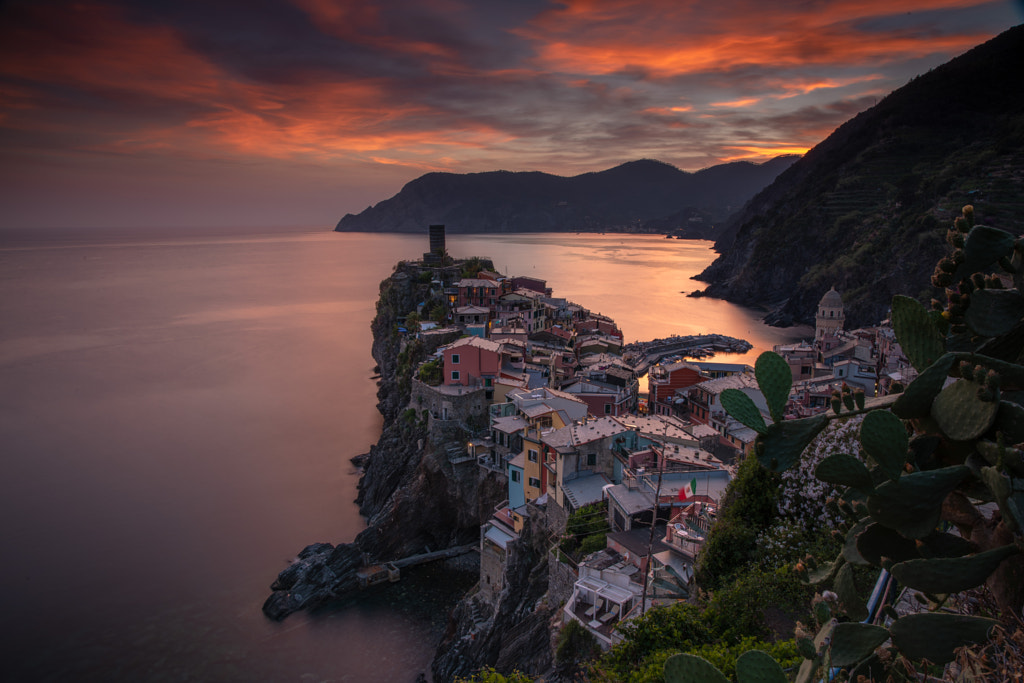
Landscape photographers also love using narrow apertures for those crisp details—Ewelina Stec used a setting of f/15 and a shutter speed of 15 seconds to capture the landscape of Vernazza in Italy (below). And tripod will let you do just that. Pair it with a remote shutter release to eliminate camera shake (or an intervalometer, which is key if you want to shoot the stars).
Filters
If you plan to shoot long exposures during the daytime, you’ll need a neutral density filter. Another must-have is a polarizer, which will cut down on reflections and glare when you’re shooting bodies of water. Bring it with you on rainy days too.
(Of course, your kit will expand as you grow, but these key tools are enough to get started making high-quality images.)
Do some research
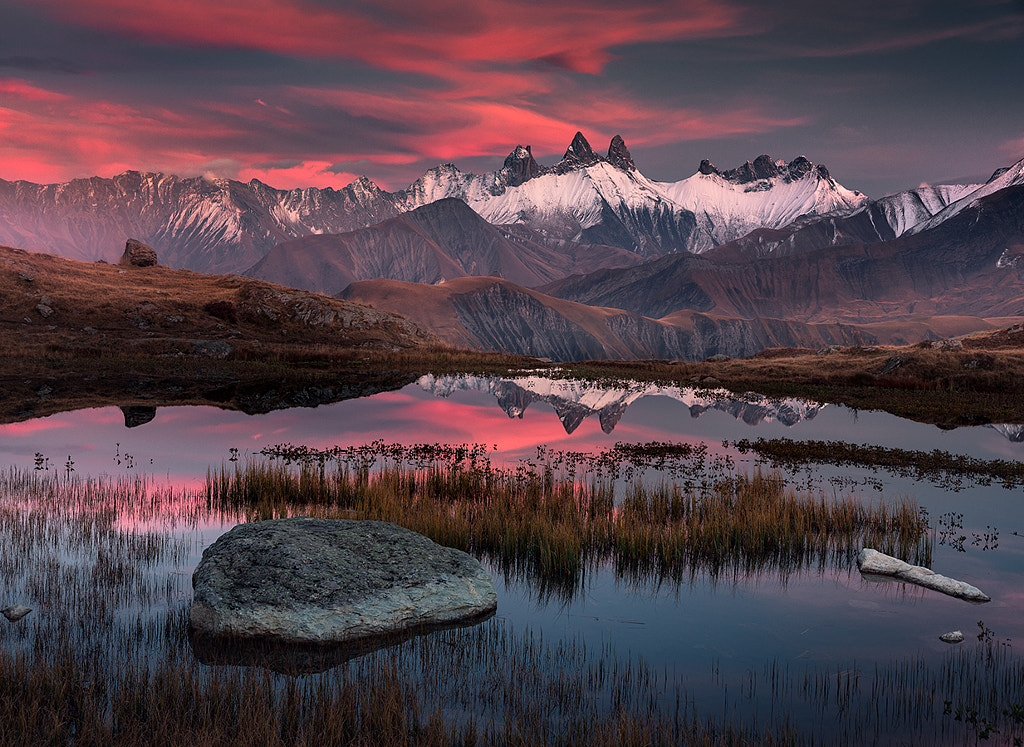
Google Earth is invaluable during the scouting phase, so try finding satellite views of your location. You can also look at what other landscape, travel, or nature photographers have created in the same spot; where were they standing, and during what season did they visit? What elements did they include in the background and foreground, and how can you create something new or different? The renowned landscape photographer Enrico Fossati was only able to find this spot (above), tucked away somewhere in France, after researching little-known areas.
(During the research phase, you can also start to map your routes. Stay safe, and beware of any potential issues that could arise.)
Chase the magic hour
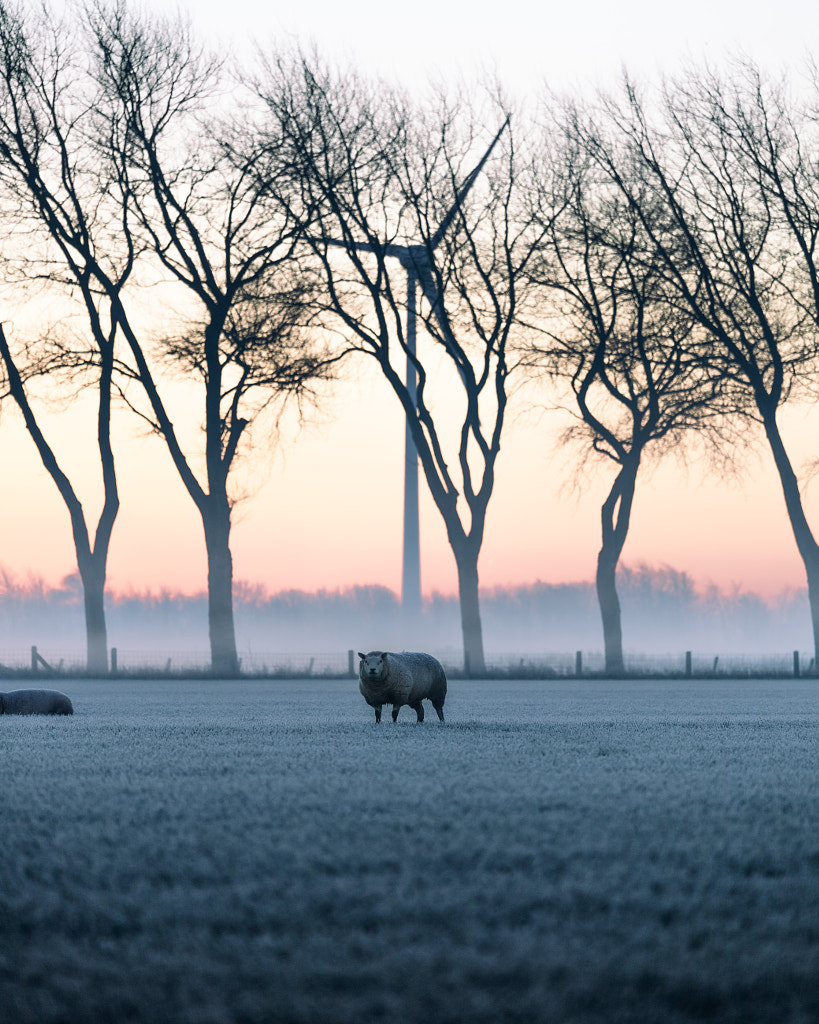
The magic hour, sometimes called the golden hour, is ideal for most types of natural light/nature photography, and landscapes are no exception. Mike Tesselaar was able to capture this stunning light in the morning just in front of his house in the Netherlands.
While mid-day light is often harsh and unforgiving, you can use these hours to scout your location, find interesting vantage points, and start visualizing your composition. That way, you’ll be ready when the magic hour does arrive. This time of day is fleeting, so it’s best to use an app like Sun Seeker to help plan your shoots for just the right time of day/night.
(You’ll also want to factor in any commute times or potential obstacles when aiming for this specific time of day. Make sure you get there before the light show starts.)
Watch the tides and the weather
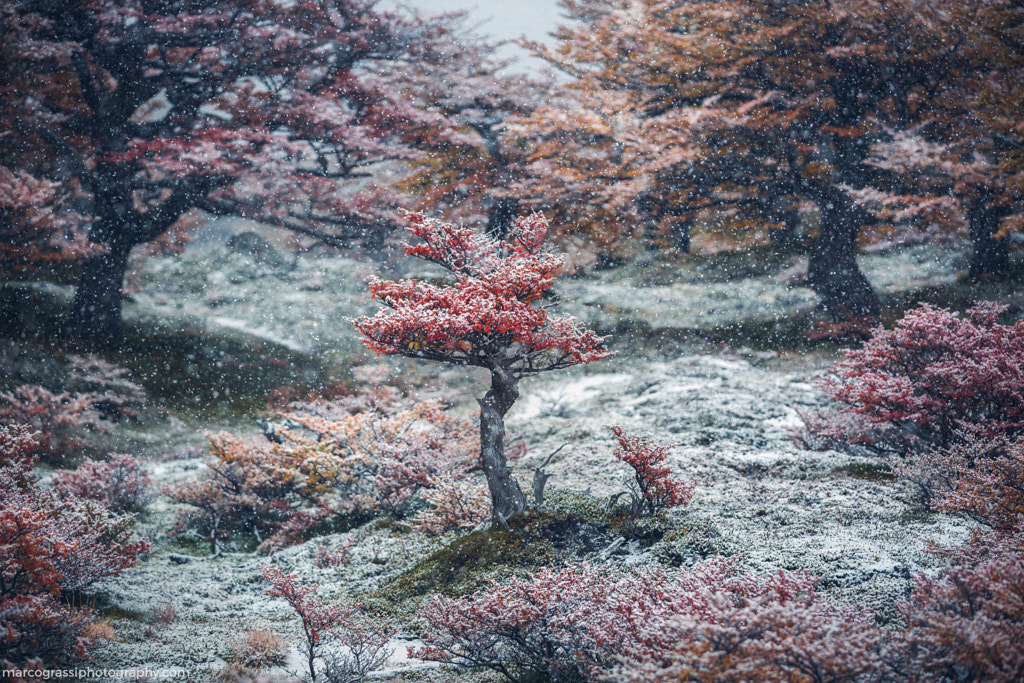
The forecast for the day will determine the outcome of your shoot, whether you’re looking for moody clouds, fresh snow, or clear skies for some night shots. When visiting Mt. Fitz Roy a few years ago, Marco Grassi was surprised by heavy snow; it reduced visibility but ultimately gave the landscape a new sense of wonder and enchantment.
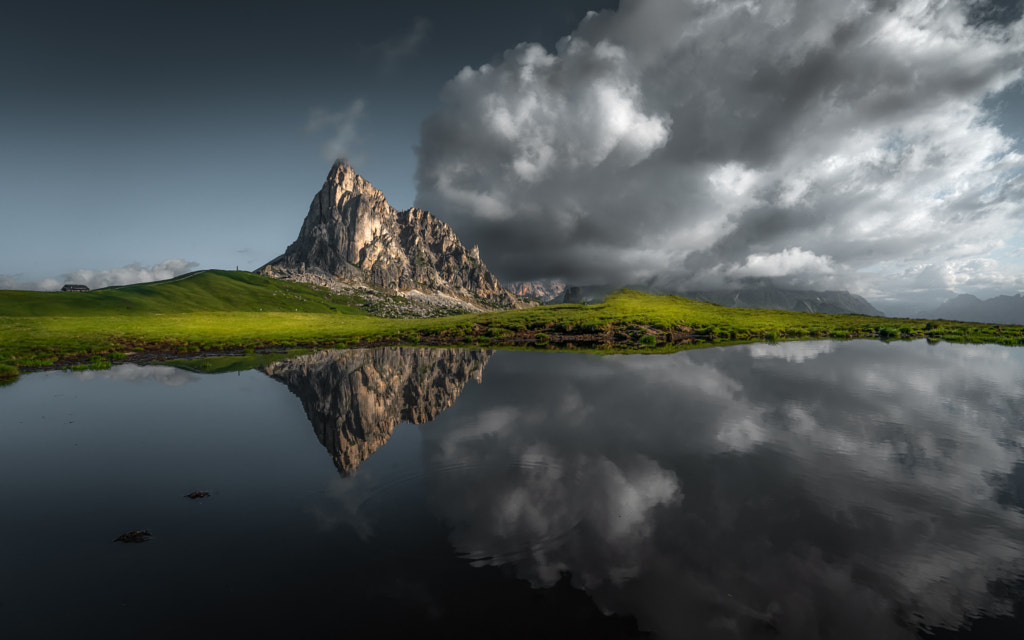
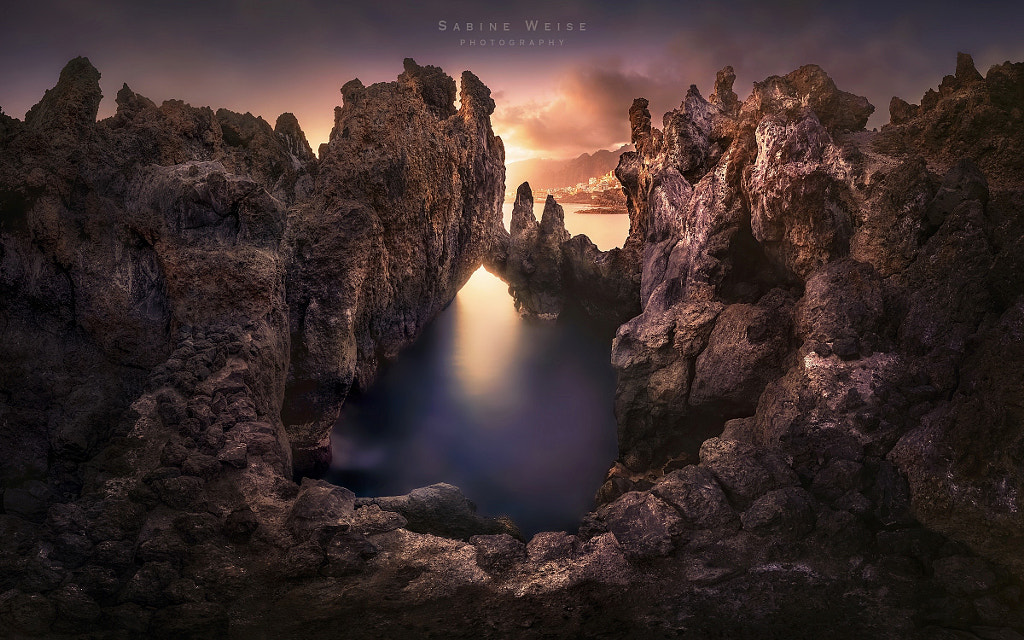
If you’re shooting near water, remember to check the tides and plan accordingly; Sabine Weise waited for low tide when photographing this natural pool in Tenerife, as that’s the time you can see the rock formation in all its glory.
Stick around
The magic hour isn’t the only time for shooting landscapes, and it’s a mistake to pack up and leave as soon as the sun sets. Some of our best tips and tricks are to watch how the light changes and keep shooting into the blue hour and through the night (if your schedule allows). In professional landscape photography, patience is everything.
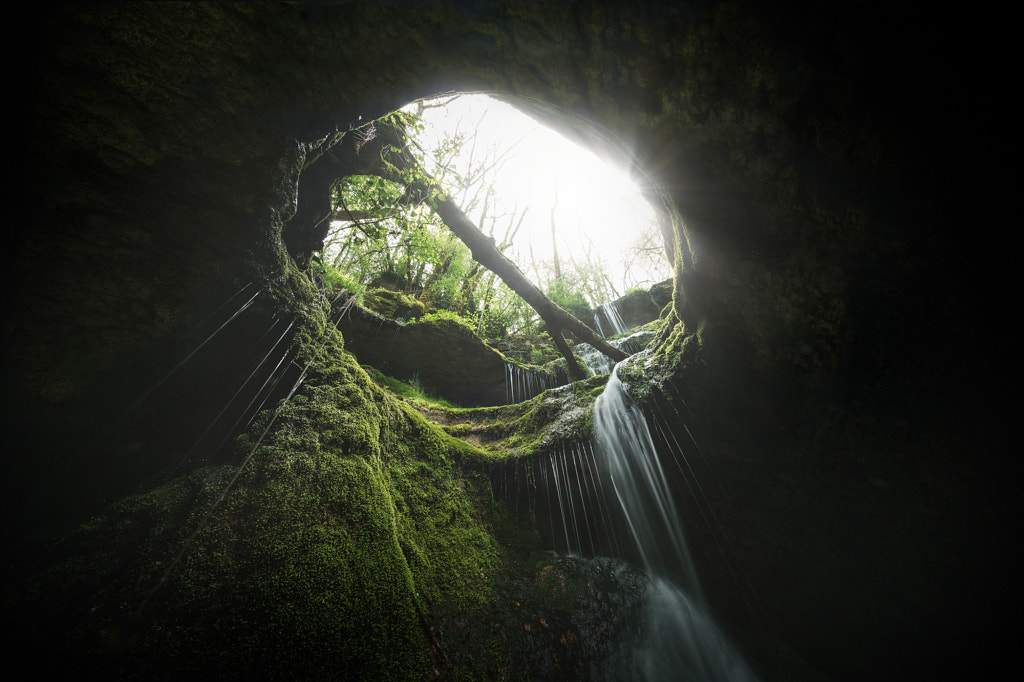
Create depth
Consider the foreground, background, and middle-ground of your composition; including layers will create the illusion of depth. You can use tree branches, for instance, to frame mountains, or you can use flowers to introduce a pop of color into your foreground. Another way to introduce depth is through the use of fog, which is most likely to appear on early mornings.
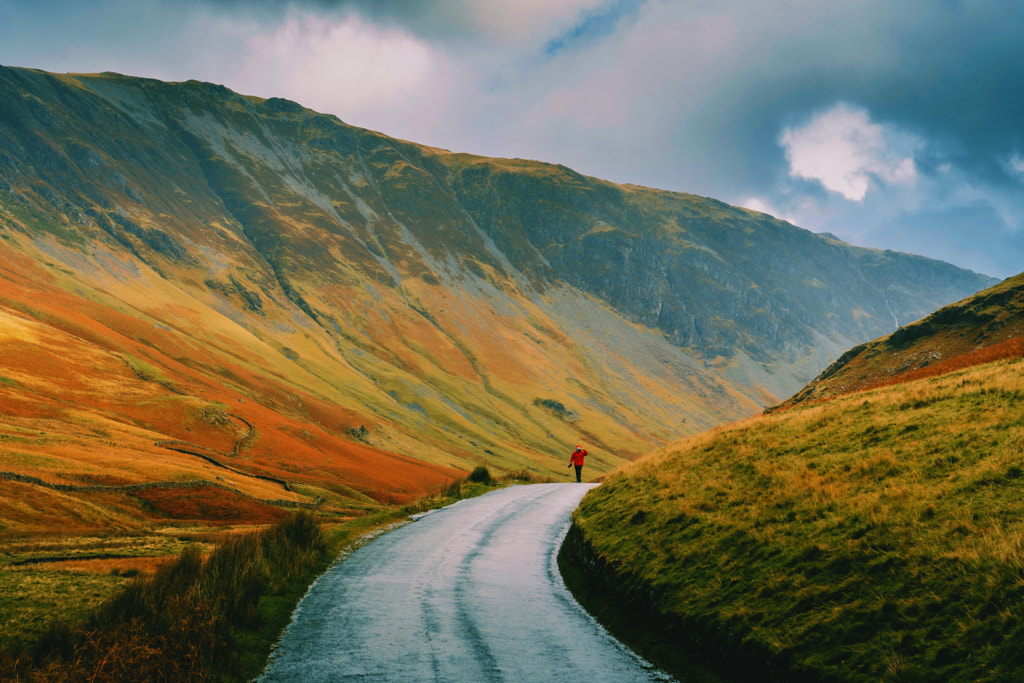
Consider your composition
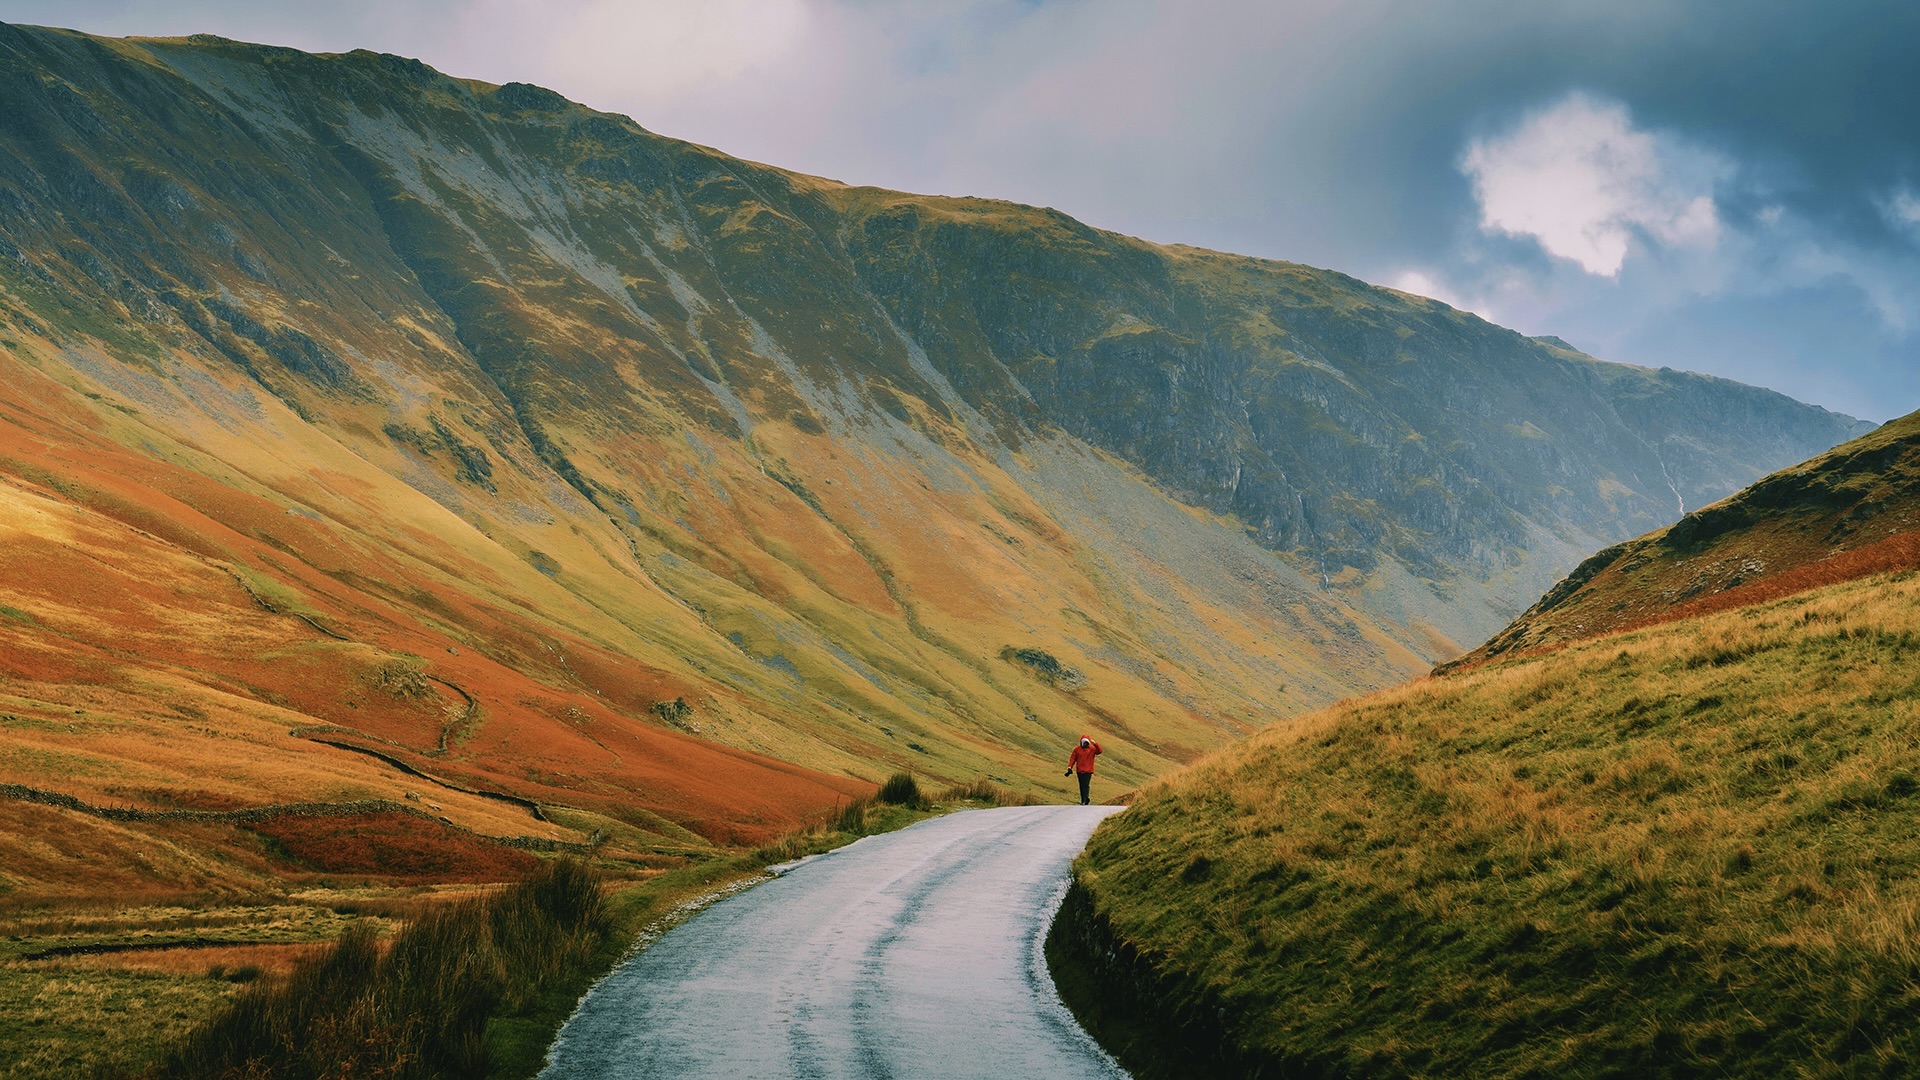
Classic photography tips, such as the rule of thirds, the golden ratio, or leading lines, have always had a place in landscape photography (just consider the work of the iconic Ansel Adams), and they still do. Sometimes, taking a step back and returning to the basics can help you frame your shot, position your subject, and guide the eye. Daniel Casson in the UK, for example, is a master of using winding roads to direct our gaze to the most important part of an image.
Find those details
This is where a telephoto lens comes into play: so many landscape photos capture the vastness of the scene, but you can also focus on those tiny details that bring the wilderness to life. If you’re shooting in a place with native flora and fauna, keep an eye out, while practicing ethical wildlife photography. This is location-specific photography, so look for the elements that provide a sense of place.
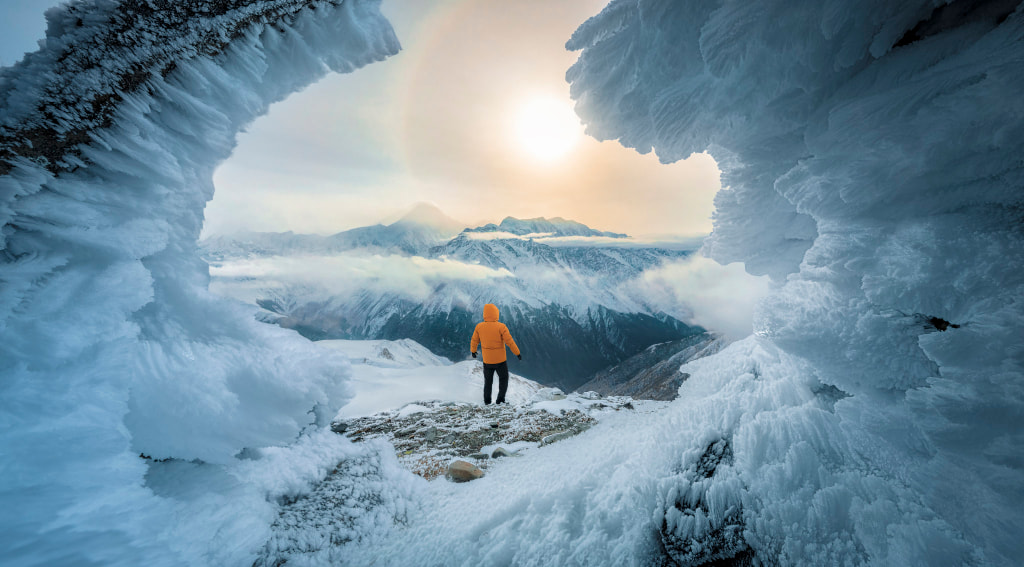
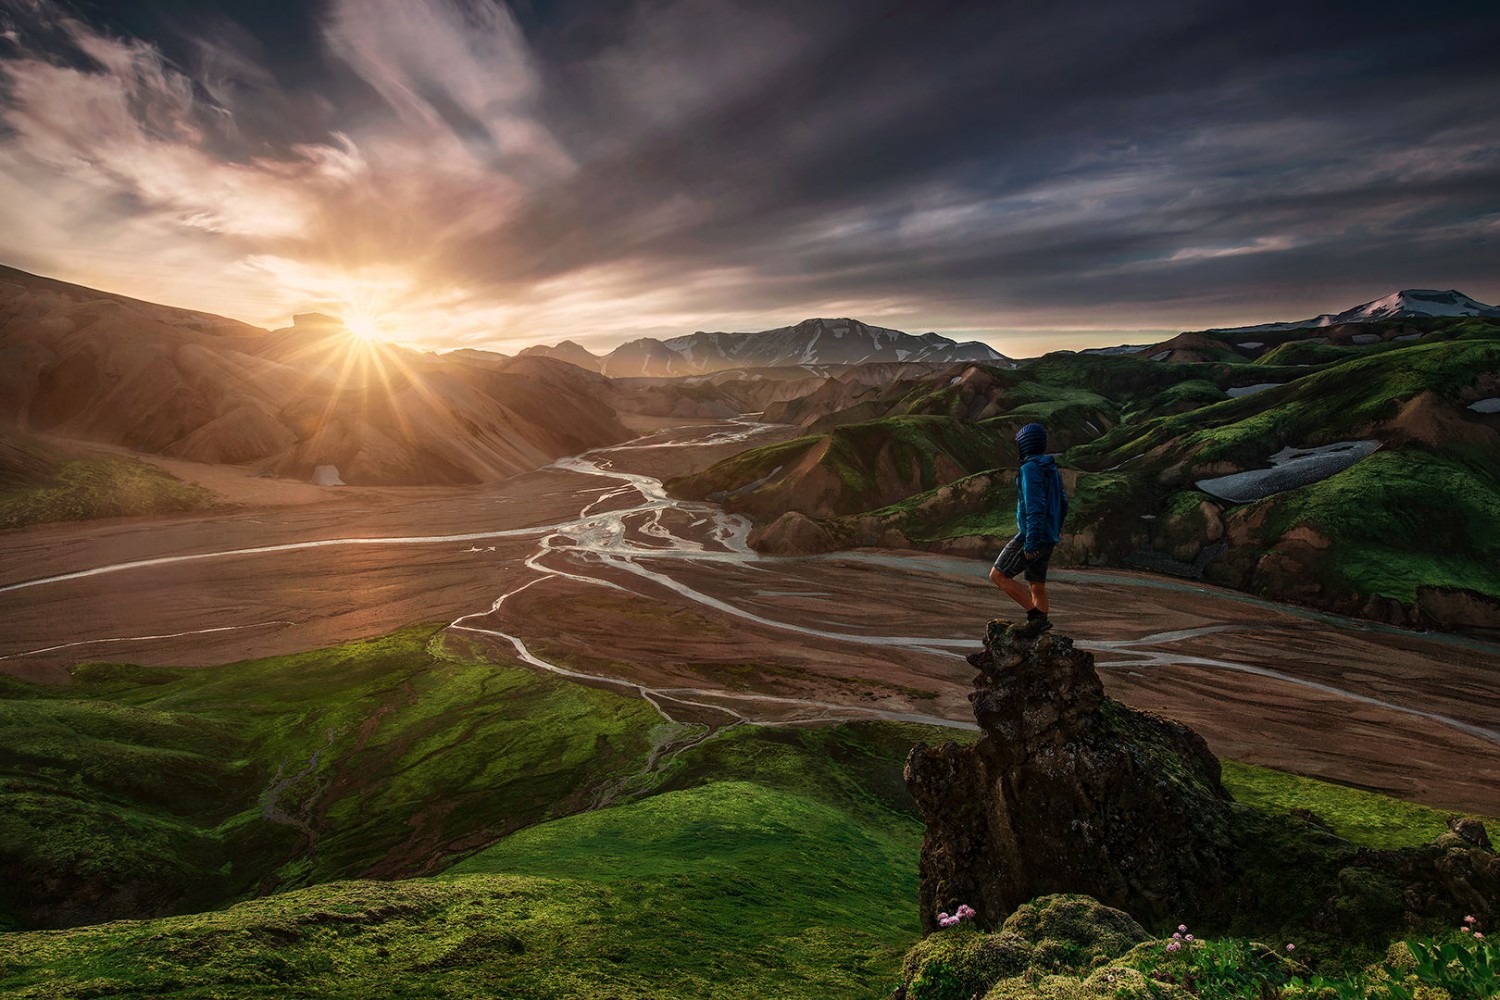
If you’re in a spot with other people, you don’t necessarily have to avoid them; including a figure in the distance can help evoke feelings of adventure and wanderlust, while also introducing a sense of scale to underscore the vastness of the landscape.
Not on 500px yet? Sign up here to explore more impactful photography.

Leave a reply