Photographers have been chasing fog for generations. In 1904, for instance, Edward Steichen captured the Flatiron building in New York City, veiled in mist. As he discovered all those years ago, fog turns ordinary streets into scenes from a dream, softening the hard edges of real life and transforming them into something hazy and unfamiliar. At the time, photography still wasn’t accepted as a fine art, but with his picture, he proved that the camera, like the paintbrush, was an instrument of creative expression—not a simple means of mechanical reproduction.
Now, 115 years later, misty scenes continue to draw photographers. The foggiest places on Earth, from San Francisco and Point Reyes to the shores of New Zealand’s River Waikato, attract curious shutterbugs from halfway across the world, each longing for a taste of misty magic. Ephemeral and unpredictable, mist and fog are some of the most challenging subjects to get right, but if you nail it, as Steichen did more than a century ago, you could end up with a once-in-a-lifetime shot. Here are our tips for creating timeless photos on foggy days.
Know the basics
You don’t need to be a weather expert, but having a basic understanding of how fog works will help you anticipate the right conditions. To start, fog and mist form when invisible water vapor condenses into water droplets, suspended in the air like a cloud. Usually, “mist” describes situations where visibility is greater than one kilometer, while “fog” refers to lower visibility.
“Ground fog” or “radiation fog” generally forms overnight, on clear days when temperatures drop, and the dew point is reached. This is one of the most common types of fog you’ll encounter, but depending on where you are and when, you’re likely to find other types of fog as well (e.g., advection fog, freezing fog, valley fog, etc.). Do some research into your local conditions for a better understanding of what to expect.
Track the weather
Remember to monitor the weather closely by checking your local forecast as well as downloading an app like WeatherPro for up-to-date information. When choosing a date for your shoot, consider a morning following a cold night with high humidity and air pressure. Mornings after rainy evenings can also work well. Additionally, we recommend using an app like PhotoPills to track the sunrise in your location.
Visit your location the day before your shoot
If you’re shooting in the morning, be forewarned: you’ll likely have to set your alarm well before dawn. You might even choose to camp out at your location for the night to maximize your chances of being in the right place at the right time.
In either case, it helps to scout your spot the day before your scheduled shoot. Take advantage of the visibility you get during the day, and give yourself time to find vantage points and compositional elements you’d like to include in your photos. That way, when you head out, you’ll know exactly where to set up your tripod and camera without having to rush.
Quick tip: Pack your camera bag the night before so everything’s ready to go in the morning. Bring a lens cloth to wipe away any condensation you might encounter in the field, and consider a polarizing filter to offset any potential glare.
Use manual focus
Your camera’s autofocus is no match for the low-contrast conditions brought on by fog, so switch to manual focus. Find a stationary element with some contrast, like a tree, rock, or person, and adjust your focus until it’s sharp. Choosing a dynamic focal point will also help enliven foggy scenes, which can look flat due to lack of contrast. Once you find your subject, lock your focus, and keep it there until you move to another spot.
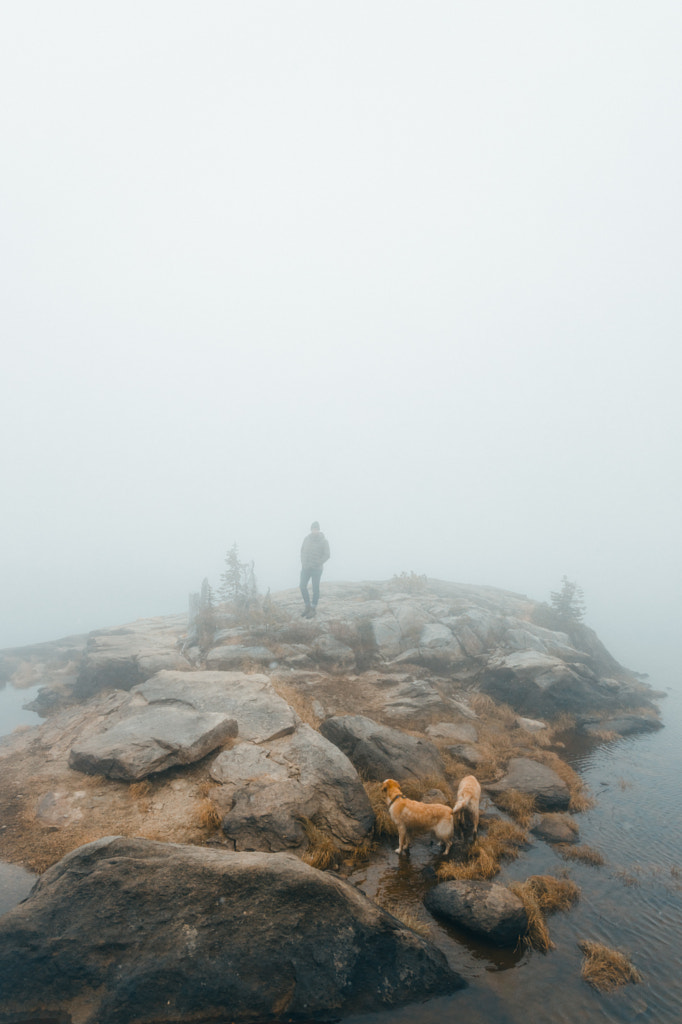
Beware of exposure issues
As with snow, fog can “trick” your camera’s autofocus system into underexposing, turning areas of white into muddy grays. You can always add a bit of positive exposure compensation if you find your pictures are looking too dark. Similarly, you can use exposure bracketing to give yourself more flexibility.
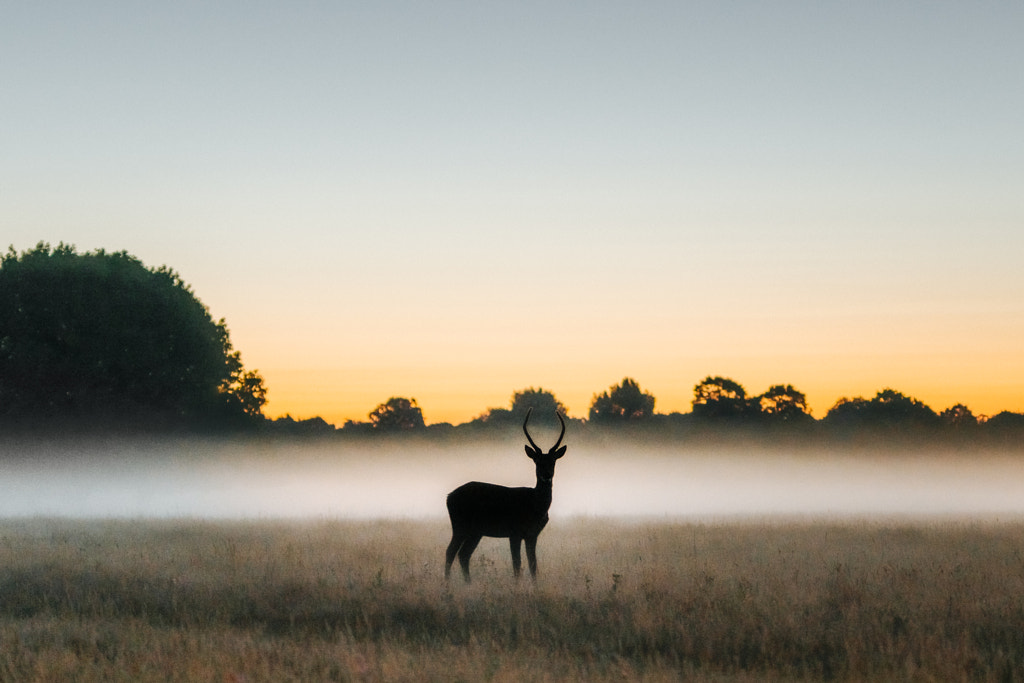
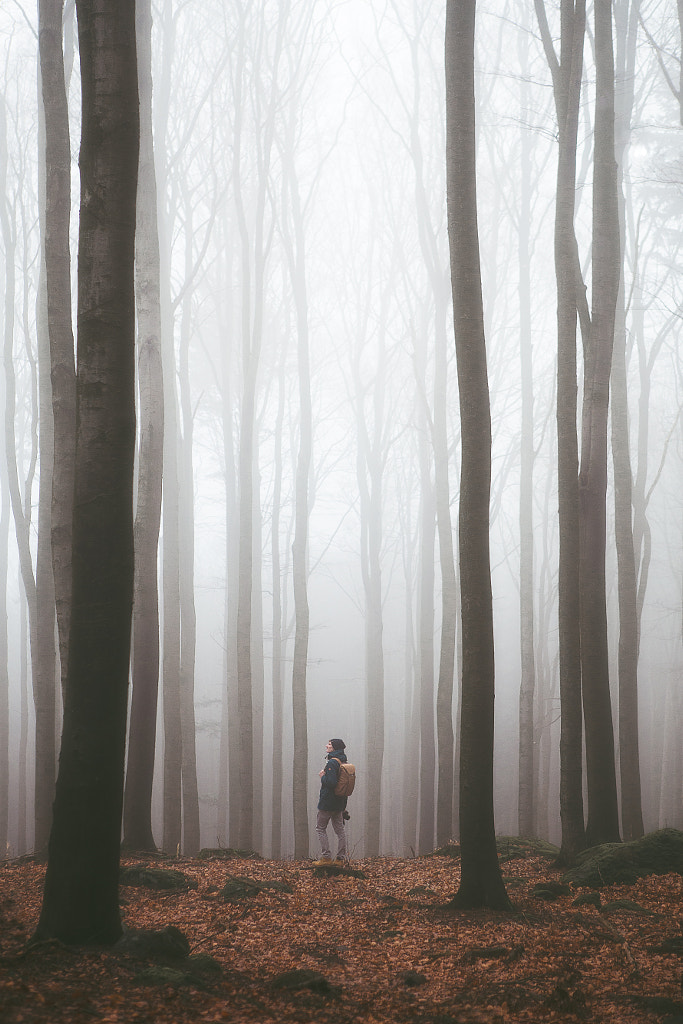
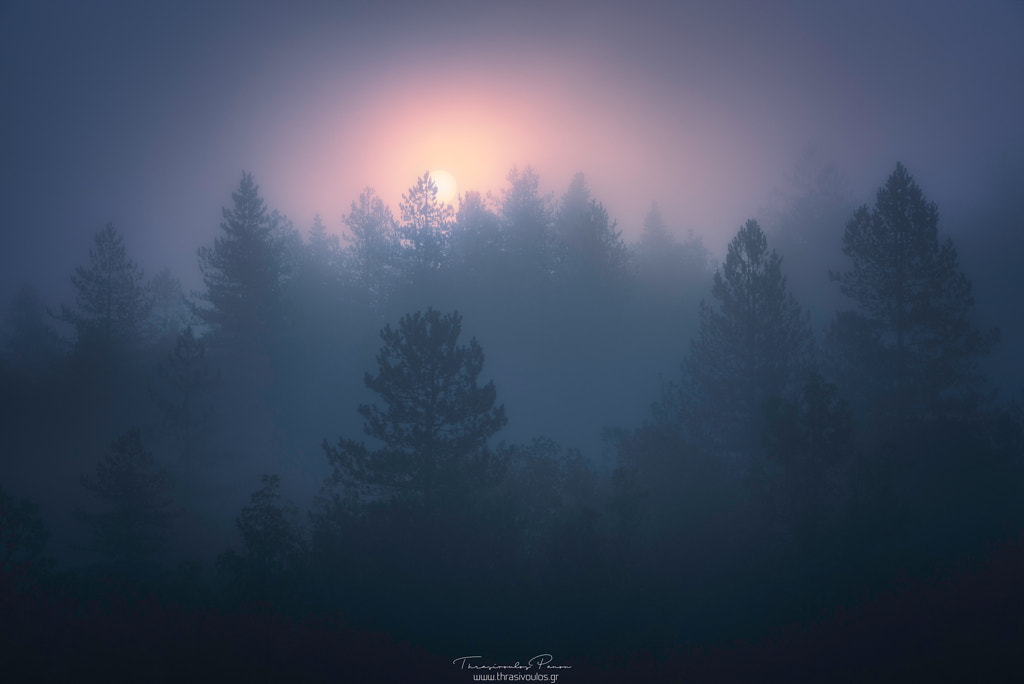
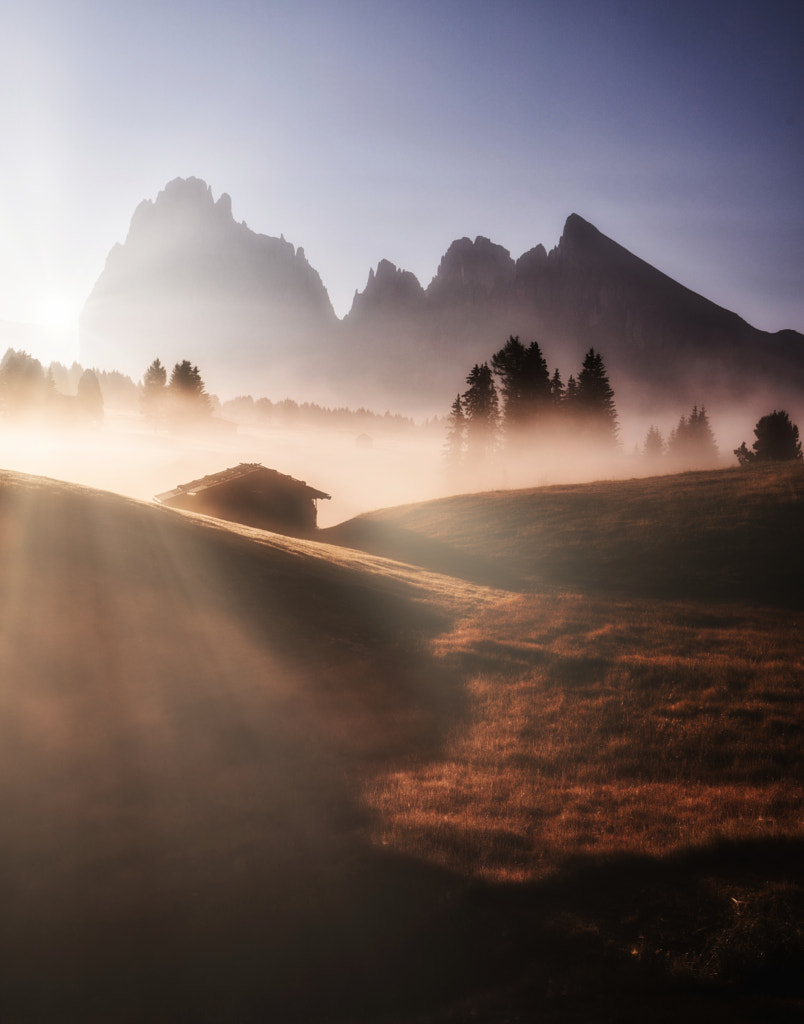
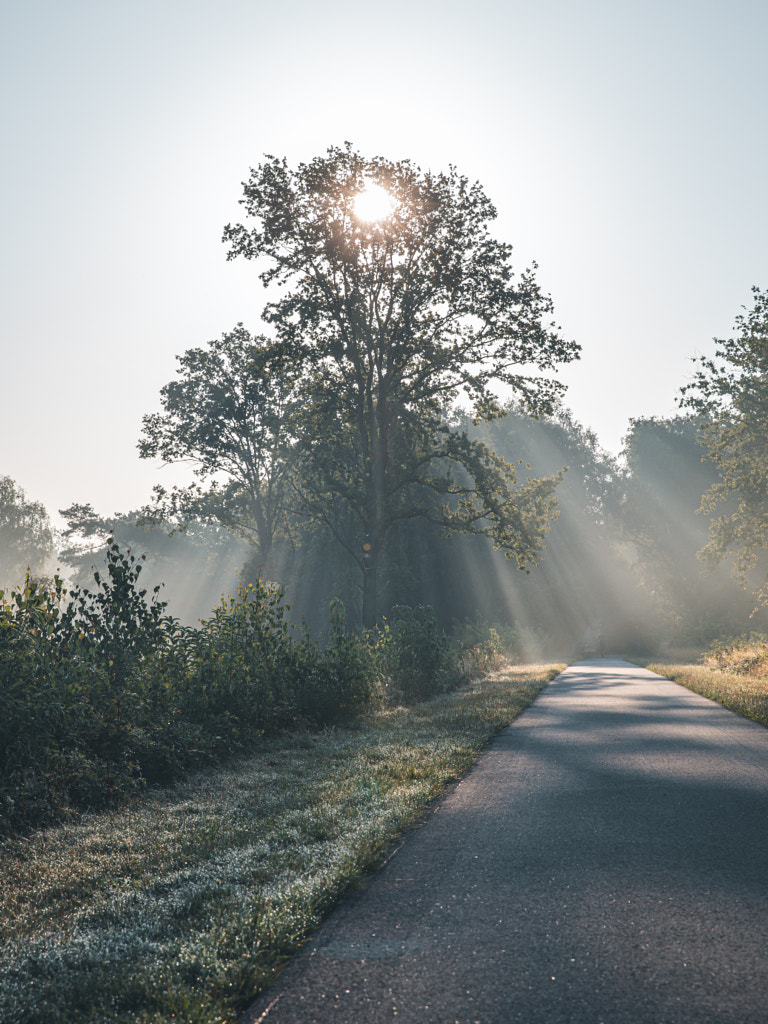
Try backlighting
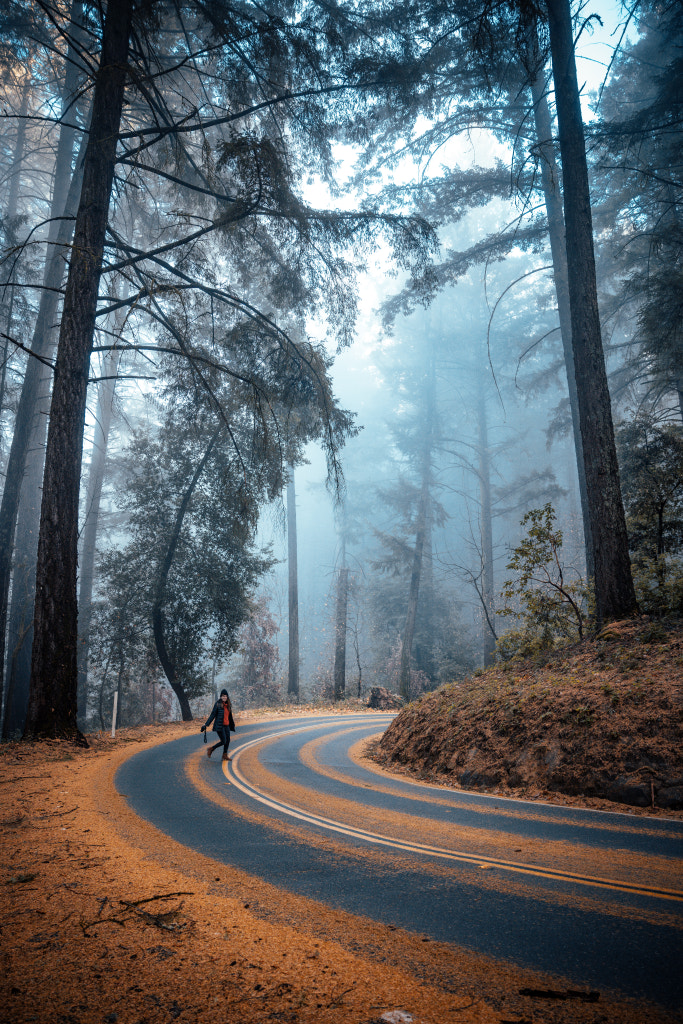
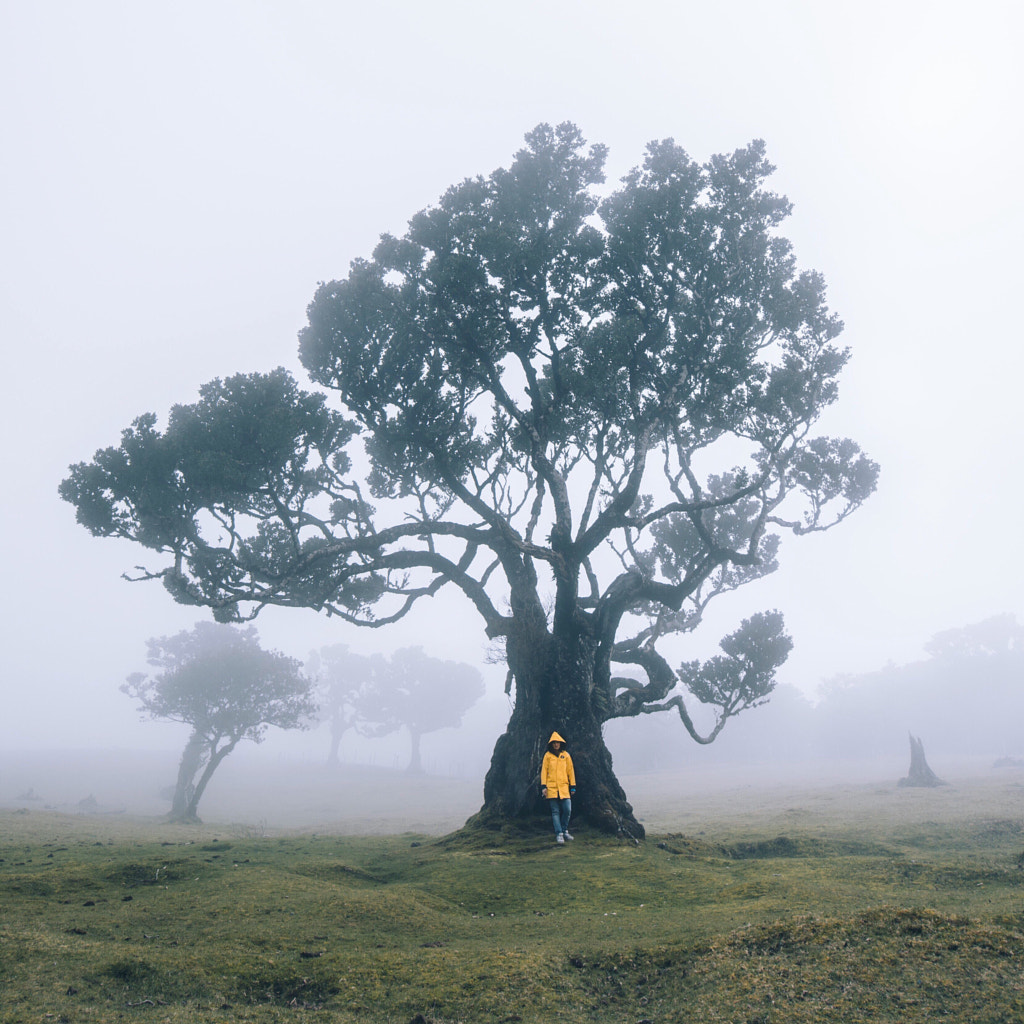
There’s nothing like capturing those first few rays of sunlight illuminating a foggy landscape, so face the sunrise to catch these fleeting moments. These conditions can also make for dreamy silhouettes, so consider bringing a friend. To create the silhouette effect, you’ll want to expose for the highlights to leave the human figure in shadow.
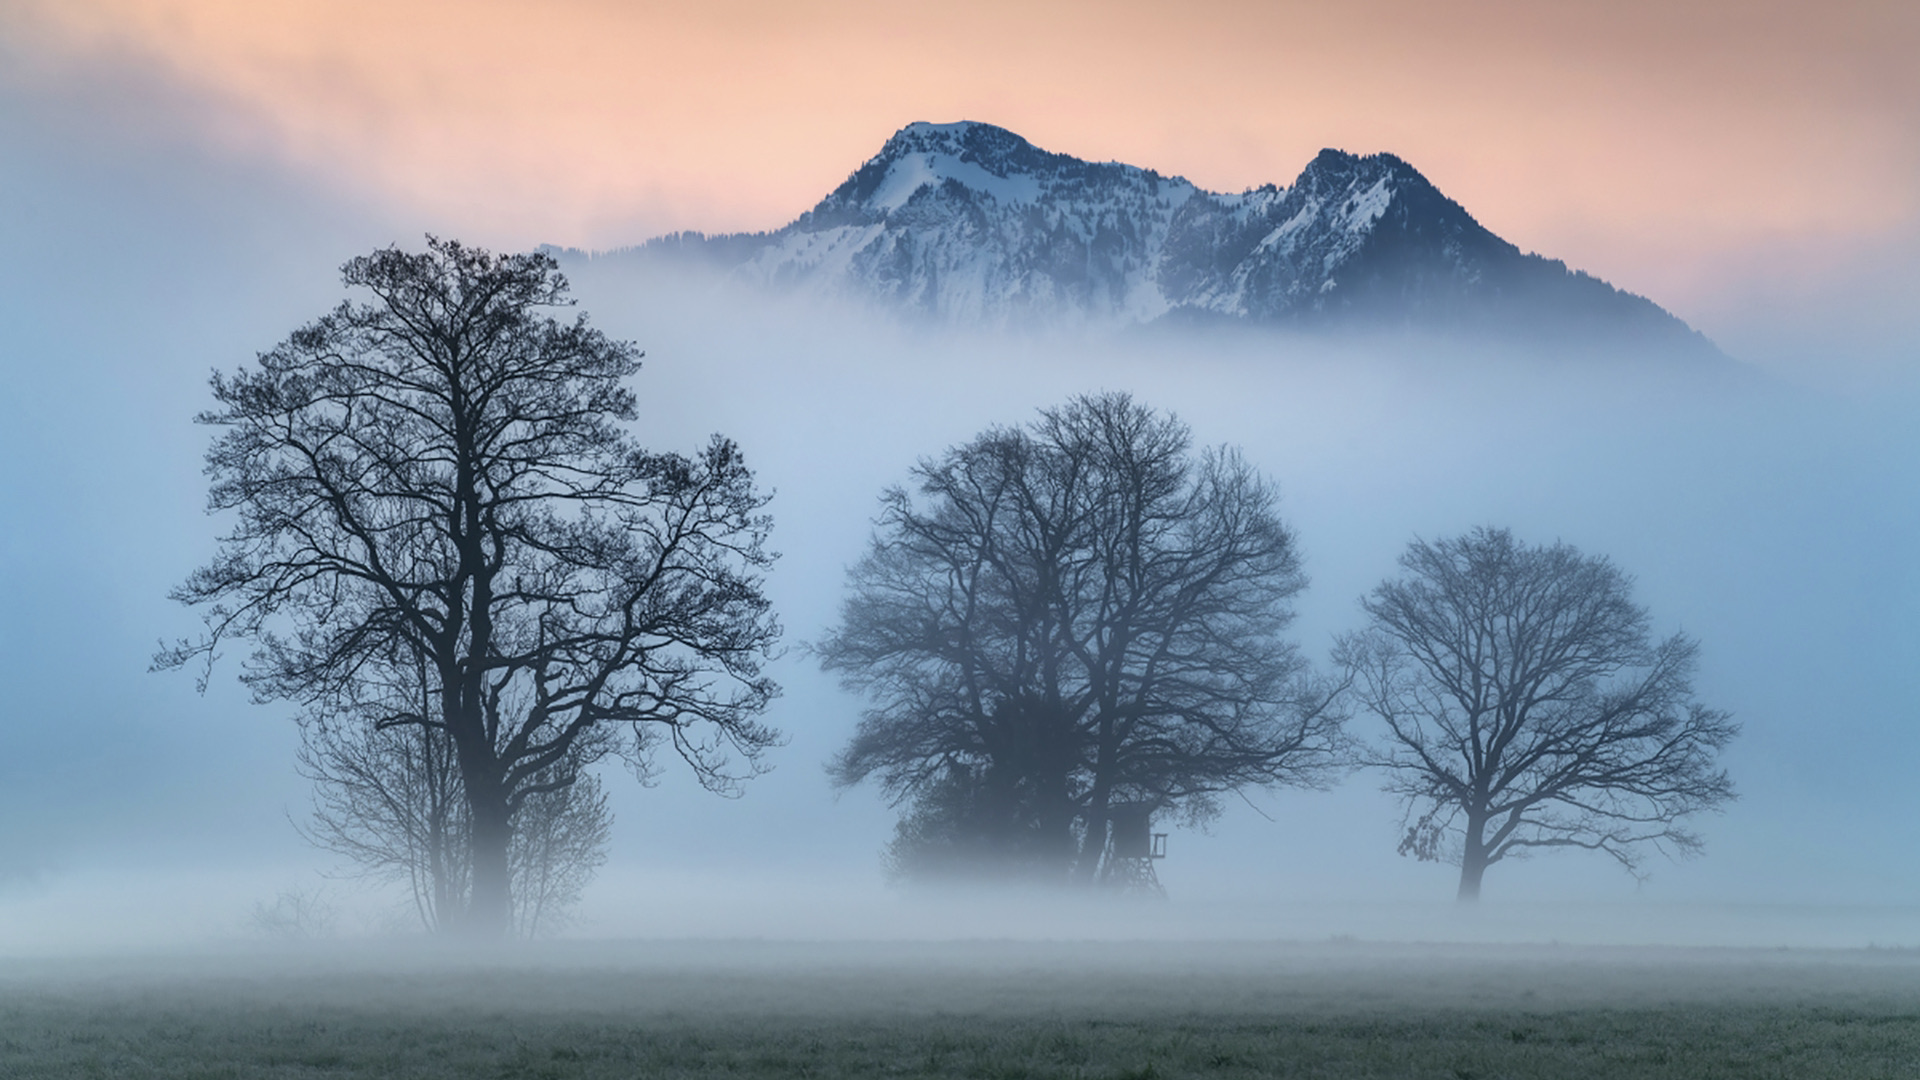
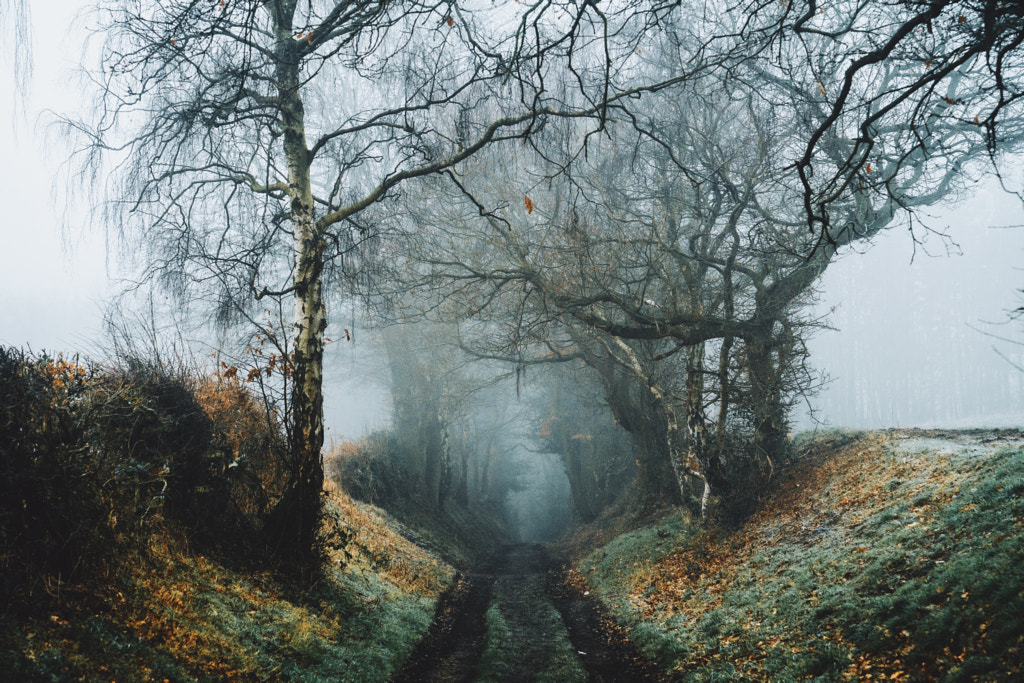
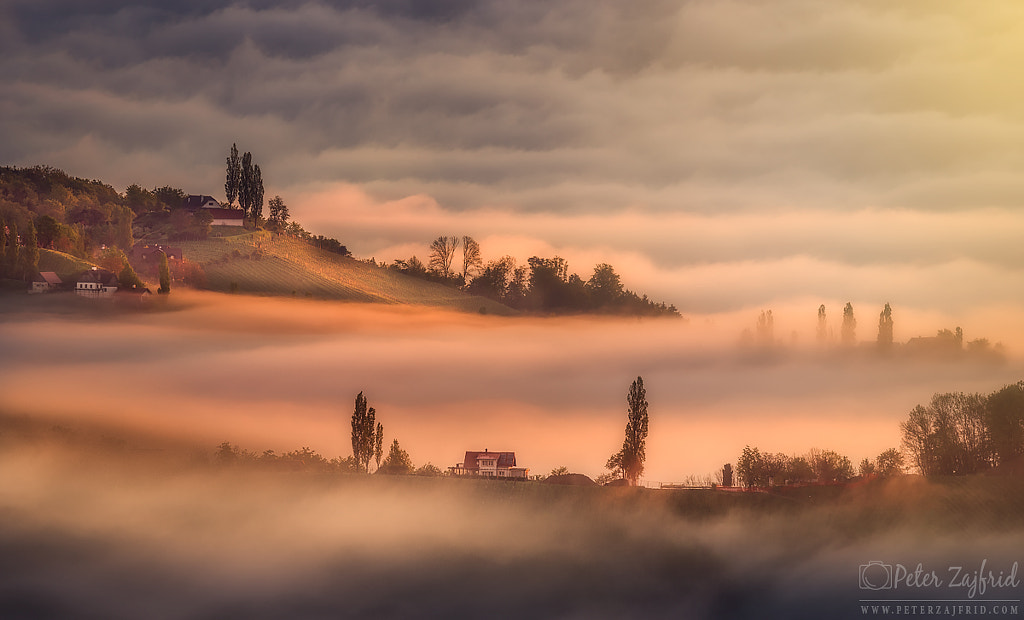
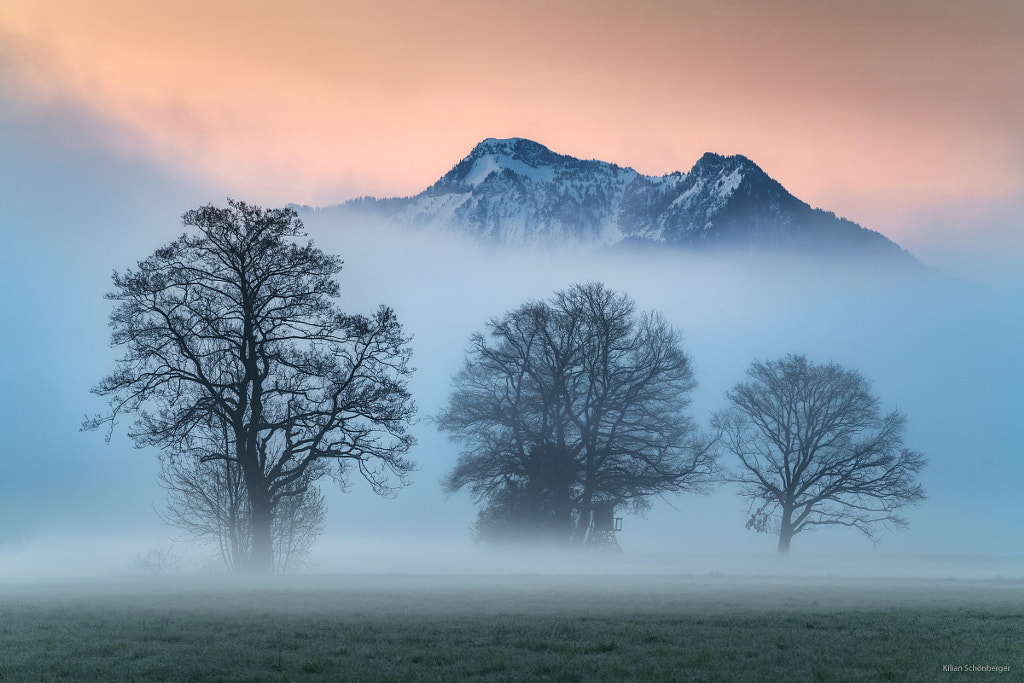
Compose in layers
Having a foreground, middle-ground, and background is helpful with most landscape photos, but it’s doubly important in mist. The farther away your subject, the more washed out and desaturated it’ll become. Use objects very close to you, or far away, to show depth and avoid images that feel flat and lifeless; a line of trees or street lamps extending into the distance, for example, can help emphasize the drama of a foggy day. Additionally, using a larger depth of field (narrower aperture) can help capture details in both the foreground and background.
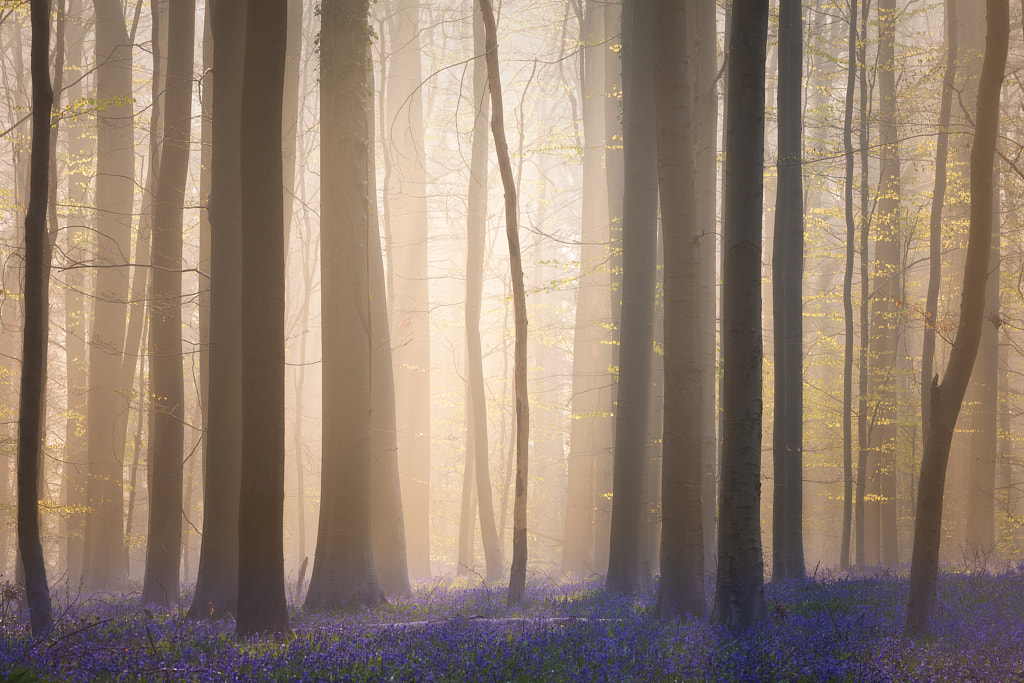
Look for pops of color
Fog can easily result in bland, flat-looking photos, so find locations with splashes of saturated color. It could be the greenery of a forest, bright clothing on a model, or even wildflowers. Shoot in RAW format so you can tweak your color temperature in post-production; some places might look best in the warm tones of the golden hour, while others might require a cooler approach to bring out the blues or greens.
Seek higher ground
Of course, one simple way to avoid the challenges of shooting from within the fog itself is to get above it. If possible, look for hilltops or rooftops that’ll give you an elevated view. You’ll be able to get nice contrast in your immediate surroundings while allowing everything below you to disappear into the mist.
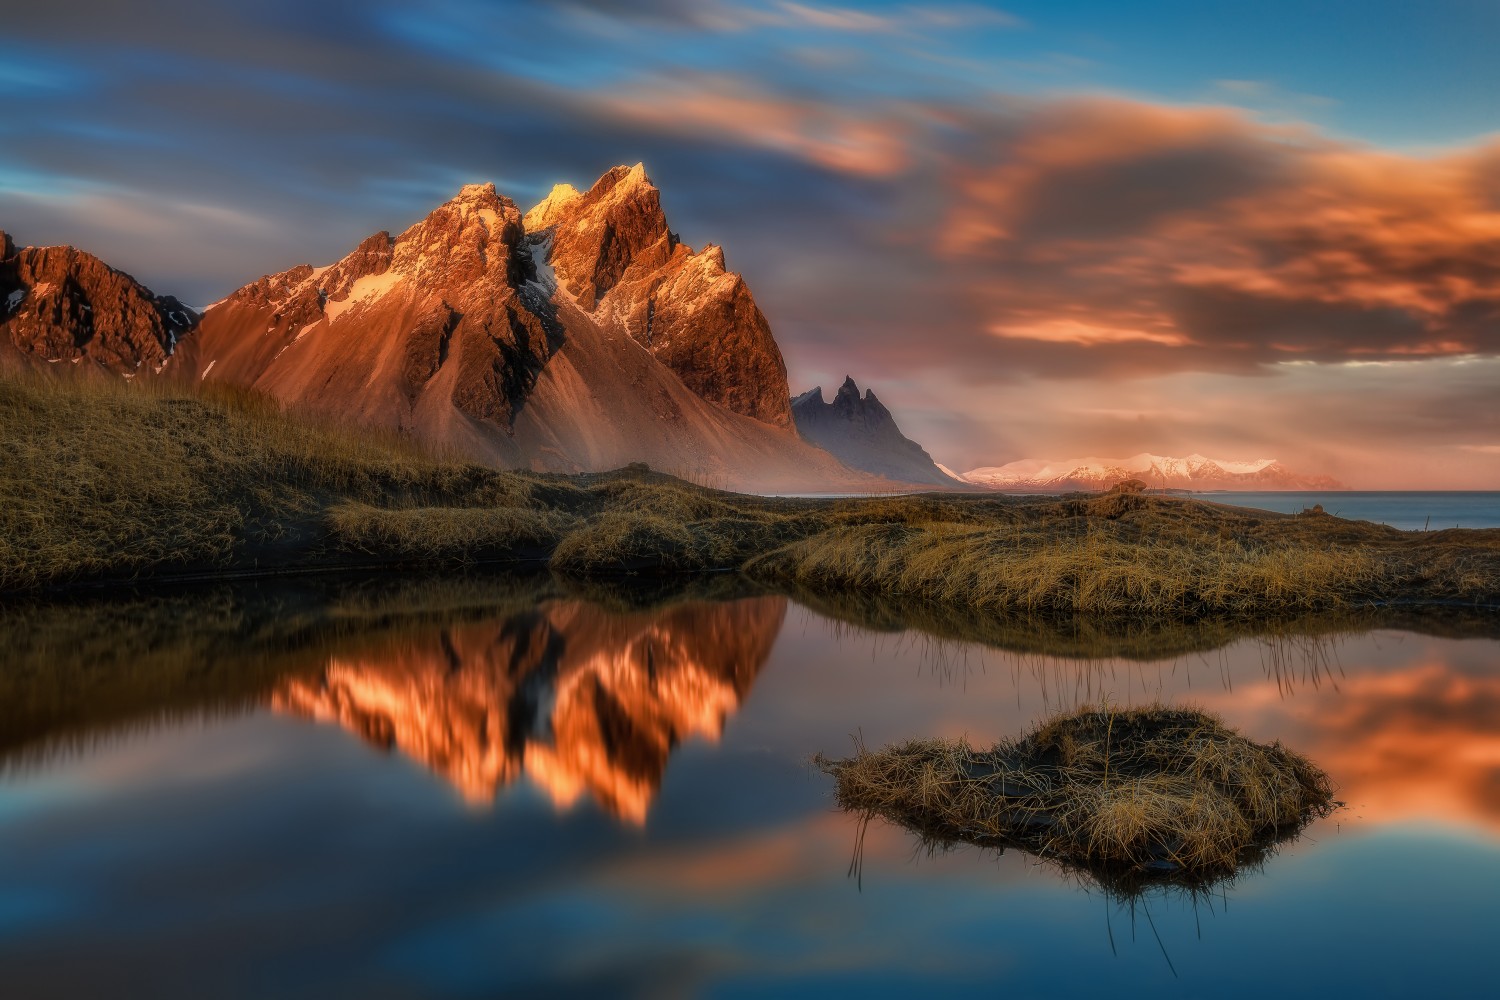
Experiment with exposure times
One of your most important camera Settings when shooting in foggy conditions is the shutter speed. If you want to capture textures, shapes, and details, use a shorter exposure time; conversely, to create a smooth and silky effect, experiment with long exposure techniques. Remember to bring a neutral density filter when shooting with slow shutter speeds in sunlight, as these are the only way to avoid overexposed images.
Be patient
Fog can come and go quickly, so accept and embrace that it might not behave as you expect. In some cases, it will have disappeared without a trace, and in others, it might be too dense to navigate. Before packing up and leaving your location, give the weather time to change. For example, Nora Görlitz stayed in this famous spot in Portugal for two hours in order to get just a few perfect minutes of foggy shooting time. Choose a scenic spot where you’d be happy to spend a few hours, bring a cup of tea, and enjoy the wait.
Not on 500px yet? Sign up here to explore more impactful photography.

Leave a reply