99 years ago, Man Ray photographed Kiki de Montparnasse in the studio, her back facing the camera and her head turned over her left shoulder. A few months ago, that portrait made history as the most expensive photograph ever sold at auction, going for $12.4 million.
Portraits have a unique ability to capture a specific time and place—but they also have the potential to last for generations. Albert Einstein, Marilyn Monroe, Gloria Swanson, and Kiki de Montparnasse live on in photographs by Yousuf Karsh, Richard Avedon, Edward Steichen, and Man Ray, respectively.
In portrait photography, trends come and go, but the essence of great portraiture remains the same. In this introductory guide, we’ll share some photography tips for making pictures that stand the test of time.
Understanding gear
A DSLR or mirrorless camera
A DSLR or mirrorless camera
A quality camera with manual controls and interchangeable lenses will give you more room to explore your creative potential. You can switch between focal lengths, experiment with your aperture, and nail your focus exactly where you want it.
A fast prime lens
Every photographer has a preference when it comes to focal length, but the gold standard is probably an 85mm. These lenses won’t distort or compress facial features, so they’re almost always flattering. If you want to go a little wider, a 50mm can work for full-body or waist-up portraits.
Why choose a prime lens over a zoom? Prime lenses tend to be “faster,” meaning that they have wide maximum apertures. By shooting wide-open in a prime, you’ll get that lovely, natural bokeh effect that’s so popular in portrait photography.
A reflector
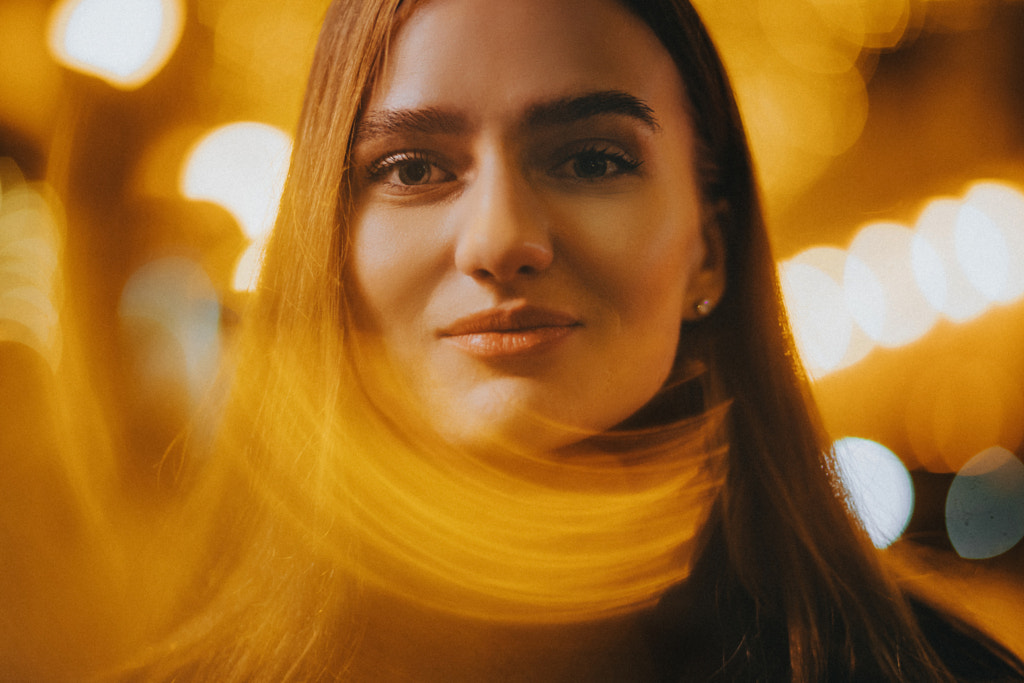
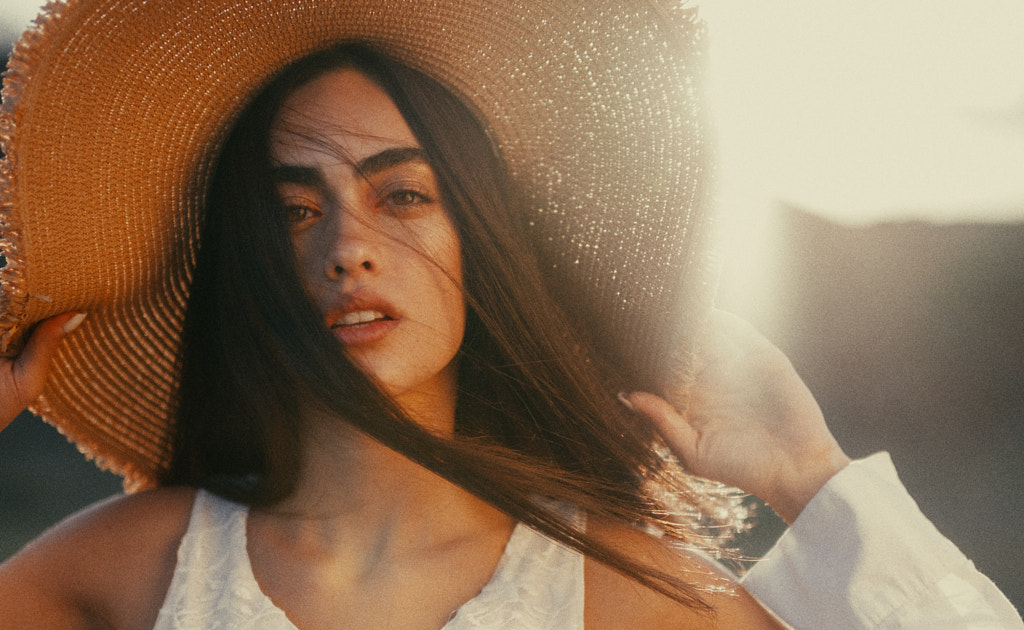
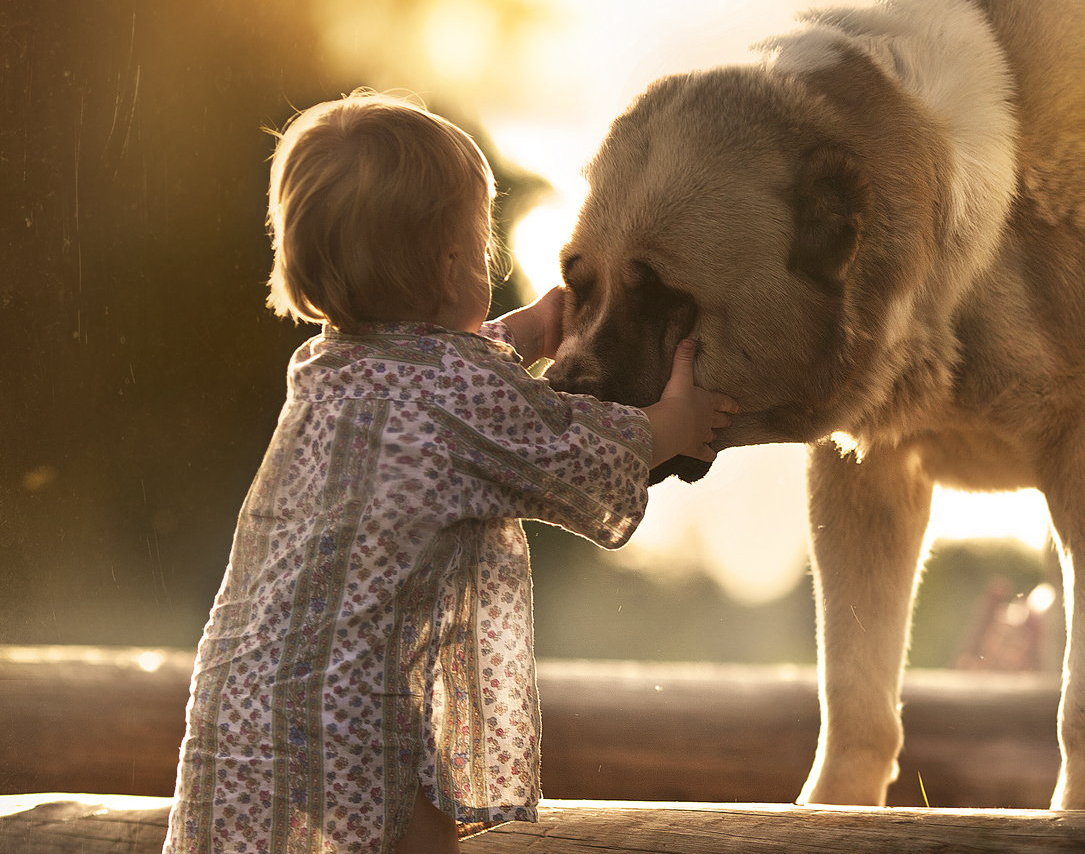
Natural light is a portrait photographer’s best friend, so feel free to get outside during the golden hour to take advantage of those beautiful, diffused rays. Natural light can be unpredictable, so bring a reflector to bounce light back onto your model’s face and fill in any unwanted shadows.
If you end up using natural light and can’t shoot during the golden hour, choose an overcast day or areas with open shade to avoid harsh, direct sunlight and shadows.
A basic lighting kit
While natural light goes a long way, artificial studio lighting will give you more control and flexibility in your freelance photography work. To start, consider LEDs: they’re continuous, so you’ll see the effect they have on your scene in real time, and they’re relatively affordable. You can also get LED panels in a variety of colors to mix things up.
For more power, consider upgrading to a strobe. When working with these strong studio lights, modifiers are essential: start with a softbox/octabox to diffuse harsh light. Finally, color effect gels go a long way in helping to create different vibes with a simple setup.
A tripod
Tripods are entirely optional, but they can help you to be more intentional about your portrait framing. Plus, you’ll be freed up to focus on your model and direct them throughout the shoot.
Collaborating with models
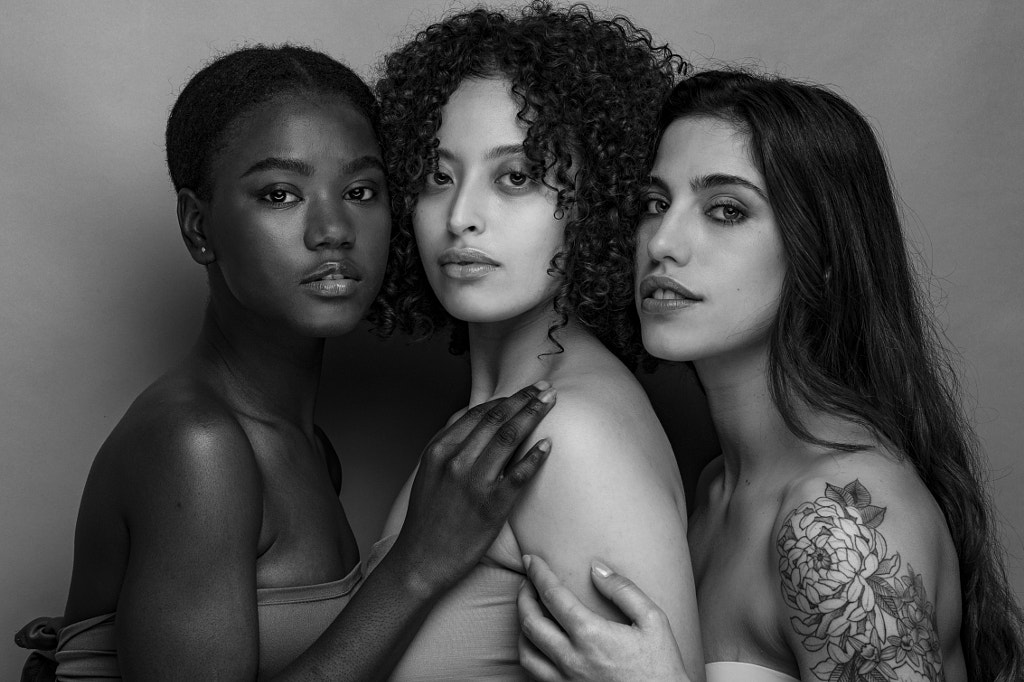
Most of our portrait tips have nothing to do with gear and everything to do with connecting with people. Great portraits are true collaborations, so take the time to get to know your model, familiarize them with your idea for the shoot, and ensure they’re comfortable on set.
These tips apply when you’re working with models in a studio/editorial photography setting, and they also apply if you’re approaching a stranger for a spontaneous street portrait. Share a bit about who you are, what you do, and what inspired you about your model.
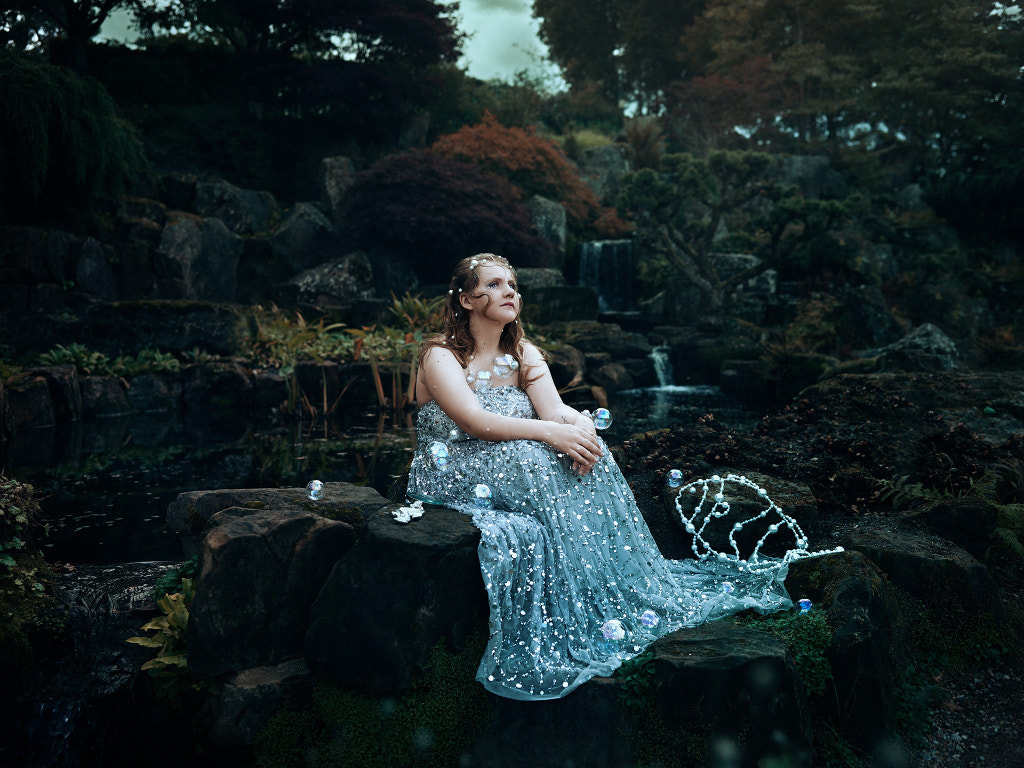
Often, your model might spark ideas for your session. When photographing the surf champion Charlotte (above), Bella Kotak chose a stunning rock pool as her location—a perfect choice for this fairytale-inspired scene. She made the pearl fish herself after speaking with Charlotte, who mentioned her love of the movie character Nemo.
Whether you’re shooting outdoors on location or in the studio, here are some details to consider.
Posing
The level of direction you give will depend on your models and their comfort level, but it usually helps to have some general ideas and suggestions to start. You can look up some photography guides and templates online for popular poses.
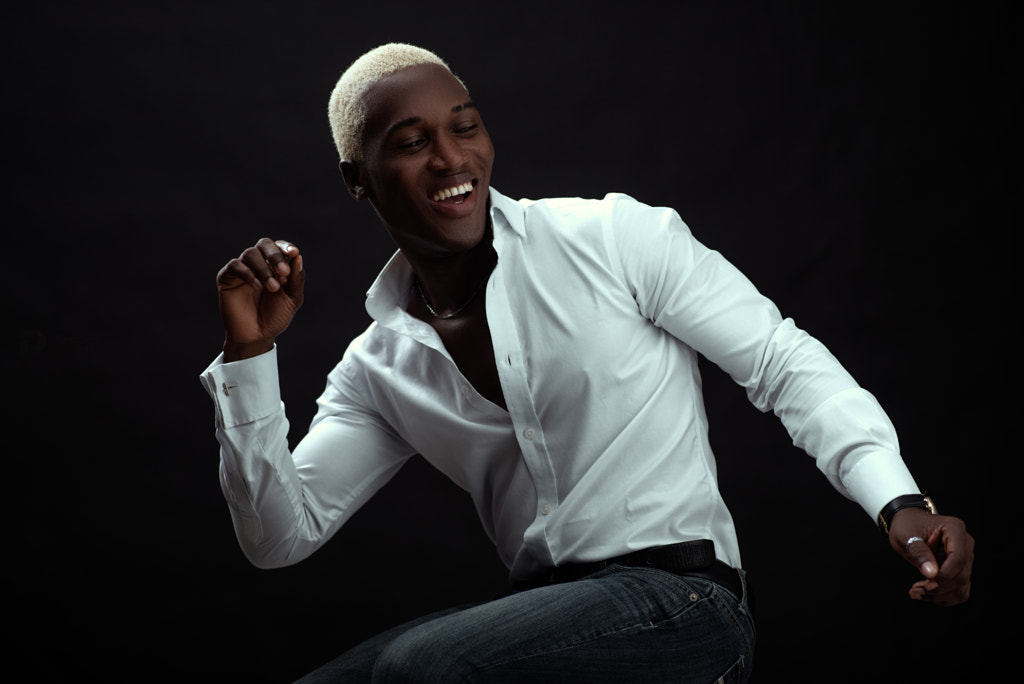
Keeping all your poses (very) easy and simple will ensure they look natural, rather than stiff and rigid. It’s also a good idea to encourage some movement throughout the shoot, capturing candid gestures and moments that help express your models’ personalities.
Lighting
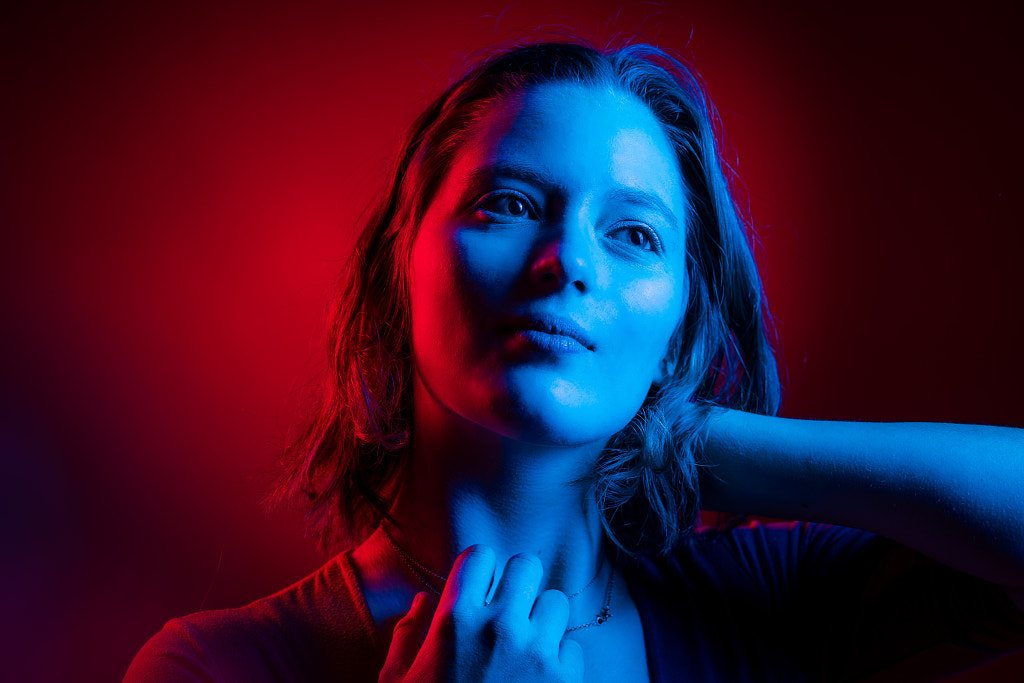
In portrait photography, some basic lighting patterns to know include Rembrandt lighting, butterfly lighting, and split lighting. You can achieve all of these with a single light source, but they’ll have vastly different effects. Split lighting, for instance, where only half of the face is lit, is well-suited to dramatic portraits, while butterfly lighting, where the light is centered in front of the model and pointed down, is ideal for beauty shots.
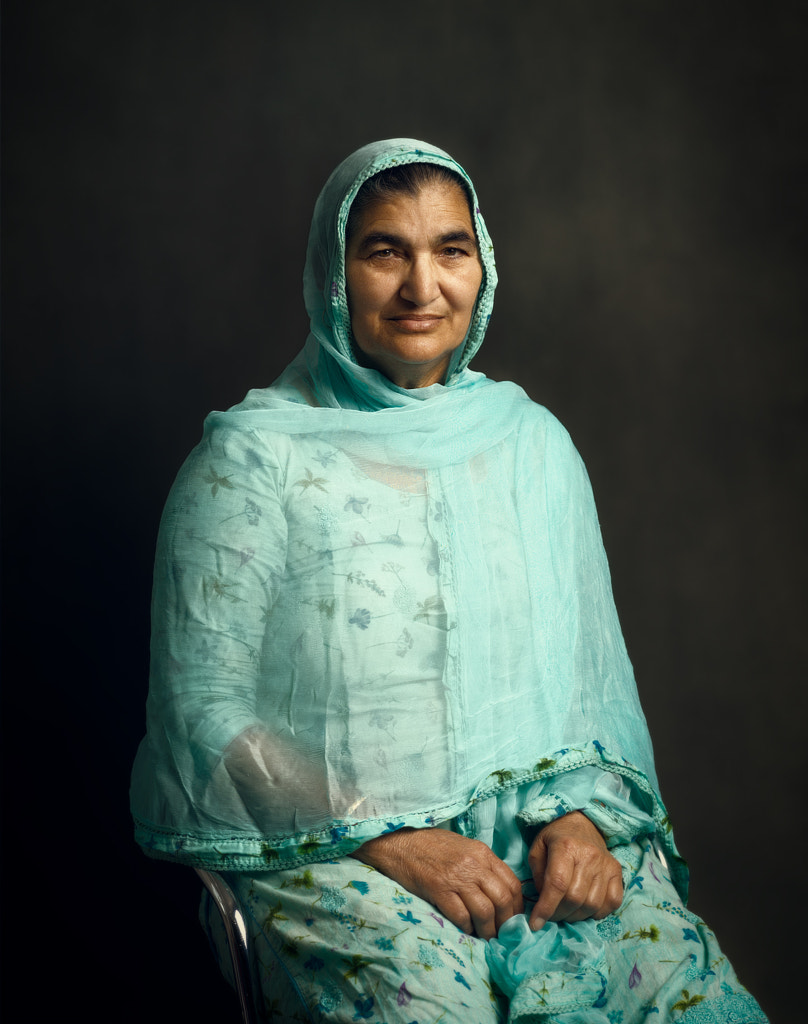
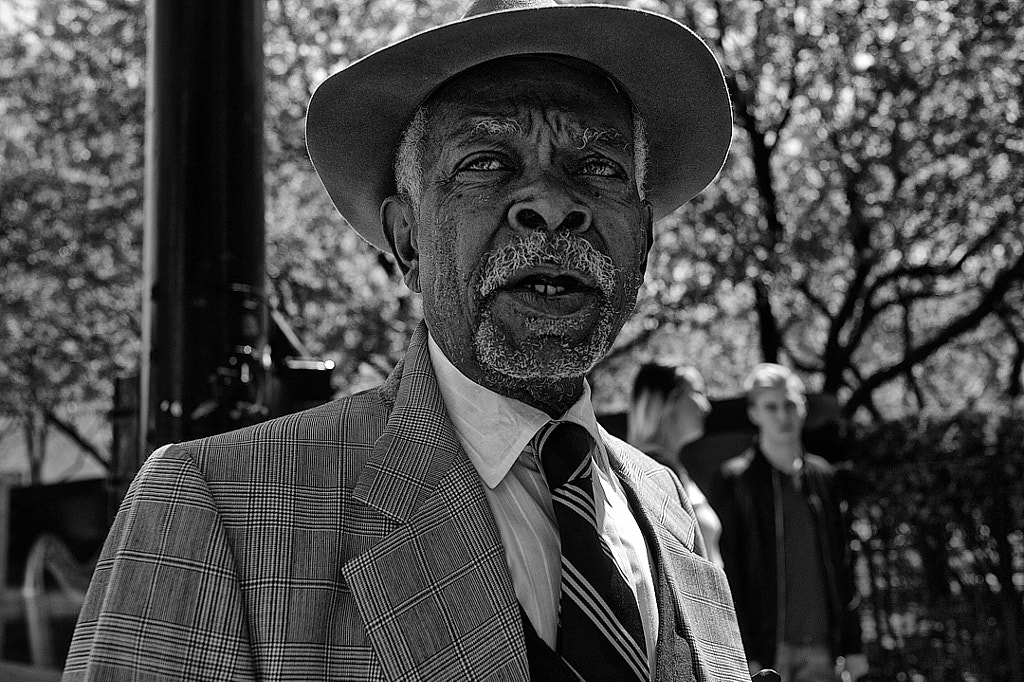
Rembrandt lighting is flattering on most people. To create this lighting setup, place your light 45 degrees to the side of your model, pointing 45 degrees down toward the face, until a little triangle of light appears under one of the eyes—as in the portrait above by Hooman Mesri.
Catchlights
We recommend an octabox for two reasons: diffusion and beautiful catchlights. Catchlights are the little orbs of light reflected in your model’s eyes, giving them that spark of vitality. Naturally, they’ll take on the shape of your light source, and an octabox provides a nice, rounded shape.
For sharp portraits, use the focus points on your camera to set your focus directly on the eyes—it’s the most important part of your frame.
Backgrounds
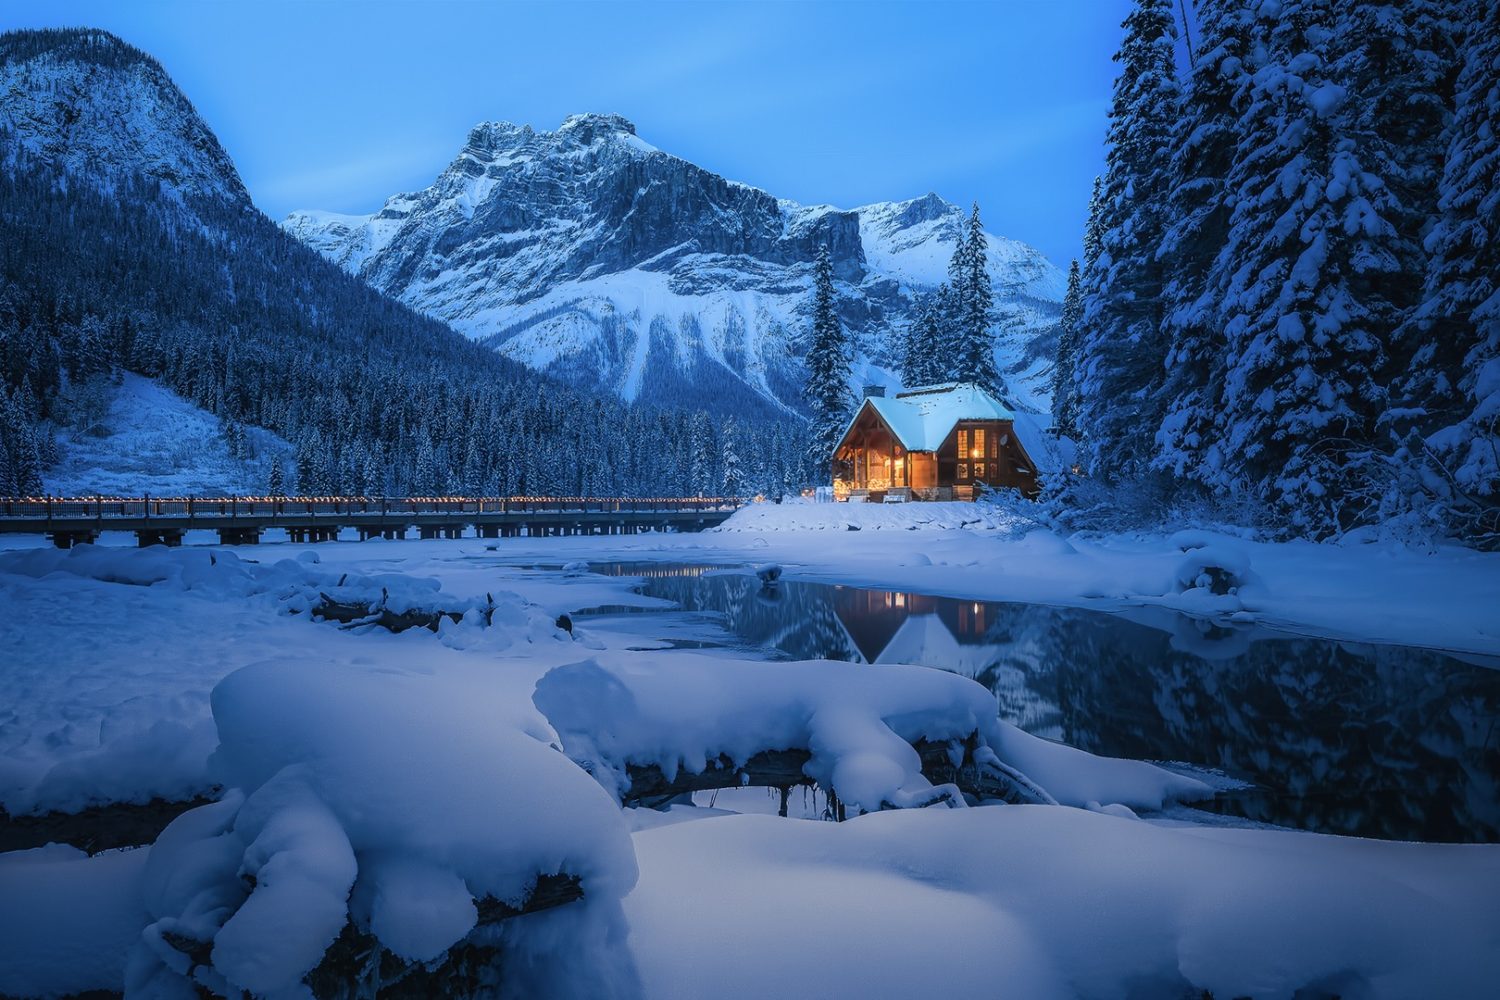
Backgrounds, whether used in the studio or on location, can instantly elevate a portrait, so consider colors and materials that suit the model and the mood of your session. Aside from seamless paper and fabric backdrops, you can also find natural backgrounds when shooting outdoors: colorful walls, lush foliage and flowers, or open sky.
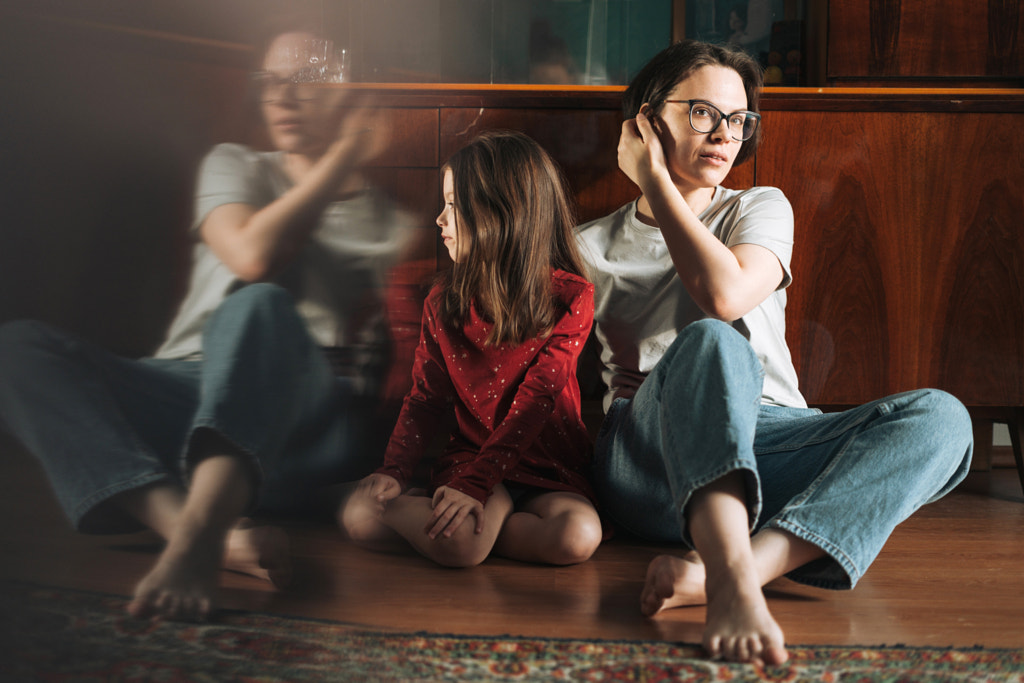
Photographing people at home can also help to put them at ease, while also giving you more opportunities to capture details of their lives and personalities. Another easy way to create a pleasing background in the field is to open up your aperture to create some bokeh and background blur behind your model.
Styling
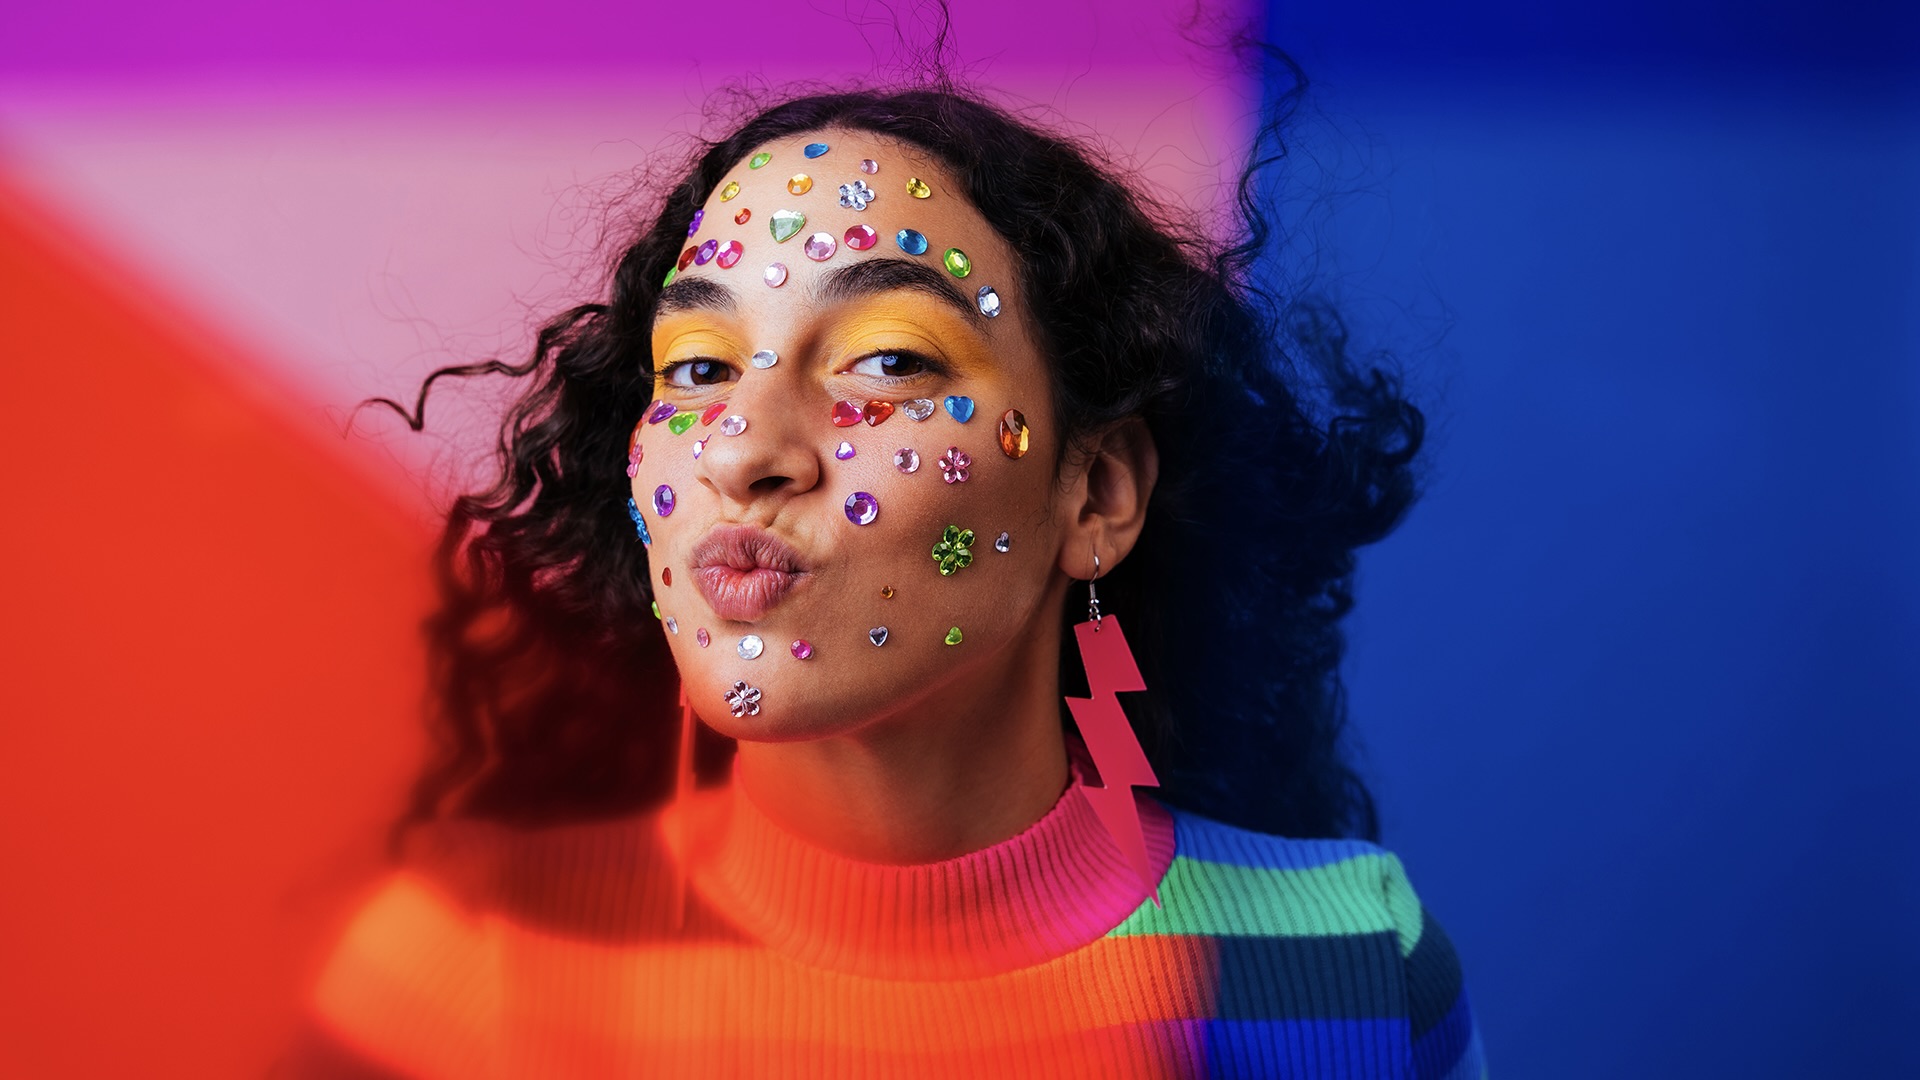
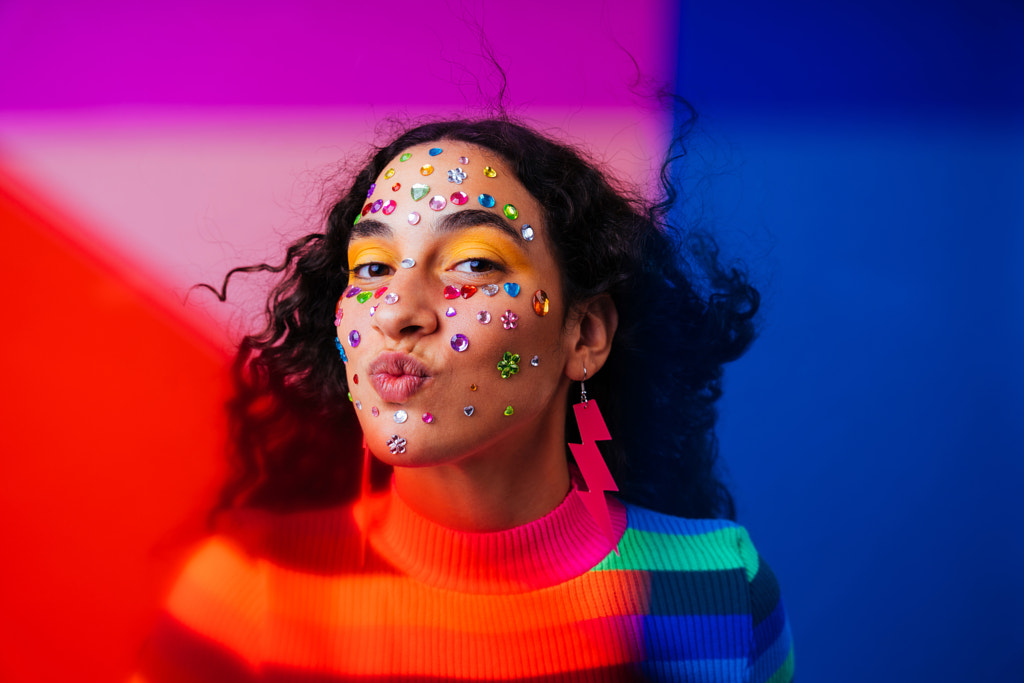
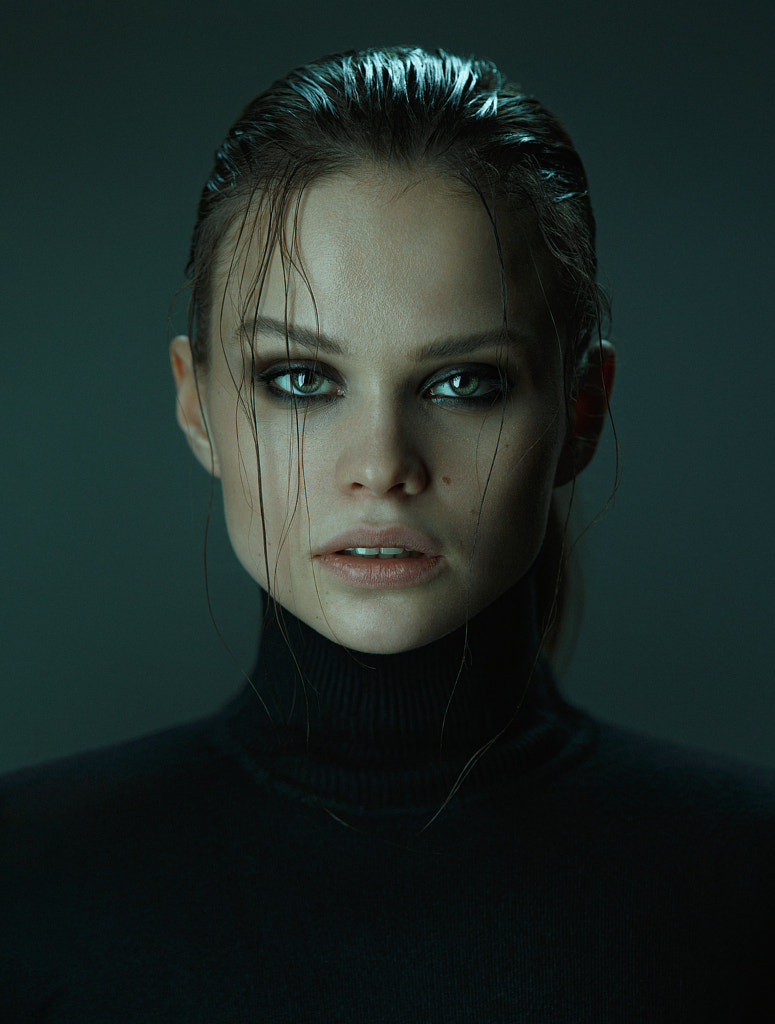
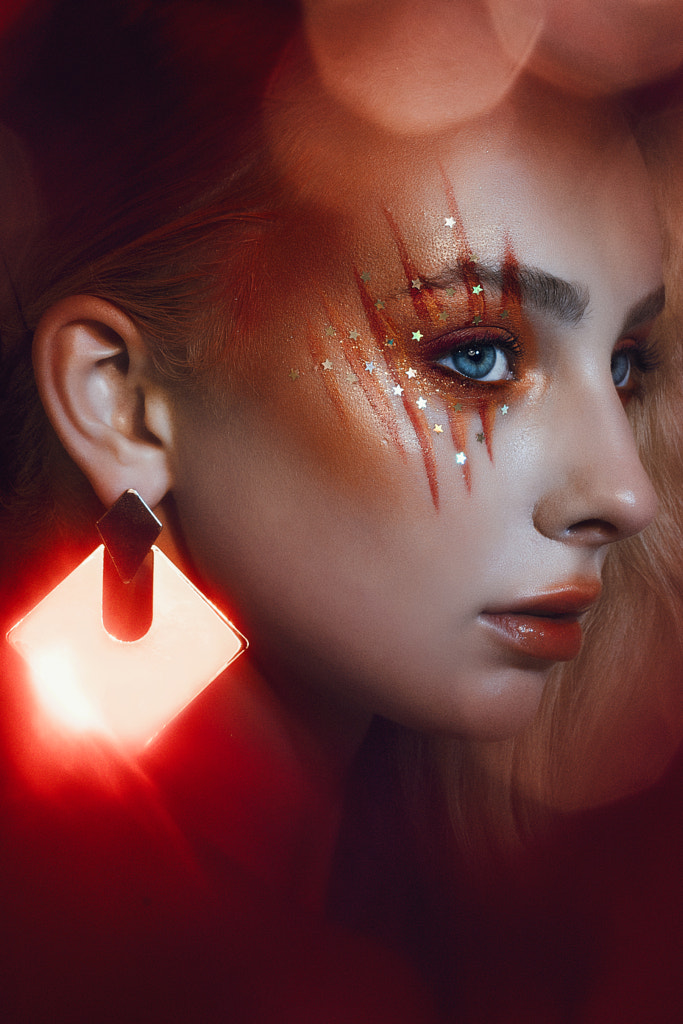
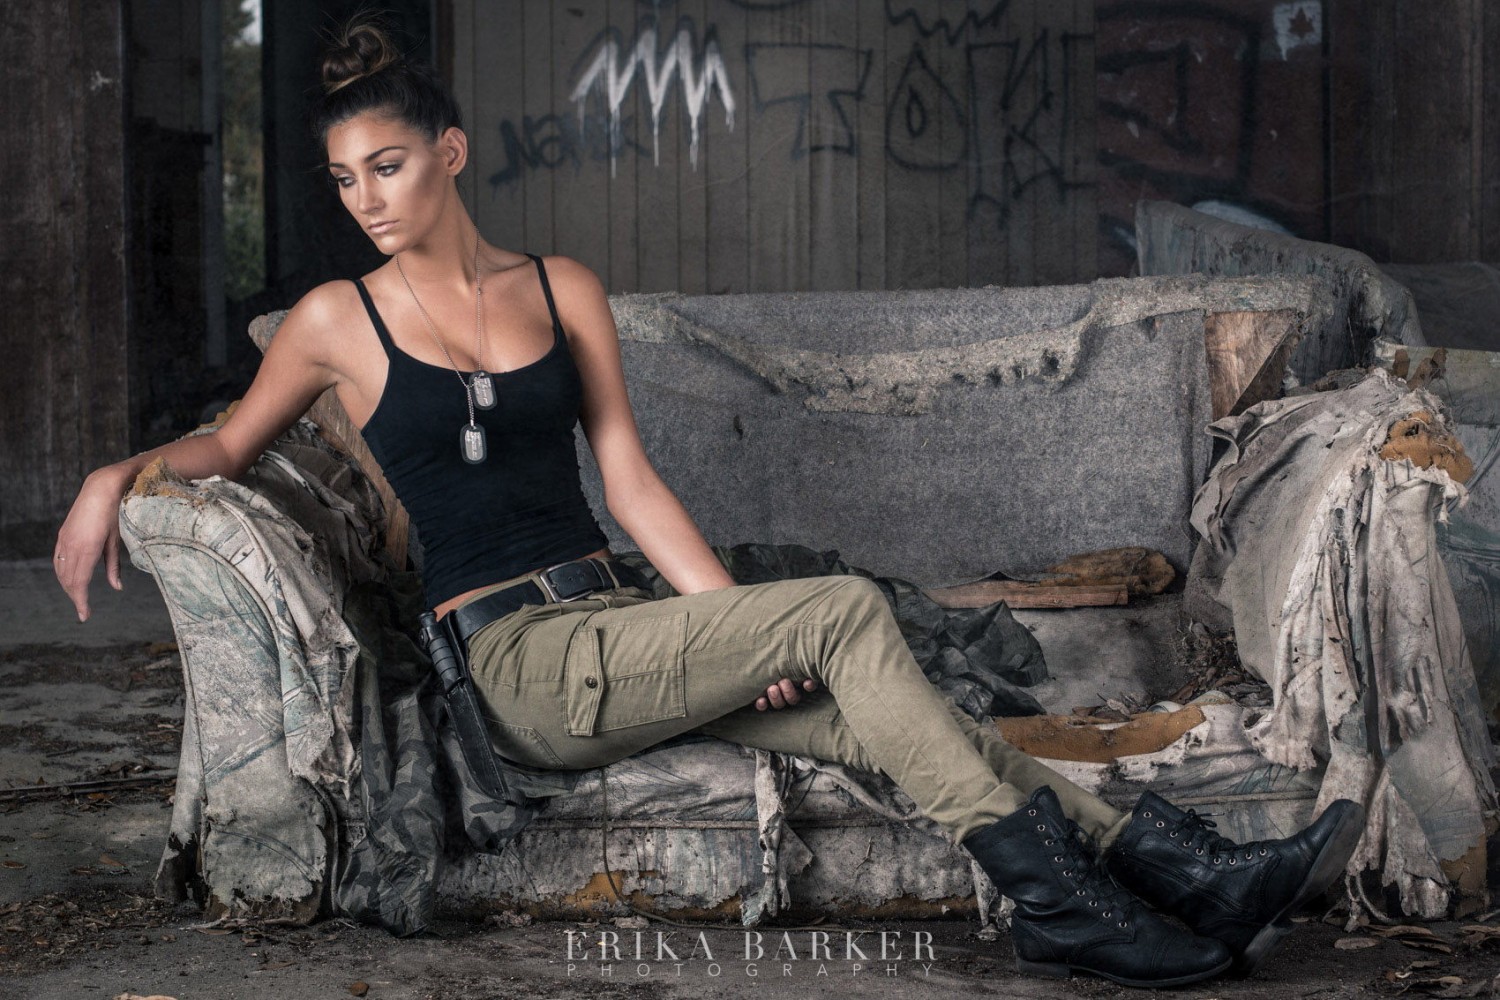
As a general rule, timeless, neutral clothing works best for portraits. At the same time, personal items like jewelry can help capture someone’s story, so take your model’s style into account. Consider, too, a touch of color: Lisa-Marie McGinn’s use of orange makeup in the portrait above creates contrast and brings out the model’s bright blue eyes.
Creative compositions
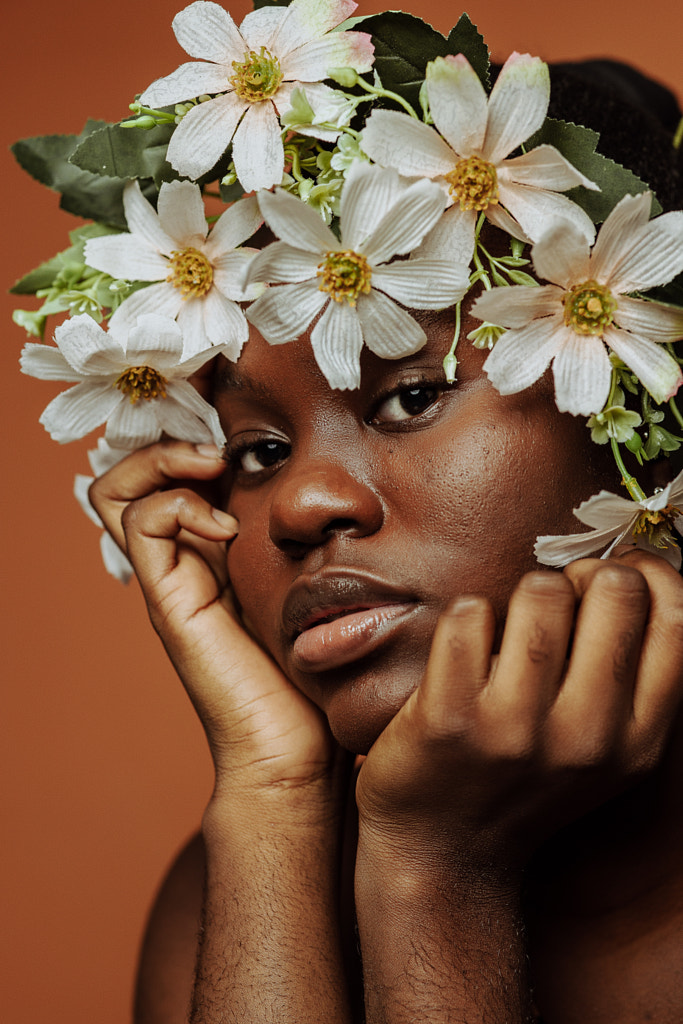
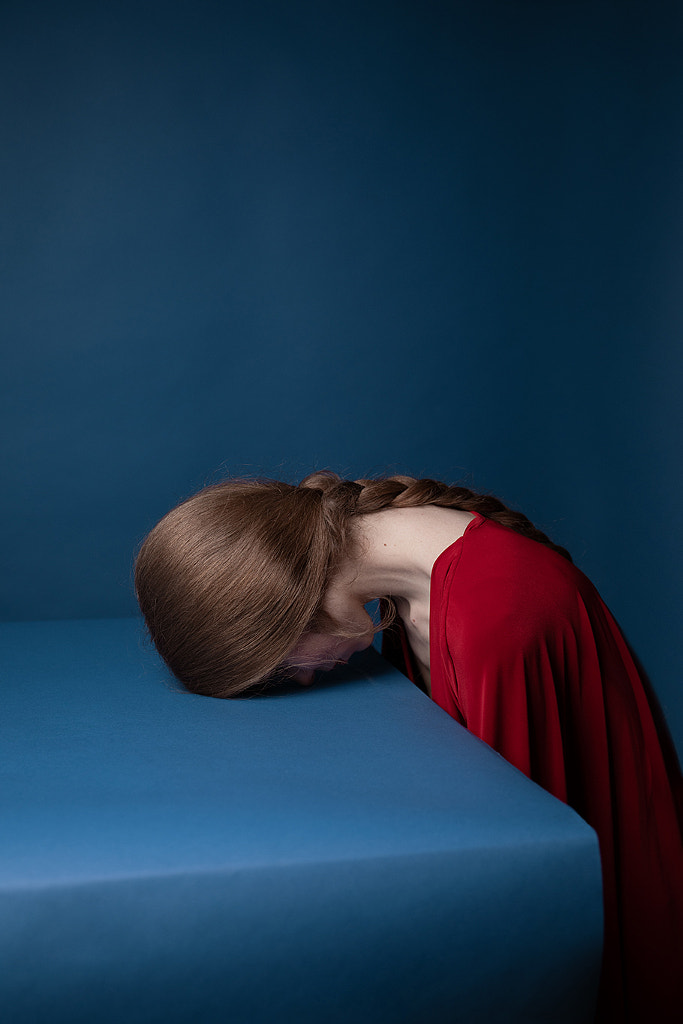
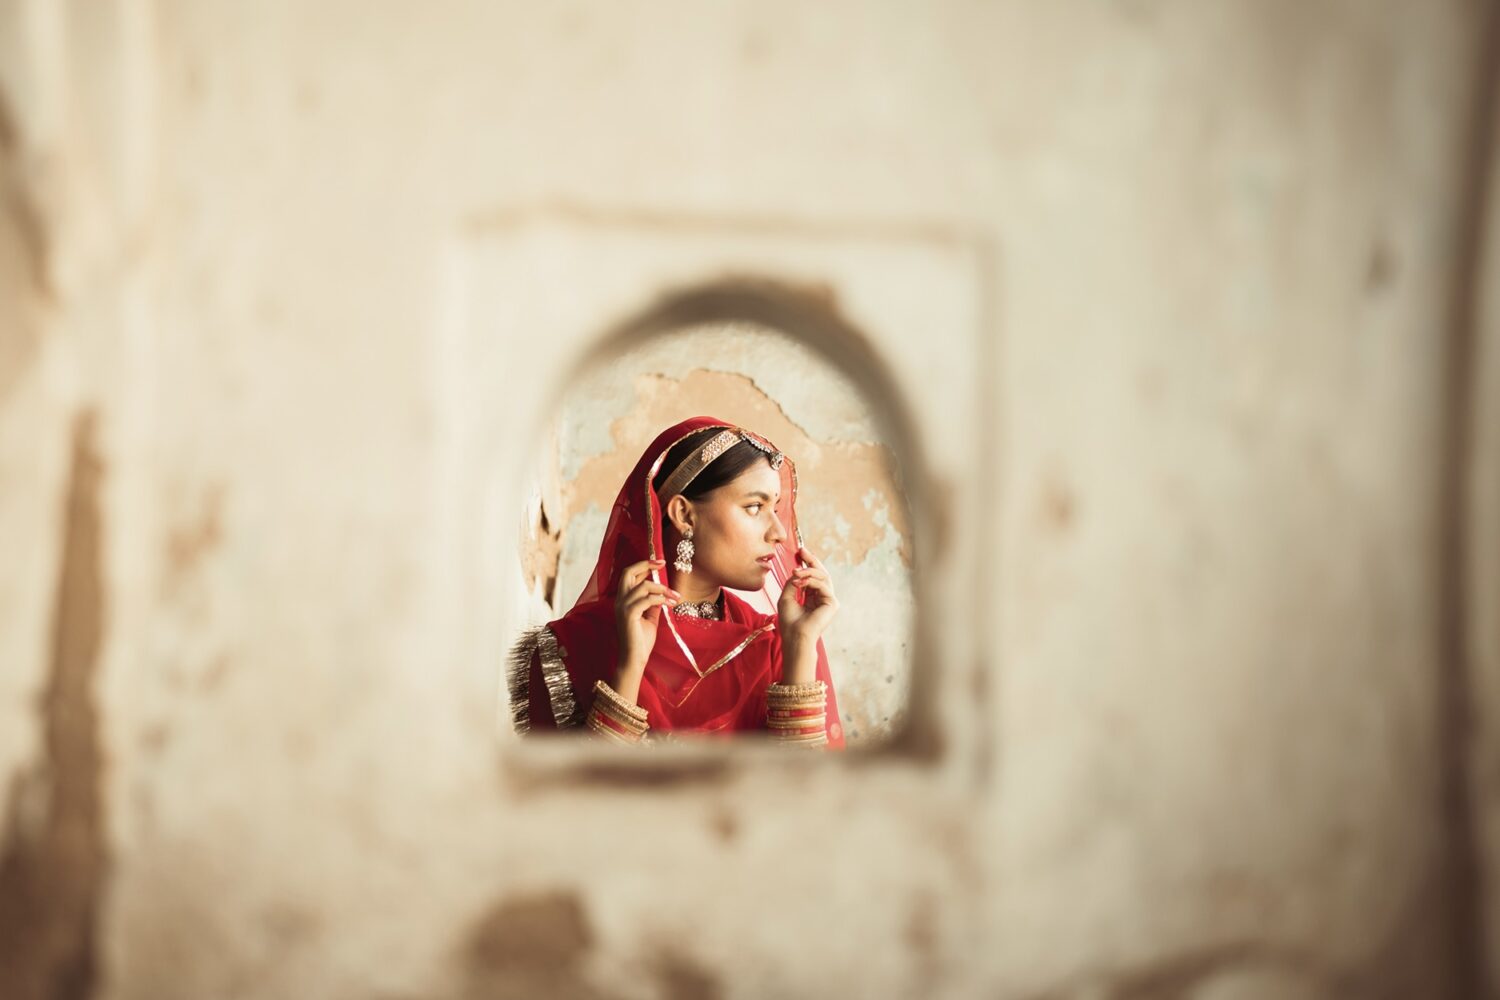
Depending on your vision for the session, feel free to embrace unconventional ideas or even bend the “rules” associated with portrait photography. Faceless portraits, for instance, can help create a sense of mystery while also tapping into universal themes and emotions.
Similarly, up-close or personal portraits can reveal details about your model that others might miss. Change your angles by getting below or above your subject and capturing something easily overlooked from a new perspective.
In conclusion
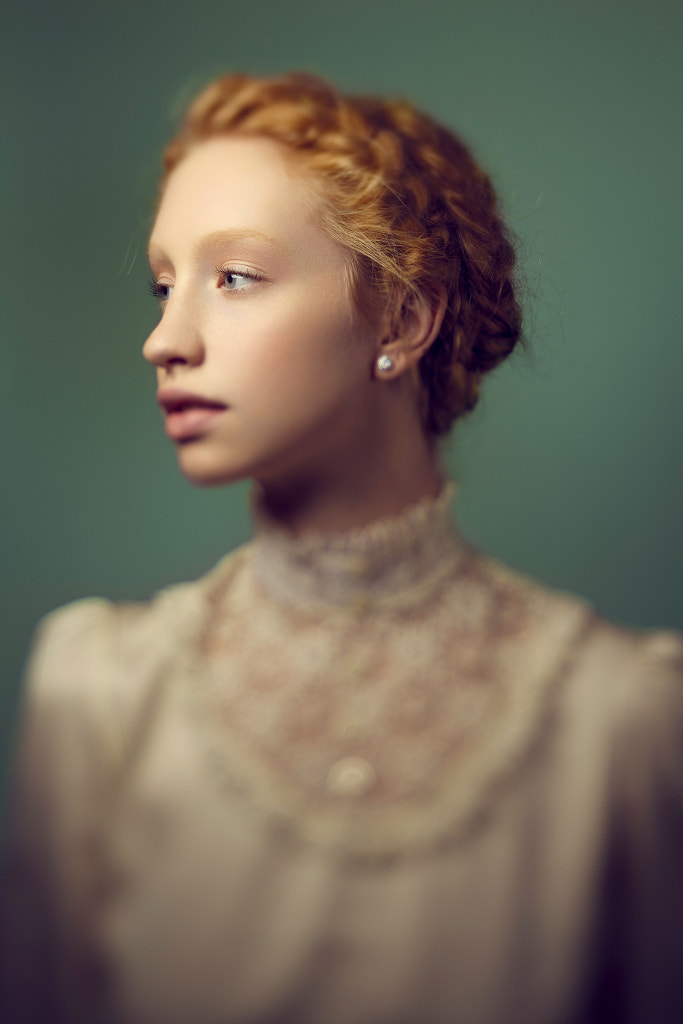
When creating the portrait above, Angela Perez was inspired by the Victorian era. To emulate the dreamy style popular in creative photography at the time, she chose a fully manual Lensbaby Composer Pro lens, which is commonly used for architecture and landscapes. “My inspiration was wet plate collodion images, and I wanted to see how I [could] get a similar effect with a digital camera,” she writes. “The effect is all done in camera, no Photoshop.”
The lesson is this: portraits are always unique to the artist and the model, and there’s no such thing as “one size fits all.” The more people you photograph, the more comfortable you’ll get with your own style—and the potential of stepping out of your comfort zone.
Not on 500px yet? Sign up here to explore more impactful photography.
Leave a reply