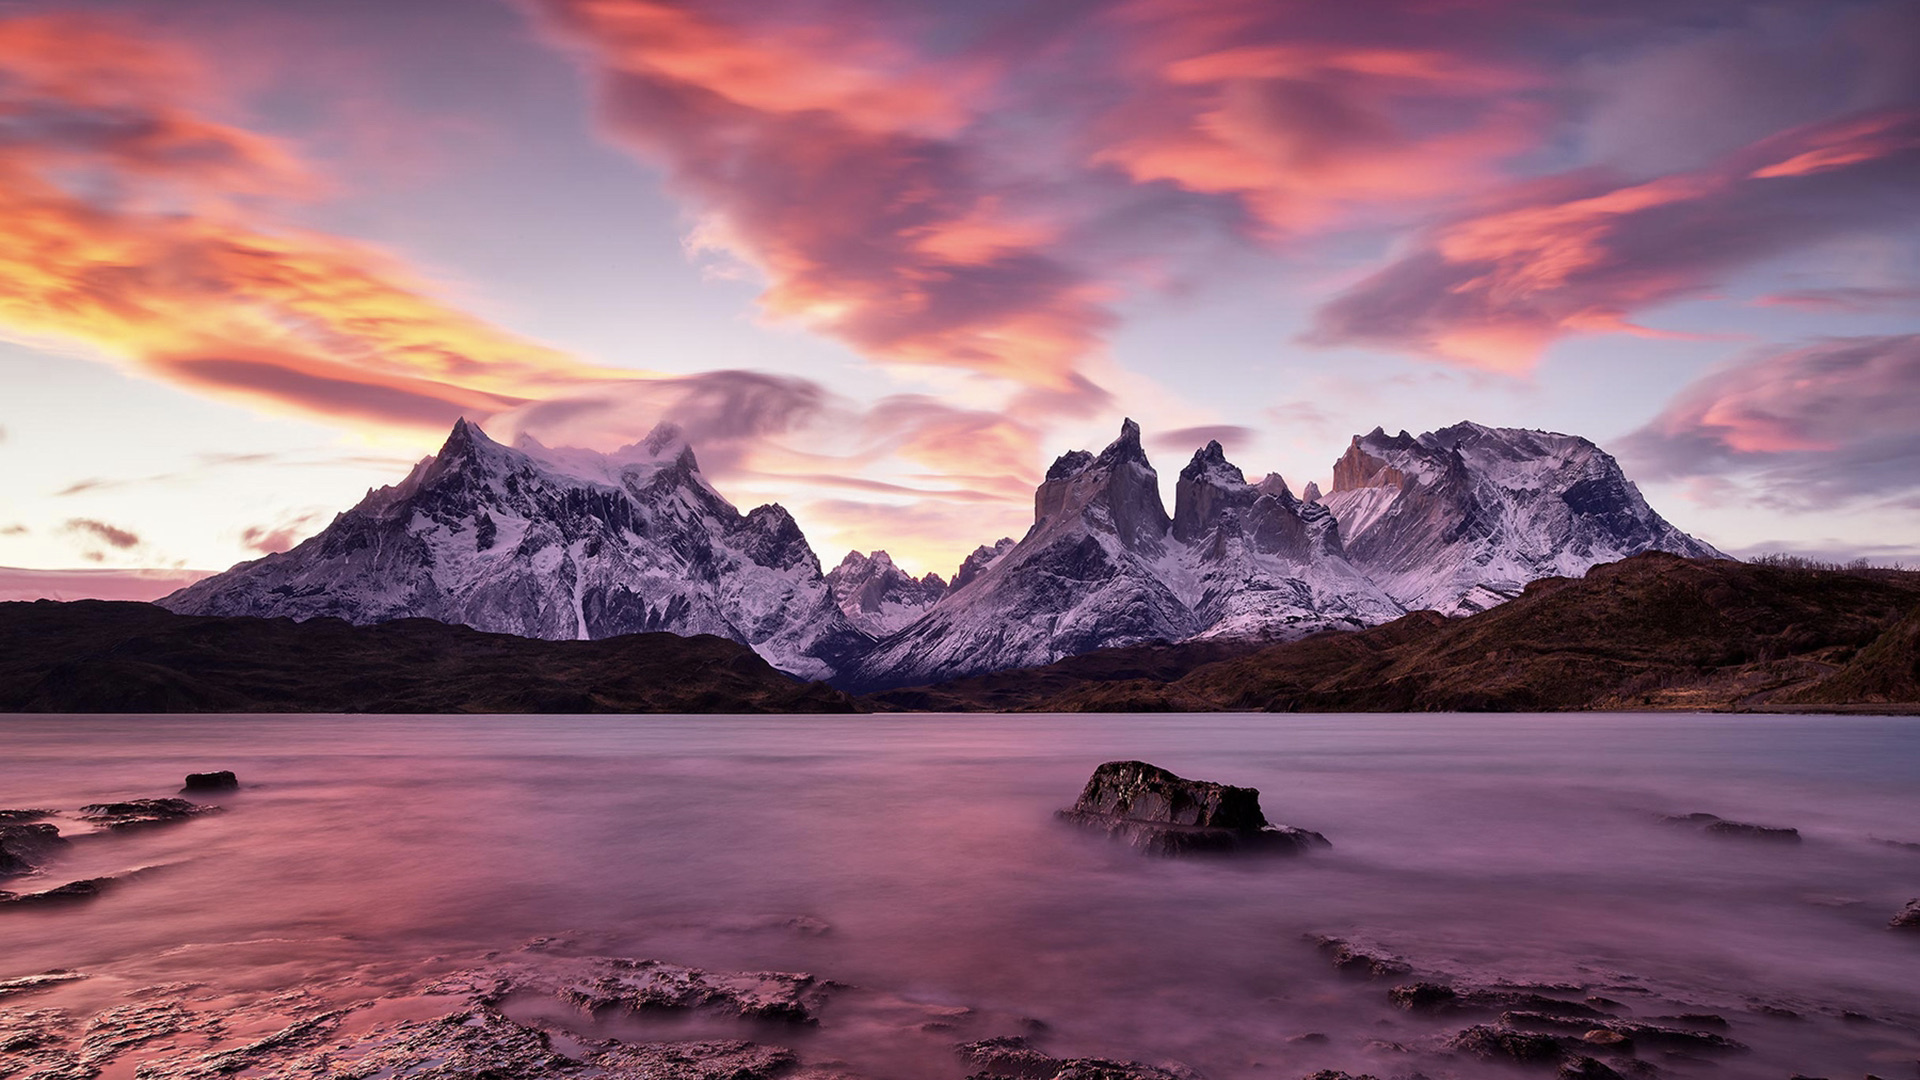
For some photographers, a mere fifteen minutes of sunset is worth a lifetime of traveling. Take, for example, Paul Reiffer, a UK-based photographer who spent years journeying across the globe to capture sunsets over Bonsai Rock, the Empire State Building, the Moeraki Boulders, Pulpit Rock, the Tokyo Tower, and beyond.
In Torres del Paine, Patagonia, he sat for hours on a tiny lakefront outcrop, as the winds blew and the colors shifted before his eyes. On another occasion, he visited a pristine Yosemite on the off-season, watching the sky illuminate overhead. He’s hiked in the mountains of Iceland beneath the midnight sun and caught a reverse sunset at Lake Tahoe’s Emerald Bay.
Sunsets are unpredictable and fleeting, but for a few adventurous souls, that’s where the magic lies. As we enter the mid and late-winter weeks—also known as peak sunset season—we put together this quick guide to shooting vivid skies. Read on for ten simple tips for getting started.
Plan ahead
The sunset itself is fleeting, so do some work behind-the-scenes to boost your chances of success. First, scout your location during the daytime to find a vantage point and composition that suits your vision. Create some test shots to kickstart the process. Get everything ready in advance, and track the sun using an app like PhotoPills or The Photographer’s Ephemeris to make sure the time of your shoot will coincide with the best lighting conditions possible.
You’ll also need to check the weather report, as cloudy skies tend to make for more dynamic sunsets. Humid evenings also tend to create less saturated colors than drier ones.
A simple but easily overlooked tip: clean your lens and filters before your shoot. When you shoot into the sun, any dust spots will become more noticeable.
Beat the crowds
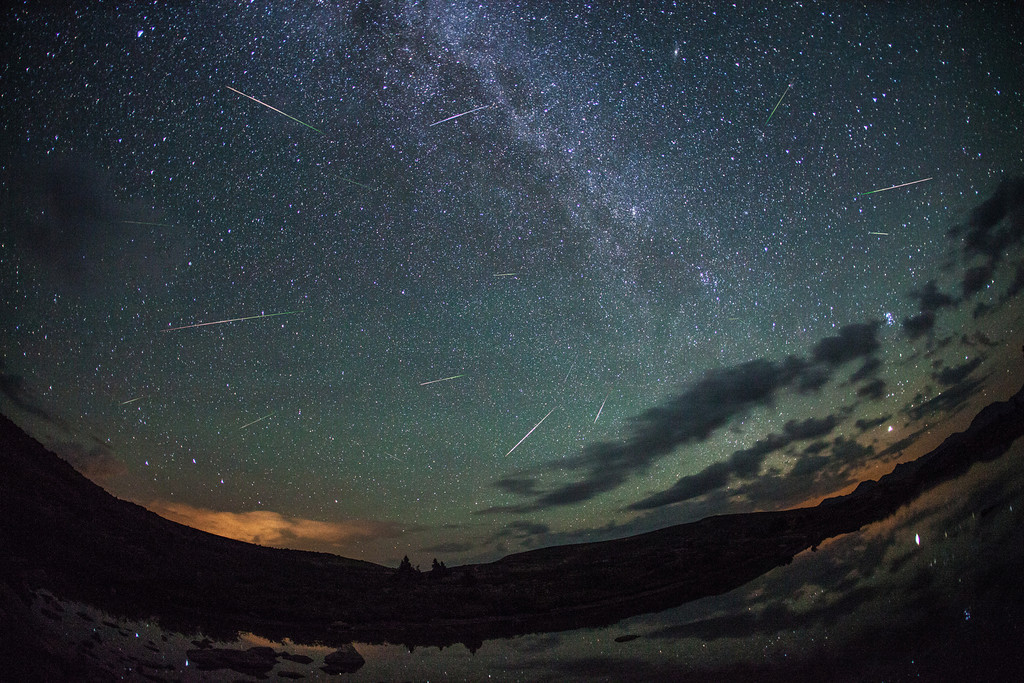
If you’re shooting at a popular location, arrive early to avoid crowds and set up your tripod in the perfect spot. Give yourself more time than you think you need, and bundle up in layers for added warmth once it gets dark. When you’re done, stick around, even after everyone else has left. Sunset photography includes the golden hour, but many forget to linger and enjoy the blue hour and twilight as well.
It can help to choose an area or landscape close to home, so you can return as often as possible. Not only will you be able to visit during the “off-season” and get images others have missed, but you’ll also be able to observe how the sunset changes throughout the year. After all, the same location will look significantly different during winter and summer sunsets.
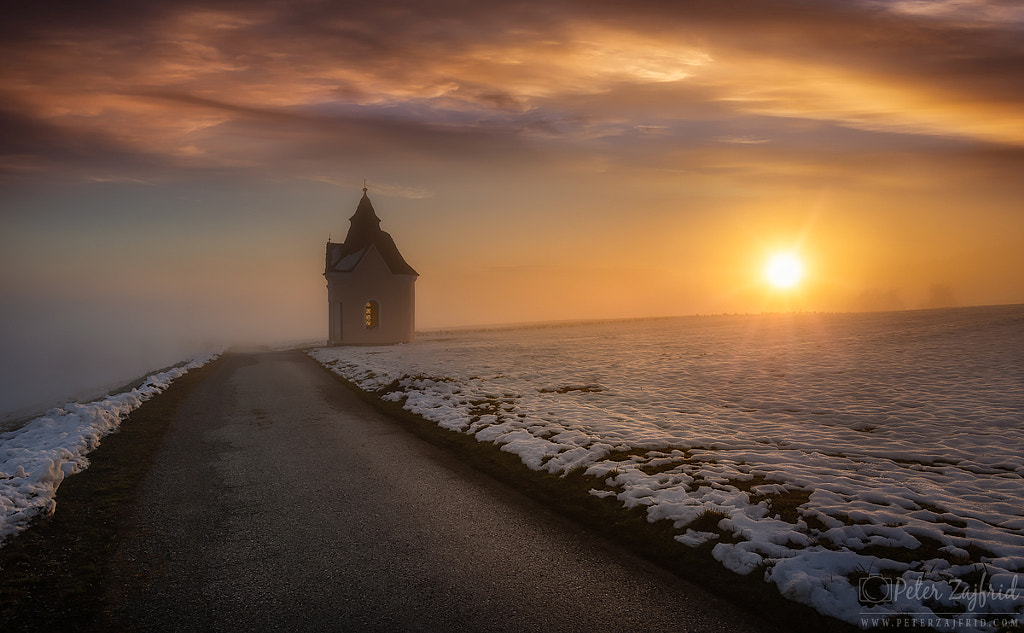
Carry a flashlight
You’ll arrive in the light, but don’t forget you have to make the trip back to your car or bike. If you’re shooting sunsets, you’ll travel in the dark, so bring a flashlight or headlamp to illuminate your path. It’s also a good idea to know the terrain as well as possible and study it before your trip. As a bonus, you can also use your flashlight to set your focus, as your camera might struggle in low light.
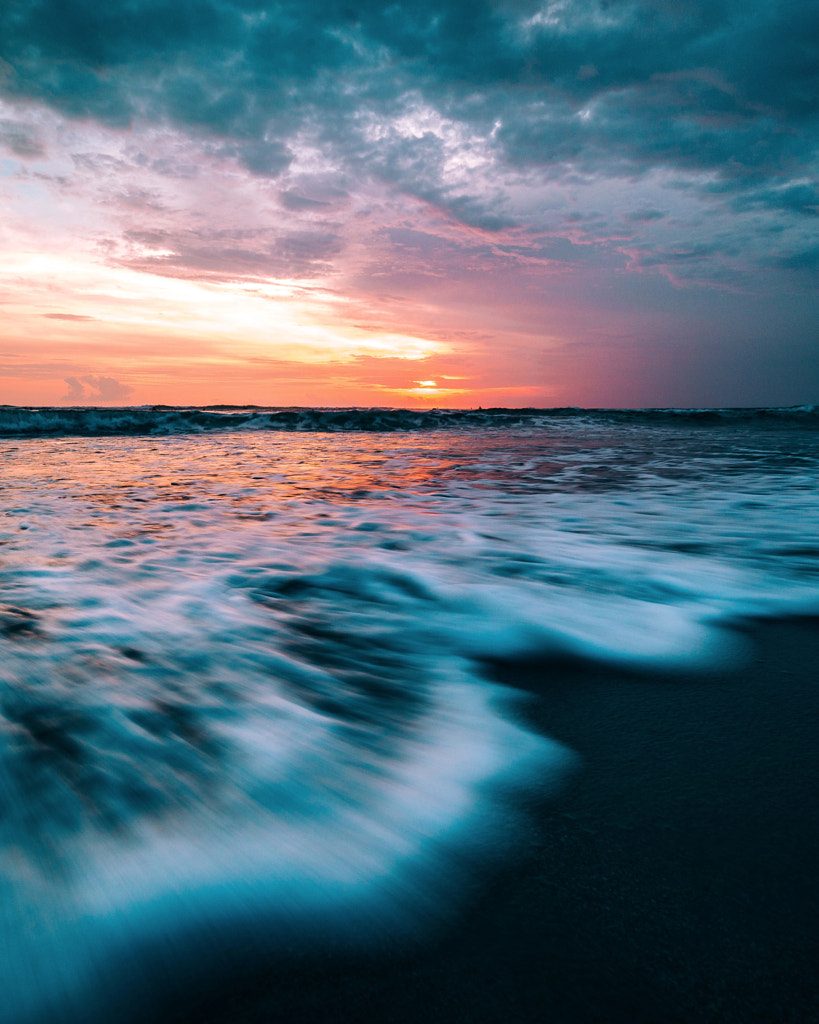
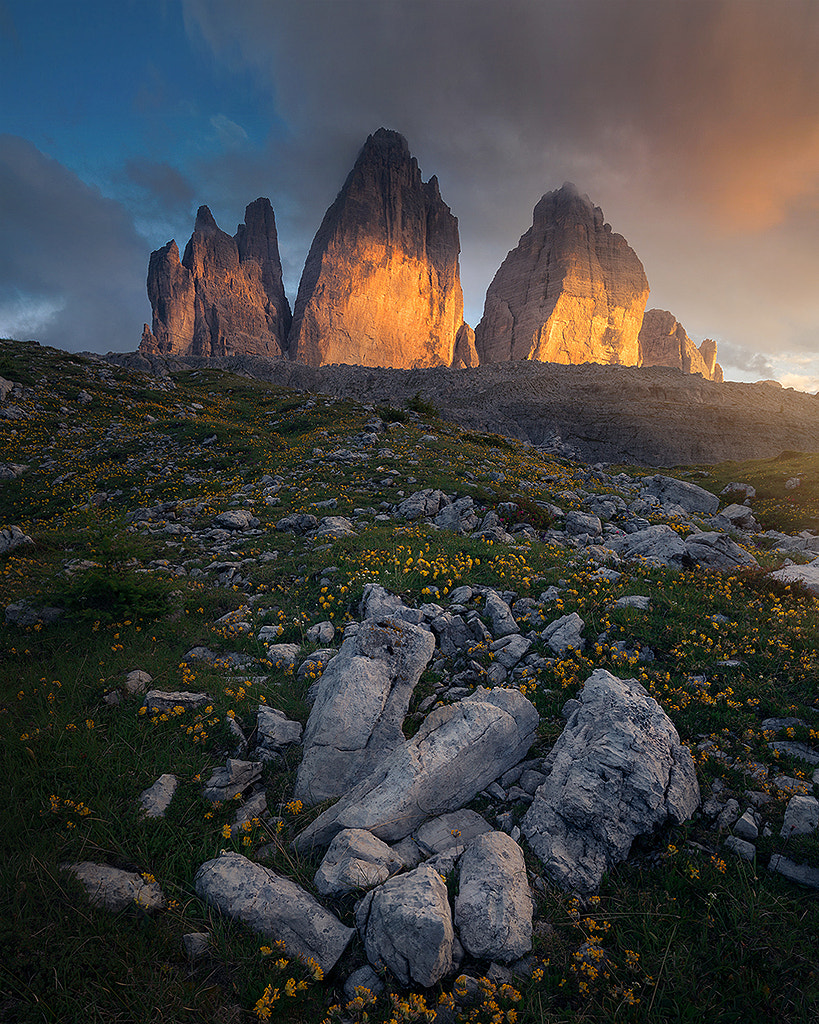
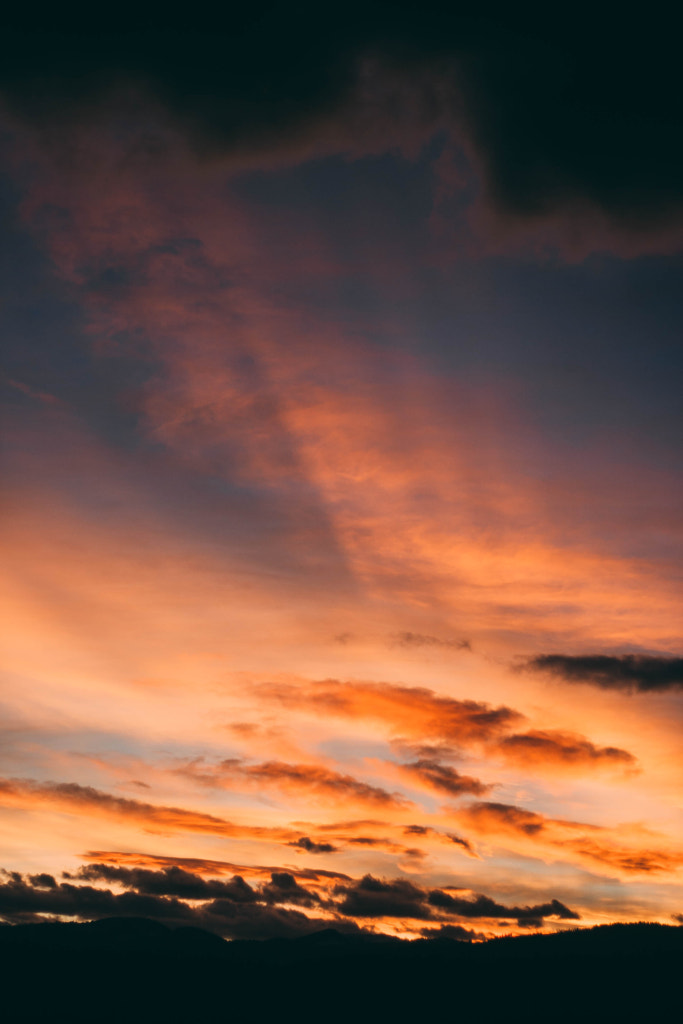
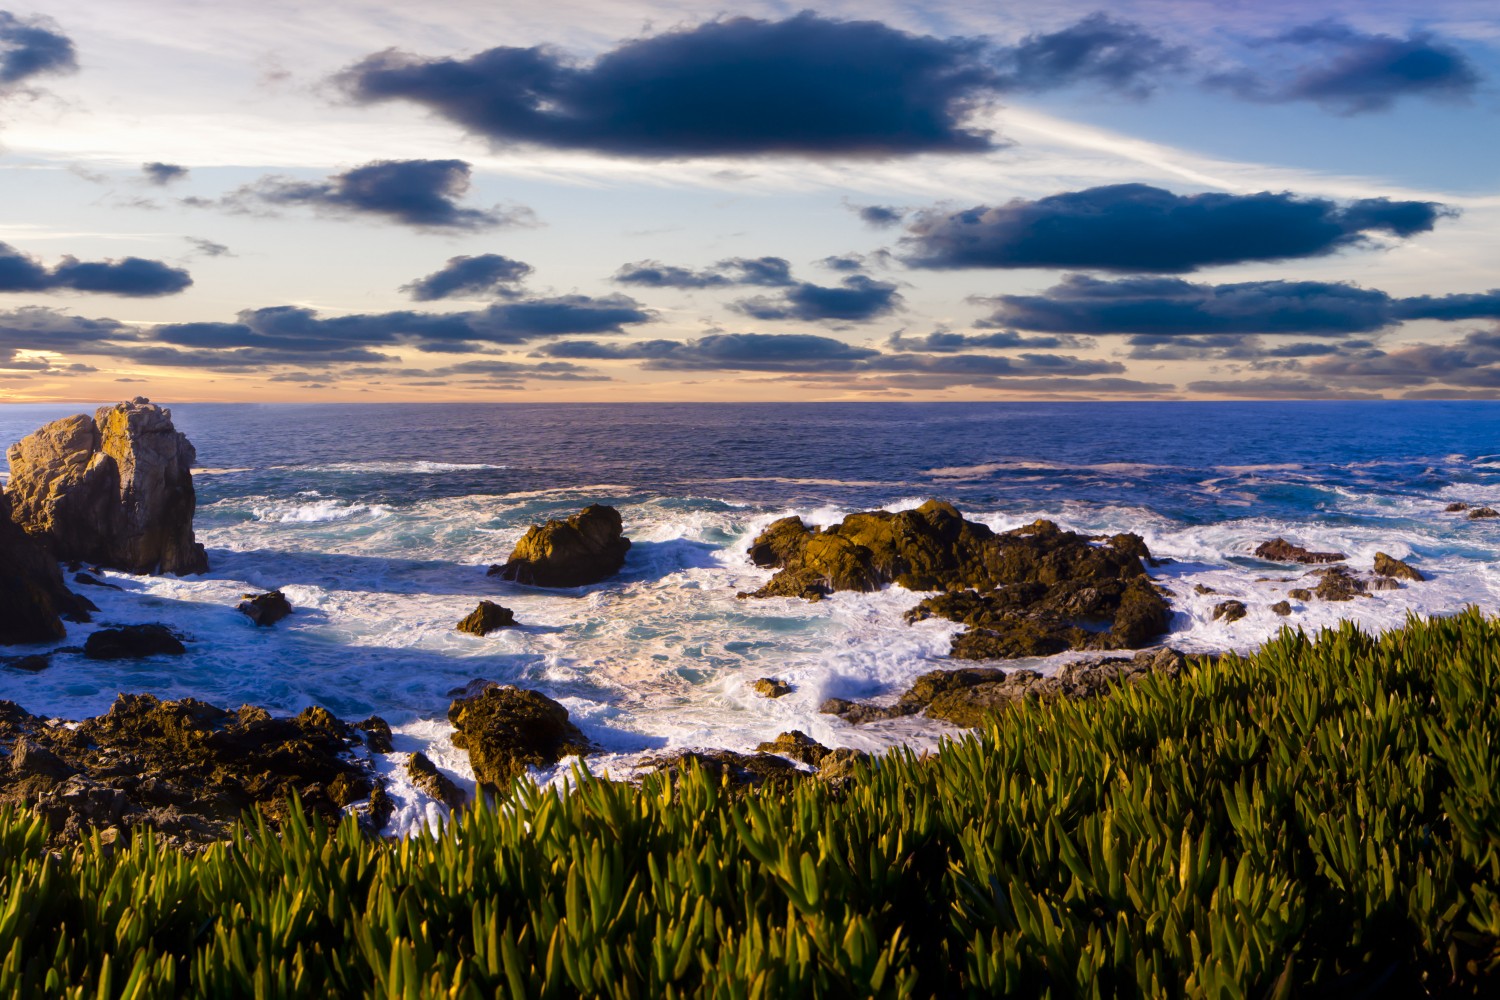
Play with color
Think of the golden hue of sunset as an invitation to experiment with color. Perhaps you pair the oranges of the sun with the blues of the sea for a complementary color palette, or you go for a harmonious look by pairing the sky’s fiery reds with the warmer tones found in sand. Each color choice will convey a different mood, transforming your scene from energetic to serene and back again.
Sunsets are often saturated, so you could add drama by combining them with an equally saturated foreground—or bring out those colors even more by incorporating a desaturated, grayish foreground. When choosing your subject, and editing in post, look for compelling color schemes; you can refer to our article on color theory for ideas.
Shoot in manual mode
One potential pitfall that comes with shooting sunsets is having a well-exposed sky and underexposed foreground subject; alternatively, you could end up with a well-exposed subject and a blown-out sky. For full control over your exposure, consider switching to manual mode, and keep your eye on your settings as the sun moves throughout the sky.
Check your exposure frequently via your LCD—and keep an eye on that histogram. You can also try exposure bracketing for more options. Finally, consider a custom white balance to finesse the color temperature of your photo. One more tip for avoiding overexposed skies would be to bring a graduated neutral density filter to reduce the exposure above the horizon, while keeping the light the same below. Finally, shoot RAW so you can recover more details in post.
Turn around
A simple if often overlooked technique is to do a spin and survey your surroundings. It’s easy to focus on the sun itself, but don’t forget to look around to see how the light illuminates your surroundings. Look in all directions for interesting clouds, buildings, or shadows. If you’re in a popular spot, you might find that all the other photographers are facing in one direction, while missing out on another remarkable moment unfolding just behind them.
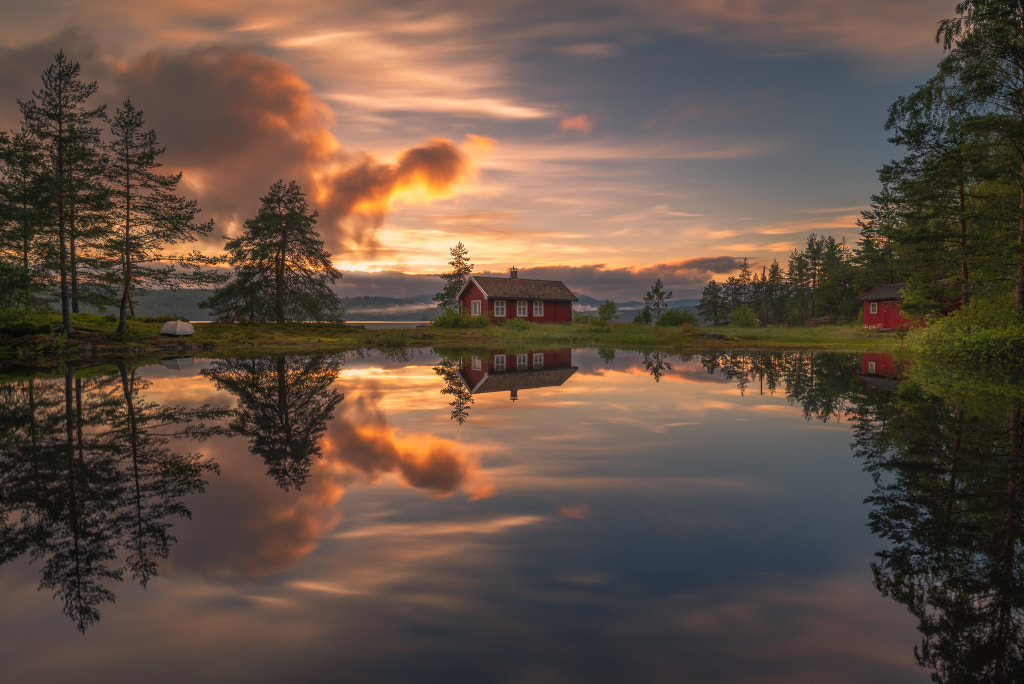
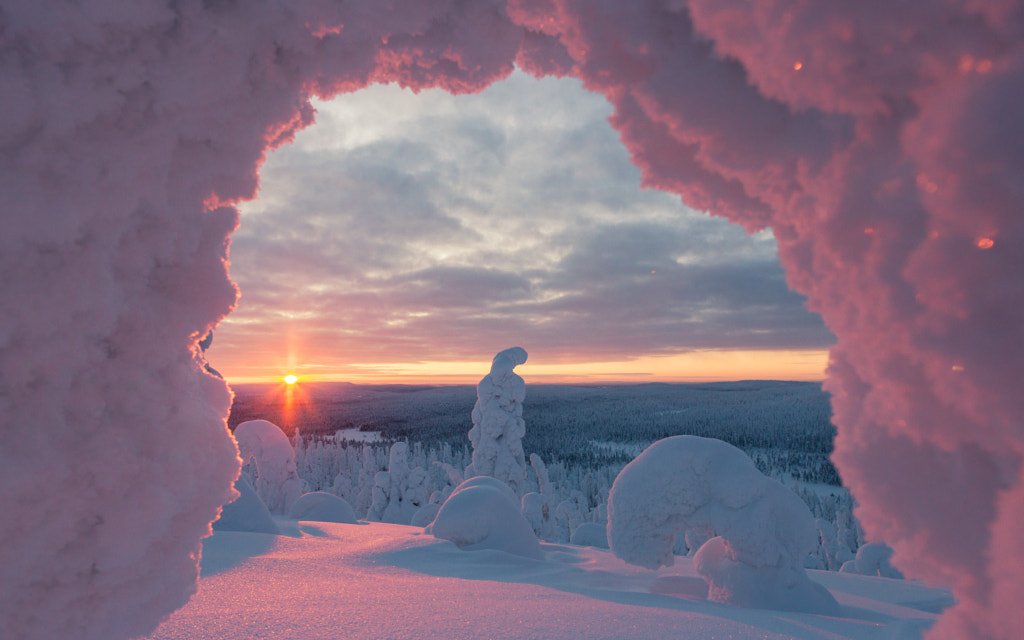
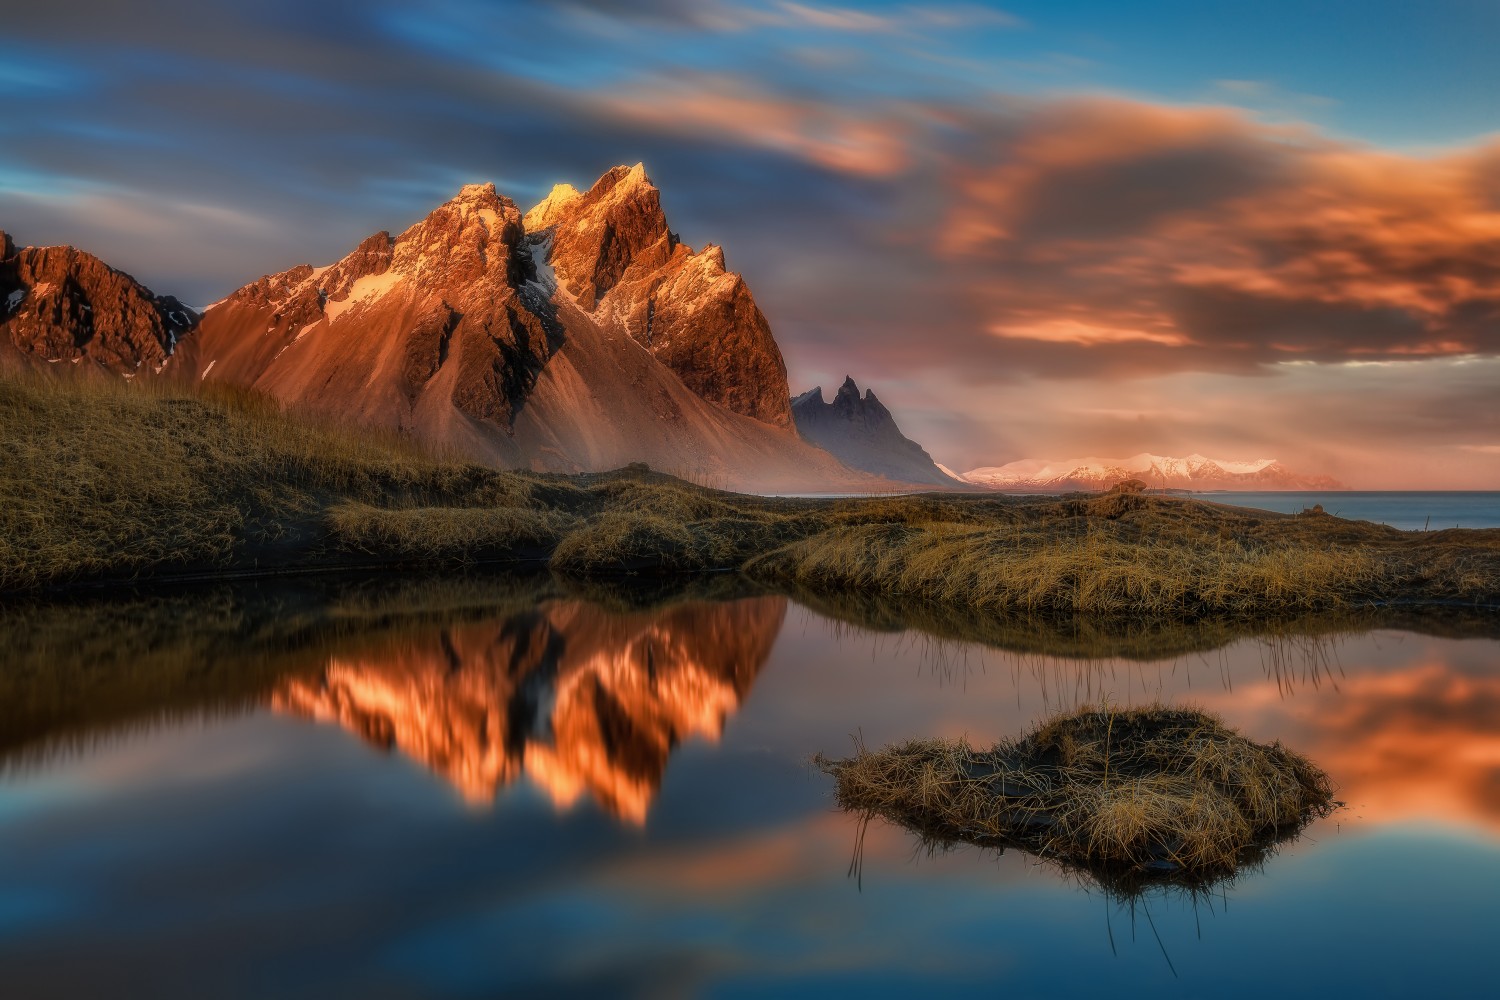
Incorporate reflections
Photographers have been capturing sunsets for generations, so the more creative you can get, the better. Even a small pond can transform an otherwise ordinary sunset into an ethereal moment. Look for naturally occurring reflections in lakes and streams, or use mirrored buildings for a similar effect. If you want to take it a step further, you can bring a mirror from home or frame the sunset in the reflection of a car mirror.
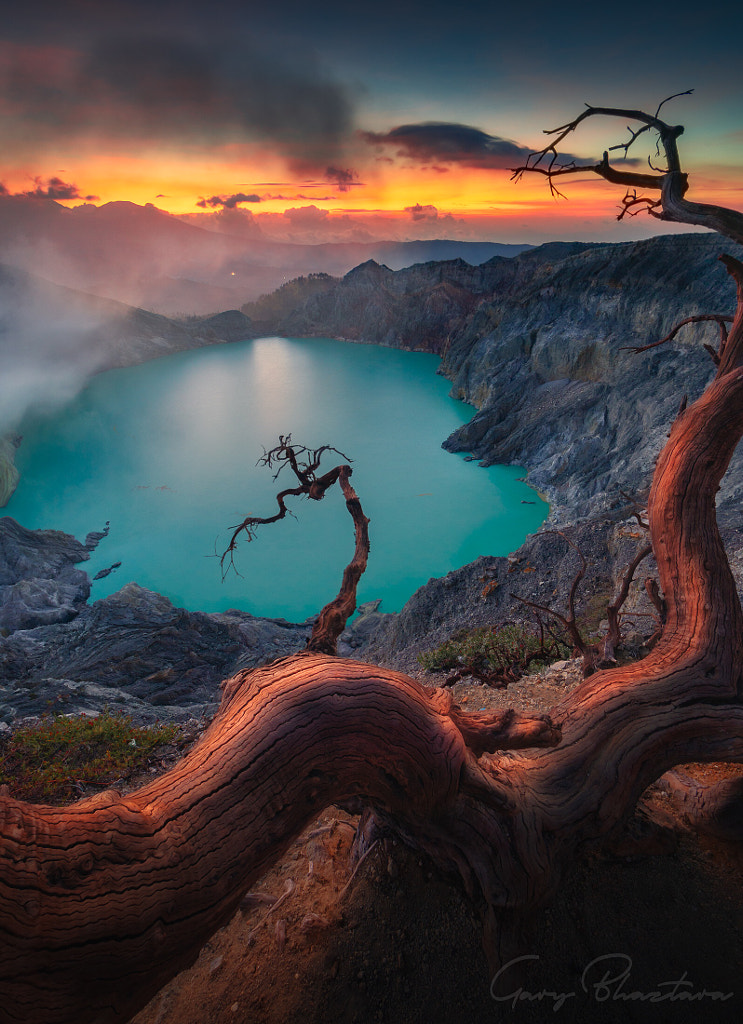
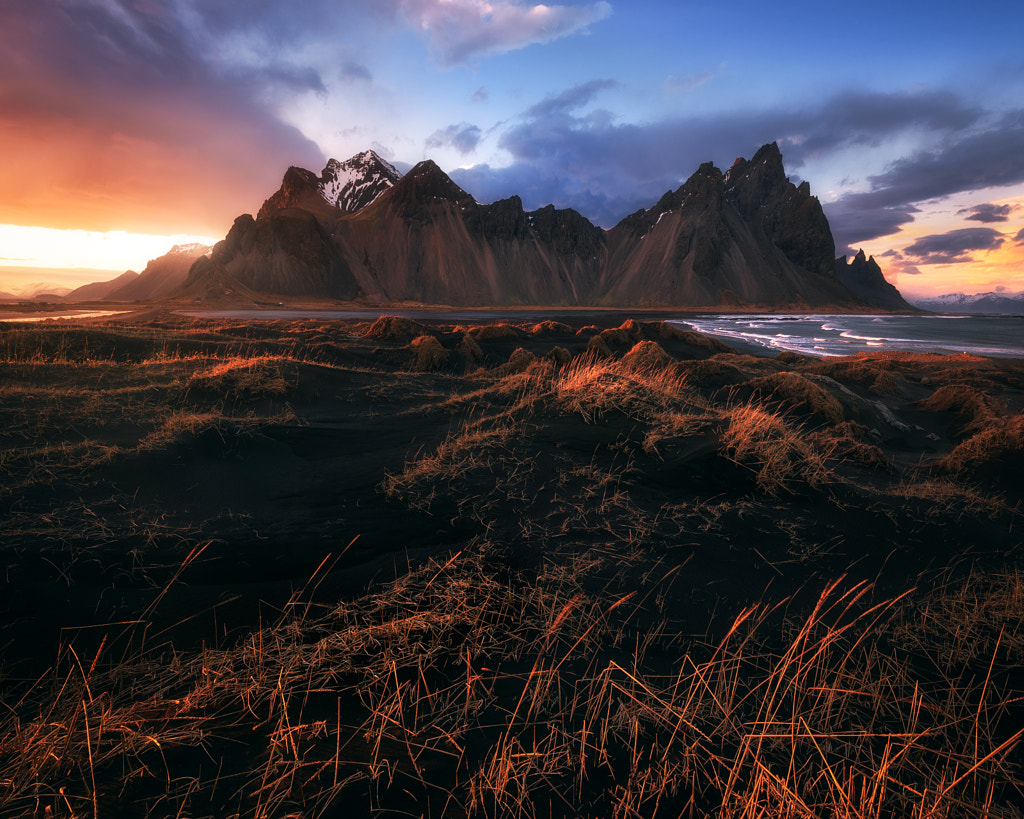
Move your horizon line
Many photographers instinctively place the horizon line either along a thirds line or in the center of the frame. These compositions often work, but they can also feel limiting, especially when you’re shooting sunsets. For example, if the sky is vibrant and saturated, feel free to move your horizon line down past the third’s line to emphasize its colors and textures. If the sunlight is illuminating the landscape, you can push your horizon upward to include more of the scenery. Give yourself the freedom to change things around depending on your environment.
Bring a few lenses
The same sunset will take on an entirely different character when photographed with a wide-angle or telephoto lens. While the first will offer a wide angle of view, bringing the surrounding landscape to life, the second will home in on a specific part of the landscape and magnify the sun’s orb. Remember to avoid looking directly at the sun (with your eyes and through your viewfinder), as it can damage your vision.
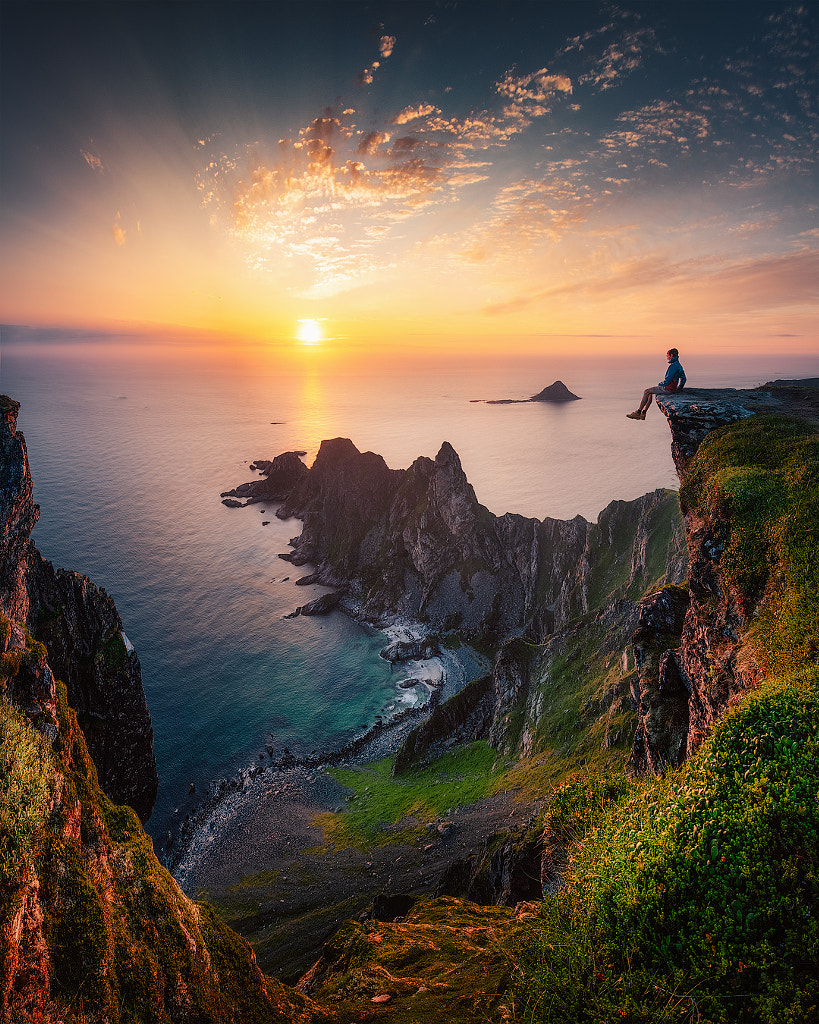
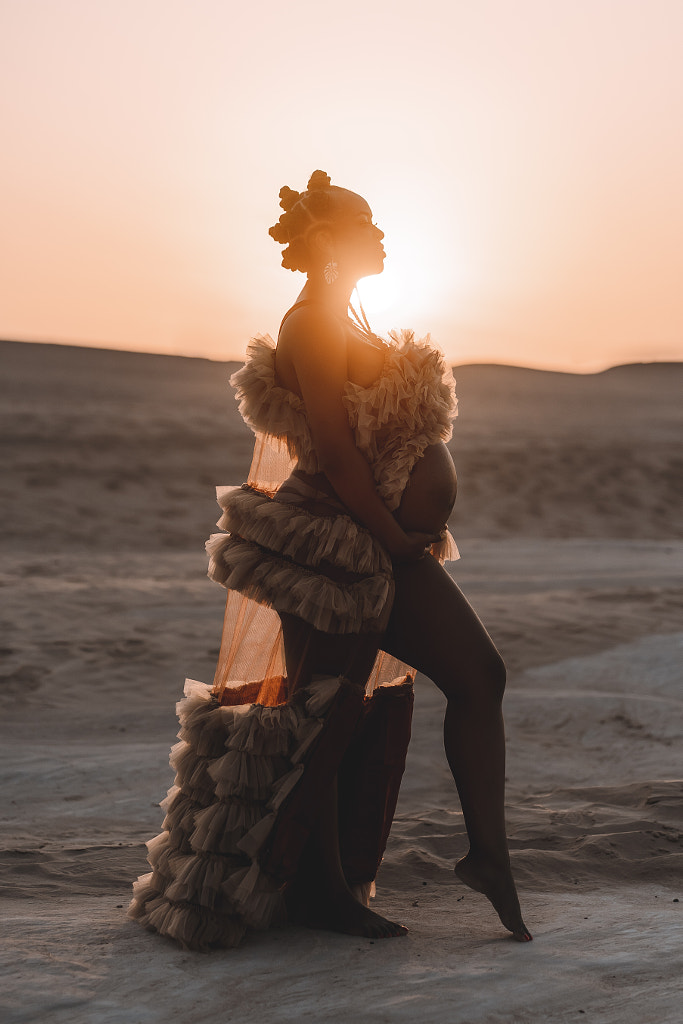
Get in the frame
Tomas Havel is well-known for his self-portraits, but they aren’t the kinds of self-portraits you’d expect. Instead, he’s photographed himself in the wild summits and coasts of Northern Norway and beyond, seen as a tiny figure amid a vast expanse of land.
By jumping into the frame with his sunsets, he provides a sense of scale as well as a reminder of the majesty of nature and our responsibility to protect it for generations to come.
Not on 500px yet? Sign up here to explore more impactful photography.


Leave a reply