This summer, New York City launched its largest-ever marketing initiative to coincide with the reopening of restaurants, festivals, fairs, and events. After a difficult year, tourism to the Big Apple is gradually showing signs of recovery, with the $30 million ‘NYC Reawakens’ campaign encouraging travelers to return. Landmarks like the Empire State Building, the Statue of Liberty, and the High Line have already reopened.
Of course, New York isn’t alone. After a year of lockdowns, the world’s cities are once again welcoming visitors. Closed businesses are reopening, and once-empty streets are bustling with people. As brands and businesses reinvigorate their advertising campaigns and adapt to “the new normal,” commercial photographers have a fresh opportunity to get outside, shoot content in their hometowns, and highlight the details that make their cities unique.
The city has always served as inspiration for creatives, marketers, and brands alike, and urban photography is a timeless genre. At the same time, there are special considerations you must take into account when shooting in urban environments, particularly in regards to property and model releases. Here are our top five tips for creating marketable commercial content for your Licensing portfolio while exploring your city.
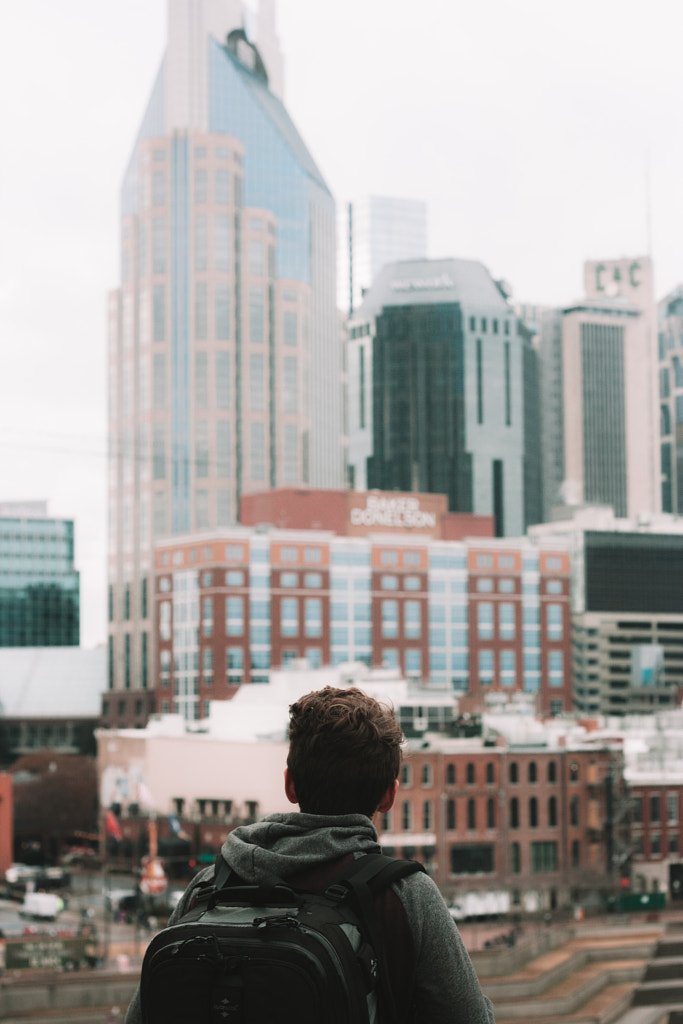
Tip #1: Include the skyline
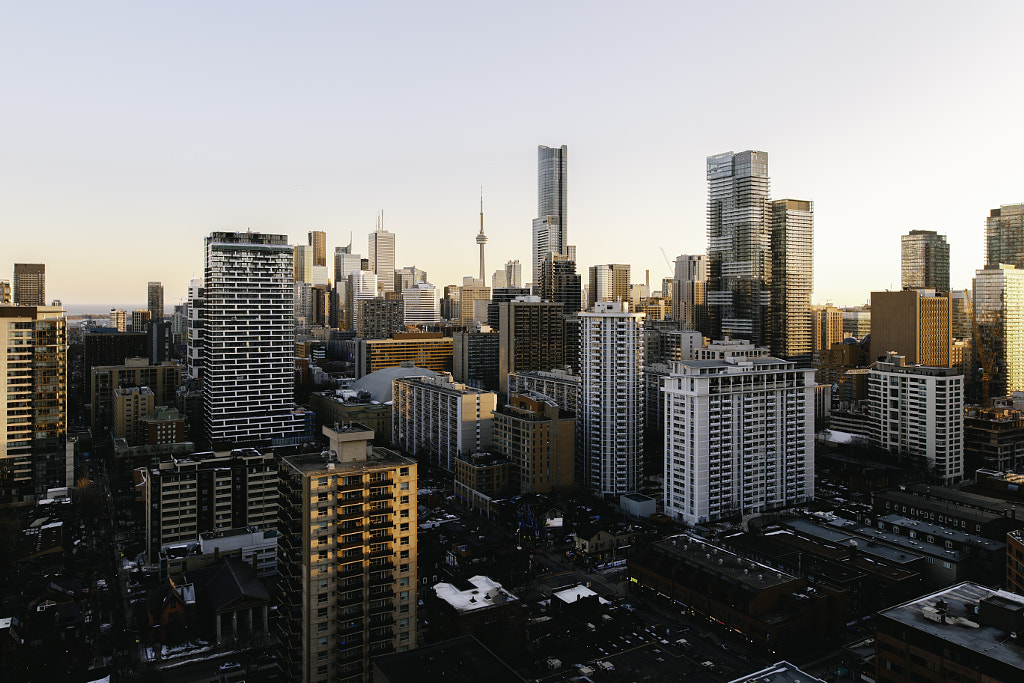
Nothing captures the spirit of a city like a good skyline photo. For inspiration, check out Michael Kors’s recent campaign, featuring a photo of model Bella Hadid with the iconic city skyline in the background. Wanderlust-inducing golden hour skylines are always in demand, whether you’re shooting for a tourism board or a leading fashion brand.
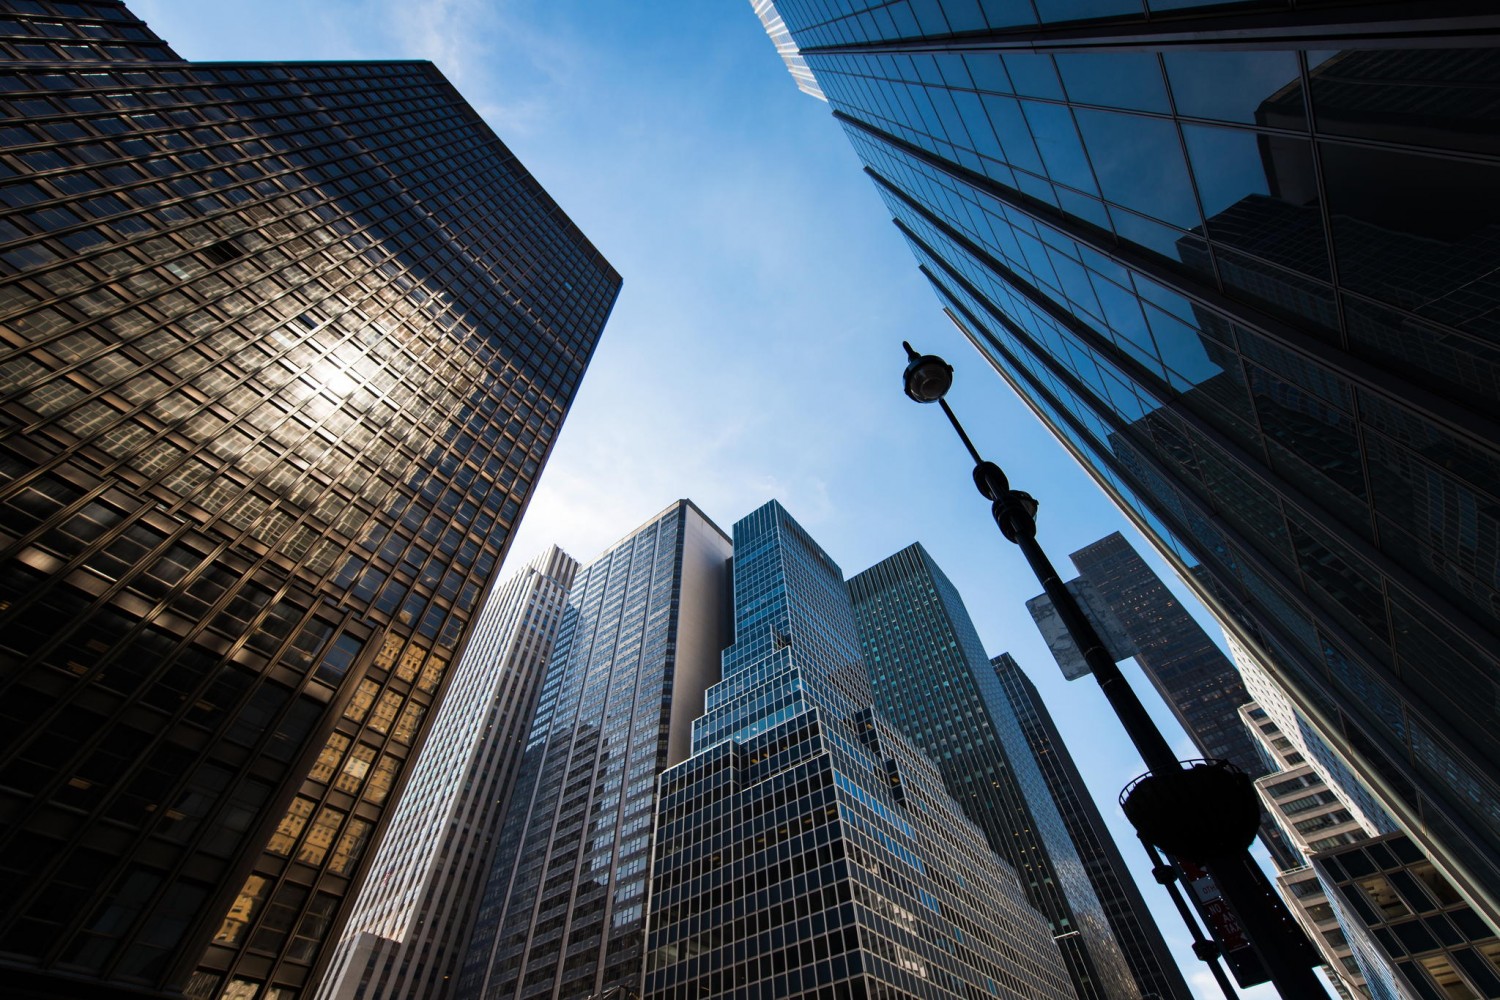
When you’re shooting for Licensing, skylines also serve a practical purpose. While individual buildings (even exteriors) often require a property release when featured as the main subject of a photo, many are acceptable when included as part of a larger skyline. For example, according to the Getty Images Intellectual Property Wiki, which includes information about tons of locations, you can include the Seattle Space Needle in skylines, but images with the Space Needle as the main subject aren’t suitable for commercial use.
Architecture photos are always popular, but do your research on the location you plan to shoot. Unless you have a property release for specific buildings or landmarks, it’s best to include at least three buildings in the frame. That way, no one building stands out as your primary focus. If you do want to make one building your focus, contact the building owner, property manager, or tenant to see if they’d be interested in signing a property release.
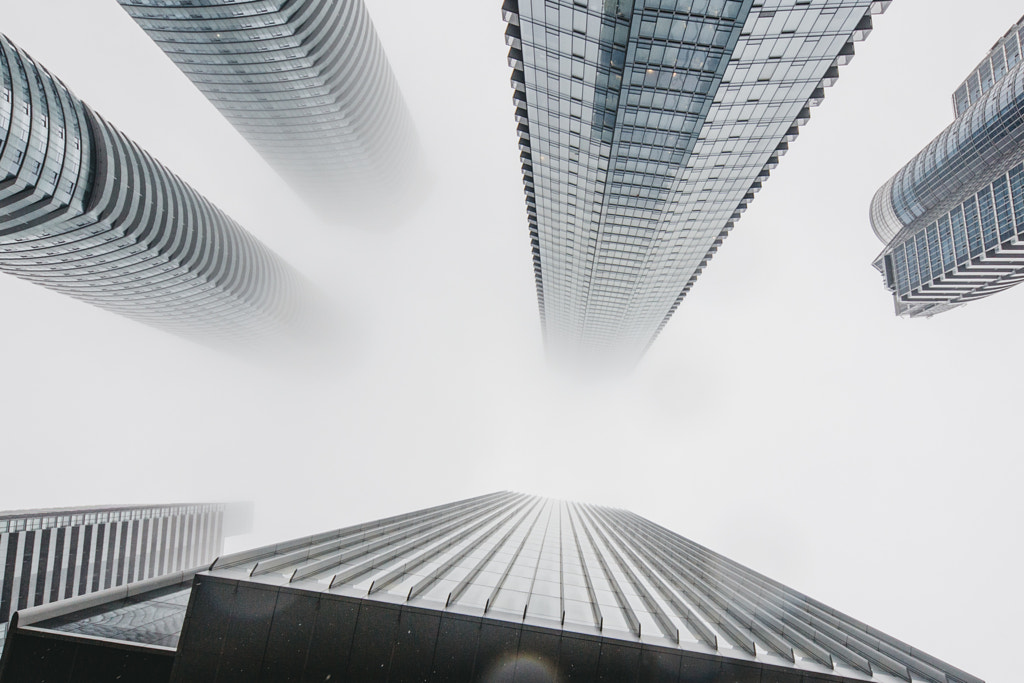
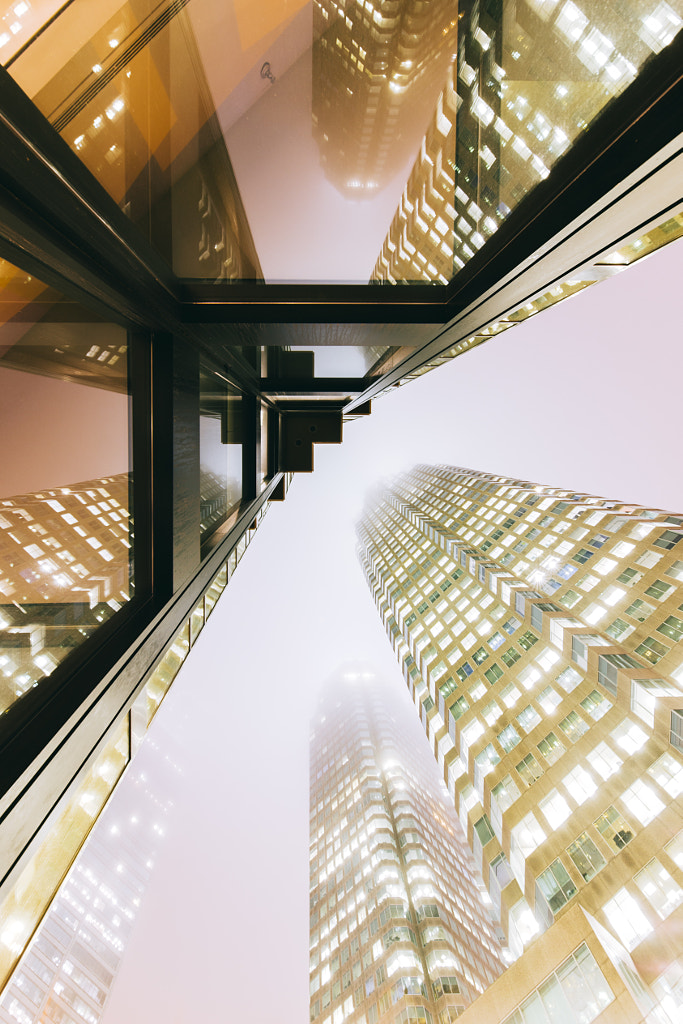
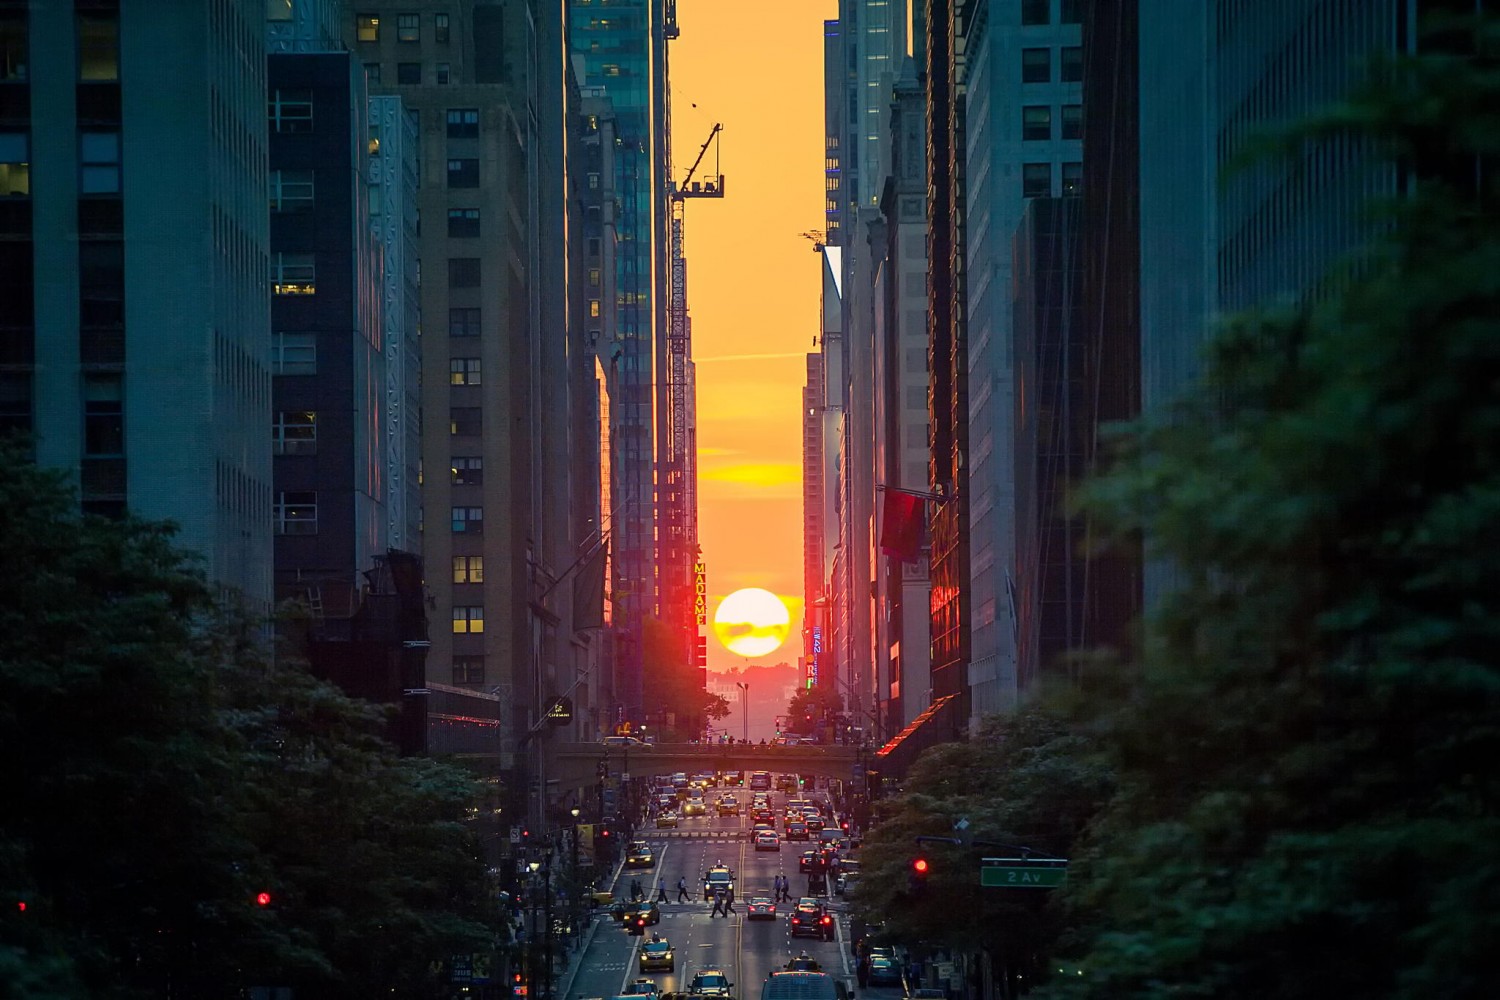
Tip #2: Find an unexpected vantage point
Of course, the tricky thing about skylines is that they’ve already been photographed many times by many different photographers. To stand out, your photo needs to be fresh or different in some way. Take a look at what photos are already available on 500px and Getty Images, and ask yourself how you can improve upon them.
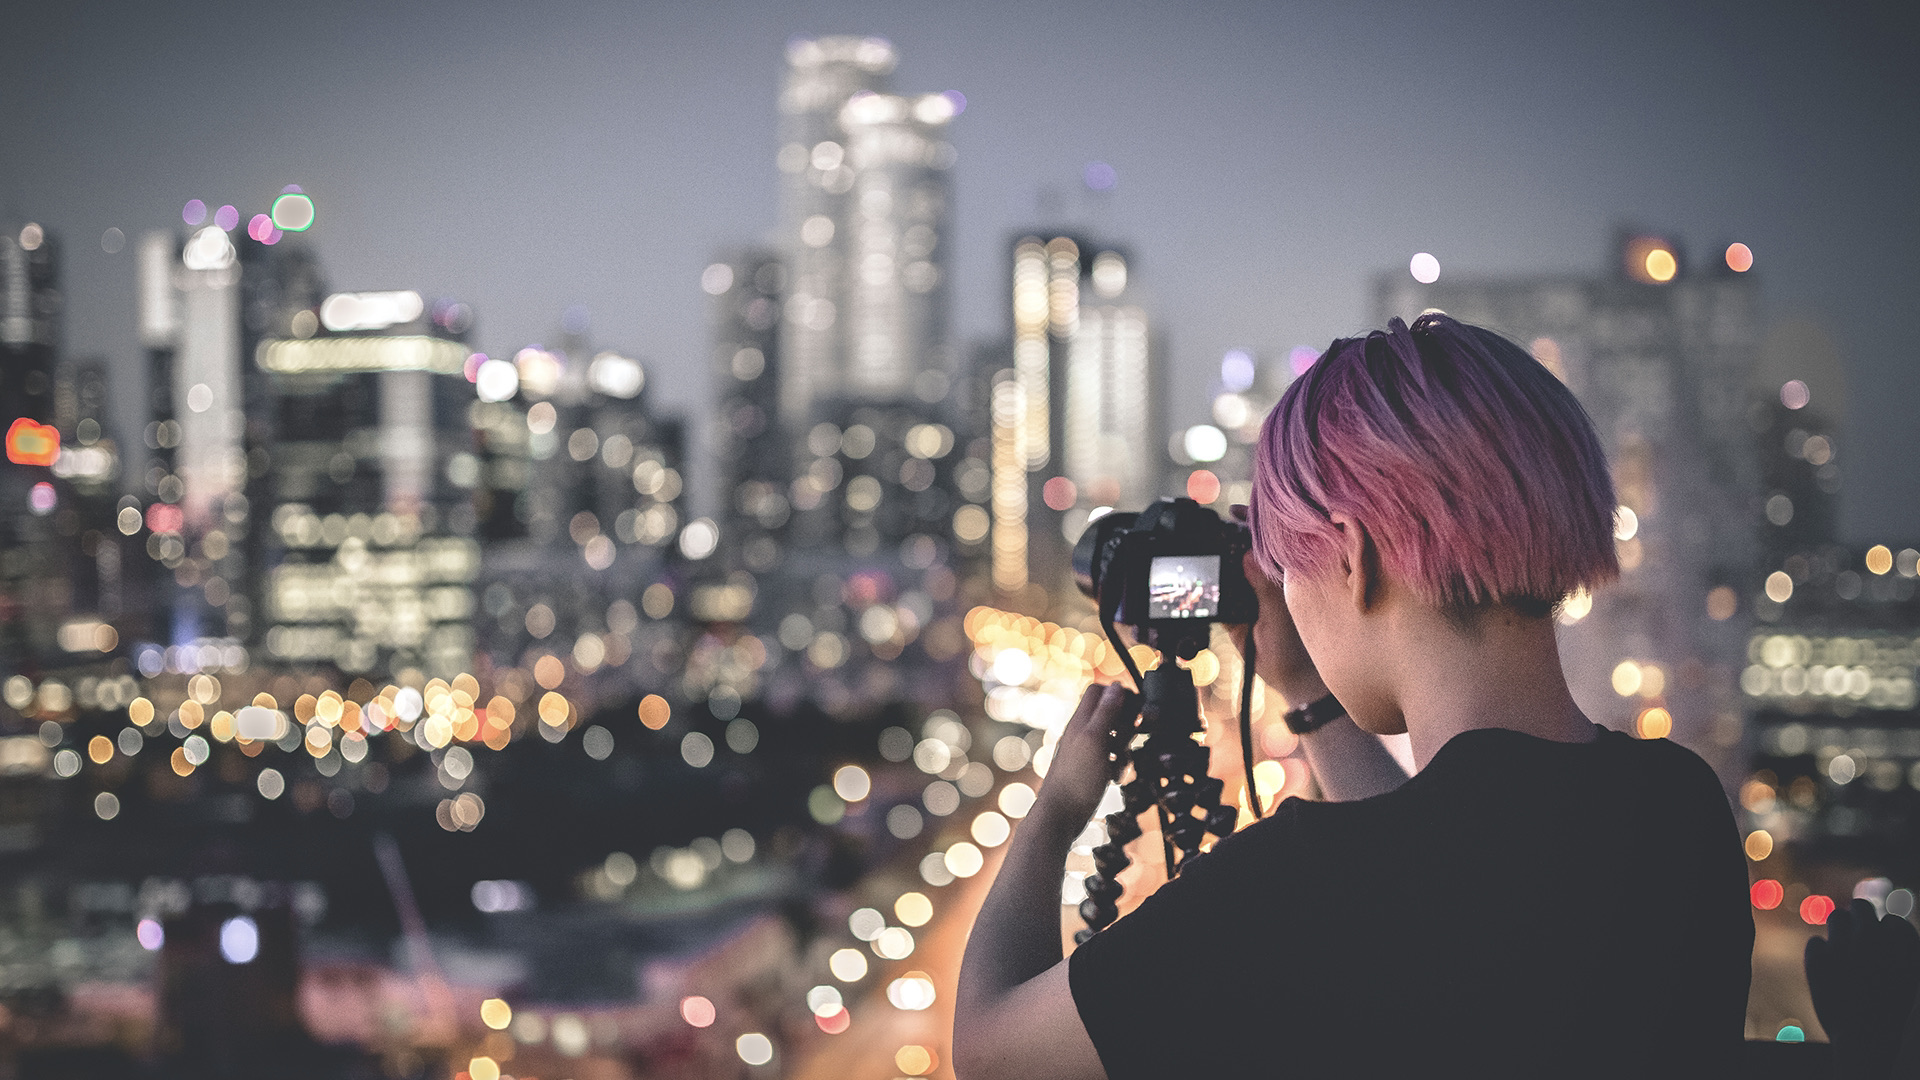
In recent years, the phenomenon of “urban exploration” has reshaped the way people photograph their cities, with shutterbugs venturing everywhere from rooftops to underground tunnels in search of unexpected views of familiar locations. While urban explorers are best known for finding abandoned locations, there are many other ways to (safely!) discover new vantage points.
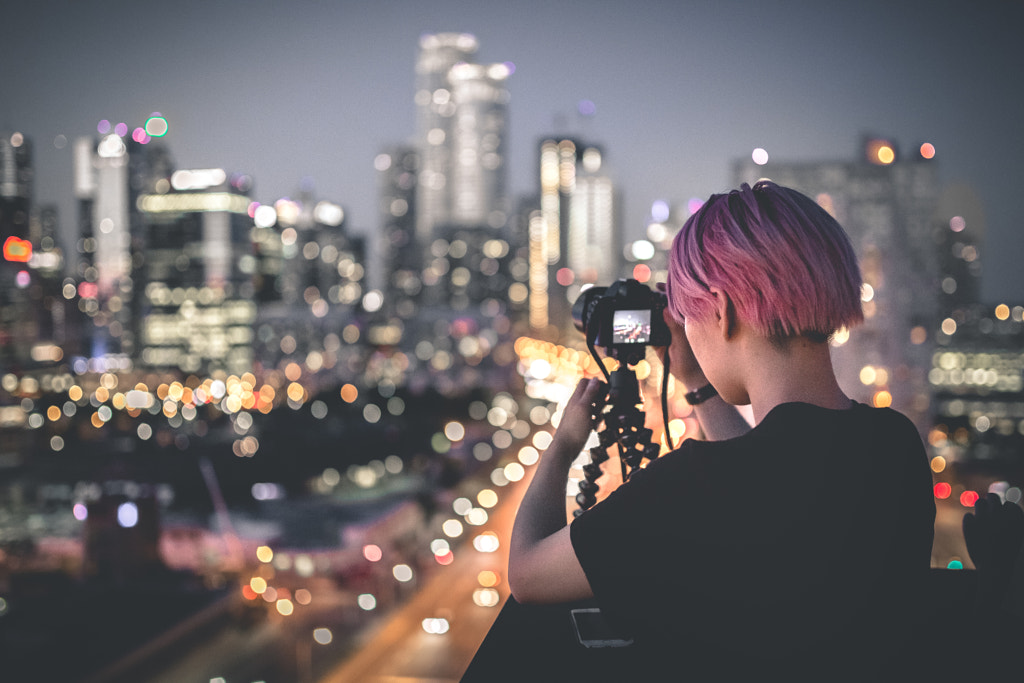
Rooftop restaurants or terraces offer stunning views, as do hotel balconies. To start, reach out to business owners in your area to see if you can use their location as a lookout and bring along your tripod. Elevated spots like these can give you an immersive, birds-eye view of the city that you can’t find anywhere else. Hilltops and harbors can also offer unique perspectives, so study a map of your city to see if you can find any hidden gems.
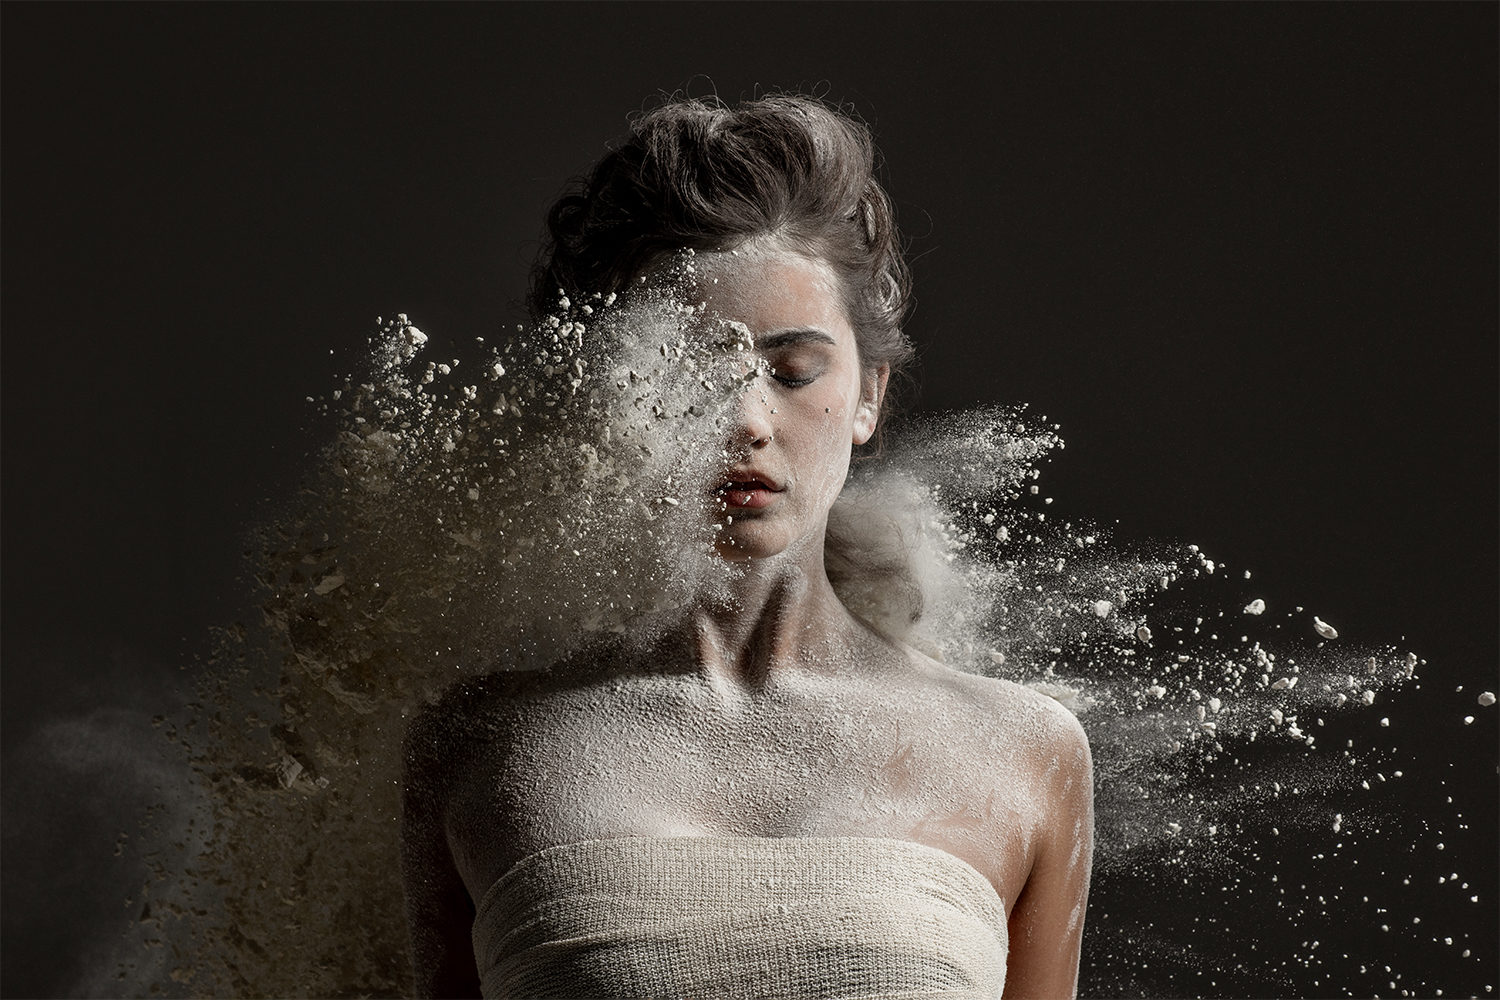
Note: If you are an urban explorer specializing in abandoned buildings, you’ll still need a property release to license your photos for commercial use. In cases where that’s not possible, remember to keep your photos as generic as possible so that the location isn’t identifiable. To do this, you can focus on interesting details, or even a model in the foreground, rather than recognizable architectural elements.
Tip #3: Bring a model
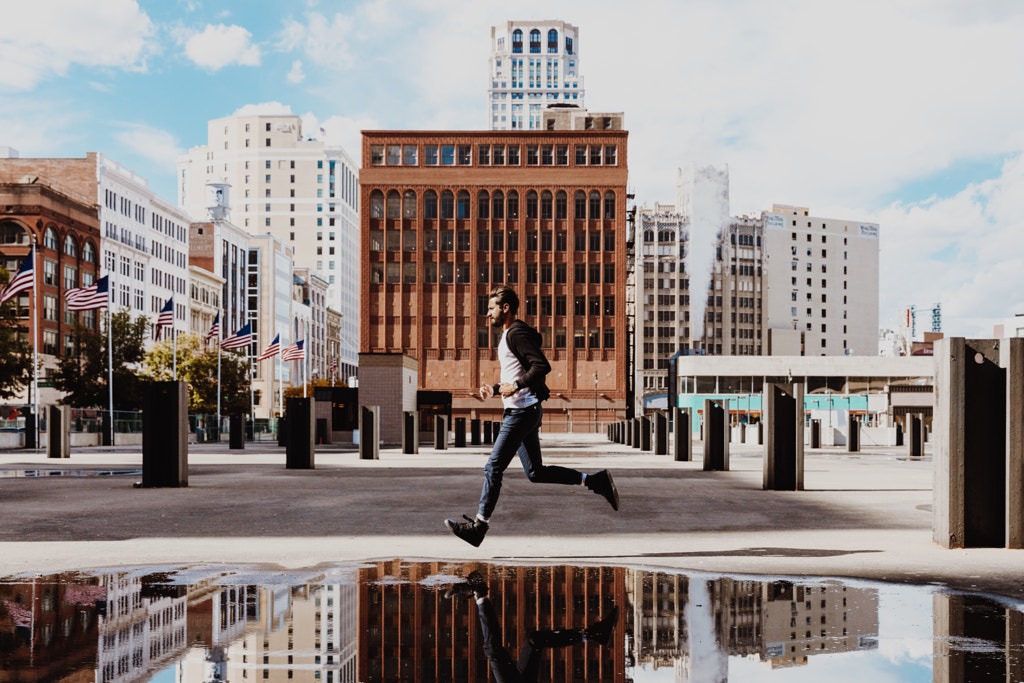
Kate Spade recently released a campaign featuring dancers in motion in New York’s Washington Square Park, highlighting a moment of joy following a challenging year. A love letter to the city the brand calls home, the campaign reminded us of the resilience of the city’s residents. People are at the heart of every city, and urban landscapes provide the perfect backdrop for modern lifestyle photography.
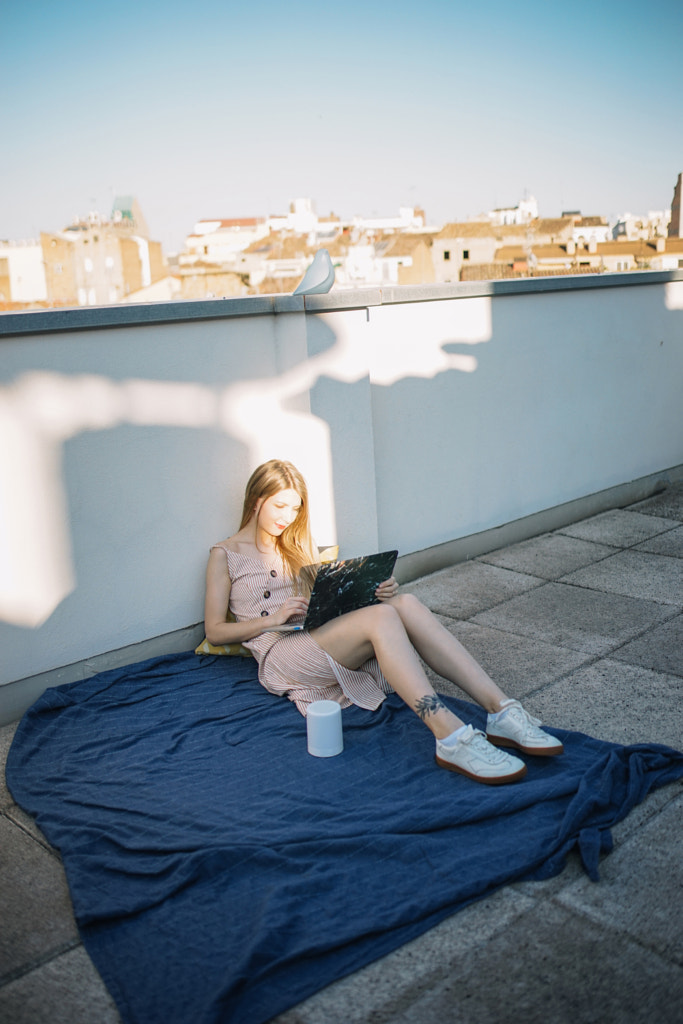
Consider bringing a friend (or a few) with you on your next shoot in the city. The kind of lifestyle content that sells is authentic and relatable, so document their everyday lives and genuine interactions, whether you’re going out to brunch or hanging out in the park. Day-in-the-life sessions featuring your model’s routine (e.g., their commute to work, their workplace, lunch with friends, grocery shopping, etc.) are also popular.
Working with models can also help you visualize city life today, as people adjust to reopening and make changes in their lifestyles to be more sustainable and environmentally friendly. Sustainable props like reusable water bottles and metal straws continue to trend in commercial photography, and you can also tap into this theme by photographing people recycling or choosing public transportation or biking over driving.

Before you go, remember to ask everyone to sign model releases, as you can’t license photos of recognizable people for commercial use without this document. It’s also easy and hassle-free to complete this step using 500px digital releases. Model-released street photos have that candid, documentary-style vibe that today’s clients crave, so consider getting out of the studio and scouting spots around your city.
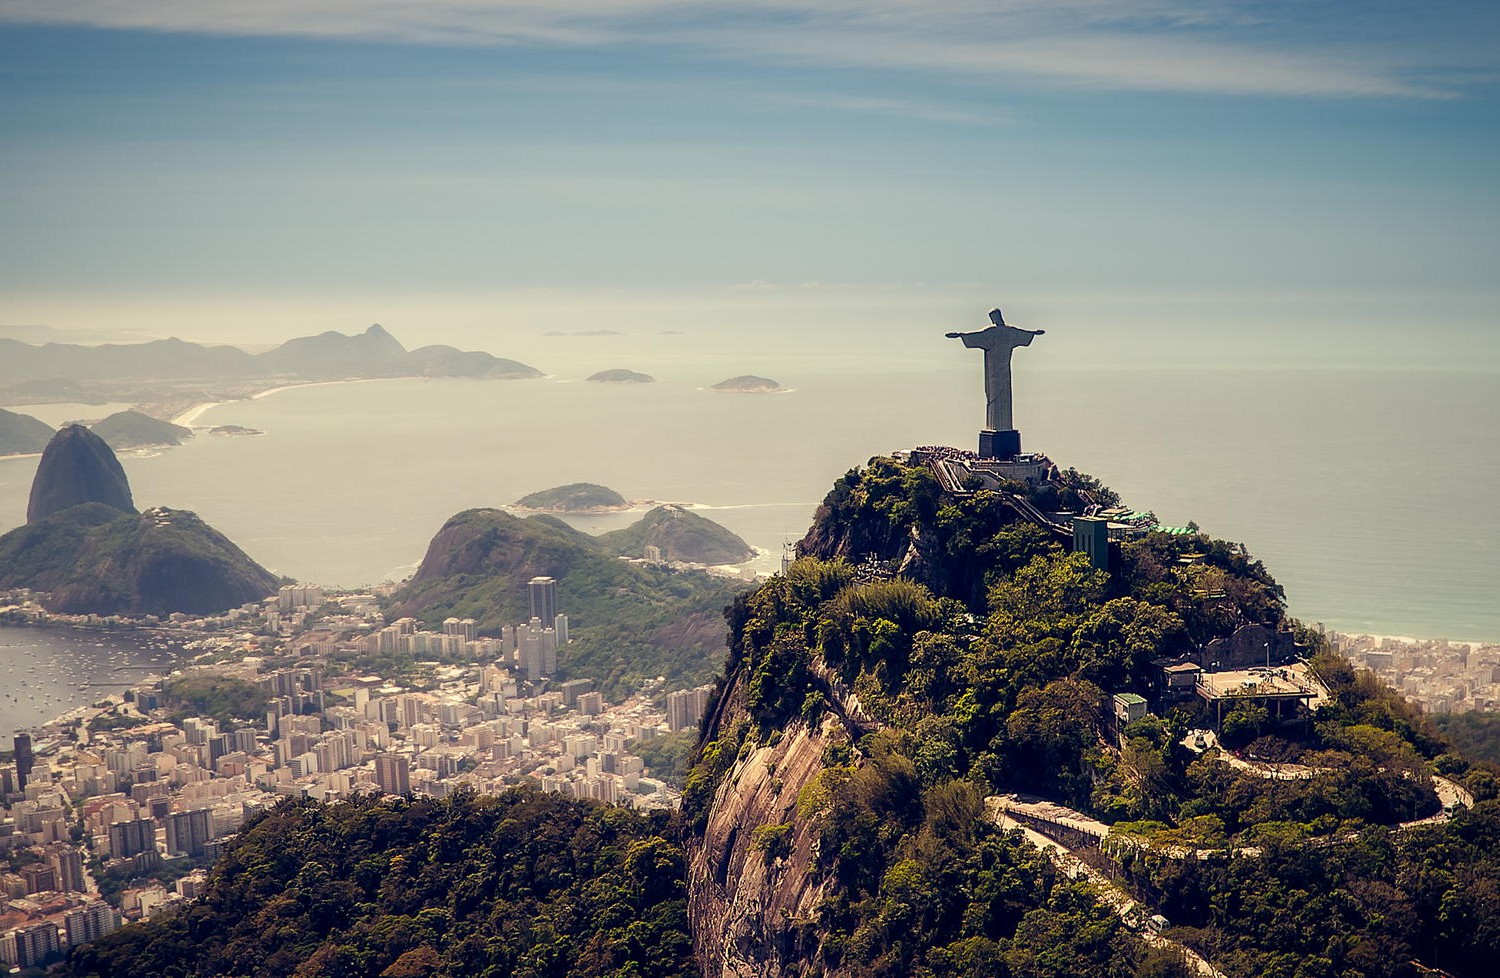
Keep in mind that many landmarks, statues, and works of street art are protected by copyright, so you’ll want to avoid including them in your frame. Branded details, including billboards or signage on storefronts, are also off-limits if you plan to license your photos for commercial use. In some cases, you might be able to edit these details out in post-production or crop them out entirely, but thorough location scouting will help you avoid the hassle.

Tip #4: Experiment with depth of field
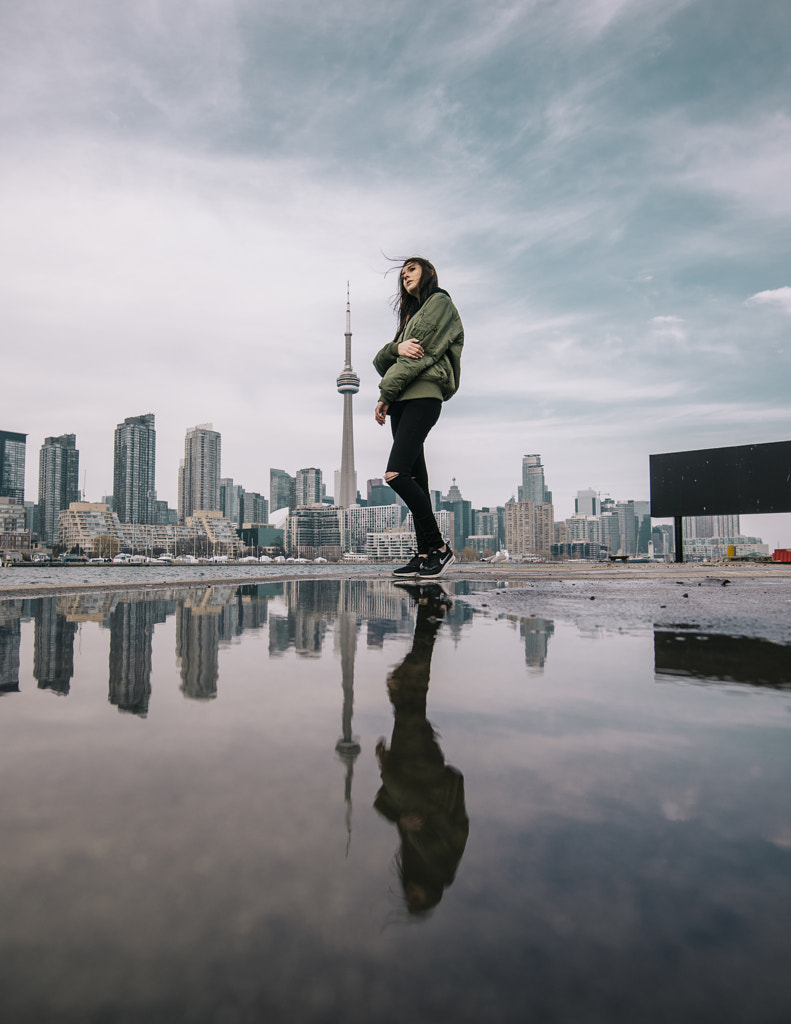
The appeal of the city lies in its crowds and motion—the hustle and bustle of daily life. Of course, that’s also what makes it a challenging location for a photoshoot. Even when you have models who’ve signed releases, chances are some random person could enter your frame and ruin your shot. If there is anyone recognizable in your frame, you’ll need to track them down for a release or exclude the photo from your commercial portfolio.
Of course, one way around this obstacle would be to use a shallow depth of field for your lifestyle photography. That way, you can keep your model in perfect focus but create a background blur that obscures any figures passing by in the distance. With an open aperture, you’ll be able to make out the general atmosphere of the city in your lifestyle portraits—without including any identifiable people in the background of your shot. This trick is also useful for blurring and obscuring any branded details that might be in the scenery behind your model.
Tip #5: Finesse your metadata
A few years ago, when a presidential candidate accidentally included stock footage of the Vancouver skyline in an ad campaign meant to represent the United States and its cities, the mix-up went viral. In an age where customers demand trust and transparency from the brands (and political candidates) they support, it’s increasingly important for marketers to accurately represent their communities and appeal to a local audience.
Image-buyers often search based on location, so remember to tag your city, state, and country in your keywords before submitting your photos to Licensing. If your shoot took place in a unique neighborhood, tag that as well. Get as specific as you can with those local details. That way, your images will surface for the right clients.
Want more tips? Check out our article What you need to know when Licensing urban photography.
Not on 500px yet? Click here to learn about Licensing with 500px.

Leave a reply