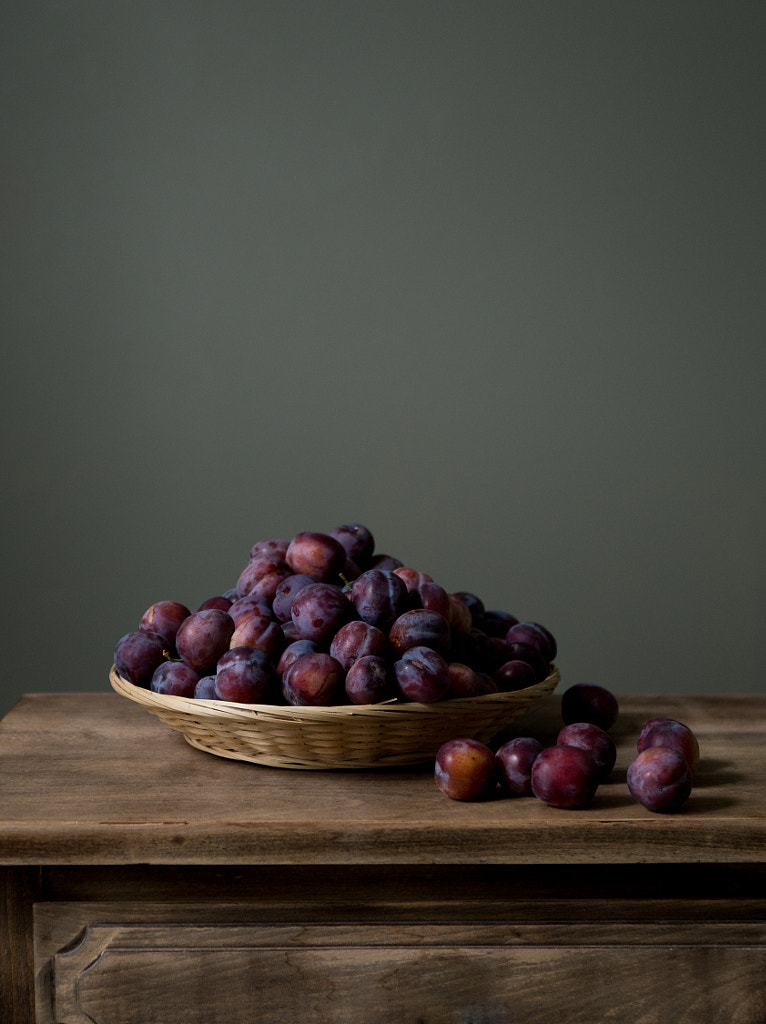
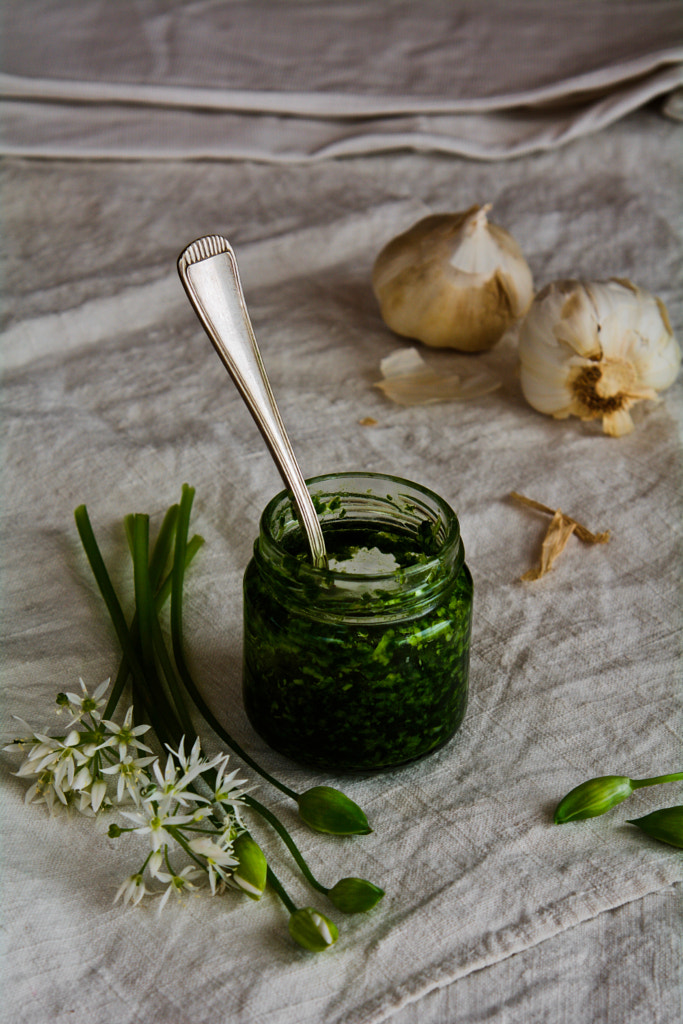
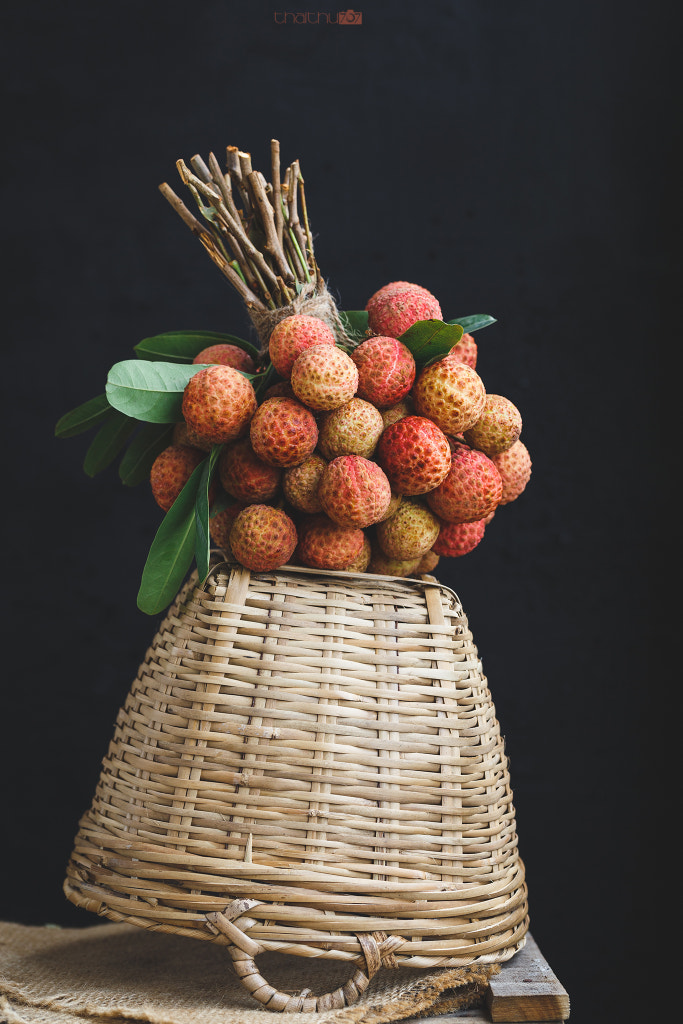
Drawing inspiration from the Old Masters, Natalia Balanina, a photographer in the Netherlands, gathers plums from her own garden. Isotta Coda Zabetta, this time in Italy, turns her attention to homemade pesto, made using wild, seasonal garlic. Meanwhile, in Vietnam, Thai Thu collects fresh lychees—almost bursting with sweetness.
Each of these three photographers, hailing from different parts of the world, has a unique style, color palette, and perspective, but their still lifes do have one thing in common: natural light.
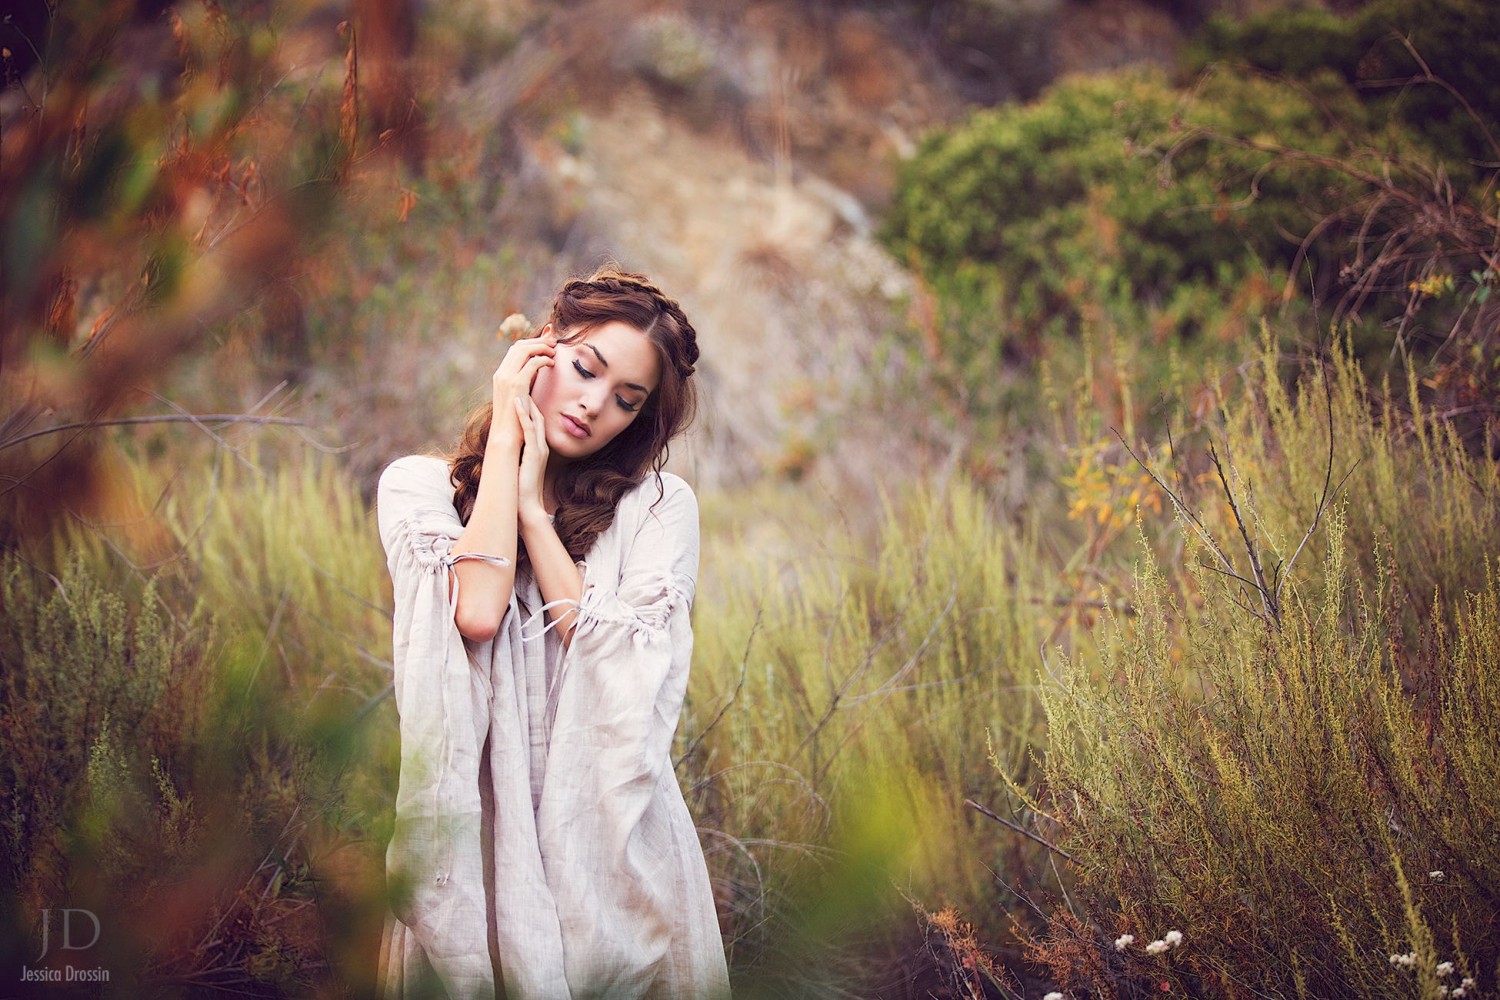
While many still-life photographers incorporate powerful studio lights for full control over the scene, sunlight provides plenty of possibilities for experimentation and creativity, whether you’re going for that dark and moody look or something soft and ethereal. And it doesn’t cost a thing.
Light from the side or back
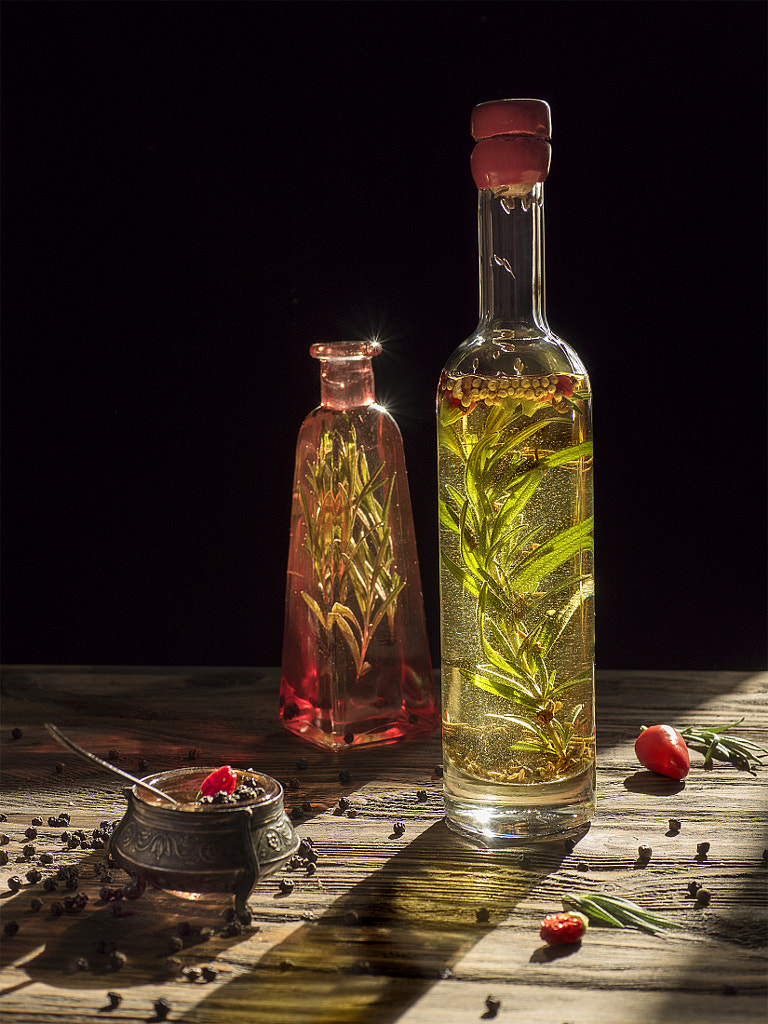
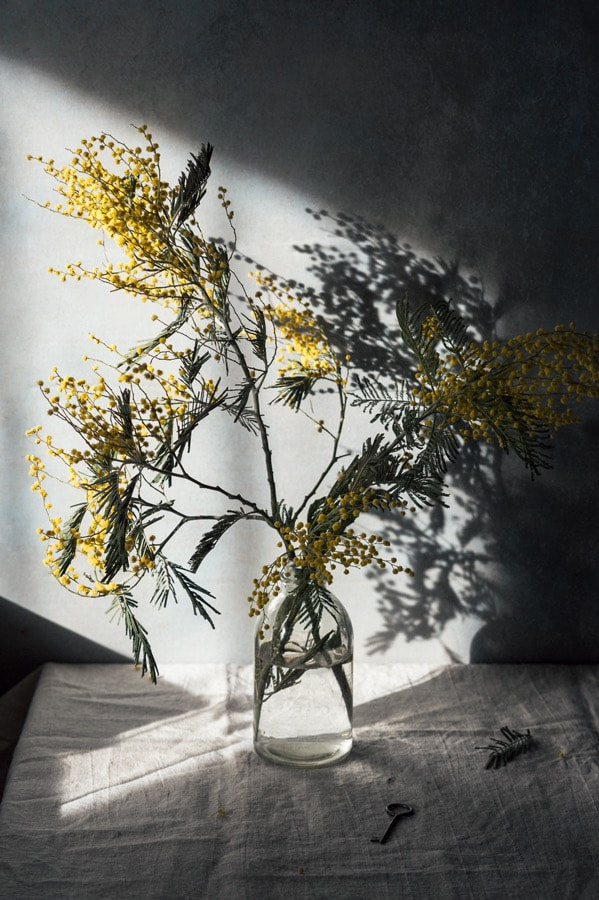
Lighting your subject from the front can create a flattening effect, so if you’re looking for dimension and texture, position your light source (e.g., the sun, a window) to the side or adjust your subject accordingly. Backlighting is another option that can be particularly appealing when shooting sheer or translucent objects, such as beverages or oils. Experiment with different angles to see how and where the shadows fall.
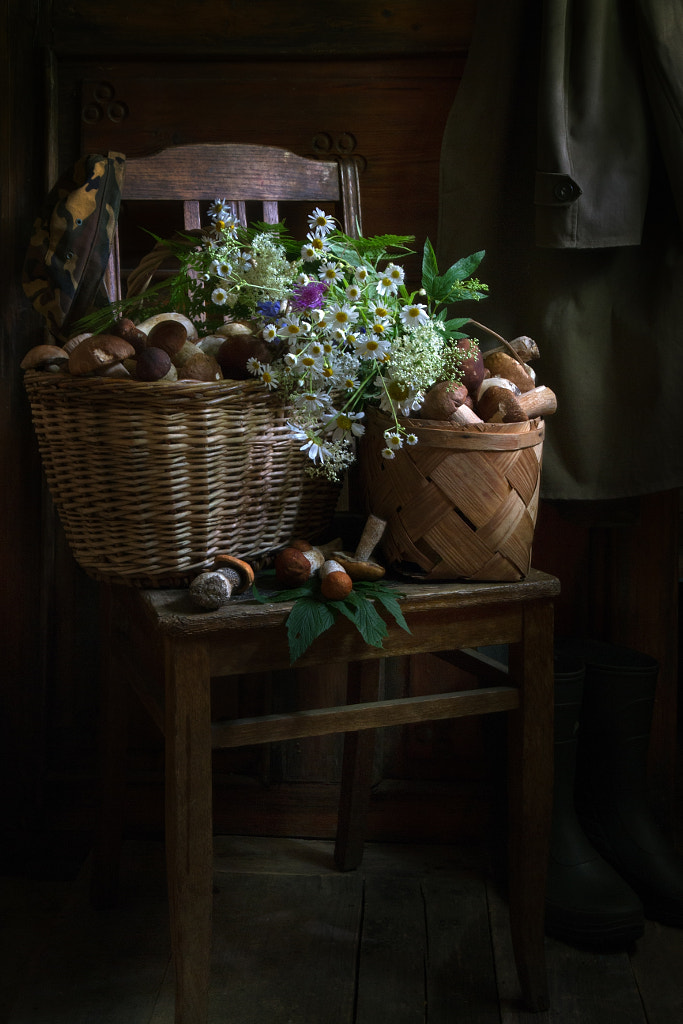
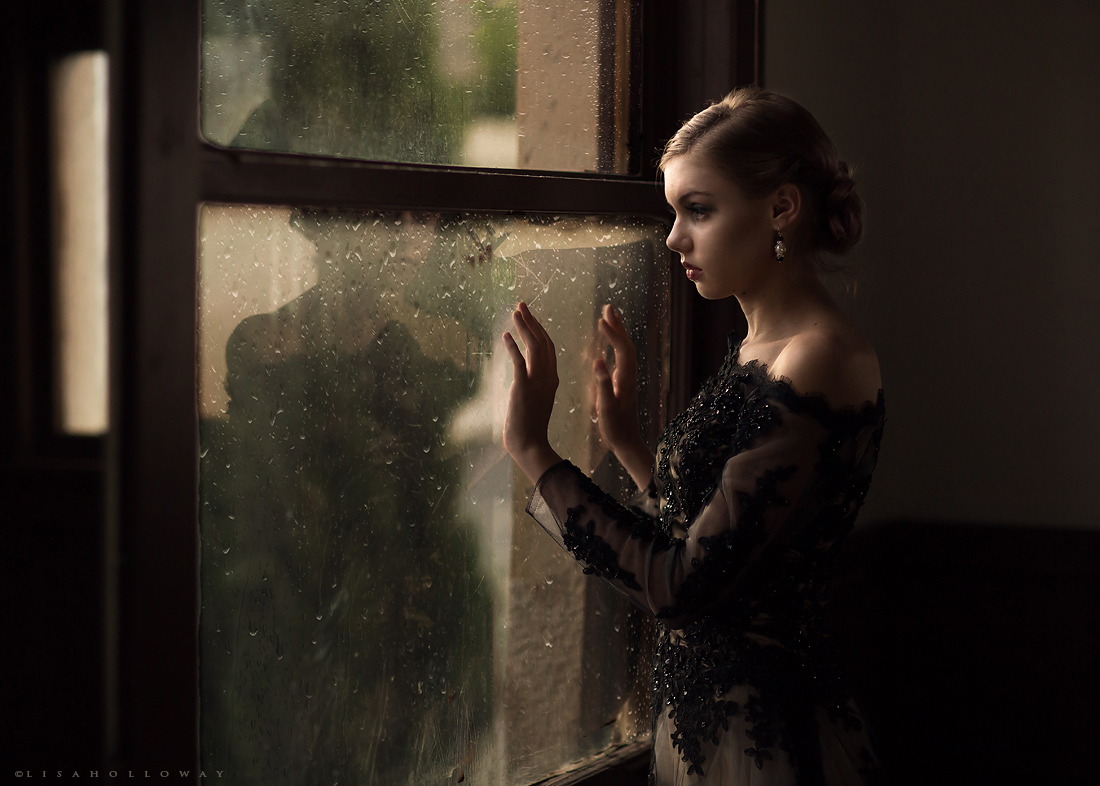
If you’re using window light, consider not only the direction of the light but also your subjects’ distance from the window and the background. If you place your subject close to the window and far away from the background, you’ll create contrast and a chiaroscuro effect, with the background falling into darkness while the subject remains illuminated.
Track the sun
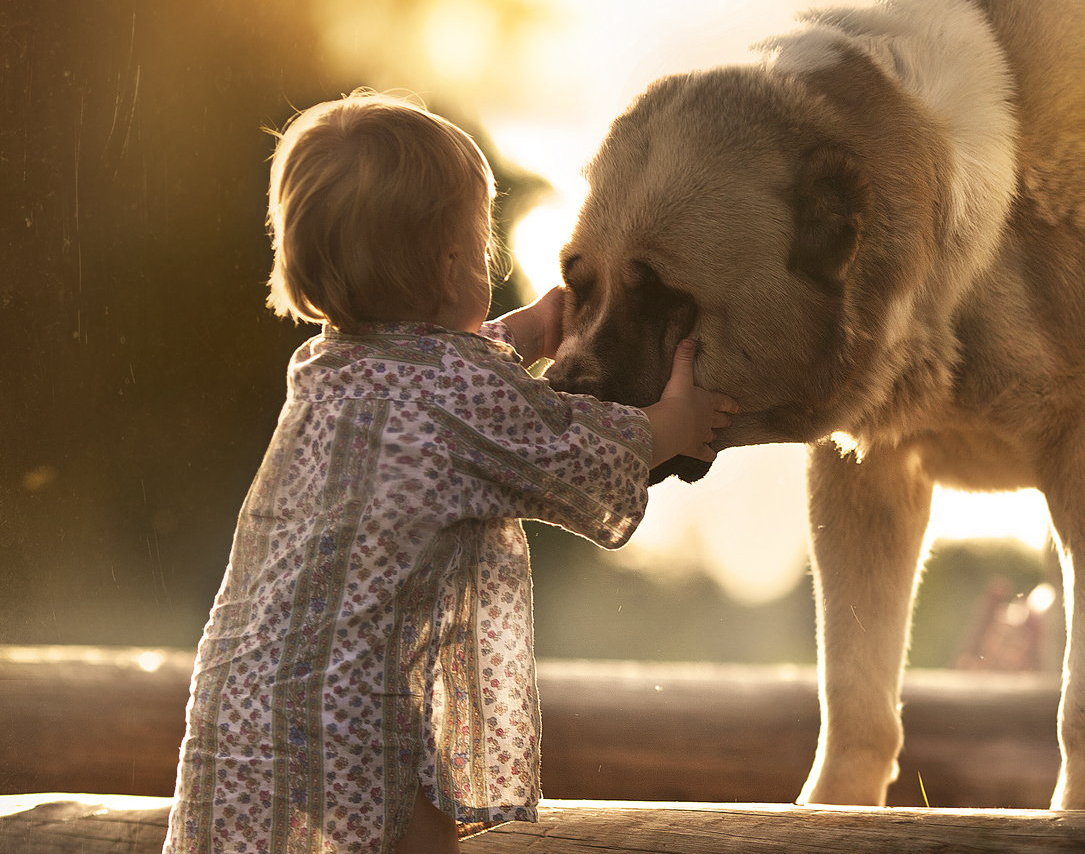
While the golden hour remains a favorite for soft, romantic, directional light, it’s not your only option. The blue hour, for instance, might work for cool, moody shots. You can use an app like Sun Surveyor to see where the sun is at different points throughout the day and then plan the time and location of your shoot accordingly.
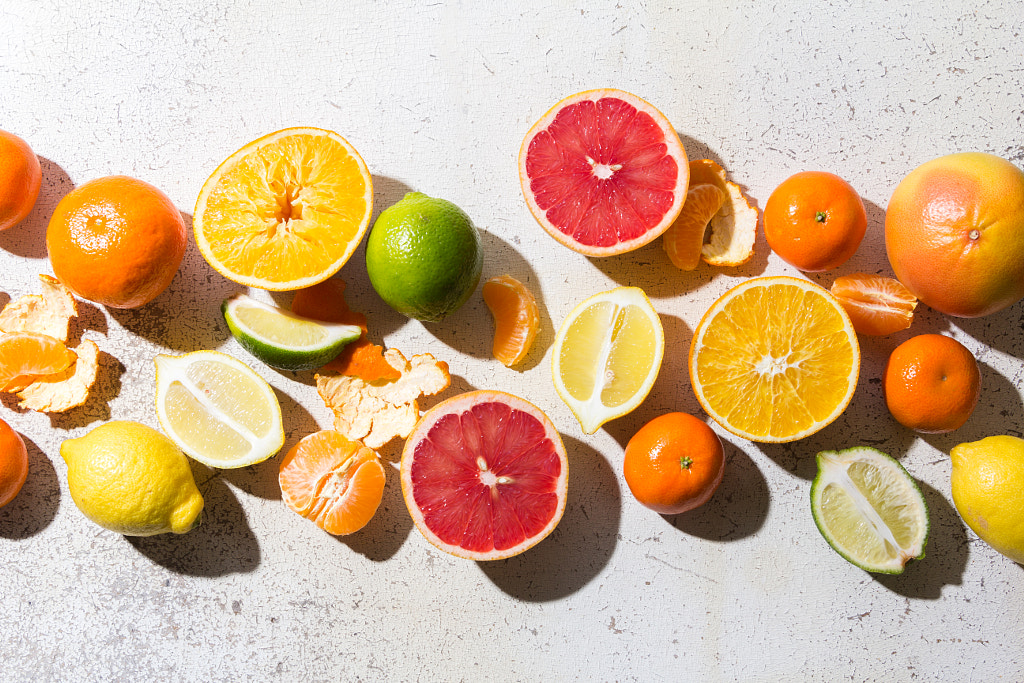
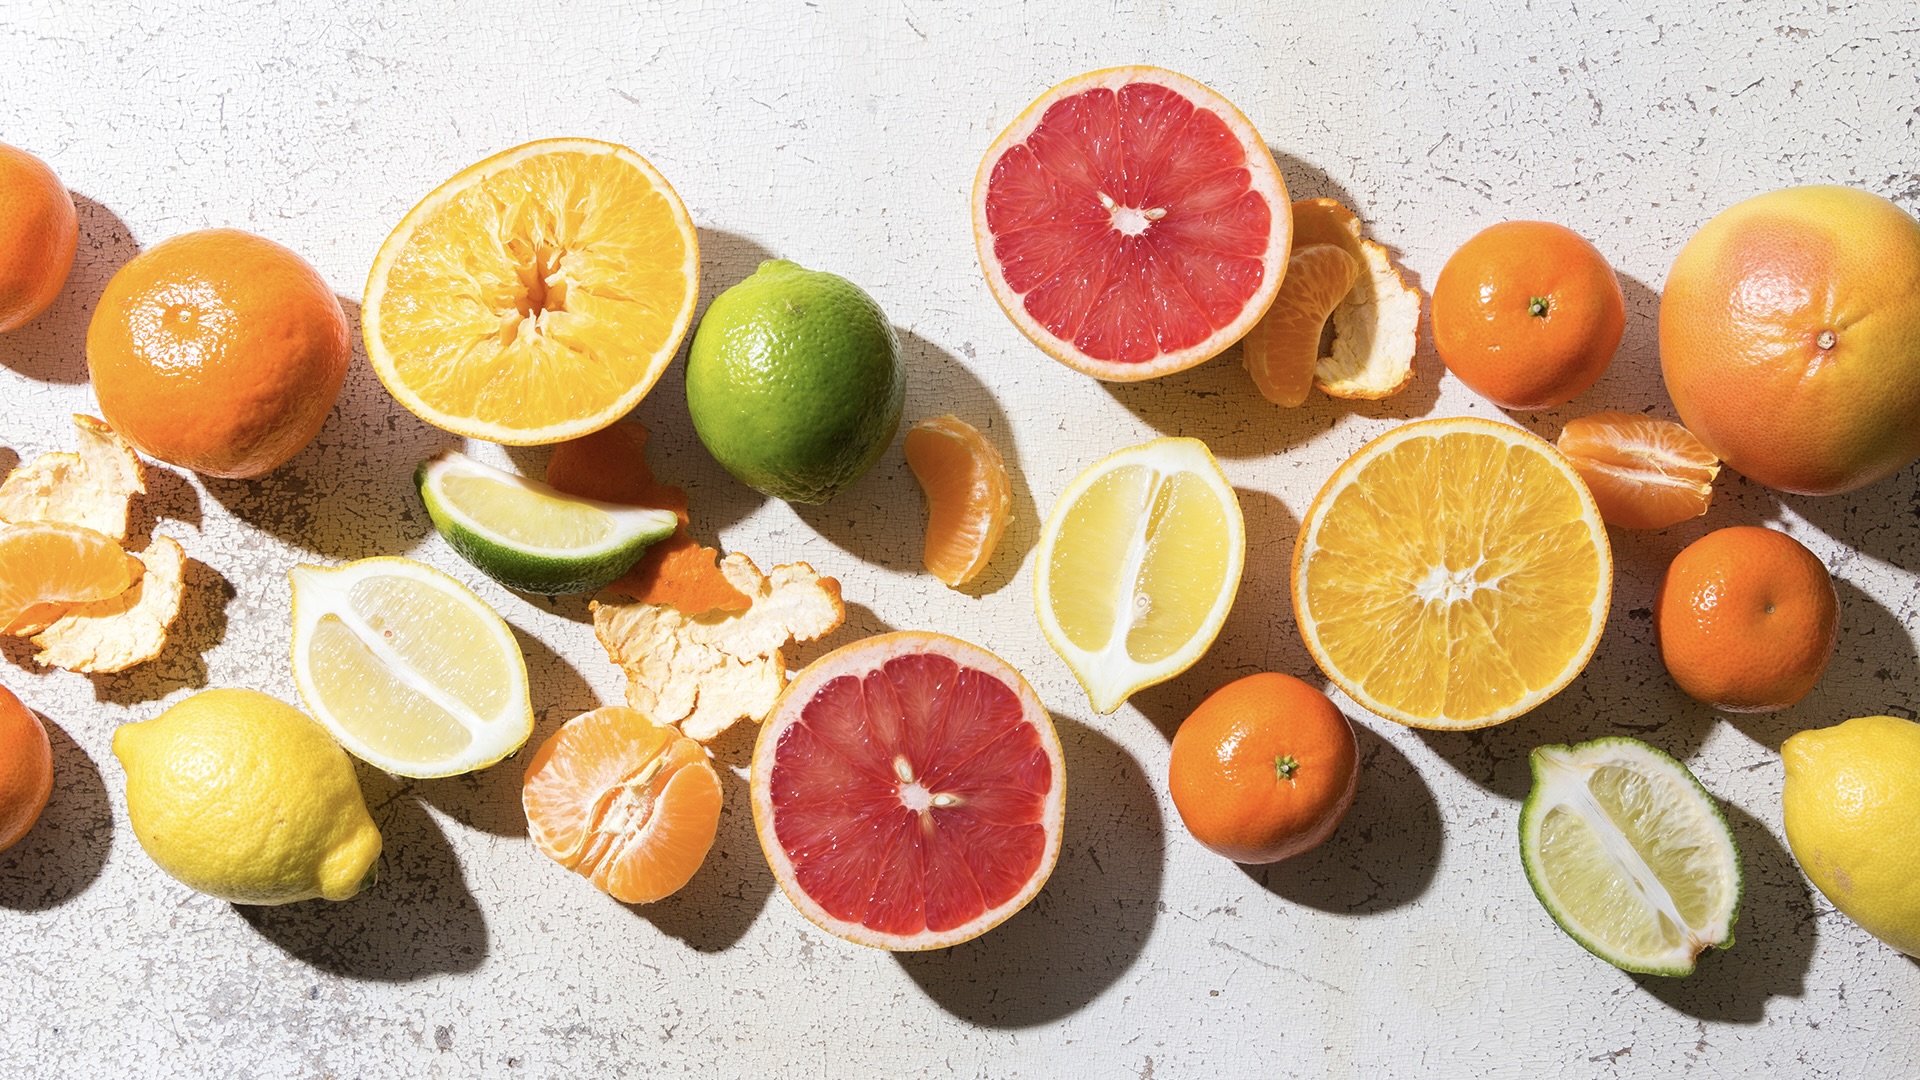
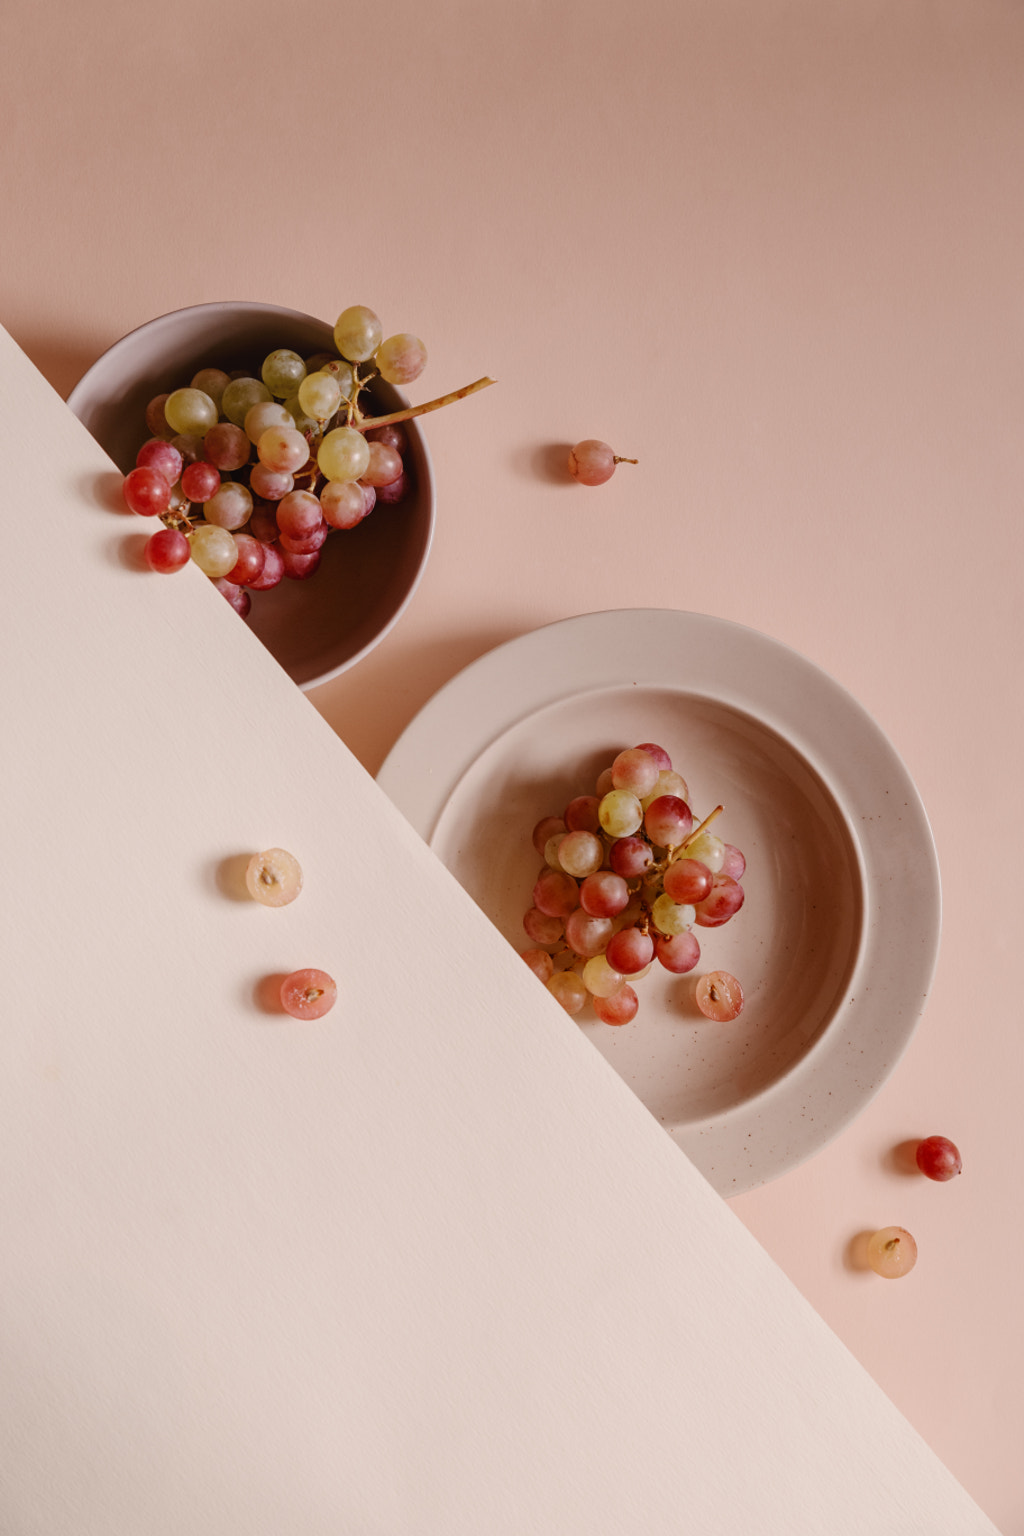
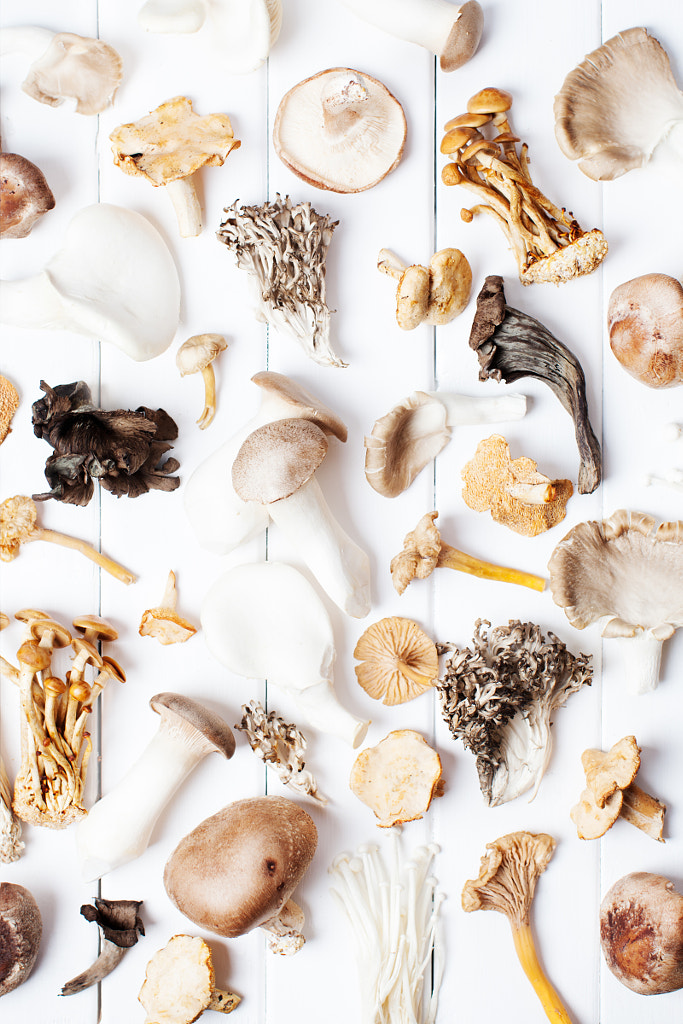
Try using direct and indirect sunlight to see what suits your subject. Some photos might work well with graphic, punchy direct sunlight, as in the flatlay above, while others will benefit from something more subtle. If you find yourself in a situation where the light is too harsh, look for areas of open shade to create a softer look. Overcast days can also be ideal for soft, even light.
Try manual mode
The problem with natural light is that it’s ever-changing, so it can help to shoot in manual mode and adjust your settings in real time for that perfect exposure. In still-life photography, your aperture is likely to be your most important setting, as your subject won’t move; you can open it up to create a nice background bokeh effect, or you can close it down to keep every detail in crisp focus. Keep your ISO setting as low as possible to cut down on visible noise.
(If you’re shooting indoors with window light, use a tripod. That way, you can slow down your shutter speed and capture enough light for a properly exposed photo.)
Play with modifiers
Just because you’re using natural sunlight doesn’t mean you can’t control and manipulate it. If you’re using a window, three key tools to have in your natural light kit include a reflector to bounce the light and fill in shadows, diffusion fabric or paper to soften it, and flags to block it out. Flags can be made DIY-style using black card or foam board. For super-soft, even light, you can also opt for a light tent or DIY lightbox.
Experiment to see what works best for your concept. A dramatic still life in the style of the Dutch Masters, for instance, will benefit from a small light source and plenty of flags to block out everything else. A light and airy still life, on the other hand, will benefit from lots of diffusion (in the form of sheer curtains, for example) to minimize hard shadows.
(On outdoor shoots as well, a portable reflector and diffusor can also come in handy.)
Experiment with backgrounds
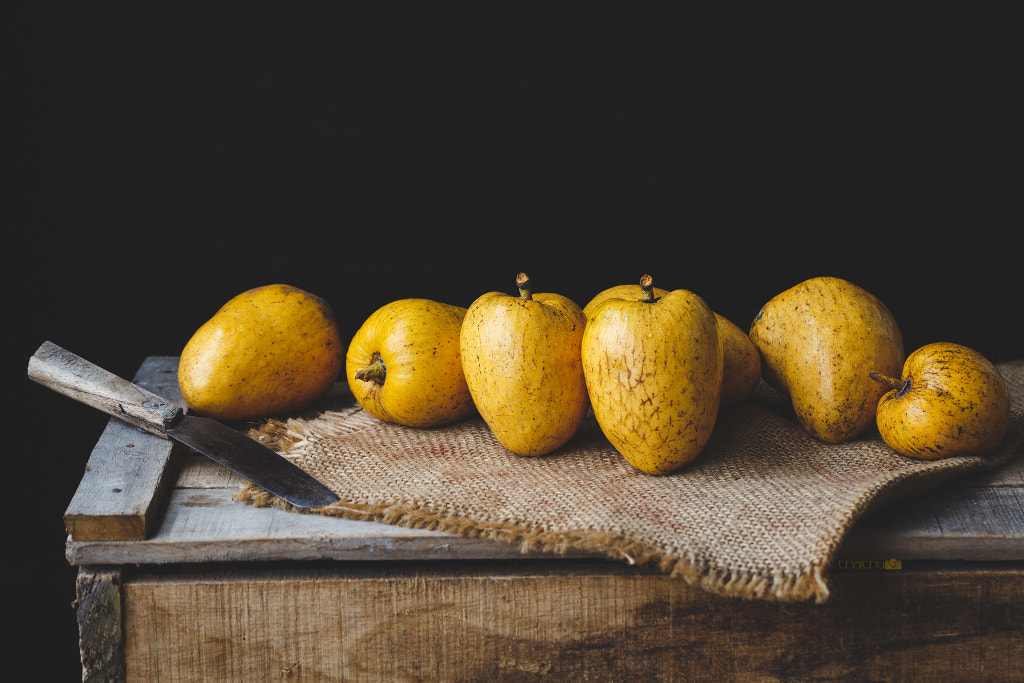
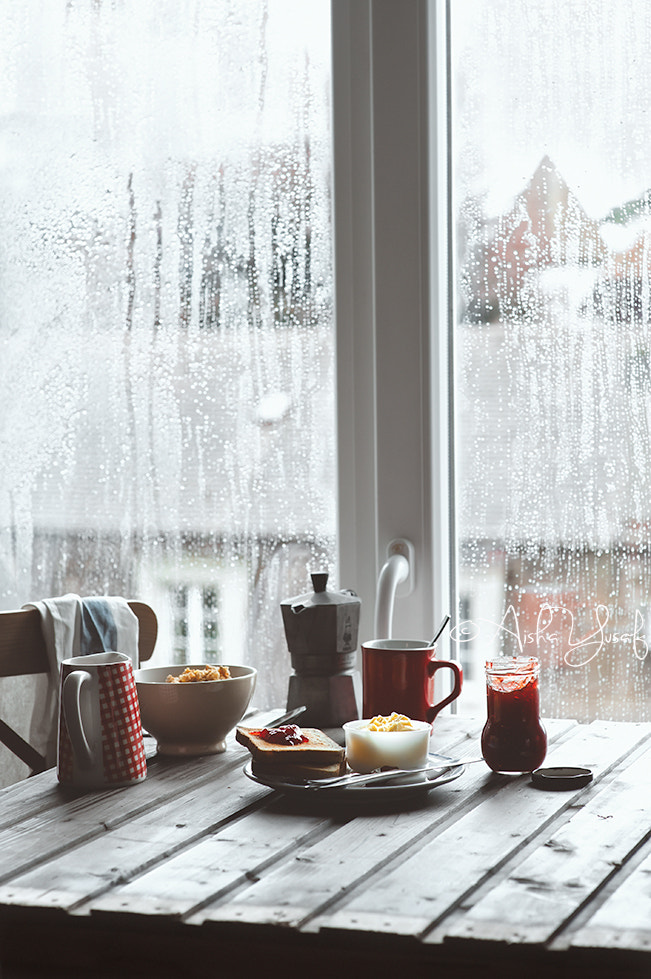
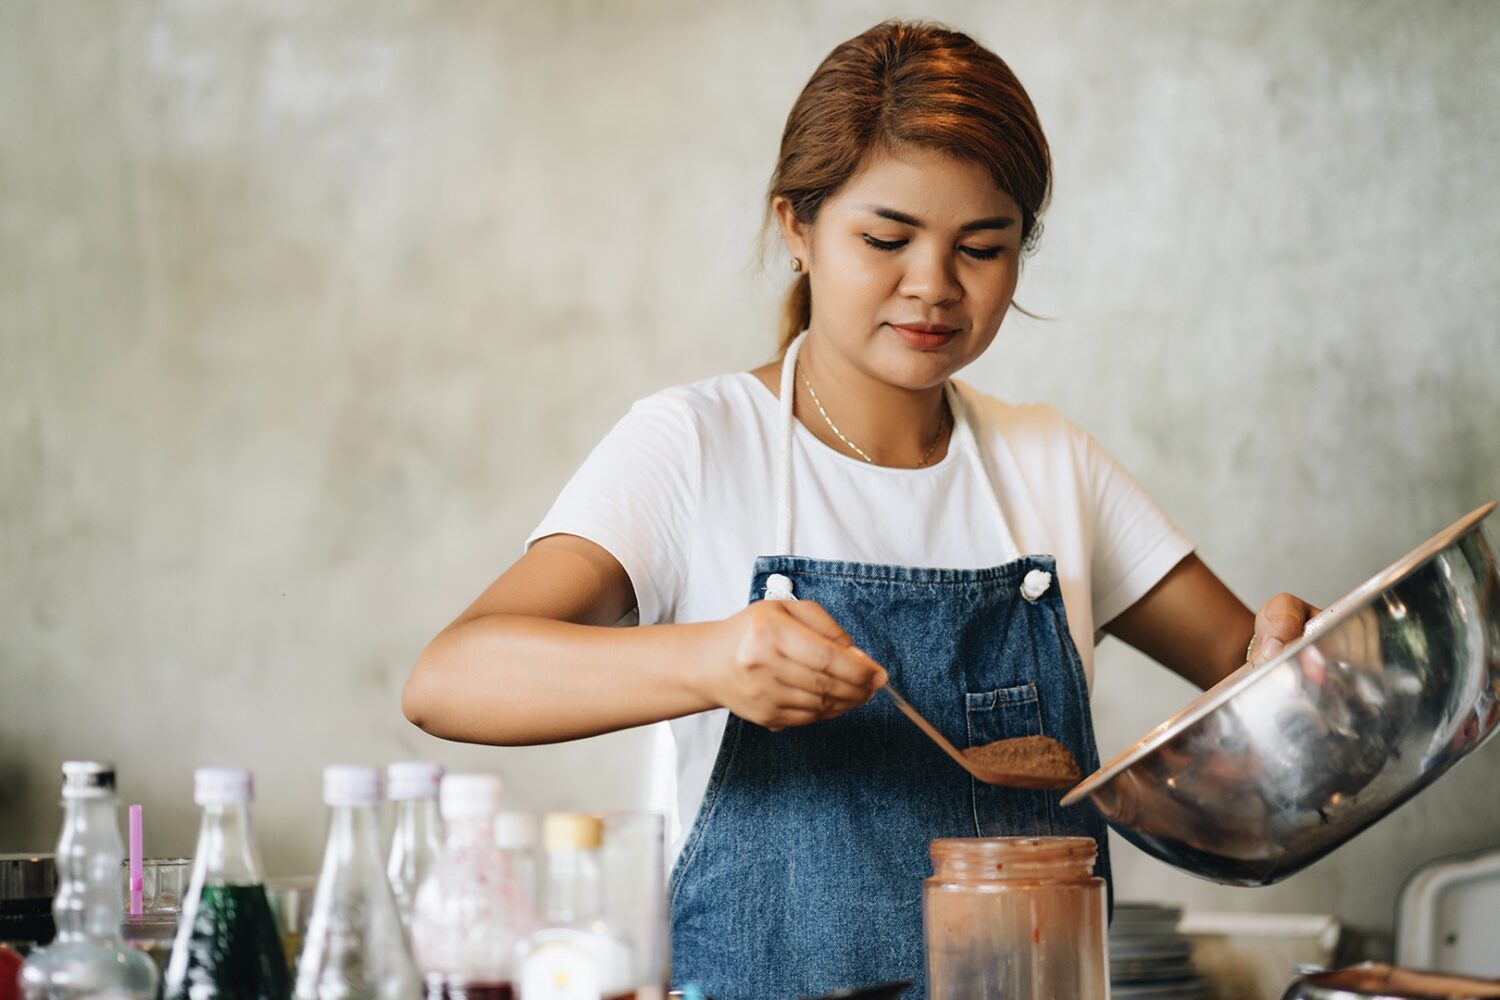
Your background can transform the mood of your photos, so consider how various colors and textures reflect light. For lots of light, opt for white; for the photo above, Joanna Wojewoda chose a white background with diffused light for that popular bright and airy aesthetic. For a moodier look, choose a darker color background to absorb light and create contrast, as in the case of the still life below.
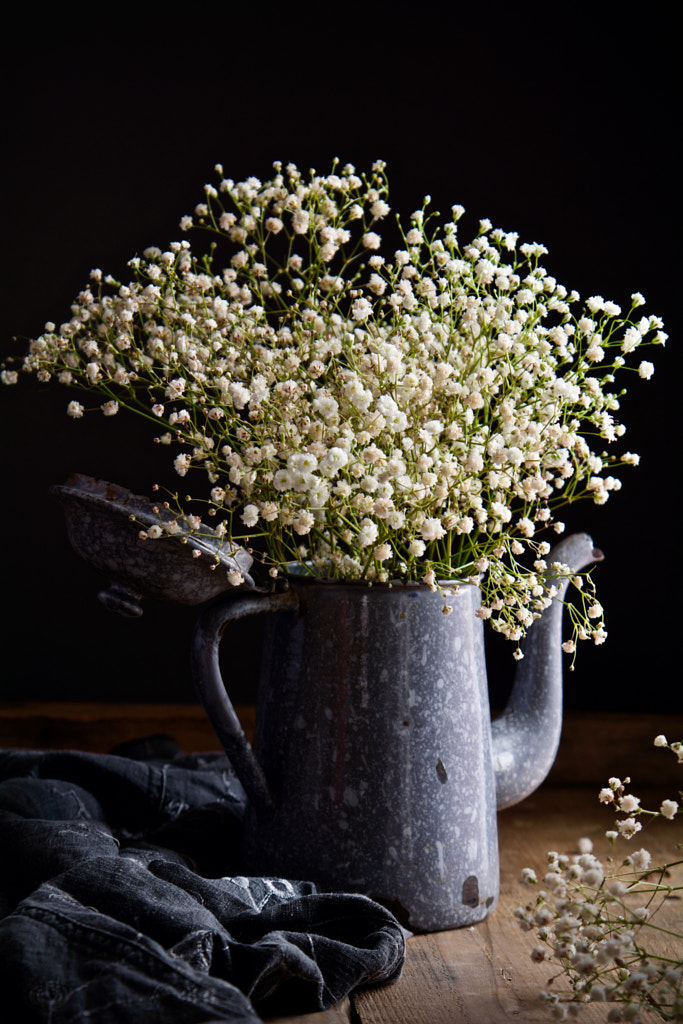
If you’re using a light-colored background, stay conscious of the shadows. If you want to minimize them, keep your background farther away from your subject. In some cases, however, shadows might enhance the story you’re telling; in that case, move your background closer.
Consider your props
As with your backgrounds, your props will reflect and absorb light—and influence the atmosphere of your photo in the process. Think about the kind of natural sunlight you’ll use, and then select your props to enhance that mood or vibe.
If you’re using a small window for moody lighting, for instance, you might choose cozy, rustic props to evoke a fall or winter mood. If you’re shooting a summer still life in bright light, on the other hand, you could choose linens in light, reflective colors.
Edit with care
A bright and airy still life will require a very different edit from a dark and moody one, so use post-production as a time to bring out the best aspects of your lighting setup. Play with the dodge and burn tools, or see how exposure and contrast affect the overall emotion of the scene. It can help to go into a shoot with a clear idea of how you plan to edit it; that way, your lighting and editing can work together to create the feeling you want.
In conclusion
Long summer days pose the perfect opportunity to take advantage of natural light in your still-life photography and experiment with different setups. If you’re used to using strobes in the studio, challenge yourself to a dreamy golden hour shoot. If you’re used to shooting light and airy photos, on the other hand, consider moving indoors and using window light for a Rembrandt–style still life.
Not on 500px yet? Sign up here to explore more impactful photography.
Leave a reply