
For commercial photographers, post-processing is an indispensable part of the creative process, and it’s often the step that takes the most time. Fortunately, however, editing software is getting smarter and simpler. With brands like Skylum Software, Topaz Labs, ACD Systems, and Adobe developing new artificial intelligence and machine learning tools, retouching is easier than ever.
Today, there’s also more room for creativity and experimentation through effects, actions, and presets, but as always, there are a few guidelines to follow if you plan to submit your photos for commercial Licensing.
In this post, we’ll share nine simple tips to keep in mind when retouching photos that will be used commercially. For the sake of continuity, we’ve referenced Adobe programs like Lightroom and Photoshop, but these tips apply to photographers using most programs on the market, so be sure to check out our article on various post-processing software to see what works best for you.

Watch that histogram
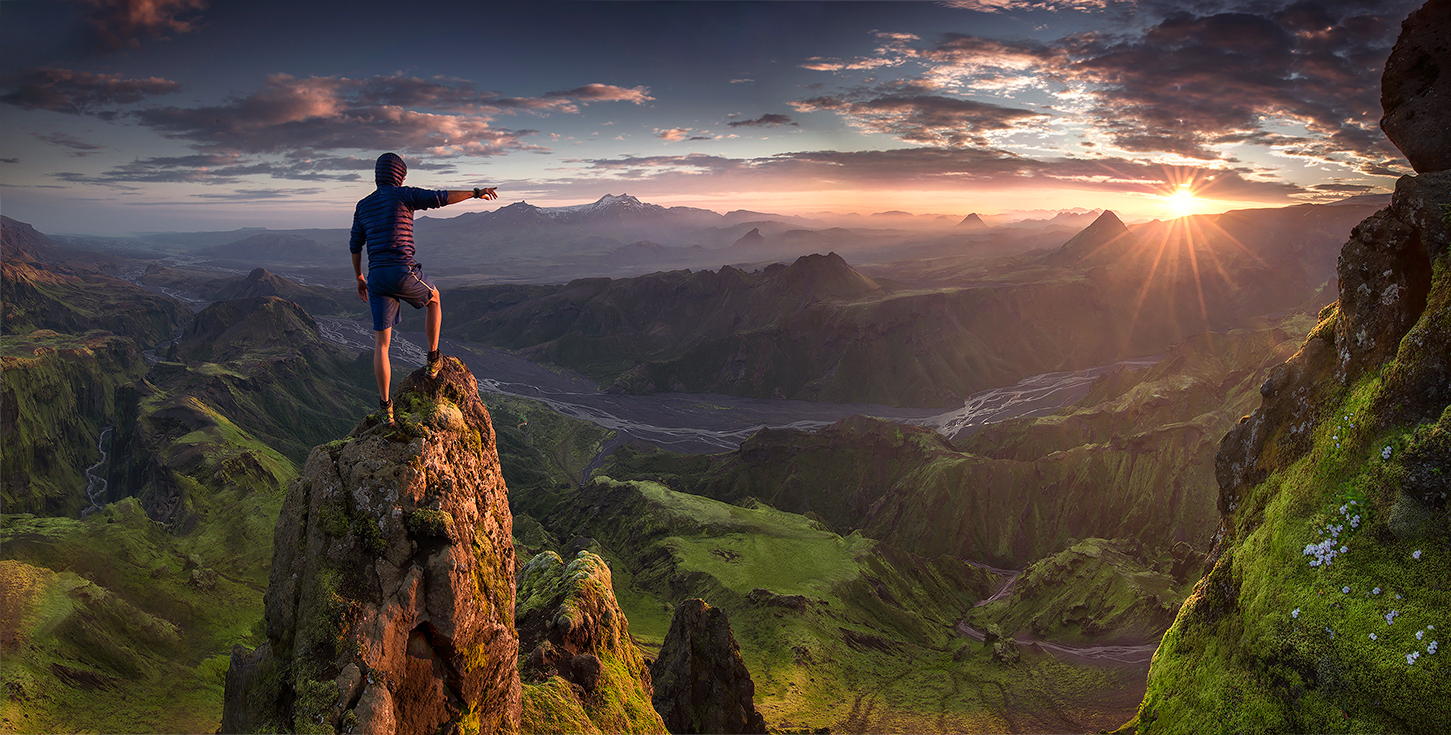
When it comes to creating a properly exposed image, make your histogram your go-to. You want that full range of darks, lights, and mid-tones for a realistic photo, and that means making sure your histogram is balanced and covers as much of the tonal range as possible.
Extreme contrast can limit the potential of your image, and the histogram will warn you if that’s the case. In Lightroom, you can see if you have clipped highlights or shadows by checking the triangles at the top of your histogram; if they’re white, you’re losing detail in those areas and might have to make adjustments (or step back the adjustments you’ve already made).
Of course, if you’re going for a deliberately high-key or low-key look, your histogram might look a little different, but it still works as a basic guide. For Licensing, in particular, it’s best to avoid images that are too dark or blown out because you want to give the buyer as many options as you can for using the photo.

Keep your colors natural
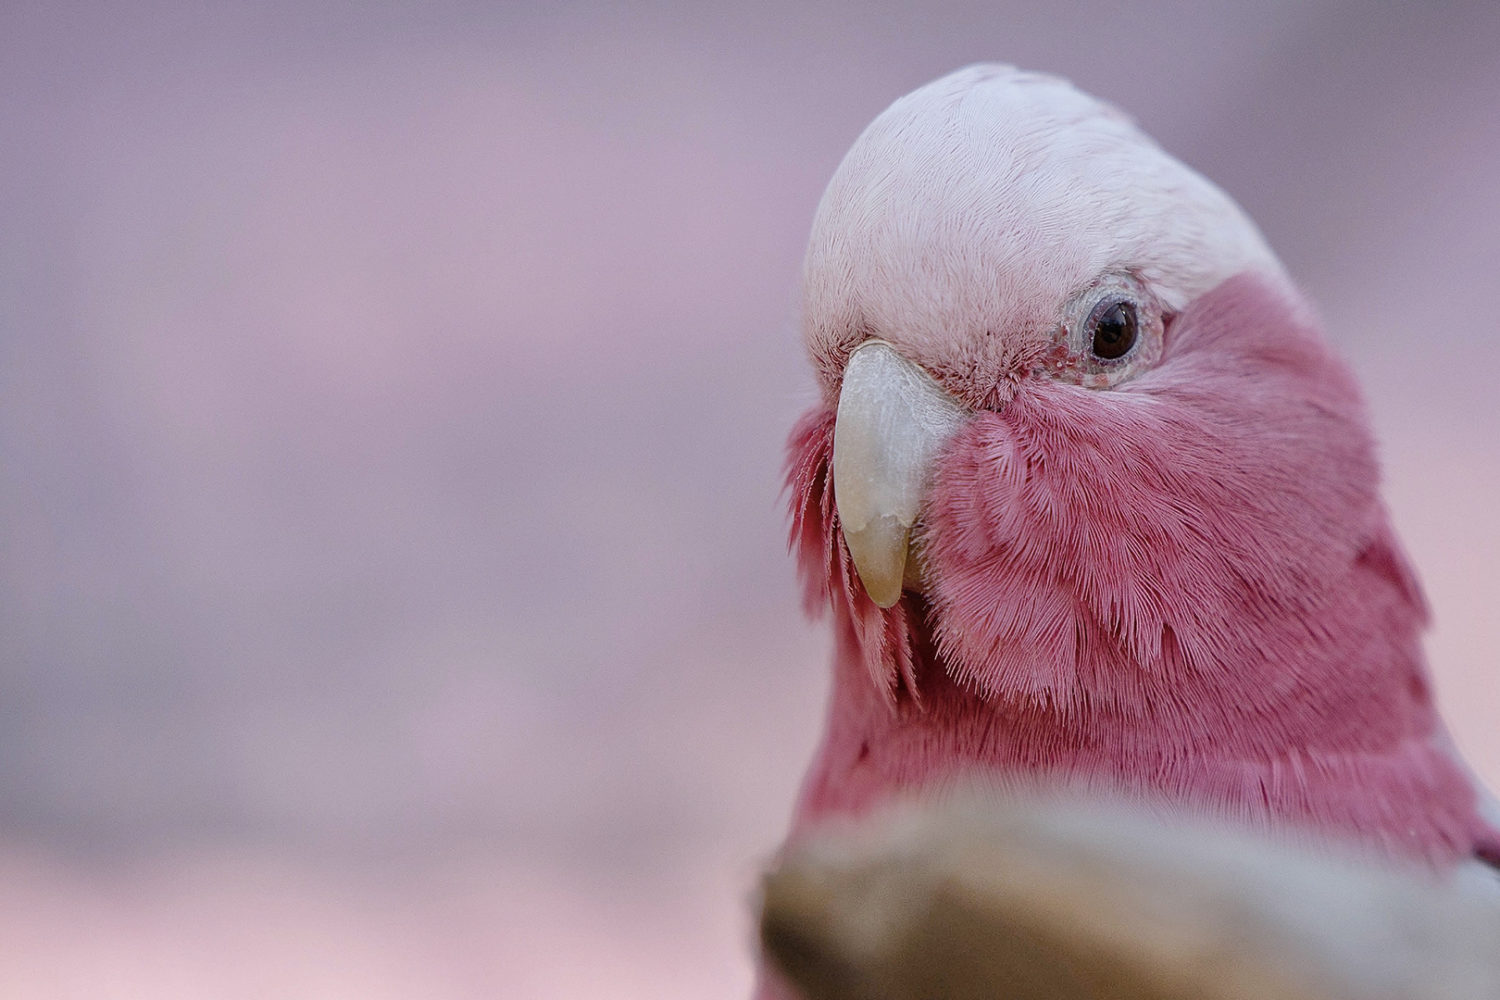
Color correction is one of the most important steps in commercial photography, and the key is keeping your hues realistic and authentic. Lightroom has an array of tools that make color correction simple, so you can do this step first before moving into Photoshop for fine-tuning.
The white balance tool and the temp/tint sliders can help you get the temperature right if your photo looks too warm or cool, and you can fix any intensity issues with the saturation slider. Of course, you want your colors to be vibrant, but this slider is easily overdone, so use it sparingly.
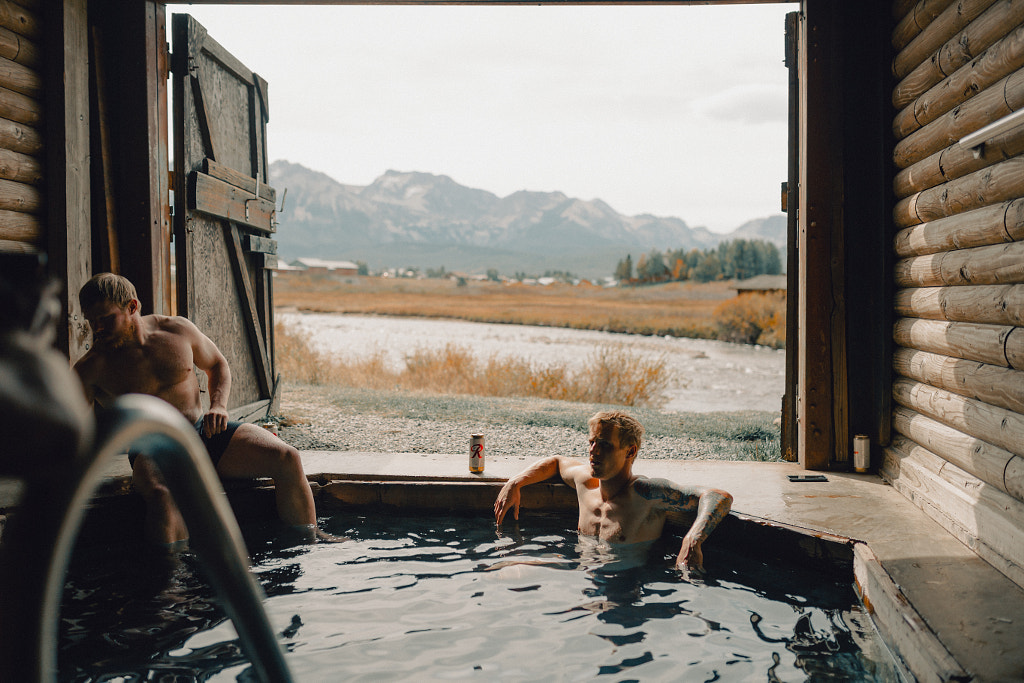
Sepia and black-and-white effects, along with color casts, are best avoided, as buyers can always alter an image once they’ve downloaded it. Skin tones should always be true-to-life for commercial photography. If you’re shooting outdoors, watch out for your greens, in particular, as the surrounding grass and trees can make skin tones look unnatural or “off.”
Tread lightly with presets
Lightroom presets save time and make your photos look great, but heavy filters aren’t always appropriate for commercial Licensing. Many of the presets you can download or buy online create a certain mood or effect—they might make your digital photo look like film or boost specific colors.
Those are creative choices that you make as a photographer, but when you’re Licensing your work, those are also decisions you want to leave to the buyer. If they want a specific look, they’re likely to have their own preferred filters and presets.
That’s not to say that presets can’t work wonders for your Licensing portfolio if they’re used correctly. If you do want to download and buy presets, make sure they don’t have any heavy artistic effects that produce artificial or unnatural-looking images.

Save your own presets
Rather than (or in addition to) buying presets online, it’s always a good idea to create your own. Not only will you have more control over your images, but you’ll also get into the habit of practicing different manual tools and making edits yourself.
With custom-made presets, you can save all the corrections you normally apply to your stock photos and add them easily to batches of images. Color correction and tweaks to your shadows and highlights might be steps you take every time you’re preparing to submit your photos, so go ahead and save those adjustments as a preset. If needed, you can then finesse each individual image to your liking.

Get acquainted with the clone stamp tool
This one is big for commercial stock photographers since it can help “save” a photo with unwanted elements like logos on clothing or labels on packaging. Any branded or copyrighted details will lead to rejection for commercial Licensing, but if it’s small enough, you can get rid of it using the clone stamp tool in Photoshop.
This time-tested tool lets you sample any area you want and “copy” it into another area, effectively erasing it. The secret is selecting a small area to sample and matching it carefully. You want to have a consistent lighting pattern throughout the scene, and sampling frequently—and keeping those samples small—will help you do that and avoid any unnatural, out-of-place elements.
You can also use the spot healing brush for smaller blemishes if you don’t want to specify a sample spot; this tool works by automatically sampling the pixels from around the retouched area.

Go easy with the blur tool
The blur and smudge tools in Photoshop have useful applications, like mimicking a shallow depth of field or adding motion blur. But for commercial stock photography, you want to have your subject in focus, and it’s possible to use the blur tool inappropriately.
A common example is if you use the blur tool to obscure or hide unwanted details, like a person for whom you don’t have a model release or a billboard with trademarked content. While it could be used artistically, this approach to the blur tool can limit the applications of your photography and lower its commercial value. For that reason, it can also lead to image rejection.
If you have an unwanted subject in the frame, see if it can be fixed seamlessly with the clone stamp tool, or crop it out of the photo entirely. A well-edited photo will look like it’s barely been touched at all.
Beware of noise and over-sharpening
When it comes to commercial photography, clarity and focus are essential. If you can see noise artifacts when viewing your photos at 100%, it might be rejected for Licensing. Too much grain, even when used artistically, can result in the same outcome, though we’ll explore that topic more in a separate article.
Some sharpening might be inevitable, but keep in mind that introducing extreme sharpening will produce too much contrast and unwanted artifacts to your photos. It can also make your photos appear unnaturally saturated and textured; if there’s already noise, sharpening will exaggerate it. It’s easy to slip into over-sharpening, so keep an eye out and pay attention to the details.

Use nondestructive edits
Some applications support layers, and others don’t, but if you have the option, it’s good practice to retouch on separate layers. That way, all your color and tonal adjustments, and the edits you make using the clone stamp or healing brush, will be nondestructive.
Layers allow you to experiment freely while still preserving the original image quality; if you make a change you don’t like, you can revert back easily without losing any of your progress. When you’re handling lots of images, as in the case of your Licensing portfolio, this smart approach will save you time and frustration.
Avoid altering body shapes
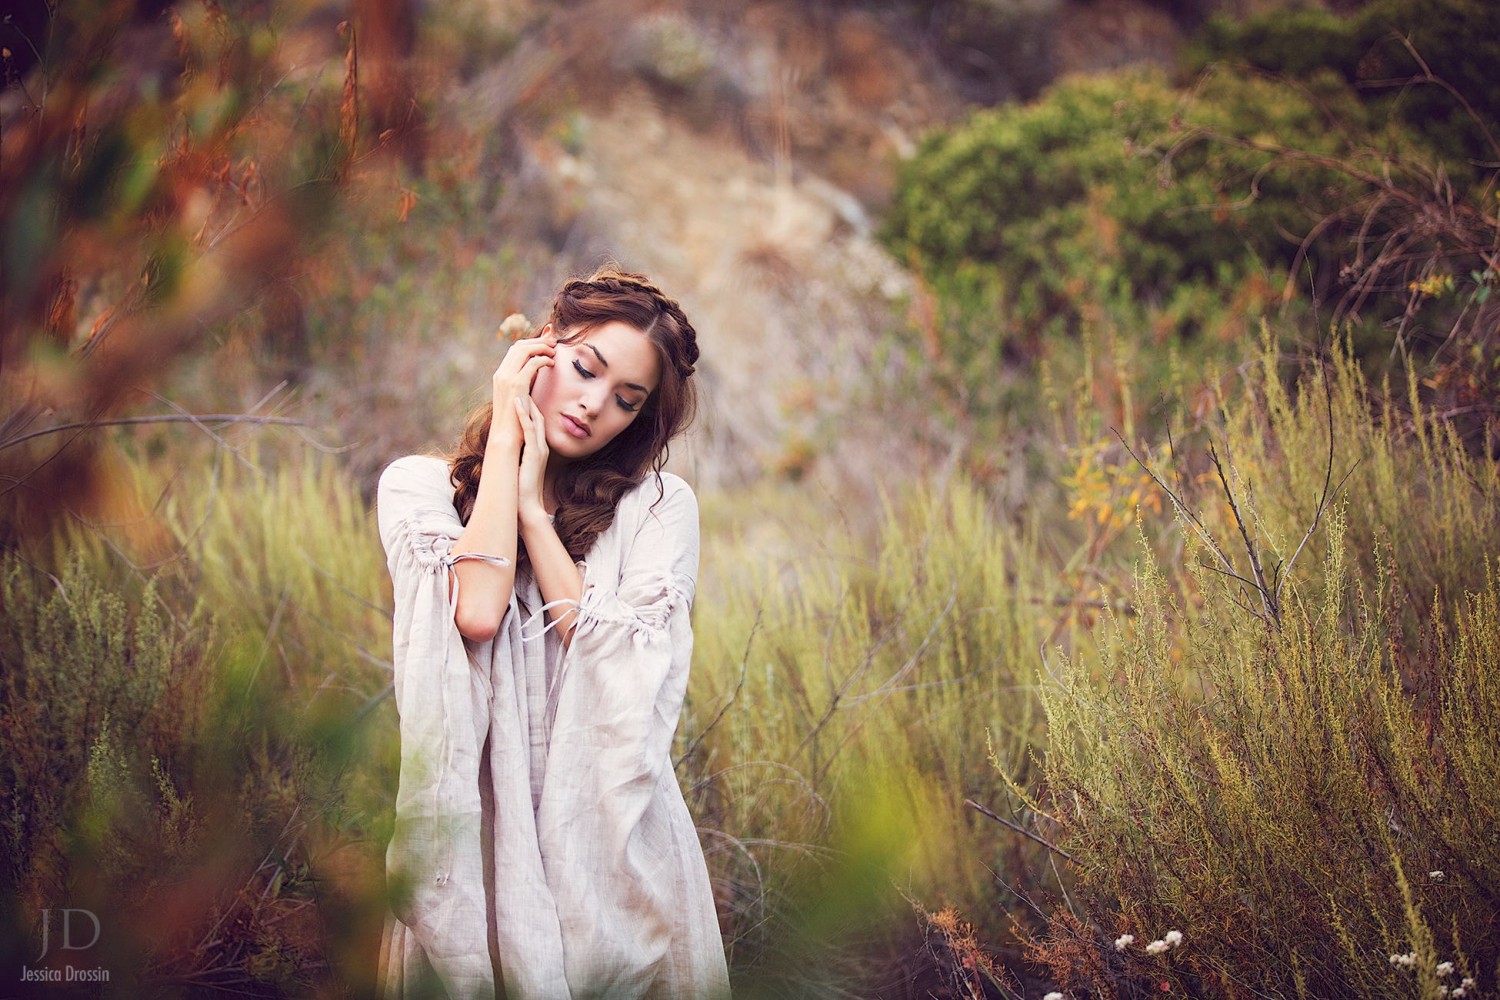
In 2017, France announced a new law, meant to curb unrealistic depictions of models’ bodies: if a model had been slimmed or fleshed out in post-processing, the photo had to bear a “retouched photograph” label. At around the same time, Getty Images banned commercial stock photos of models with altered or manipulated body shapes.
Similarly, 500px does not accept images in which models have been made to appear thinner or larger than they are. It’s fine to retouch details like stay hairs or blemishes or fix distracting elements like chipped nail polish, etc.—just don’t manipulate the model’s body.
In general, it’s also a good idea to steer clear of obvious filters or extreme edits on the skin, as well. Buyers prefer images that feel natural and authentic, as evidenced by Getty Images’ report on the growing skin positivity movement. These movements towards body positivity and skin positivity have been long overdue, and brands are catching on to the importance of being honest, transparent, and real with their customers.
Not on 500px yet? Click here to learn about Licensing with 500px.

Leave a reply