Do you ever wonder who captured the real estate photography on your local listings and how they went about it? Real estate is a fast-paced genre of architectural photography. Once you’ve made contacts with local realtors, you could create a steady stream of income. But first, you need to master the techniques.
This essential guide for beginners will help you decide what to charge, find the right equipment for this architectural photography niche, and get your lighting on point.

How does real estate photography pricing work?
Two things can affect what you charge for your real estate photography: the size of the property and its value. Each of these factors can impact the intensity of your work, so it’s a good idea to customize your rates to accommodate the nuances of each project you take on.
Property size
Some real estate photographers choose to charge by the square foot or number of rooms. This is a way of guaranteeing fair payment based on the amount of time and work required for each property. For example, a commercial property with just a handful of rooms won’t require the same amount of shooting or editing as a sprawling mansion.
Property value
High-end listings have more at stake than run-of-the-mill properties. This means you’ll probably work to higher standards than you normally would, making for higher stakes and probably more stress. You may also require more sophisticated, costly equipment, so it’s a good idea to have a system in place for fair compensation in those cases.
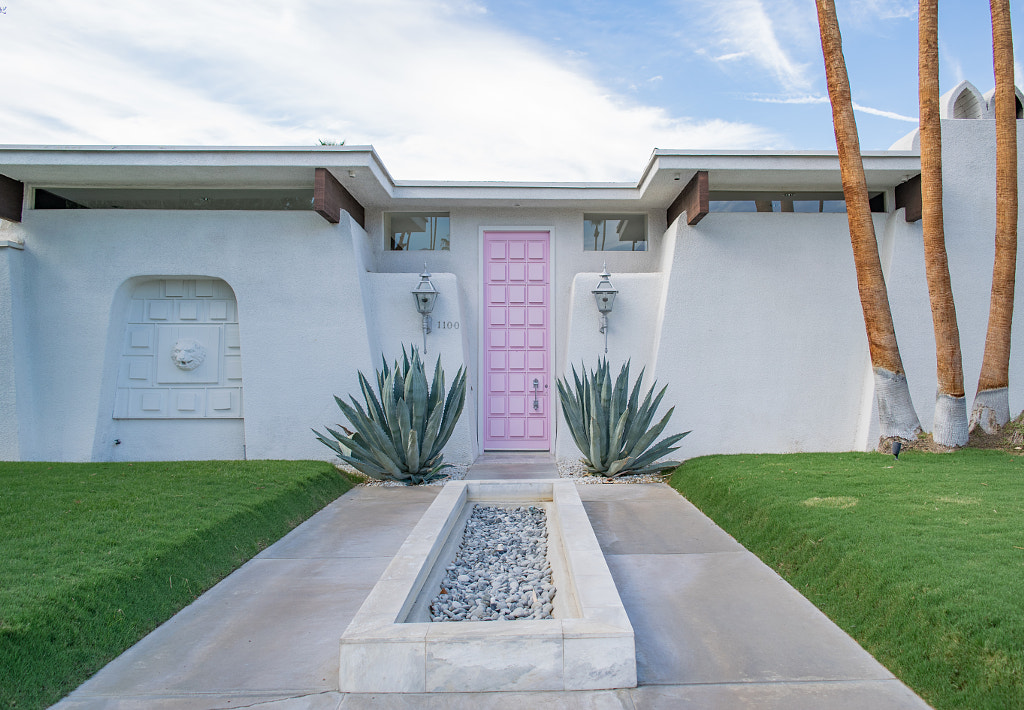
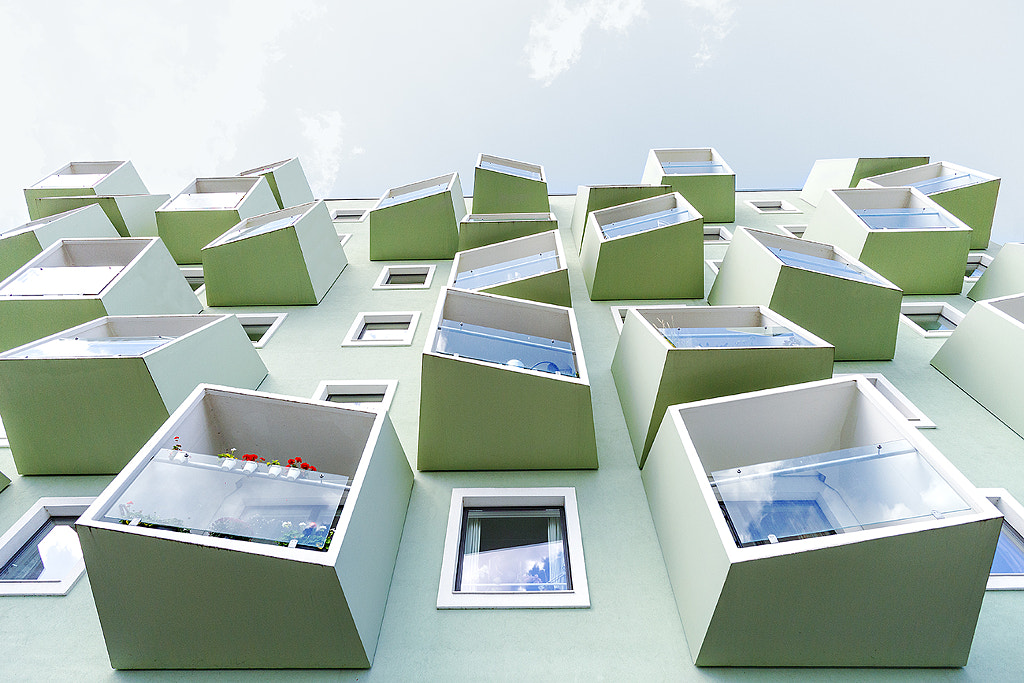
What makes a good real estate image?
Although you’re the one with the expertise and skill, you’re ultimately shooting to please your client. Listen carefully to what they want to highlight in the property and what they’d like to downplay. Beyond that, you’ll want to focus mostly on getting the right angle and exposure. You want your vertical lines to be completely vertical (not tilted) and your lighting to be bright and even.
Real estate photography equipment
To get the real estate photos that really sell (and keep realtors coming back to you for more), you’ll need certain equipment in addition to your interchangeable lens camera. Start with the following items.
1. A sturdy tripod
You may find yourself taking long exposures to avoid mixing light temperatures, which means your camera must be perfectly still. A tripod (and remote shutter release) will not only help you avoid camera shake in a single image; it will keep the camera positioning consistent across several different shots so that you can stack exposures or composite different elements into one image.
2. Multiple off-camera flash units
You won’t be able to light an entire large room with a single flash, even if you’re excellent at bouncing it. Even smaller rooms often have nooks and crannies that will shadow over without some dedicated lighting. Make sure you have at least one extra flash to help with those situations (or just as an emergency backup).

3. Light stands
Don’t rely on countertops and bits of furniture to hold your flash. Bring light stands that will be easy to pick up and move from room to room. You’ll have flexibility in your positioning and height since you won’t be at the mercy of your location for flash placement.
4. A good wide-angle lens
Real estate photography comes with a lot of tight shooting situations. A wide-angle lens will help you get a fuller view in confined spaces. Try for a focal length of 24mm or shorter. Be aware of wide-angle distortion, however, and, if it occurs, be ready to fix it in post-processing.

Photographing a real estate listing
Real estate photography has its own set of priorities, so make sure you know the genre fairly well before you begin. You’ll want to make sure to address specific lighting and angle concerns like the ones listed below.
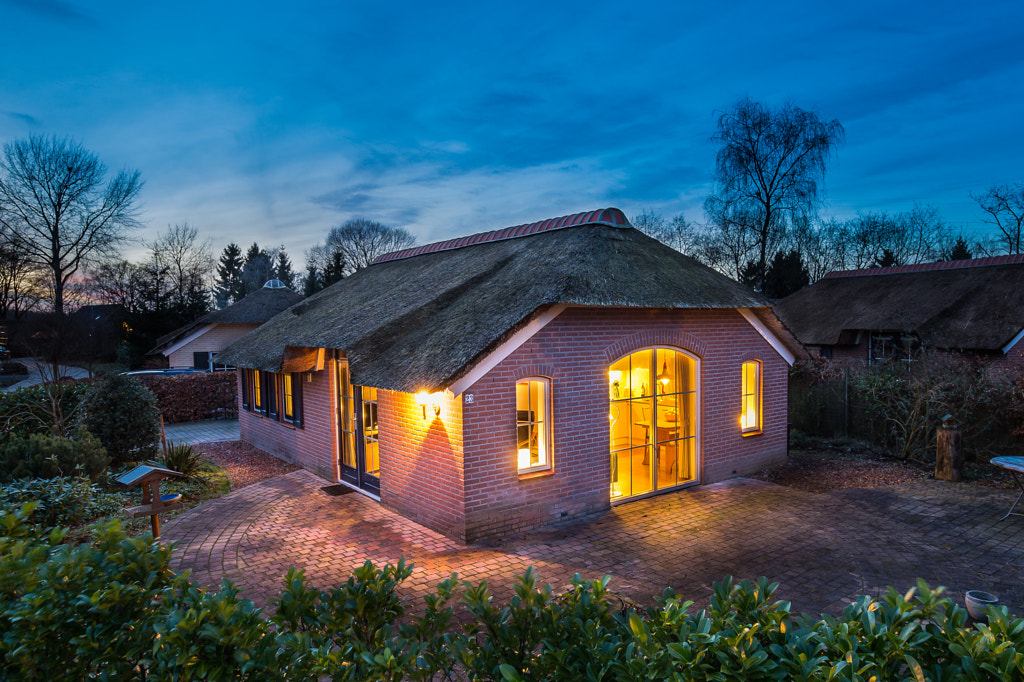
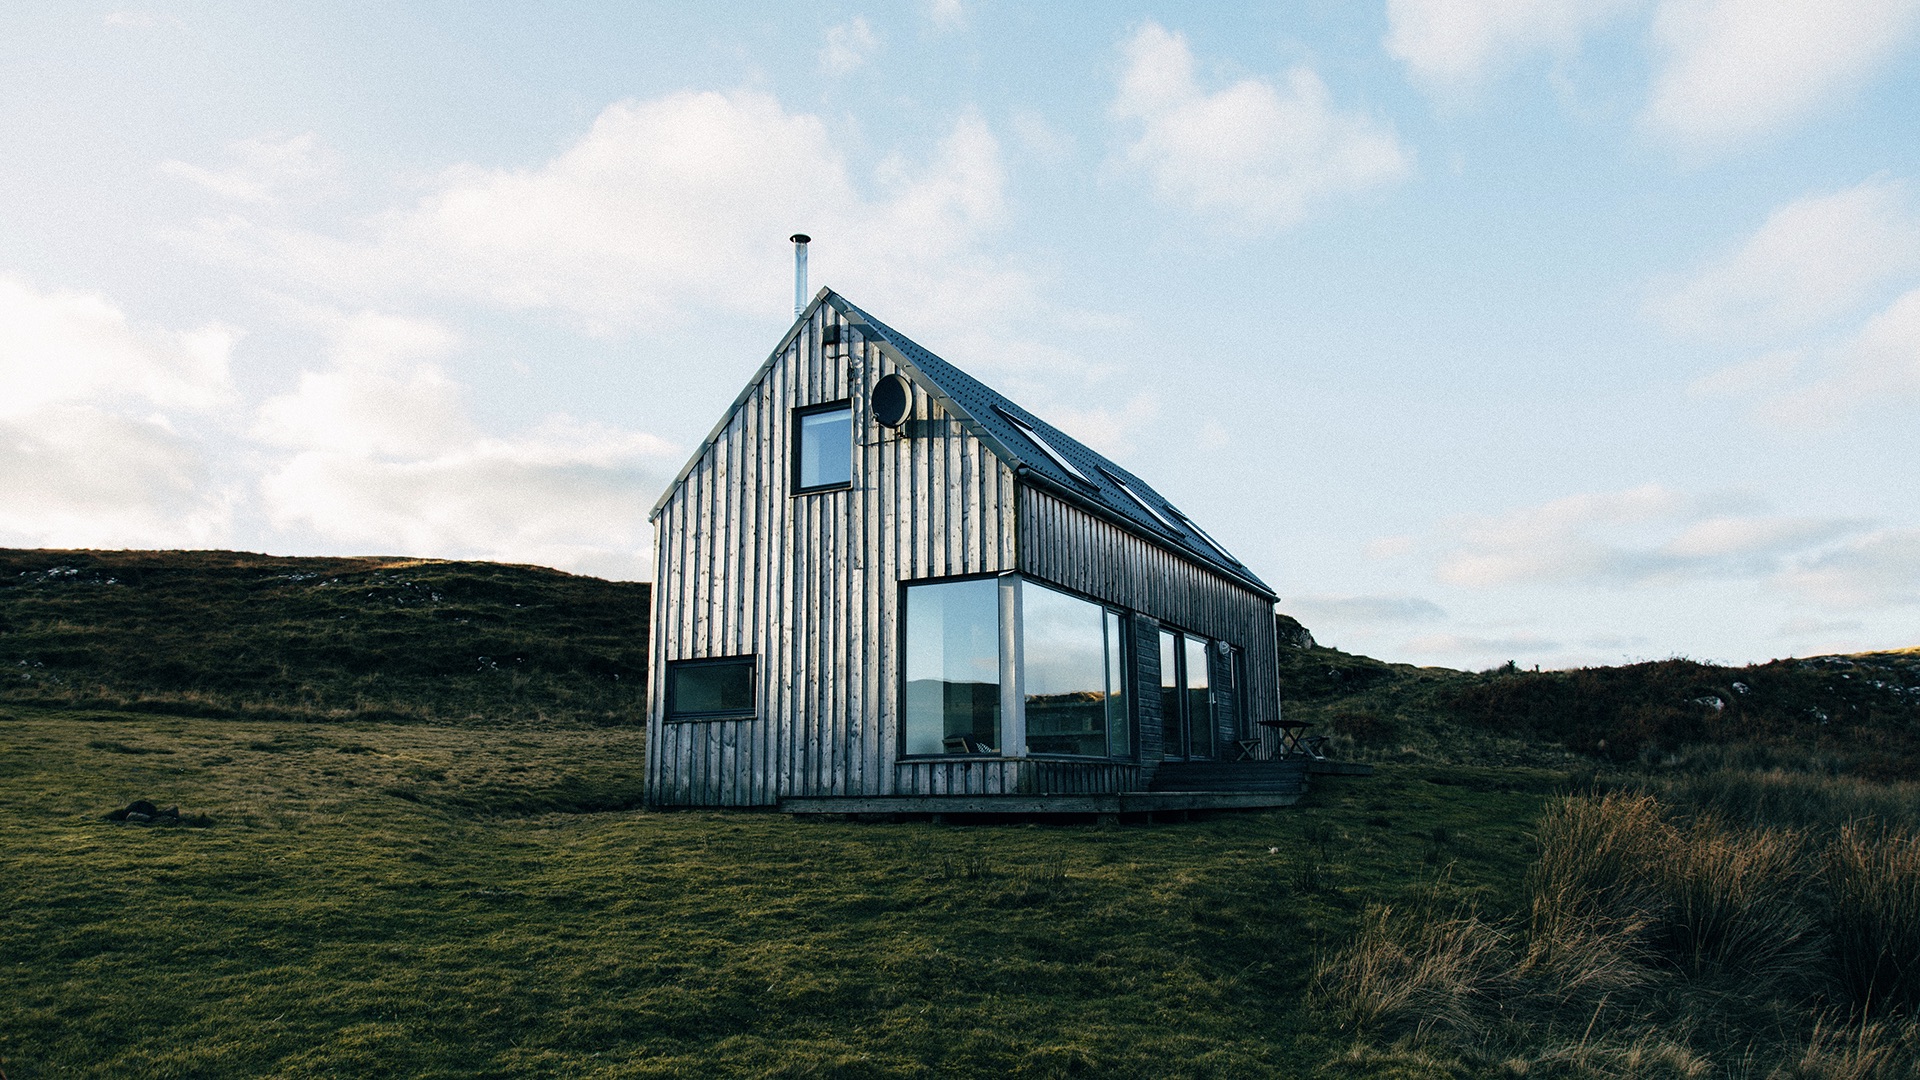
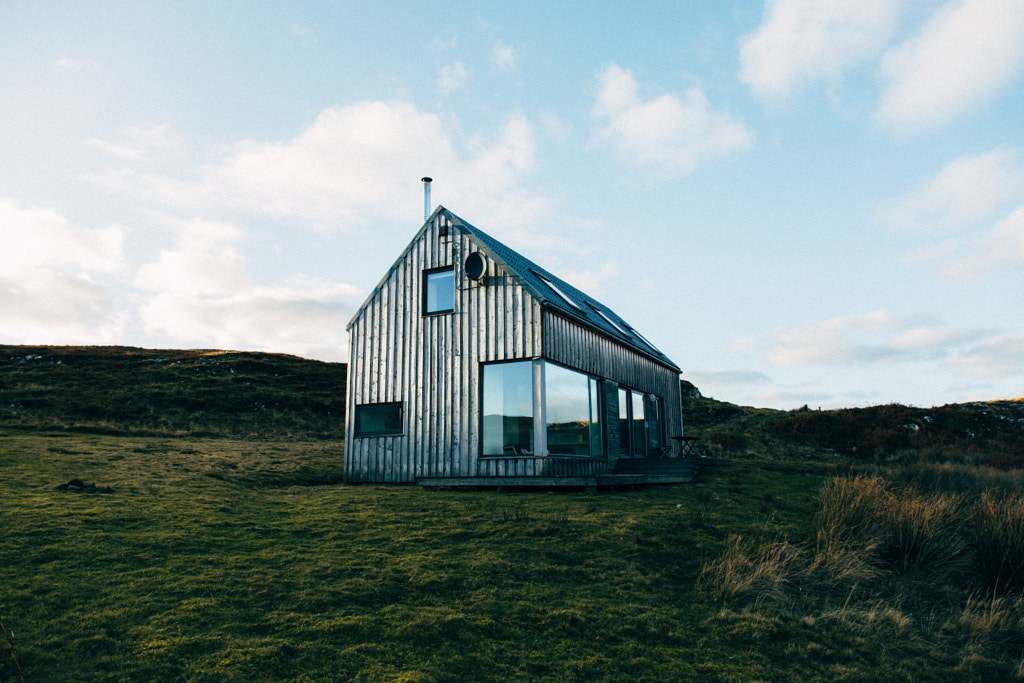
Lighting for an exterior shot
For exterior real estate photography, the positioning of the sun is more important than ever. It may be best to shoot with it behind the structure to avoid sharp shadows that can affect the appearance of the architecture. Many real estate photographers will shoot at twilight with the interior lights on to get a warmer, cozier feel.
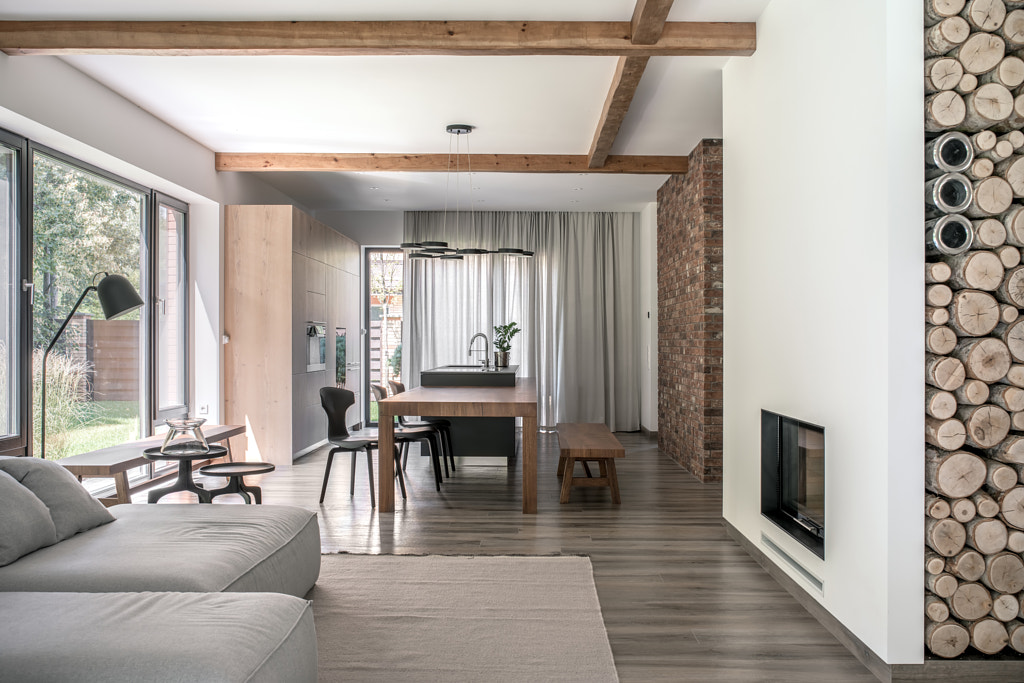
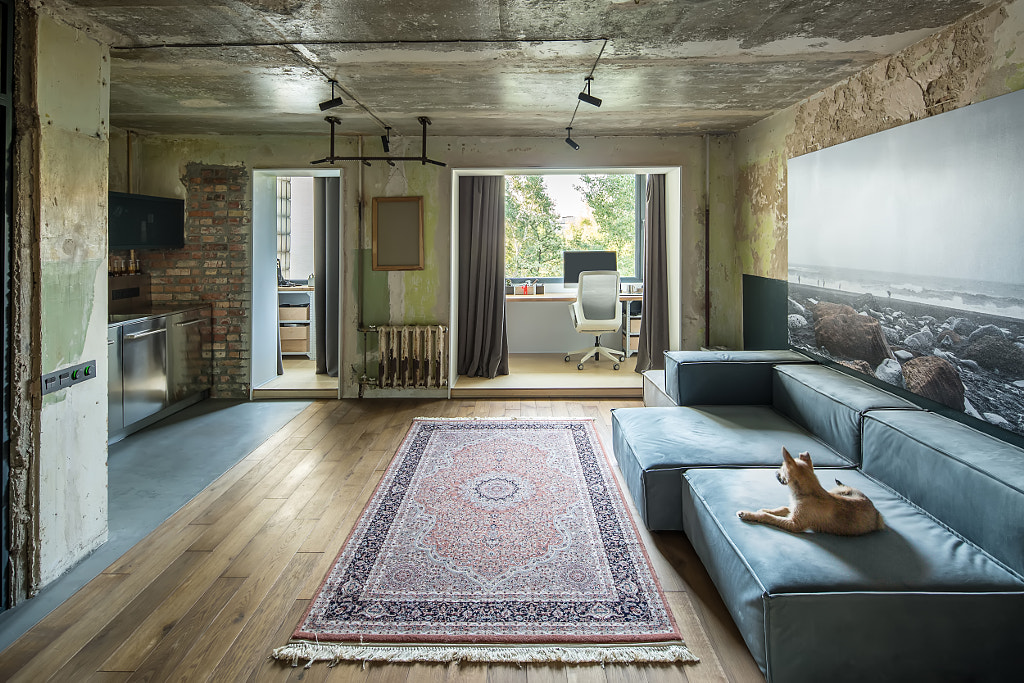
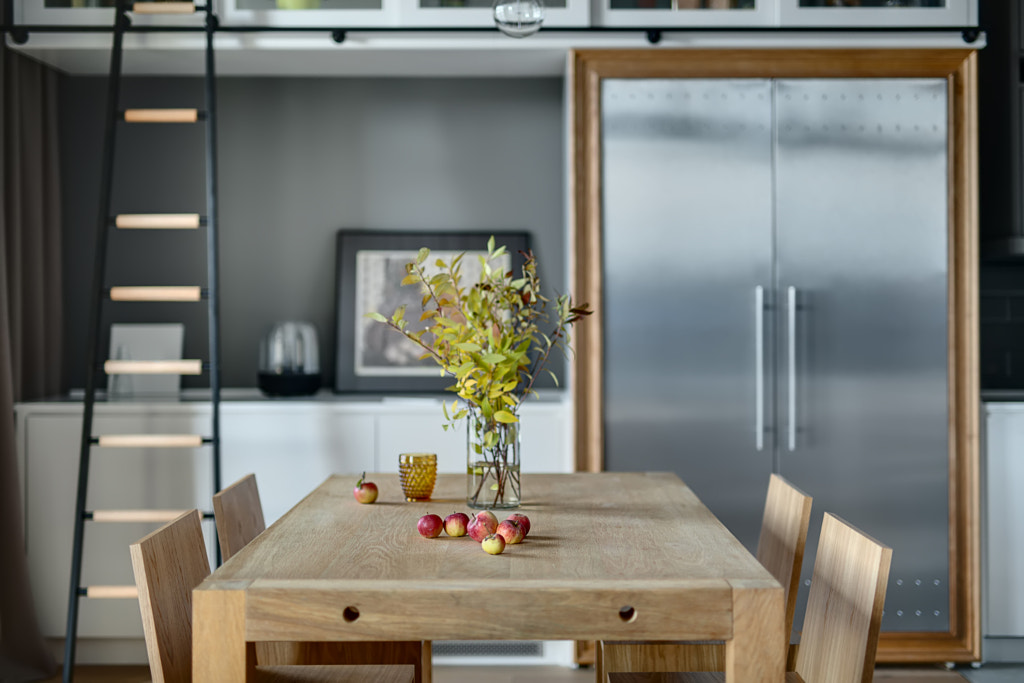
Lighting for an interior shot
The challenge of shooting interior real estate photography is the mixing of light temperatures. Your client’s lamps and overhead bulbs will likely give off a warm light that will clash with the cool, natural light coming in through the windows. Your flash will probably match up better with the natural light, so one solution is to turn off all interior lights and use multiple flashes and long exposures to fill in the dark areas.
Proper camera height and angle
To photograph interiors, you should keep your camera perfectly level at or near chest height: a hot shoe bubble level will tell you for sure when it’s perfectly straight. The height keeps the ratio of ceiling/floor to actual room at an acceptable level. A perfectly level shot will minimize distortion of the vertical lines in your photo.
Getting good exposures
Balanced lighting is key to creating appealing real estate photography. Unfortunately, that’s not always possible in-camera. Using HDR photography can help you capture highlights and shadows in the same image without clipping either one.
Diffuse artificial lighting
Flash is unnecessarily harsh when you point it right at your subject at full power, so diffuse it to minimize the sharp shadows it can cause. You can diffuse on the fly by bouncing your flash off a light-colored ceiling or wall. If that’s not an option, you can use a softbox-type diffuser or shoot through a white umbrella.
Getting ready for a shoot
Preparing for your shoot is the best way to set the right tone before you even set foot on a property. You want to have your equipment ready to go, know exactly what is expected of you, and have a game plan for completing your project in a timely manner.
Start with these two steps:
1. Put a shot list together for every property
To make sure you get everything that’s important to your client, have it written (or typed) out in list form. In your pre-shoot consultation (or questionnaire, if you use one), ask specifically what they need from you and build your shot list from that.
2. Prepare your gear the night before
The night before a shoot, charge batteries, run a quick equipment check, and pack up everything. This avoids that last-minute panic, and you’ll go into your real estate photoshoot confident and ready to do your best work.
Getting the property ready for its close-up
Ideally, you will go straight to the property and shoot it as-is, but many clients who are working with a real estate photographer for the first time will not know the process. Be comfortable acting as their consultant, in addition to their photographer, to get the best work possible.
1. Warn them to declutter ahead of time
Sellers are often completely unaware of how important a clean shot is to make their home marketable in photos. Ask them to put away personal items and general clutter, and remove excessive decorations before you arrive. Have someone prepared to move any leftover bric-a-brac out of your frame and replace it between shots.
2. Do a quick walkthrough before you begin
Your client may not plan to remain for your entire shoot, so ask them to walk the property with you beforehand. If you see any red flags, talk that over with them before they leave. There may be some things you just have to work around and not touch, and it’s good to know that ahead of time.
Wrapping up a real estate photography job
When you’ve finished your shoot, you’ll need to edit and deliver your client’s images. Real estate often requires a fast turnaround, so you’ll need a good editing workflow and an instant delivery method. A good, automatable CRM will be helpful with this workflow as you start to juggle more clients. Look at Dropbox to send files with a quick link or Pixieset to give your clients the option to choose their own images.
Editing real estate photography
Since real estate is a genre that prefers accuracy over artistic license, it’s unlikely that you’ll be doing intensive retouching. However, any light temperature inconsistencies should be fixed in Lightroom with an HSL adjustment brush. You can also add some color to the sky if you shot on an overcast day, or make corrections to the angle of your vertical lines if some distortion occurred on your shoot.
Real estate photography is a rewarding and challenging genre. You’ll need the ability to think on your feet and problem-solve to meet the demanding deadlines of your clients. Once you’ve mastered it, however, real estate photography is a potentially lucrative and enjoyable career.
Not on 500px yet? Click here to learn about Licensing with 500px.


Leave a reply