In the last year, professionals around the globe dipped their toes into the world of product photography. Some set up a kitchen or garage studio, had clients ship their products, and styled their own shoots. Others worked remotely with a team on Zoom, sharing photos with clients in real-time. Amid unprecedented circumstances, pivoting to product photography proved to be a fun challenge for many, while also helping to bring in income and foster new client collaborations.
With nearly half of U.S. consumers naming high-quality product photos as the most influential factor when considering an online purchase, today’s brands understand the importance of stellar visual marketing. You don’t need to spend a fortune on studio space to produce marketable product photos—with some basic lighting equipment, props, backgrounds, a sense of imagination, and attention to detail, you can set up your photoshoots at home. Here are our tips for getting started.
Research the client
From the “dark and moody” aesthetic to the “bright and airy” edit, there are a few trends reshaping the world of product photography, but your approach will vary based on the client. Many clients will send a creative brief with details on the style and shots they want, but you’ll also want to take a look at campaigns they’ve done in the past to get a feel for what they like.
Some brands will prefer a high key look with a white background (especially in the eCommerce space), while others might prefer a more artsy, editorial look. Don’t be afraid to ask questions throughout the process, and work with your client to put together a mood board and shot list to ensure you’re on the same page. It’s crucial that your photos be consistent with their branding overall.
Learn as much as you can about the brand and their history: what are their values, and what are their unique selling points? The more you know about the brand, their vision, and their products, the better equipped you’ll be to help them reach their goals. Make yourself an expert on the product, and go into the shoot with a clear plan of how you want to execute the images.
Know your light
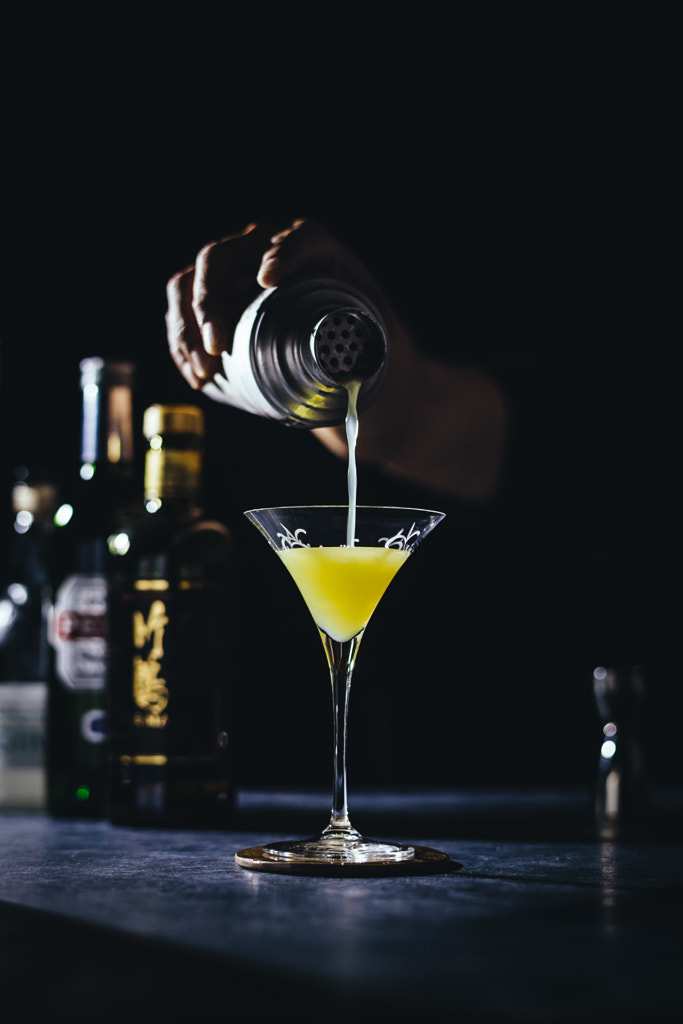
While many clients like warm, natural sunlight, some prefer artificial lights with gels, so familiarize yourself with different lighting setups, from simple window light to a couple of speedlights or strobes. Artificial light can be trickier, but it’s also easier to replicate.
Whatever lighting you use, get into the habit of modifying and shaping it. A reflector and diffuser combo will work wonders, and if you’re using artificial light, try bouncing it with foam or a card for a softer, less harsh aesthetic (no unwanted shadows). It can also be helpful to buy (or make your own) light box or kit for shooting products.
If you’re shooting with a white background, keep in mind that you’ll likely need to use a key light on your product as well as a second light for the background; otherwise, the background could come out looking muddy gray. Finally, whatever your setup, remember to use a tripod (and a cable release) for stability.
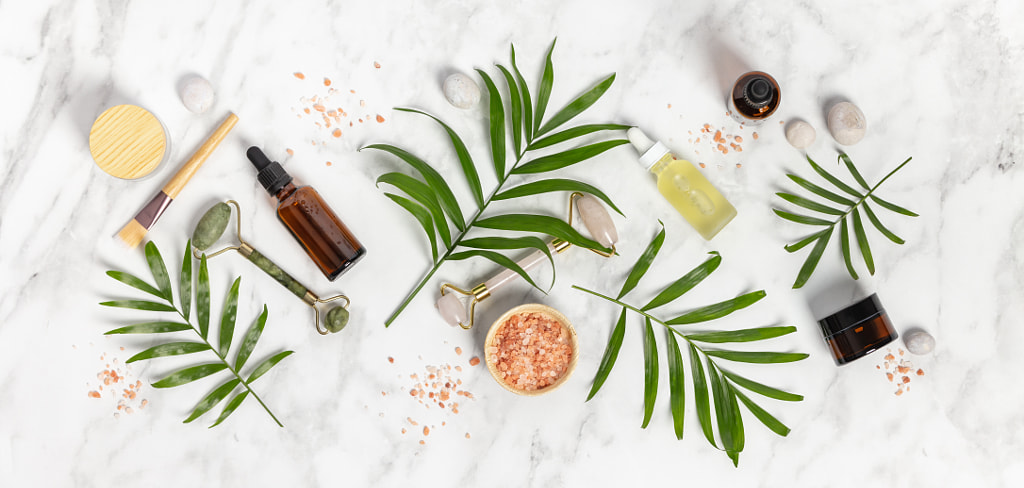

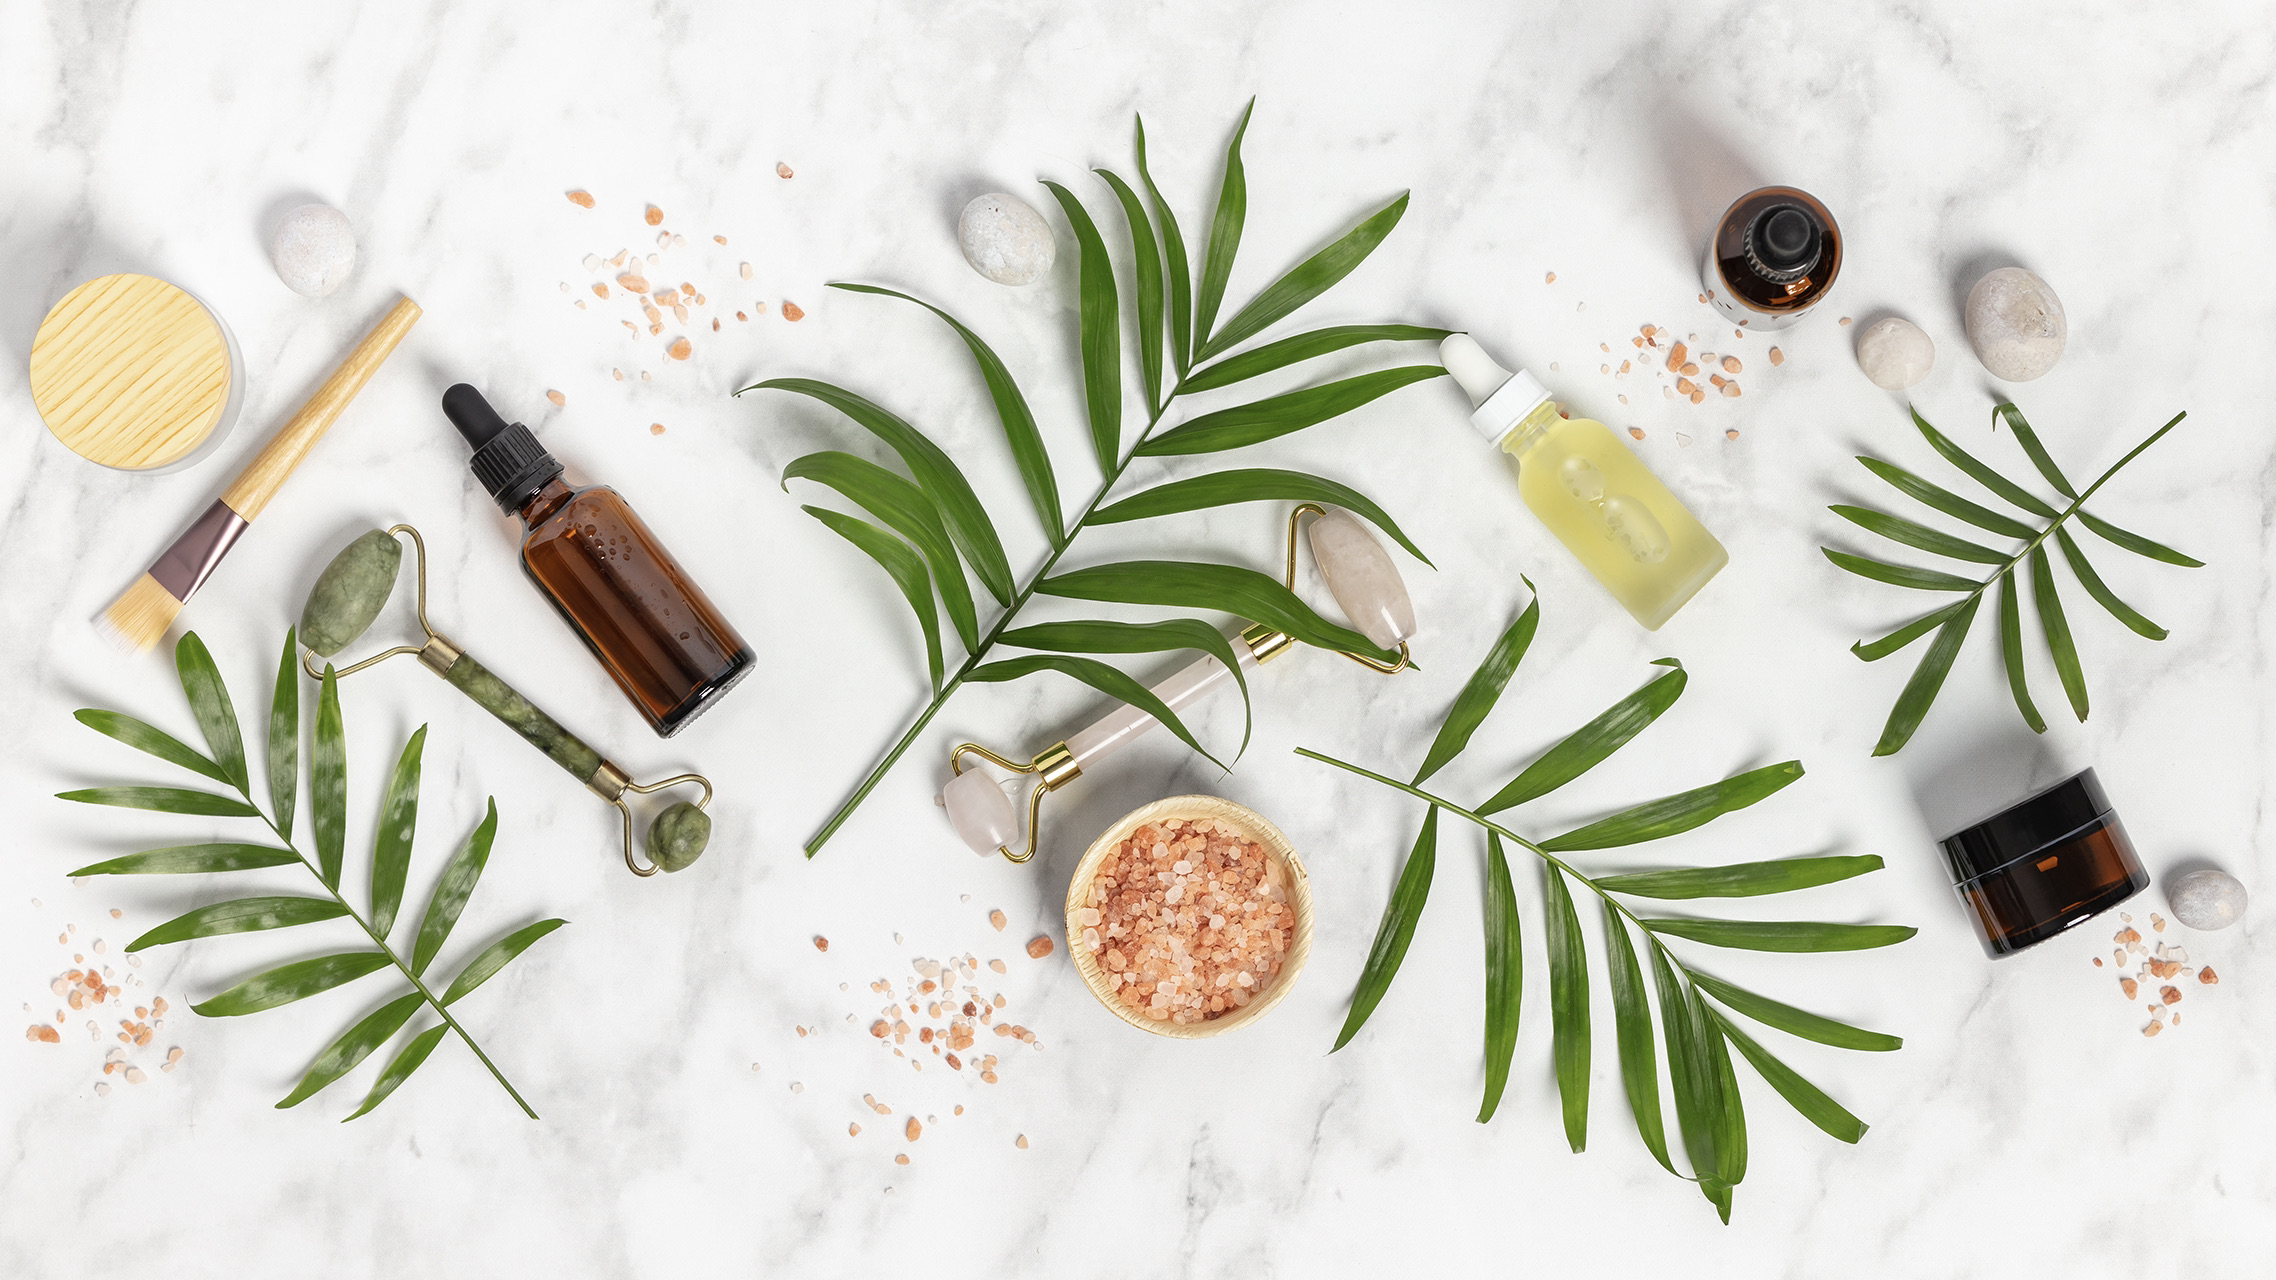
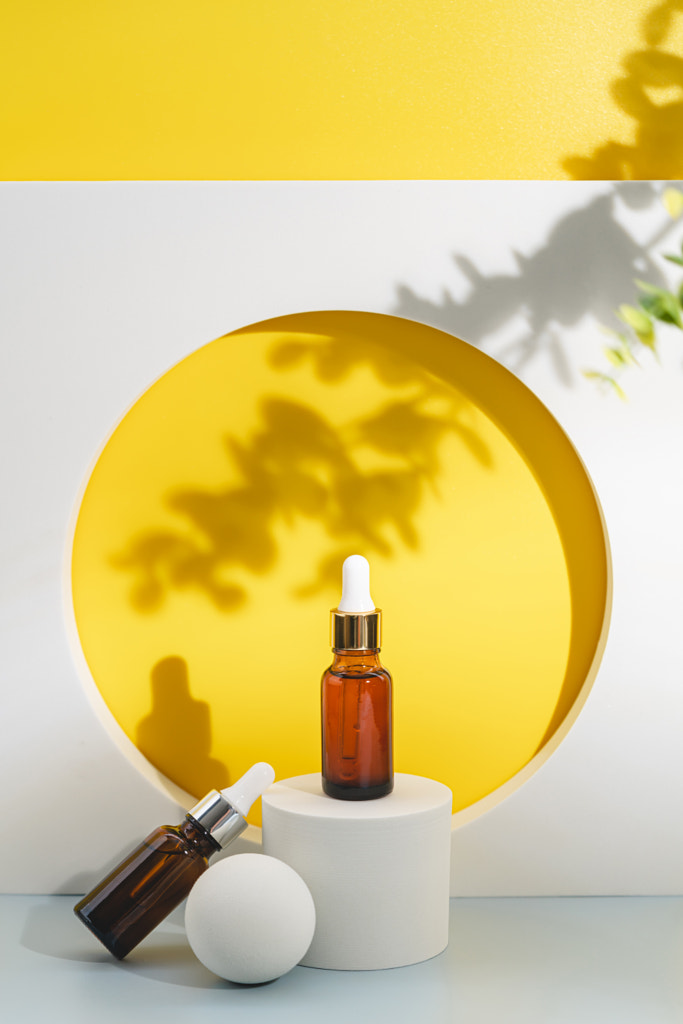
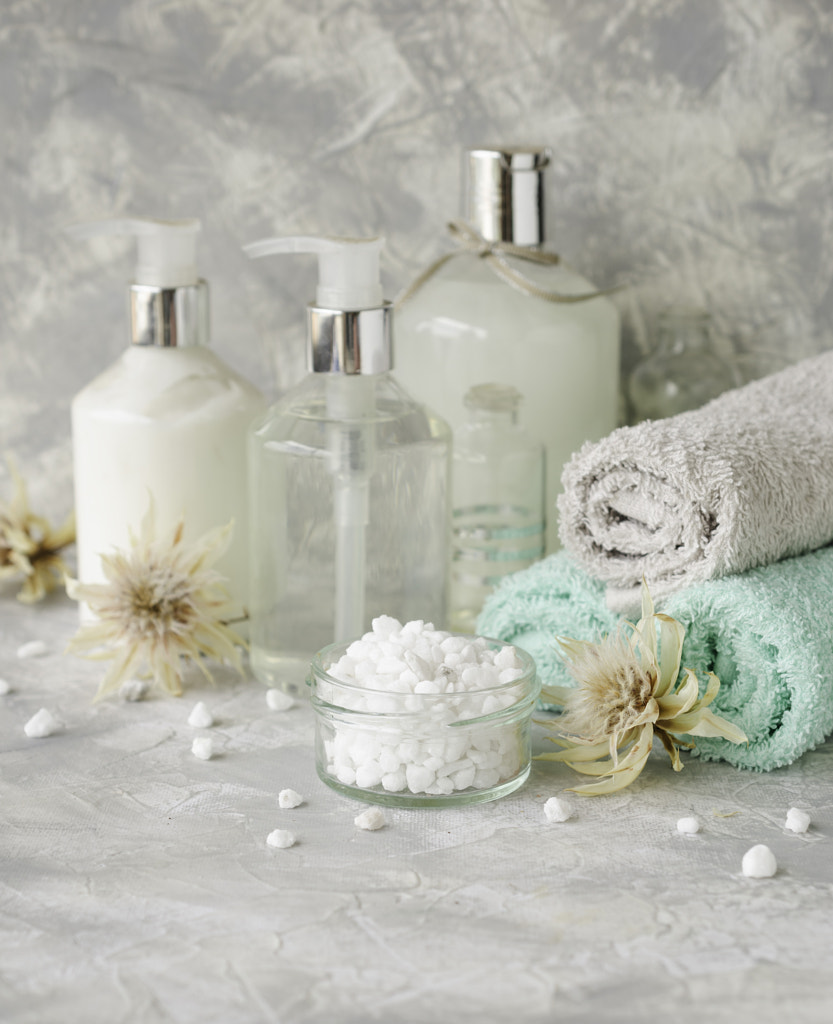
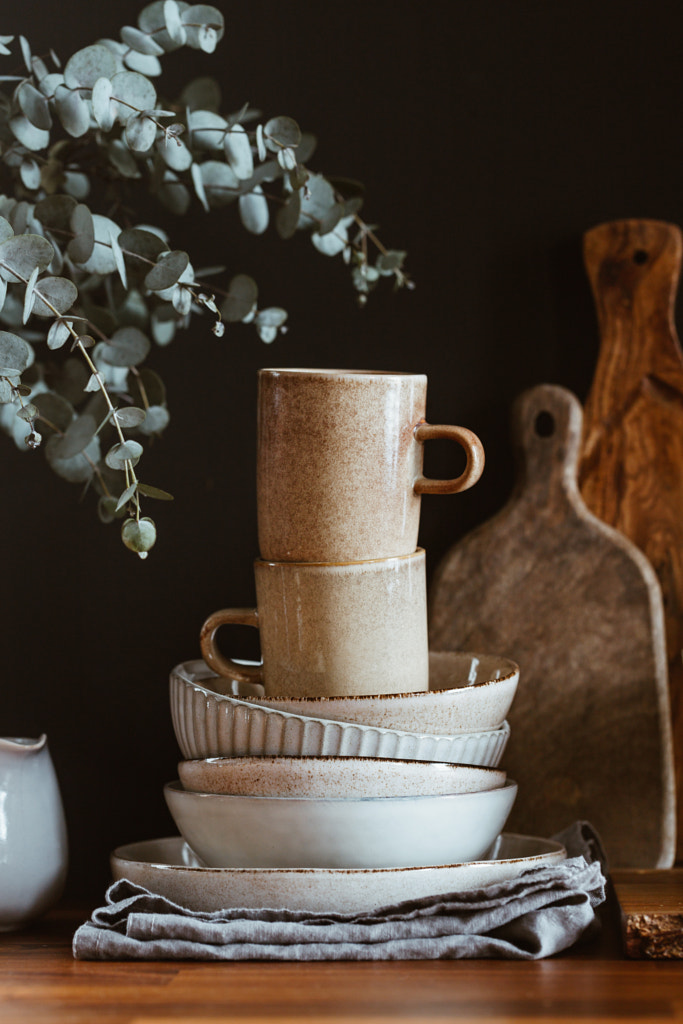
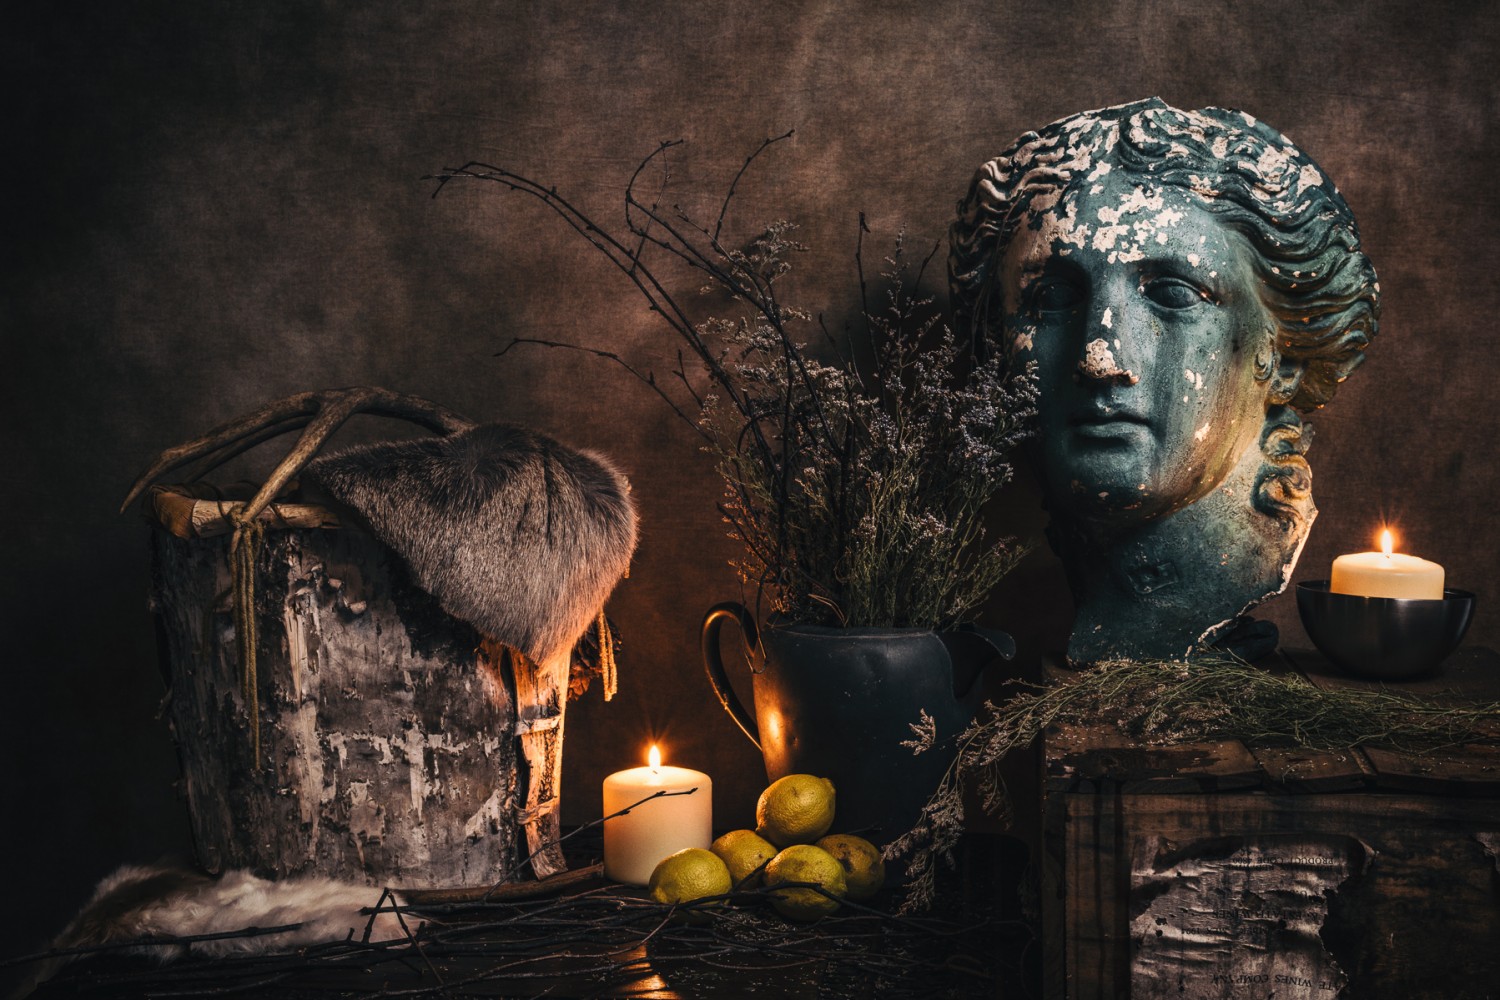
Invest in quality backgrounds and props
A collection of versatile, high-quality props and backgrounds can go a long way, even if it’s just a few key items. Generally, you’ll need a white sweep for all those high-key images you see on websites like Amazon and eBay, and you’ll want a variety of uncluttered, clean options in colors you use frequently.
Additional backgrounds can vary from plain seamless paper to stained wood or even marble, depending on your taste and clients; you can also browse hardware stores and fabric shops for more variety. You can even make your own backgrounds using repurposed materials. When sourcing props, browse thrift shops for hidden gems, and don’t forget to check out rental options before you buy—shops like ACME Brooklyn offer extensive prop catalogs.
Think like a stylist
Prop and food stylists know all the product photography tricks in the book, so it’s worth brushing up on some of their “hacks.” For example, in many situations, fake ice will prove easier to shoot than real ice (though it can be pricey), and you’ll want to keep water with glycerin in a spray bottle to create “condensation” on glass.
If you want to get creative, clay or acrylic blocks can help you balance and arrange your props, and you can “set” a perfect flatlay composition using pins or a glue gun. Shaving cream can be used in place of whipped cream; cardboard can be used to create volume in sandwiches, and “ice cream” can be created with vegetable shortening, corn syrup, and powdered sugar. Having these unconventional items on hand can prove handy and expand the creative possibilities of your shoot.
Keep it clean
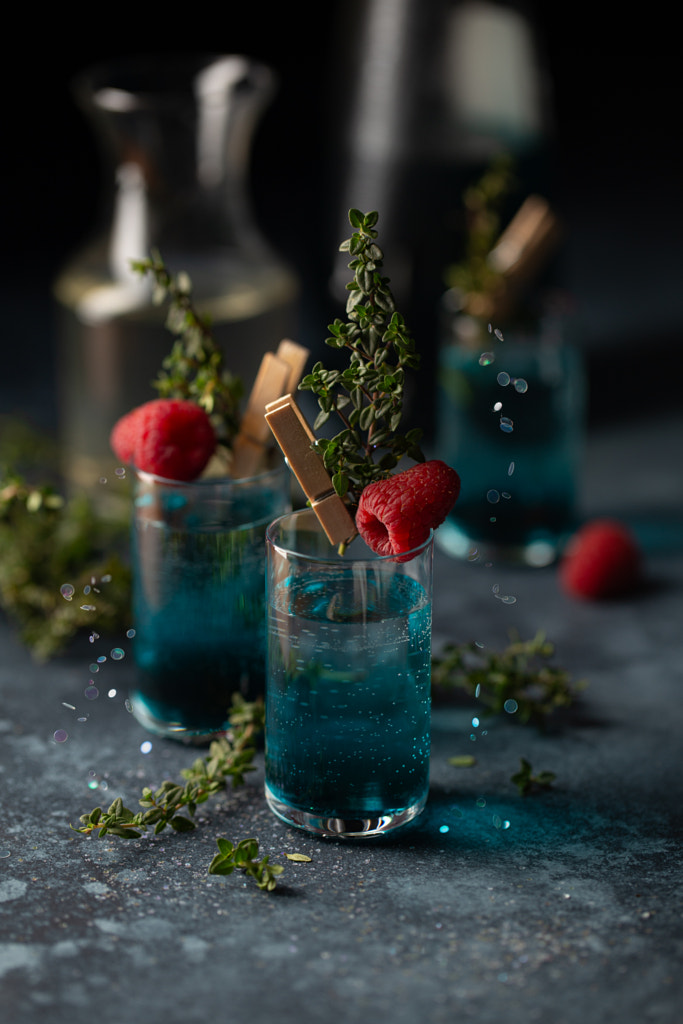
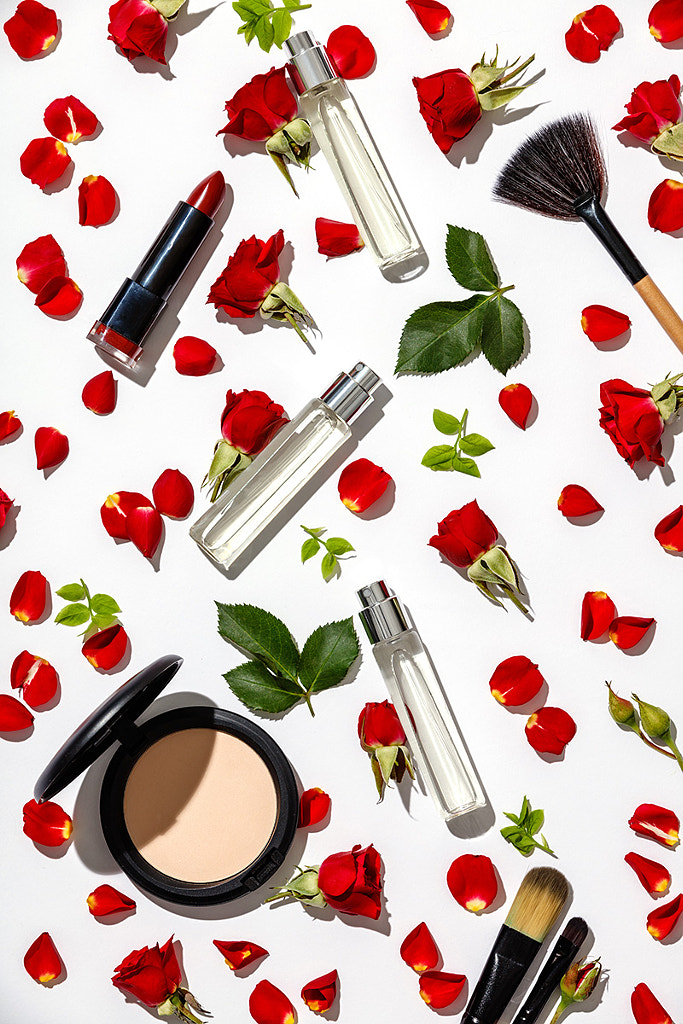
To make the product stand out, keep your composition minimal and clean, without any distracting elements (see Apple’s ultra-minimalist ads for reference). You can use props that complement the product—for instance, flower petals for a perfume bottle, or strawberries with a fizzy strawberry-flavored drink—but make sure they aren’t distracting to the eye. It’ll depend on the client, but usually, less is more.
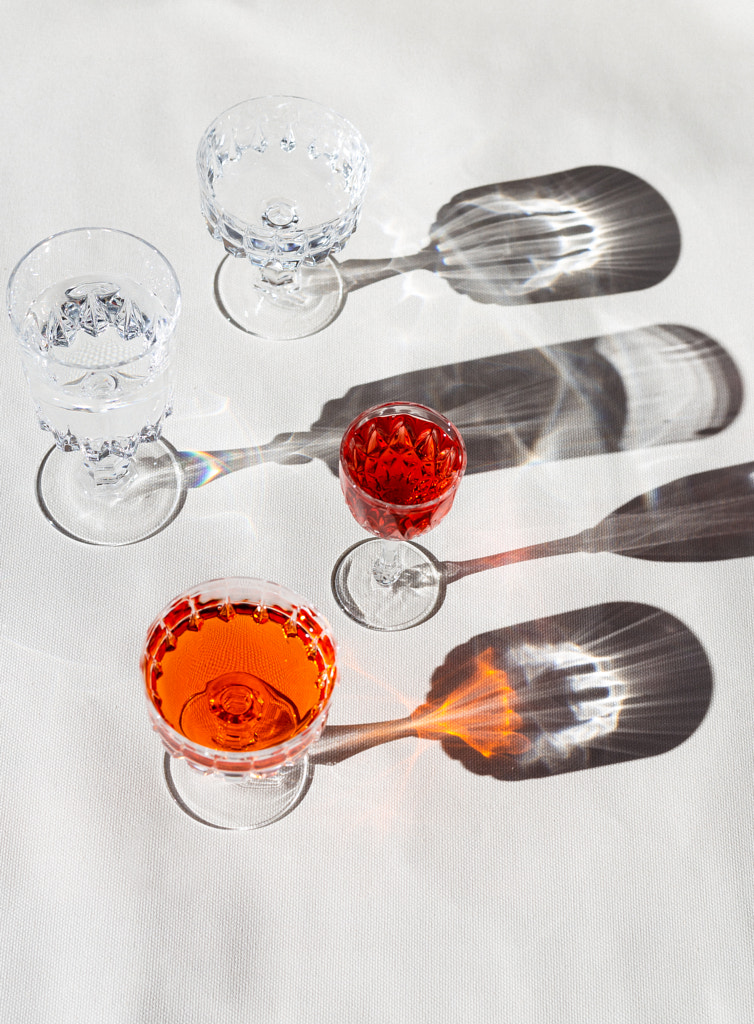
Don’t forget to leave enough breathing room, at least in some of your photos, in case the client wants to crop or add a logo/copy to the images. If you’re not using a seamless background, you can try a shallow depth of field for a creamy bokeh effect. When in doubt, limit your color palette to just one or a few colors. Watch for shadows and reflections as well; these can work well when used intentionally but can sometimes get in the way of the product itself.
Be meticulous
Because product photos can be simple and graphic, every detail matters, and any mistakes will become more noticeable. Keep a steamer or iron on hand for fabrics in case of wrinkles on clothing, and remember to wear gloves when handling props to avoid leaving fingerprints. Dust spots and smudges can sometimes be edited out in post, but it’s best to get it right in-camera.
Note: Speaking of post-production, zoom in on every detail once you get behind the computer, and retouch any tiny flaws you notice.
Get creative
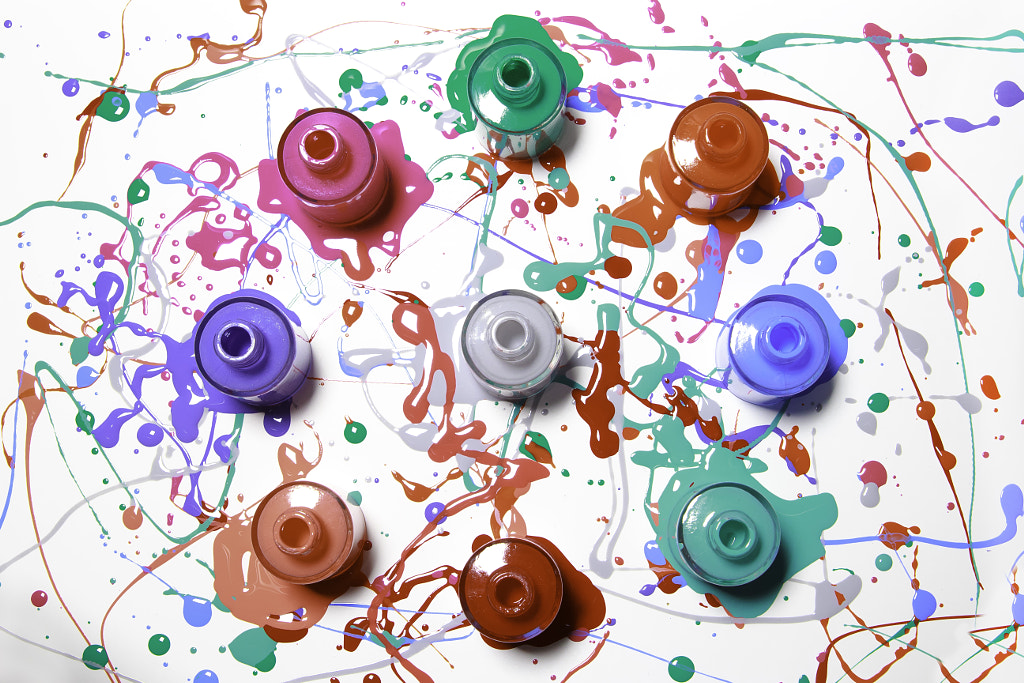
Of course, simple doesn’t mean boring, and the best product photos often come from thinking outside of the box. Look for interesting ways to introduce color and texture; if you’re shooting lipstick, maybe you smear it onto your background to show how smooth it is. If you’re shooting nail polish, perhaps you create drips in complementary colors. Maybe you cut holes in your seamless background and have a hand poking out from the other side, showing the product. What you do will depend on the brand and its sensibility, so think about what makes the client unique and how you can highlight that.
Shoot a lot of photos
You might have a shot list that you agreed on with your client, and those images are your top priority, but it can help to give yourself permission to explore additional ideas on set. If you have the time, try different setups, backgrounds, props, lighting, angles, and more. Use a standard lens and a macro lens; the goal is to deliver as many options and varieties as you can.
Consider mixing it up with head-on shots, flatlays, and 45-degree angles, while staying true to the brand’s aesthetic (brand colors, style, etc.). Grab close-ups of the details, and capture the product from above and below. Shoot in different formats (landscape and portrait) so they can choose what images to use on social media and across their print campaigns. Give your clients what they want, and then impress them by going the extra mile.
Not on 500px yet? Sign up here to explore more impactful photography.

Leave a reply