
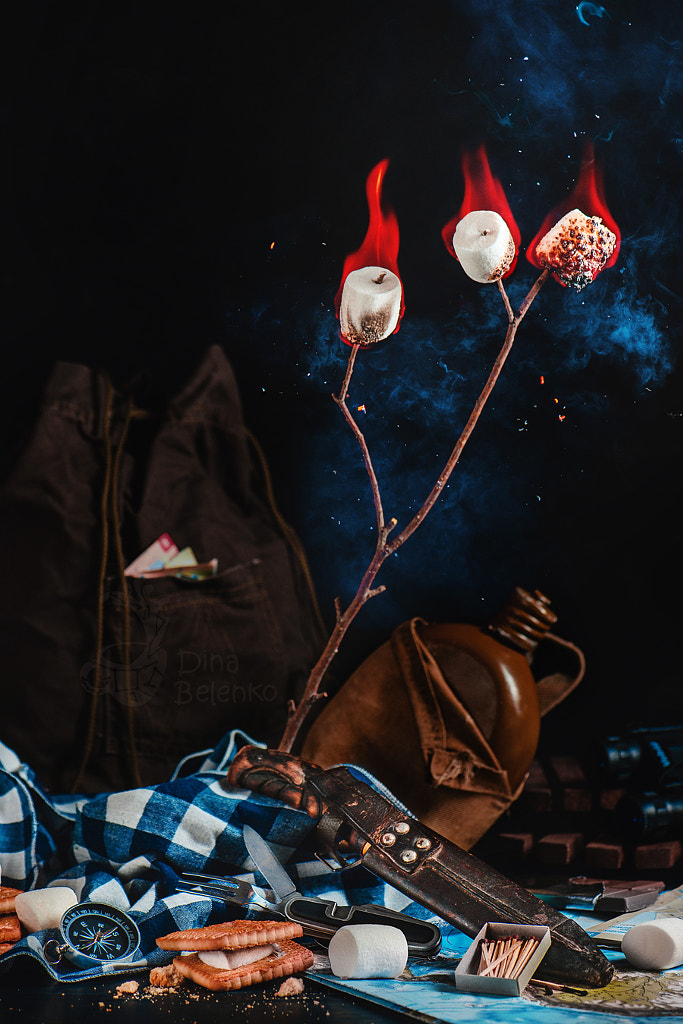
In my imagination, picnics are tightly connected to golden roasted marshmallows. Having a sweet tooth, I have no strong feelings about barbecue, but I love the idea of cooking on an open flame.
If you can’t find some time to have fun outdoors, why not bring a little adventure right in the studio and shoot a camping still life with tasty roasted marshmallows? And eat the props!
But first, an IMPORTANT NOTICE!
Though shooting flames is great fun, it is still dangerous to do indoors. So keep a fire extinguisher handy and put any flammable items away (and don’t wear flammable clothes). Always treat fire as serious business. Even a small one.
1. Gear and props
We won’t need anything fancy, just a couple of usual things like:
- A light source (two speedlights in my case, but a window will also do)
- Marshmallows and a roasting stick
- Means to fix your roasting stick vertically (I used a brick of floral foam)
- Matches
- Camping-themed still life items (like a checkered napkin, knife, flask, or compass)
Since we’re going to use a relatively long shutter speed, a tripod will come in handy too.
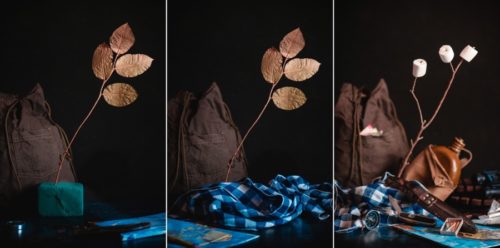
2. Composition
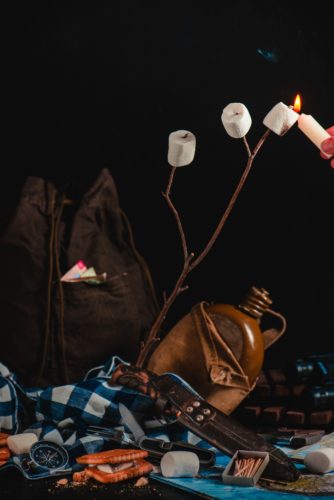
Secure the roasting stick with marshmallows steadily and make it a key element of your composition. Don’t forget to hide the supports (I used a checkered napkin to hide a block of floral foam). After that, arrange other items, starting from the visually heaviest (maps, backpack, flask) and moving to the smaller details (a box of matches, compass, and crumbs).
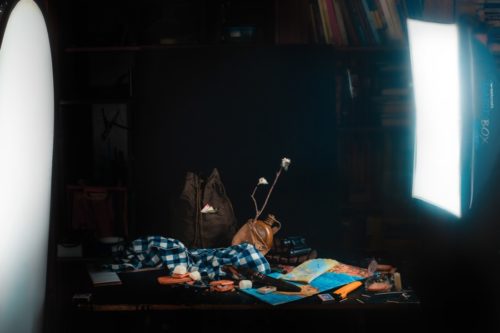
3. Lighting
In my case the scene is lit with two speedlights.The key light is a small stripbox on the right side (and a bit behind the scene). The fill light is a speedlight behind a large diffuser on the left side. The main problem here is keeping any parasite lights away from the scene, so keep in mind that with your artificial light off, all you can capture should be a black square. If you prefer shooting with natural light, you won’t have a problem with any unwanted lighting, but you have to make sure that you can use the required shutter speed without overexposing your image. For a test, you can take a few of photos with a lit match in the frame.
Shutter speed is the key setting here. You can vary it through a fairly large range, between 1/60 and 1/160 seconds. In my experience, the flame looks best in 1/125 or 1/160. You can capture a couple of test shots and decide which one you like most.
4. Shooting and post-processing
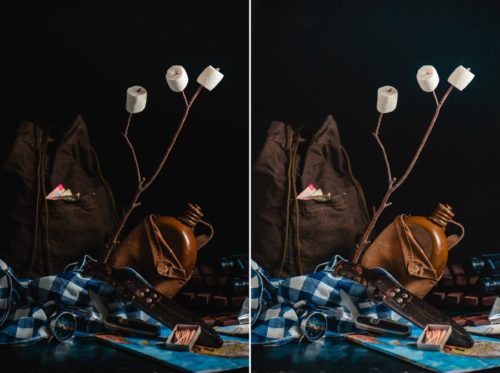
Once again, check if the roasting stick is fixed steadily, focus on the marshmallows, and set them on fire! Take a sequence of shots while they’re burning. I know that this is a really wrong way to roast a marshmallow, but it makes for a better shot.
Now, you can choose the best shot and give it a little polish, adjusting colors and contrast. In my case, the post-processing consists of making the knife in the foreground lighter and the flask darker. Also, I modified the form of the left marshmallow to make it look more puffy and tasty. That’s all! Voila!
I believe you can try this trick with a close-up of a single marshmallow, barbecue in flames, or a couple of grilled sausages.

Dina Belenko is a master of creative still life photography and a 500px Ambassador.
Leave a reply