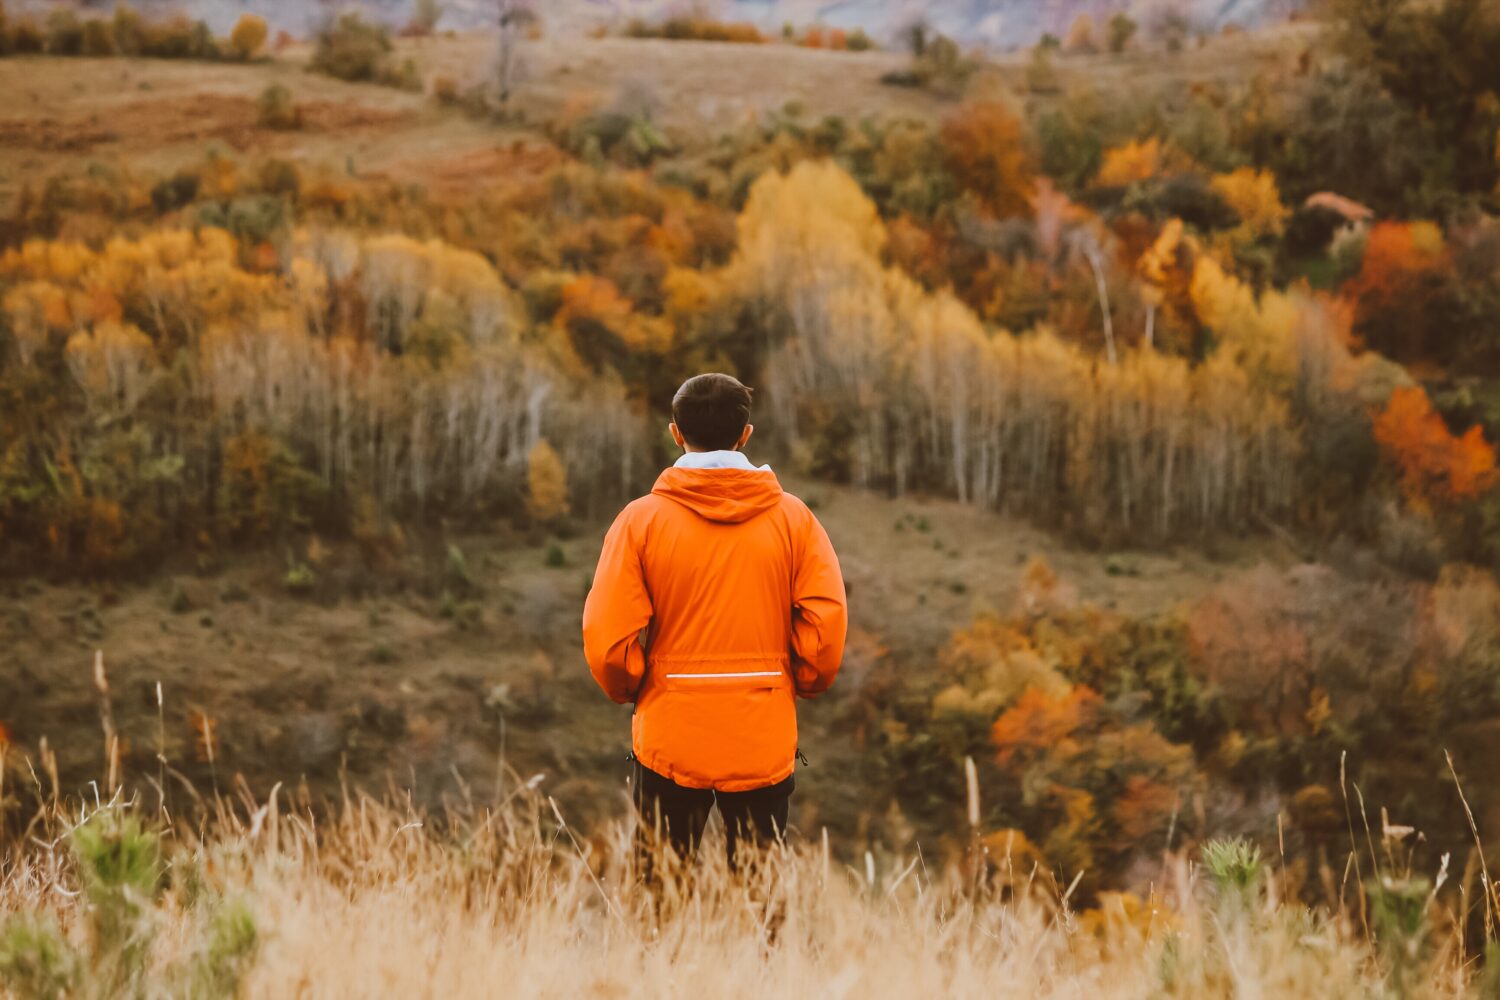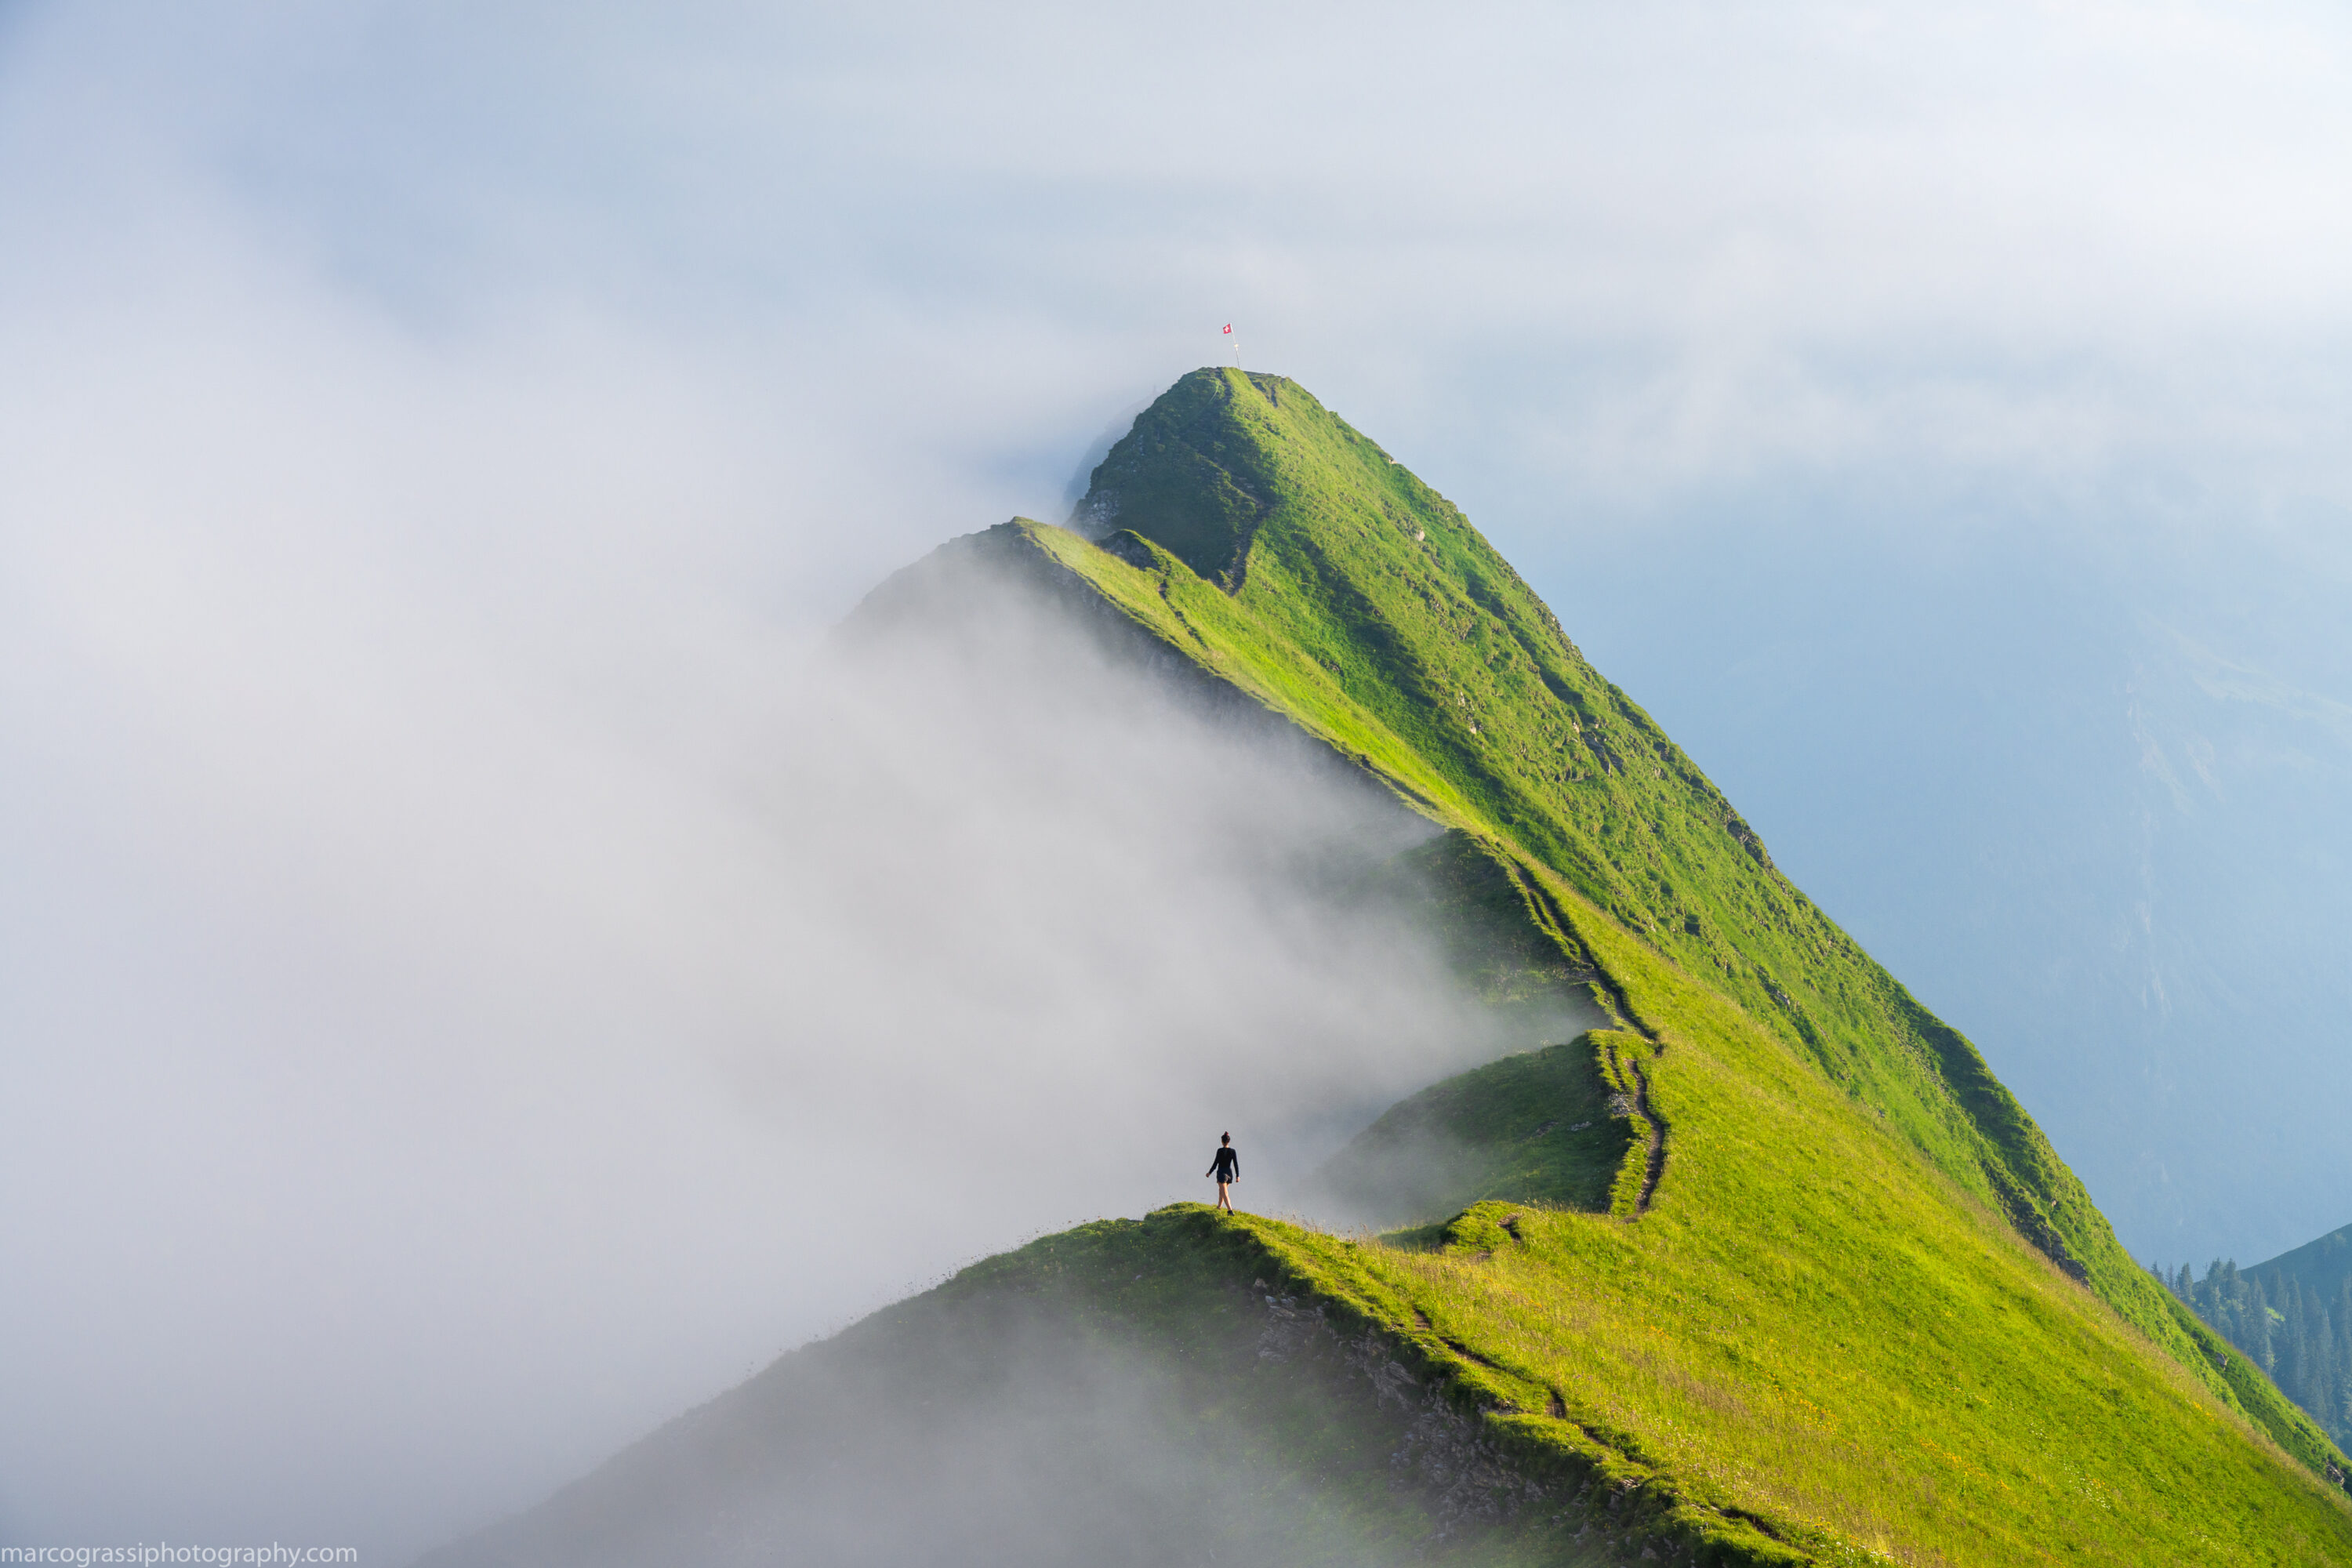
Fog changes everything it touches. Familiar streets become mysterious, busy landscapes turn quiet, and cluttered backgrounds dissolve into soft grey. Fog photography is one of the most rewarding forms of weather photography because the conditions do so much of the compositional work for you, reducing a scene to shape, tone, and mood. The challenge is that fog is unpredictable, short-lived, and surprisingly tricky to expose well. Knowing when to go and what to do when you get there makes all the difference.
Why fog makes such strong images
Fog scatters light and reduces contrast with distance. Objects close to the camera stay relatively dark and defined, while those farther away fade progressively toward white. This creates an automatic sense of depth, known as atmospheric perspective, that painters have used for centuries to push landscapes back into space.
Fog also simplifies. It hides power lines, distant buildings, and busy backgrounds. What remains is often just a few elements arranged against a soft, even field of tone. Fog photography rewards minimalism because the weather has already removed everything unnecessary.
When and where to find it
Fog forms when moist air cools to its dew point. In autumn, mild days followed by cold, clear nights make early mornings especially reliable. Look for fog in valleys, along rivers and lakes, near coastlines, and over low-lying fields, where cool air settles overnight.
Check the forecast for a narrow gap between temperature and dew point, clear skies overnight, and little wind. Then get out early. Morning fog usually burns off within an hour or two of sunrise, and the most interesting conditions often appear just as it begins to lift and break apart.
Composing in low visibility
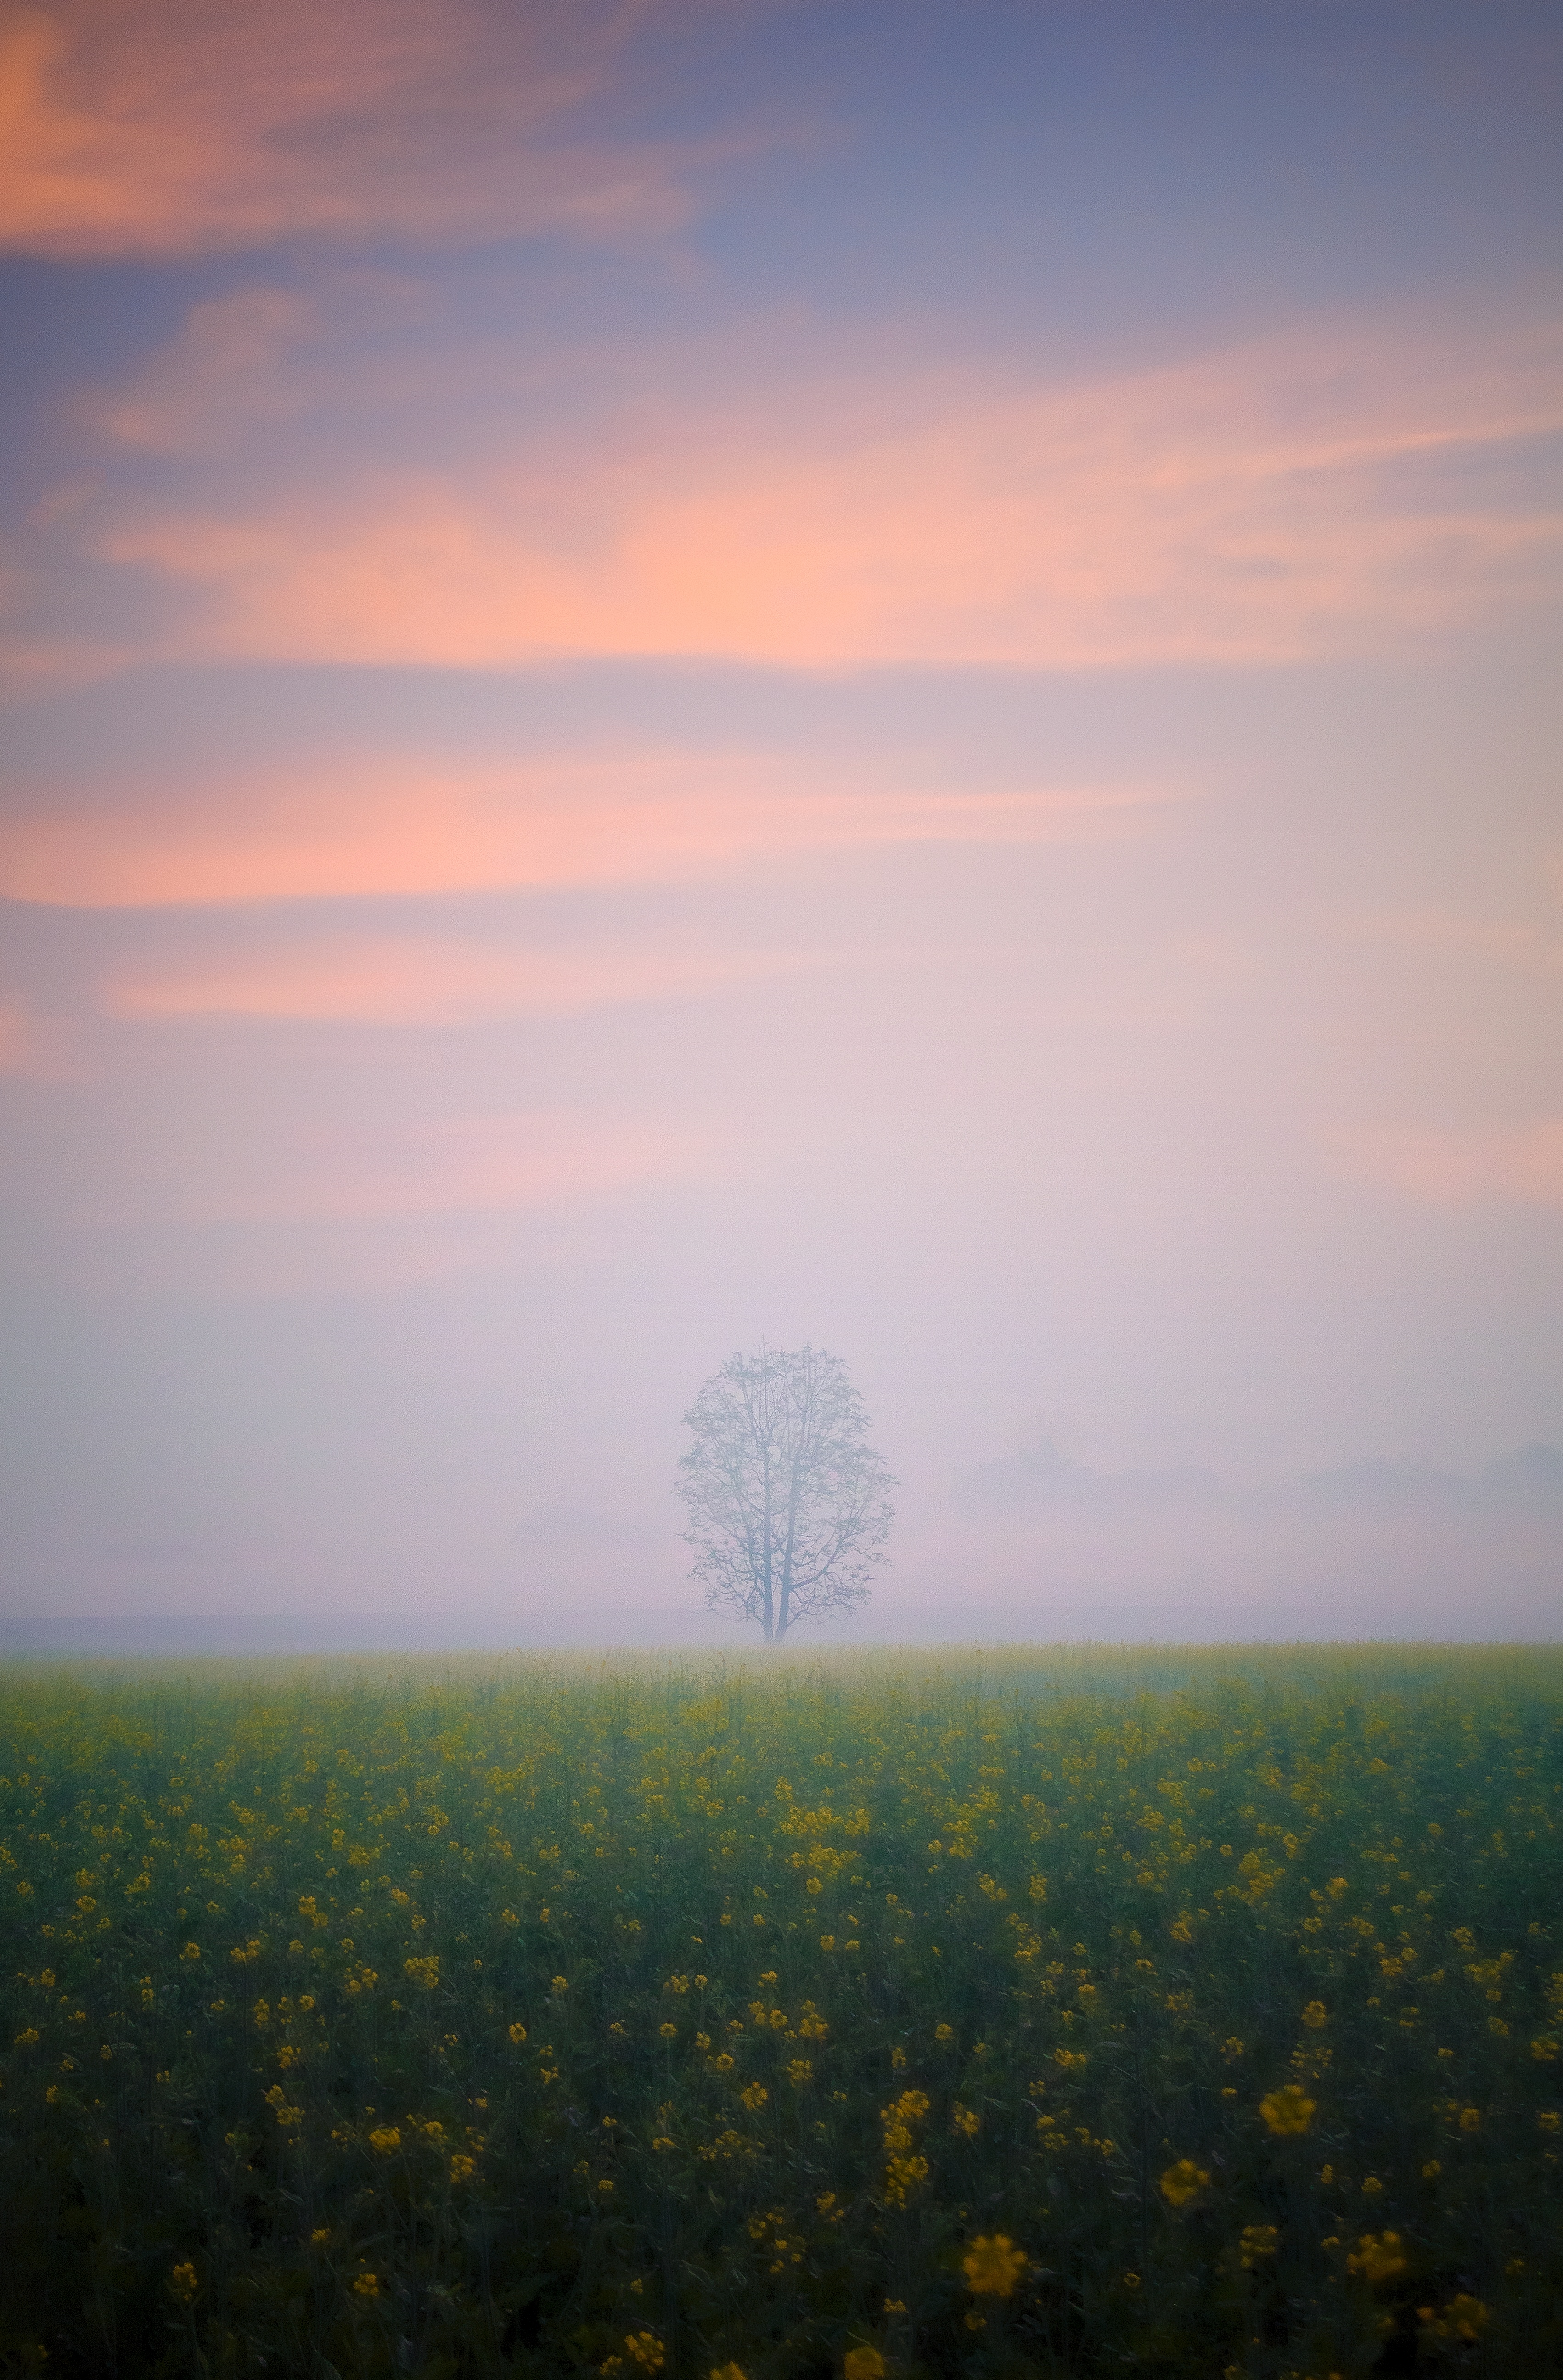
Find one clear subject
A lone tree, a lamppost, a bridge, a figure on a path. With detail stripped away, fog photography depends on recognizable shapes. Choose subjects with distinctive outlines and place them where they read clearly against the grey.
Layer your scene
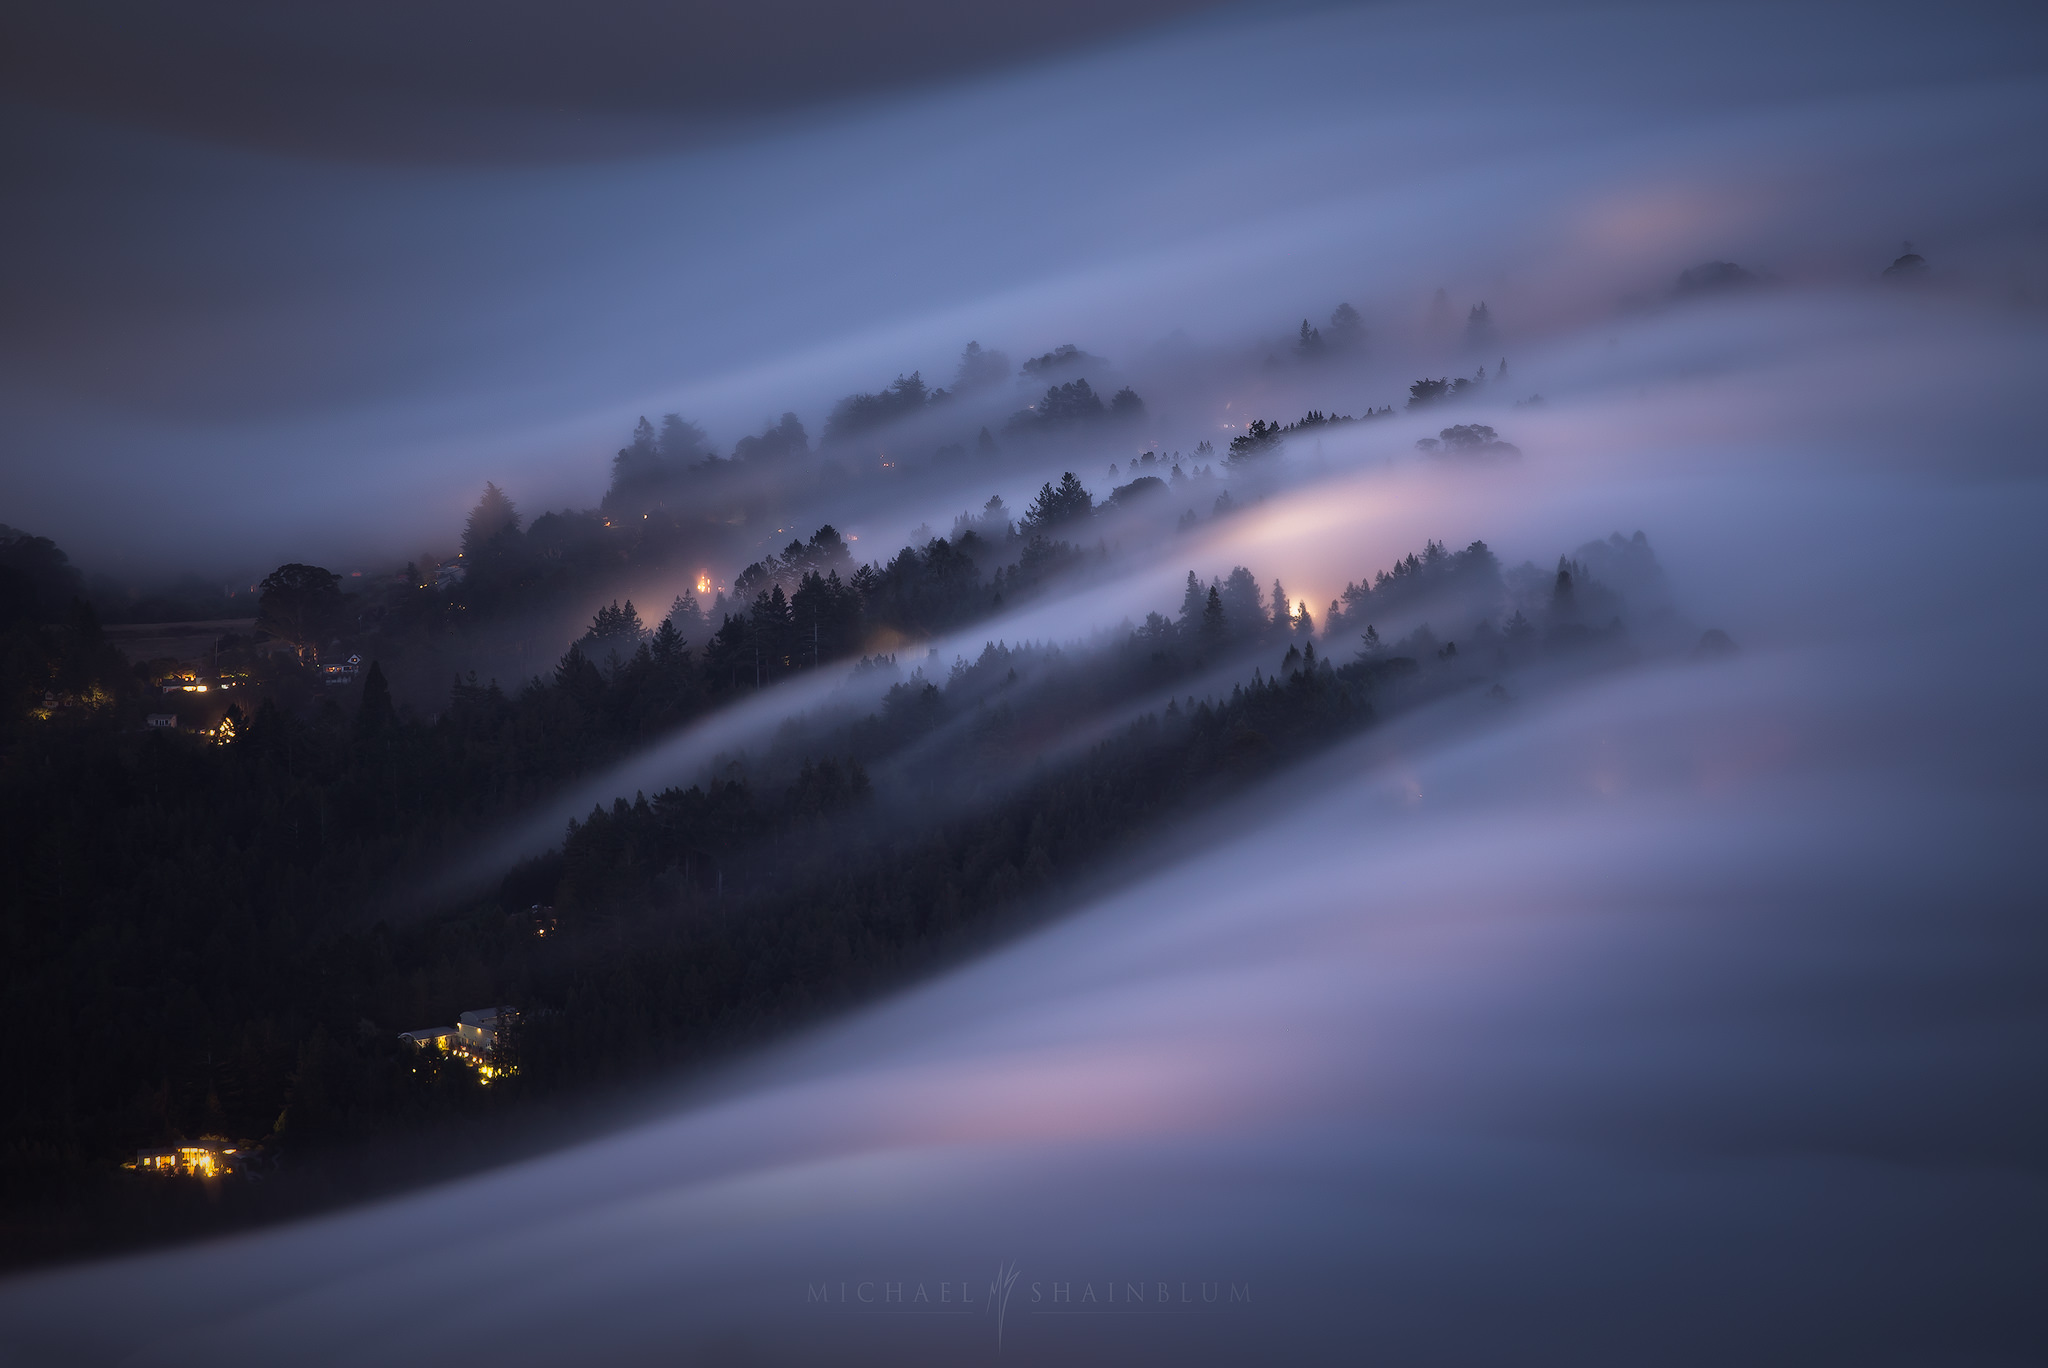
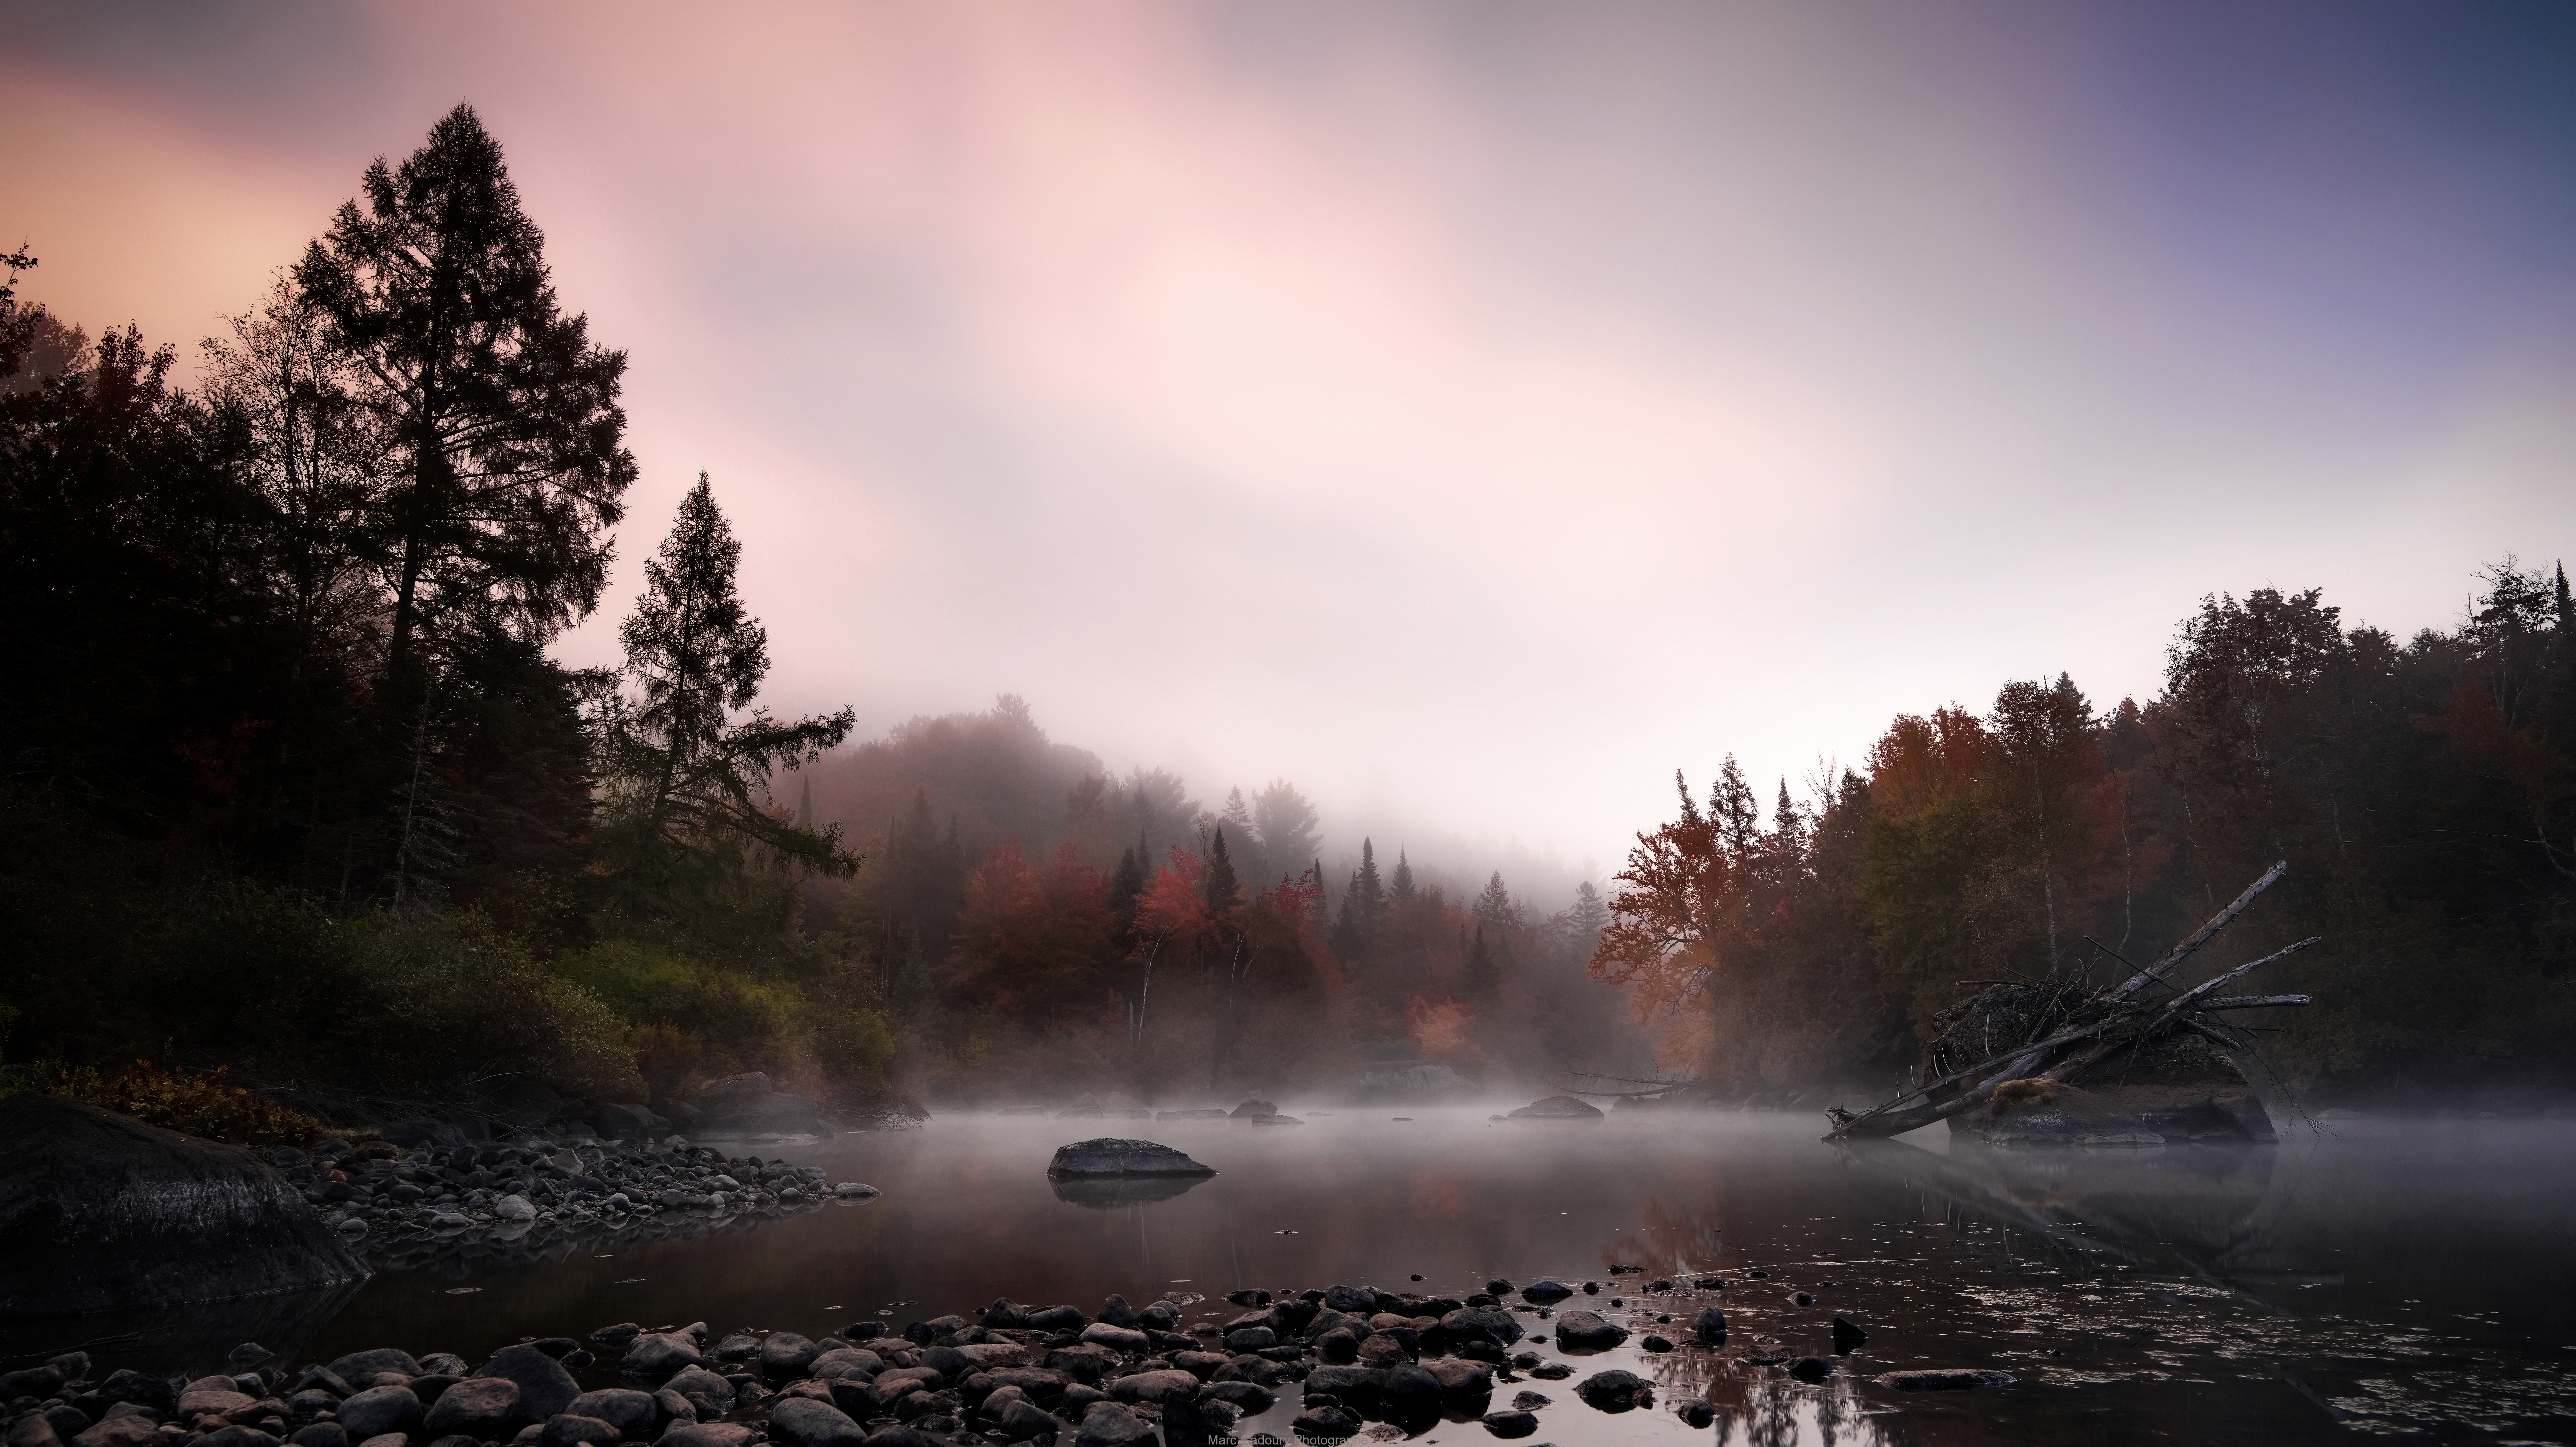
Fog is most expressive when you can see it thicken with distance. Rows of trees, overlapping hills, a line of streetlights receding down a road. Each layer appears lighter and softer than the one in front of it, and that gradient is what gives foggy images their sense of depth.
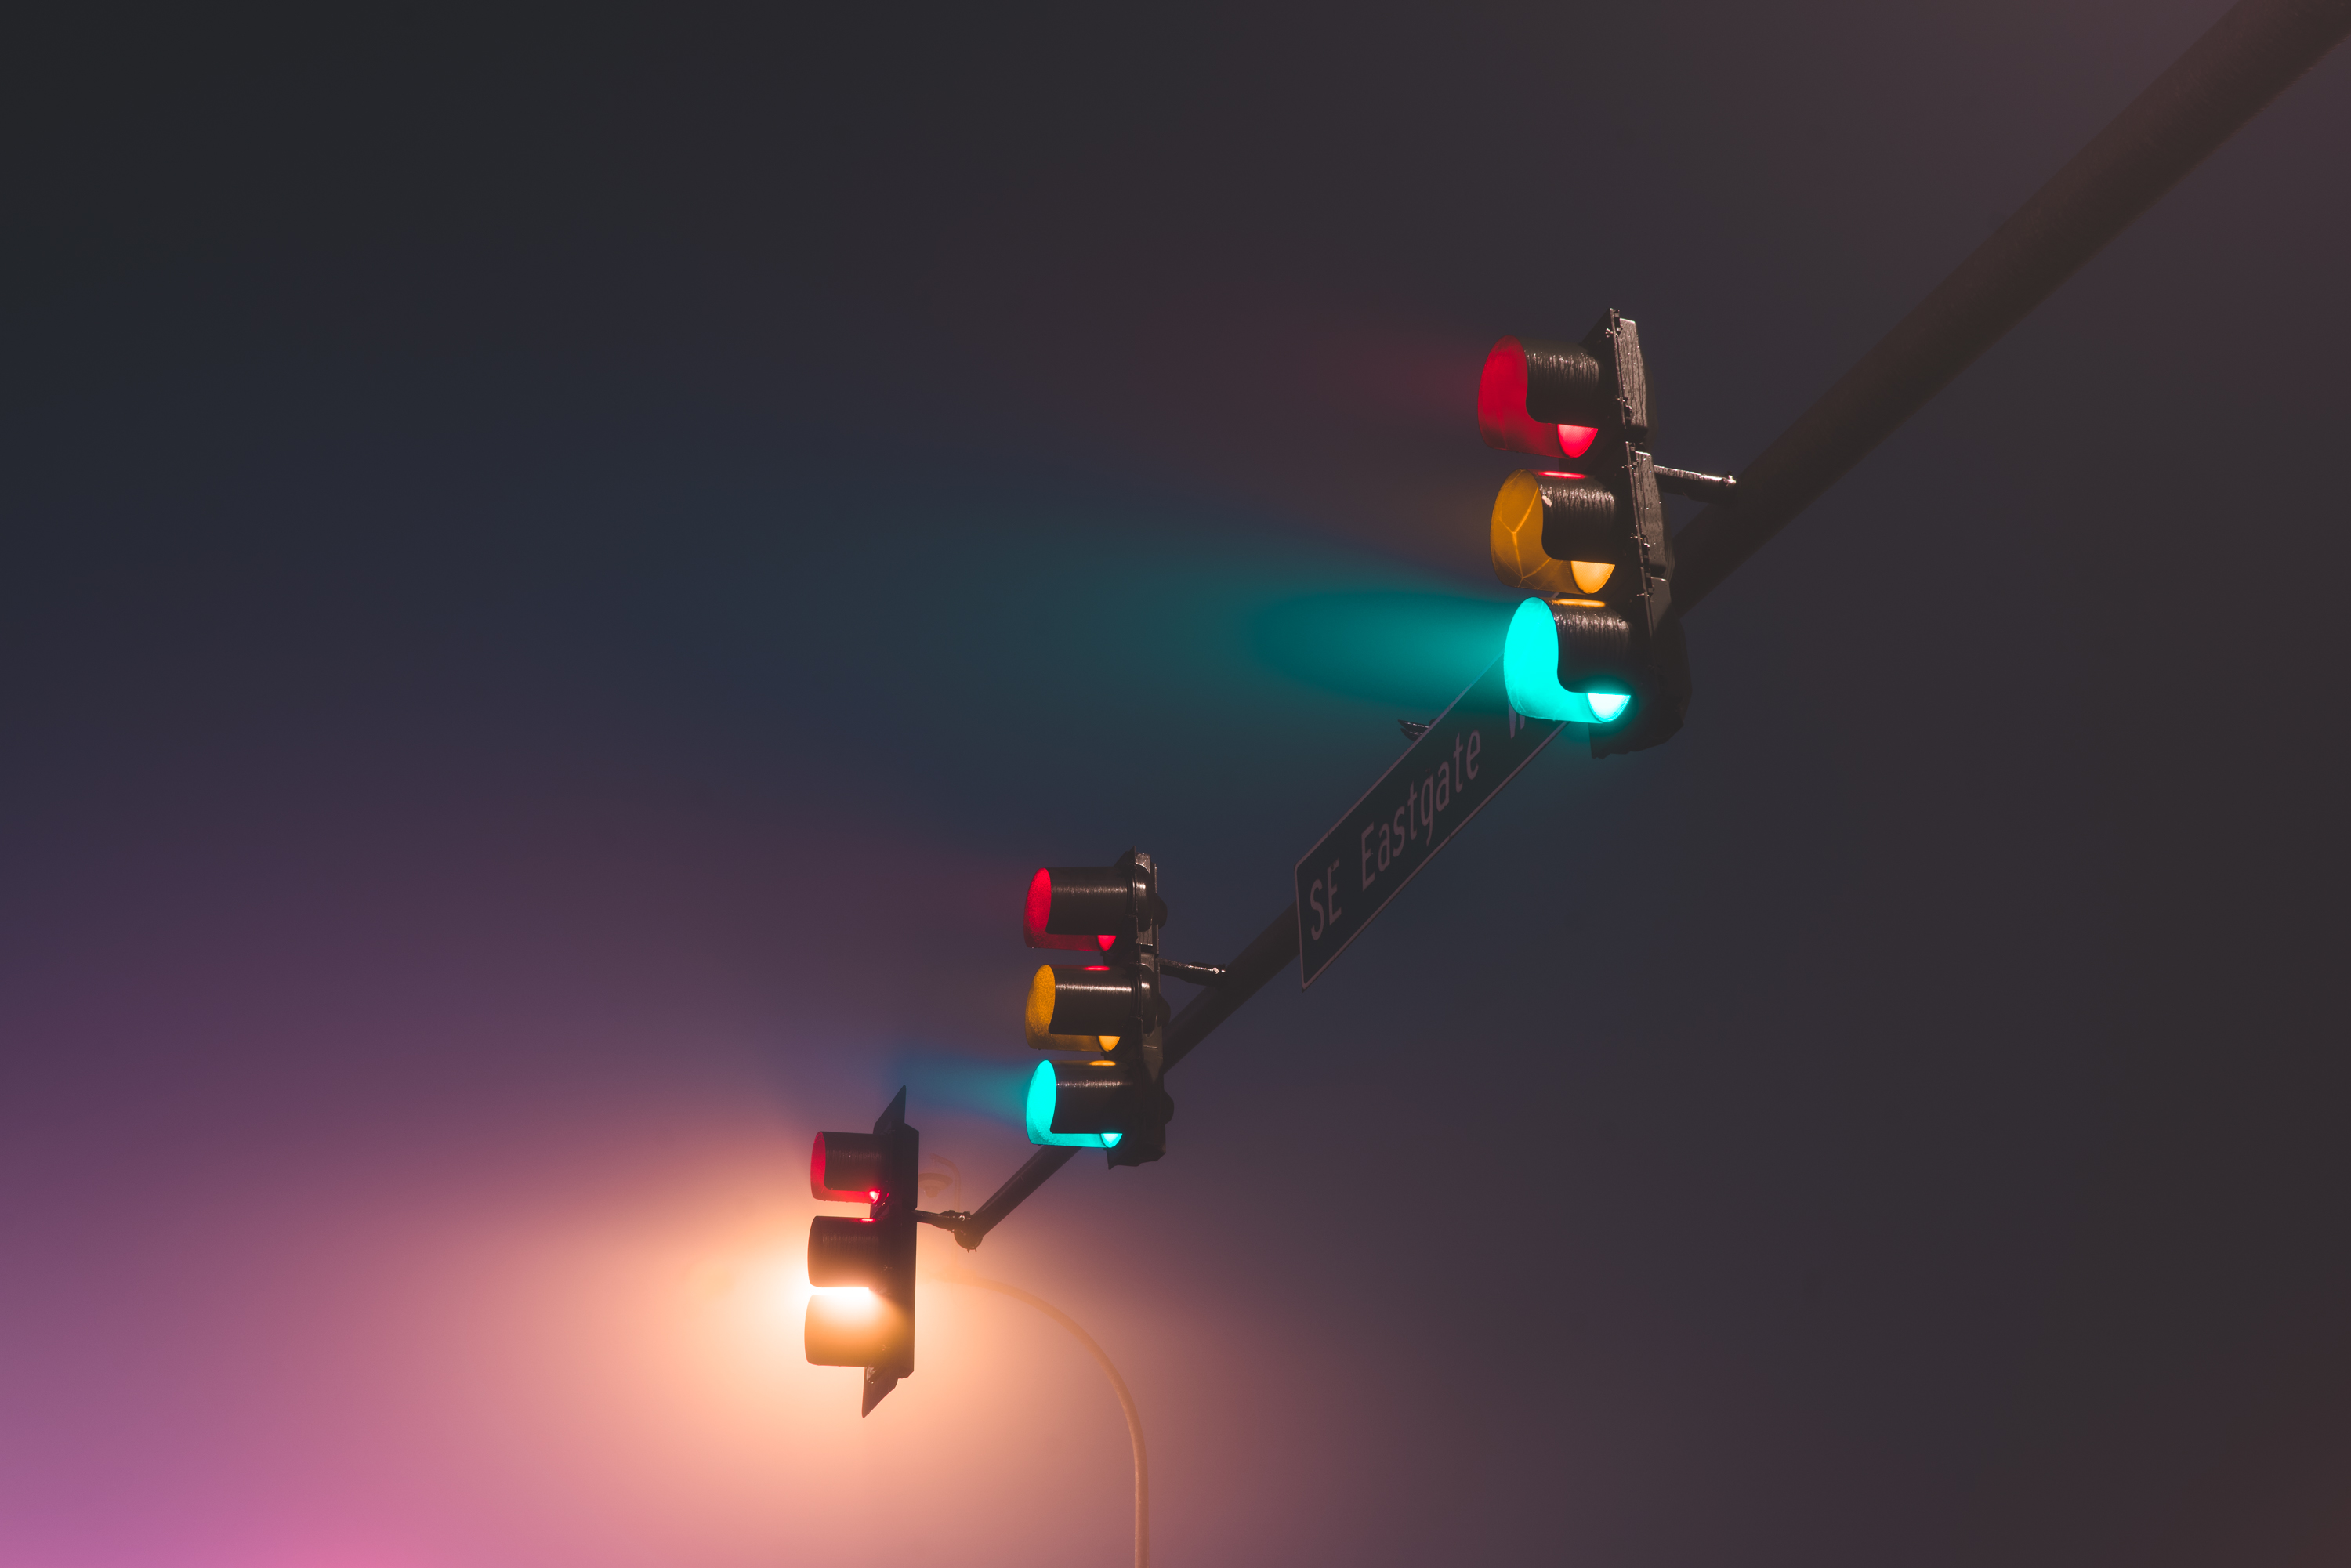
Use light sources
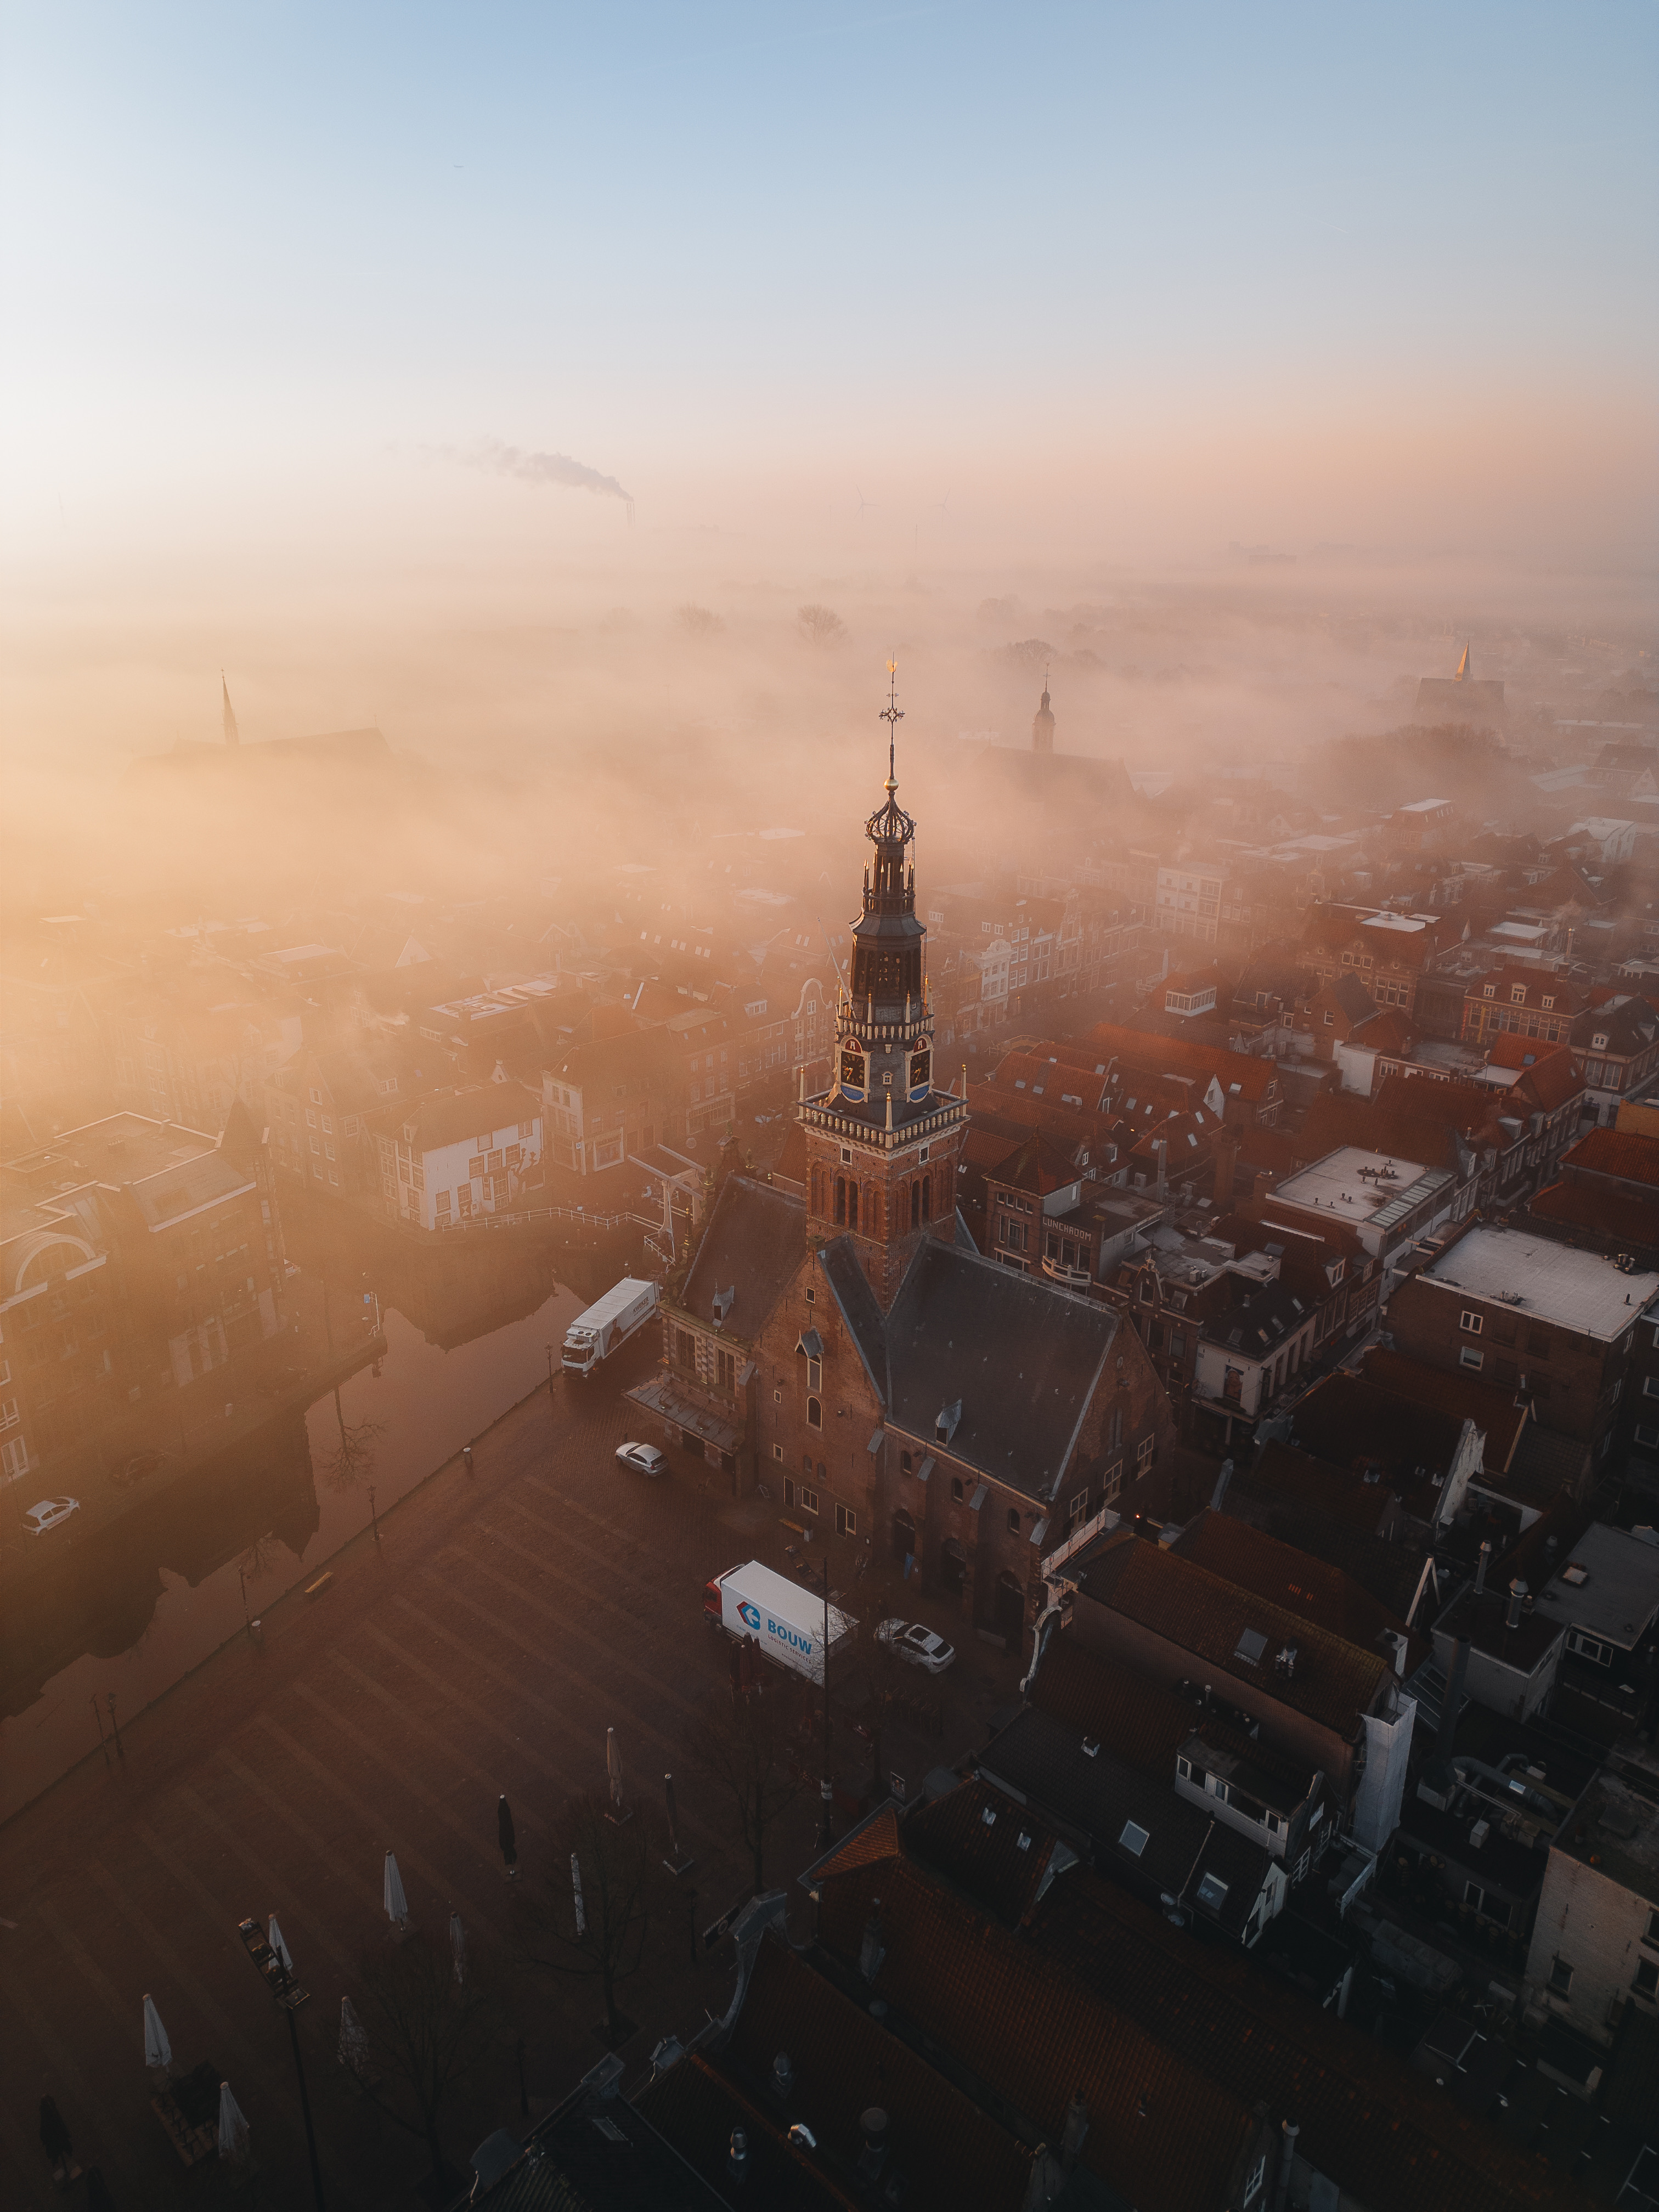
Streetlights and headlights create glowing halos in fog. Low sun breaking through a thinning layer produces visible rays that cut through the scene. In urban fog photography, artificial light turns ordinary street corners into something cinematic, especially in the blue light just before sunrise.
Getting exposure right
Camera meters are designed to render scenes as mid-grey. Fog is bright and low in contrast, so your meter will tend to underexpose, turning luminous mist into a dull, muddy grey. Add positive exposure compensation, usually between +1 and +2 stops, and check your histogram. It should sit toward the right without clipping.
Autofocus can struggle in low-contrast conditions too. Focus on the nearest high-contrast edge, or switch to manual focus and use magnification to confirm sharpness.
In post-processing, resist the urge to add contrast back globally. That undoes the softness that made the scene worth shooting. Use local adjustments to strengthen your main subject while leaving the fog gentle, and consider a slight cool or warm tint to set the mood.
Keep a microfiber cloth close. Fog is water, and it will settle on your front element and viewfinder faster than you expect.
The mood of the unseen
What makes fog photography compelling isn’t what it shows but what it withholds. A path disappearing into white. A figure half dissolved into the distance. A bridge with no visible far side. The viewer fills in what the fog conceals, and that act of imagination is what gives these images their quiet power. Work with the fog rather than against it, and restraint becomes your strongest tool.