By late October, the light is leaving earlier every evening. Commutes happen at dusk, afternoon walks end in darkness, and the window for good light seems to shrink by the week. For many photographers, that means shooting less. It shouldn’t. Low light photography opens up a completely different visual world: glowing windows, pools of streetlight, the soft gradients of dusk. The technical demands are real but manageable, and the images that result carry a mood daylight simply can’t provide.
Understanding the trade-offs
In low light, every exposure is a negotiation between three settings. Open the aperture and depth of field shrinks. Slow the shutter and you risk blur from camera shake or moving subjects. Raise the ISO and noise increases. Low light photography is the practice of deciding which compromise best serves the image in front of you.
There’s no universal answer. A still architectural scene can take a slow shutter on a tripod. A candid portrait on a dim street may need a wide aperture and a higher ISO. Knowing your priority before you raise the camera makes the decision faster.
Getting the most from your gear
Fast lenses
A prime lens at f/1.8 or wider gathers far more light than a typical kit zoom. The difference between f/4 and f/1.8 is more than two stops, which can be the difference between a sharp handheld frame and a blurry one.
Stabilization and technique
In-body and lens stabilization make handheld shutter speeds possible that would have been unthinkable a decade ago. Pair them with good technique. Brace against a wall or post, tuck your elbows in, exhale before pressing the shutter, and shoot short bursts. One frame in the sequence is often noticeably sharper than the rest.
Tripods and improvised support
For static subjects, a tripod removes shutter speed limits entirely. When a tripod isn’t practical, a railing, bench, or rolled-up jacket can steady the camera. Use the self-timer to avoid shake from pressing the button.
Trust your ISO
Modern sensors handle high ISO far better than older ones. A sharp image with some grain is almost always more usable than a clean image ruined by blur. Expose correctly at a higher ISO rather than underexposing at a low one and brightening later, which produces more noise, not less.
Where to find light after dark
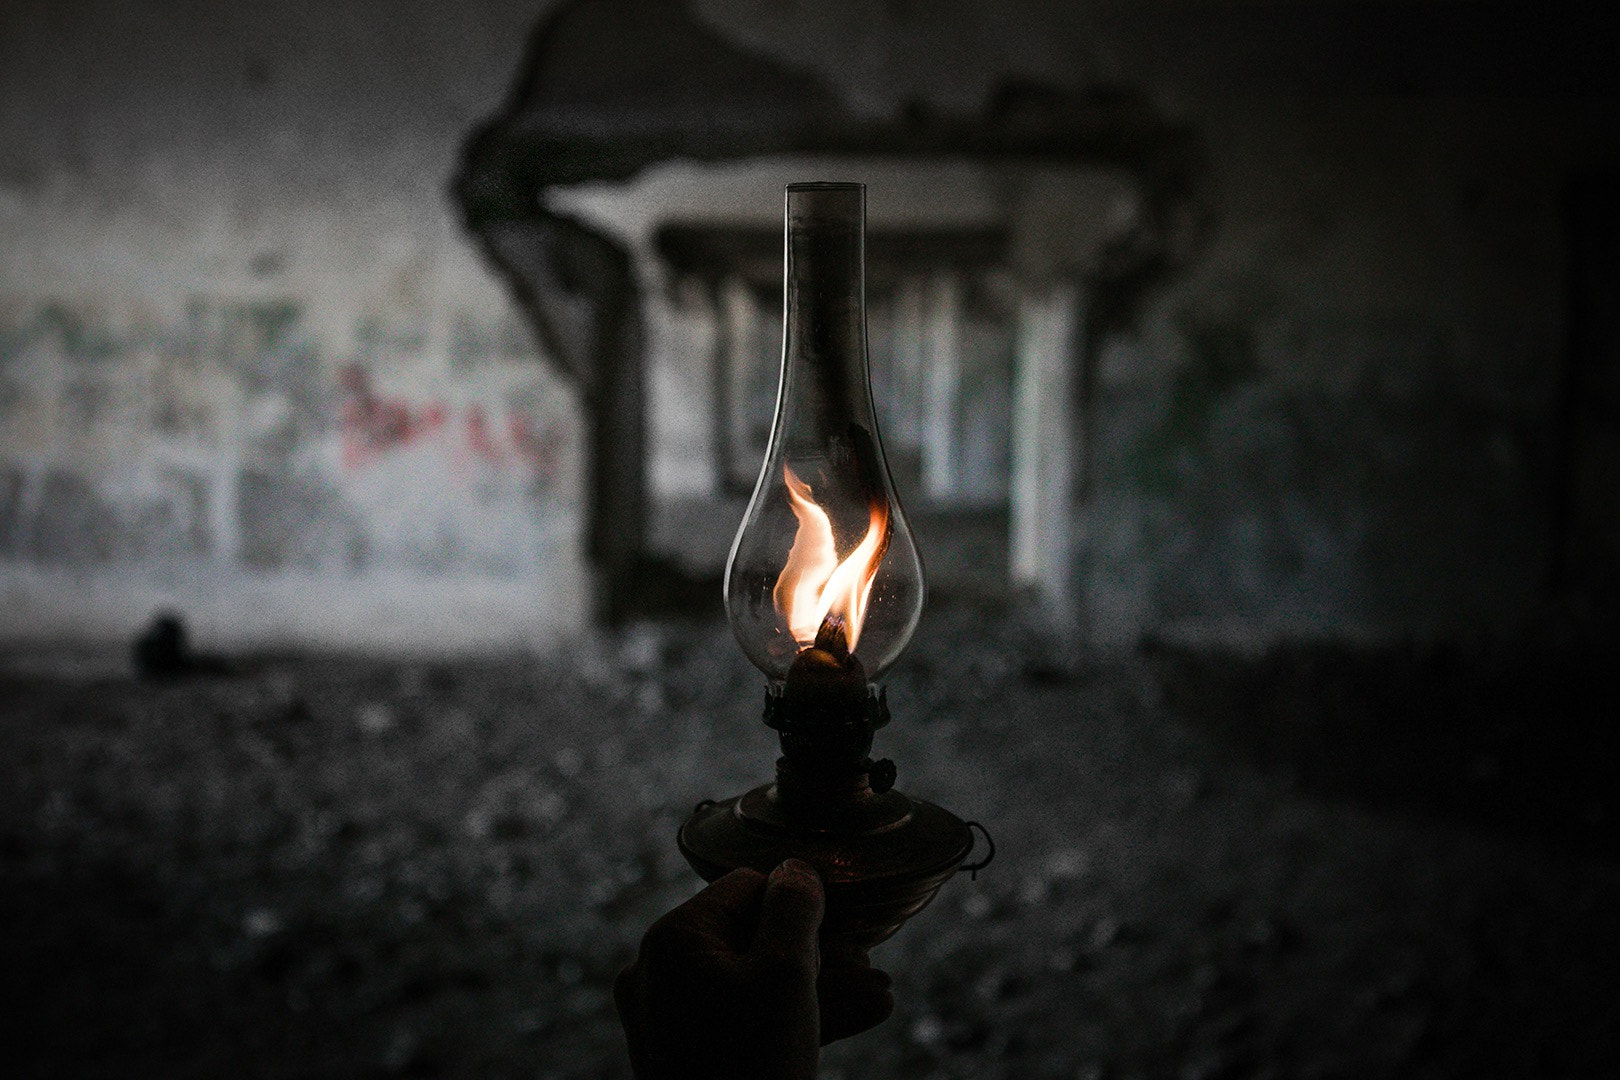
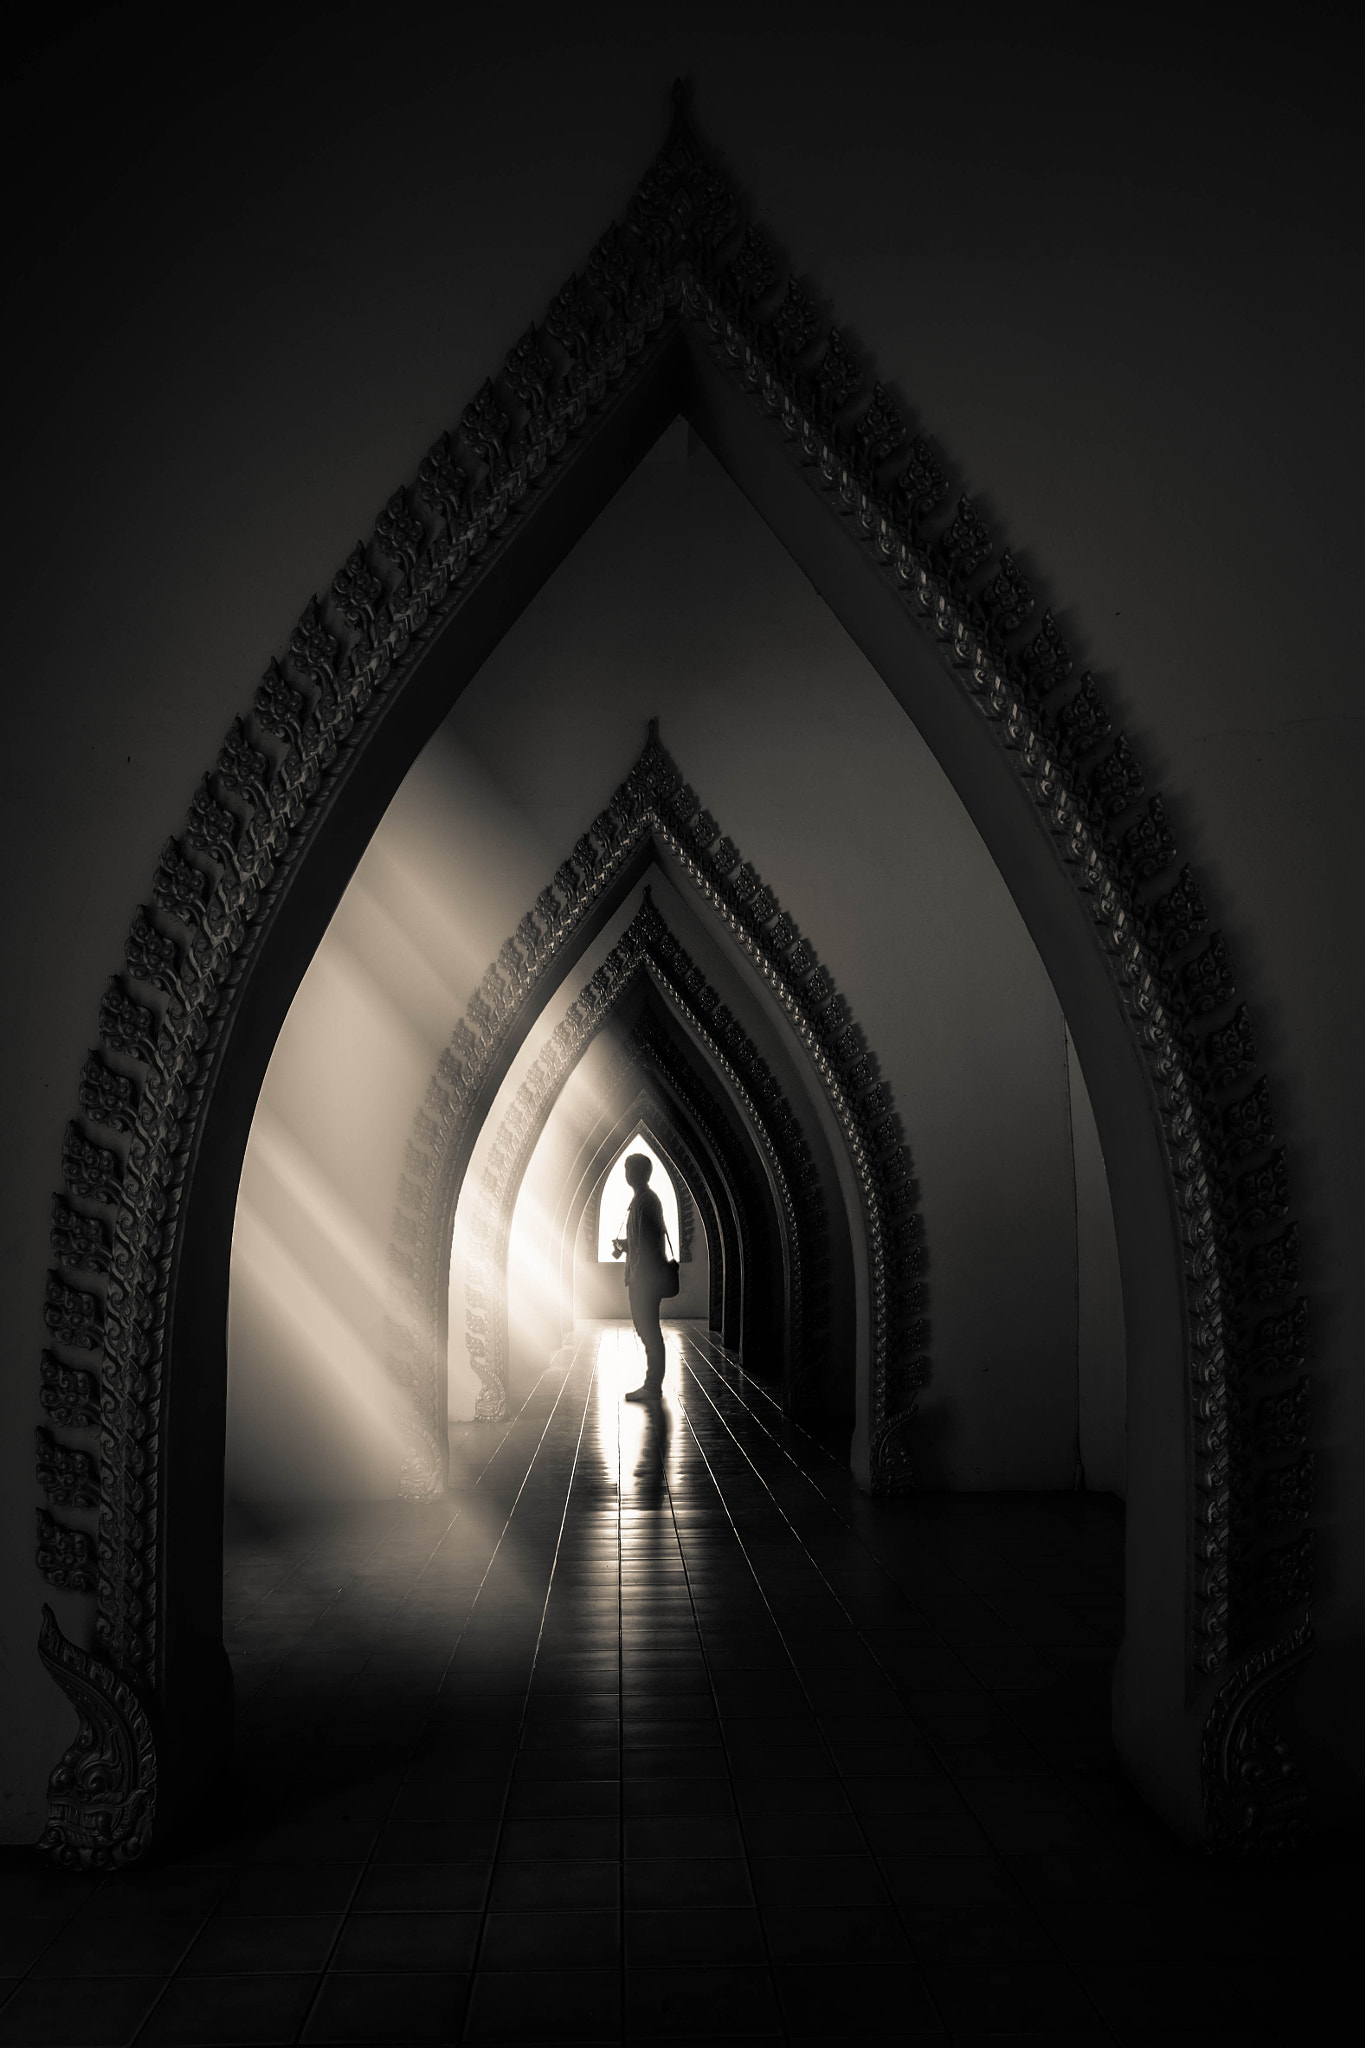
Low light photography is really about finding the light that remains. Lit windows frame people and interiors like small stages. Streetlights and shop fronts create pools of illumination you can wait for a subject to walk into. Candles, lamps, and screens offer warm, intimate light for portraits and still life. And in the short window after sunset, when the sky still holds color and artificial lights have just switched on, the contrast between cool sky and warm light is at its most striking.
Embrace the dark
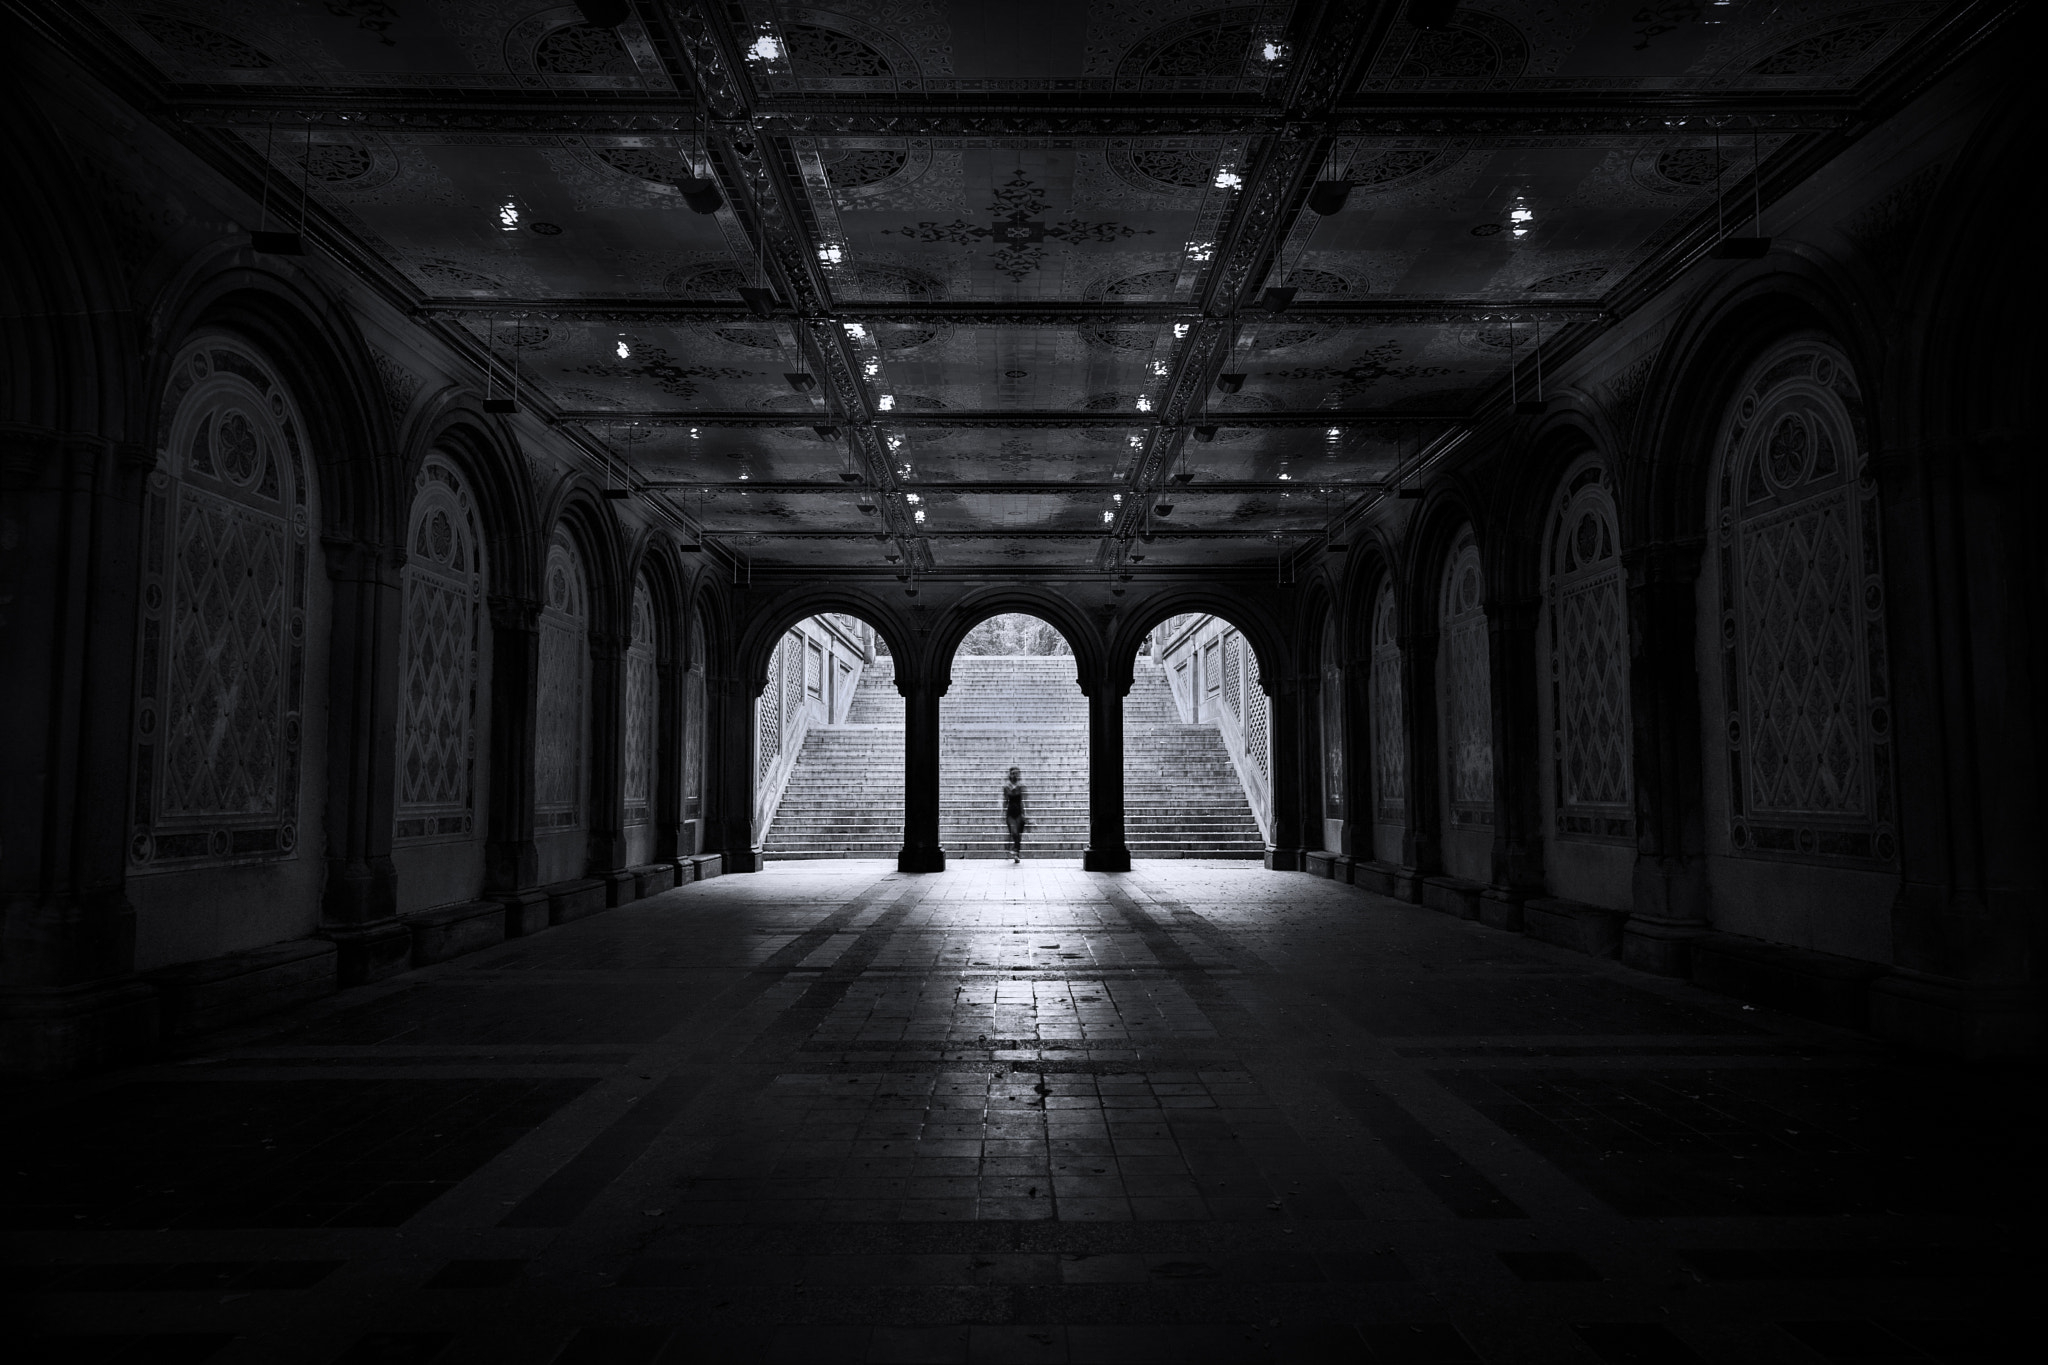
Resist the urge to brighten everything to daylight levels. Low light photography works because of its shadows. Expose for the highlights, let parts of the frame fall to black, and allow the light you have to define the image. A grainy frame of a figure under a single streetlight often feels more honest than a technically perfect, heavily processed version.
In post, apply noise reduction gently and selectively. Too much smooths away texture and leaves images looking plastic. Protect the natural color of artificial light too. Correcting every warm tungsten glow to neutral removes much of the atmosphere you were after.
Making the most of the season
Shorter days are only a constraint if you let them be. The hours around dusk and after dark now fall within ordinary routines: the walk home, the evening errand, the trip to the corner store. Carry a camera, keep a fast lens attached, and treat the darkness as an invitation. Low light photography can turn the season’s shortest days into some of its most distinctive images.