Kodak Ektachrome is back, and so is T-MAX P3200. Last year, FujiFilm rolled out a new monochrome film, Neopan 100 Acros II, to satisfy demand from millennial and GenZ consumers. Some call it a “comeback,” and others call it a “renaissance,” but one thing is clear: the “film aesthetic” has returned.
It’s not just for old-school film photographers, either. As trending hashtags like #LooksLikeFilm and #GrainIsGood can confirm, even digital photographers are embracing the look. Popular overlays replicating the effect of 35mm and 8mm film can be added to any photo with the click of a button.
Grain is everywhere, but when it comes to commercial photography, we find that a little bit goes a long way, and it’s important to strike that balance between trendy and timeless. Let’s take a closer look at how—and when—to use grain in your Licensing portfolio.
Here’s the difference between grain and noise
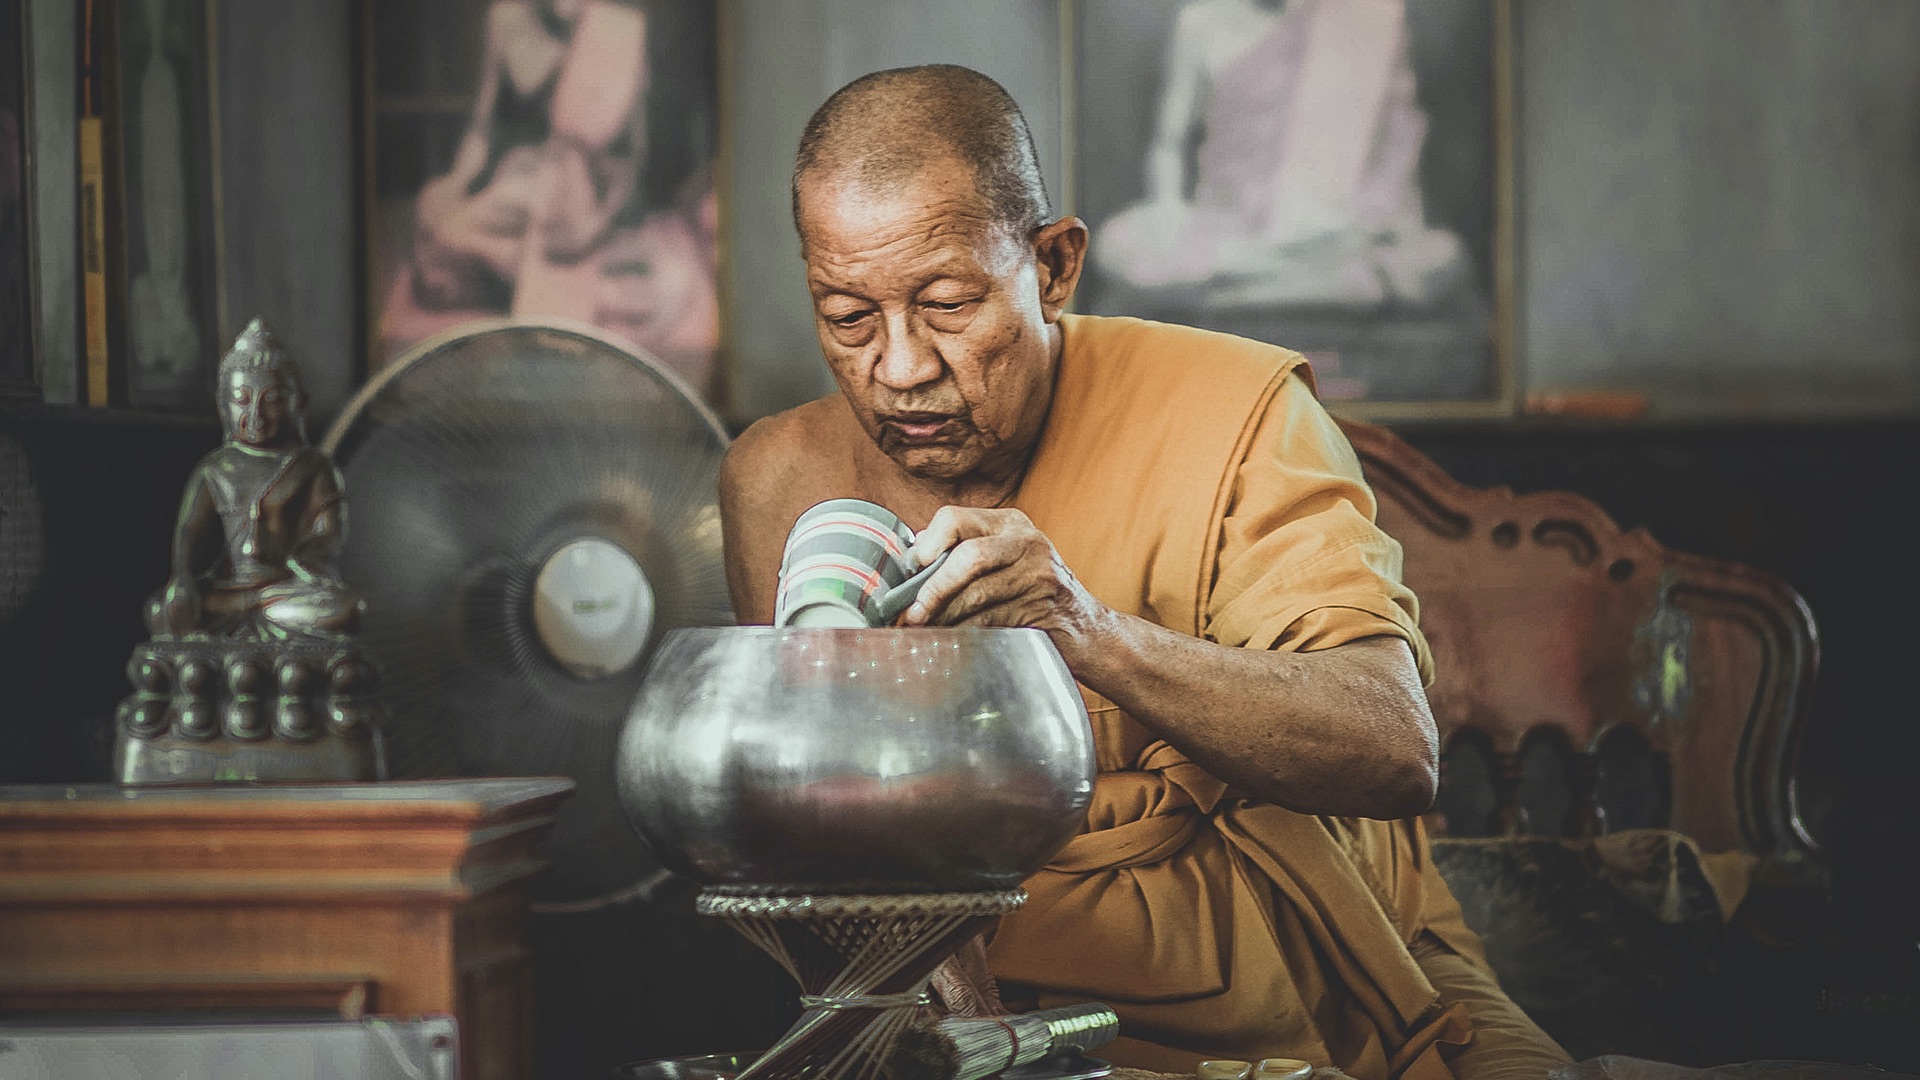
The issue with grain is that, when used inappropriately (or overused), it can be mistaken for noise. Grain follows the structure of the film stock you use; a savvy photographer will be able to tell the difference between, say, Kodak Ektar 100 and Kodak Portra 800 just by examining the texture under a loupe.
Digital noise, on the other hand, can come from not having enough light and pushing your camera to take an exposure that’s outside its limits, resulting in a lesser-quality photo. Grain can give your photos texture and character, but noise can produce banding, make your otherwise sharp photos look fuzzy, and mess with your colors.
Noise is one of the top reasons for image rejection; it degrades the quality of your photos, and it makes them less commercially viable. Grain is a useful tool, but if you apply so much that you end up with a distorted or unnatural-looking photo, the image could be rejected for Licensing for the same reason.
Below, you’ll find our top four tips for managing noise and using grain in a way that’s appropriate for commercial photography.

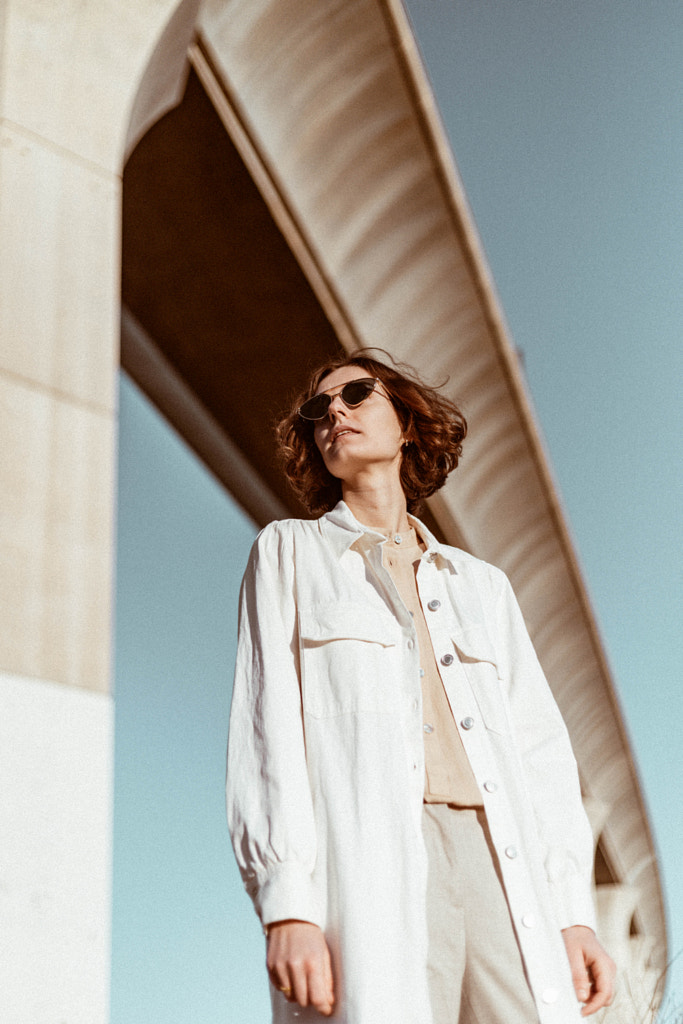
Tip #1: Shoot at the lowest ISO possible
Our top tip for combatting noise is simple: choose a low ISO setting. We’ve touched on the “exposure triangle” in our articles about aperture and shutter speed, and ISO is just as important as those other two settings for getting a proper exposure.
In digital photography, ISO refers to your sensor’s sensitivity to light, so if you’re working in low light conditions, you might have no choice but to increase it. Whenever you increase it, however, you’ll also increase the noise in your images. It’s a balancing act, but once you get into the habit of keeping your ISO as low as you can manage, it’ll become second-nature.
Your ISO settings will change based on the lighting conditions and the size of your sensor, but in general, if you’re shooting in daylight, there’s no need to use an ISO higher than around 200-400. At night, an ISO of around 400, 800, or 1600 should do the trick if you use a tripod, a wider aperture, and a slow shutter speed.
As a general rule of thumb, shooting at a low ISO will give you more flexibility, and more flexibility means more commercial appeal. Buyers can always add the “grain effect” to photos that were shot with a low ISO, but you can never get back the quality you’ll lose when you get into those high numbers.
Note: Your camera might have a built-in High ISO Noise Reduction option, so take advantage of it.
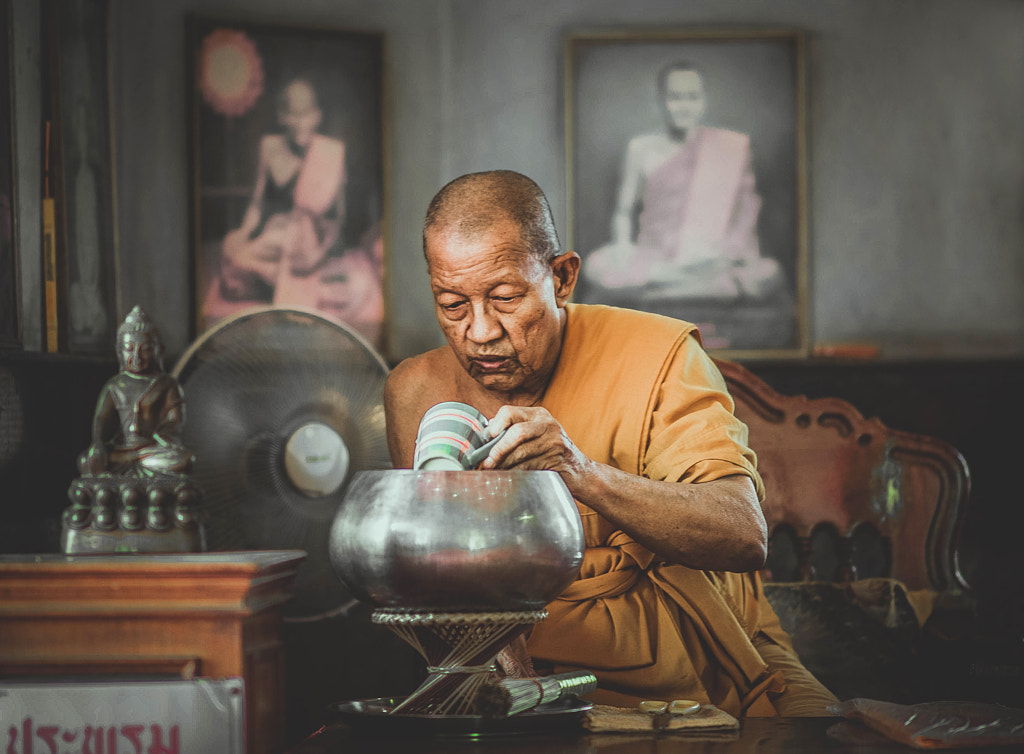
Tip #2: View your photos at 100%
This tip is one of the first you’ll hear from experienced Licensing Contributors: view and edit your photos at 100% resolution. Even if a photo looks sharp at a lower resolution, you’ll be able to spot any excess noise when inspecting it up-close—and buyers will too.
Before your photo can be accepted for Licensing, it will be analyzed at full resolution. Pay special attention to darker, shadowed areas, where noise can become an issue. Any artifacts and imperfections will need to be removed, if possible, which brings us to our next tip.
Tip #3: Resolve any noise issues in post
Luckily, cameras are getting better at shooting at higher ISO settings, and at the same time, post-processing software is making it easier than ever to fix imperfections and noise issues. Keep in mind that shooting in RAW format will help you preserve as much detail as possible once you’re editing behind the computer.
The choice of software is up to you, but Photoshop and Lightroom both have handy noise reduction tools/sliders. If it can’t be fixed with an all-rounder app, you can always use noise-specific tools like Neat Image, DeNoise AI from Topaz, Nik Dfine by DxO, or Noiseless by Skylum. Noise reduction is important for commercial photography, but remember not to overdo it, as too much noise reduction can sometimes result in an unnatural effect.
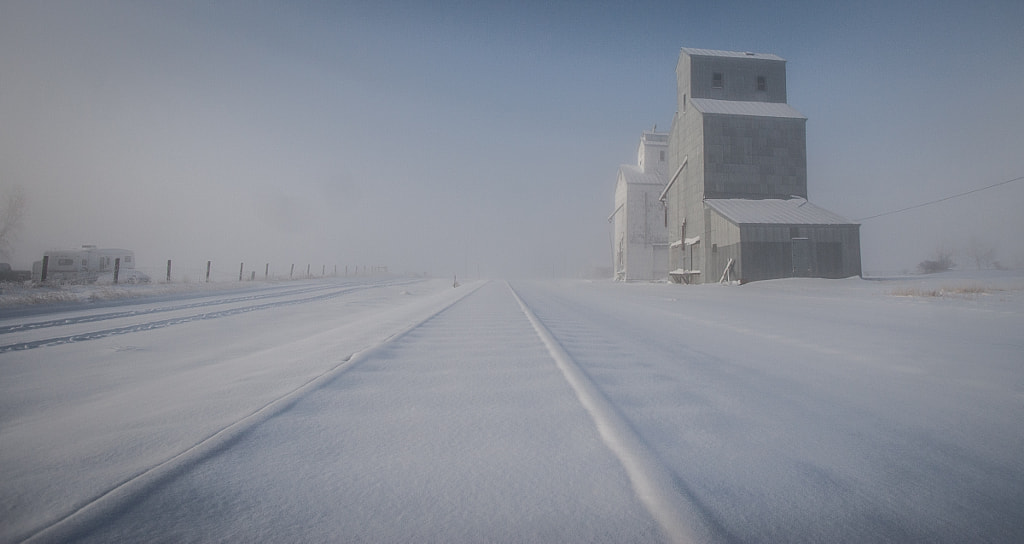
Tip #4: Keep your edits minimal
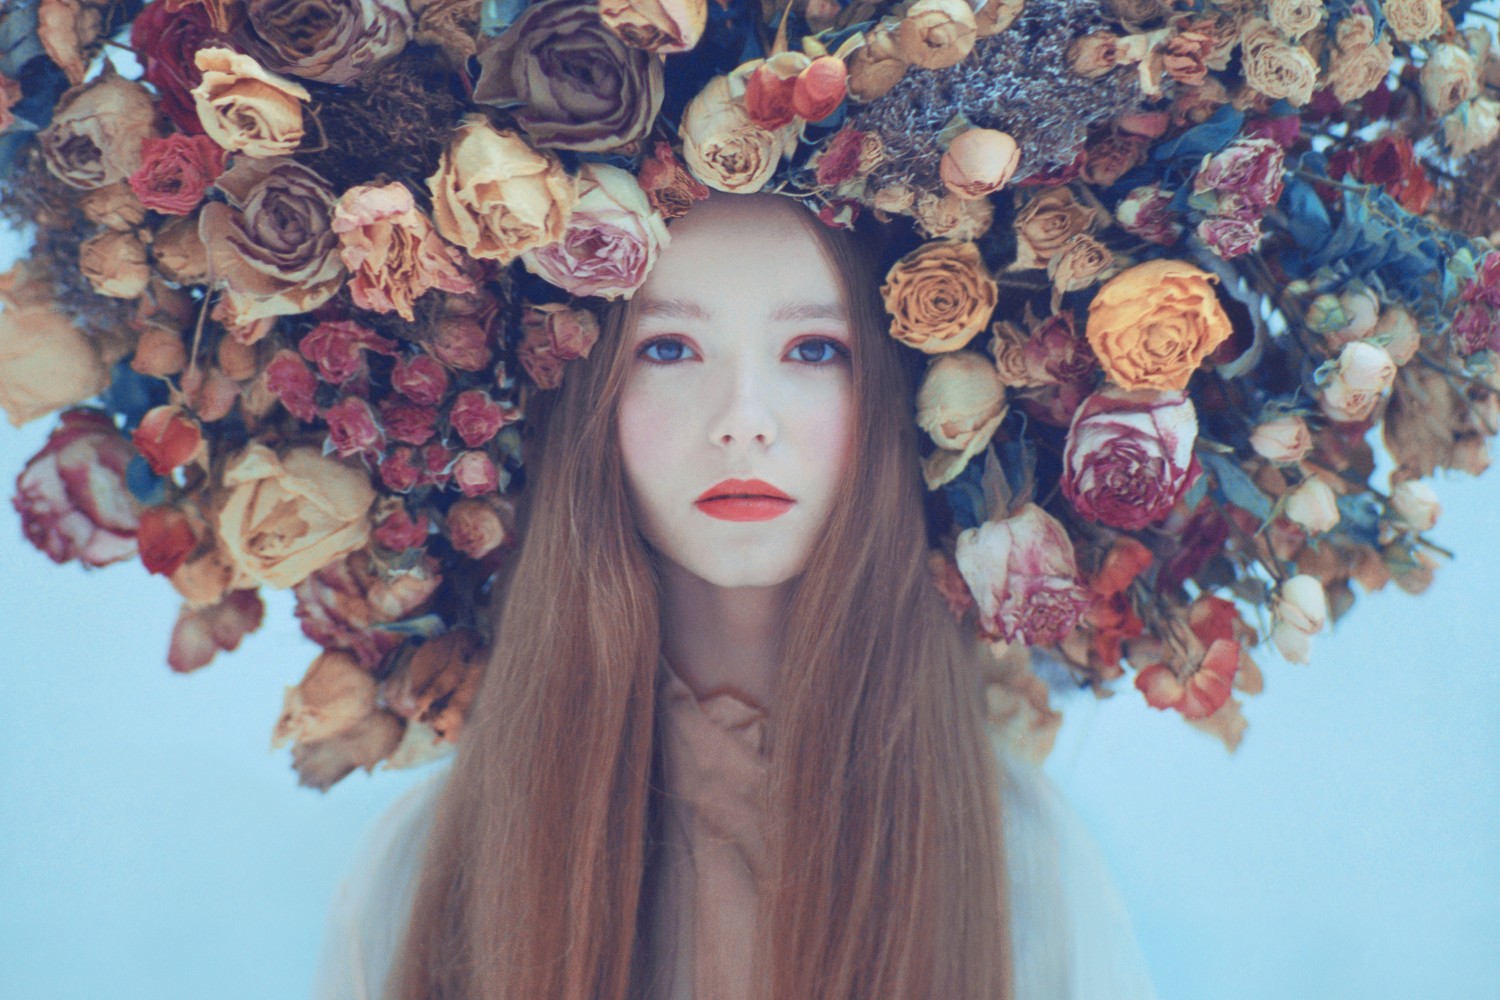
Much of the grain we see today doesn’t come from film stocks but from presets specifically designed to mimic the appearance of film. These filters are understandably popular; they give digital photos that warm, “lived-in” look we love to see in old photos. This effect does have a place in advertising, especially as more brands tap into “nostalgia marketing” and vintage-inspired visuals, but too much grain can limit the commercial potential of your images.
Here’s why: image buyers can easily add presets and effects to photos, but they can’t take them away once they’re applied. By keeping your photos as natural and clean as possible—with lots of detail, color, and tone—you give buyers the freedom to edit the images according to their needs and tastes, and you open yourself up to a wider audience of potential clients.
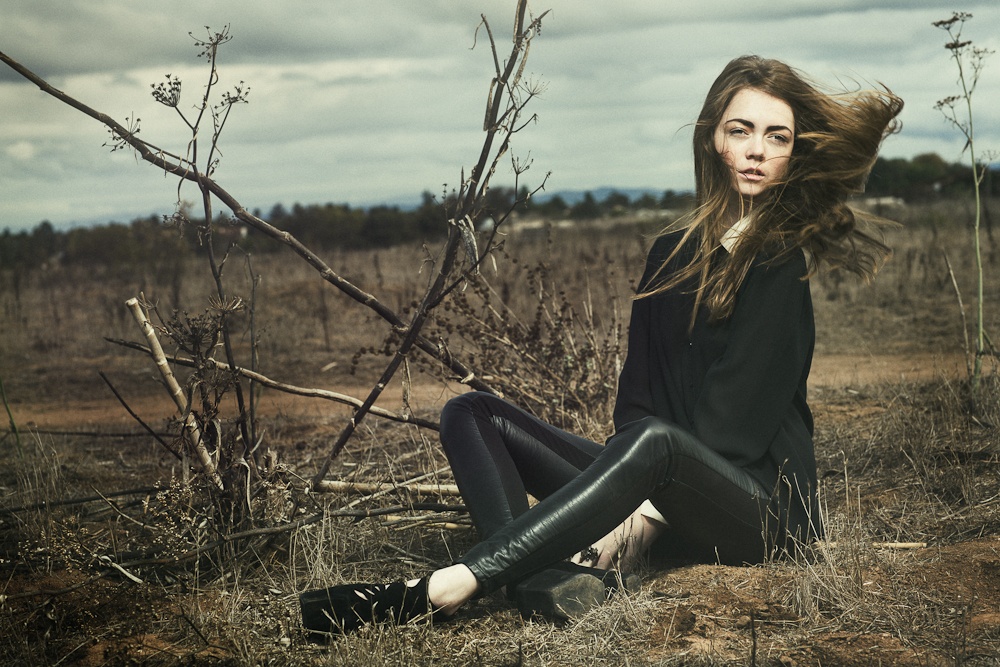
In the end, the use of grain in Licensing comes down to subtlety. You can use it to convey romance and recreate those retro vibes, but remember that brands crave photos that feel crisp, authentic, and true-to-life. Artsy images with heavy grain might shine on a gallery wall or pop on your social media feeds, but they won’t necessarily work as commercial stock photography. When applying grain, remember to use a light touch and keep the end-user in the back of your mind.
Not on 500px yet? Click here to learn about Licensing with 500px.


Leave a reply