Irving Penn built his own “light tent” using painted white boards. Yousuf Karsh swore by tungsten lights so he could make adjustments in real-time. George Hurrell invented the “boom light,” modeled on the boom microphone.
For these historic photographers, gear was so much more than just camera equipment. All the details, from lighting patterns to backdrop choices, came together to create a signature style. The glamorous “Hurrell style,” for instance, went on to inspire generations of Hollywood photographers.
For emerging photographers, the prospect of building a lighting kit and background collection can feel daunting, but the truth is that a few key accessories can dramatically enhance your work, allowing you to expand your creativity and realize your full potential. In this guide, we’ll cover just a handful of tools to consider adding to your oeuvre.
Lighting
Before we dig in, it’s worth noting that you can achieve a lot with your camera kit, natural light, and a reflector. But the problem with natural light, of course, is that it’s unpredictable and difficult to control. That’s where artificial lighting comes into the picture.
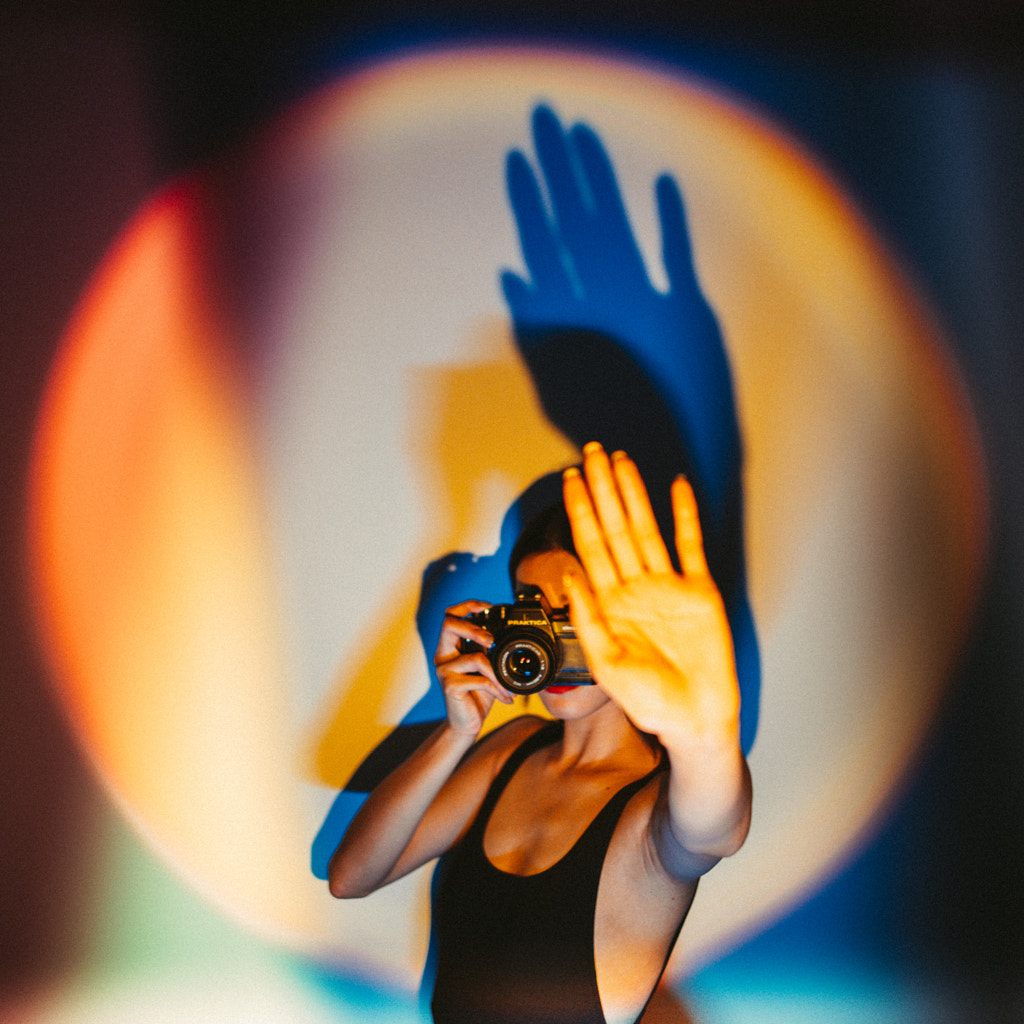
When it comes to lighting, you have a few options. For those just starting to build a kit, LEDs are a great place to start. They’re affordable, and you can get professional results. While she usually uses flash, Angela Perez used LED lighting with gels to create this dynamic portrait; you can see her behind-the-scenes process over on YouTube.
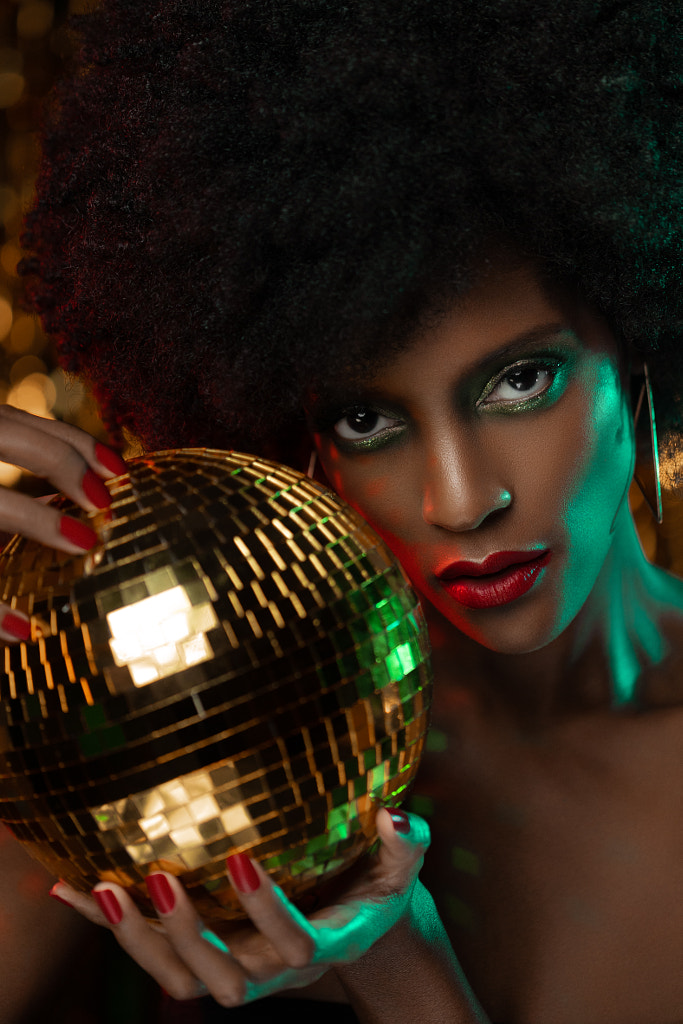
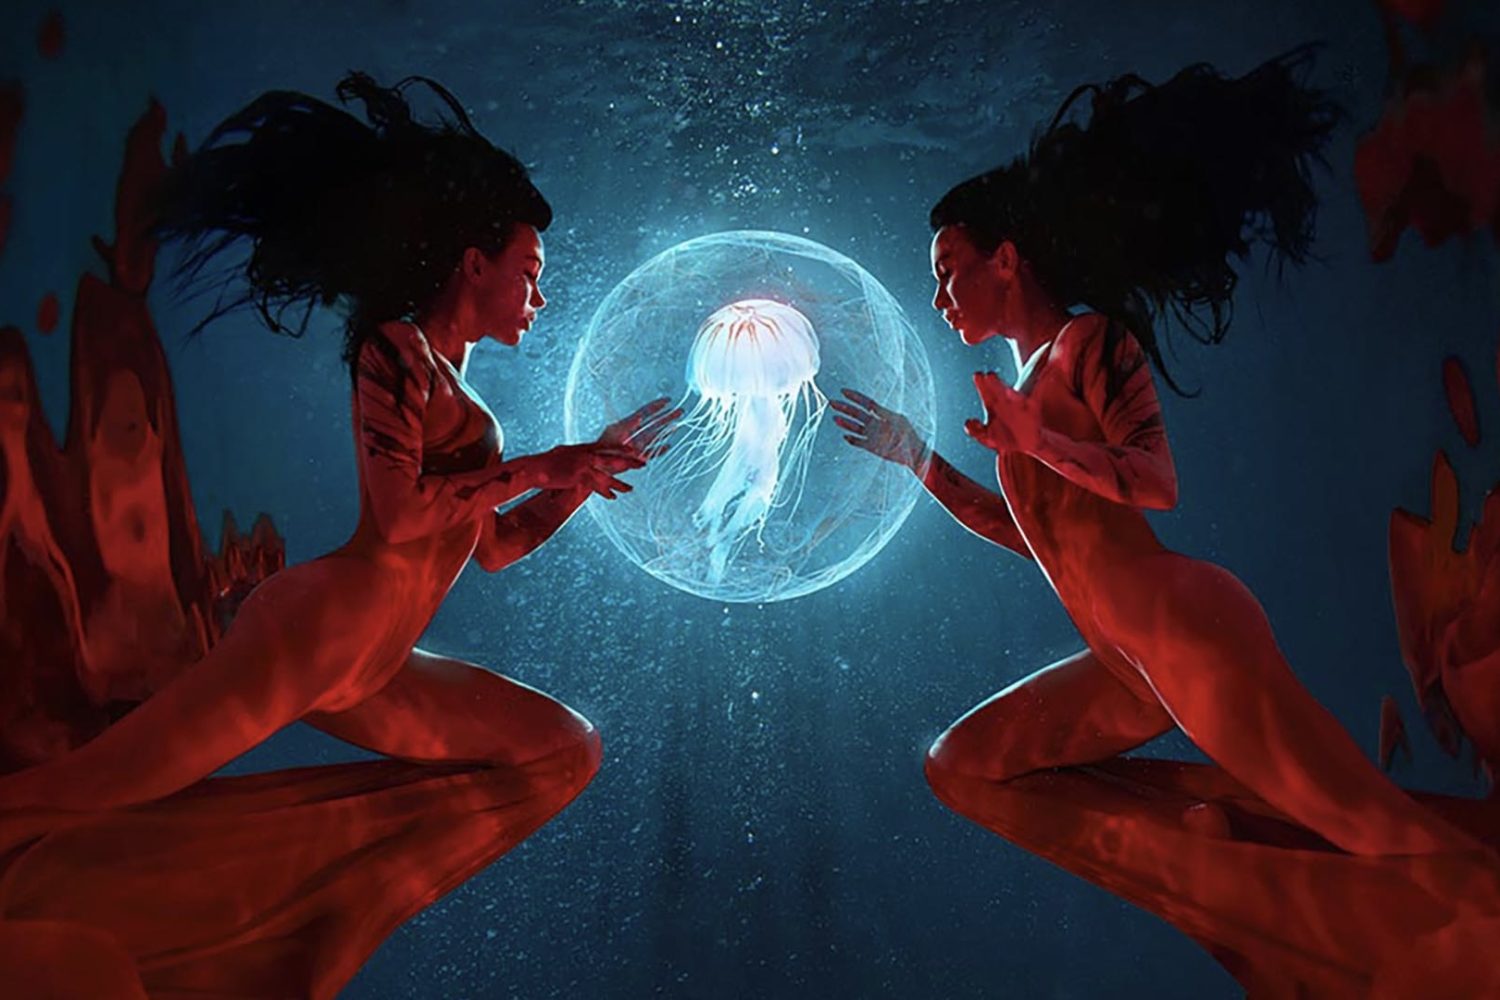
If you need more power than you’d get with an LED, a strobe, or off-camera flash, is your best bet. For the studio, pack and head systems or monolights are usually the way to go; for example, Jed Wade used a monolight to create the glowing beauty portrait below. On the other hand, battery-powered strobes can travel with you on location. Strobes will come with a modeling light (often, an LED) to help give you a sense of the lighting and its effect.
Finally, you have speedlights, which you can use either on the camera or off. These are cheaper and more portable than strobes, but you pay a price for that light weight and affordability: the recycle time is slower, and is the power output is lower than what you’d get with a strobe. They’ll also run through batteries relatively quickly. Neither is superior to the other; it just depends on the needs of your shoot.
Modifiers will vastly improve your lighting, and they account for some of the best photography equipment money can buy. These days, there are some excellent softboxes for speedlights, but strobes are where you can get fancy with your modifiers. When it comes to portraits, two modifiers you’ll encounter often are octaboxes and beauty dishes. Octaboxes can come in massive sizes, so you can get super soft illumination across a large area.
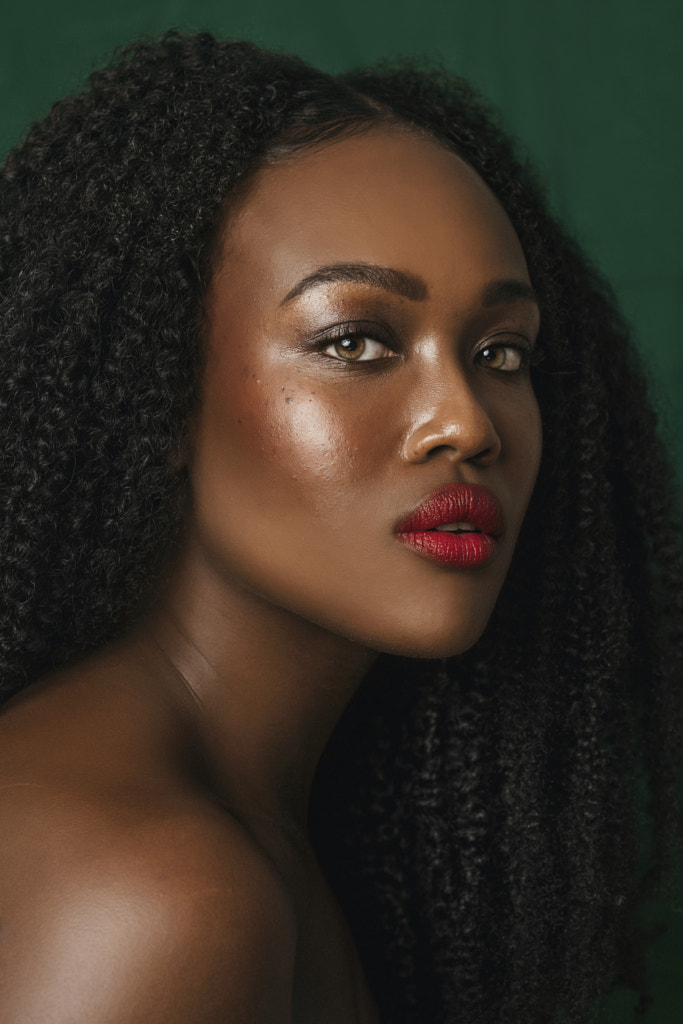
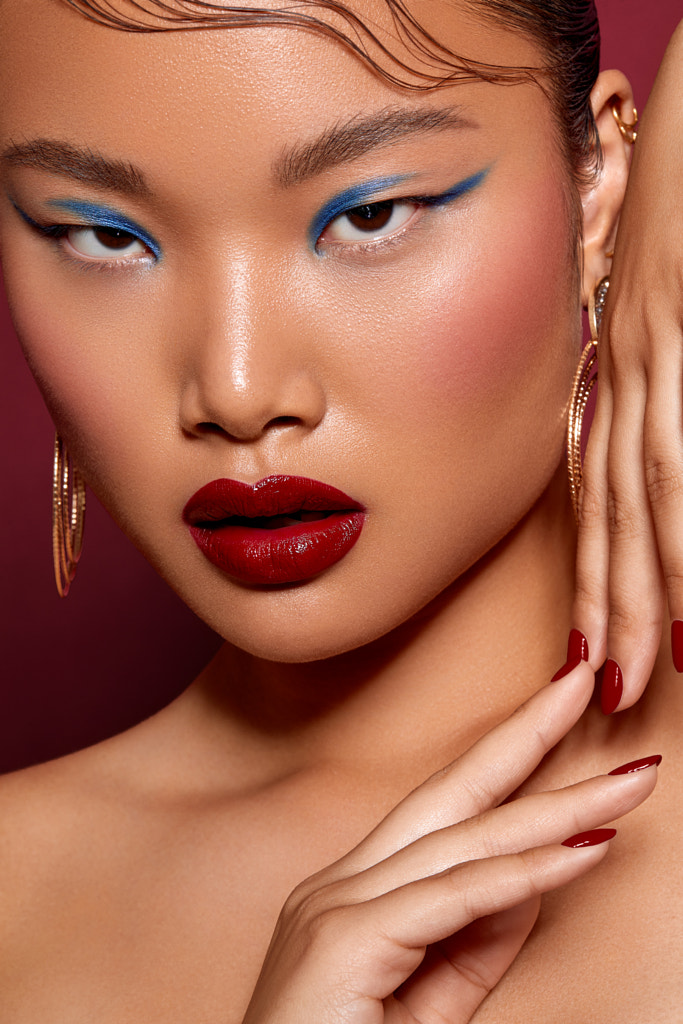
Octaboxes also offer nicer catchlights in the eyes than square softboxes because they’re rounded. You can see the power of these modifiers in this resplendent portrait by Lisa-Marie McGinn, made with a monolight with an octabox. Beauty dishes, on the other hand, are perfect for close-up portraits, as they sculpt the light.
Tripods
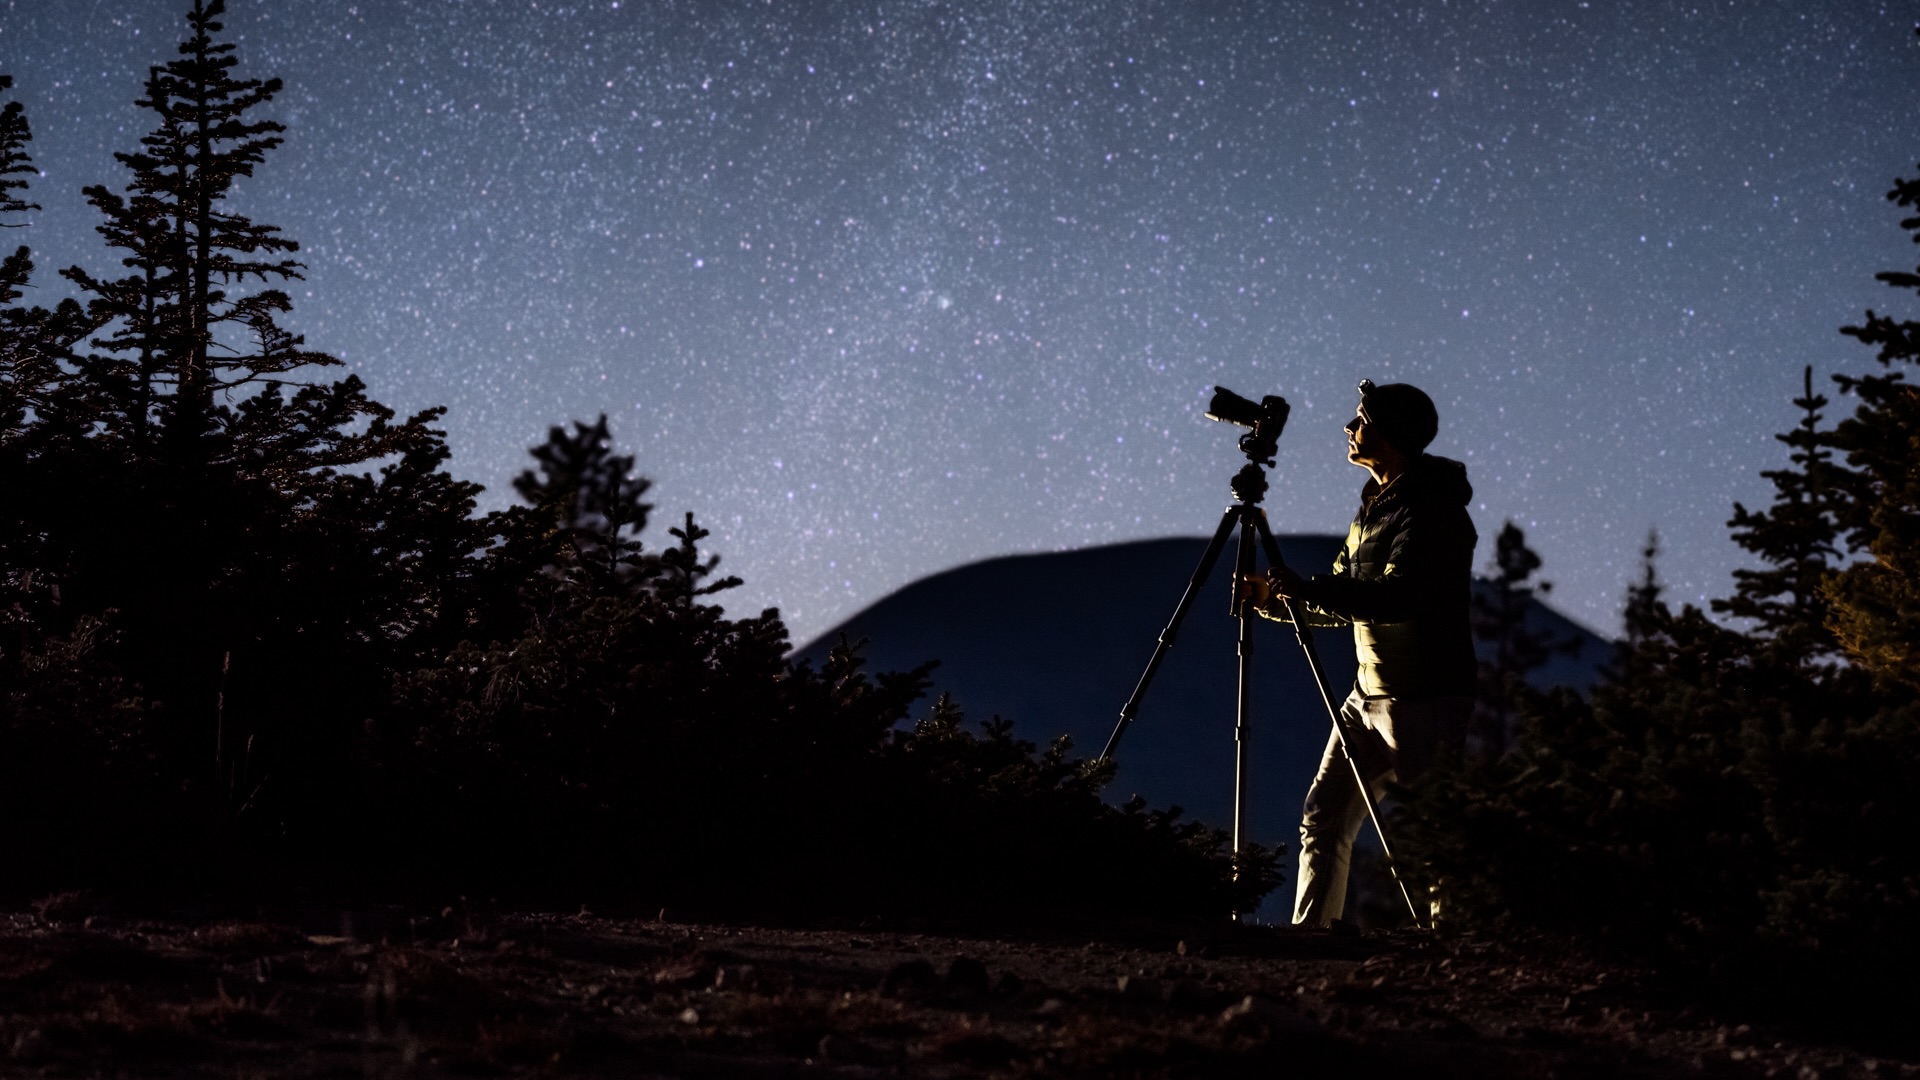
Tripods aren’t strictly necessary, but they can be a game-changer when it comes to navigating low light since they allow for long exposures. By extension, you can keep your ISO on the lower end and get better-quality images. A good tripod will last you a lifetime, whether you’re a travel and landscape photographer or a still life studio photographer.

Tripods come in various materials, weights, and sizes with different types of heads and varying load capacities. Because you’ll likely keep this piece of photography gear for many years, take your time selecting the one you want. It can be tempting to choose a cheaper option, but these can lack stability and need to be replaced often.
If you’re investing in your first tripod, do your research. Check out the various parts from head to toe and the material, which can range from aluminum to carbon fiber to wood. It can help to go in-person to your local camera shop to consult with an expert and explain your needs. A tripod is a significant purchase, so feel free to take your time.
Backdrops
We usually think of backdrops within the context of studio photography, but they can also be used outdoors and on location to create a clean or compelling background for your subject. Eivind Hansen has used this technique for an ethereal yet natural springtime vibe. Backdrops can range from homemade DIY creations to expensive, professional products, so what you choose will depend on your schedule and budget. Store-bought backgrounds come in a wide array of sizes and materials, with the most common being paper, fabric, and vinyl.
Seamless paper is the way to go if you want a clean, wrinkle-free background, usually with a solid color. Fabric backdrops like muslin or canvas, on the other hand, can be dyed or even handpainted for a painterly atmosphere. Vinyl backgrounds last a long time and are easy to clean. You can always try a mix of inexpensive household items, such as bedsheets or curtains, and store-bought backdrops as you build your collection.
In general, paper backdrops are best-suited for the studio, while fabric backdrops can be set up outdoors (if, for example, you’re shooting in natural light). If you’re feeling creative, browse a craft shop or thrift store for unique items you can’t find anywhere else. One thing to consider for any background is how it’ll reflect light; anything with a matte finish will prevent unwanted reflections.
Quick tip: You can always use color gels to change the color of your backdrop, so you don’t always need to rush to buy a backdrop in every color.
Finally, remember to factor in the C-stands you’ll need to hold your reflectors, any diffusers, or backdrops when setting your budget.
Color checkers
Finally, one bit of equipment that can instantly boost the quality of your photos is a simple color checker. These are checkerboards that ensure you get your colors objectively right every time. They’re easy to use: simply place the color checker in the frame or have your model hold it. Remember to shoot in RAW, as you’ll need these files for later.
Your color checker will come with software that will allow you to create a calibration profile that you can then apply to the photos from that shoot (made with the same lighting, camera, and lens). And voilà, your colors will instantly become more accurate. These tools come in especially handy when you’re trying to get perfect, true-to-life skin tones.
Not on 500px yet? Sign up here to explore more impactful photography.

Leave a reply